The Conversation (0)
Sign Up
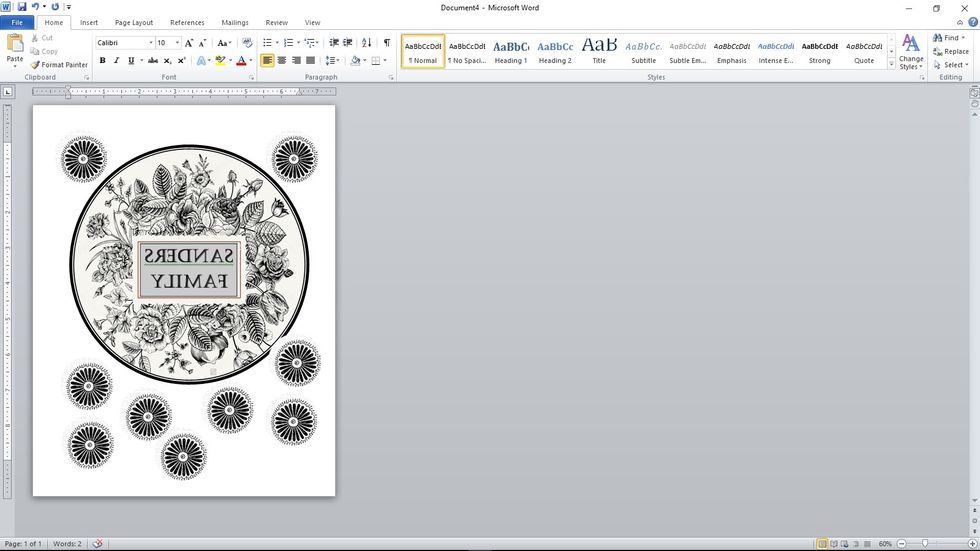
scan designs or cut and paste patterns from the web into a word processing program. size pieces as needed and be sure to flip any text to "mirror image".
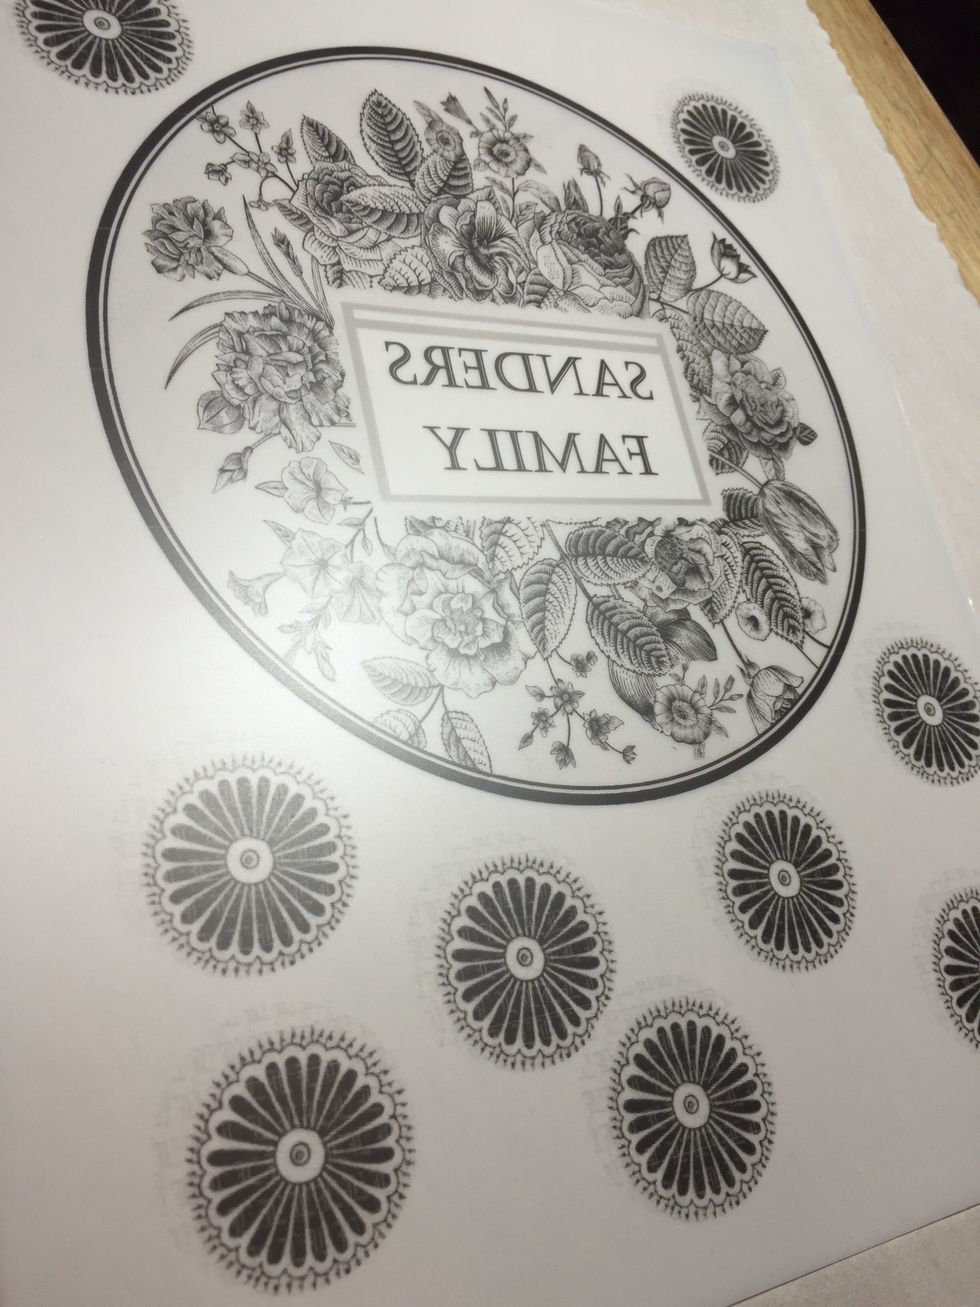
print design onto transfer film according to package directions.
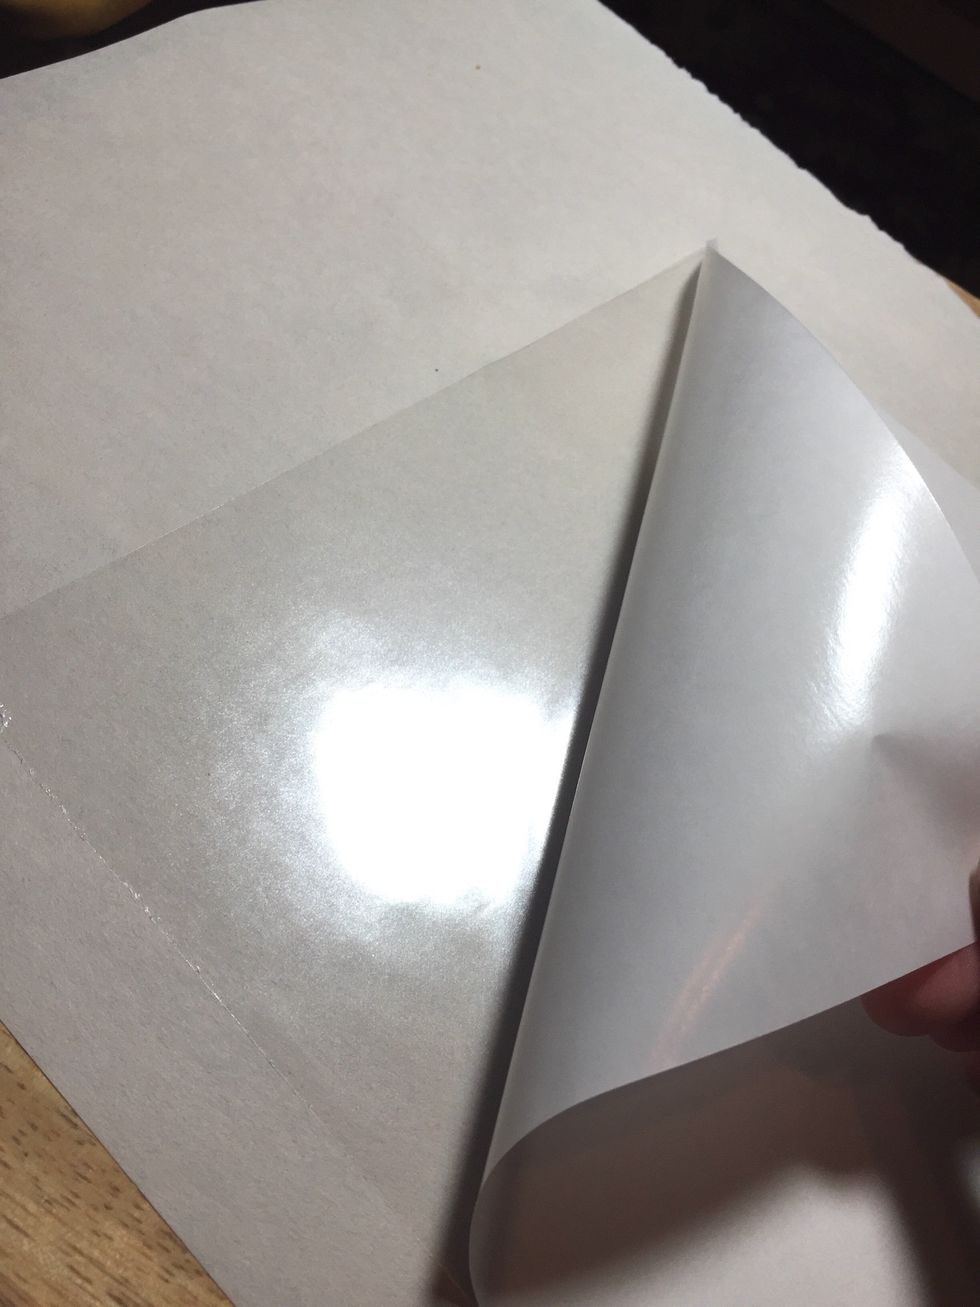
peel back a corner of the liner from the adhesive sheet.
line up a corner of the transfer film to the corner of the adhesive sheet and press to adhere just the corner.
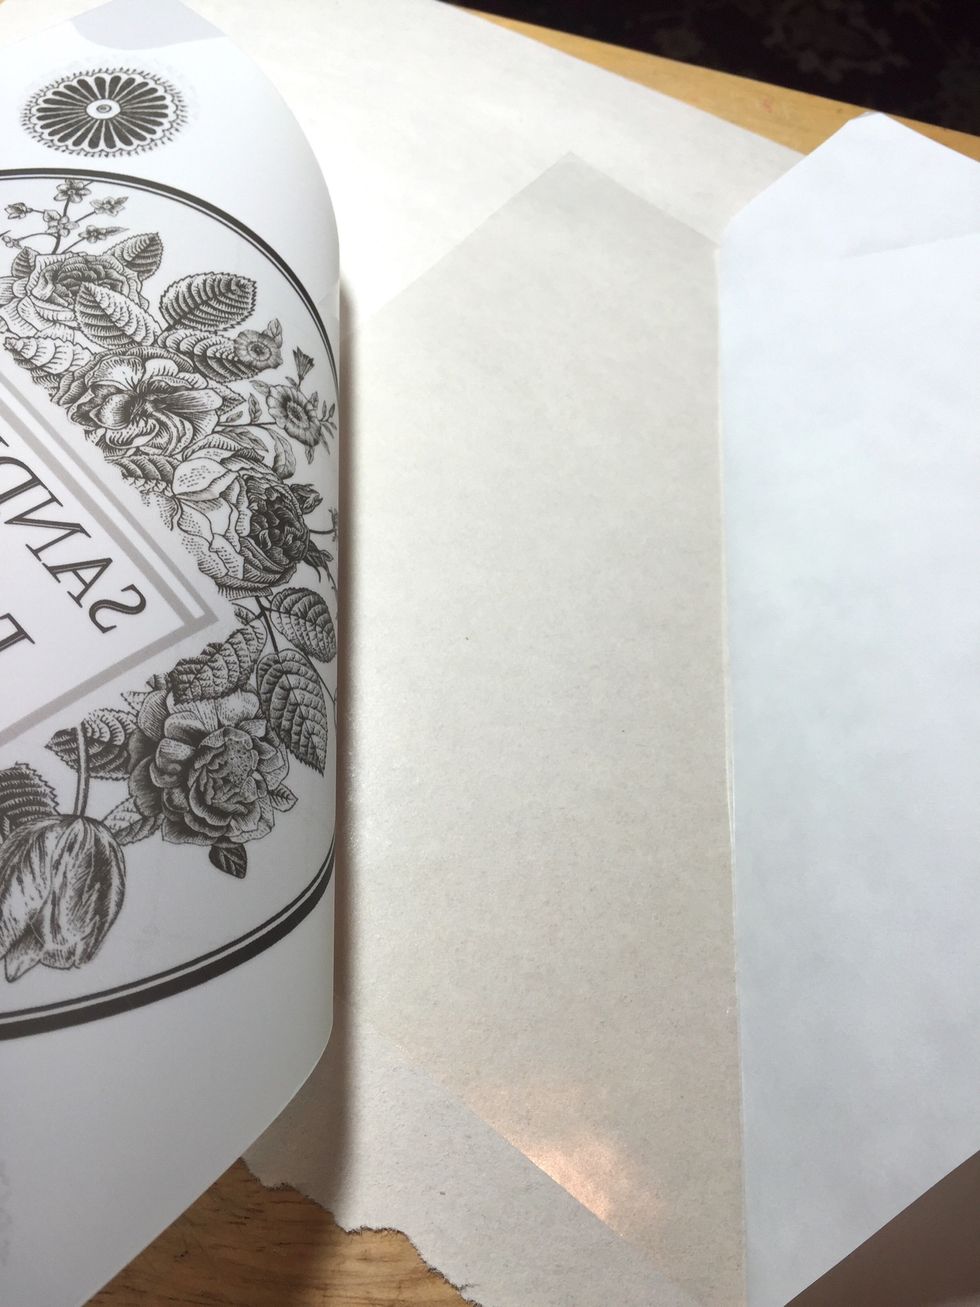
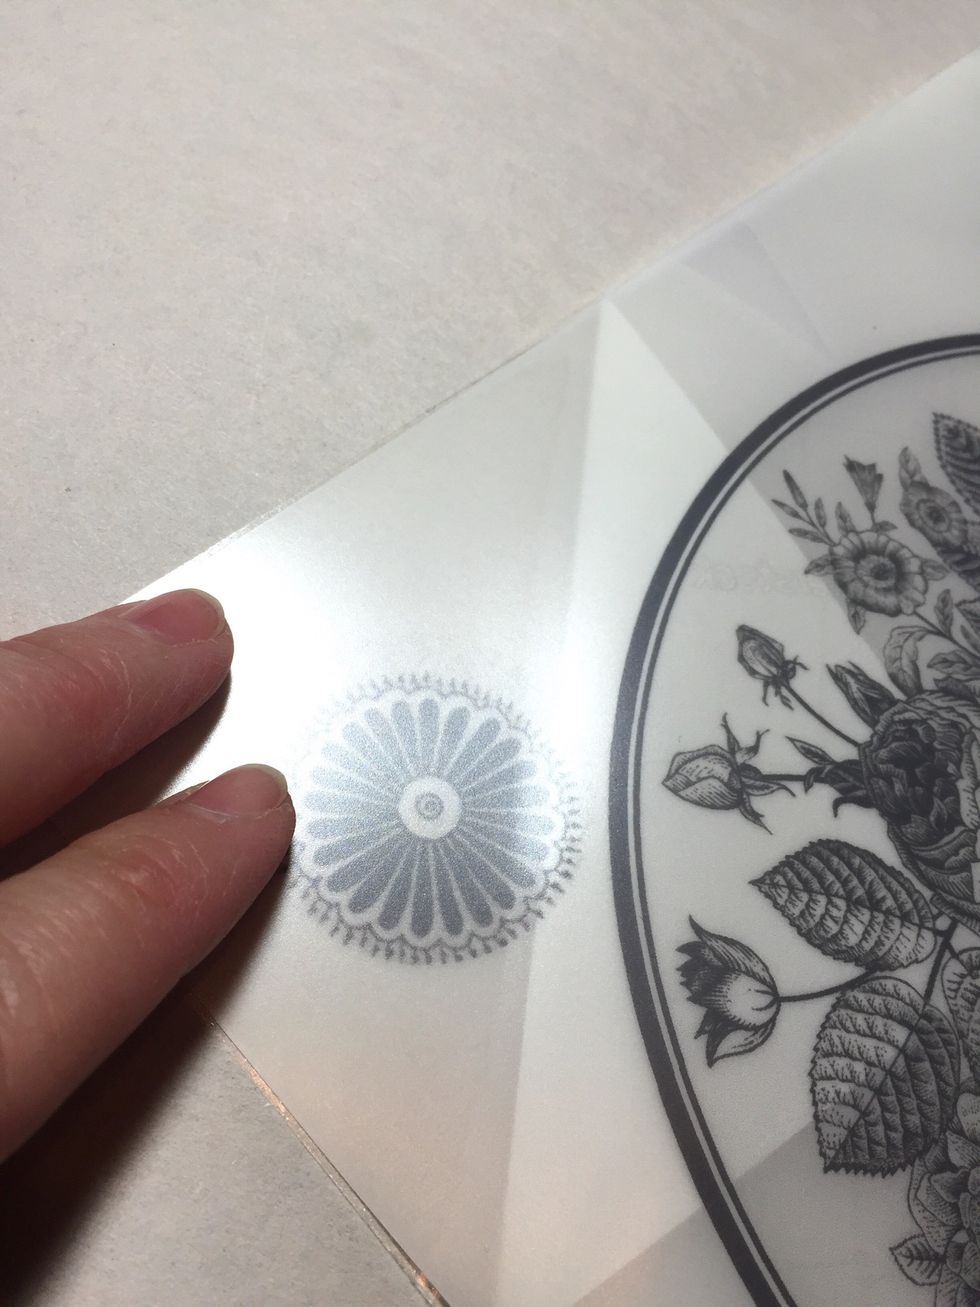
continue to peel back the liner and apply the transfer sheet, smoothing out air bubbles as you go.
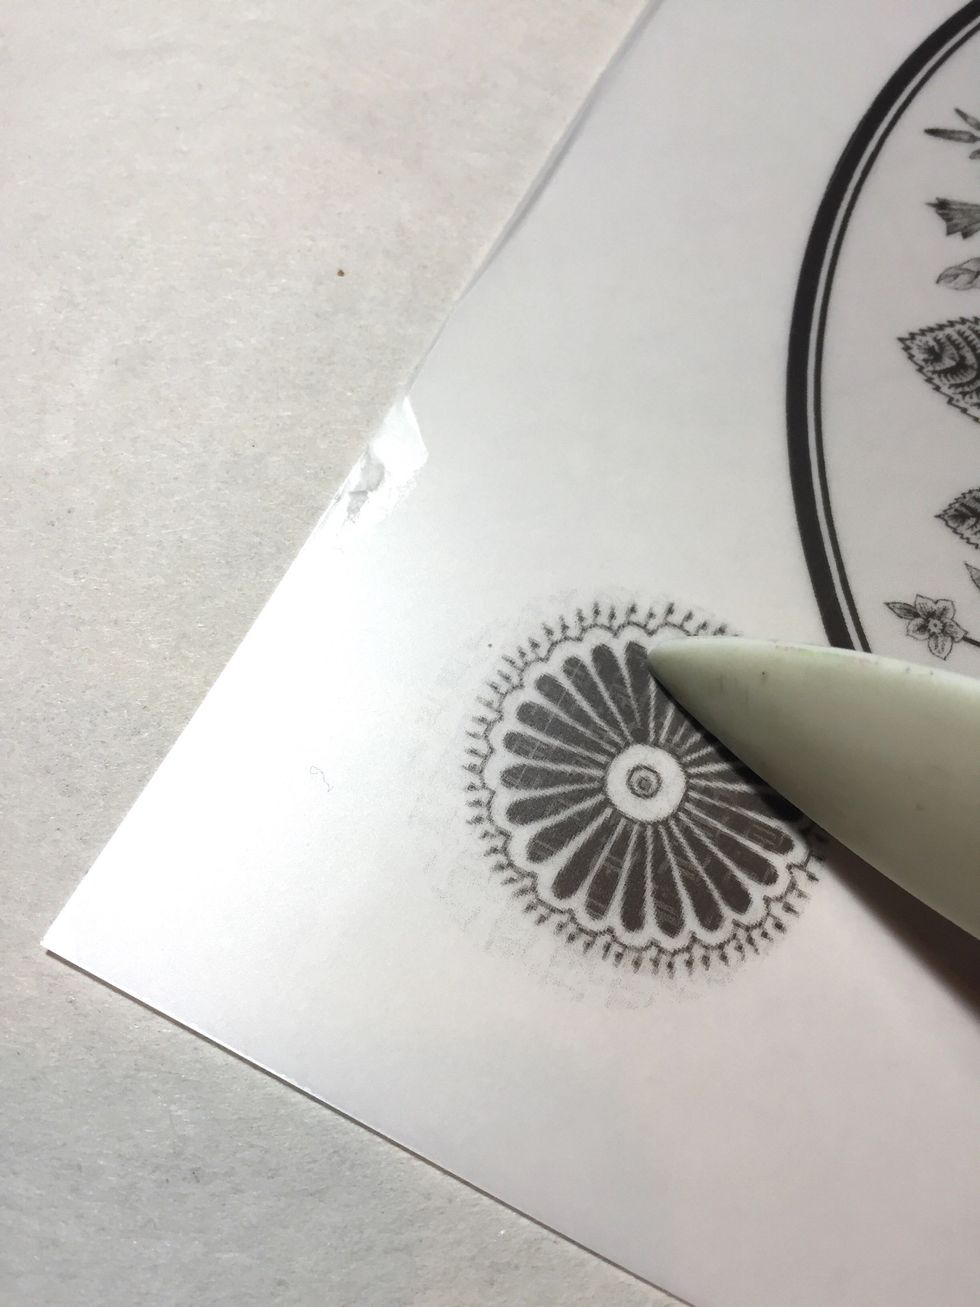
use a bone folder or the wooden stick included in the package to rub over all the designs to be sure the adhesive is fully transferred to the film.
to apply rub onz, peel back the clear plastic liner...
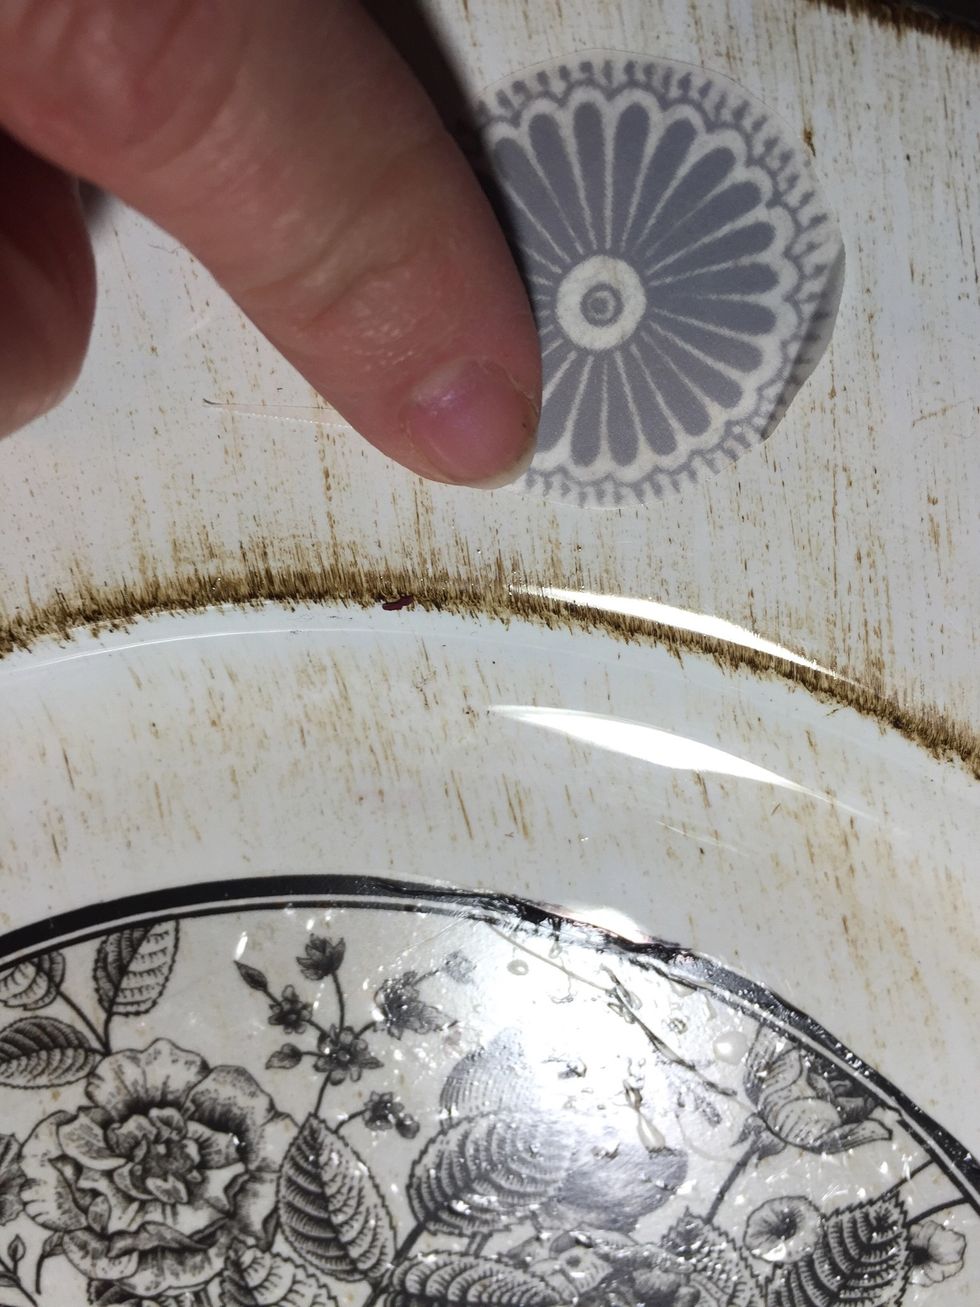
then adhere face down to the surface, rubbing with your finger or the wooden stick to make sure rub onz transfers to surface.
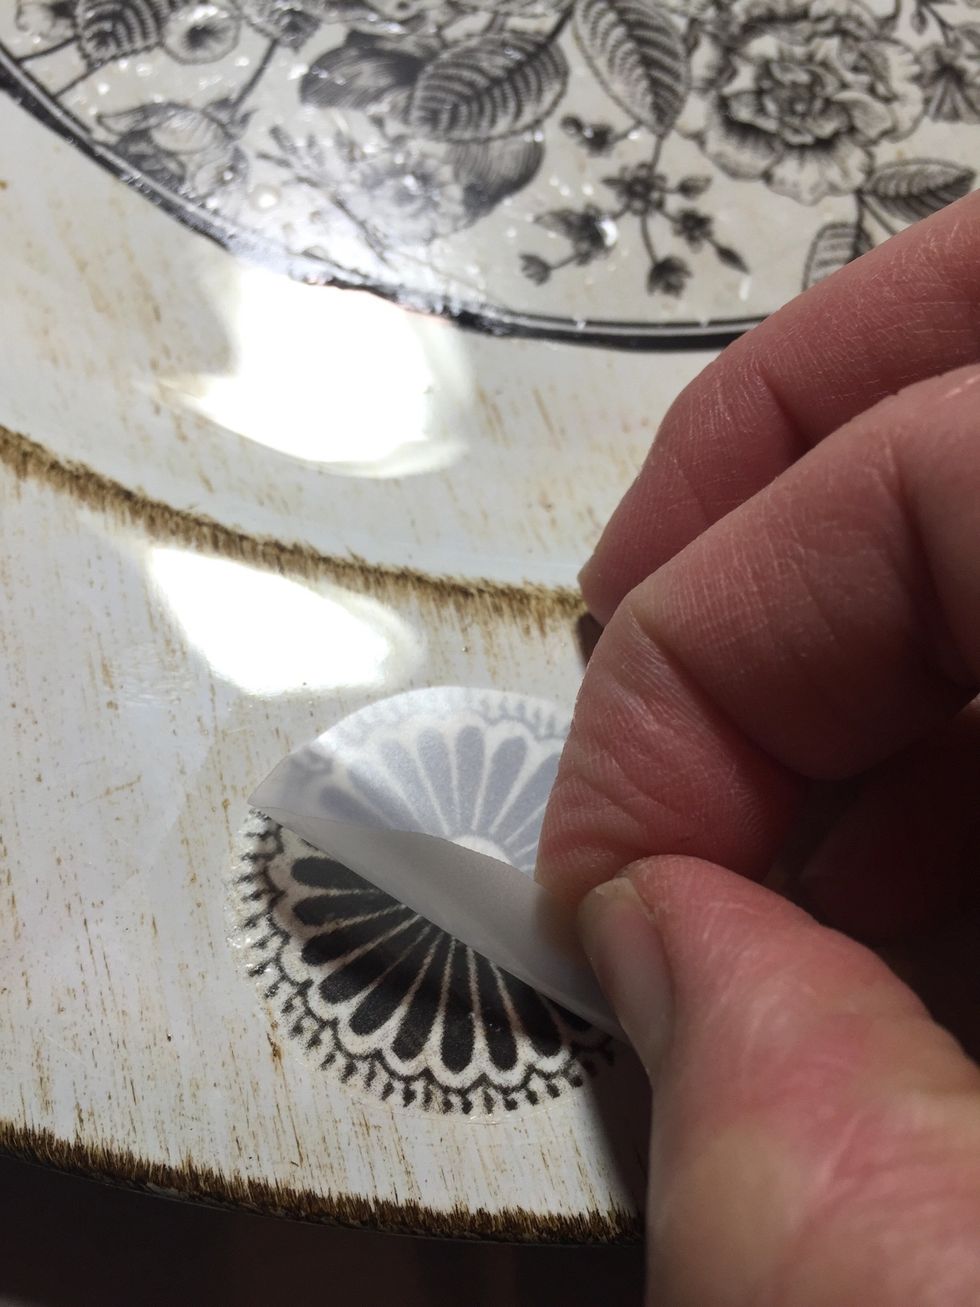
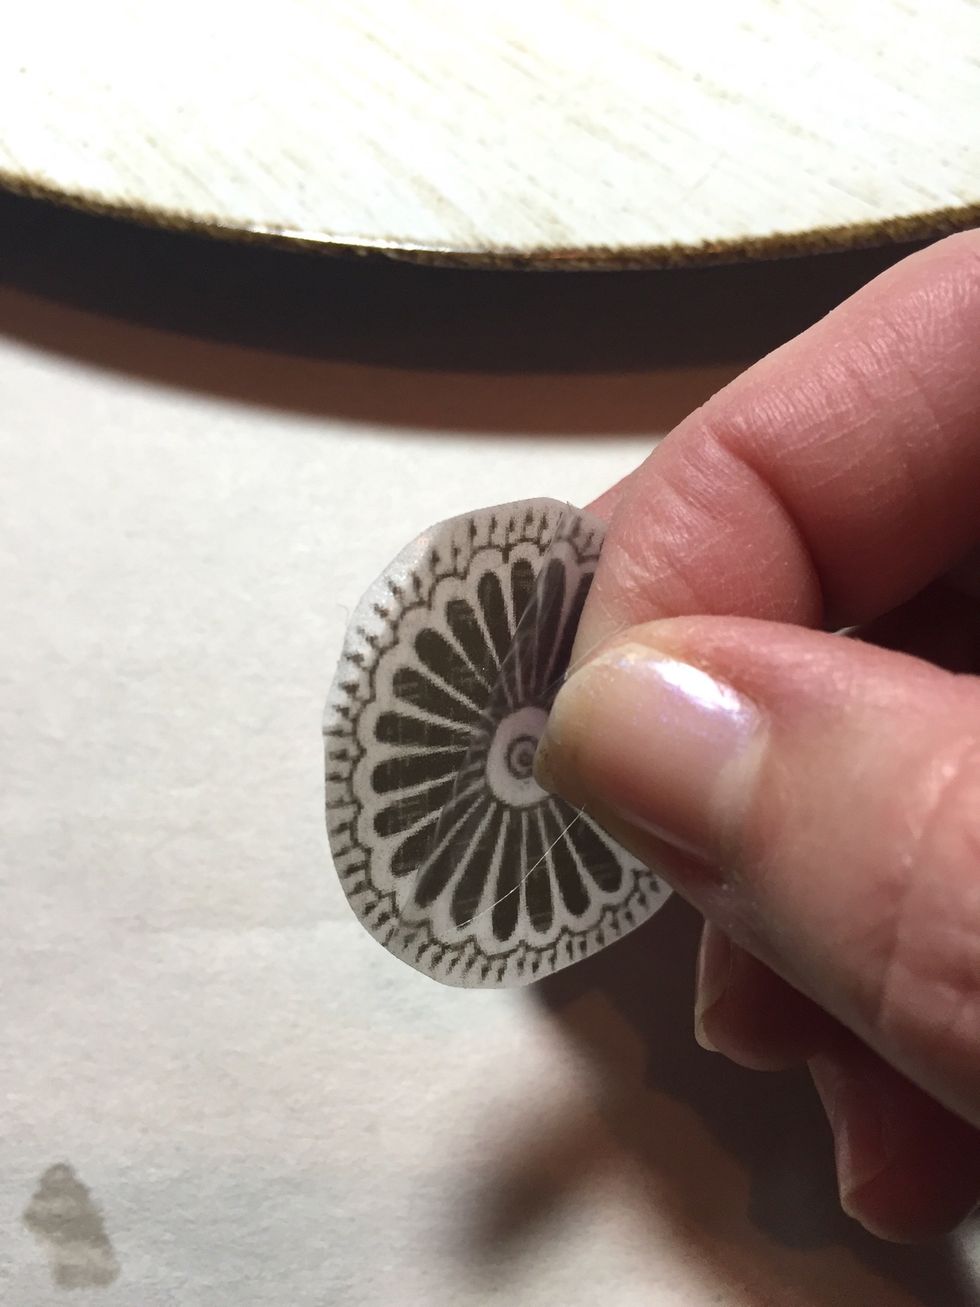
pull up the matte liner to reveal your rub on.
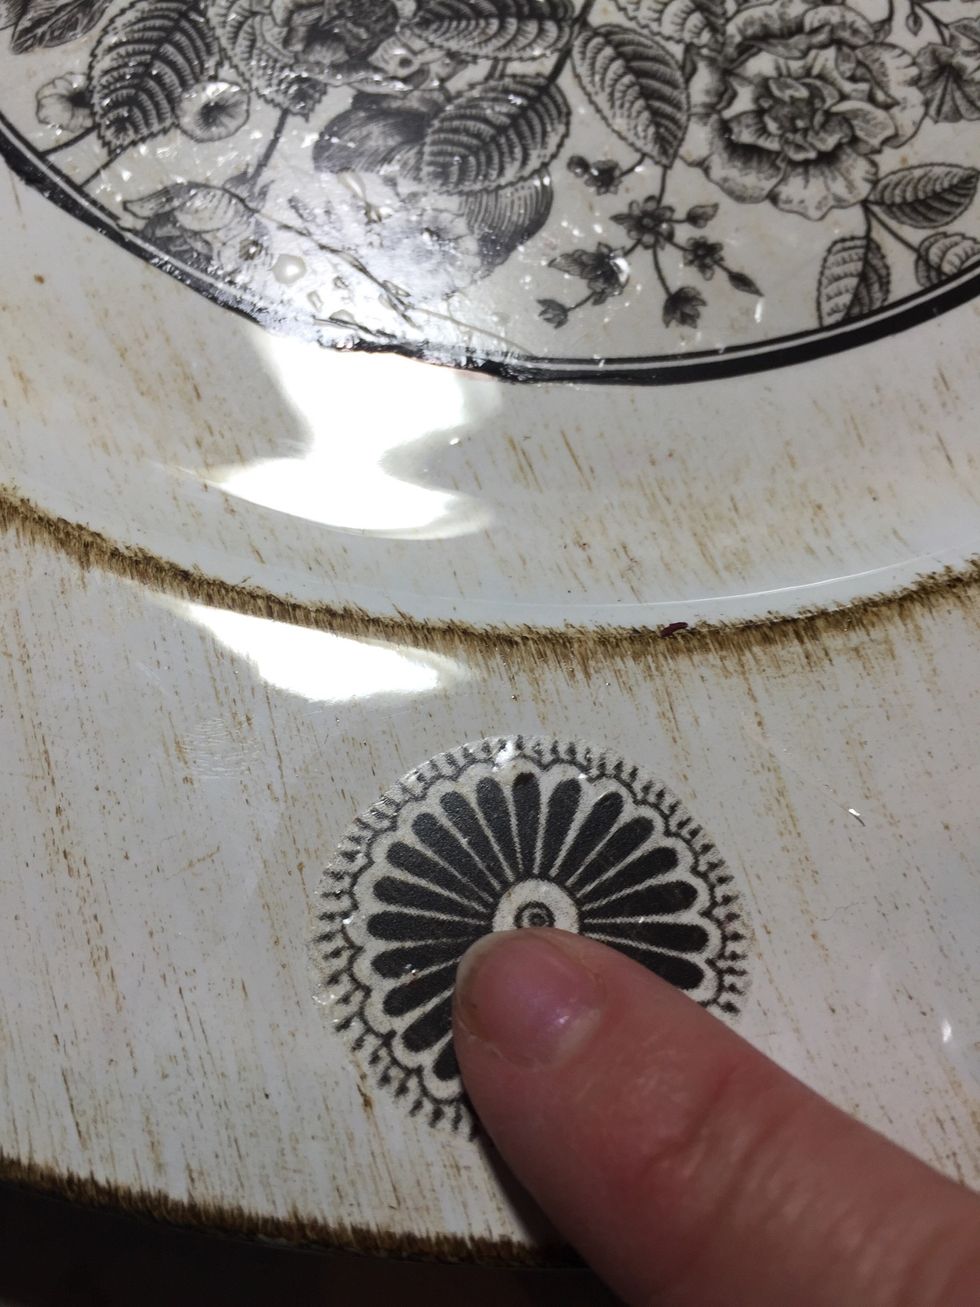
rub rub onz lightly with your finger to smooth out any air bubbles.
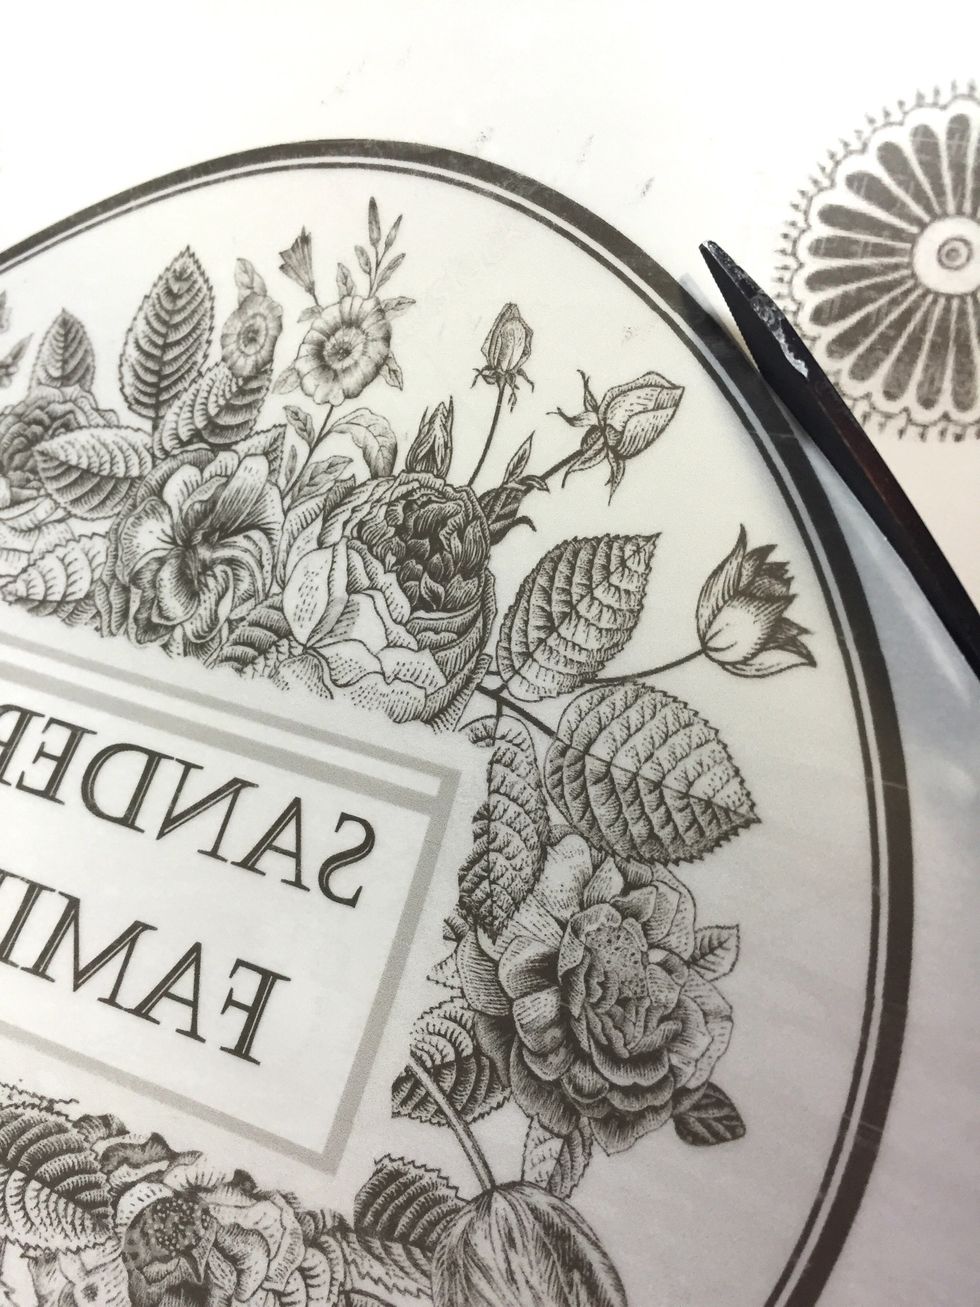
cut out center design.
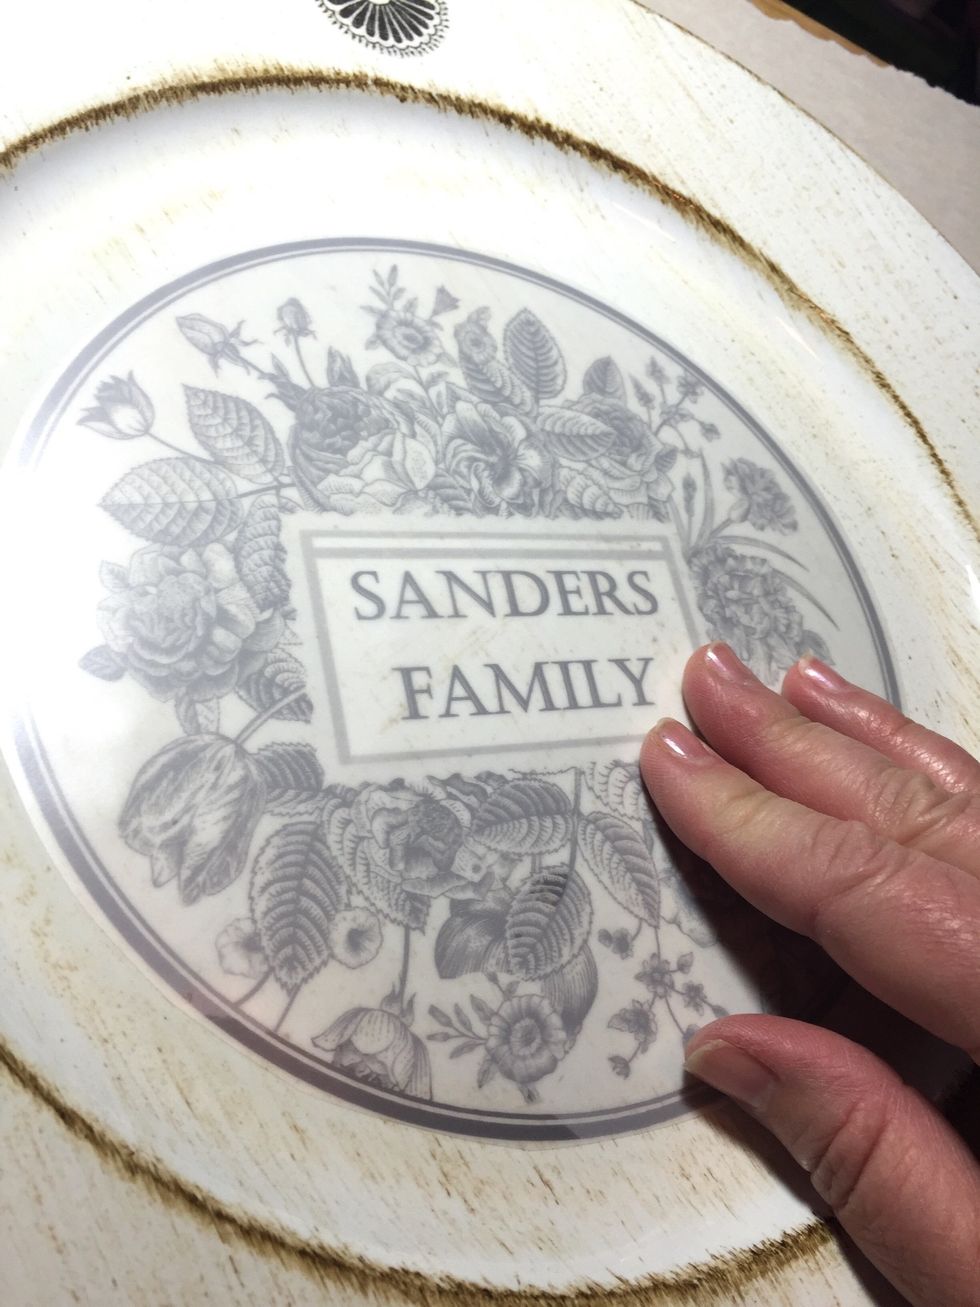
and adhere to center of plate using same steps as before.
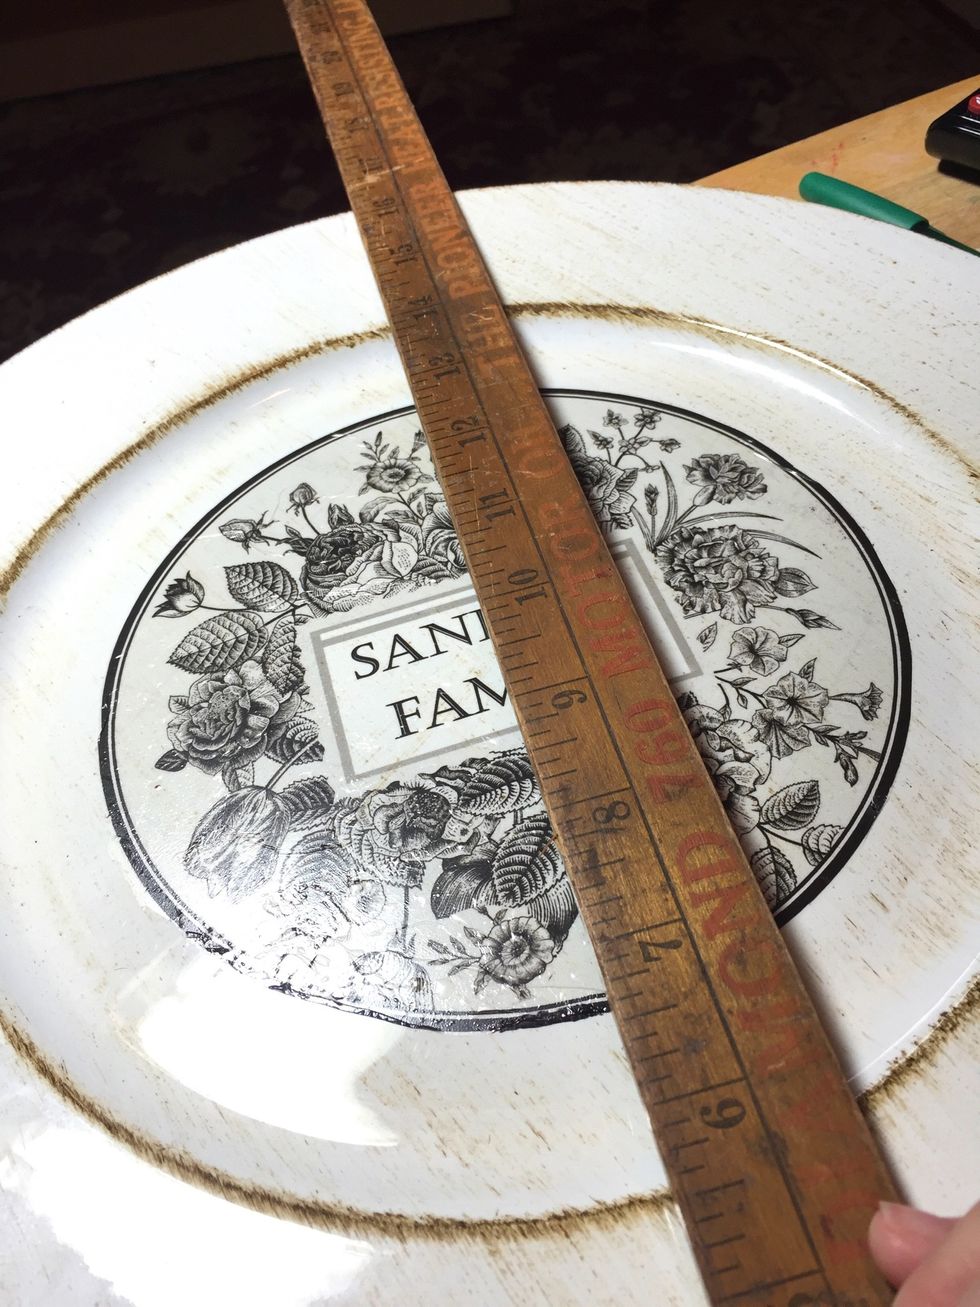
use a ruler to line up and mark placement of medallions.
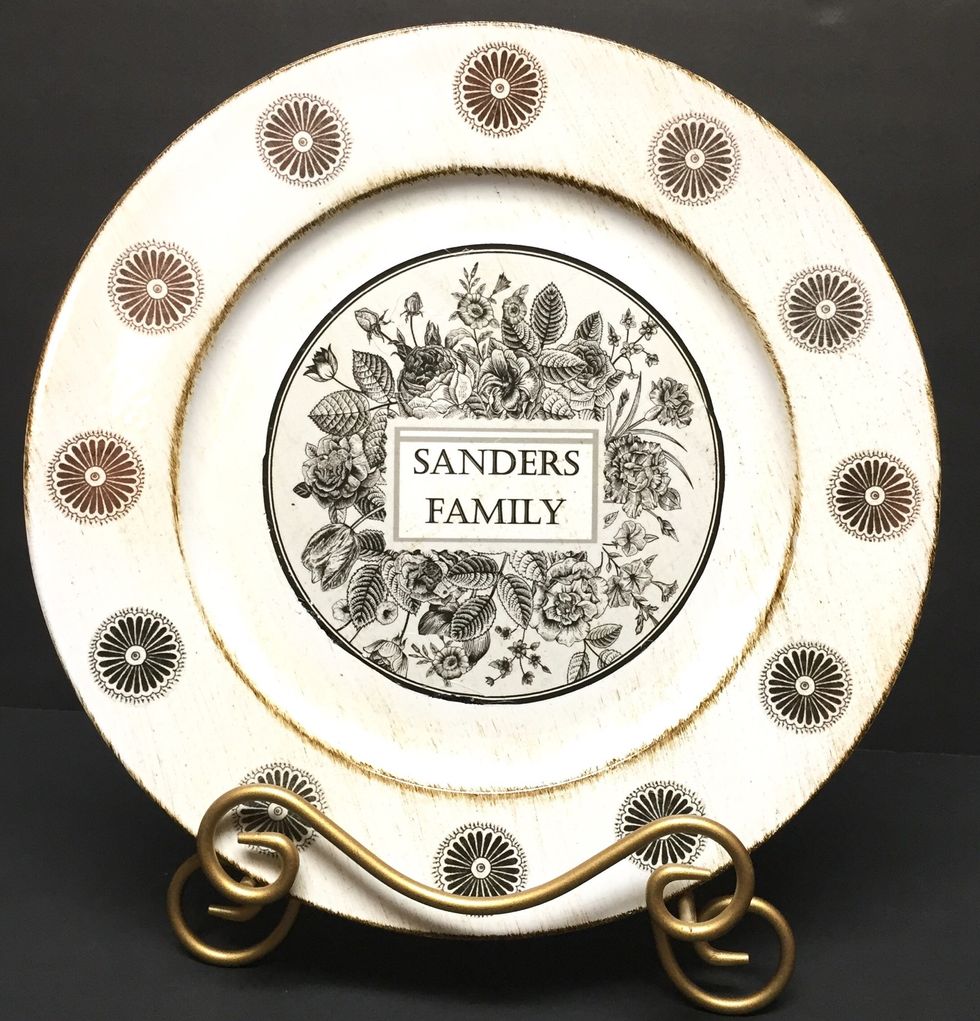
finished plate.