The Conversation (0)
Sign Up
I recently helped a friend learn how to use her first iphone. So I decided to make a few guides on iPhone basics. Here's how to set up and use email in iOS 7.
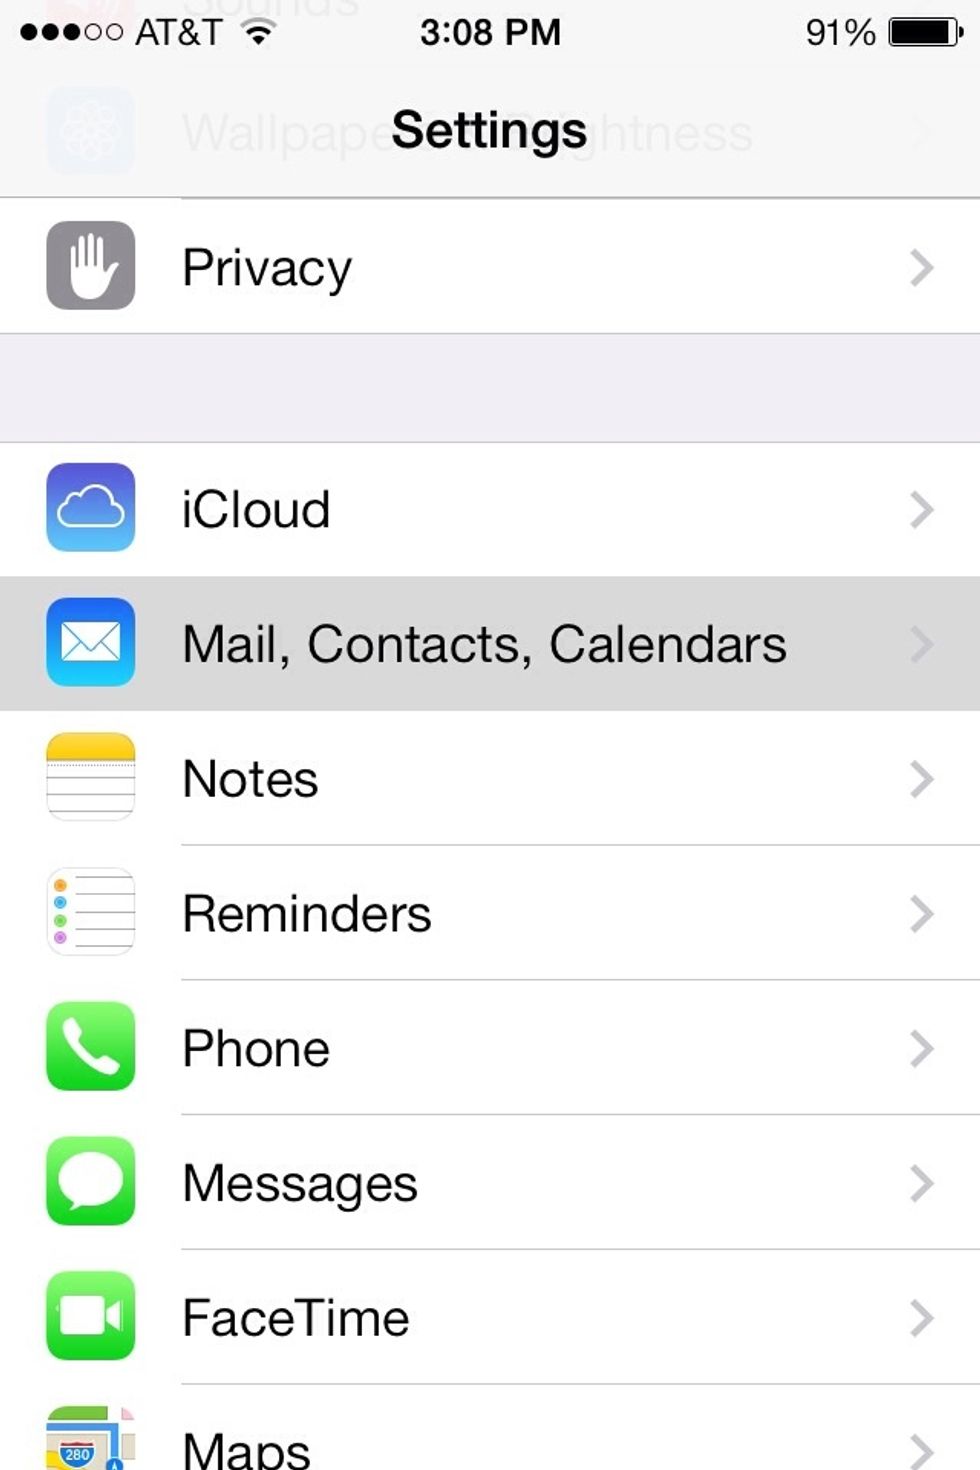
The first thing you'll need to do is add your existing email accounts to your devices email app. So go to settings and open the Mail, Contacts, Calendar section.

Here you'll find your email accounts. If you haven't added one yet or want to add another email account. Tap "Add Account".

Find and select the email services you'll be adding.
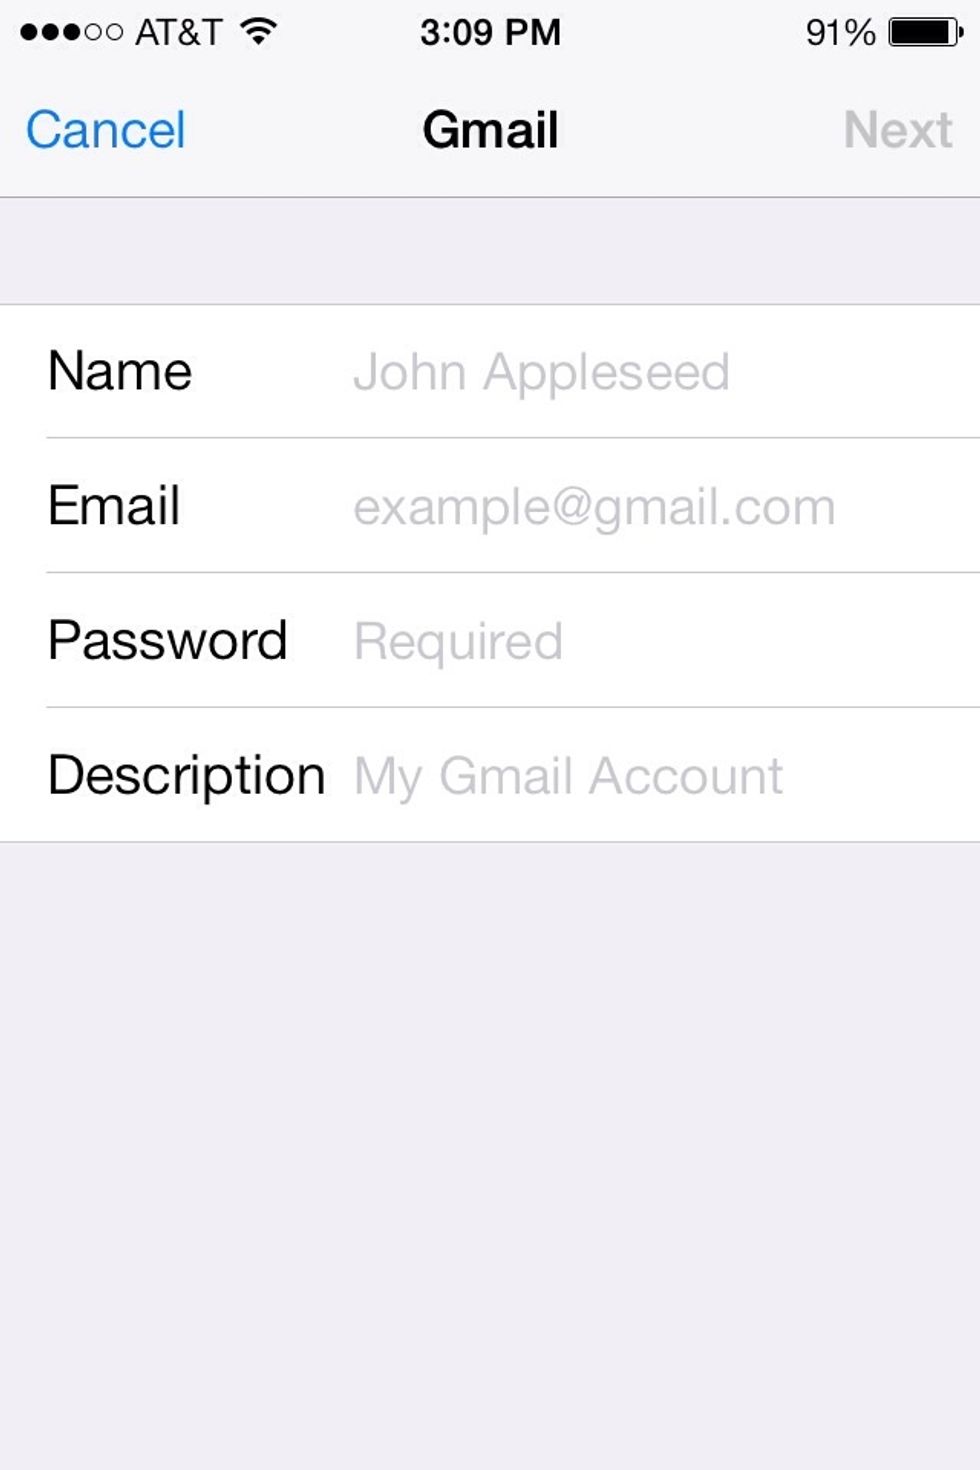
Then fill in the information for your email account. This is also signing into the account so enter your email address and password for it. This is safe. You're just signing into your email account.
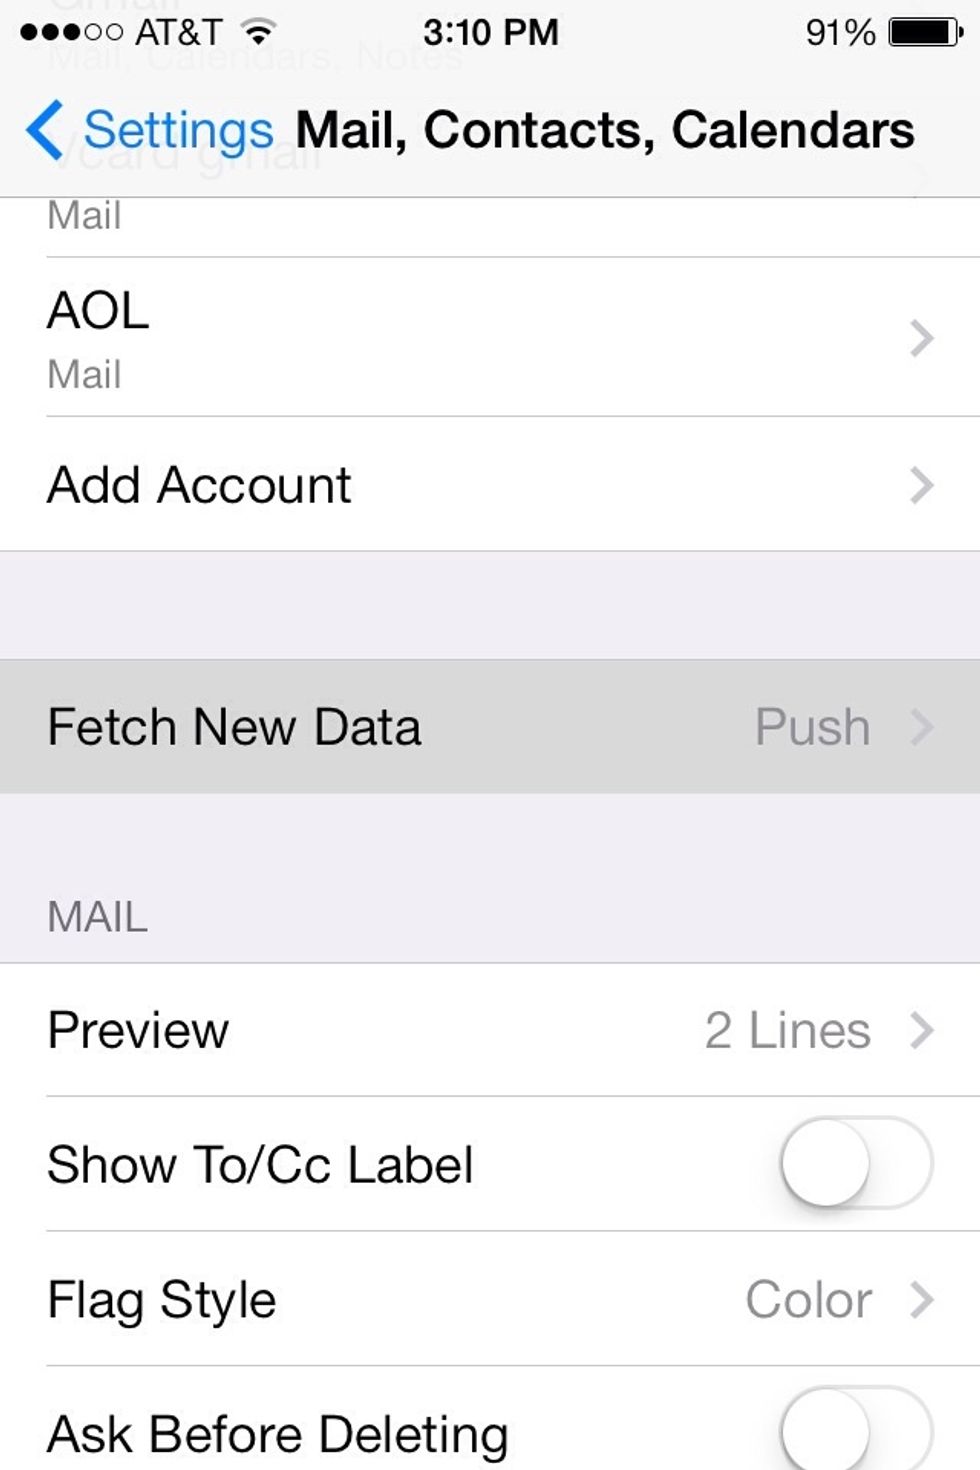
Go back to the mail, contacts, calendar section where to tapped "Add Account". You'll find your mail settings. You should browse through them but one I want to talk about is Fetch New Data. Tap it.

I want to go over this because it can effect your battery life. This basically means when your server will check for new emails. Push means it's always checking for emails and that uses up battery.

When an account is set to manual. It'll only check for emails when you open the email app. I suggest you set to manual to save battery life.
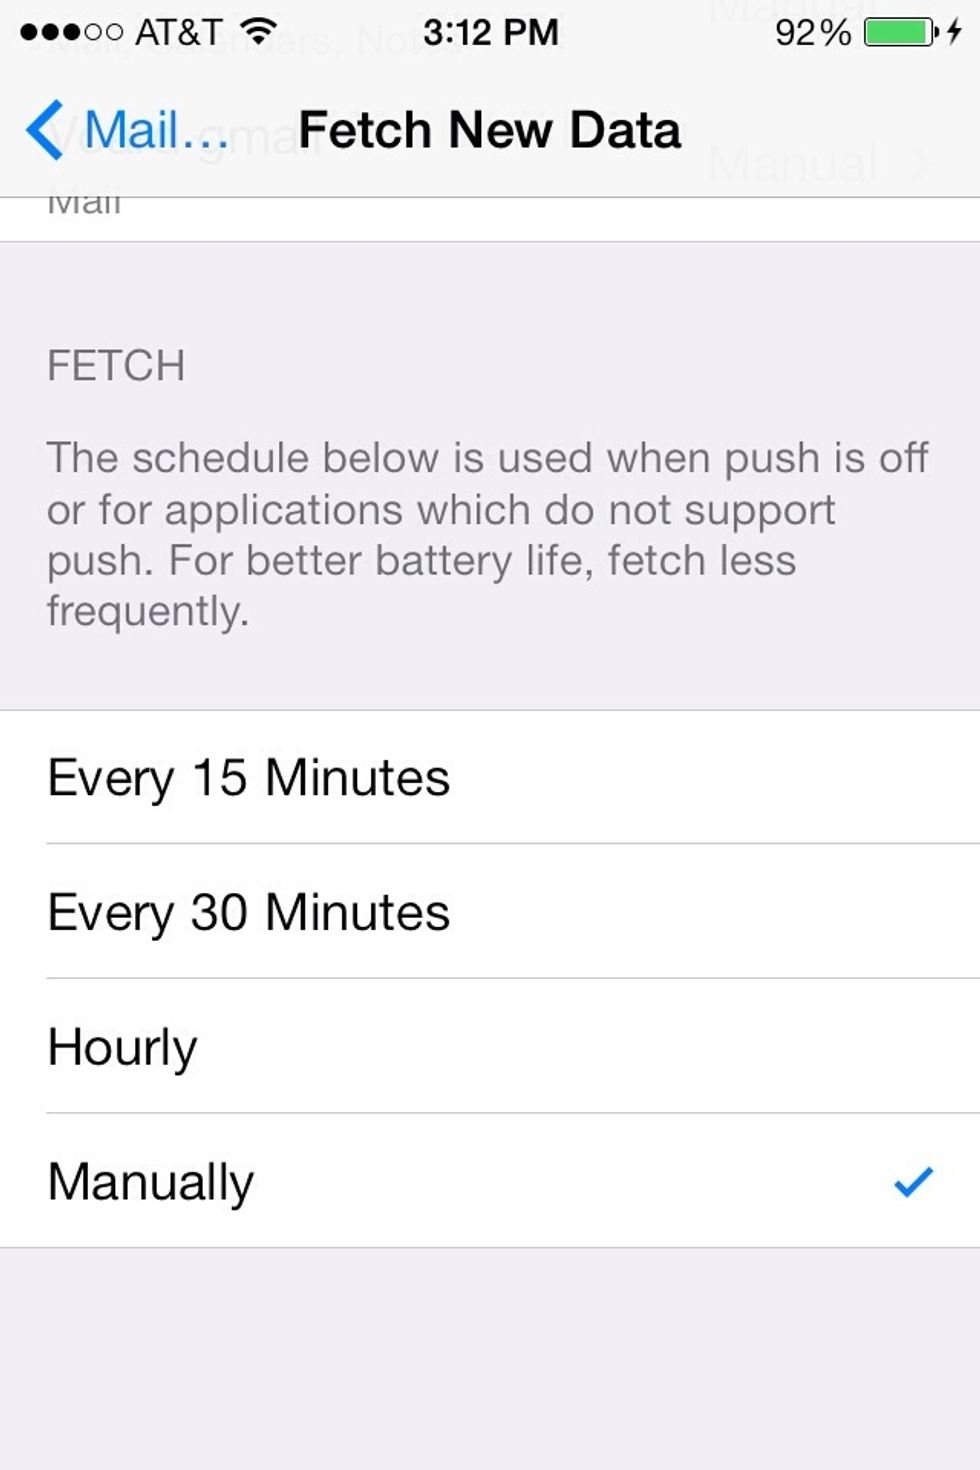
Another option is to set Fetch to manual. This way all your accounts that are set to fetch will only check for new emails when you open the email app.
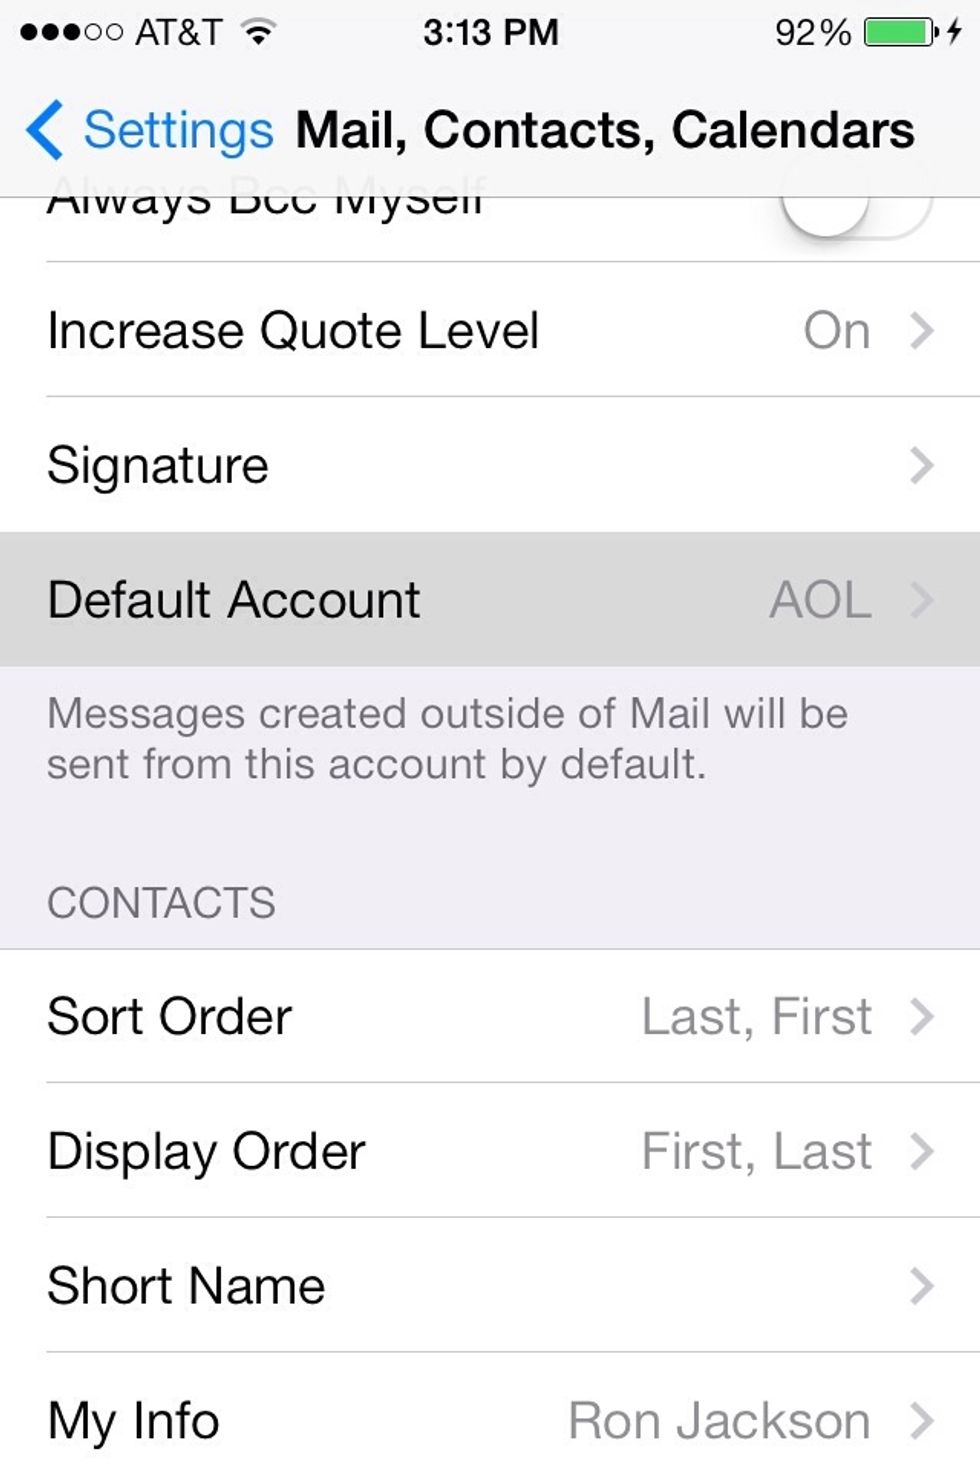
Also go into the Default account section. The default account is the email account your device will send with when using other apps. For example if you share a link or photo. It'll use this to send.
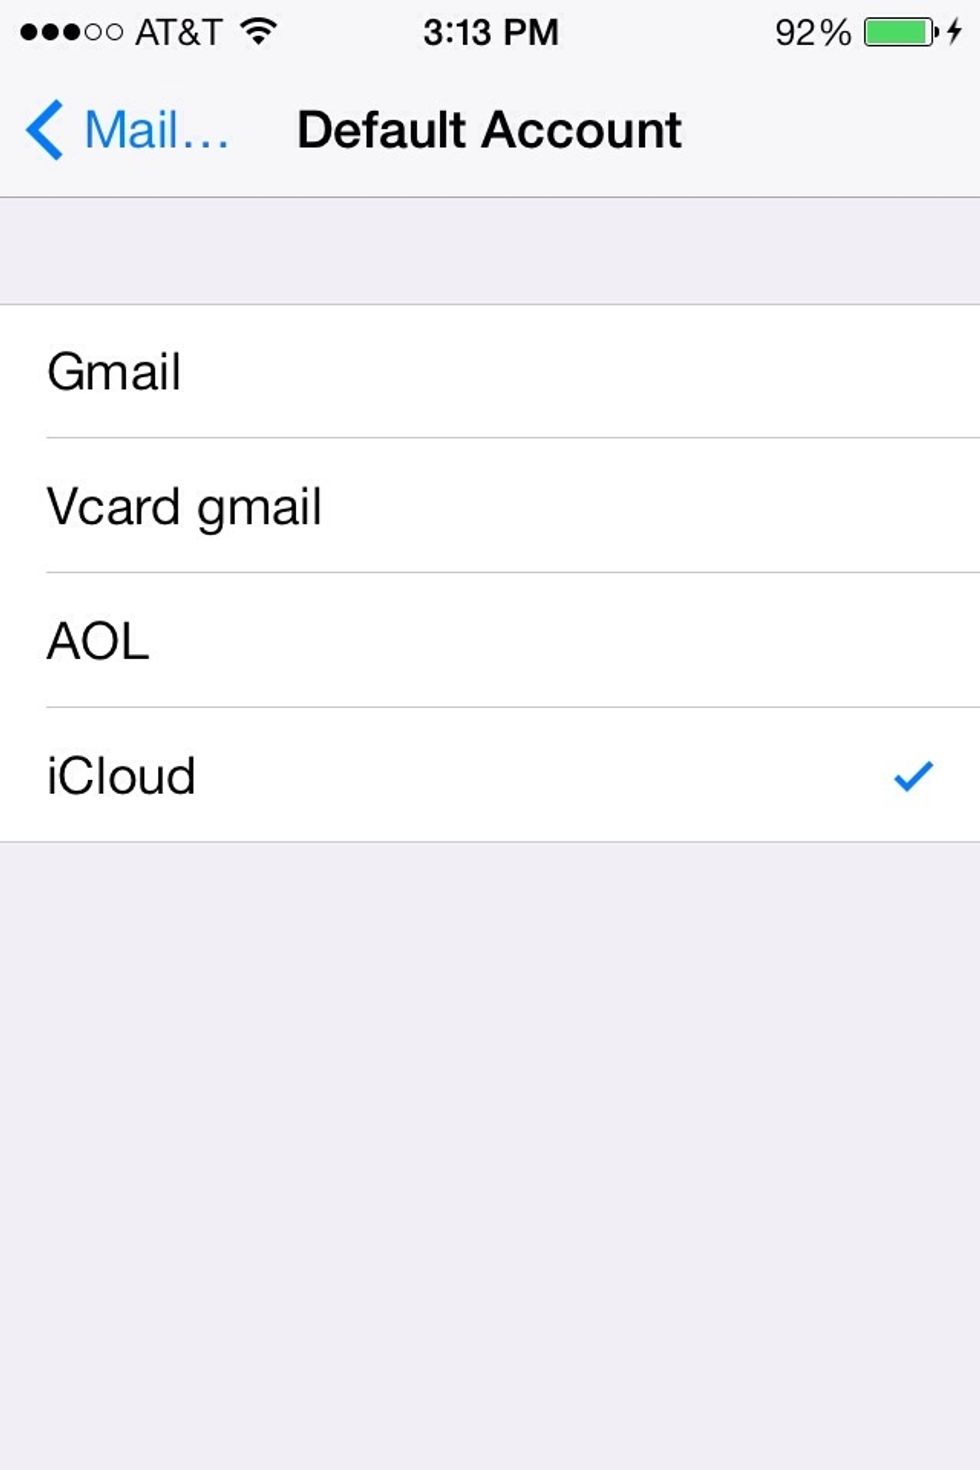
So select your default account.
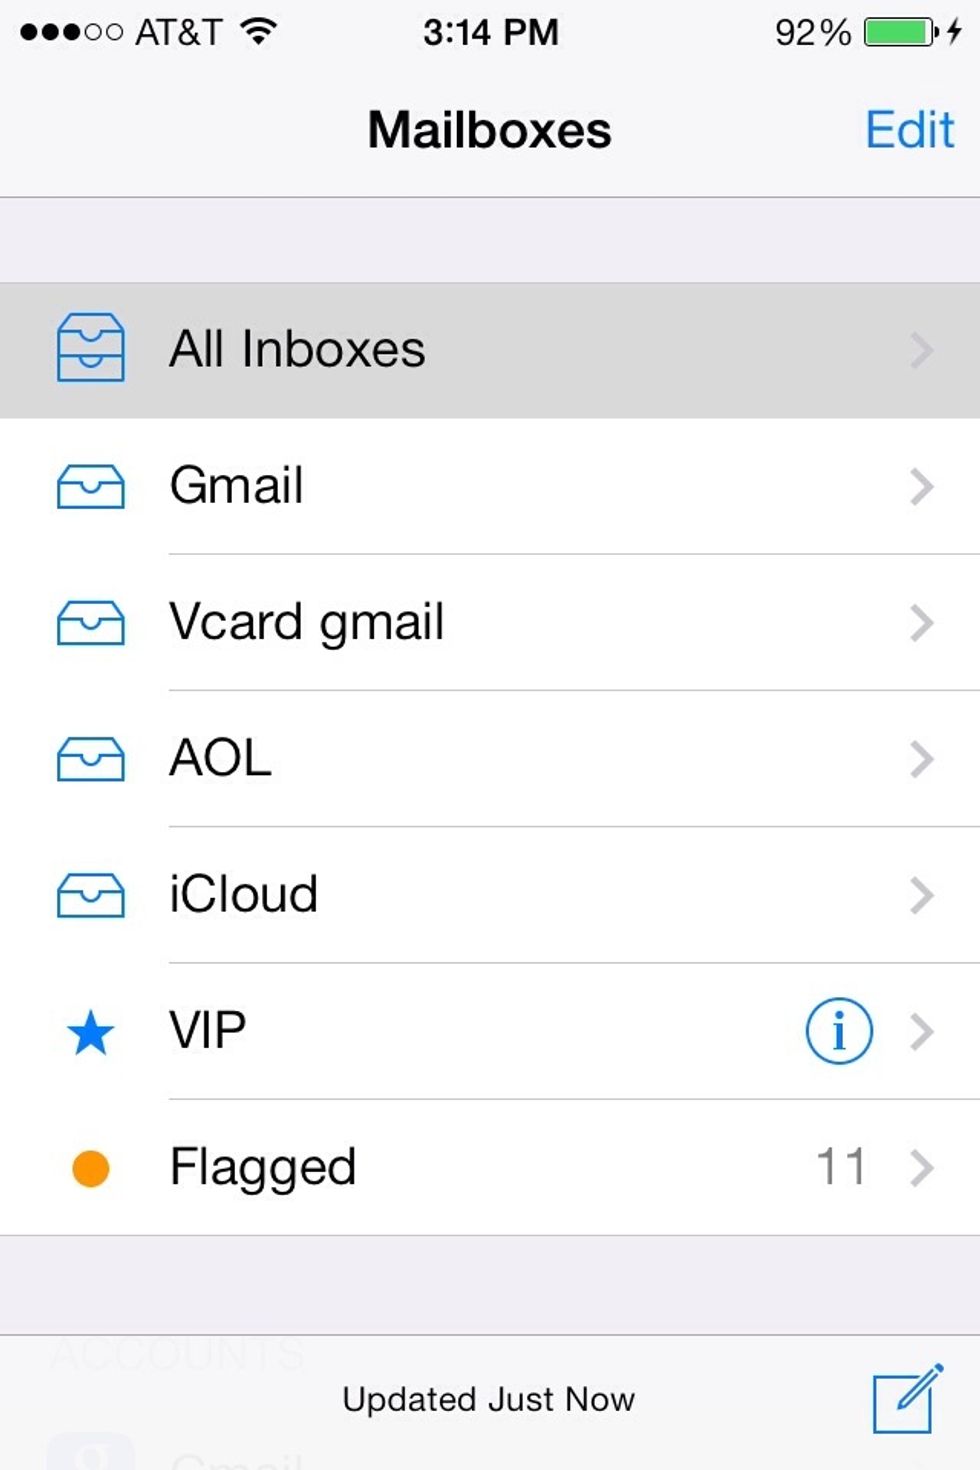
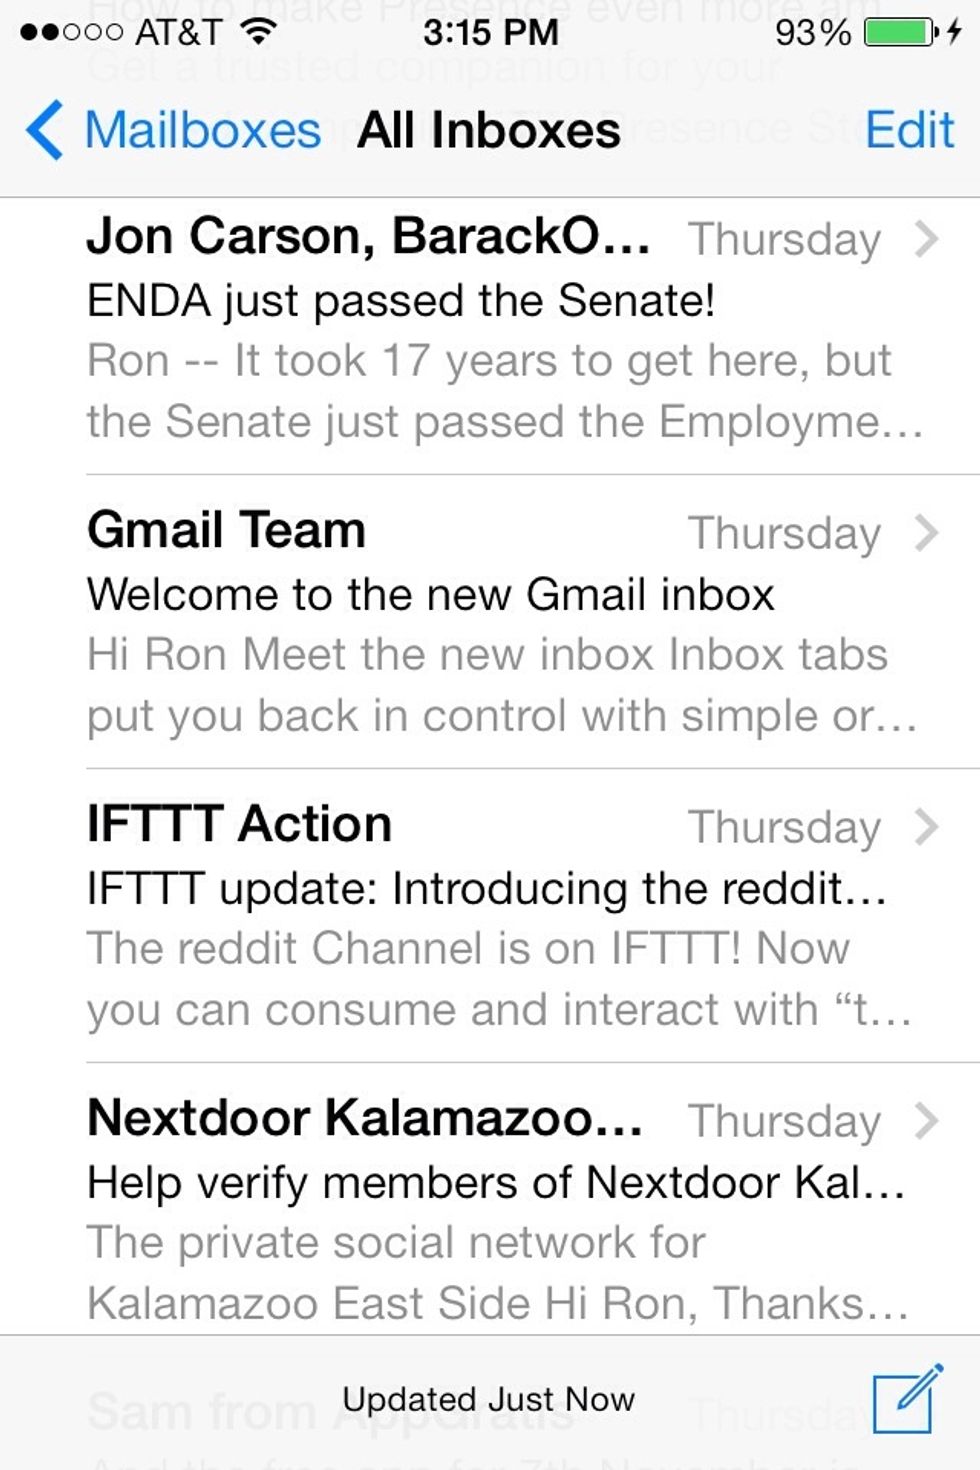
Now open your email app. You'll see all your email account inboxes. Open each to view emails to that account. Or select "All inboxes" to check them all at once.

The VIP folder is a special folder for your VIP contacts. You'll receive notifications instantly when these addresses email you. Tap the (i) icon to add contacts to the VIP list.
Flagged are emails you've flagged. Which means they're important emails and you want quick access to them.
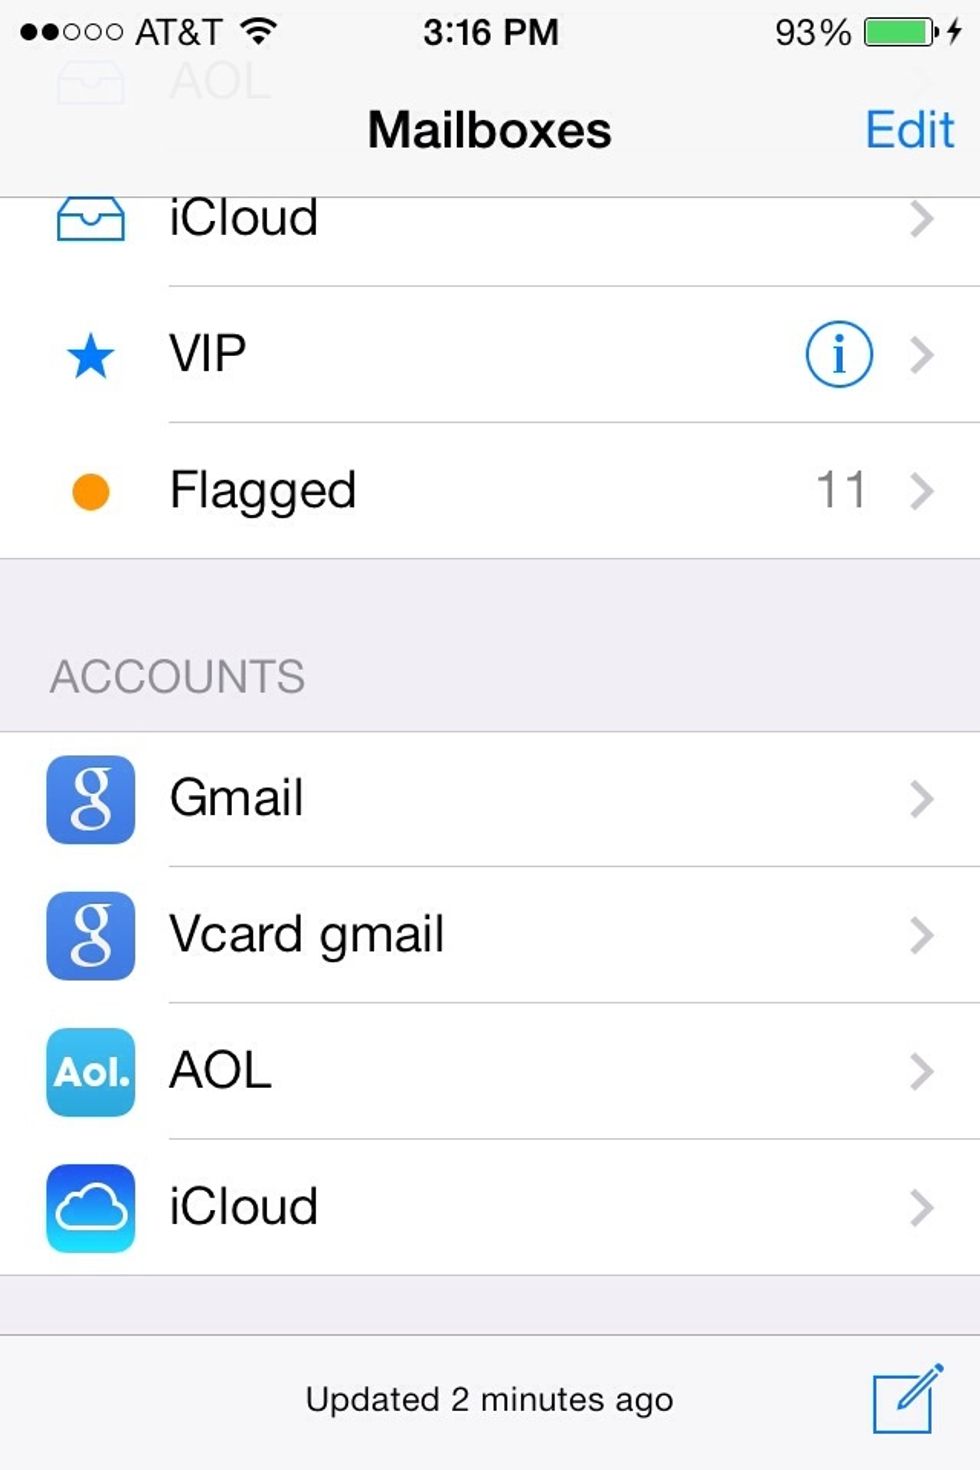
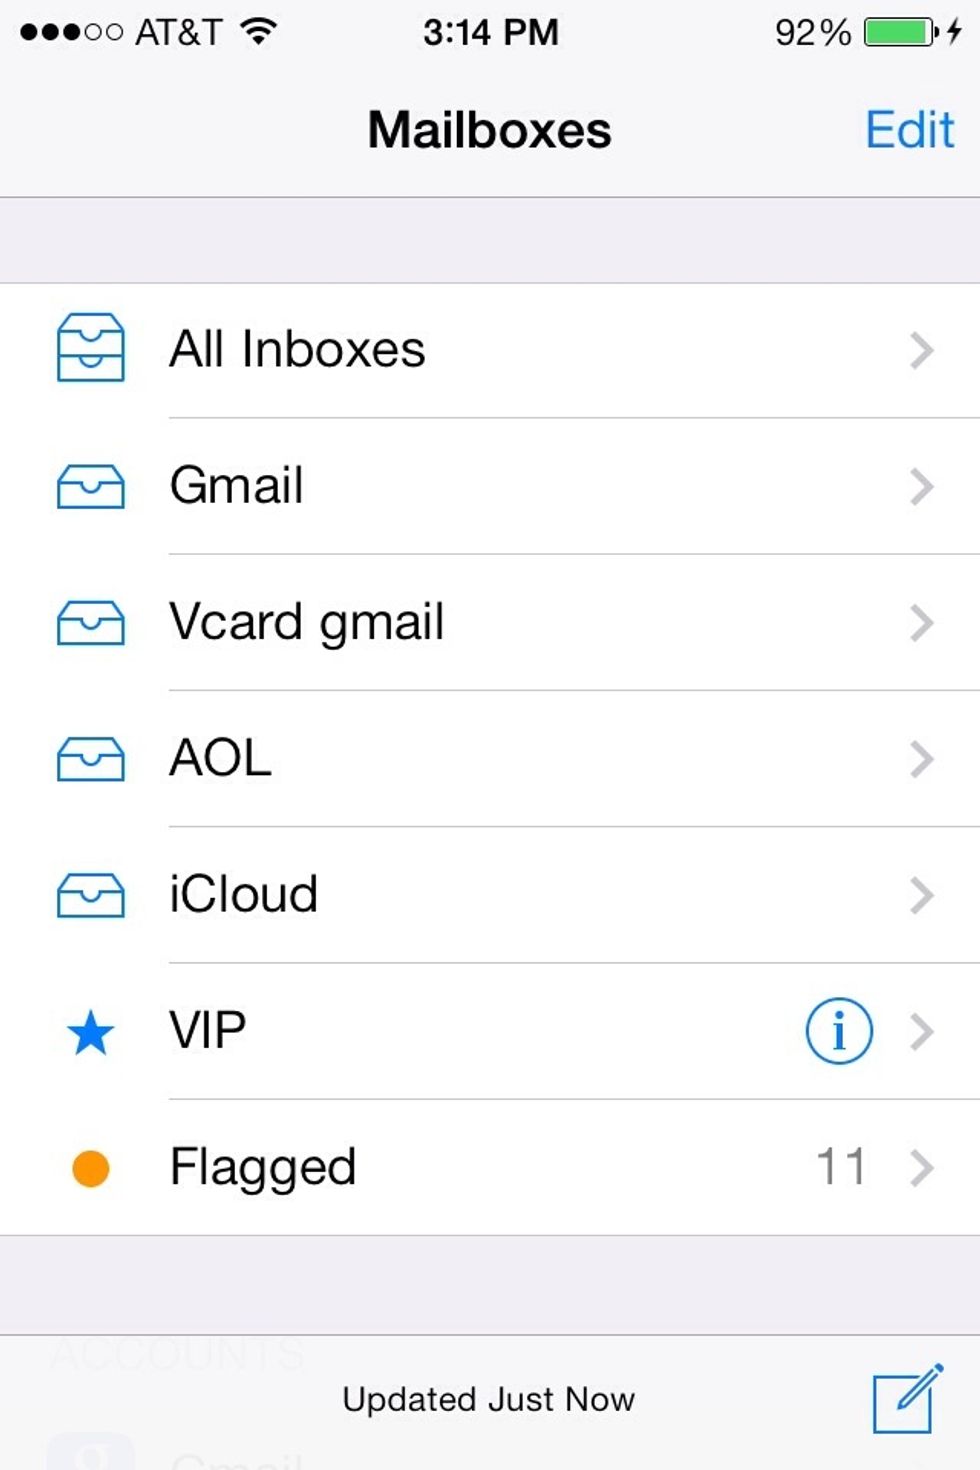
Scroll down and you'll find your individual email accounts. Opening them here you'll find more features for that email account.
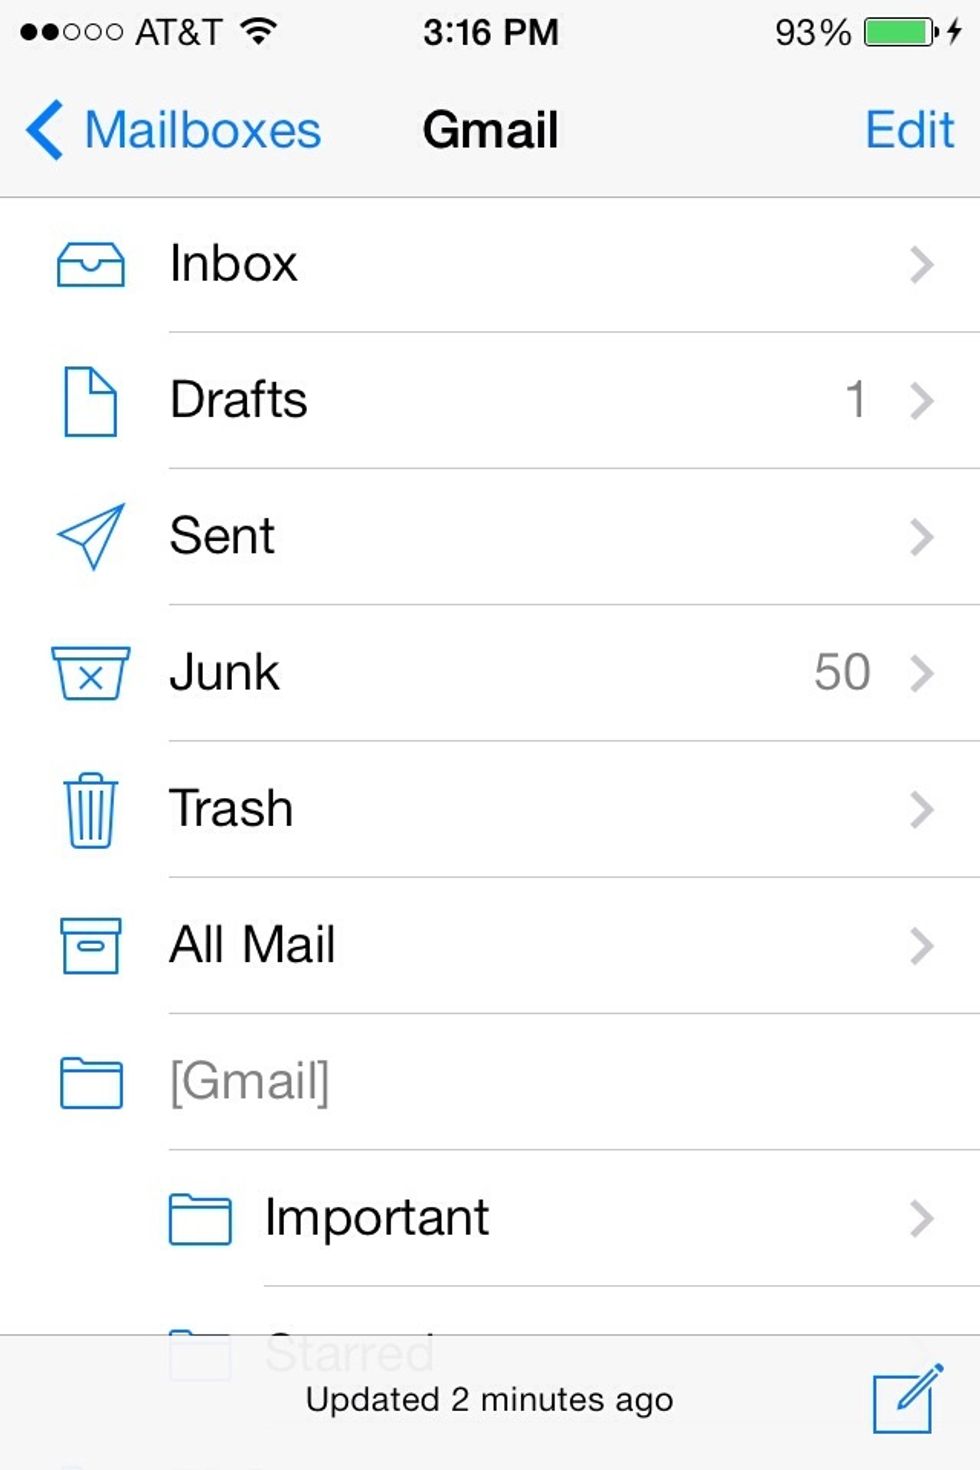
Such as sent, deleted and drafts.
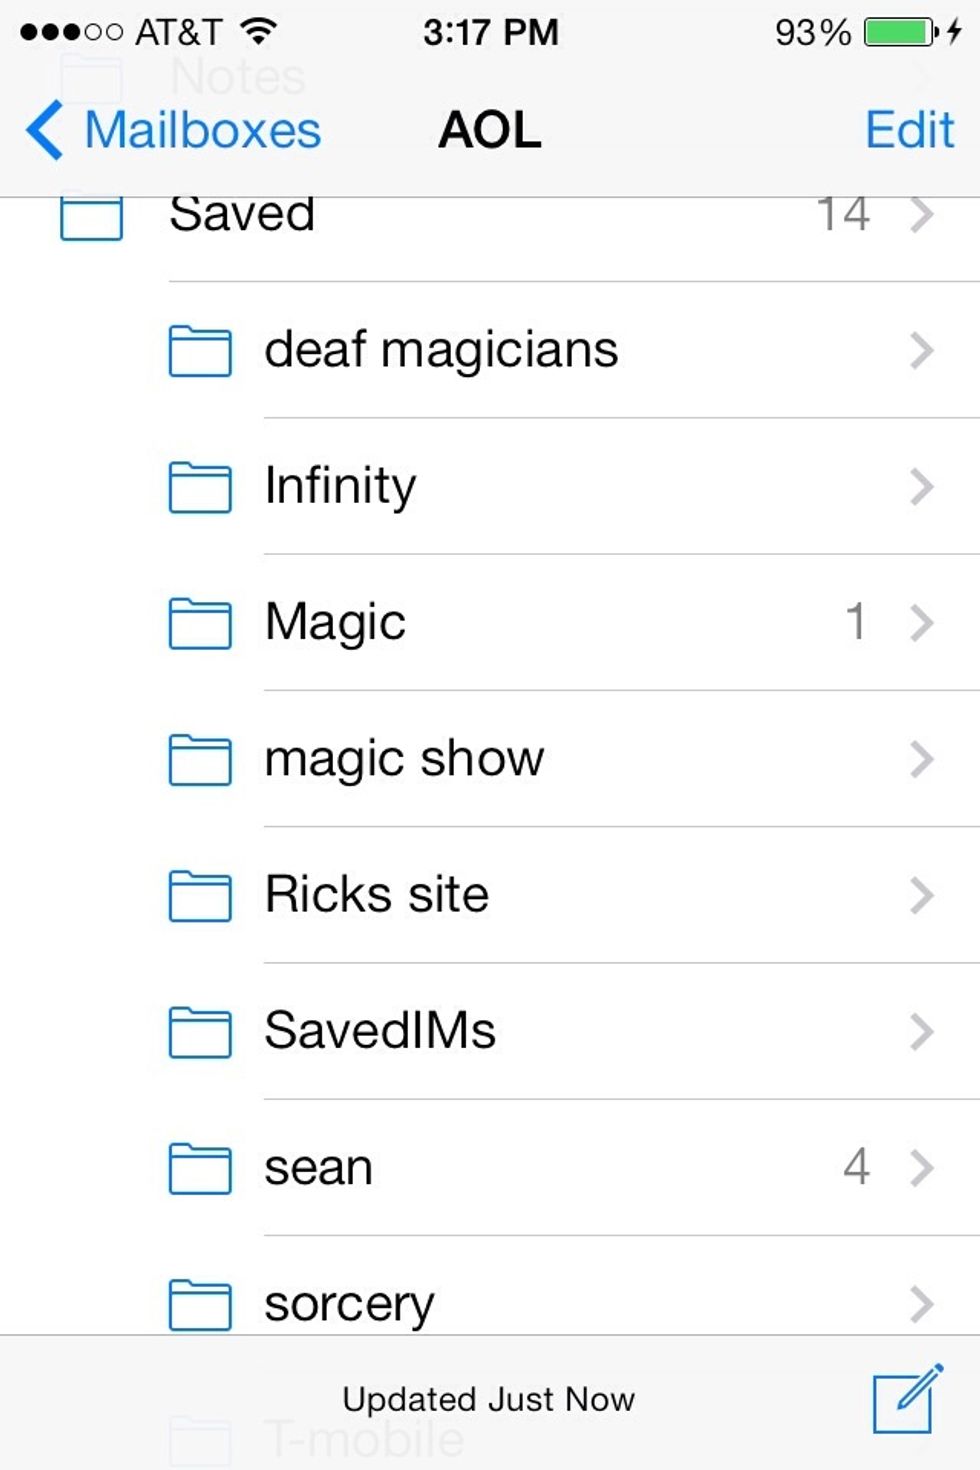
You'll also find your folders for that email account.

Let's look at some of the functions of the email app. Left swipe an email to find this menu. To delete you either tap "Archive"...
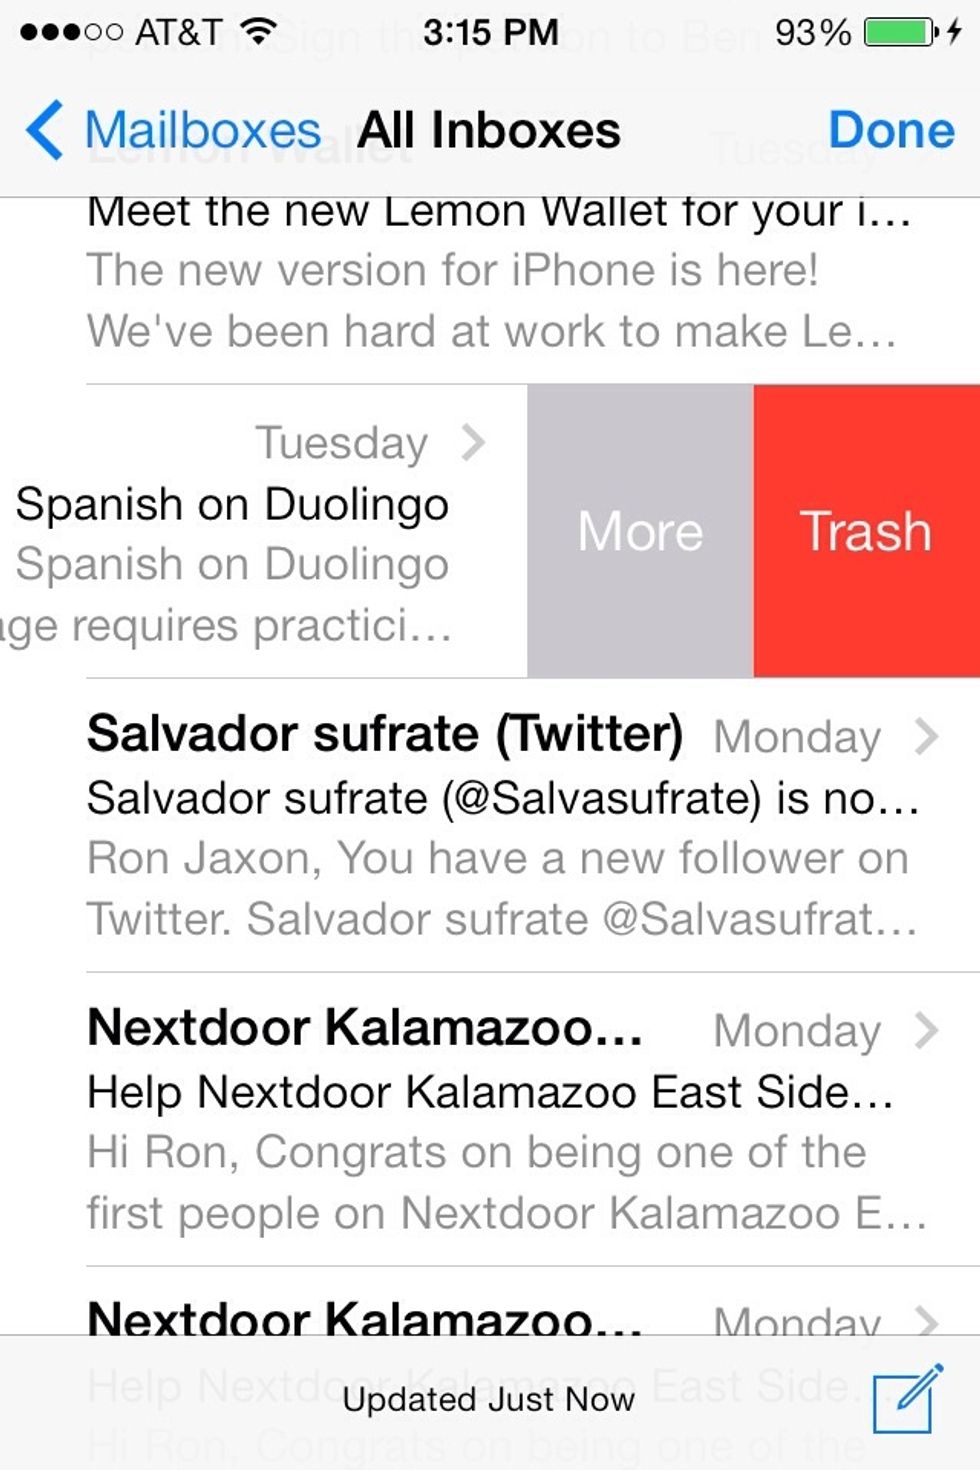
Or trash. The difference depends on the type of email account it's for. For more options tap "More".
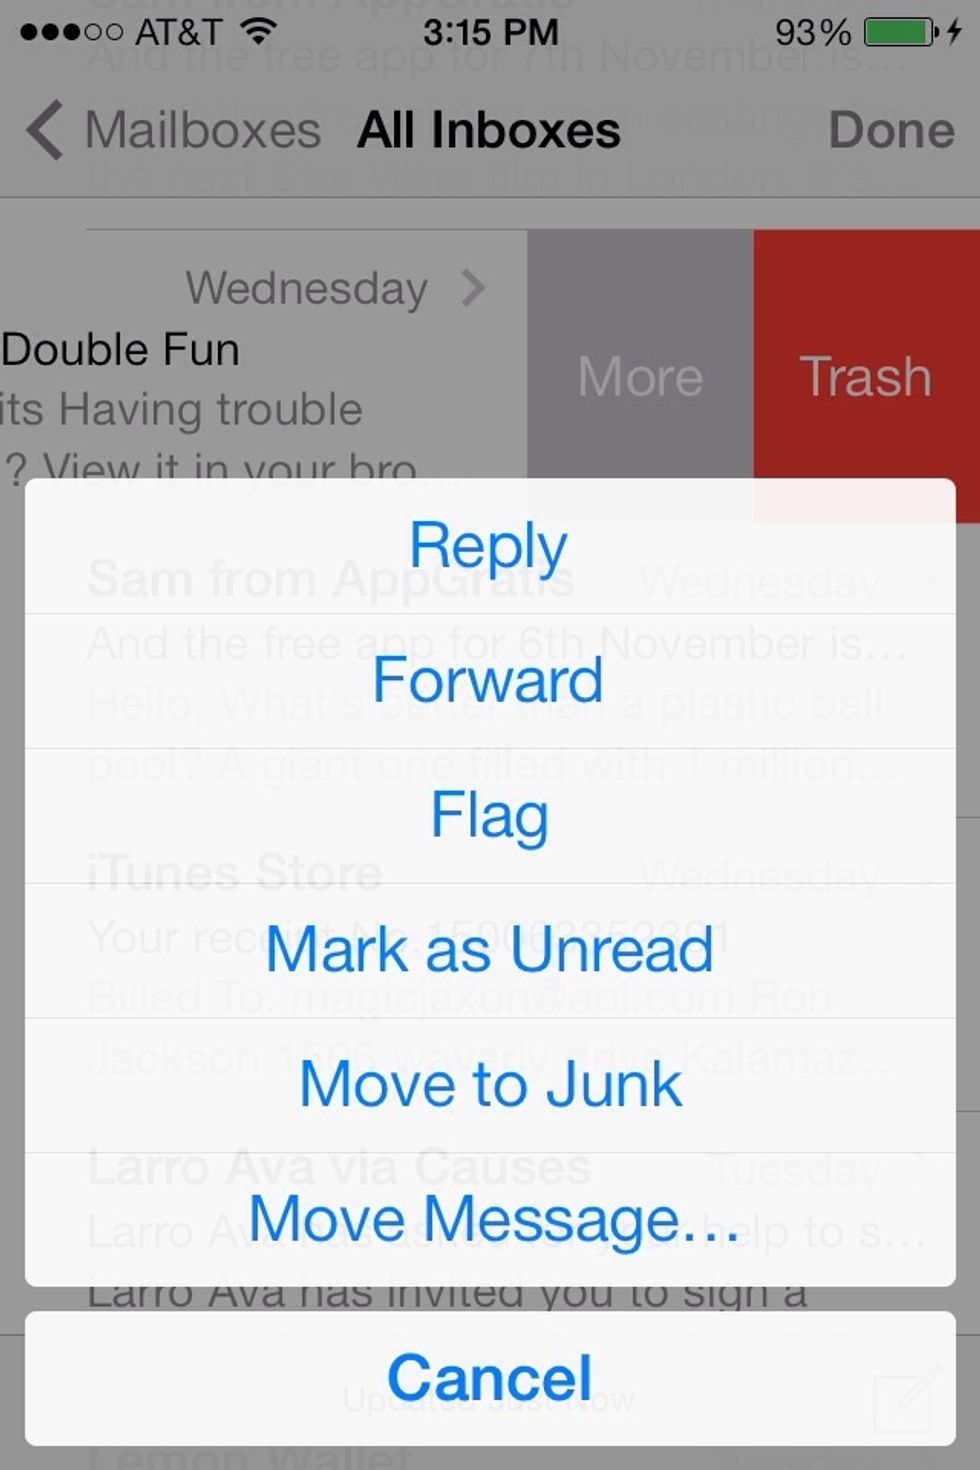
Here you'll find more options you can do with that email. Such as reply, forward, Flag, etc...
You can also delete or move multiple emails at once by tapping "Edit" in the top right corner.
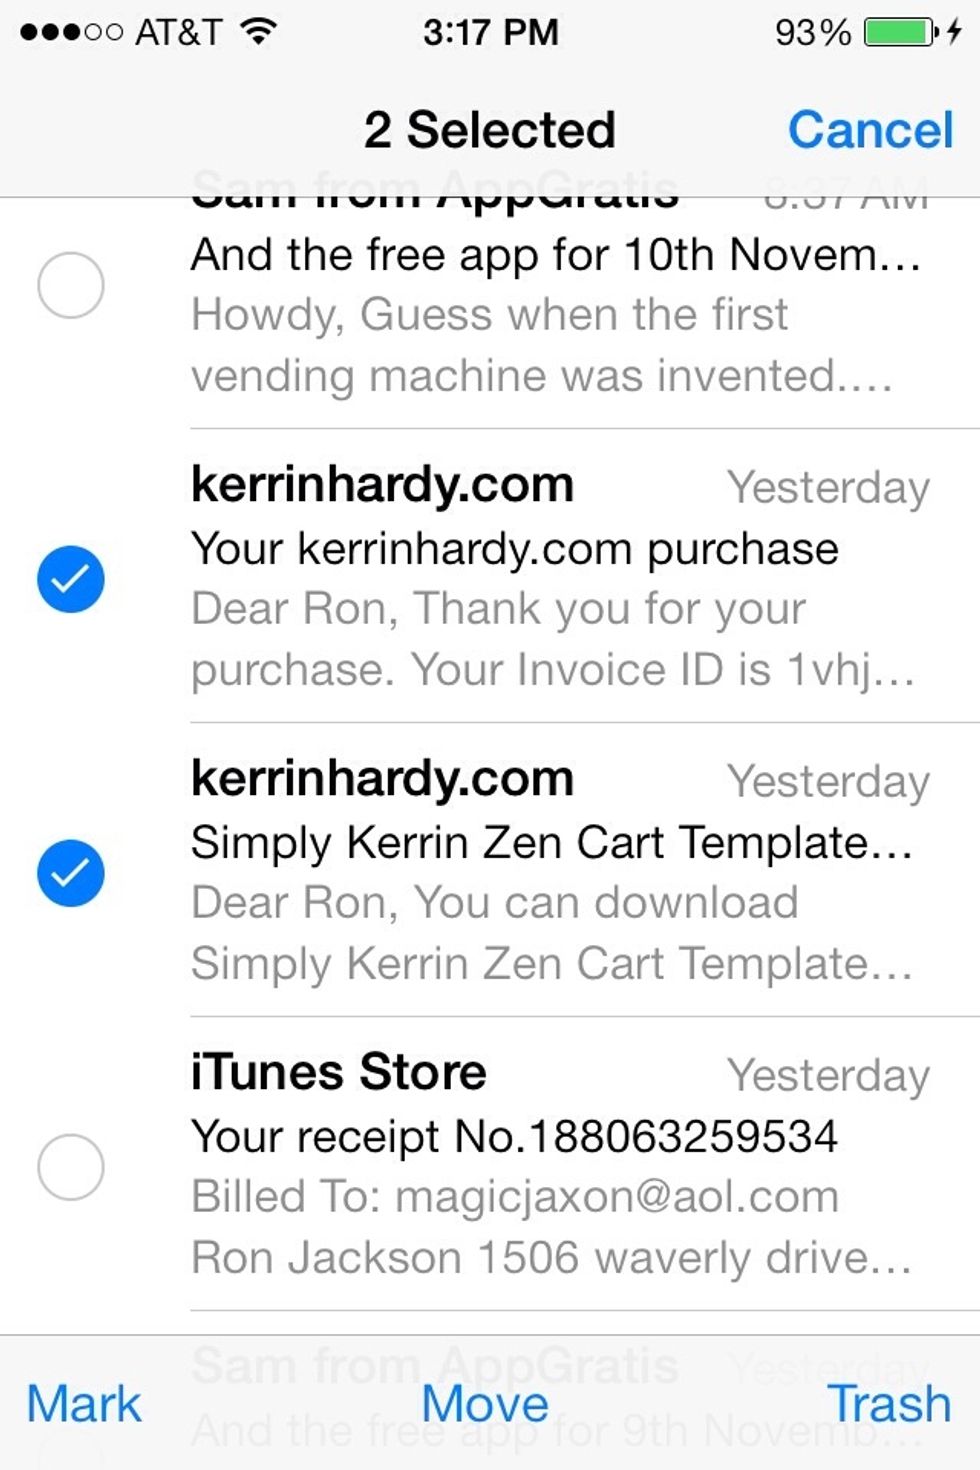
Select the emails you want to effect. Then tap what you want to do with them at the bottom of the screen.
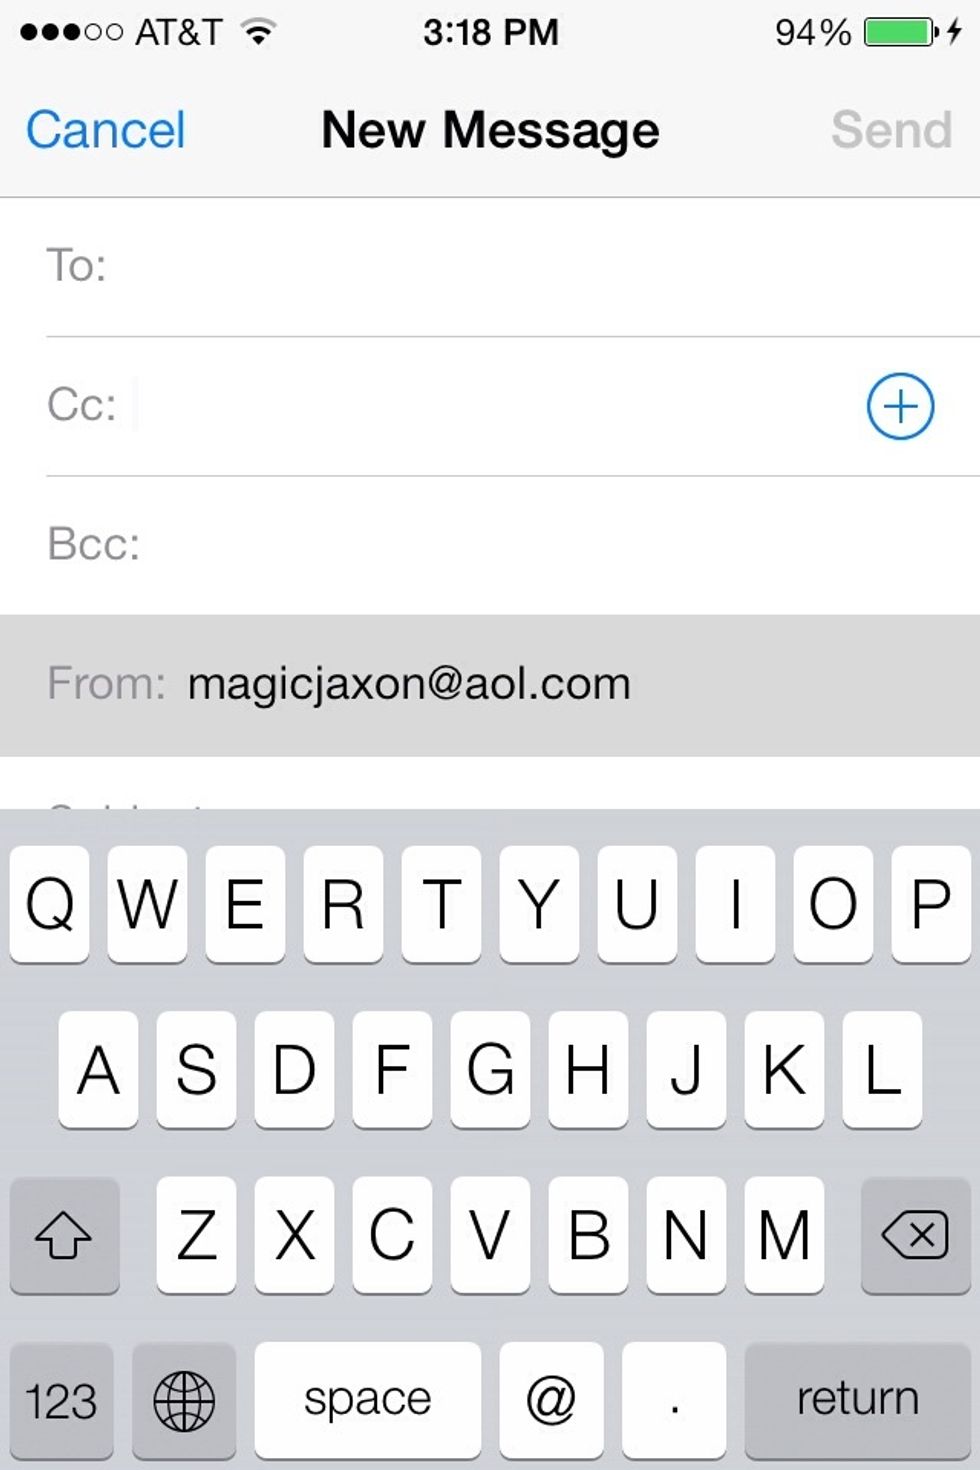
Let's look at sending emails. First of all it'll send with your default account. But if you want to use another account just tap your email address in the "From" section.
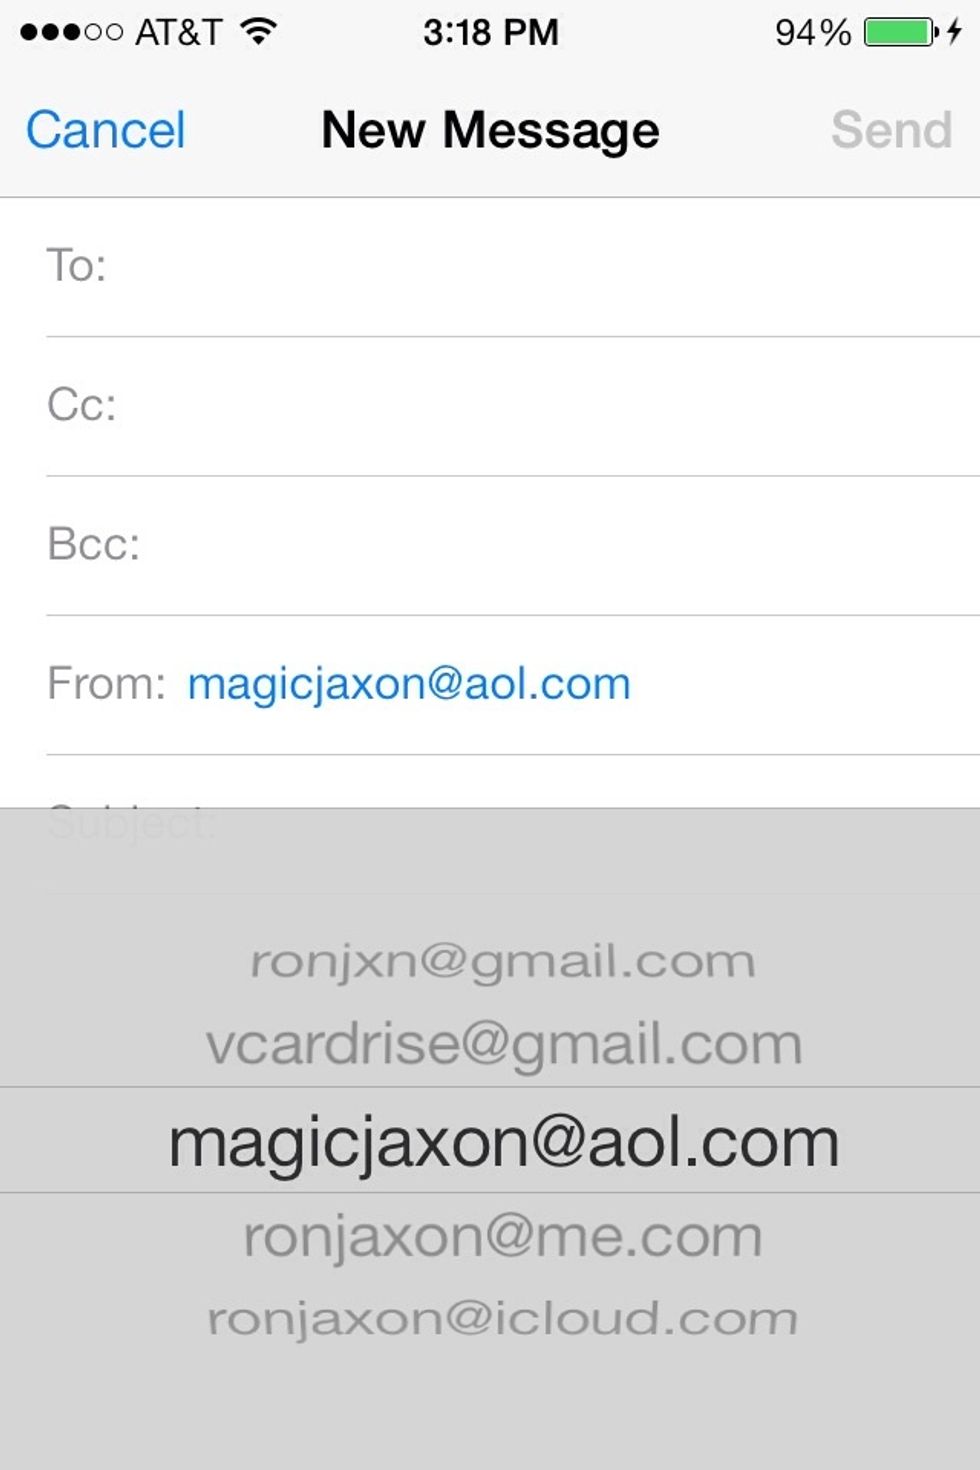
Then select one of your other email accounts.
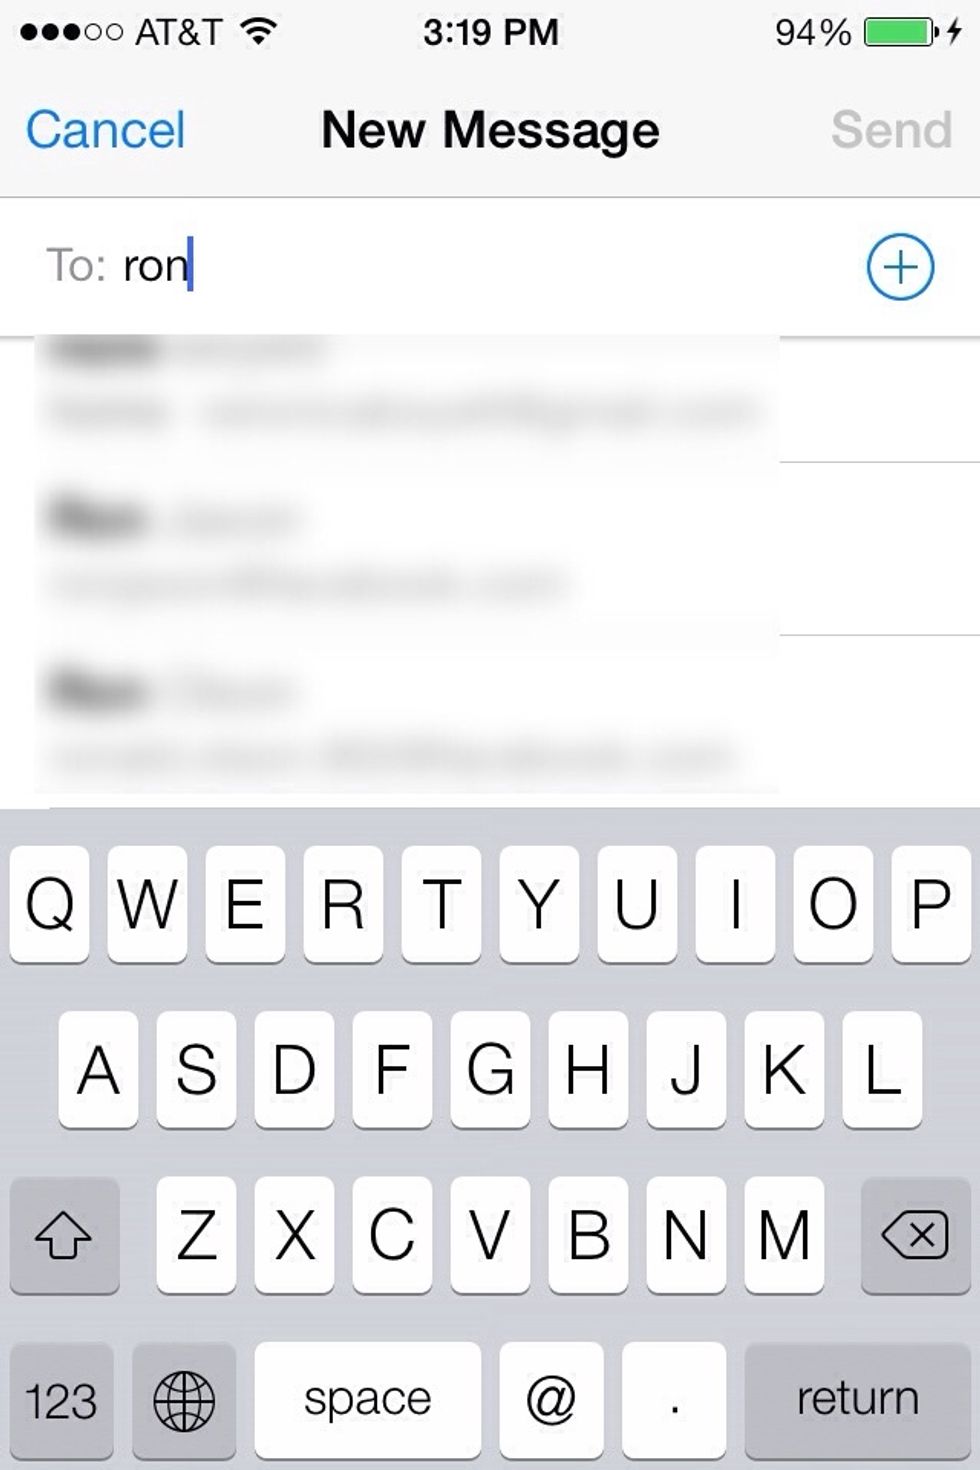
To add the email address you're sending to you can type it manually. If it's in your contacts it'll show up so you can just tap to select it. Or to open your contacts tap the + icon.

Find your contact and select them to send them an email.

Of course I don't need to show you how to type your email. But to find more options hold your finger down in the screen for a few seconds.
This menu will appear. To find more options tap the right pointing arrow.
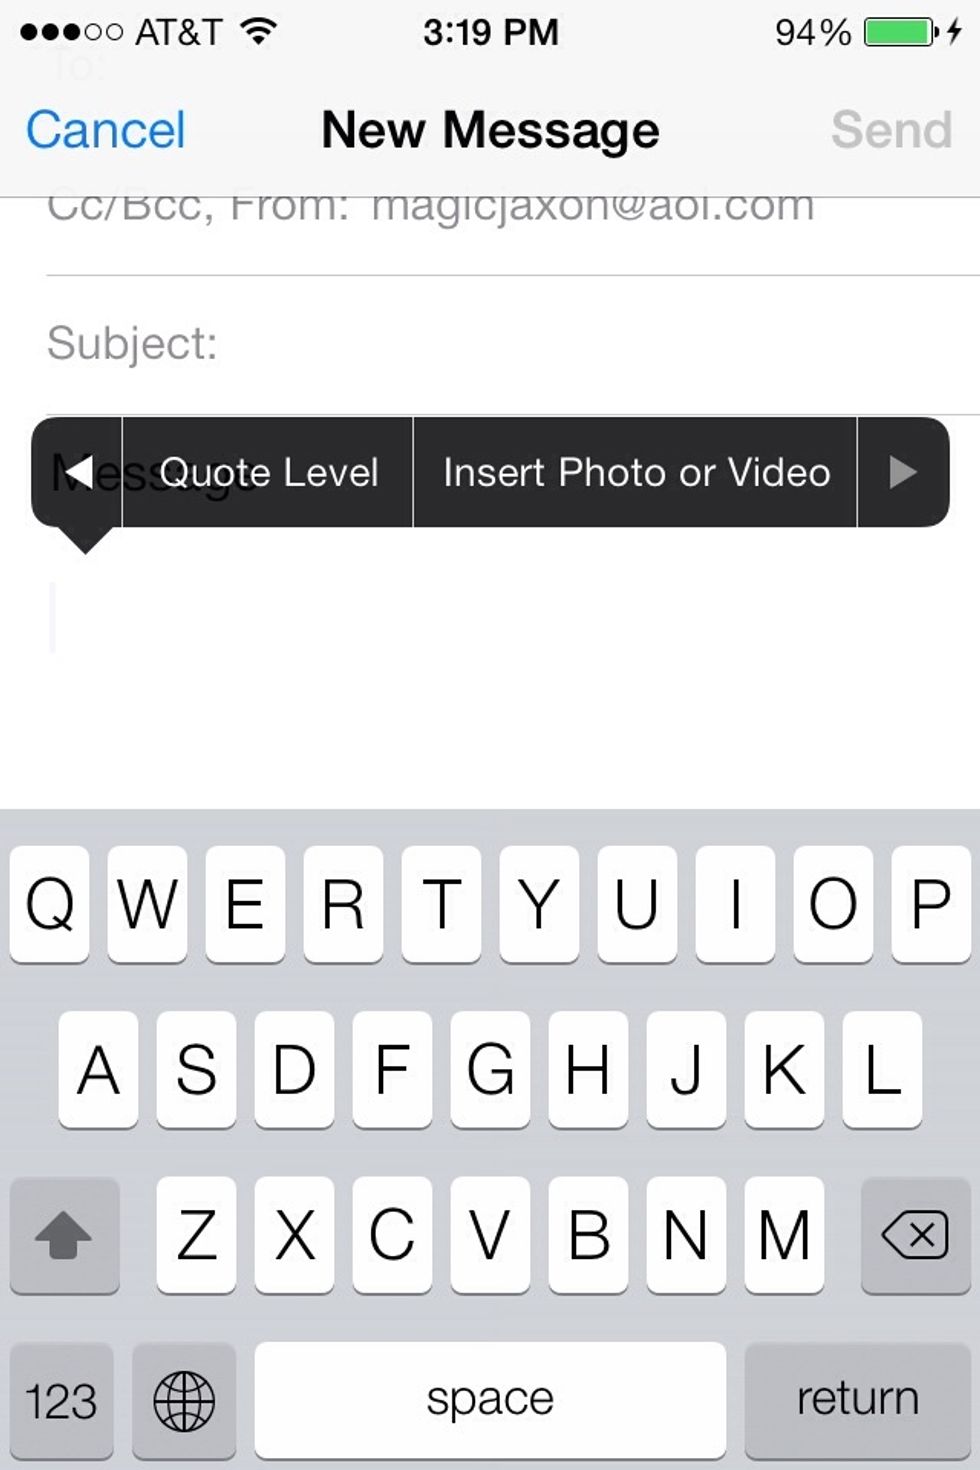
Here you'll find more options. The quote level is something not many seem to know about. It indents and changes the color of text that you want to quote.
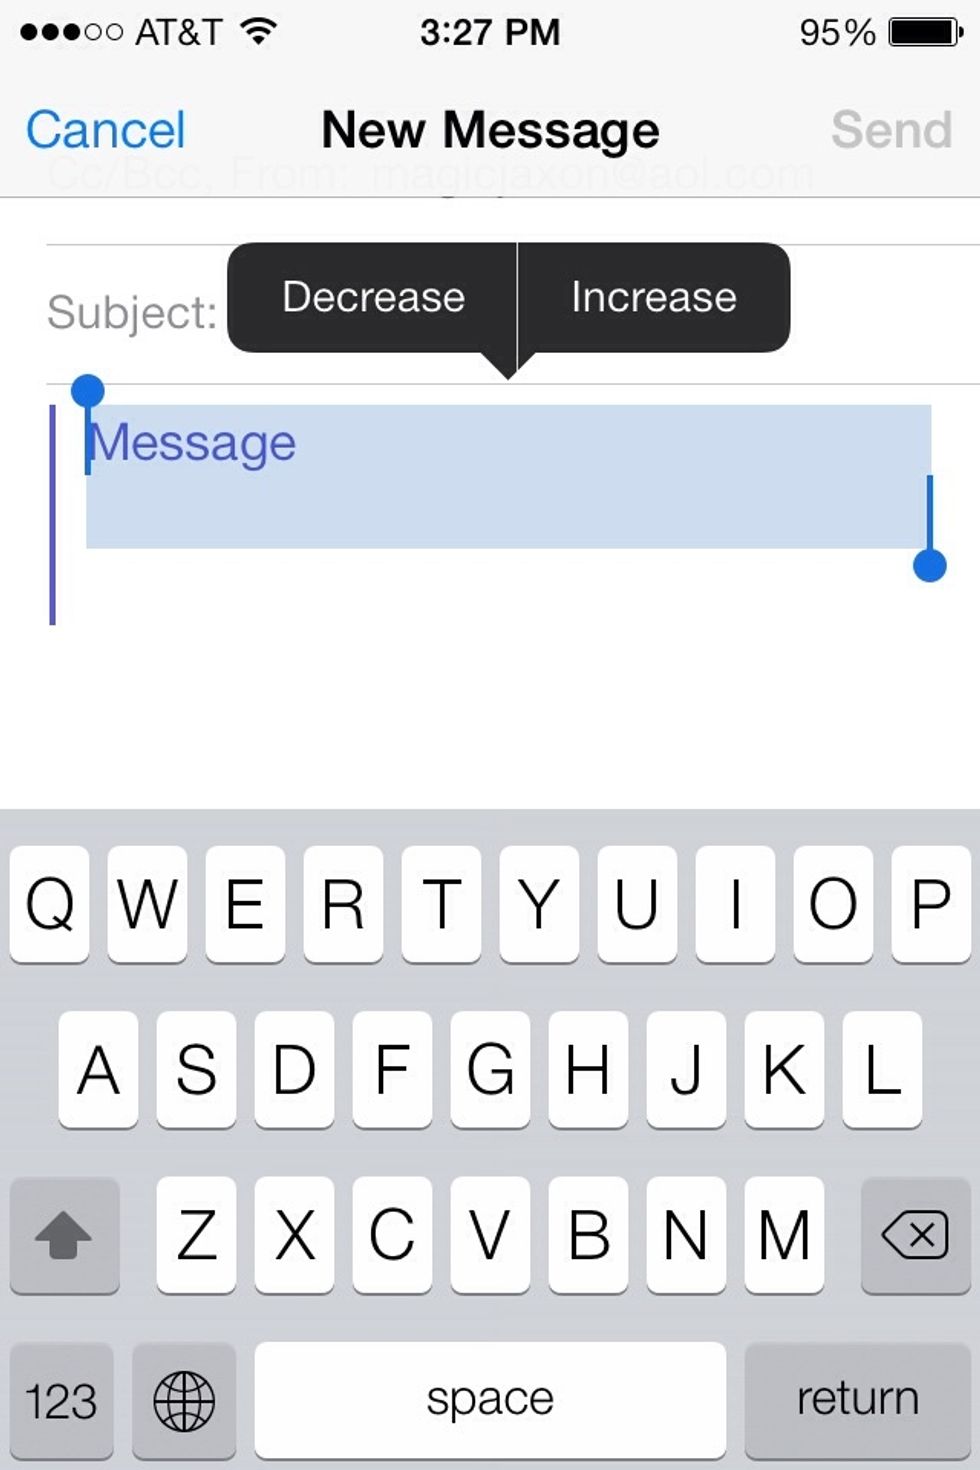
Increase it once it'll change blue.
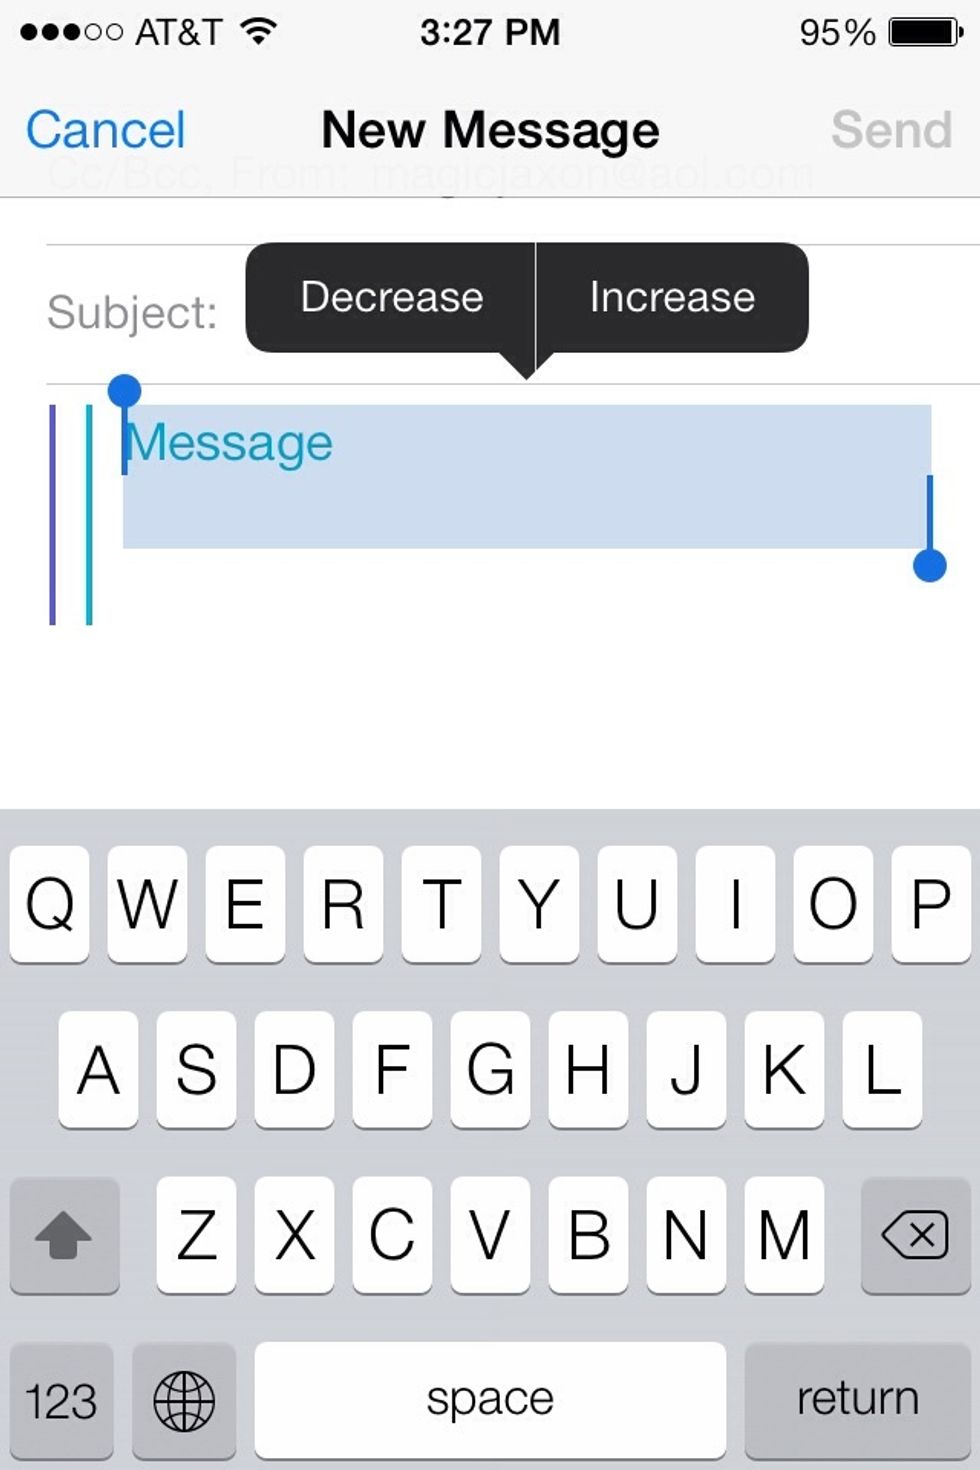
Every time you increase it indents one more step and changes color. This is useful when you want to indicate what you're saying and what you're quoting. Also useful in replying to emails.
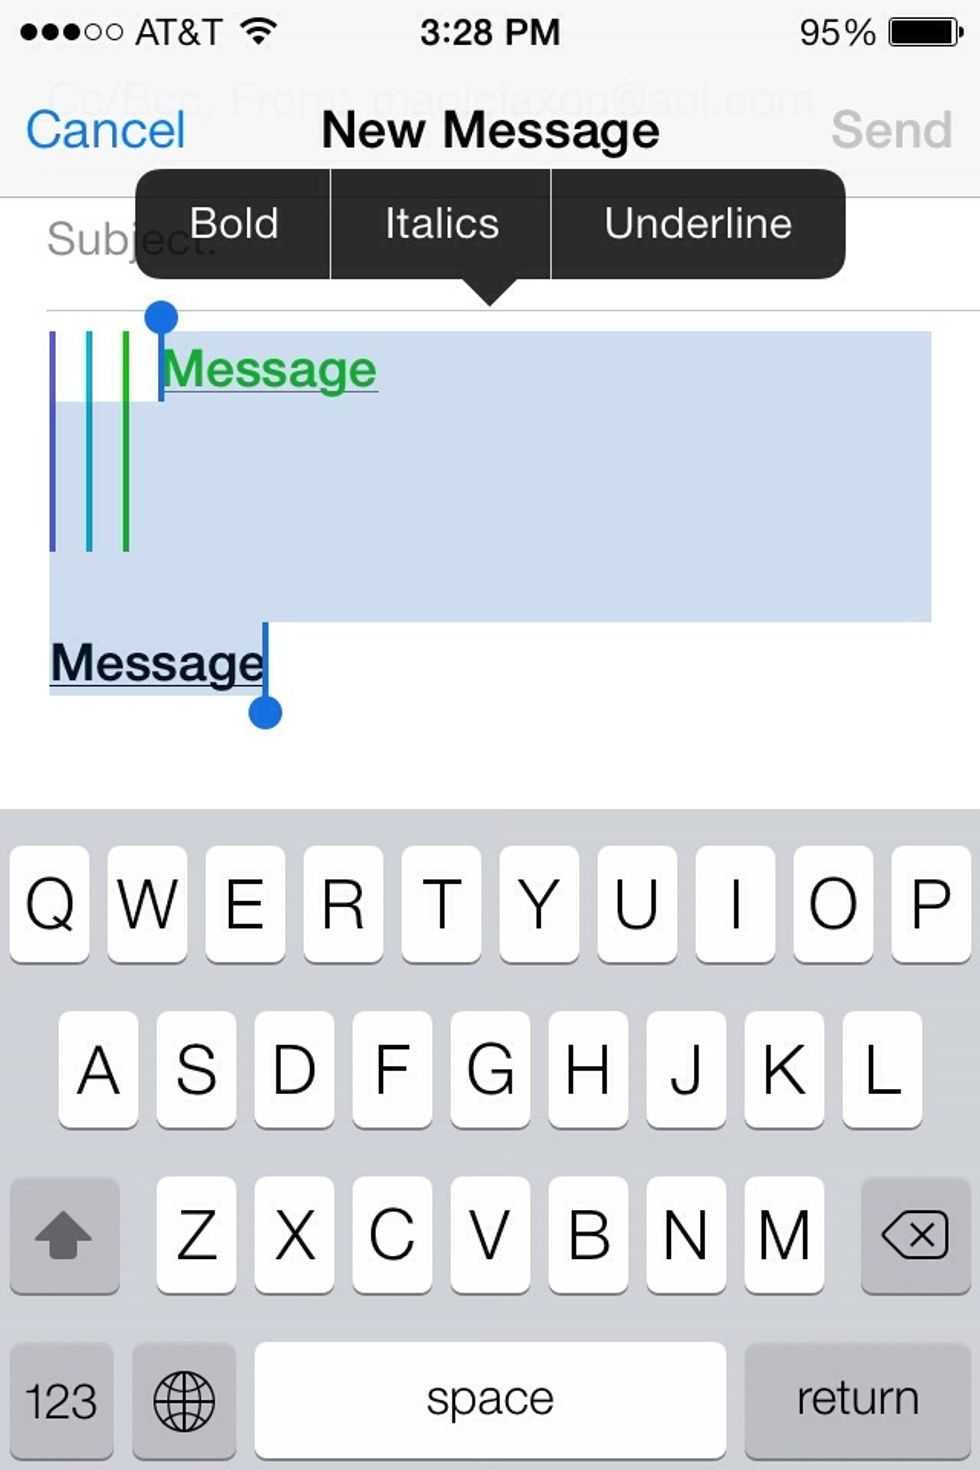
While text is selected (highlighted in blue). You'll also find the option to change the selected text to bold, italic and underlined.

Use the steps 27 - 29 to insert a photo or video to the email.
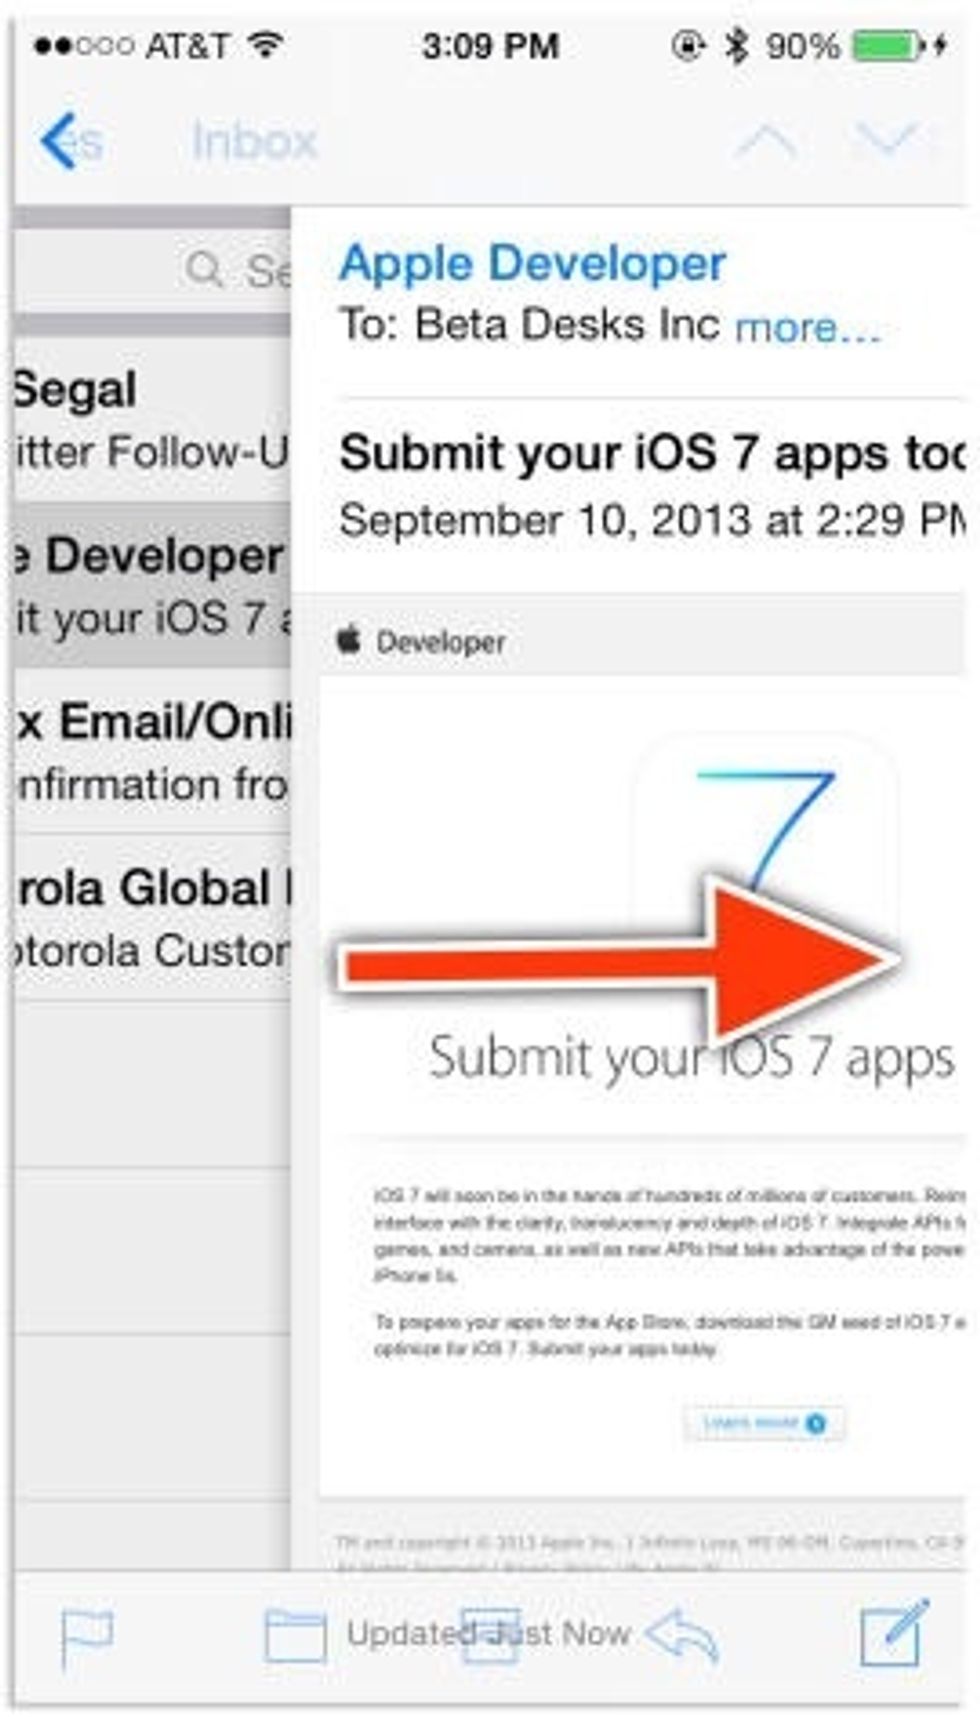
One last tip. This was just added in iOS 7. If you have an email opened and you want to return to the inbox. You can either tap the link in the upper left corner or just right swipe to return to inbox
Well that's the basics of using email on an iOS 7 device. I hope someone finds it helpful.