The Conversation (0)
Sign Up
This tutorial will show you how to prepare the album base, pages & layer the cover. You'll find ideas for adding interactive elements to your pages. This is the perfect recipe for a heritage album.
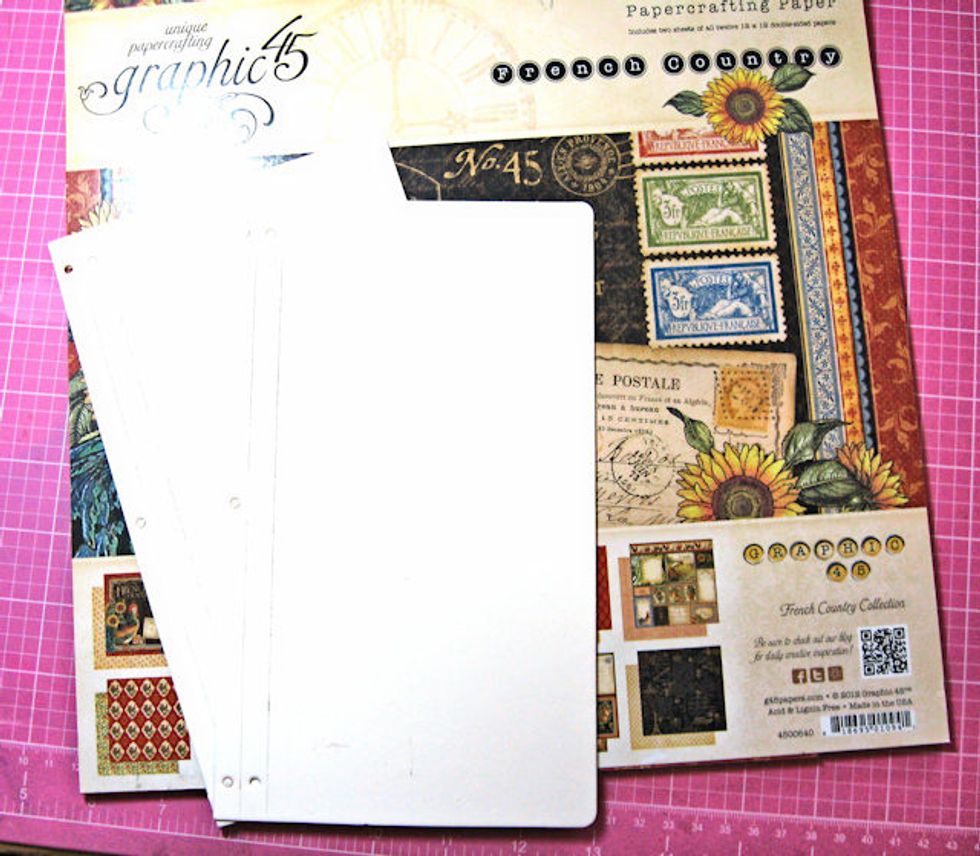
Begin by cutting 2 Eileen Hull HeARTfelt Journal covers from white matboard or chipboard. You will need the Graphic 45 12x12 French Country collection. I'm using the original, but the DCE is fine.
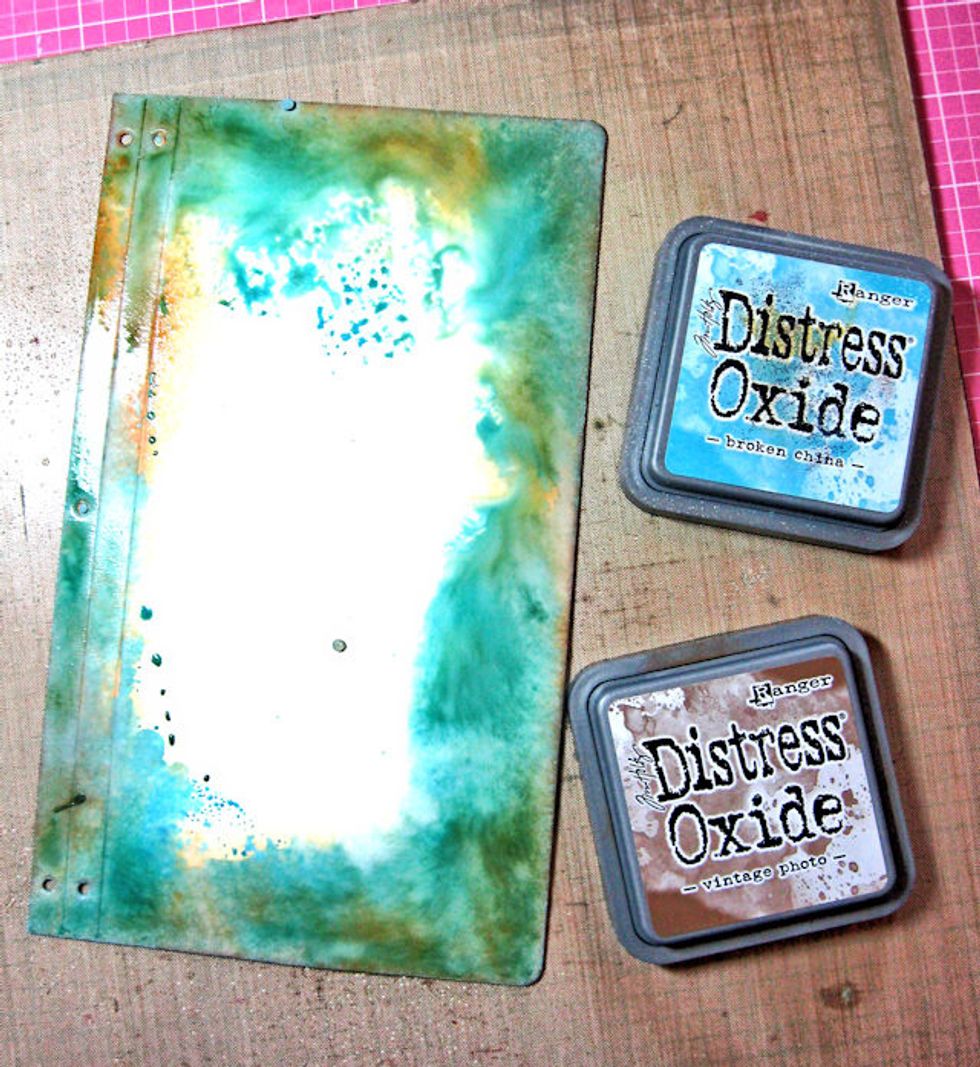
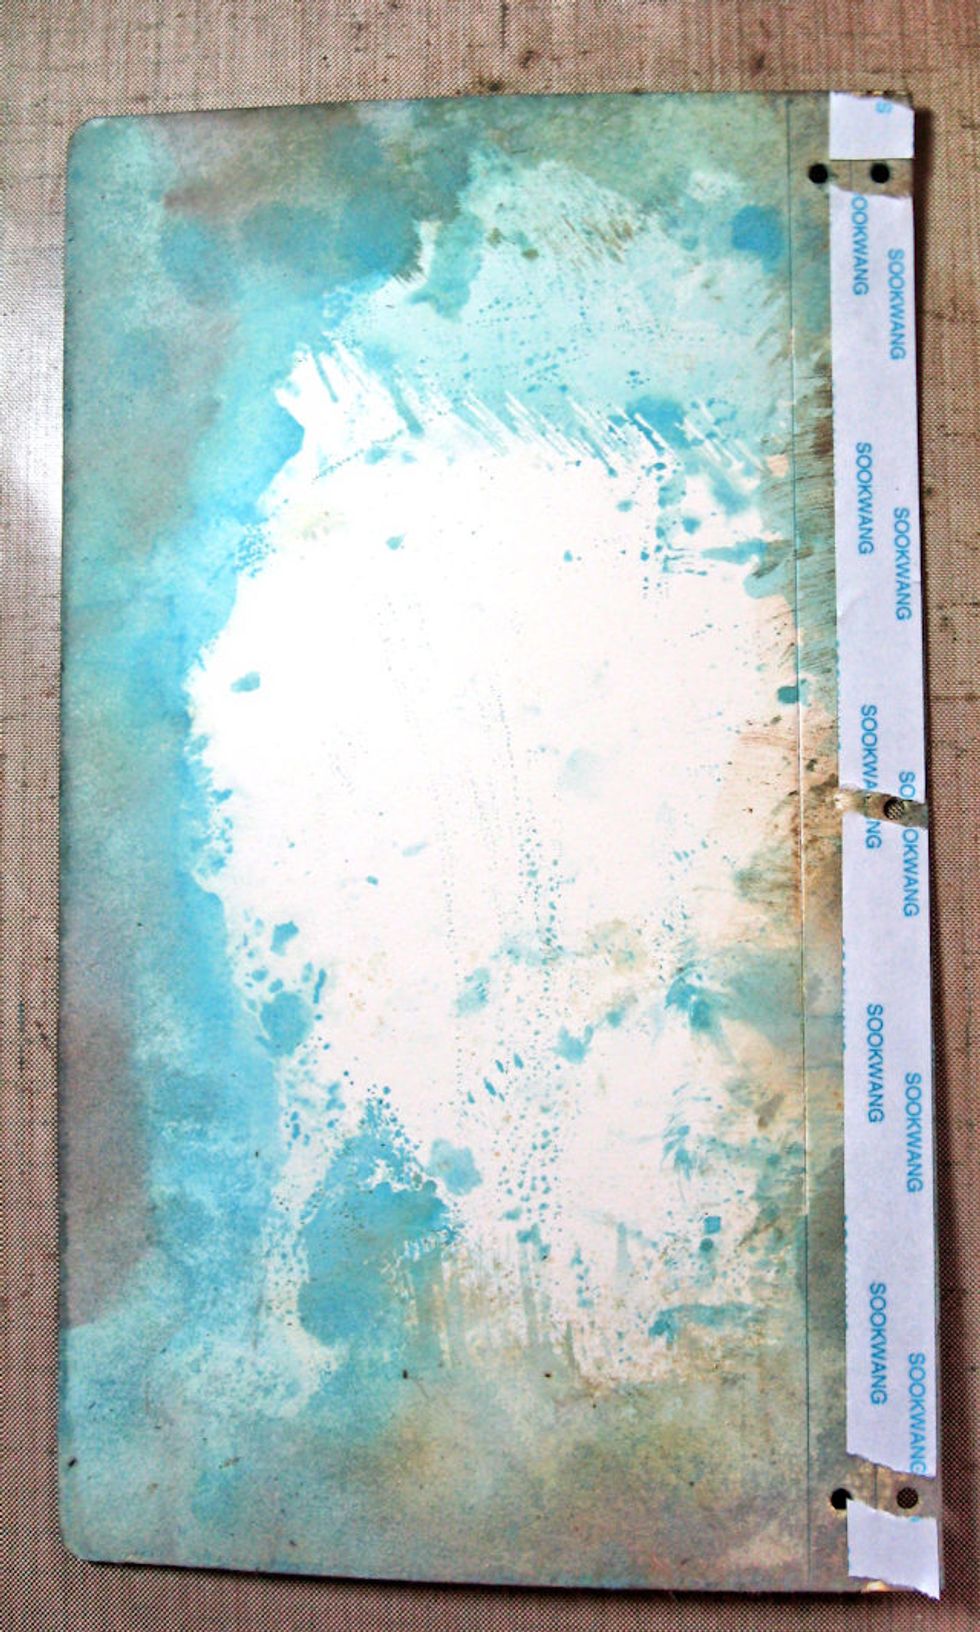
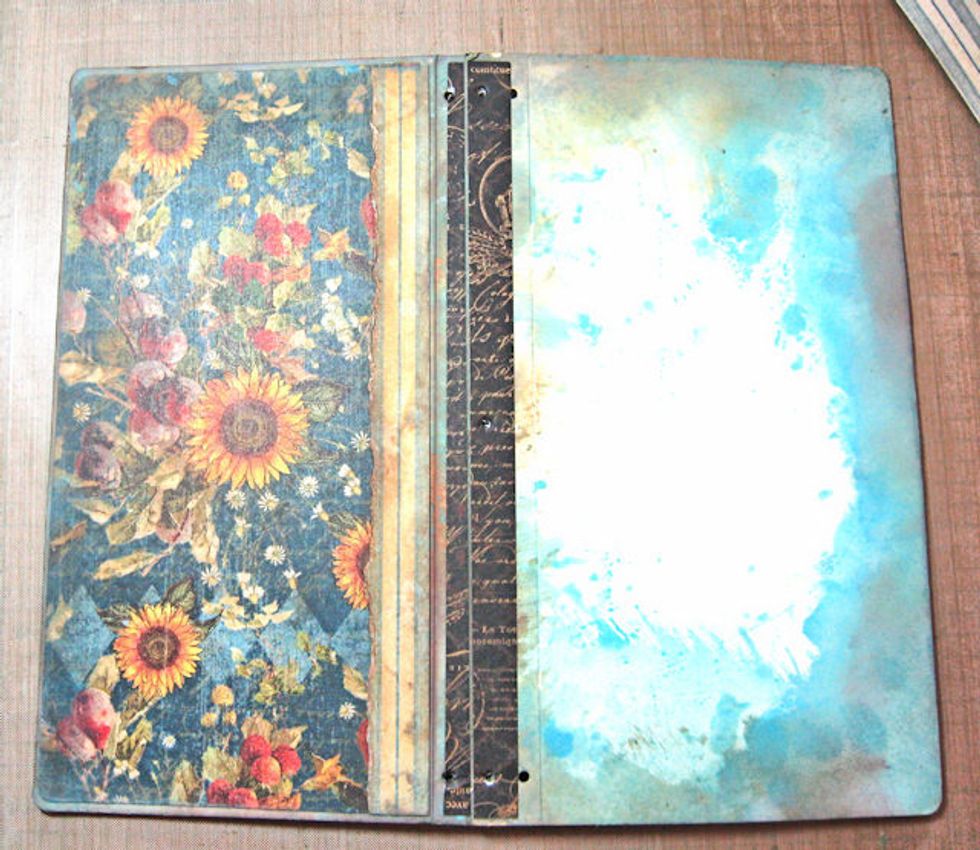
In all the cover edges, front and back/inside and out with Distress Oxide Inks.

Spritz with water to activate the inks, then heat dry.
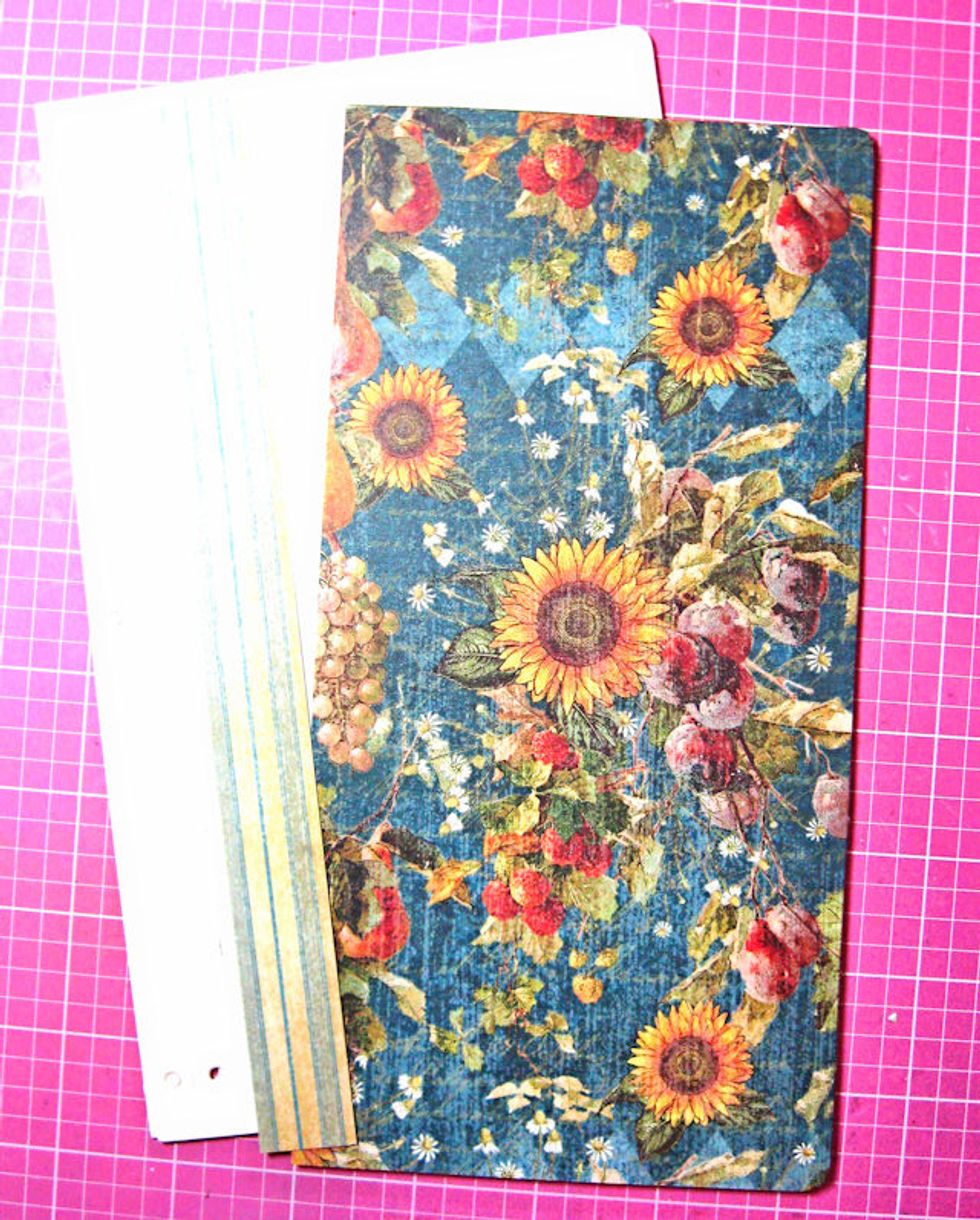
Use the die to cut a panel for the front cover. Trim off a 1" edge on the left and reverse the pattern. Trim everything down by 1/4" . Round the corners and ink the edges of the paper.
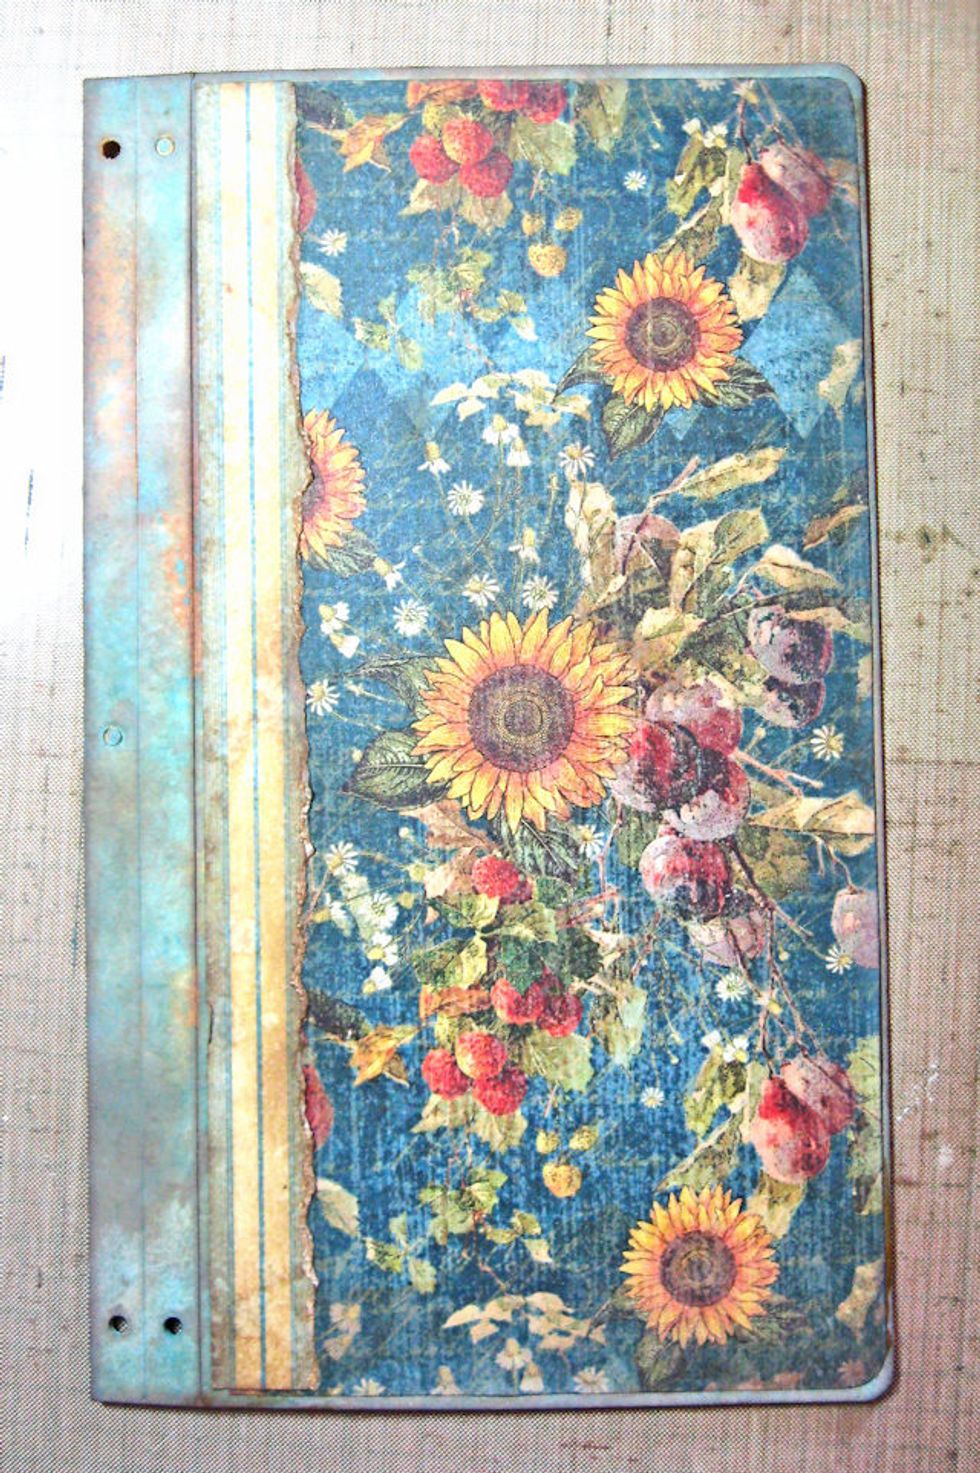
Glue the papers in place, as seen here. Note: You do not have to ink the edges or cut down the papers, but I liked the vintage look this step added to my album.
Run 1/2" Scor-Tape down the spine of the inside cover as seen here. Be careful not to cover the holes, as it will make it hard to run your cording through.
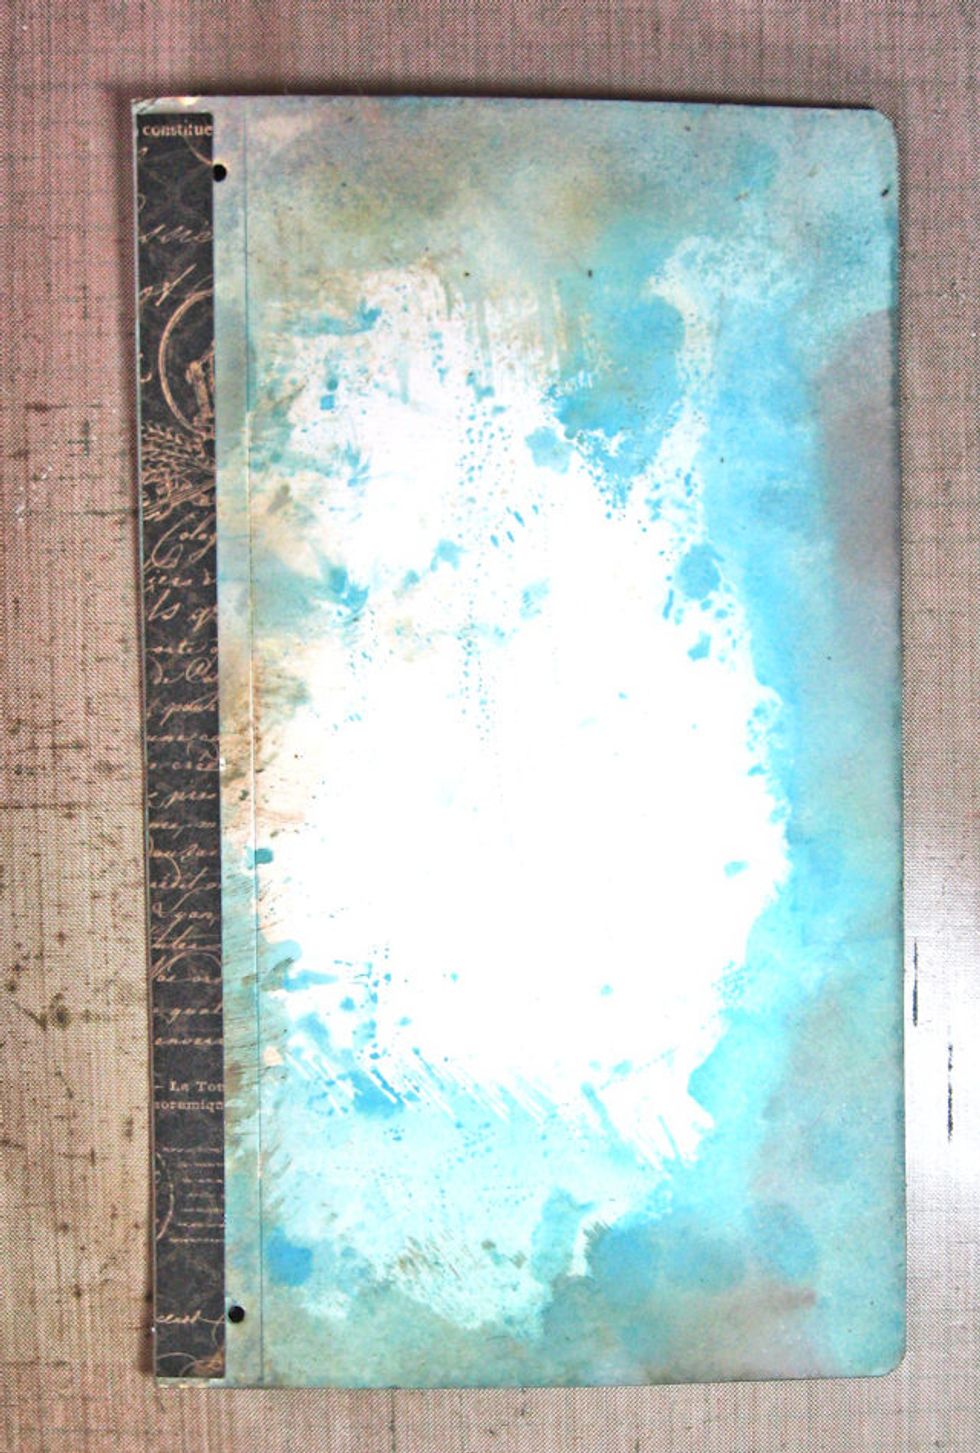
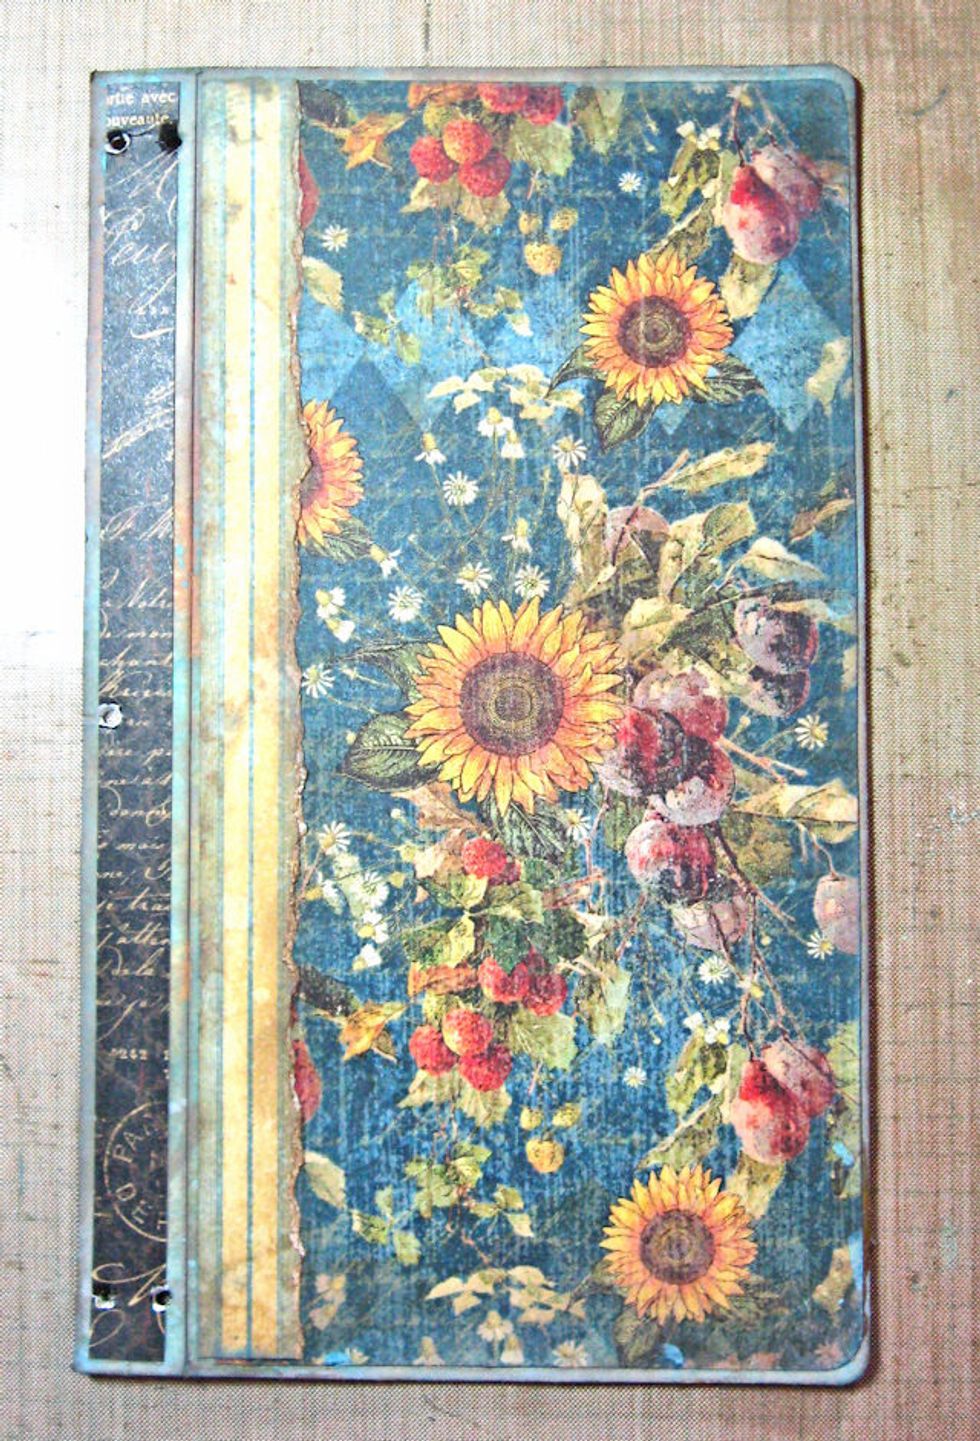
Cut a 1/2" strip of black designer paper and adhere to the Scor-Tape. Burnish in place. Use a stylus to re-punch the holes.
This is how your front cover should look at this point.
Repeat the last step on the outside back cover. Place the journal covers side by side & line up the holes as seen here. You will run a 1/2" strip of Scor-Tape then press the covers together.
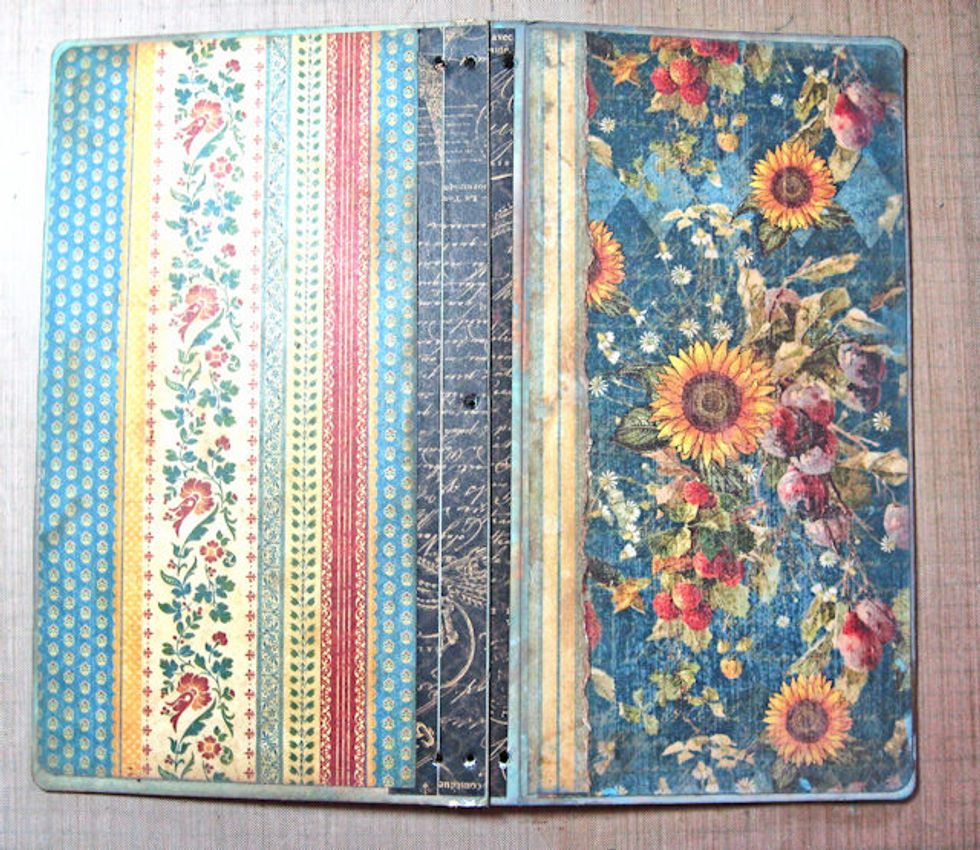
Cut a back cover and adhere in place.
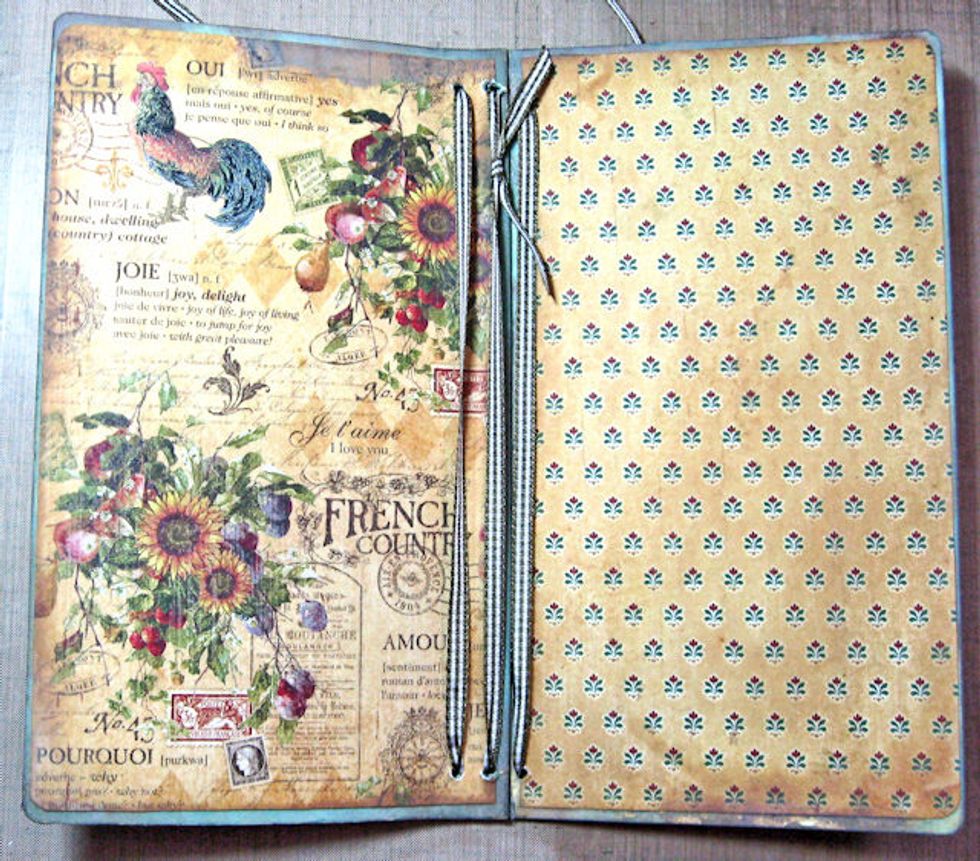
Cut an inside cover, trim down and ink up with Vintage Photo Distress if desired. Adhere in place. Be sure to re-punch any holes so you can run cording through.
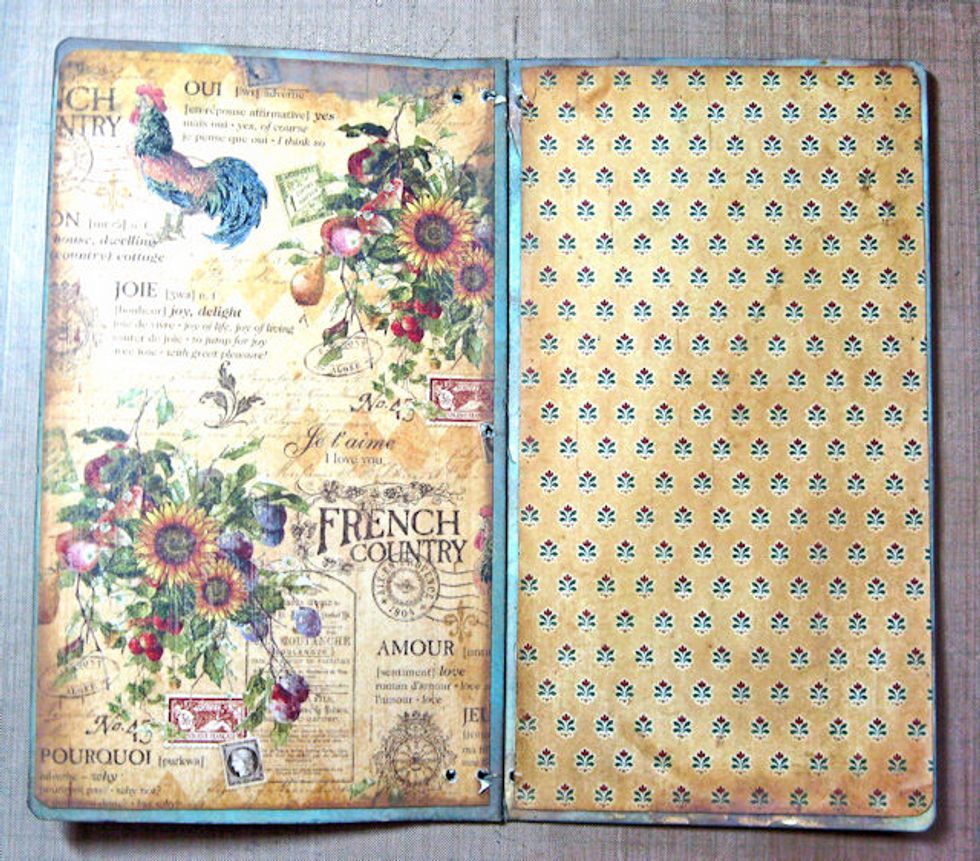
Now add the inside back cover. I chose to ink and distress my papers, but that is not necessary.
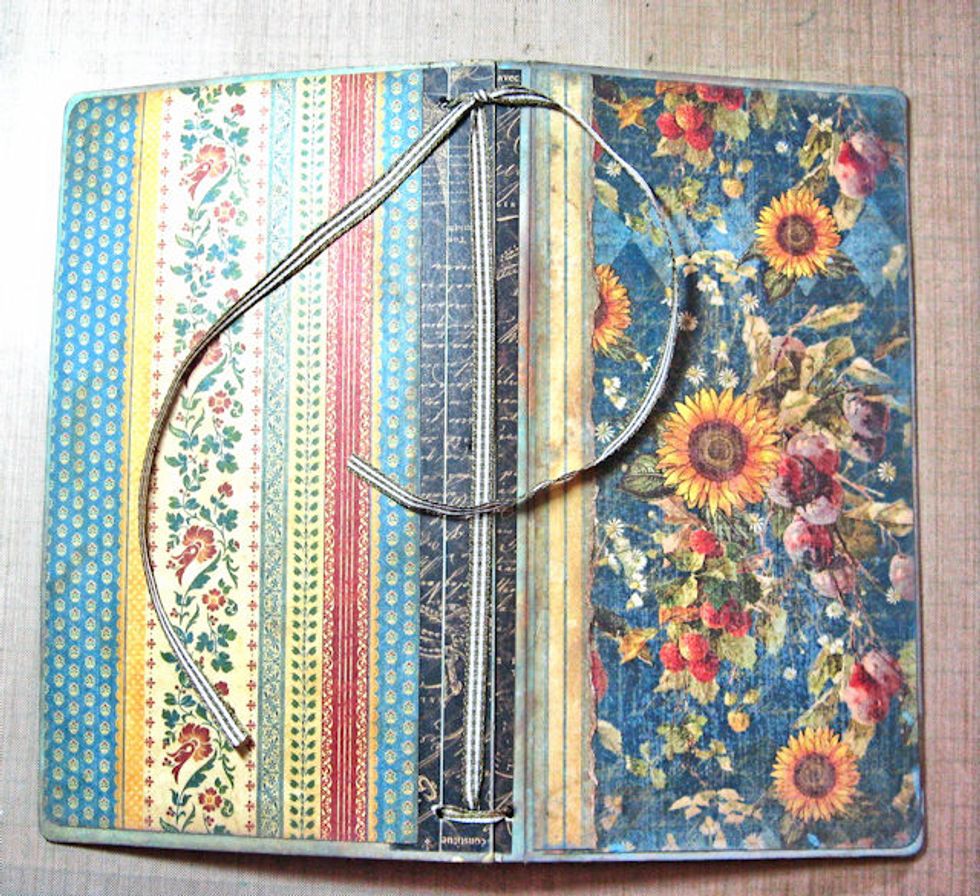
Run cording, elastic or ribbon up through top left hole, then through top right hole. Bring down through bottom right hole. then through bottom left hole. You are basically forming a rectangle.
Tie so there is some tension, but still allowance for adding inserts. I added a cord in the middle so that I could have 3 sections in my album. This is optional.
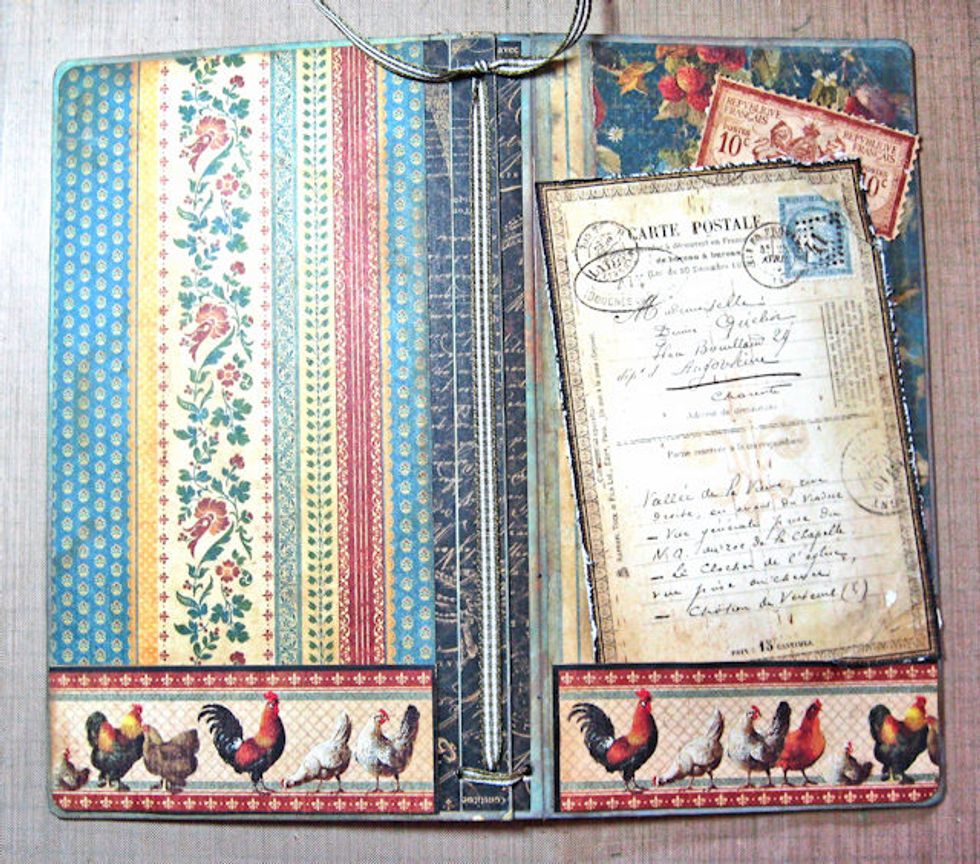
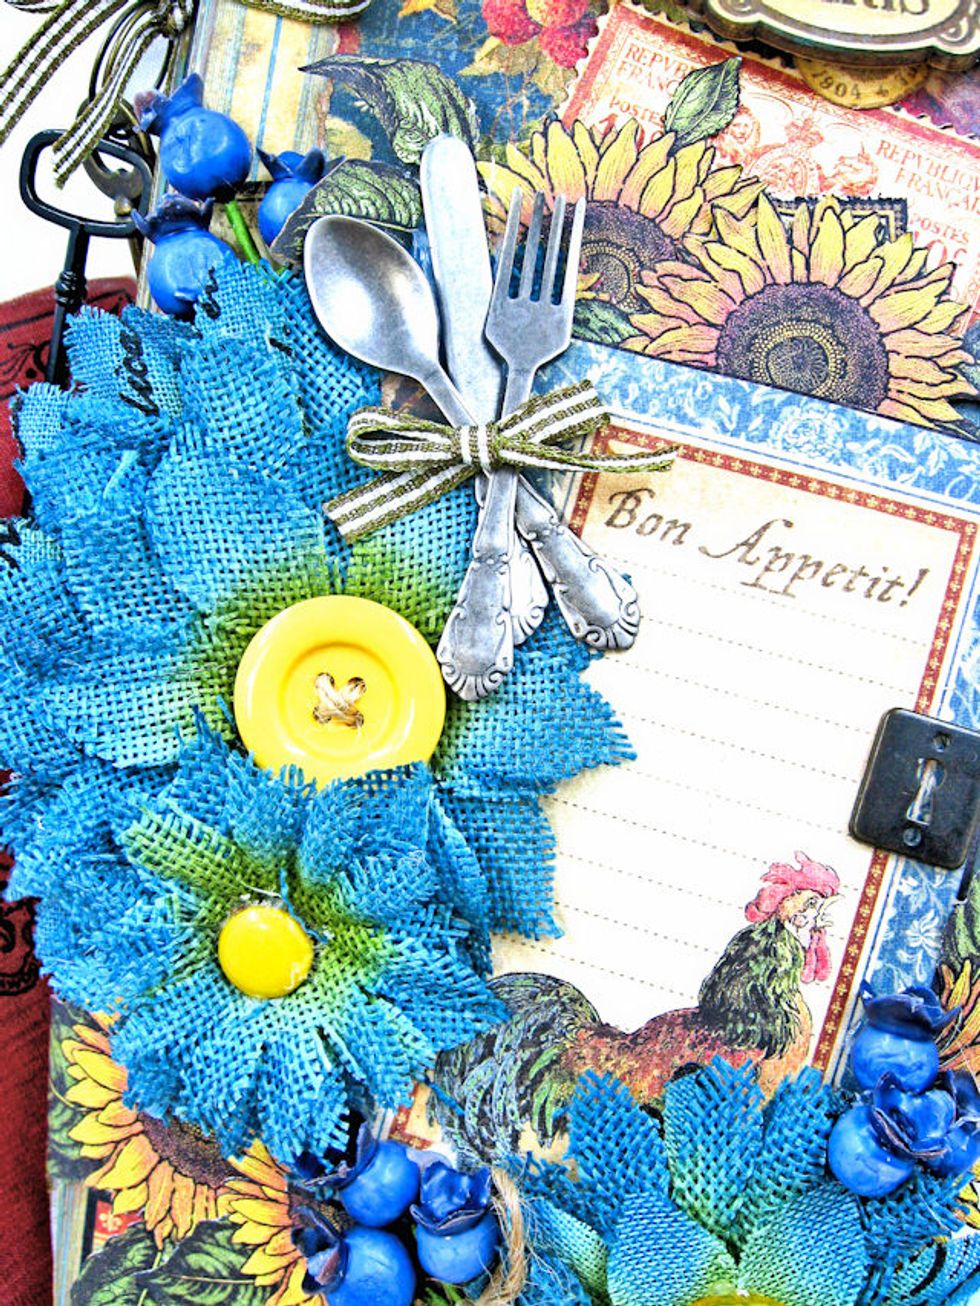
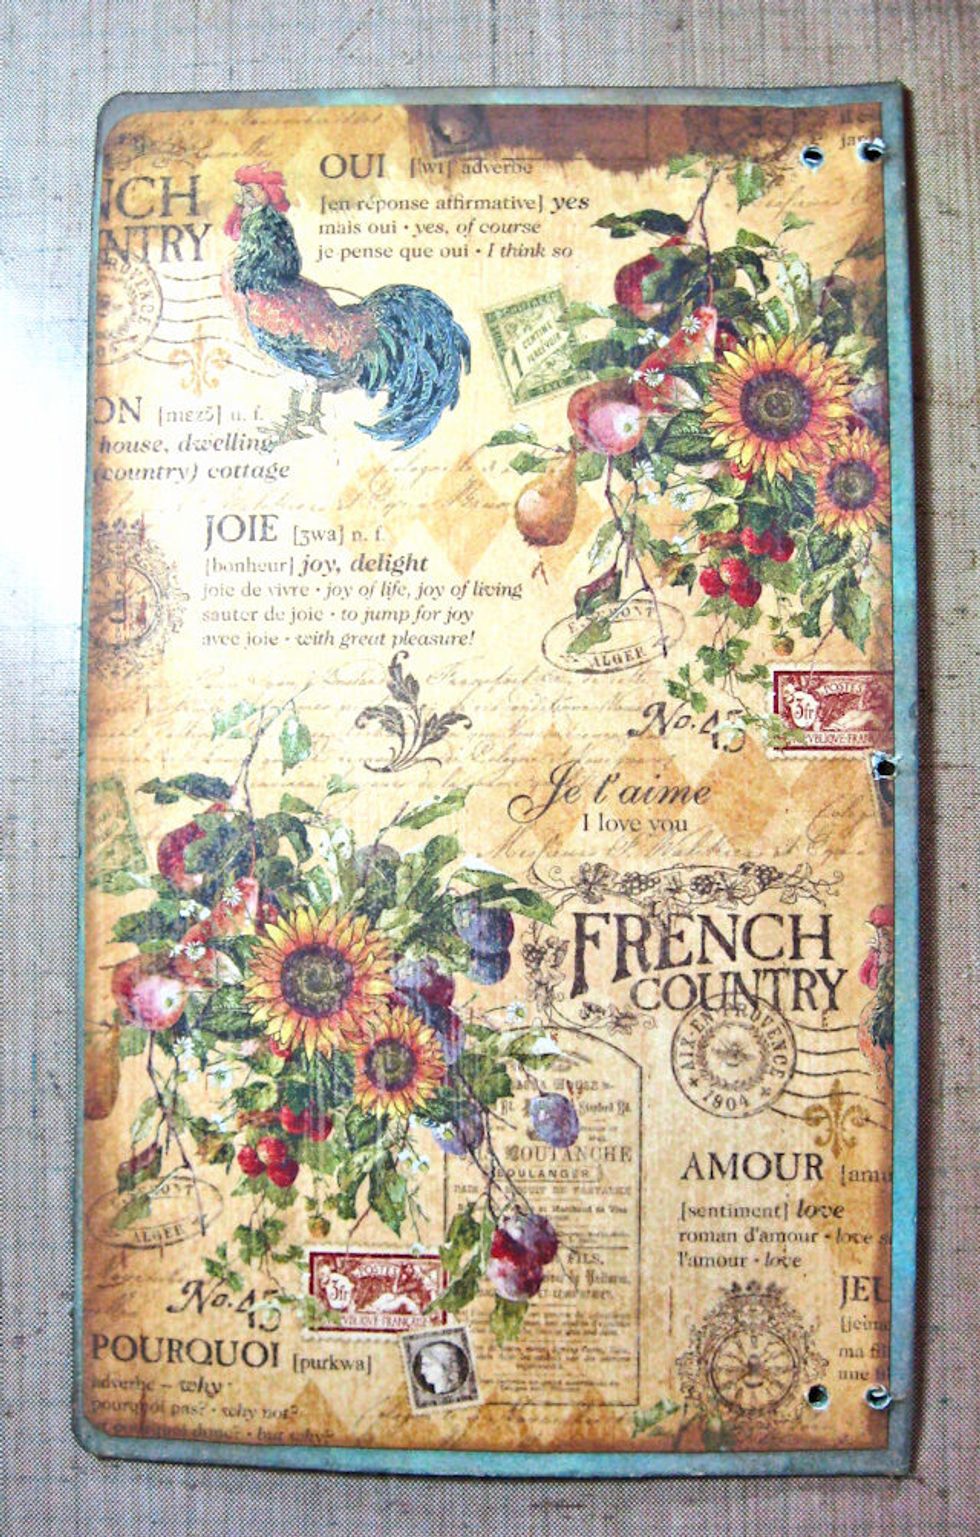
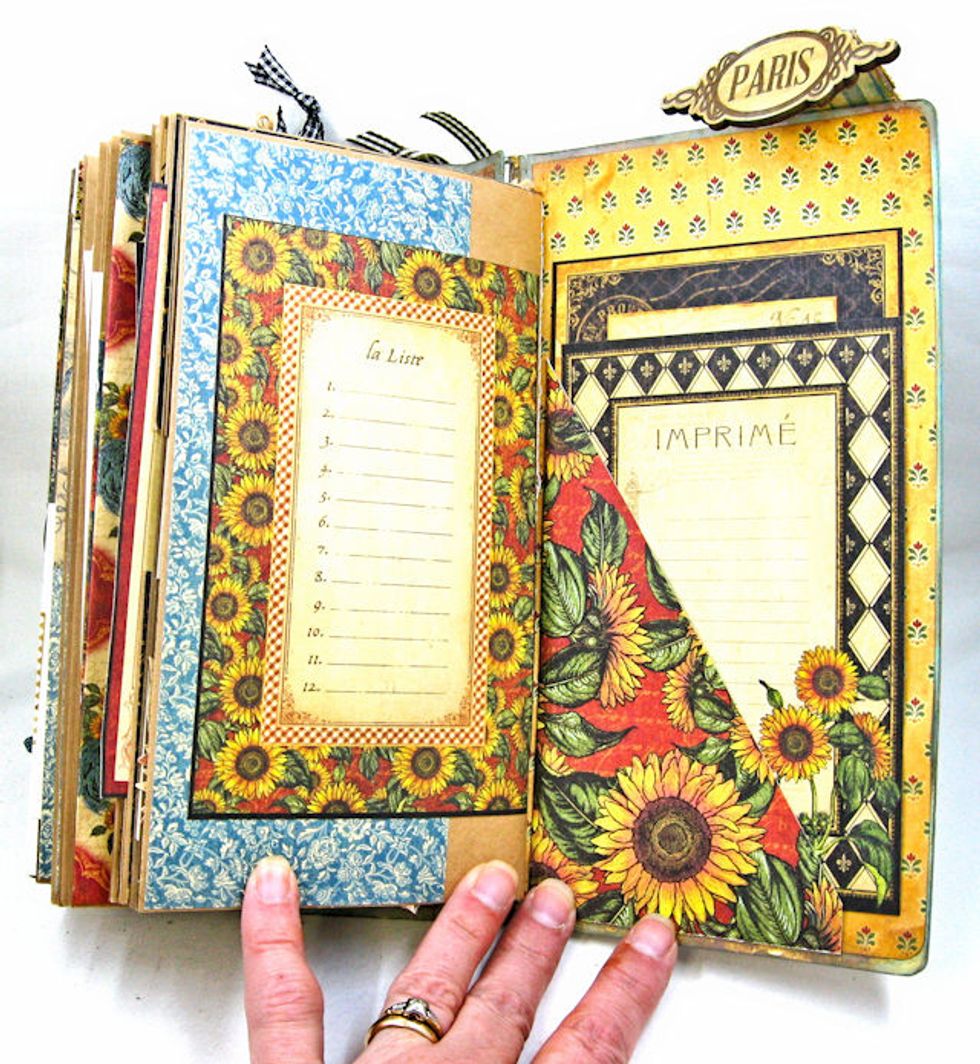
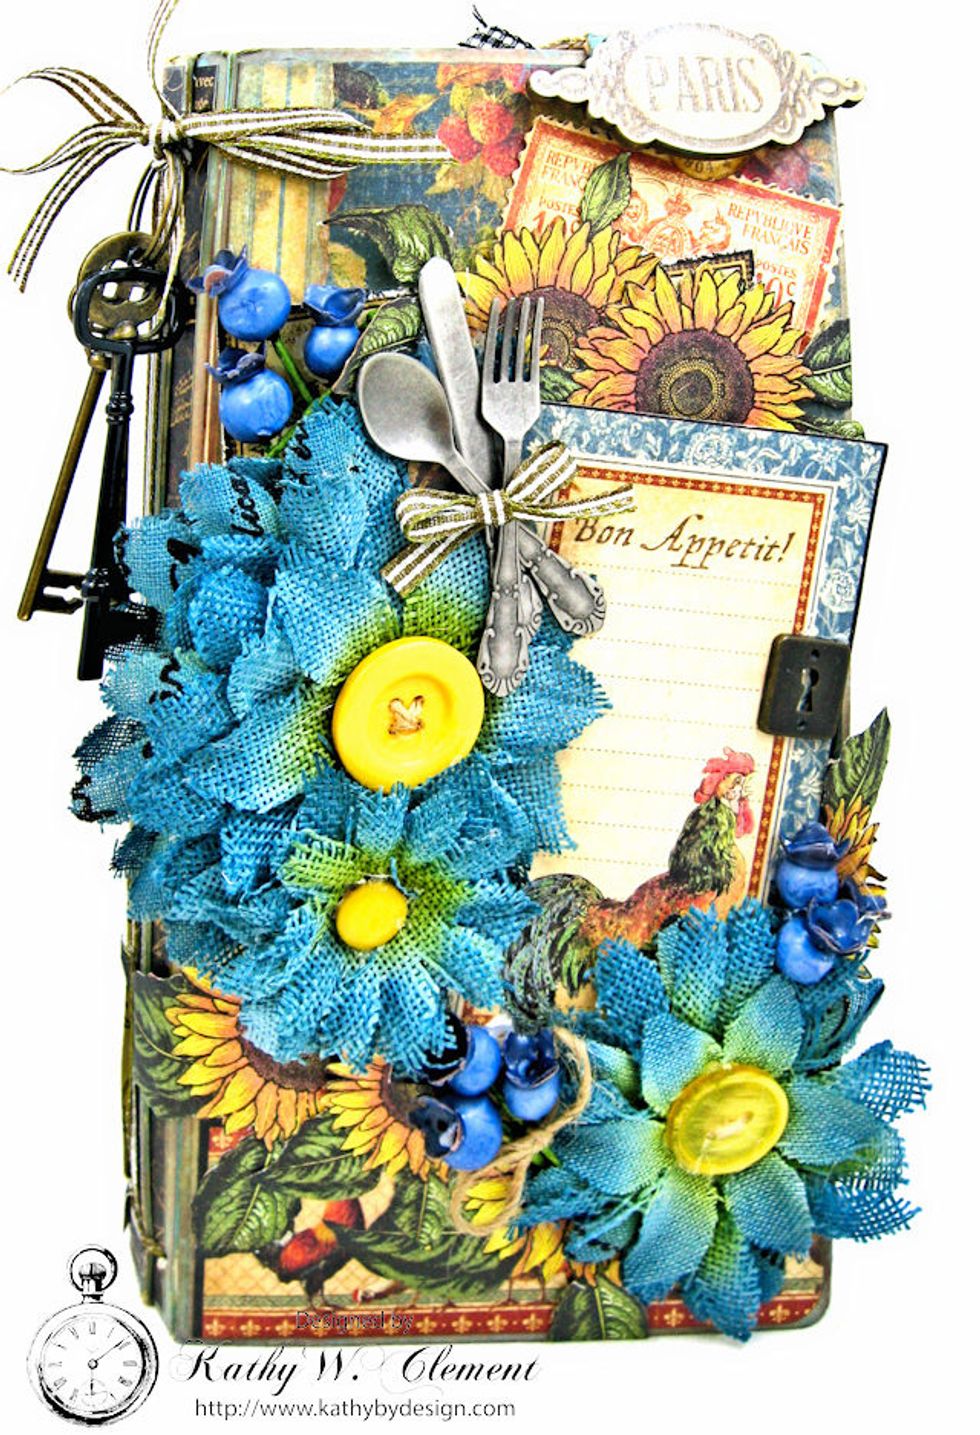
This is what the front of your cover will look like. Now add a large French Country postage stamp, border and postcard to the front cover as seen here. I distressed them, but that is optional.

Set the two largest Petaloo petal layers aside. Stack the remaining layers together to form 3 flowers. Add yellow buttons to center. I use hot glue to stack my layers.
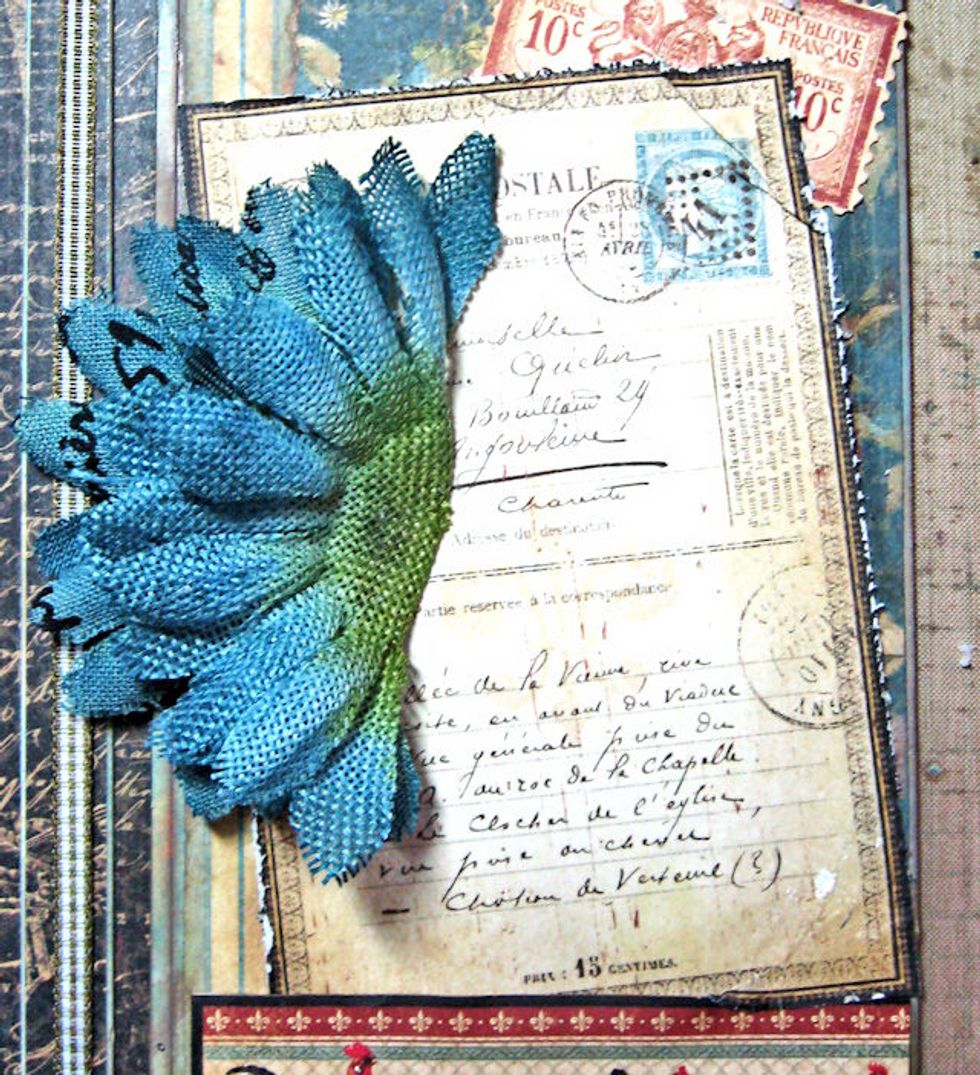
Fold the two largest petal layers together and glue over the post card as seen here.

Add a piece of torn black paper to the back of the rooster journal tag. Back with waste chipboard to add dimension. Glue in place.
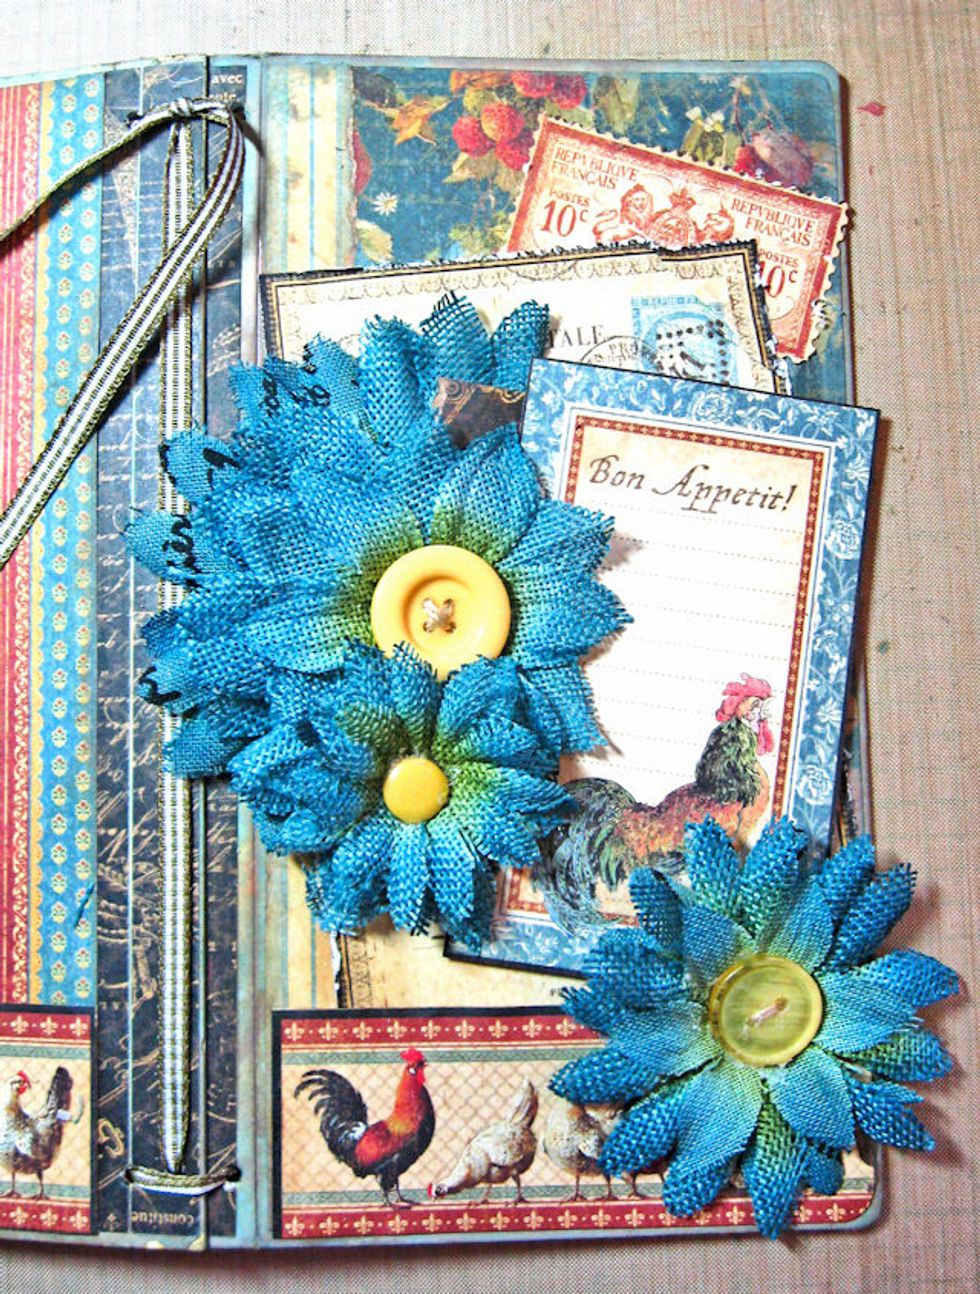
Add the prepared flowers with hot glue as see here.
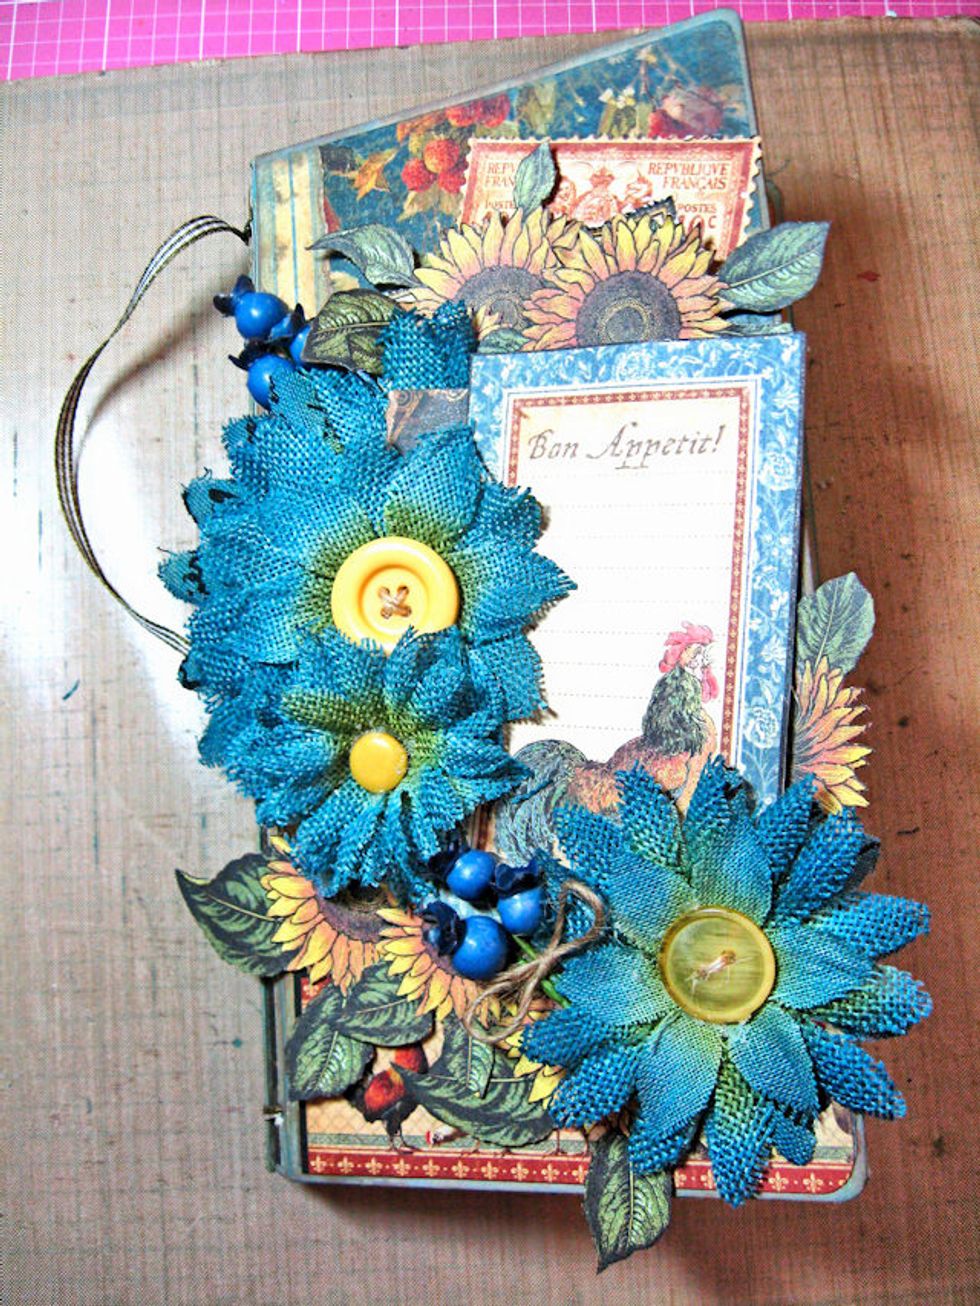
Add Petaloo Blueberry picks as seen here. Fussy cut sunflowers from the collection and tuck under Petaloo flowers and behind journal card.

Tie Tim Holtz silverware together with ribbon and glue in place. Add a small keyhole to the journal card, if desired.
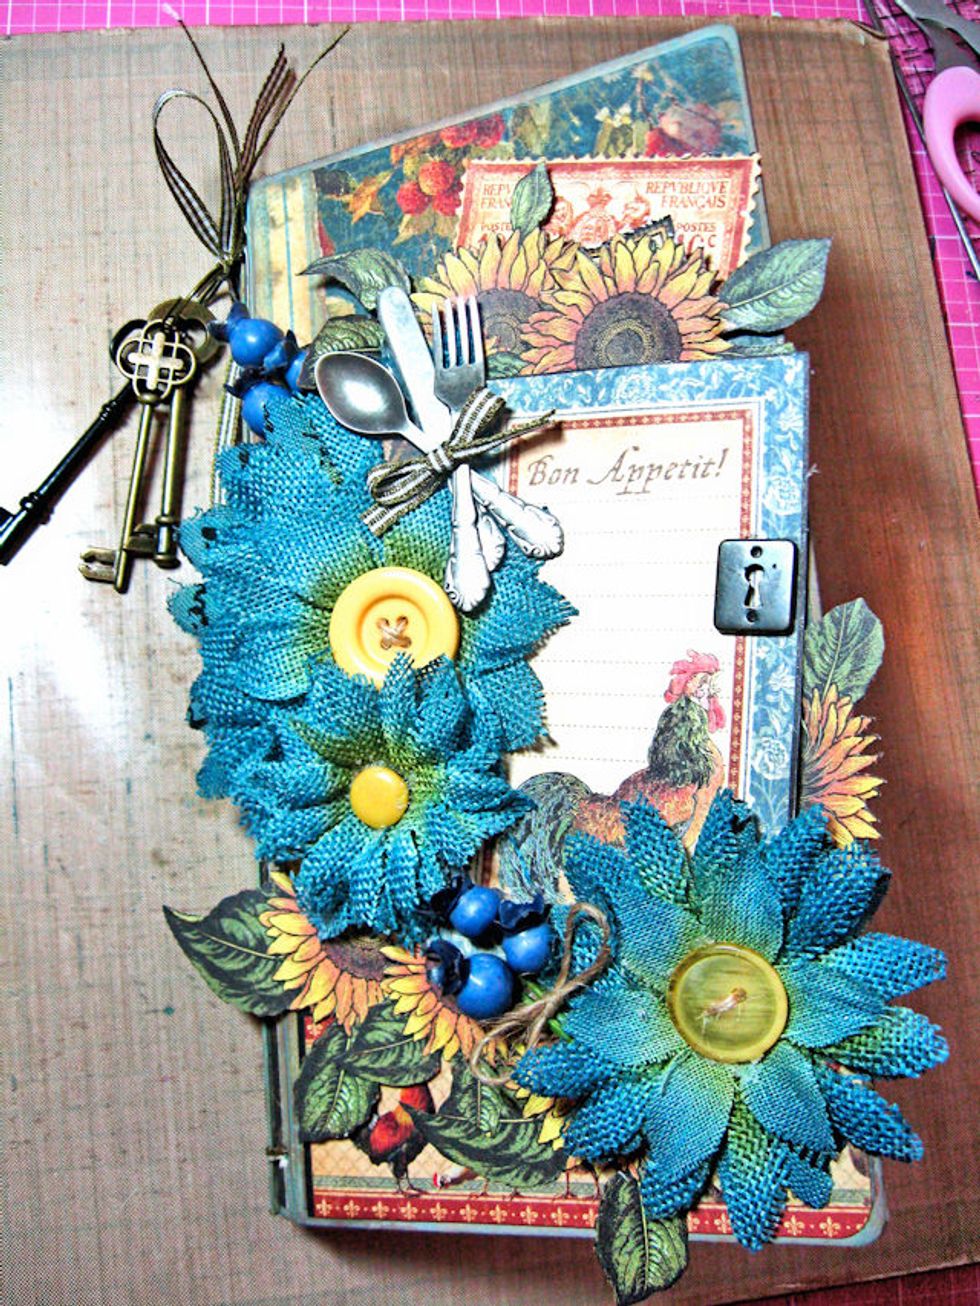
Tie keys to the album spine.
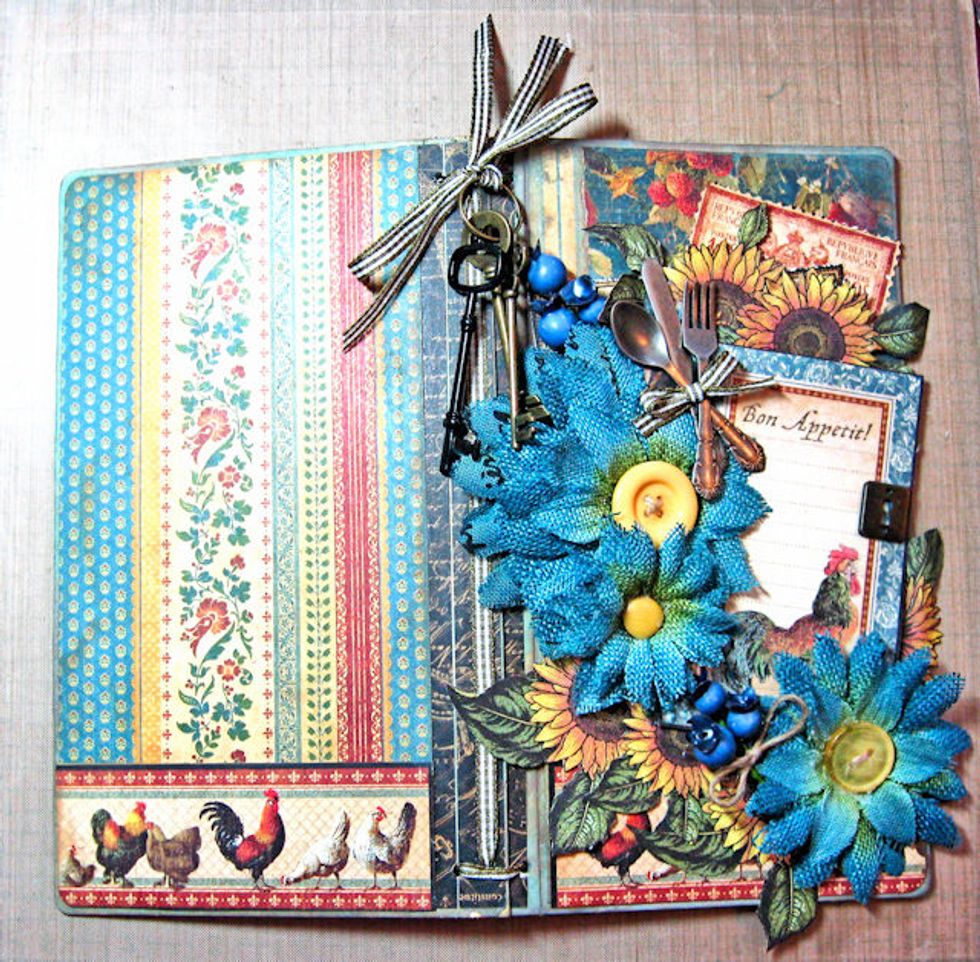
Tie the long ribbon ends into a bow. Now the cover of your album is finished! Well done!
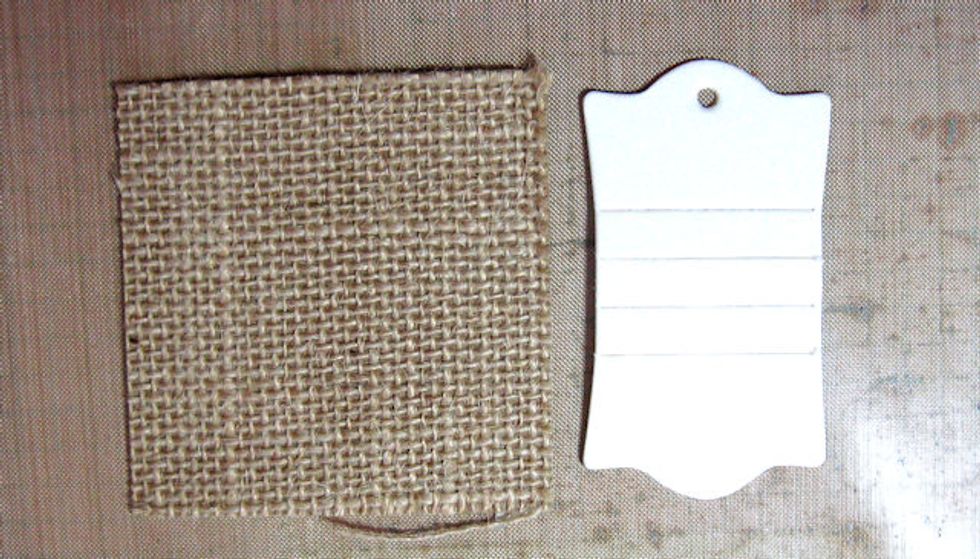
Die cut burlap to create a clasp closure for the album. Use Scor-tape to adhere to clasp. Cover the inside with designer paper. Then use magnets to attach to the cover.
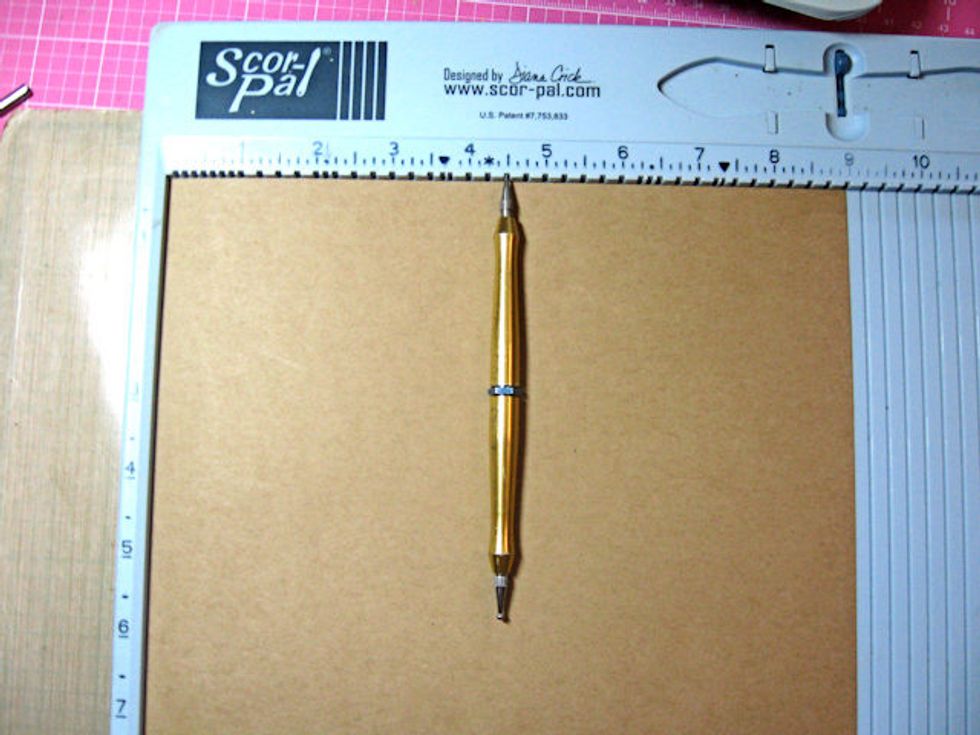
Now create the inserts. Cut 15 sheets of 8.5" x 11" kraft card to measure 9" wide x 7.75" tall. Score each sheet in the center at 4.5". Crease each page with a bone folder.
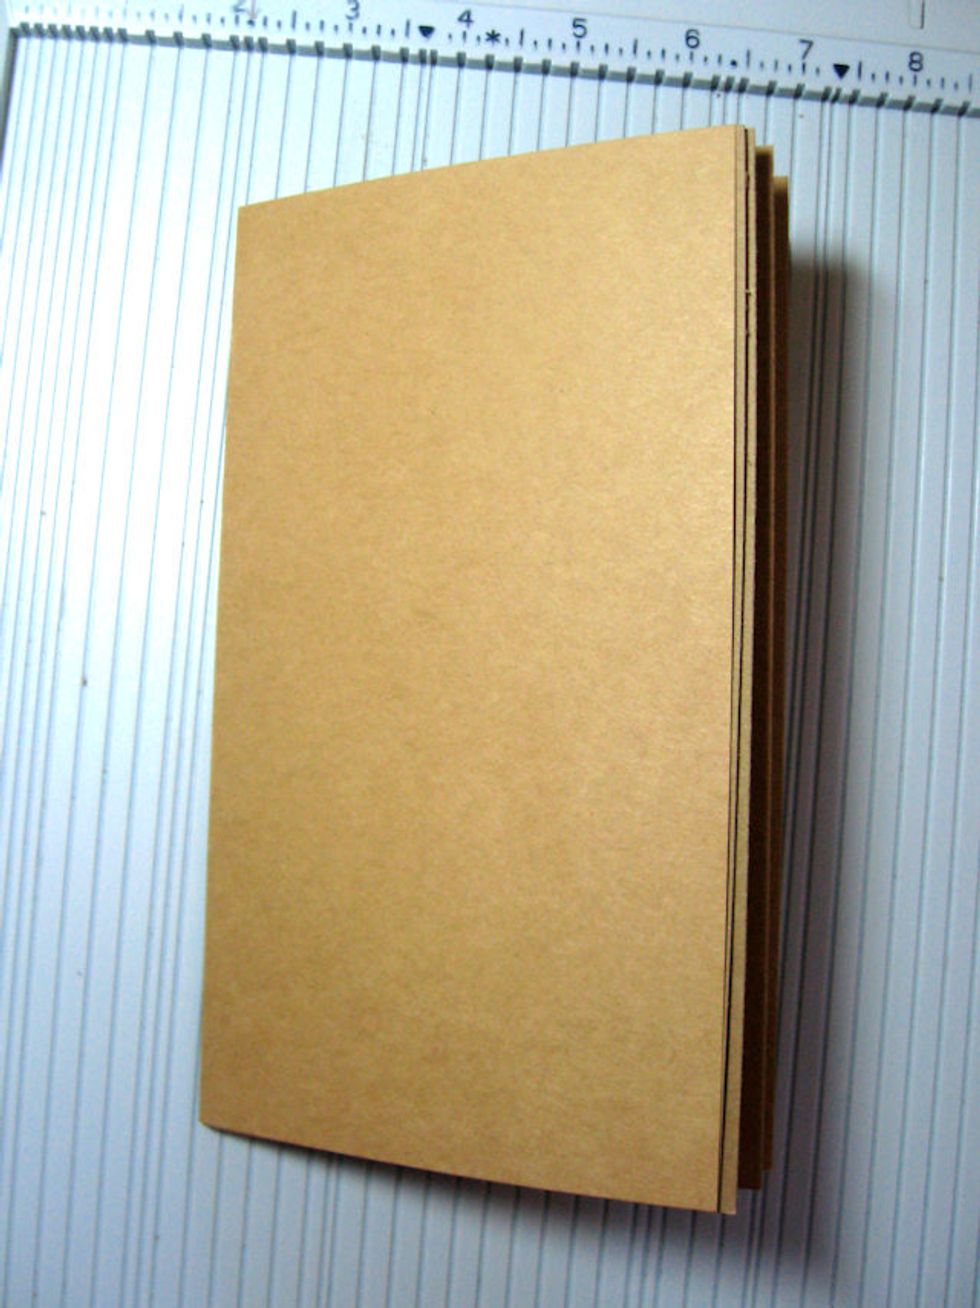
Create 3 signatures by stacking 5 sheets of folded card together. Stitch up center with a sewing machine, or by hand. You can also leave the sheets unstitched if you want to be able to add/remove.
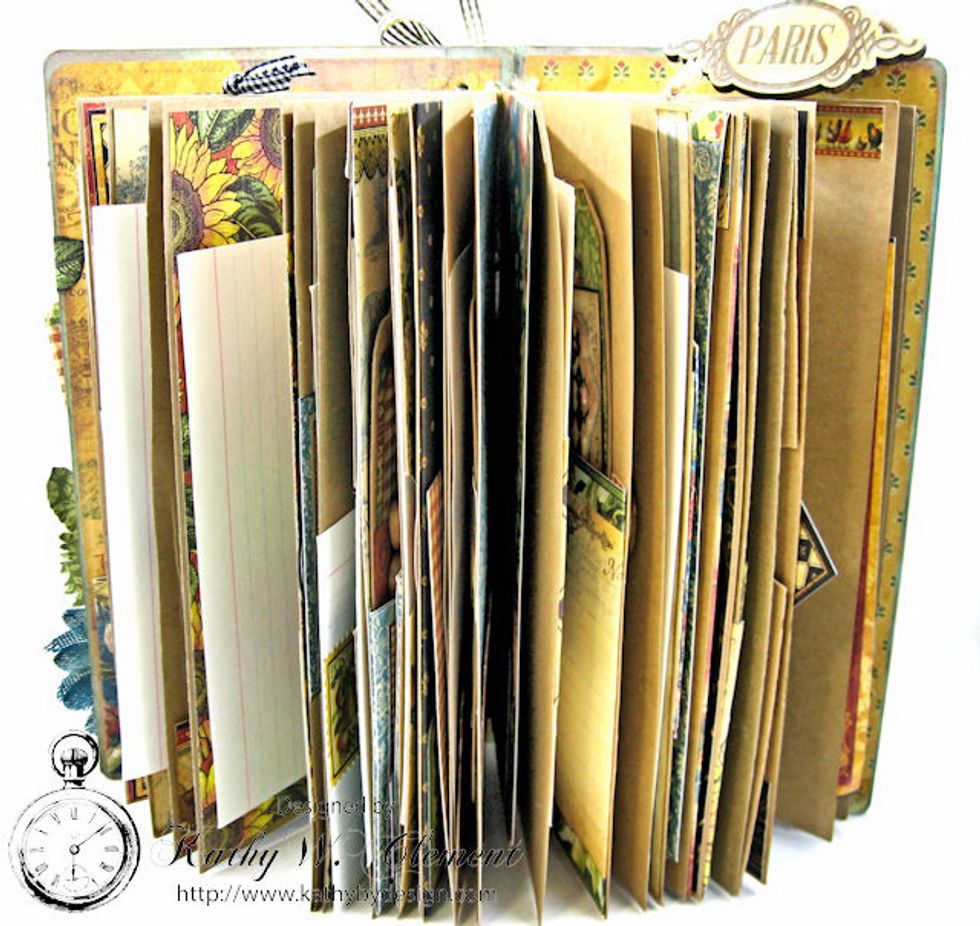
Open each signature and slide under the cording to create 3 separate sections in your book. It will look like this.
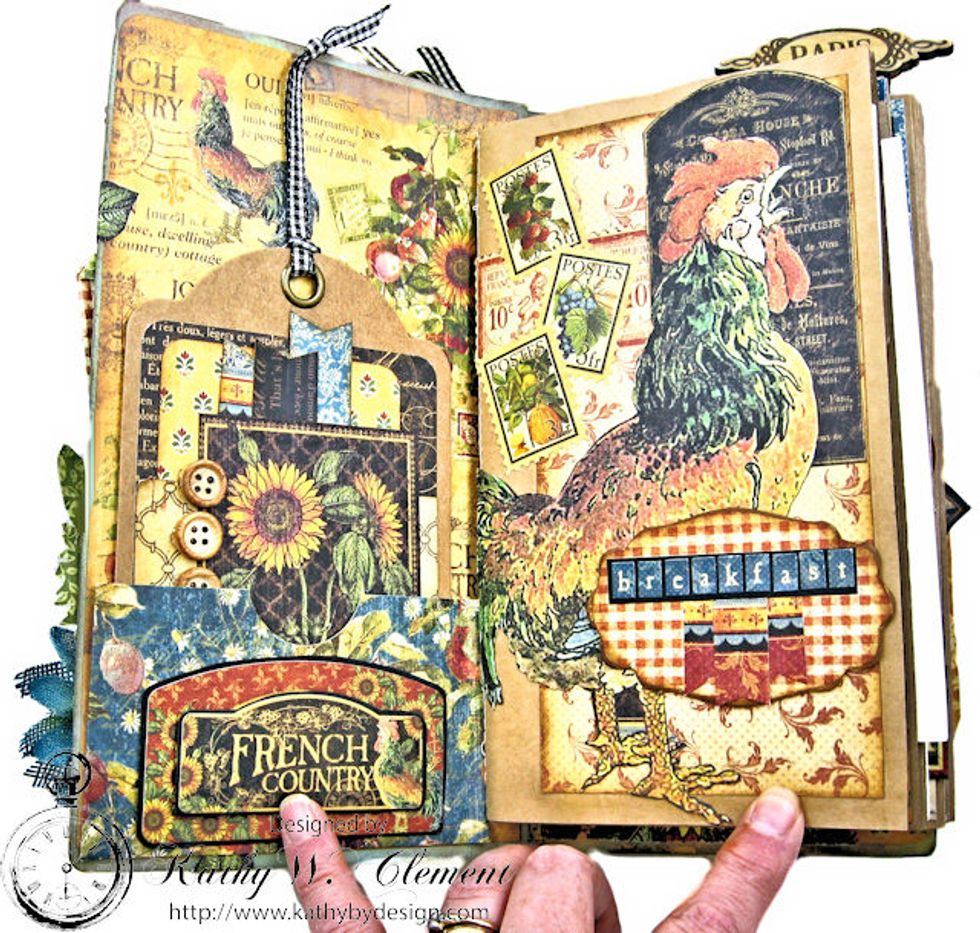
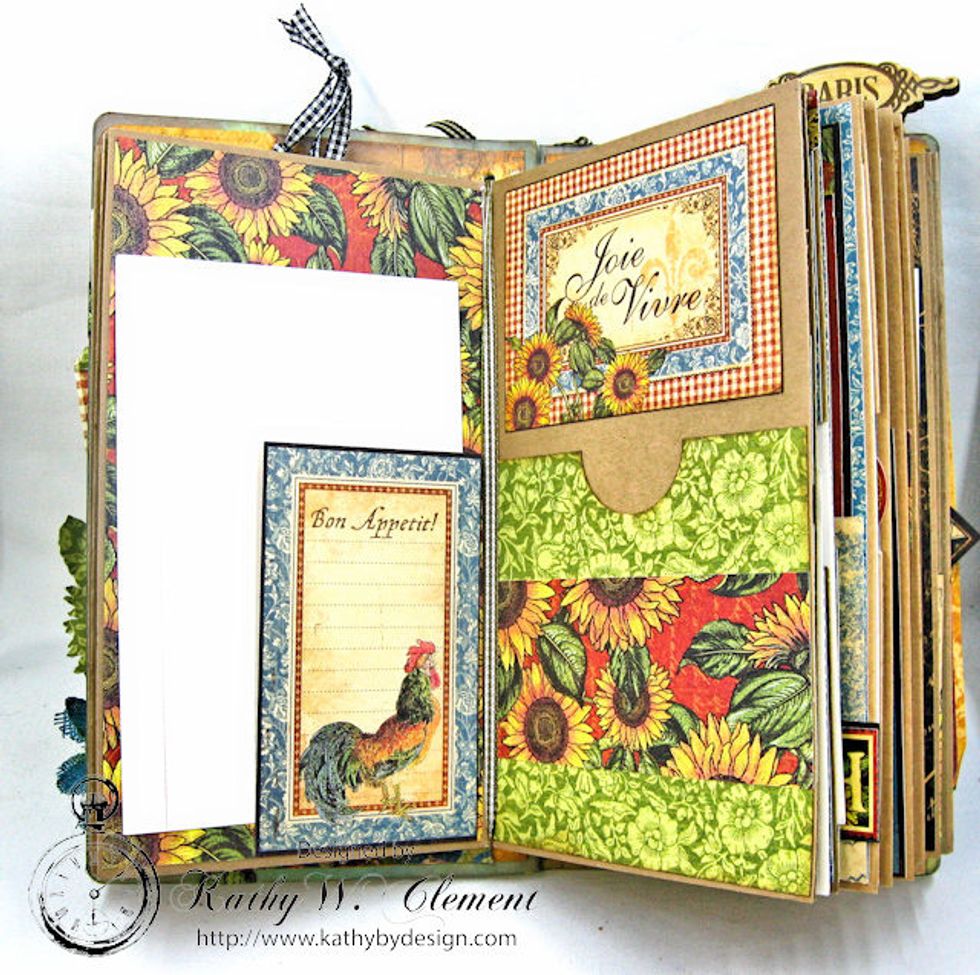
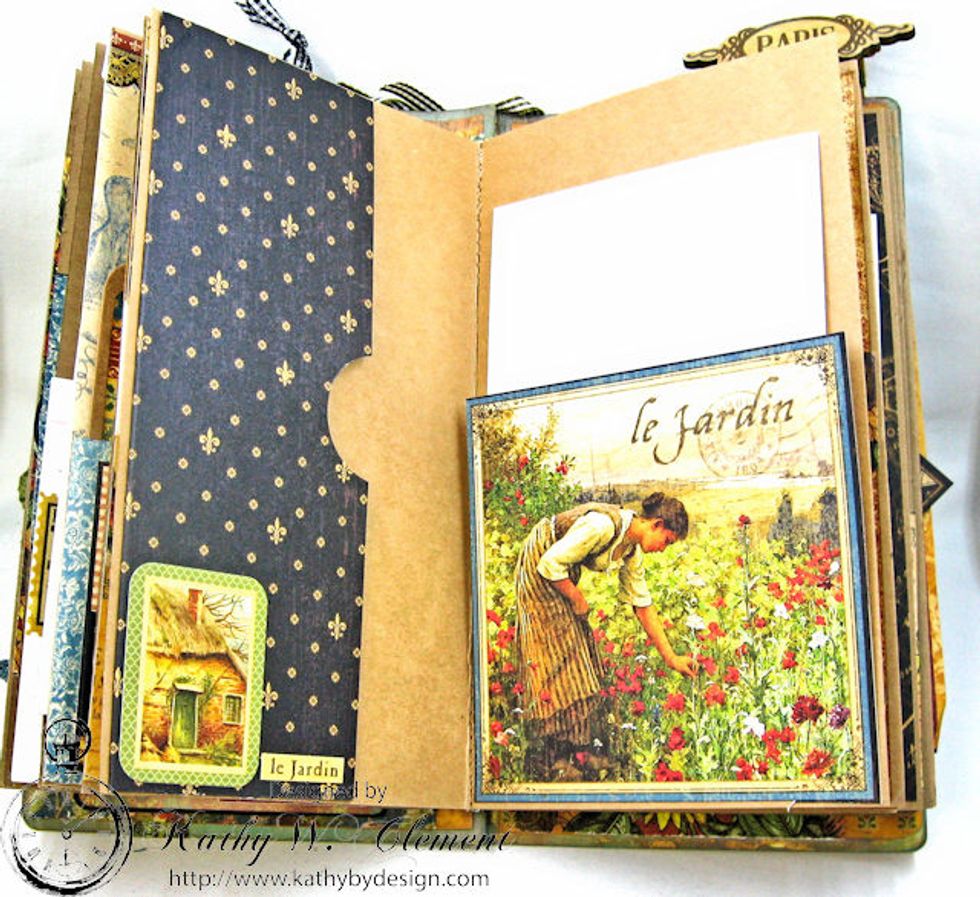
I'll share some of the inside pages with you so you can get ideas for how to decorate your recipe album. I used lots of pockets/tags. The album is broken into breakfast, lunch and dinner sections.

I used paper scraps to decorate Staples tags for the pockets. The back of each tag has a small folio for photos.
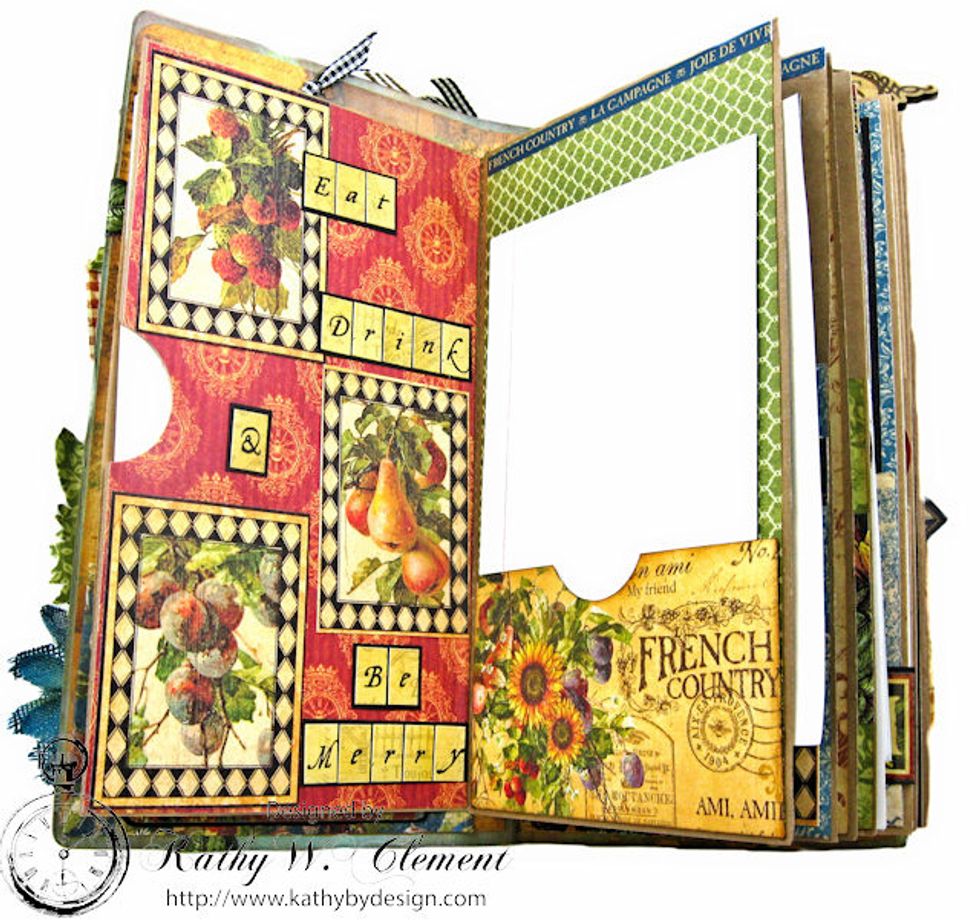
Glue the sides of two pages together to form pocket pages. Cut a thumb hole with a circle punch and insert index cards for recipes. Standard pockets can hold photos or recipes, or clippings.
Create tuck spots by gluing just one edge of an image to the page.
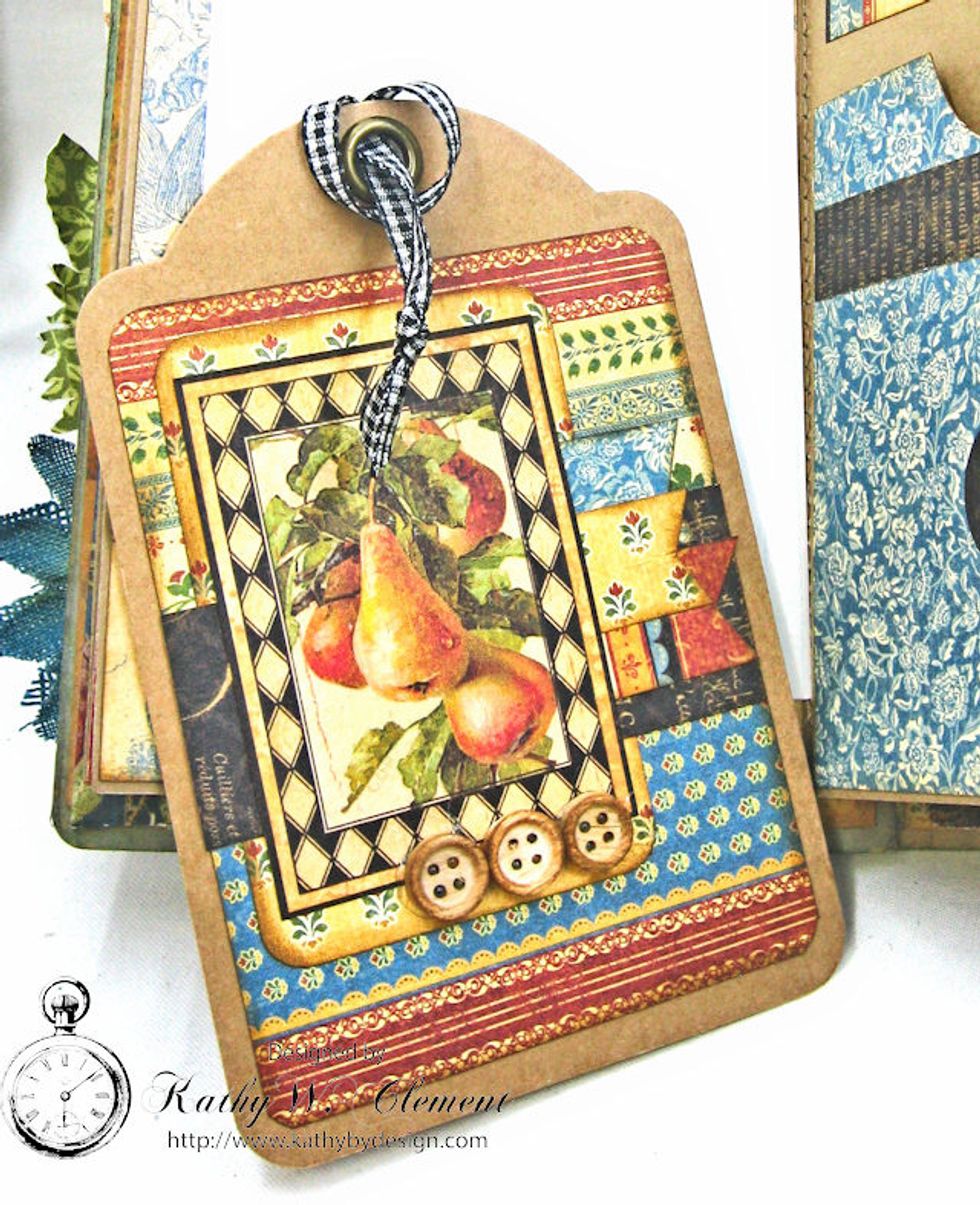
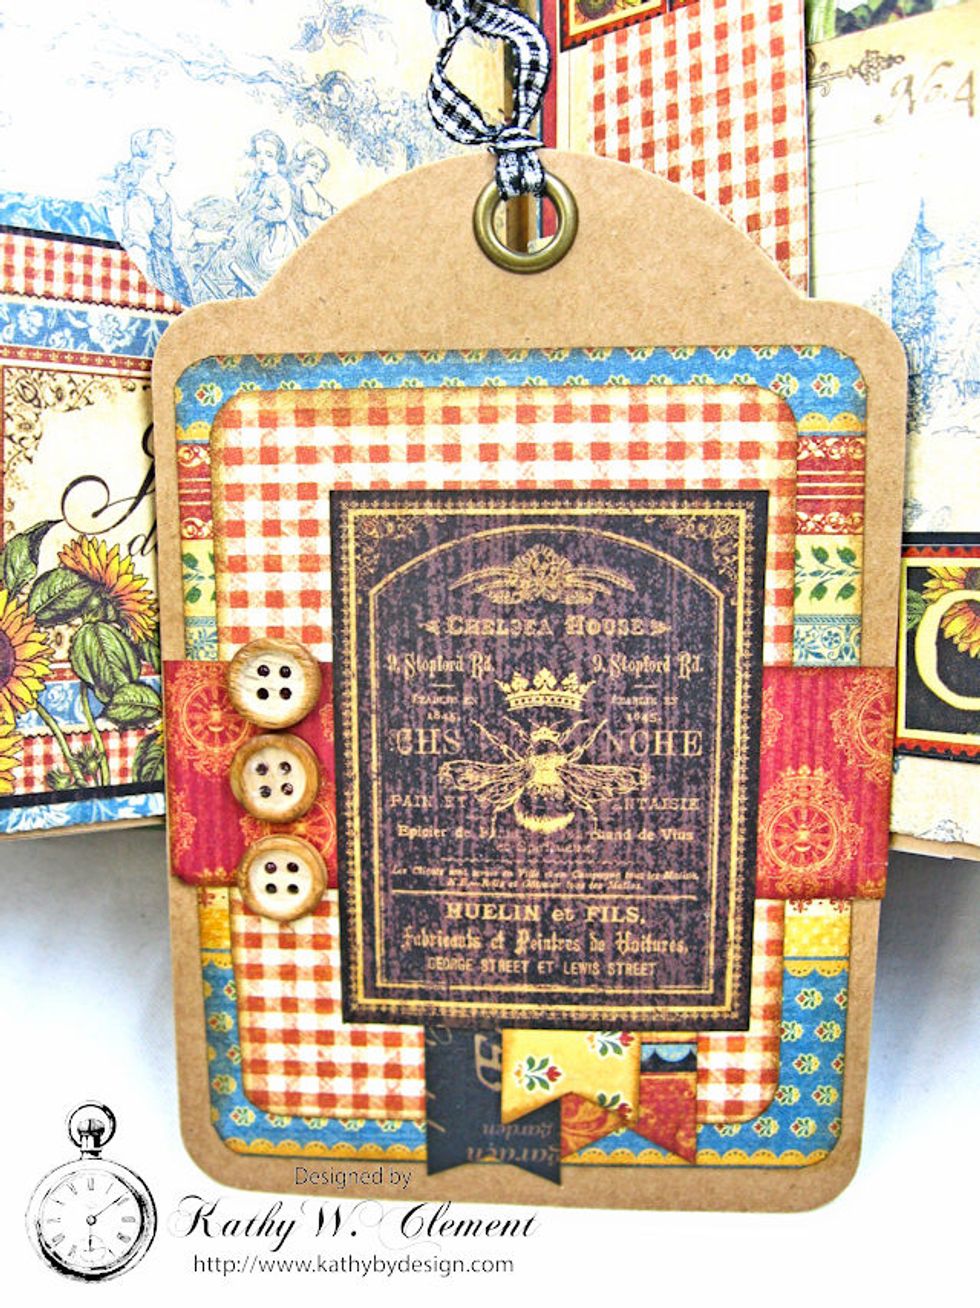
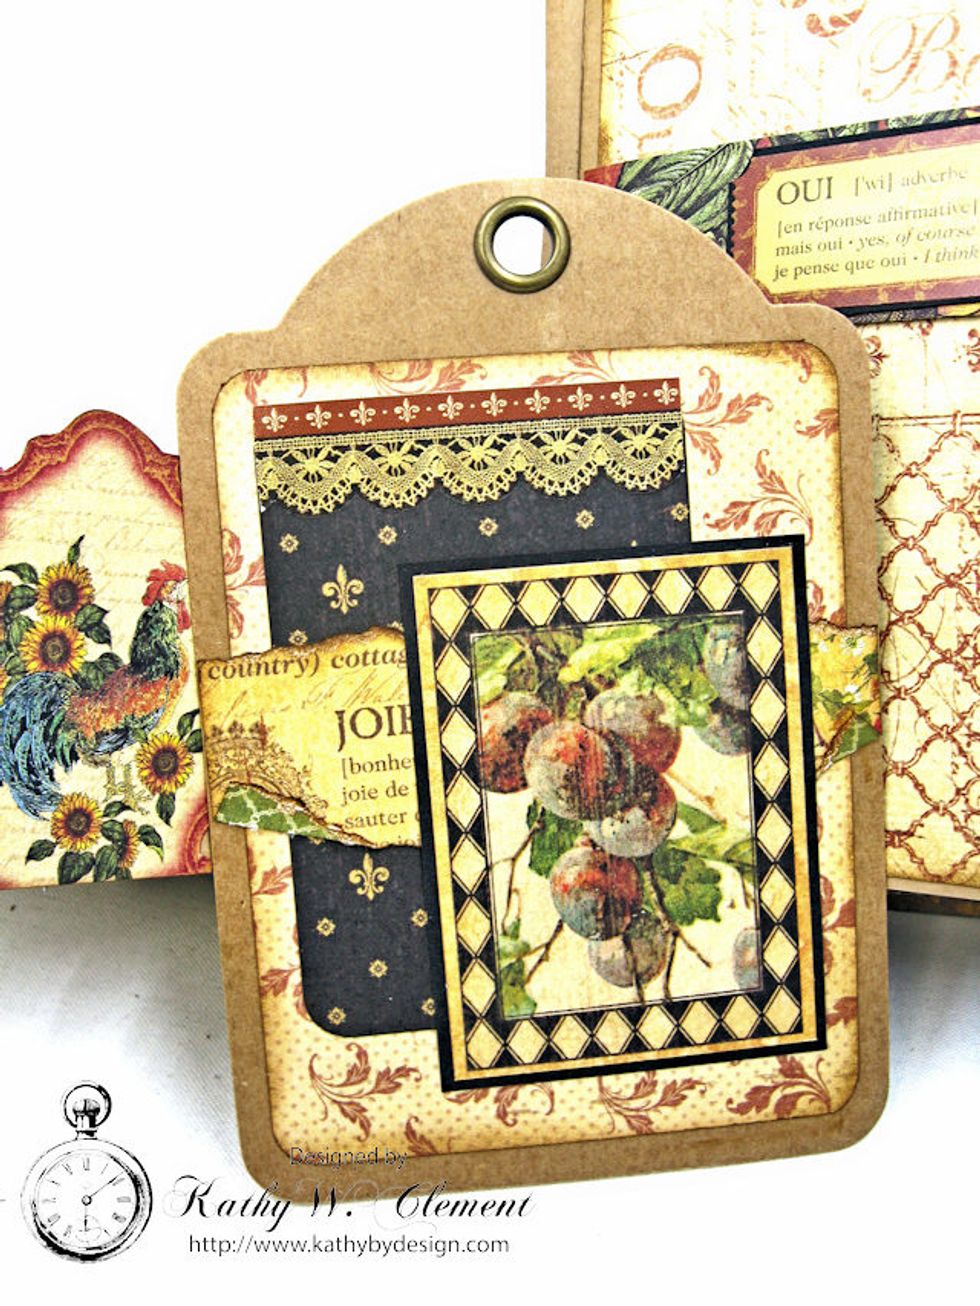
These tags are a great way to use up scraps. I inked wooden buttons to make them pop off the page.
Another tuck spot and another pocket. As you can see, large photos can fit behind, or you can add multiple recipe cards.
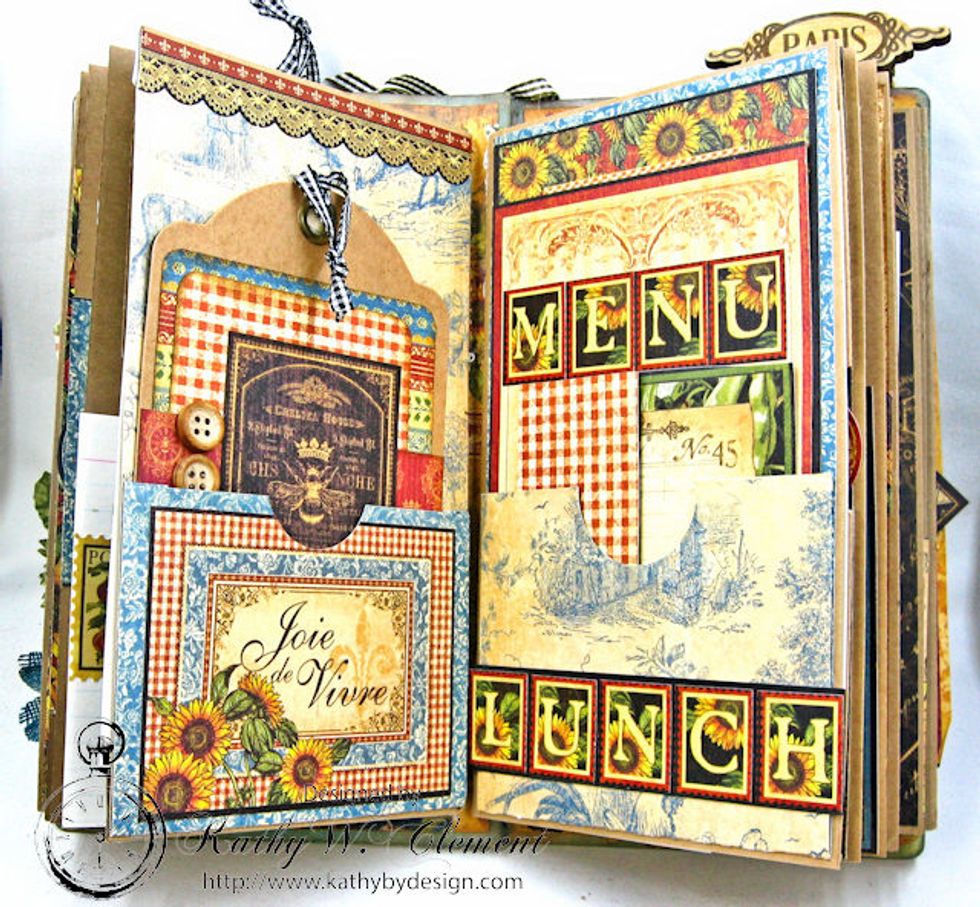
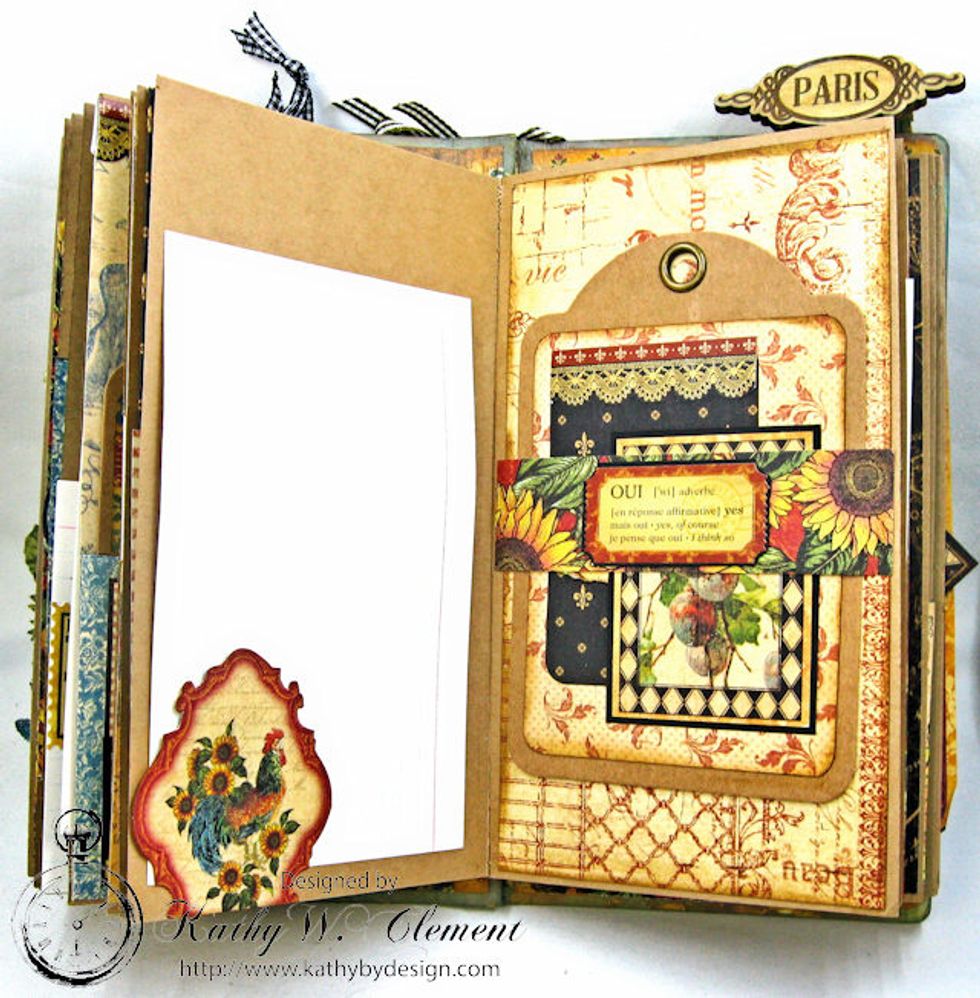
A pocket and tag complete the first signature.
There is room to add recipes in the folio on the back of each tag. Now, on to lunch!
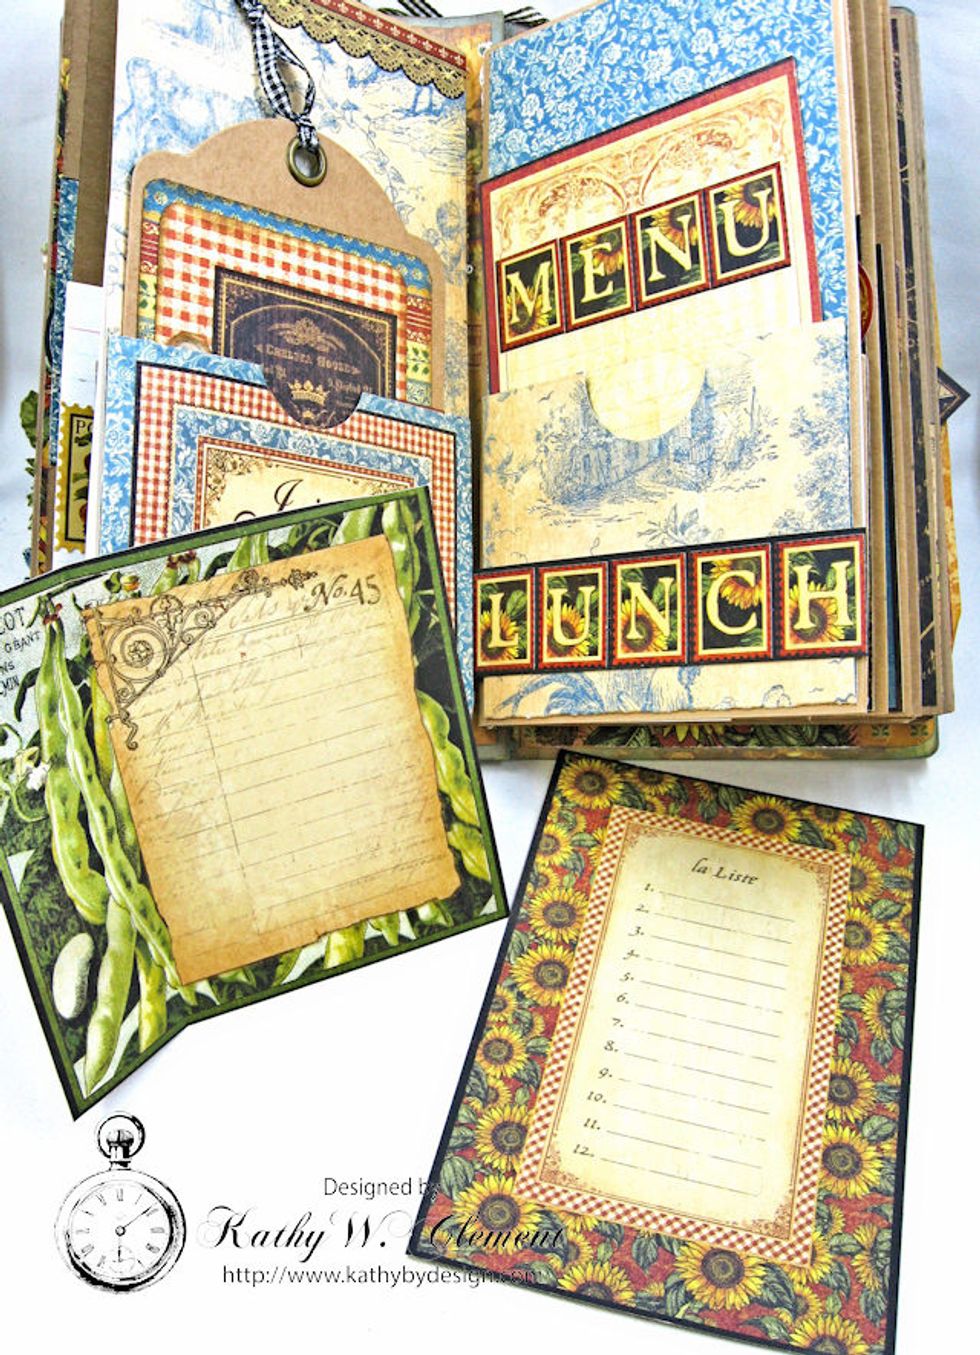
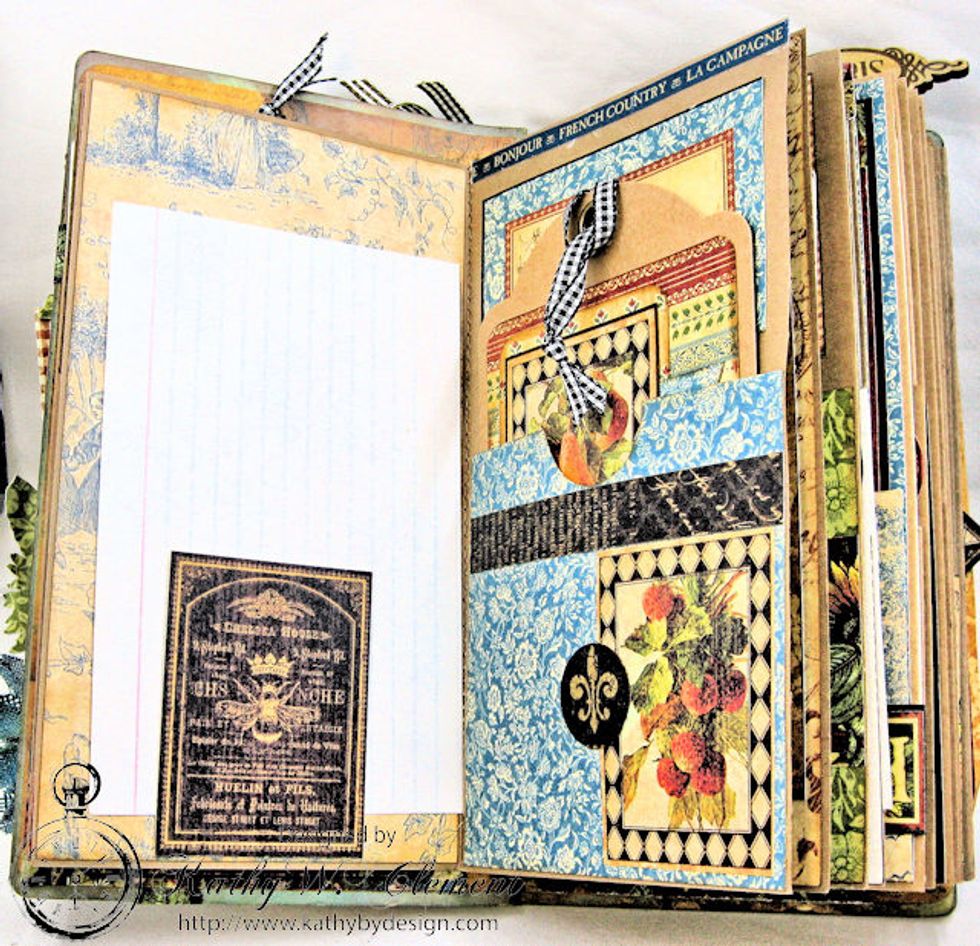
I creased and folded larger images so they would fit into the pocket. Menus or guest lists can go onto these journal cards.
Side pocket and tuck spot.
Tuck spot and a tag tucked into a belly band.
Another pretty tag made with scraps.
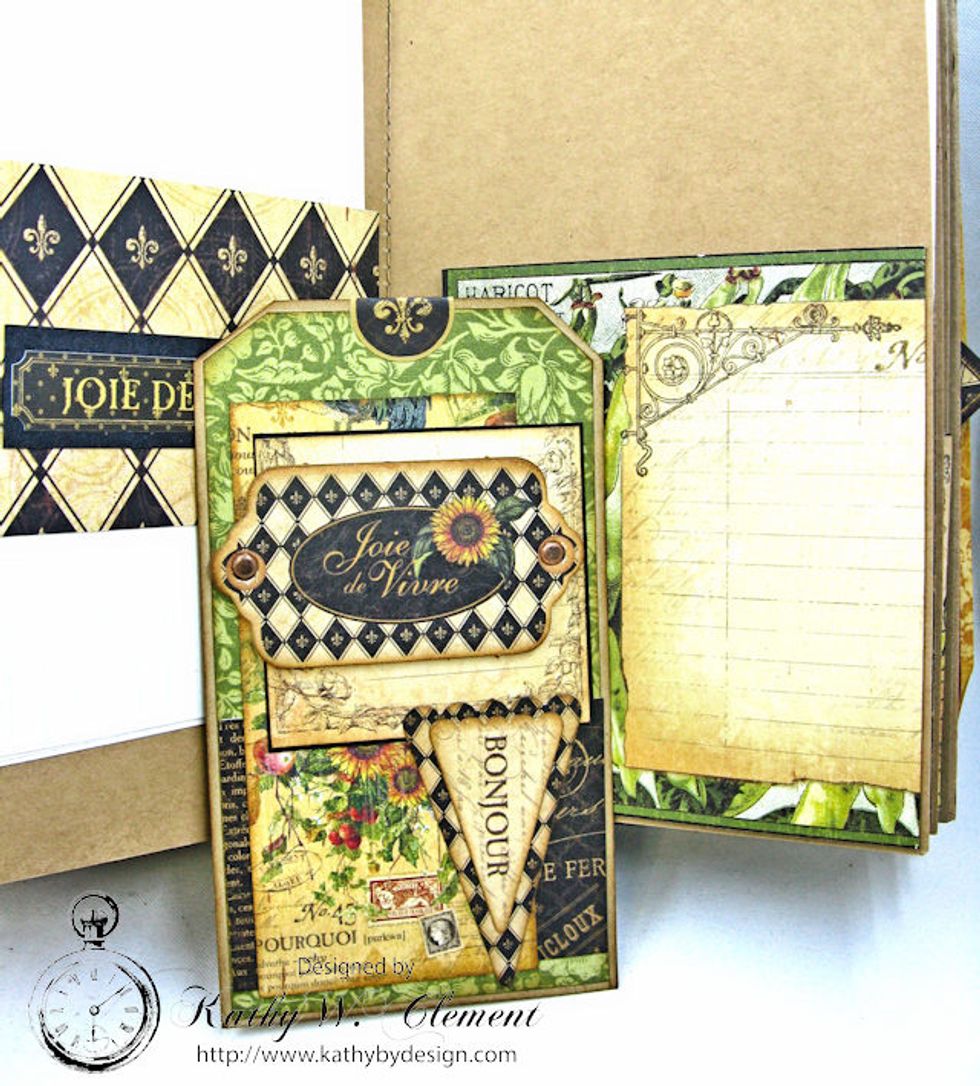
Create smaller tags by beveling the corners. This fits into a smaller pocket.
The final page with a slash pocket on the inside cover.
Thanks for joining me. You can view the entire journal video tour here. https://youtu.be/GZBHVkjreU8