The Conversation (0)
Sign Up
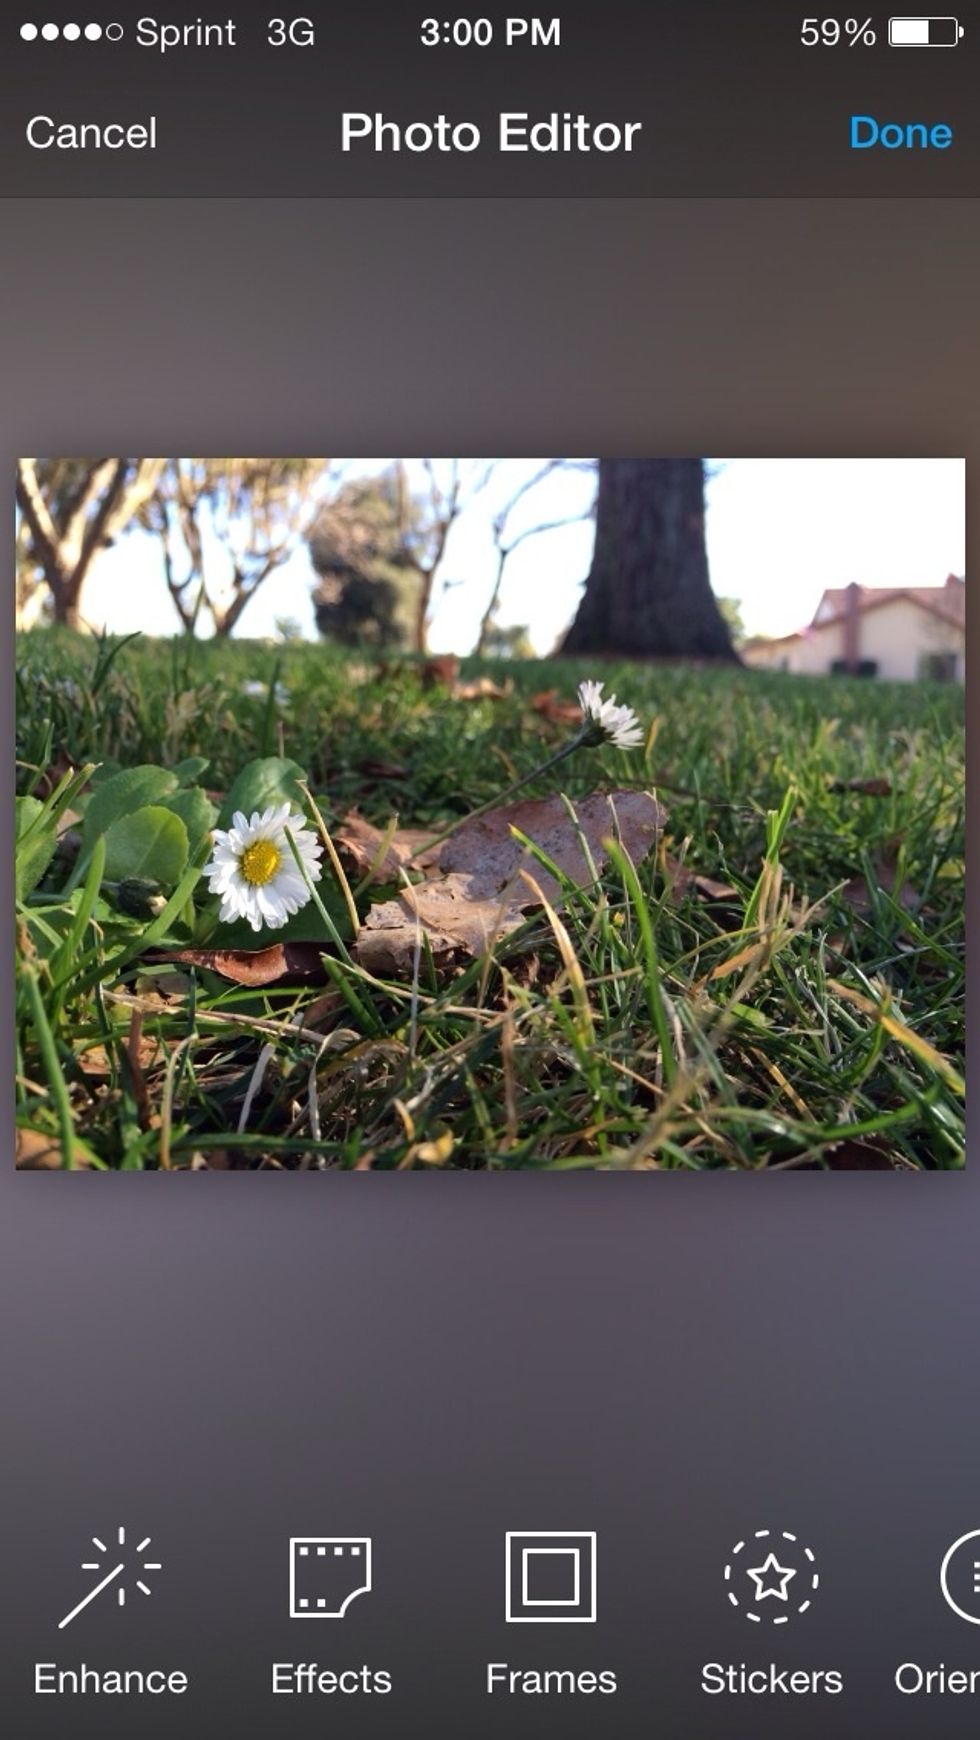
pick a photo that you want to edit. you can click on the image I have provided here to see the full image
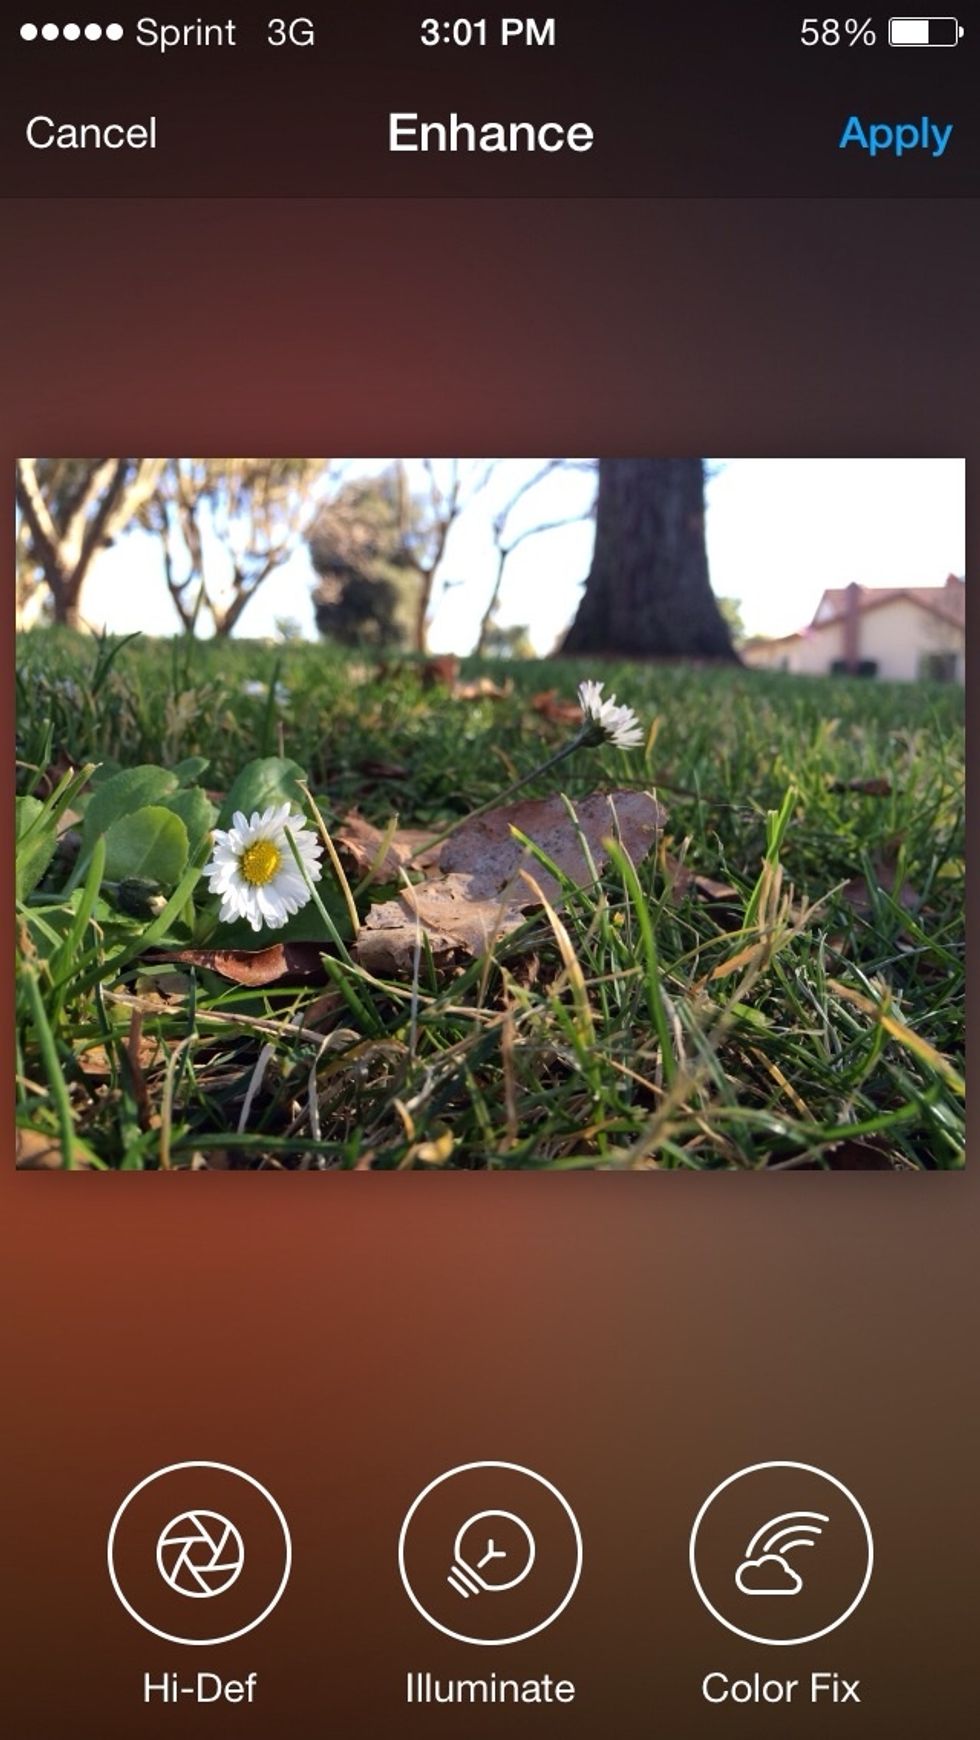
if you click the very first option (enhance) there will be three options: high def, illuminate, and color fix. 🌈 these don't usually effect the picture too much
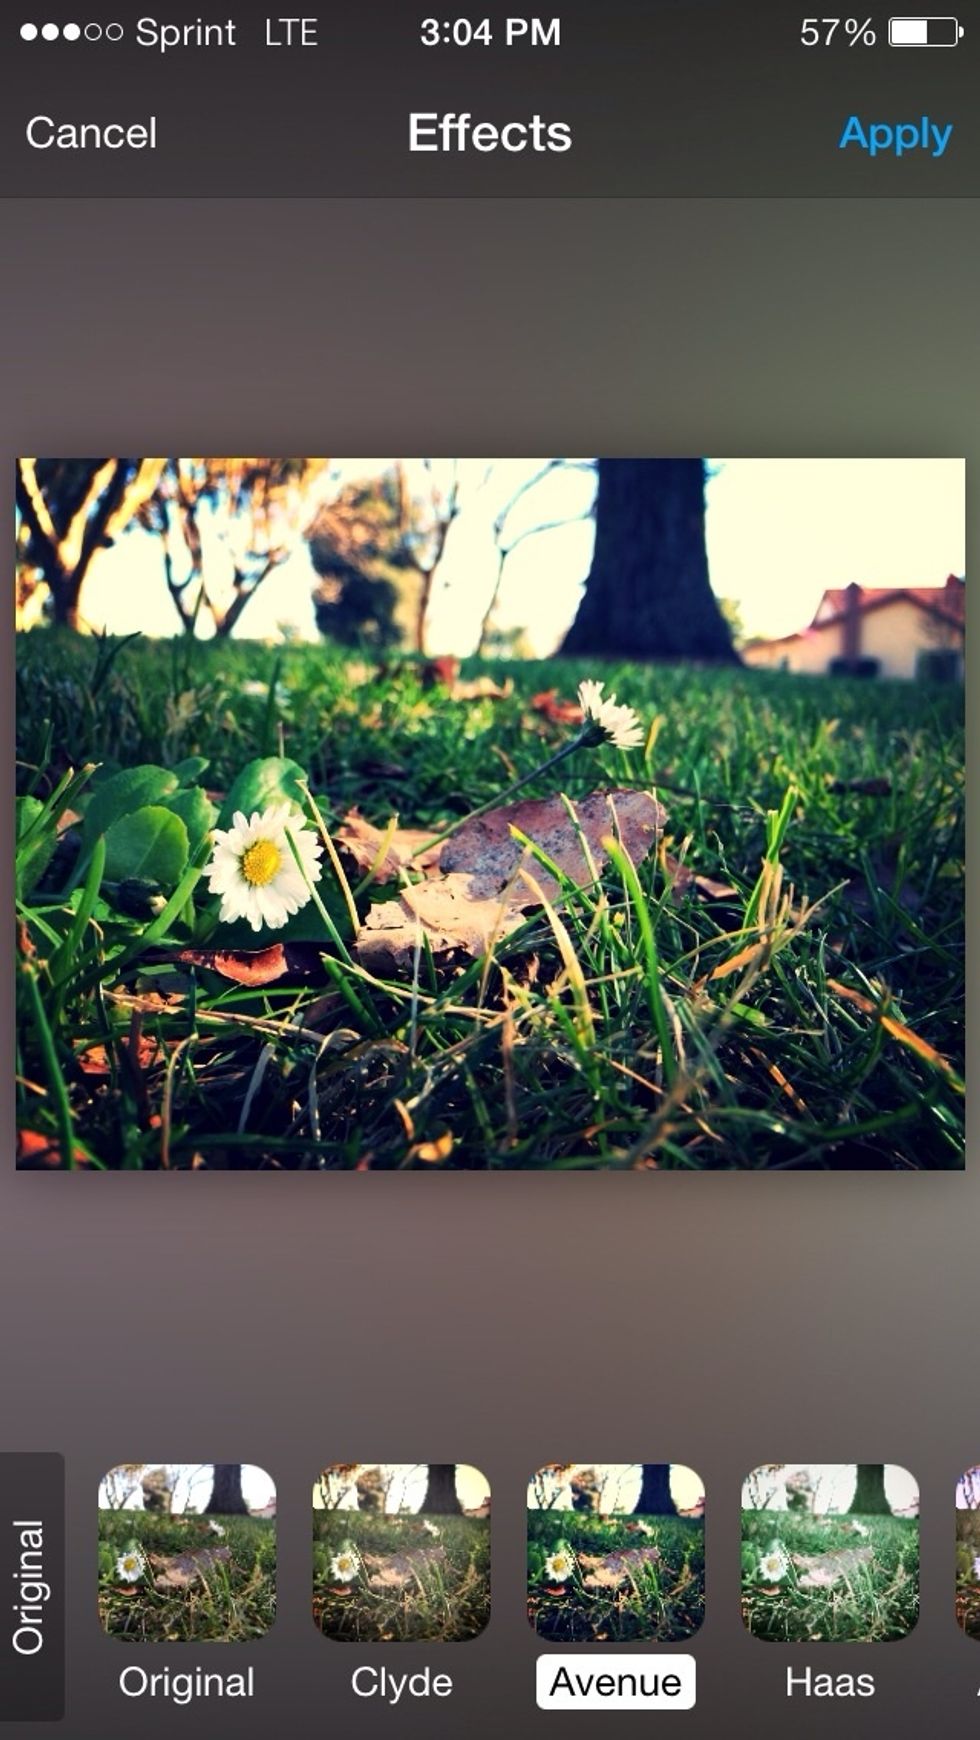
the second option(effects) is basically just different filters you can add on your photo I chose the one called Avenue
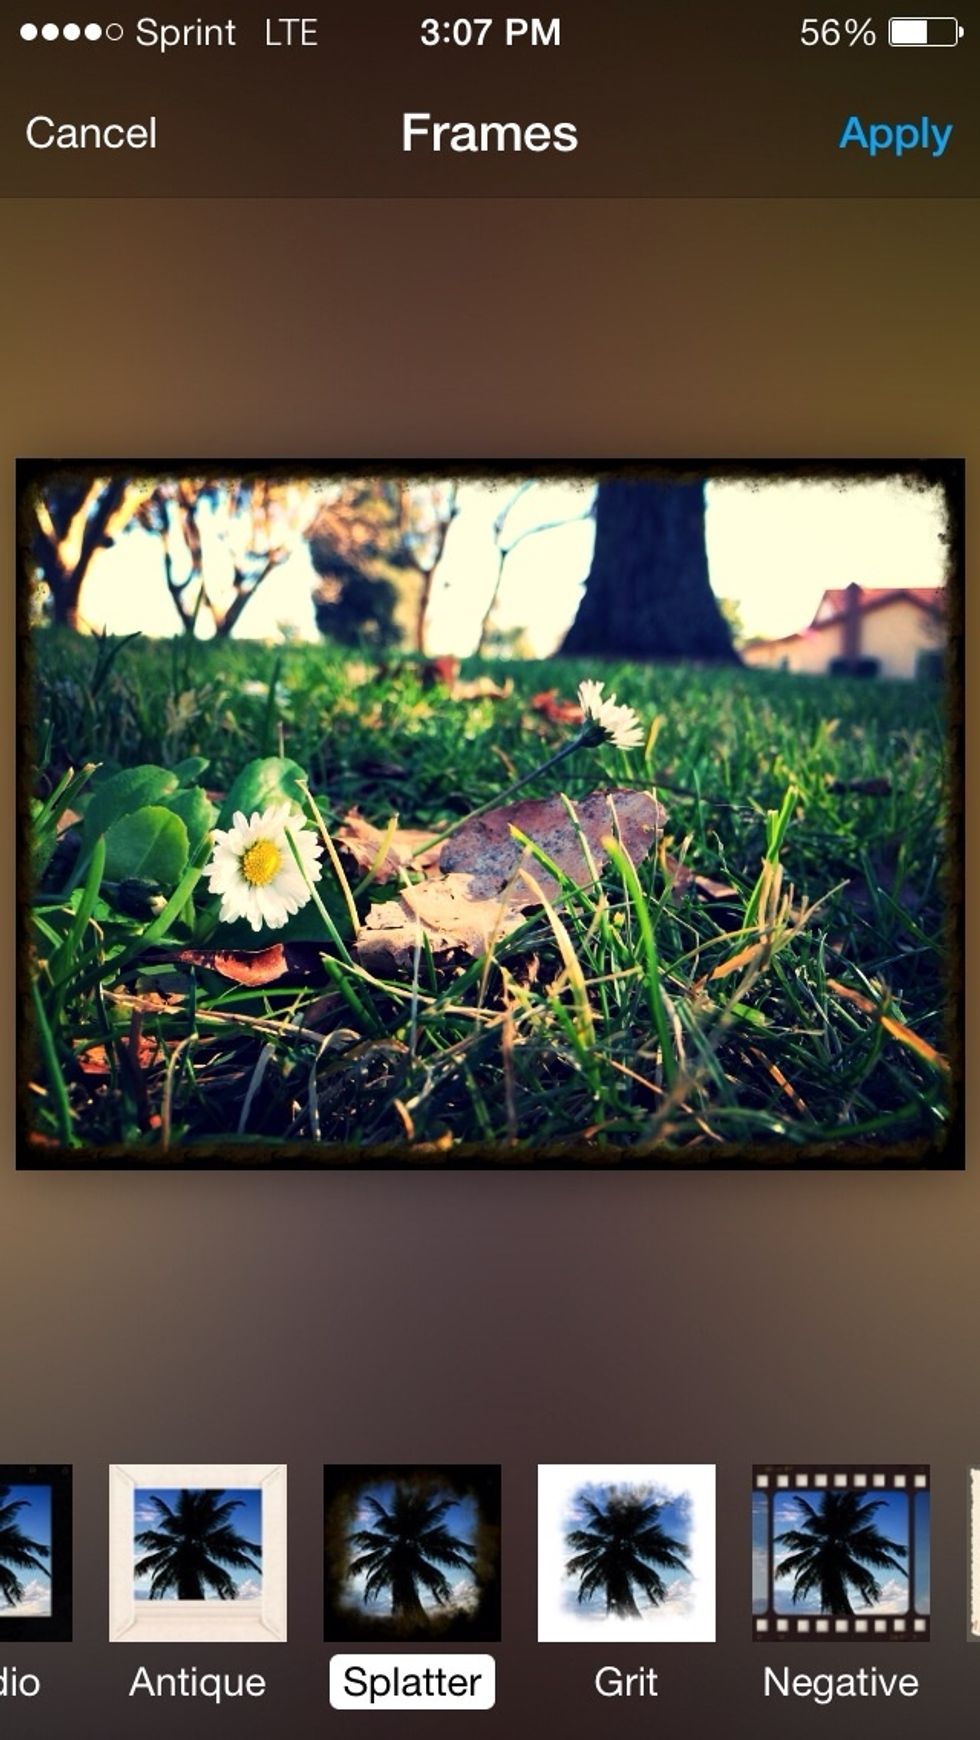
Next, is frames. I chose the one called Splatter for my picture.
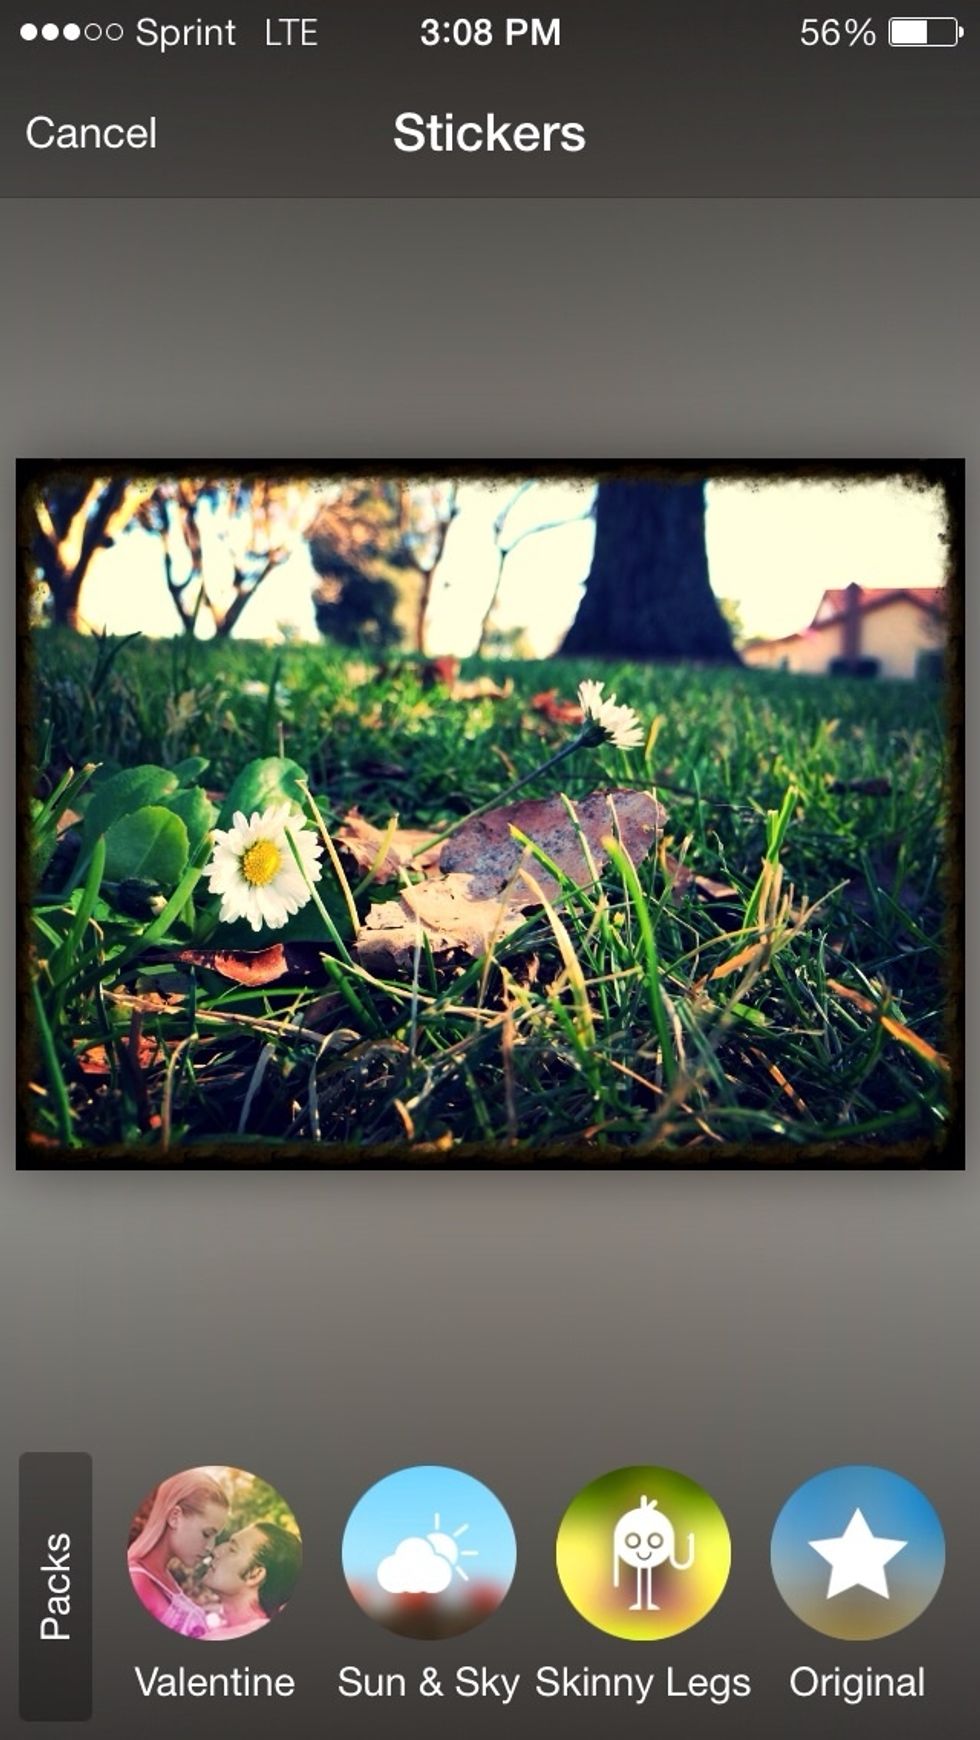
This one is called Stickers. I have four packs of stickers. ⭐️ You can change the size and orientation of the stickers.
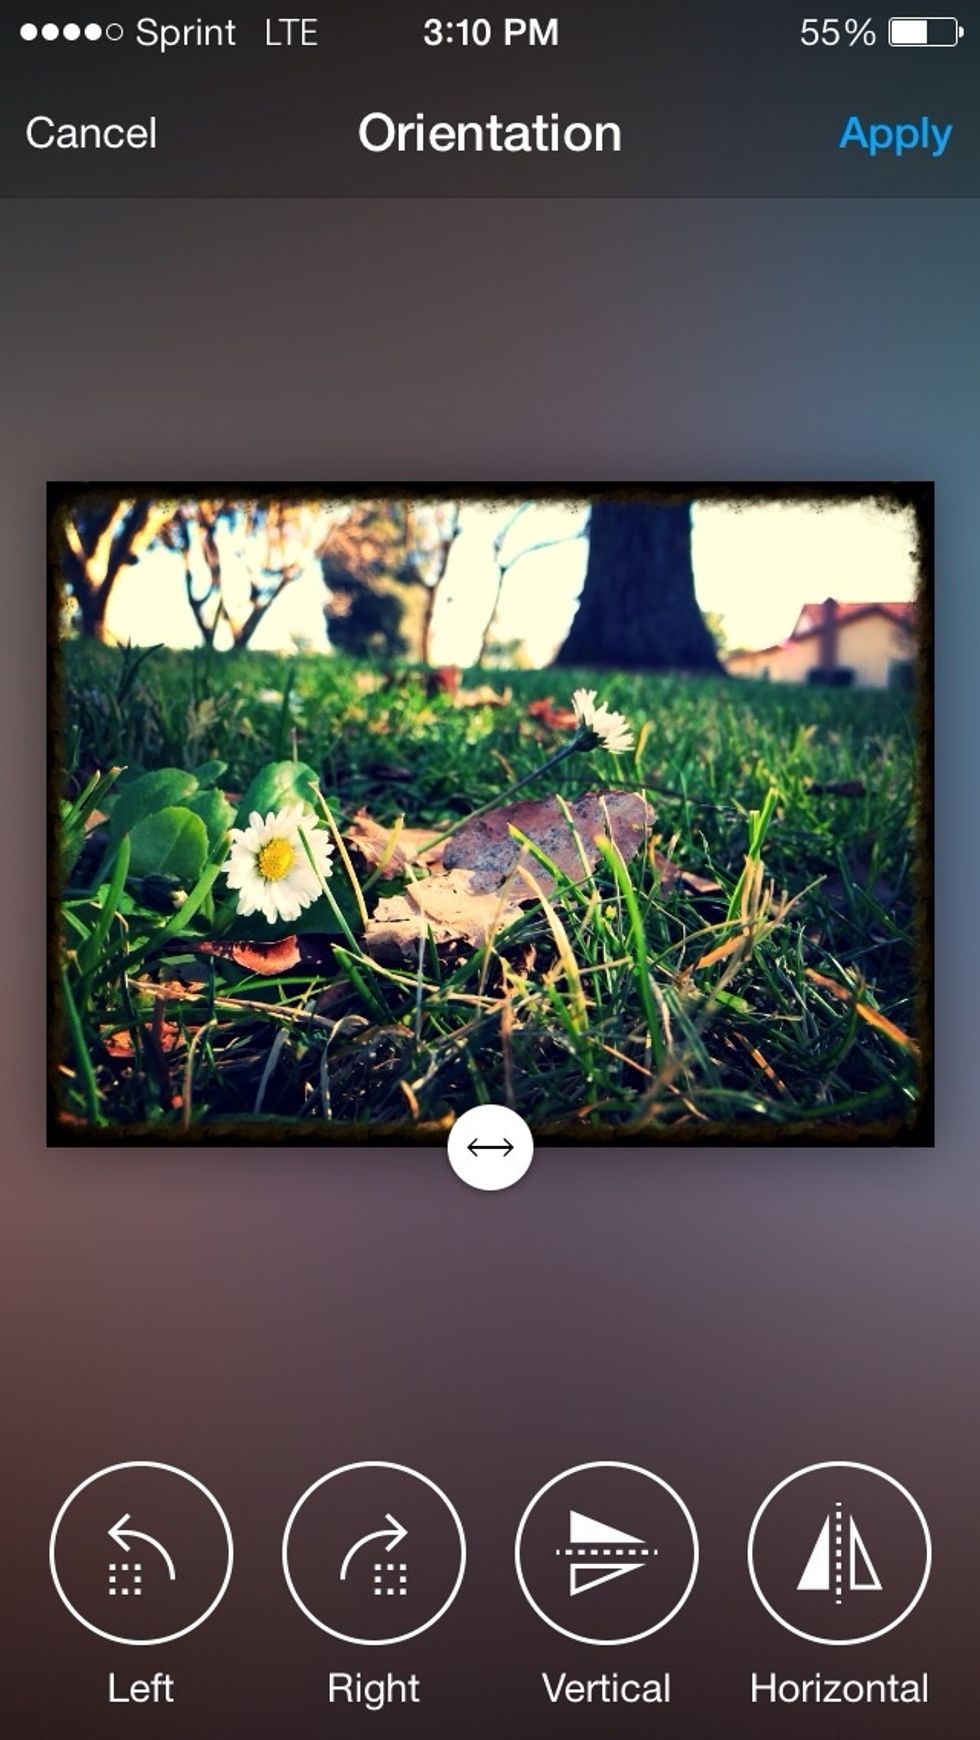
This is orientation. You can flip your photo around horizontally, vertically, and right and left. I will leave mine the way it is

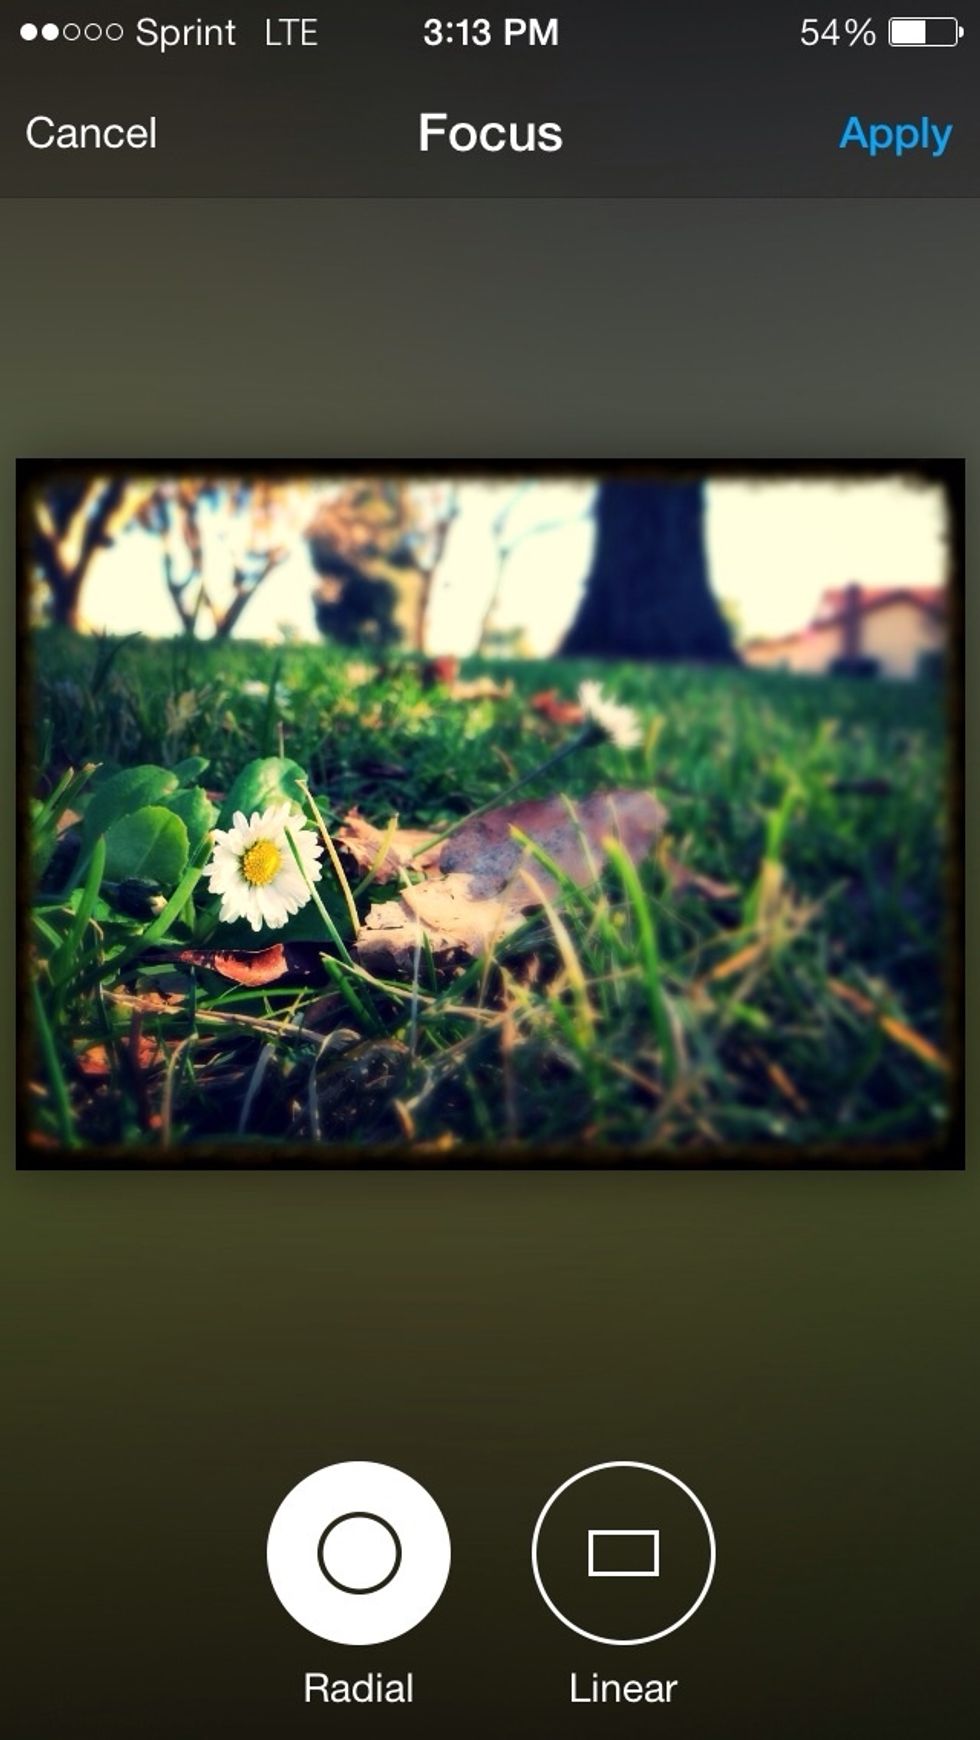
Focus allows you to focus on just one point or on a line. I focused on the flower 🌼
I assume you know what crop is but if you don't, it's basically cutting down your picture if you think it's too large I'm gonna leave mine alone in this step
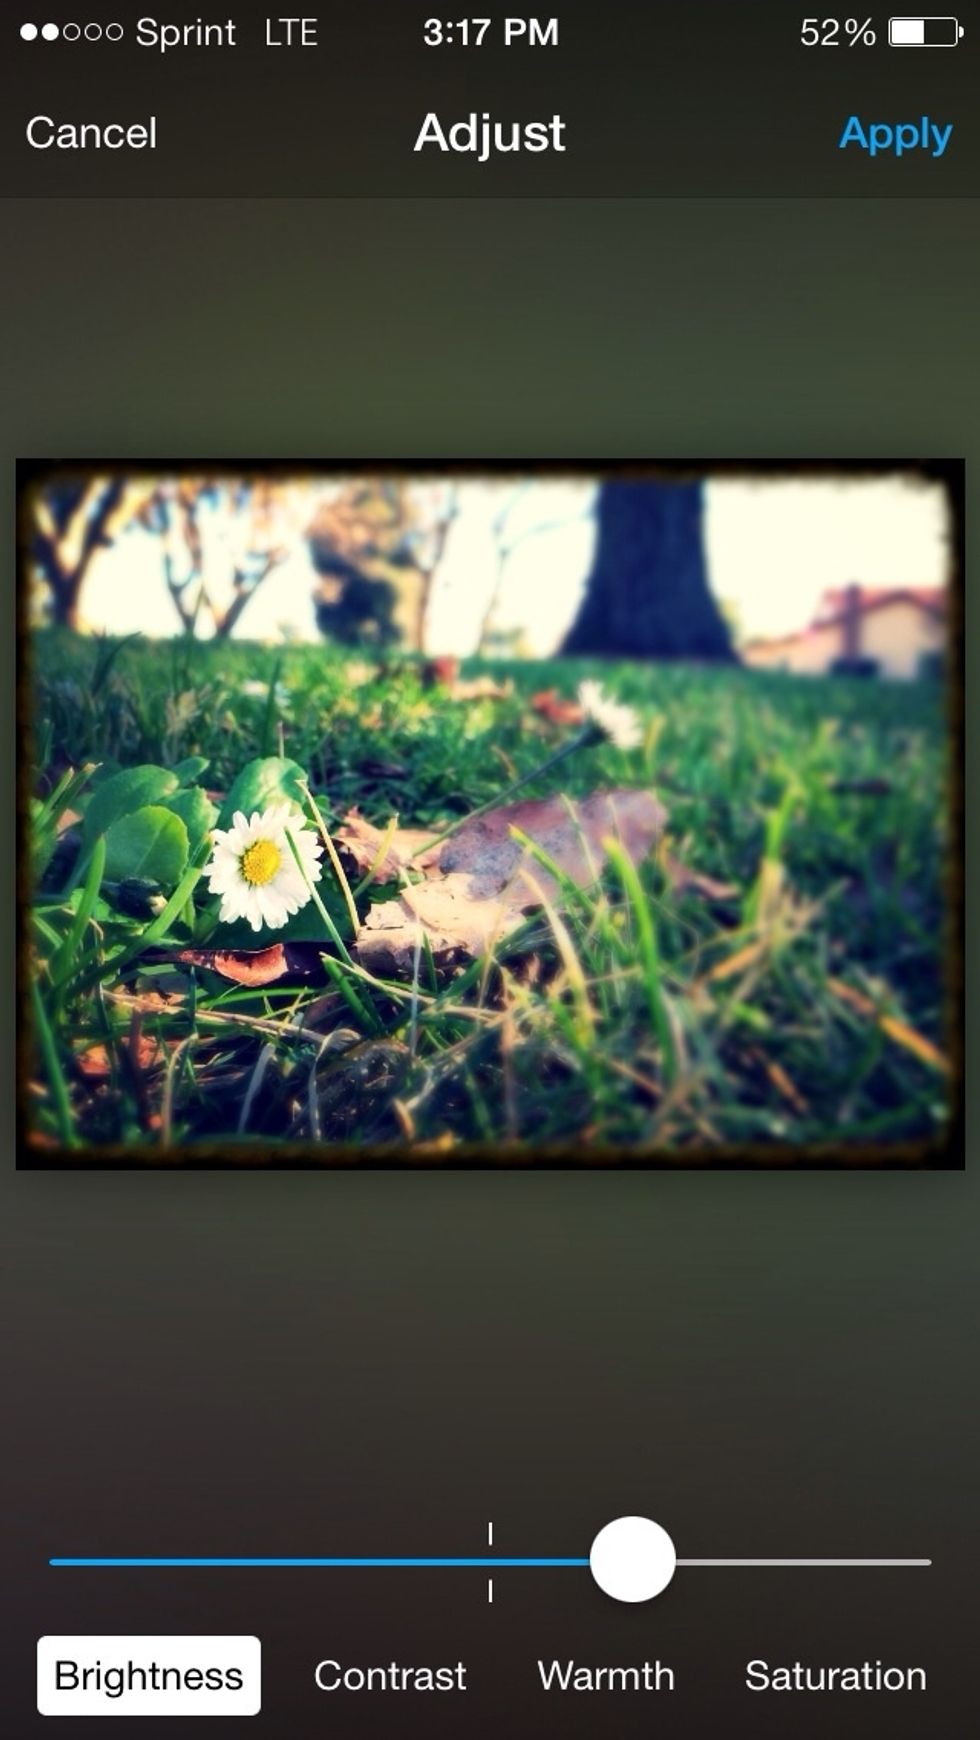
In Adjust you can adjust (wow who knew?) the brightness, contrast, warmth, and saturation in your picture. I made mine a little brighter 🌞
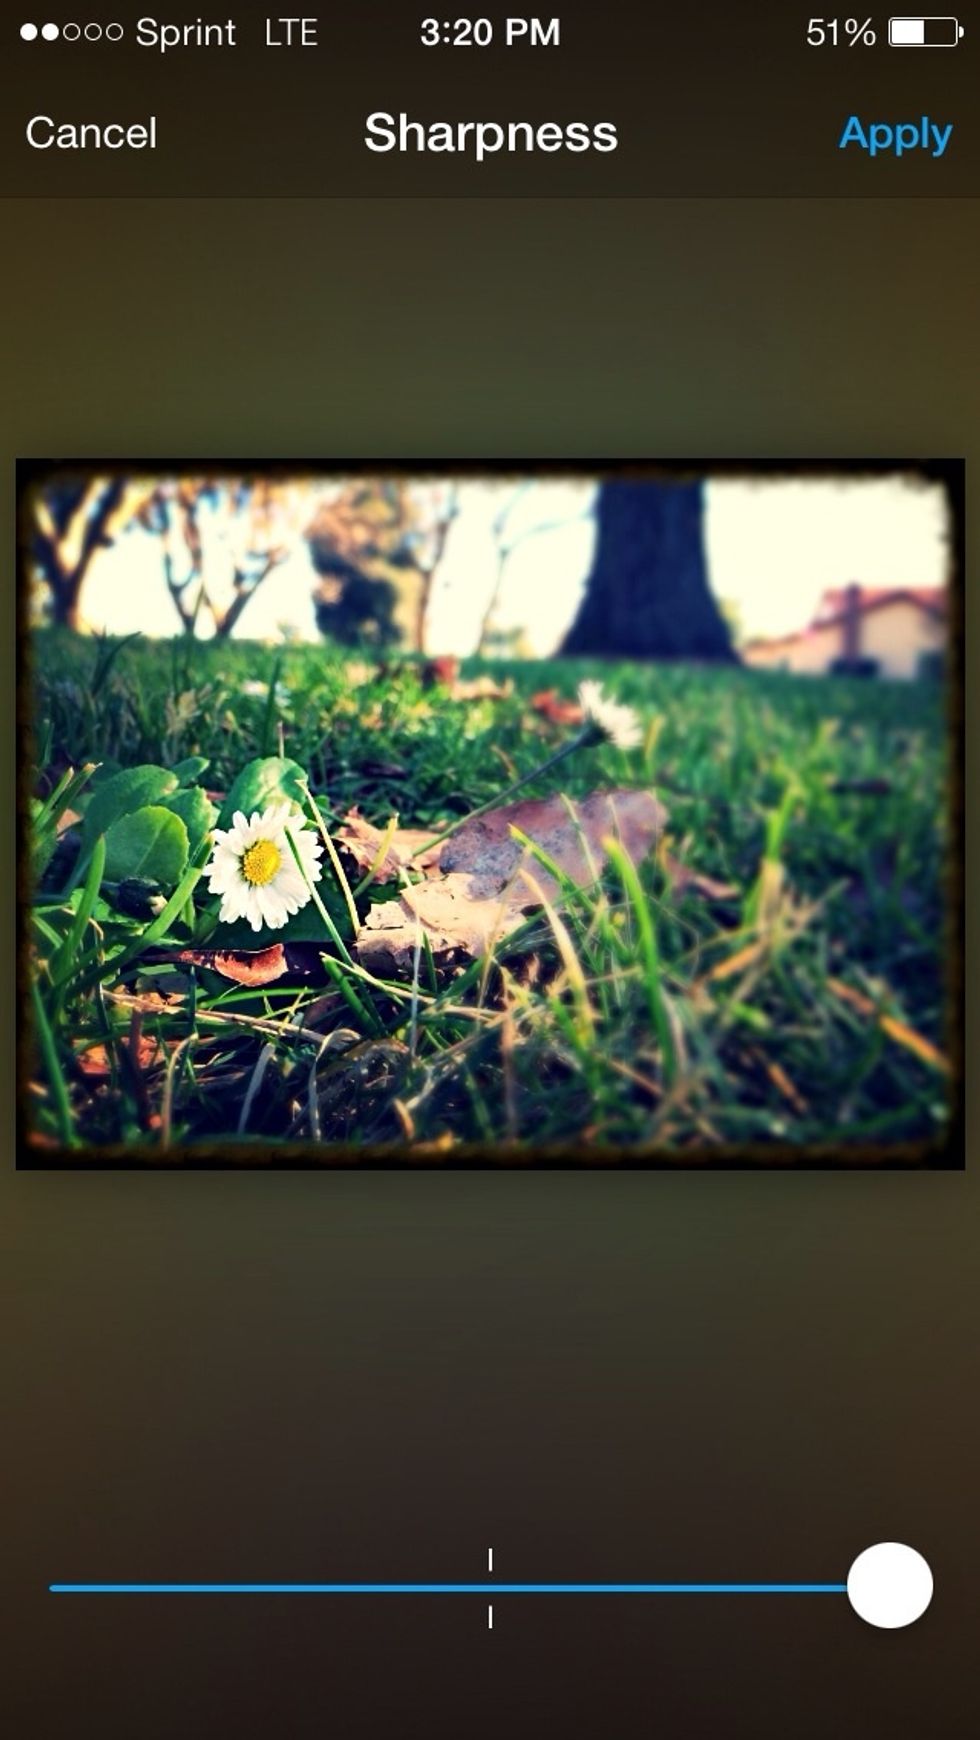
You can also make your picture sharper and blurrier using the Sharpness tool. I turned my sharpness up all the way for a clearer picture
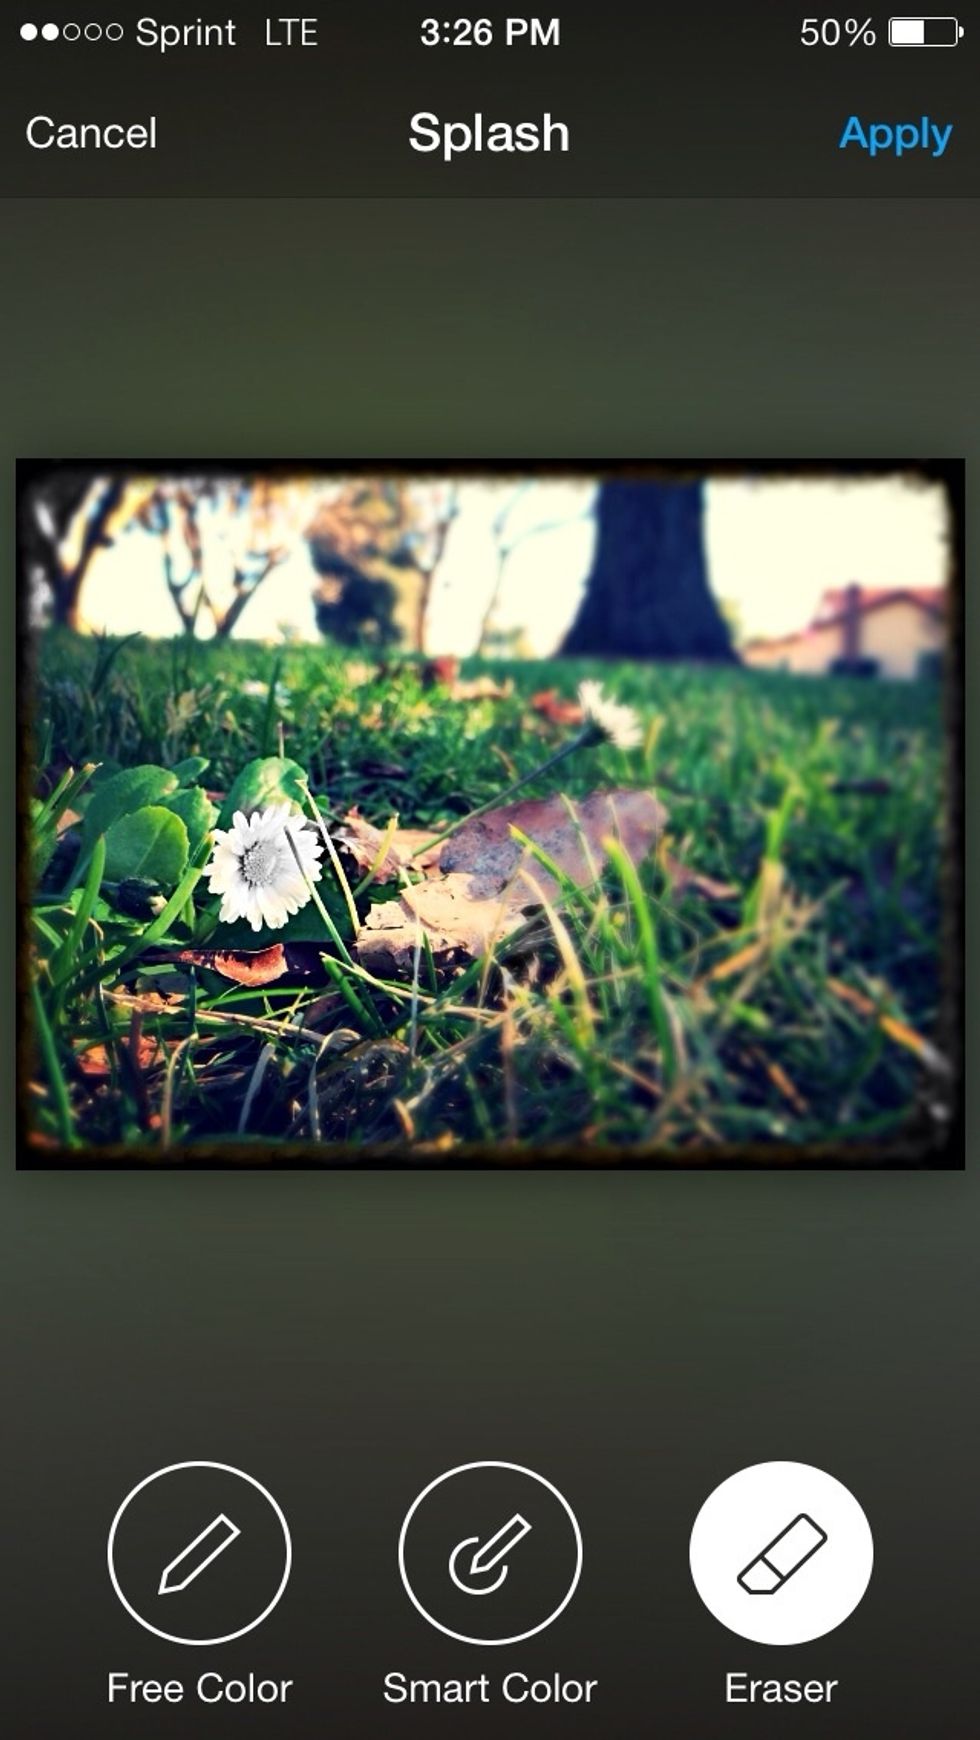
the Splash tool is really cool. you can isolate a part of the picture and make part of it in color or in black and white
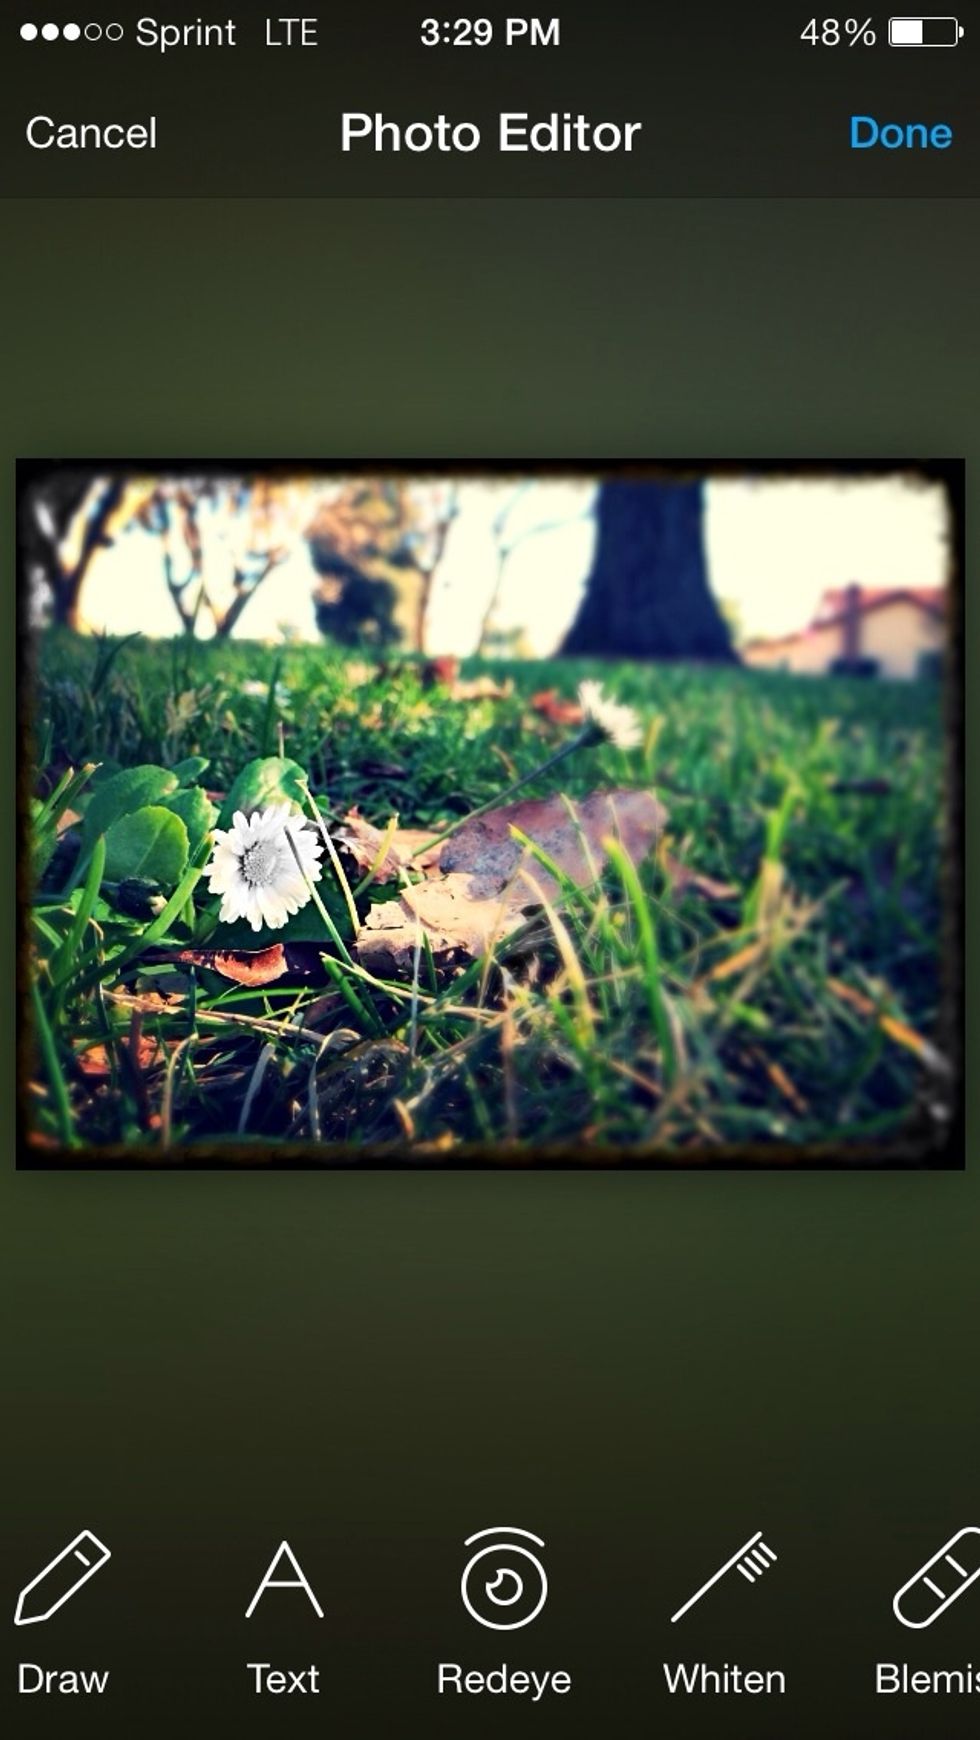
Draw, Text, Redeye, Whiten, Blemish, and Meme. I am not gonna demonstrate these but I will tell you what they do. Draw: you can draw on your photo
Text: you can write on your photo Redeye: removes red eyes from picture Whiten: Whitens your teeth in the picture Blemish: blurs out blemishes Meme: You can add a top and bottom row of text