The Conversation (0)
Sign Up
This quick guide will show you how to make basic edits with Adobe's Premiere Elements.
The first step in making a video is to film using a device such as a iPhone or iPad
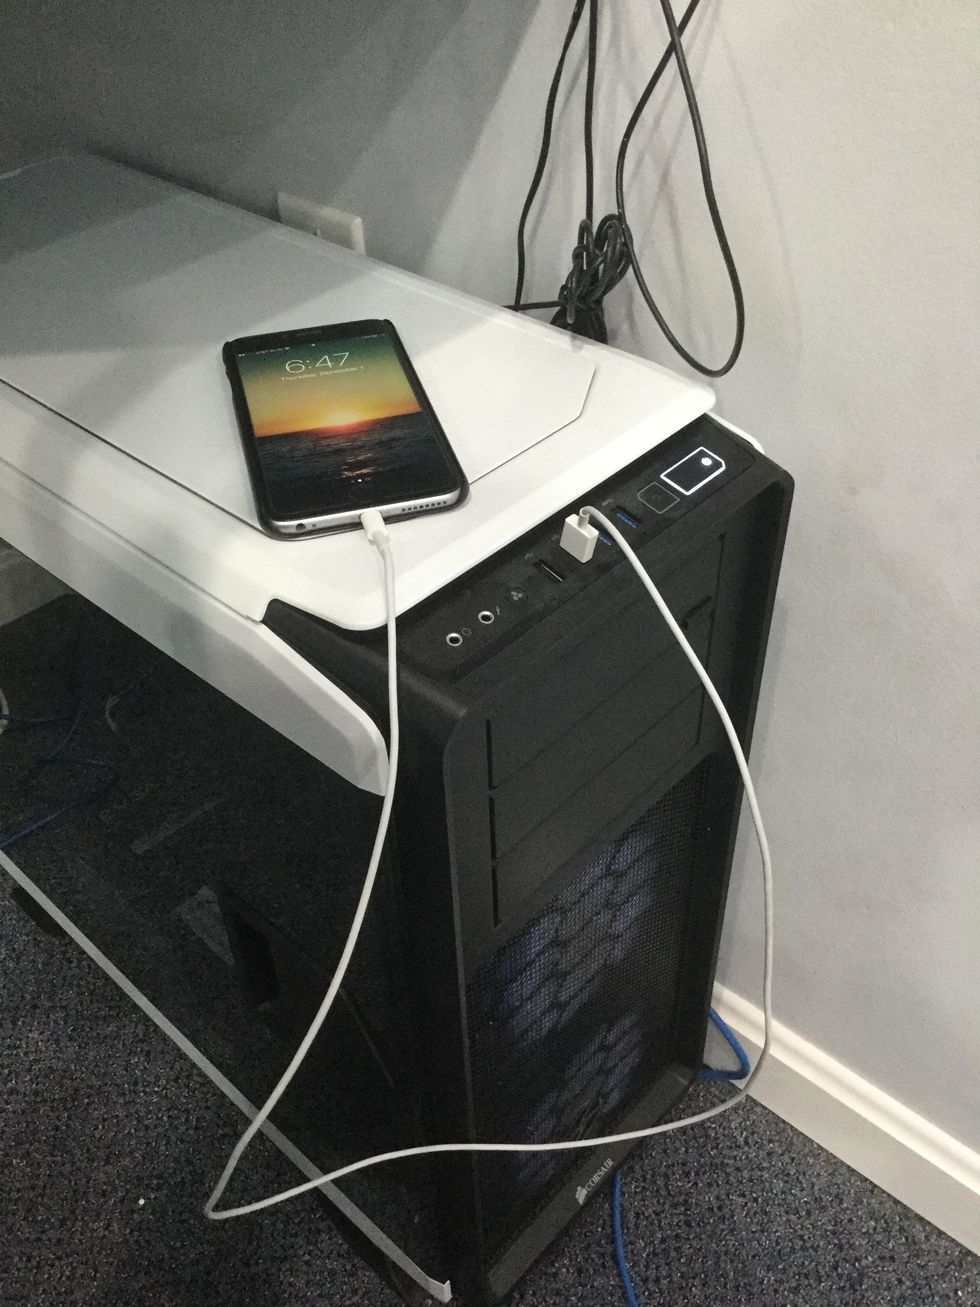
Use a USB cable to plug the device into your computer
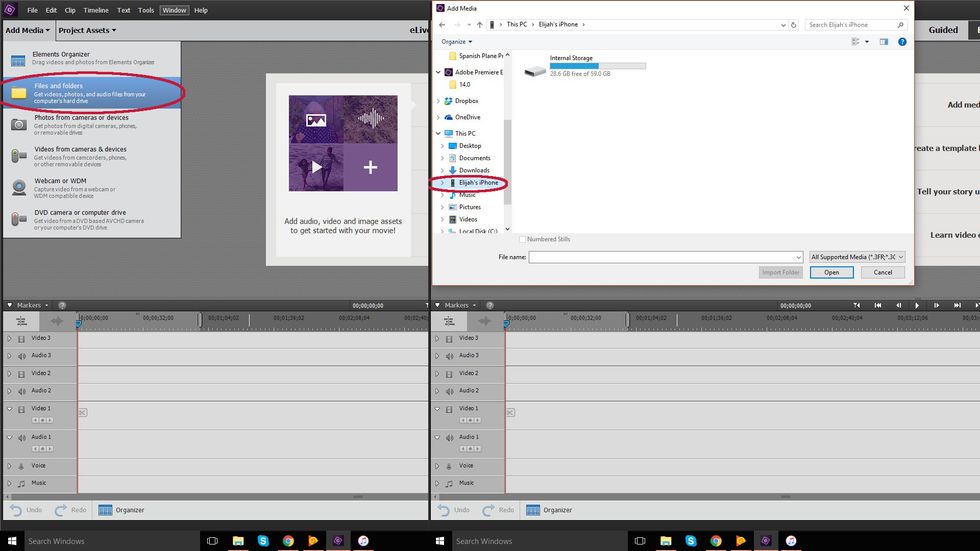
To import the recorded video, click "Files and Folders", then find the device on the left and select all the needed videos
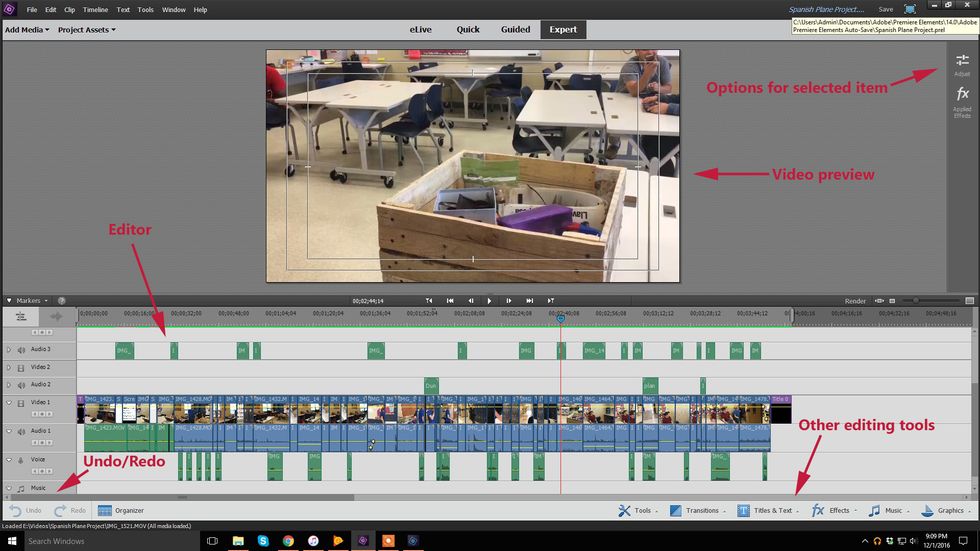
Take a minute to familiarize yourself with a few of the important UI elements
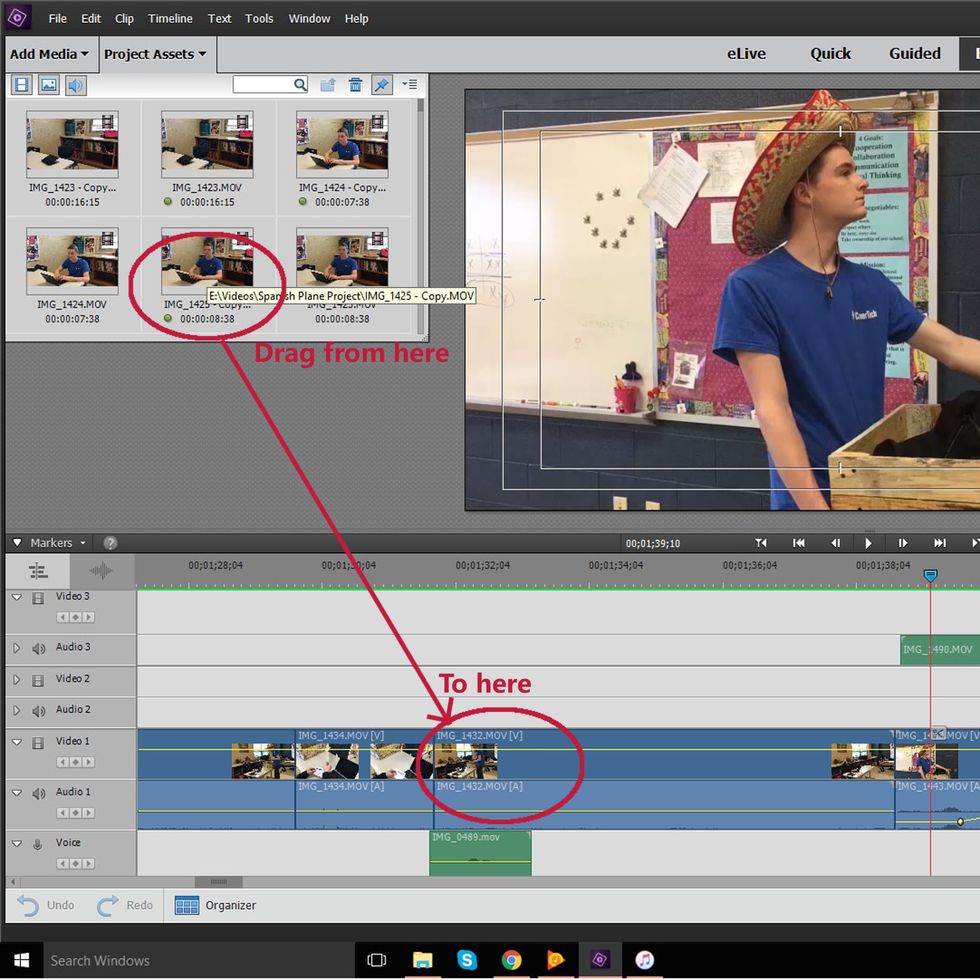
After the videos have been imported, drag them from the "Project Assets" tab to the timeline
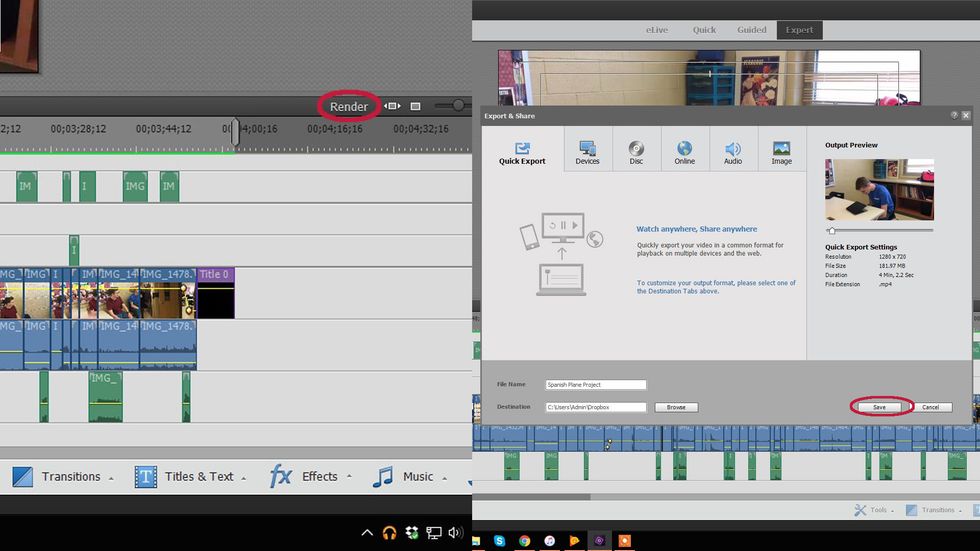
To finish the video, first press render and rewatch the video. Once you are satisfied, press "Export and Share" and save the video to the location of your choosing
If you need the video back on your iOS device, there are a few ways to do it, but the easiest is to choose a Dropbox or Google Drive folder as the download location when exporting
That's it! You now know how to make basic edits with Premiere Elements