The Conversation (0)
Sign Up
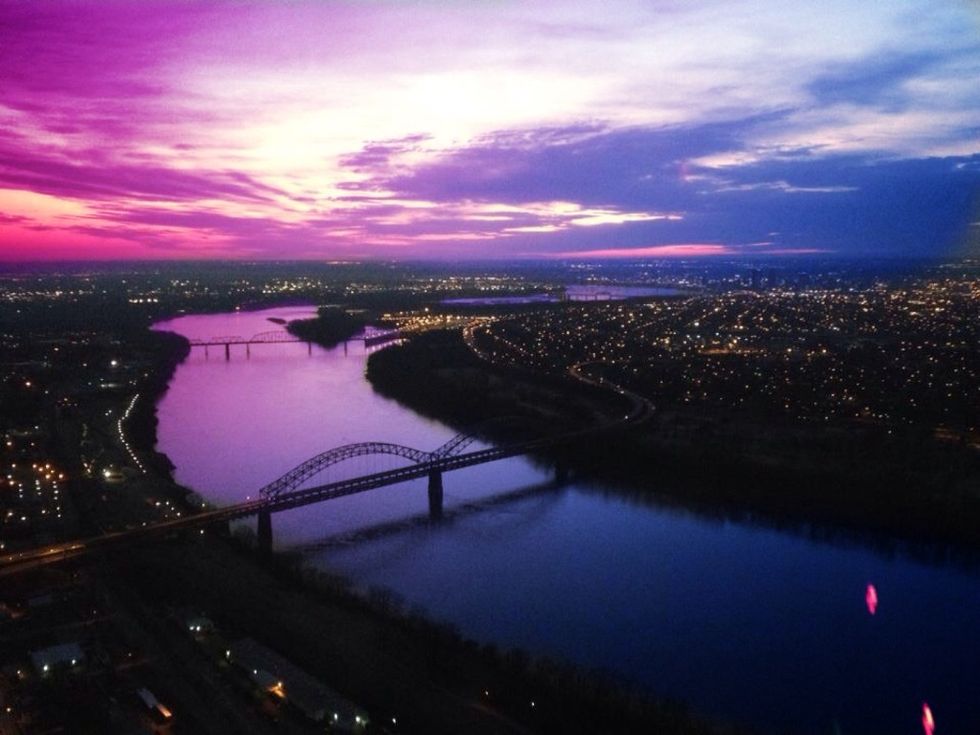
This is a picture of the Louisville skyline that i edited. I chose a landscape because I like editing and shooting them best. Now I'll show you how I did it!
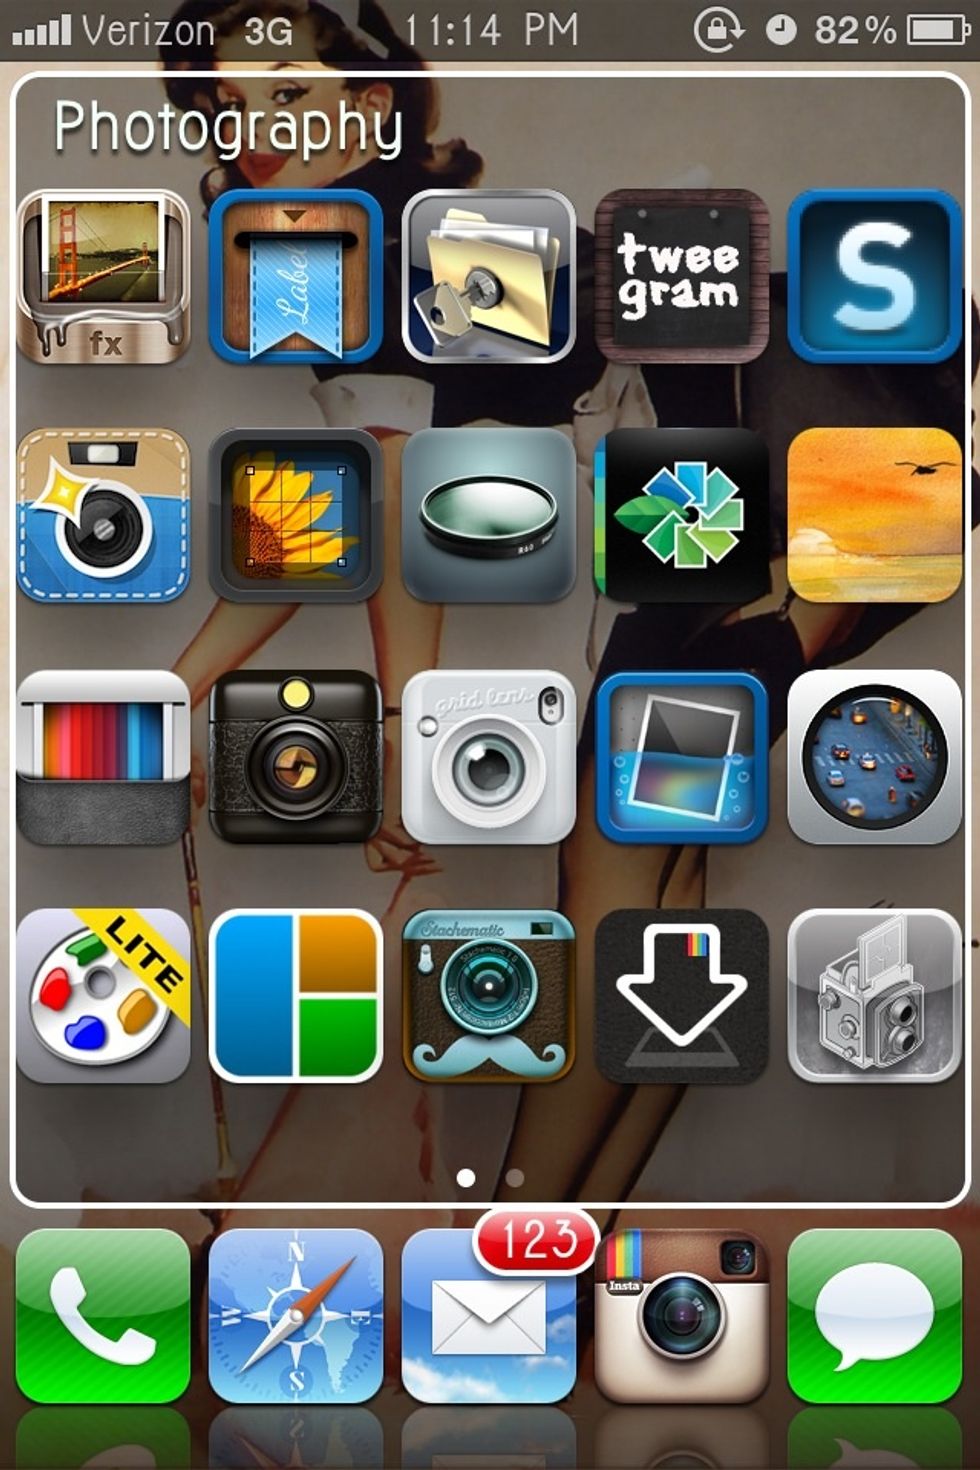
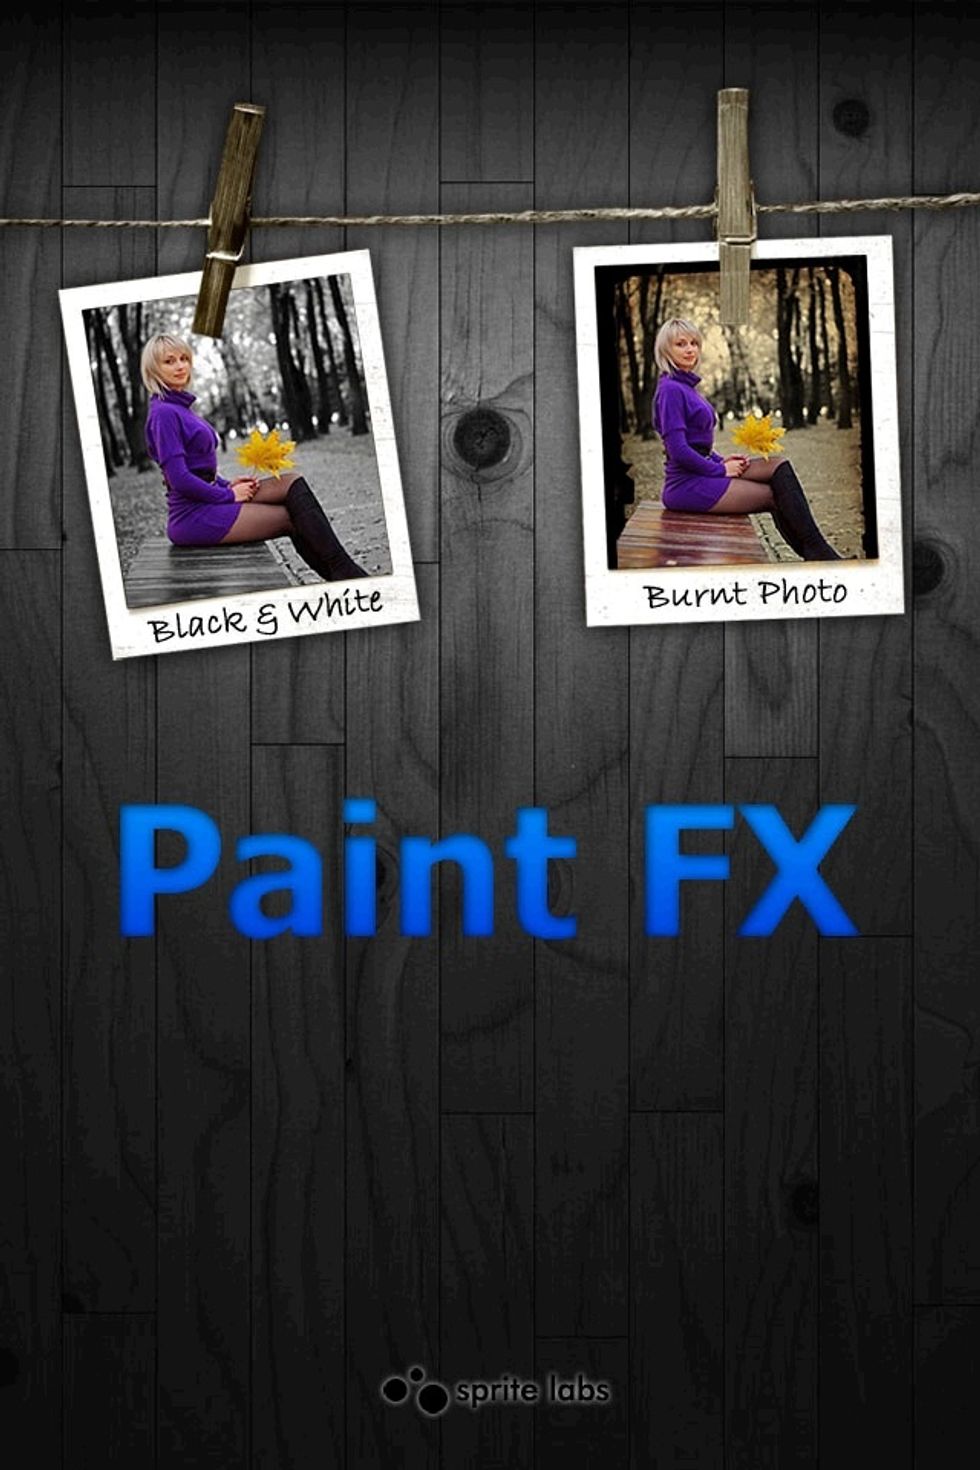
First you want to download the app Paint FX. It is probably one of my most favorite editing apps. I got it for free because my phone is jail broken. But I don't think it is to expensive.
Open the app.
If you click the photo it will make it full screen and you can see some of the buttons I'm talking about. ;)
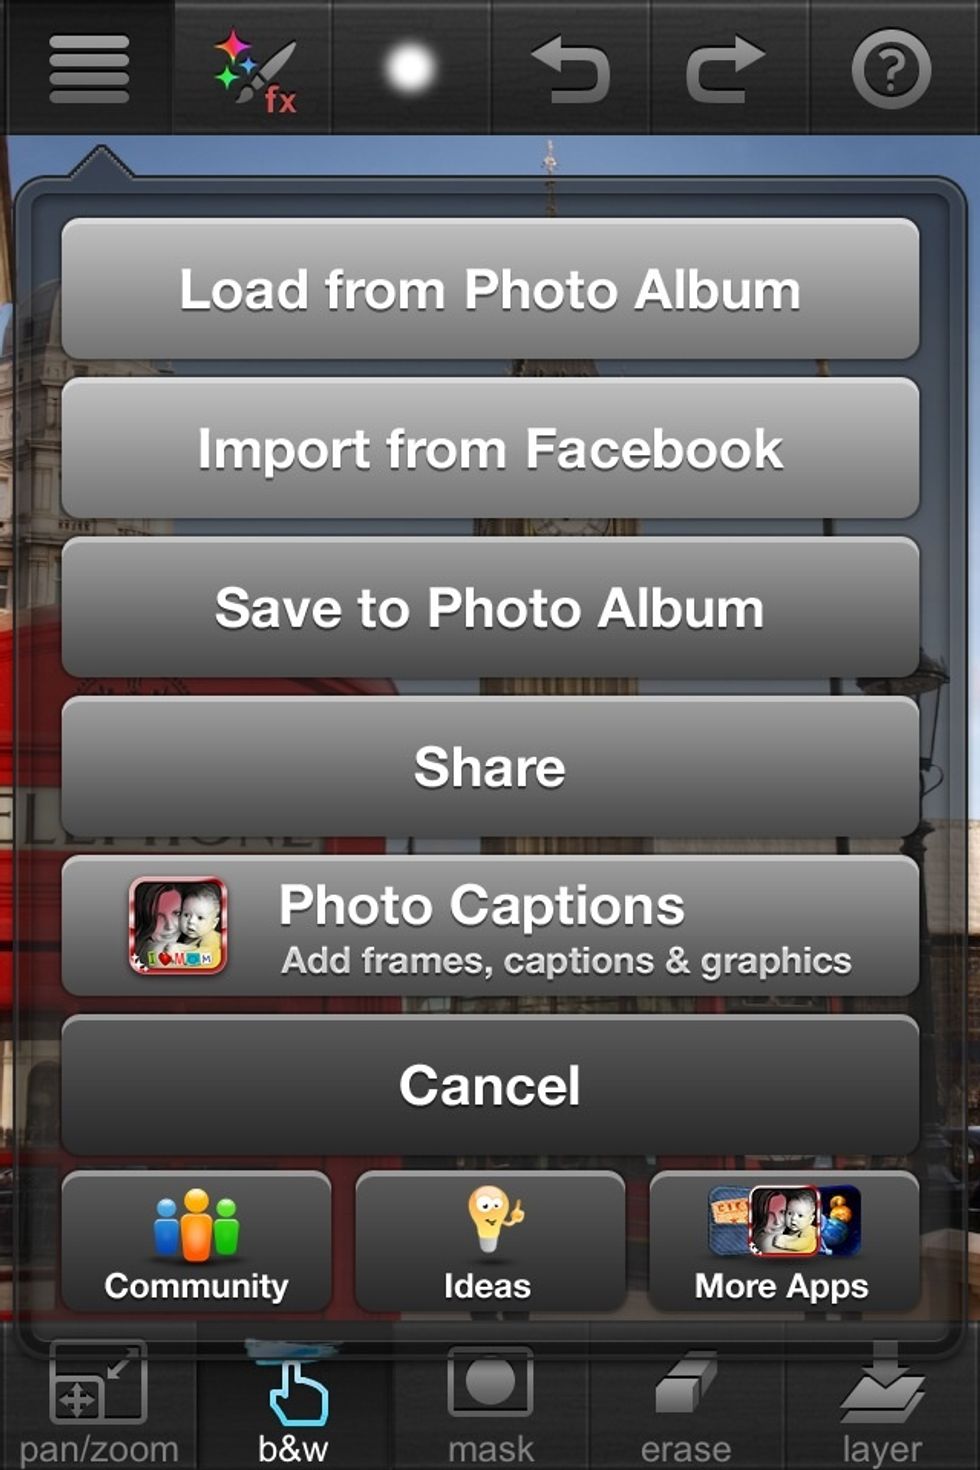
You want to click the top left tab with three lines and then hit load photo from album.
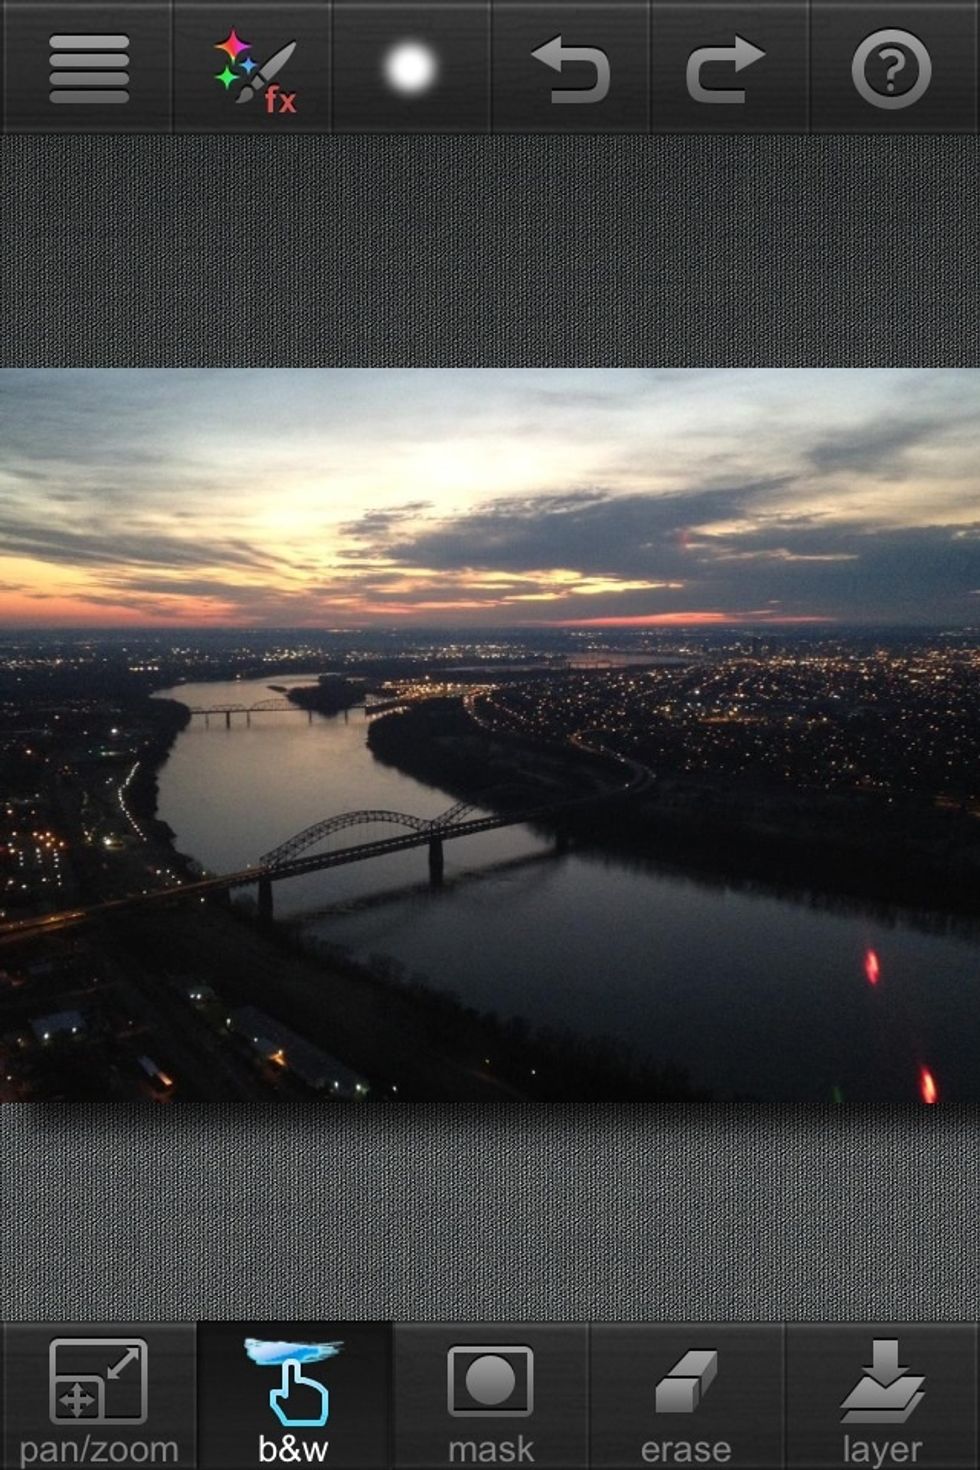
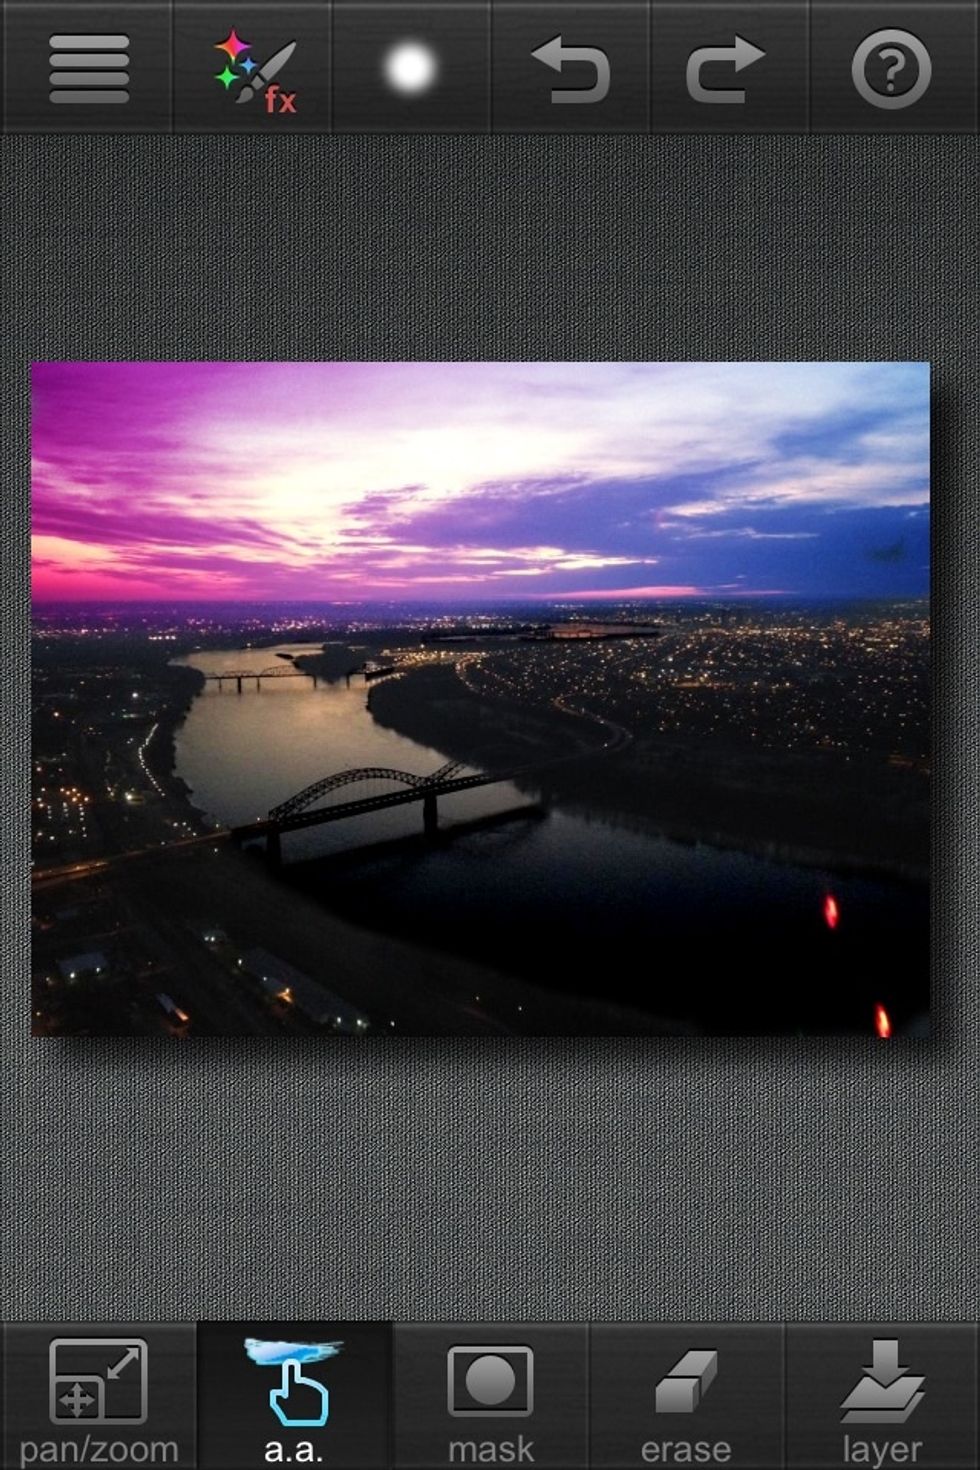
Here is our photo.
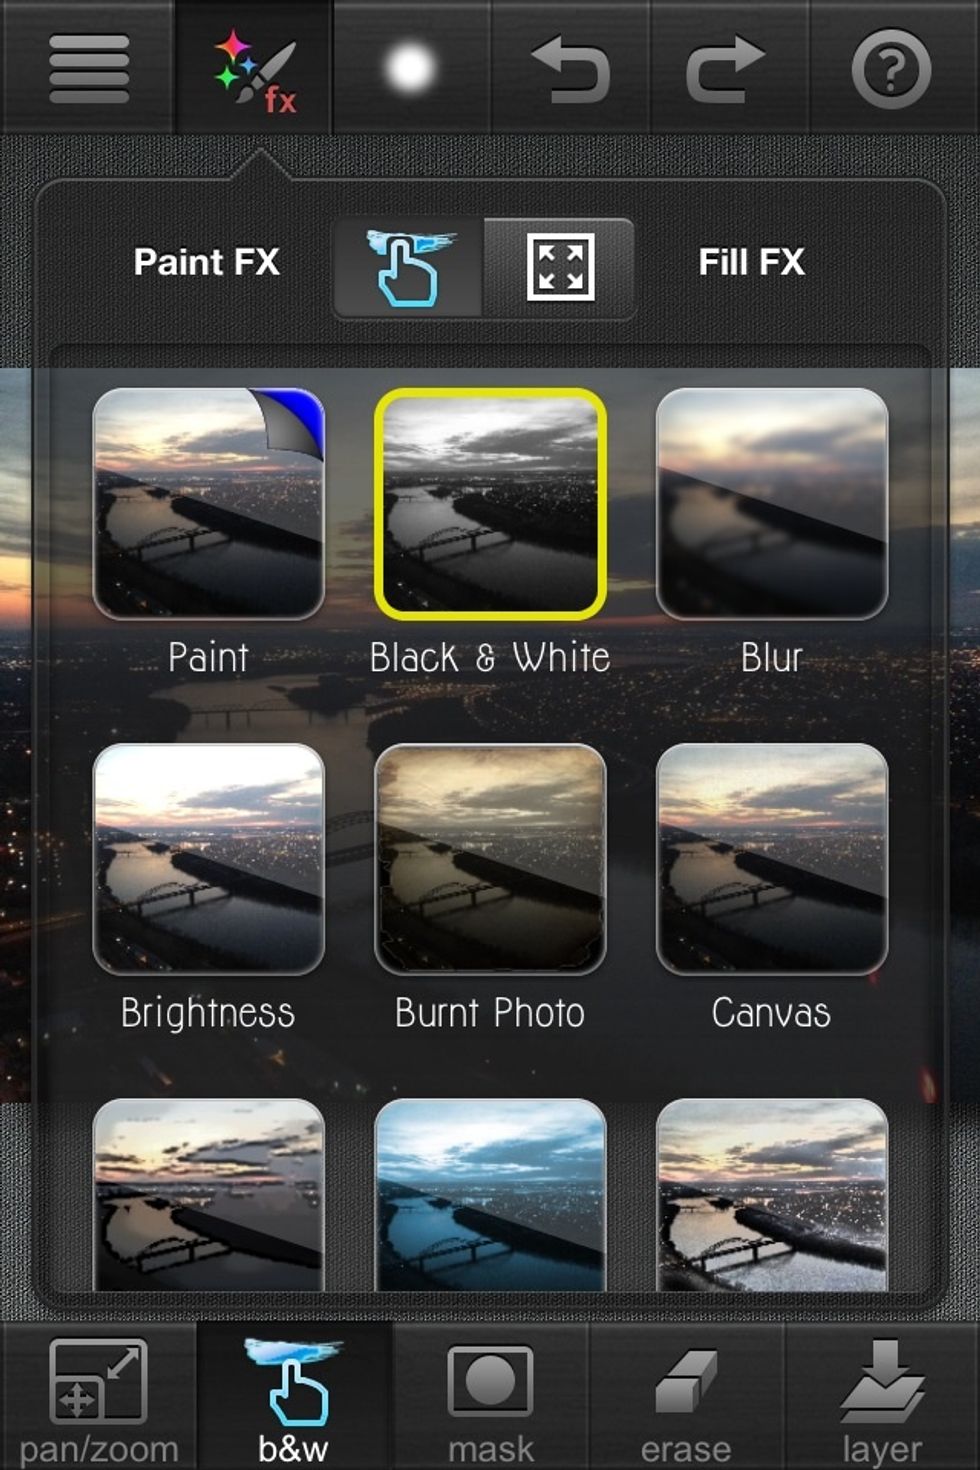
Next you want to click the second tab on the left that looks like a paint brush and says FX. Then let's click brightness to make the picture pop.
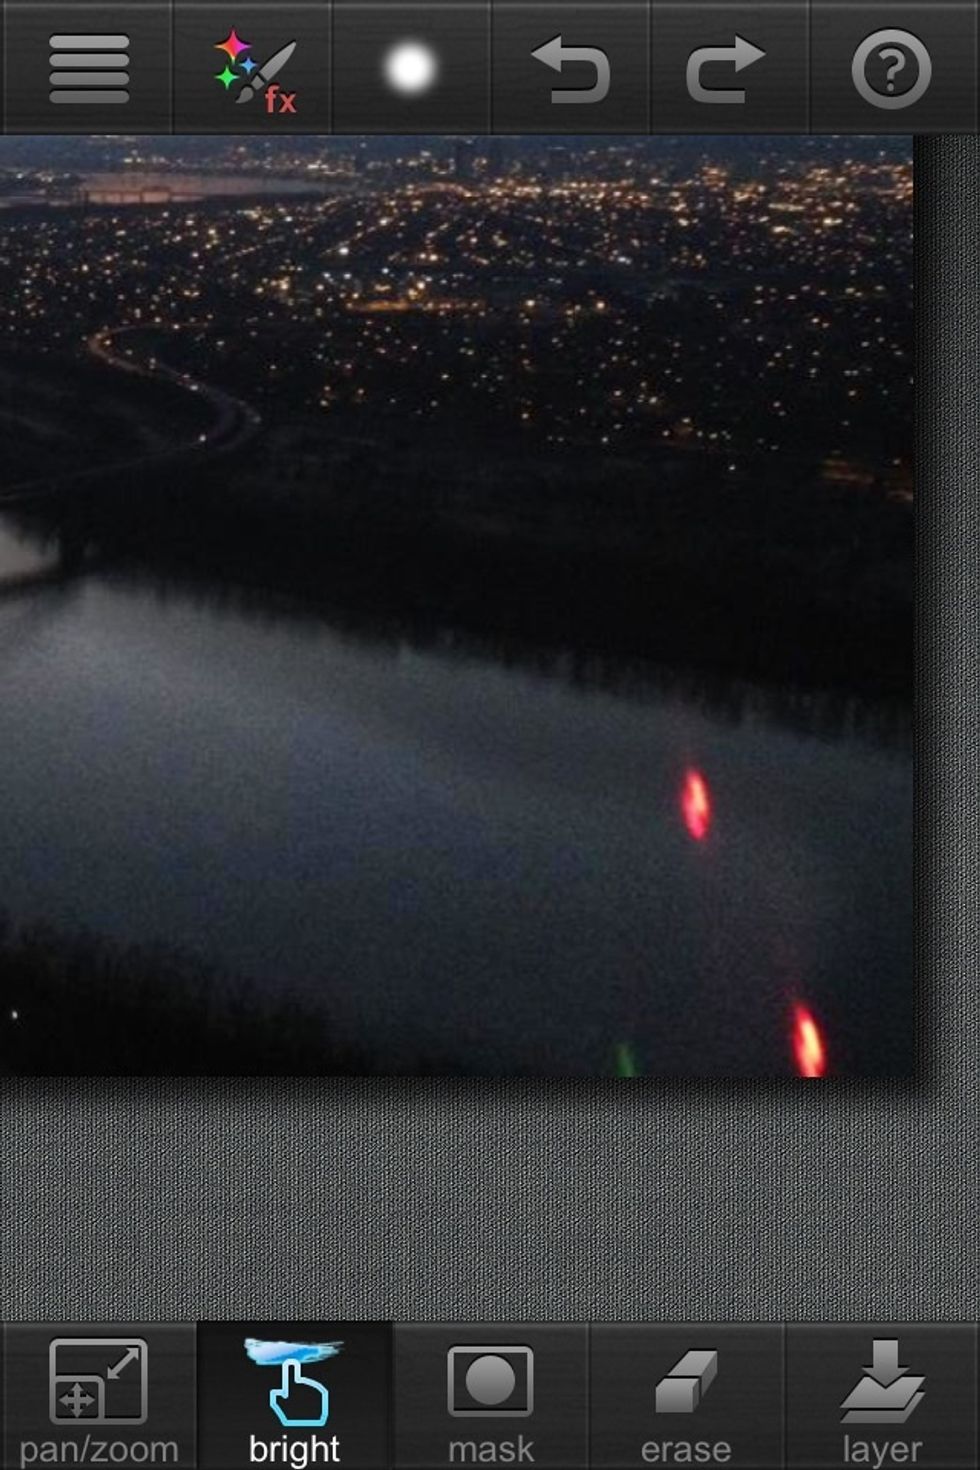
What I did was highlight the river and the sky.
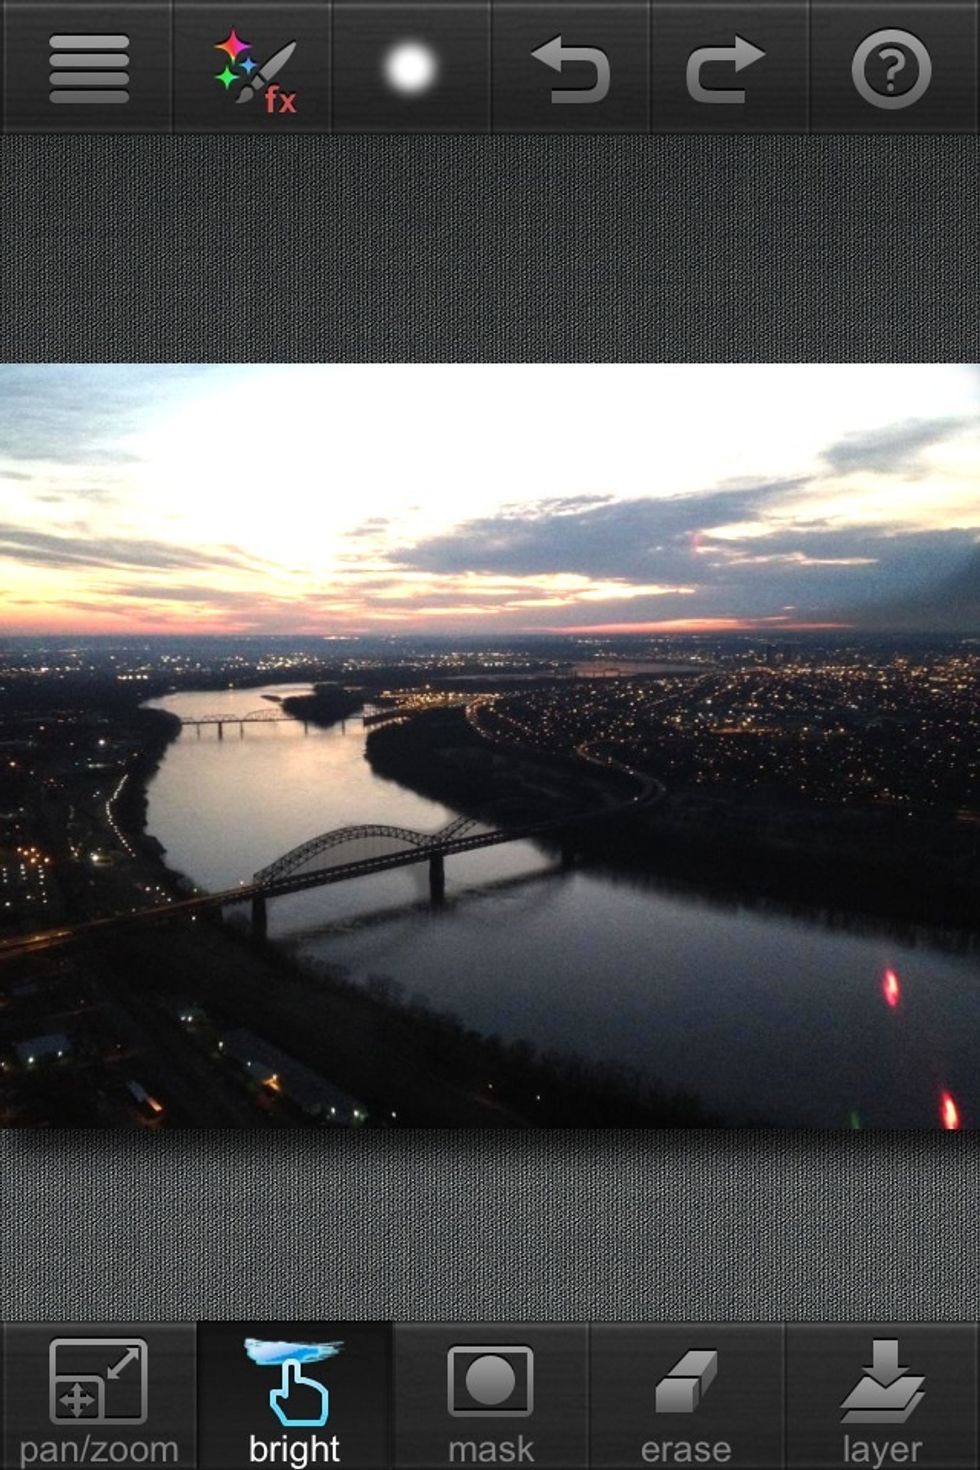
This is after I brightened the sky and river.
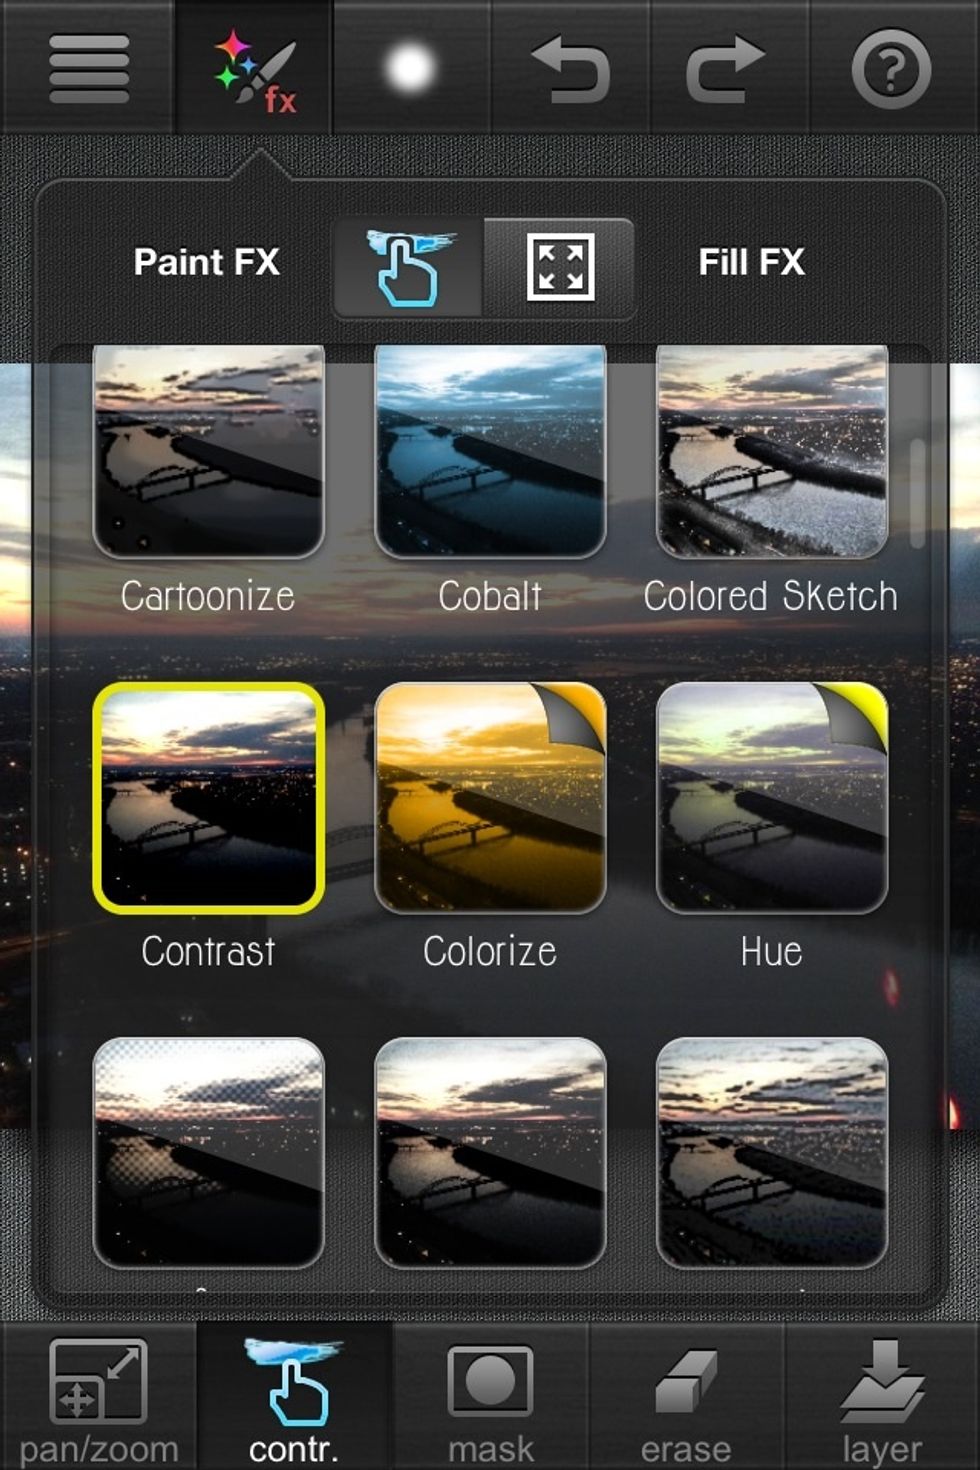
Next we want to click the FX tab again. This time click contrast.

All I did was add contrast to the river and sky. Same as the brightness. If you mess up and add contrast to somewhere you don't want it. Use the erase button, zoom in and get rid of it. :)

This is after the brightness and contrast to the sky and river only.
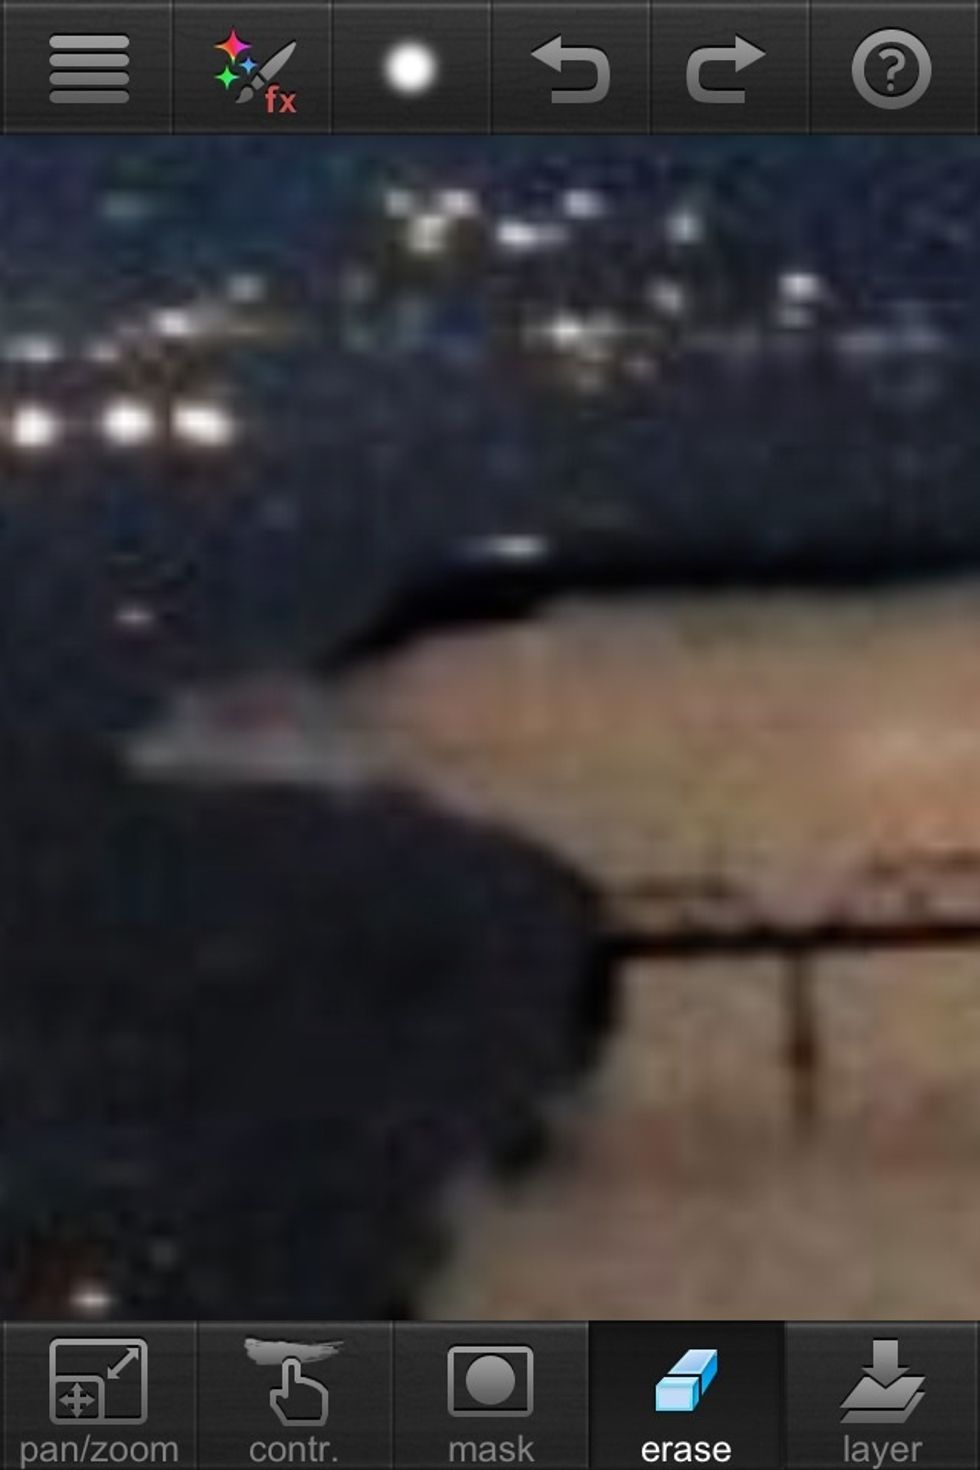
This is a bad picture but you can see how it's darker on the tree line and I don't want that so I carefully erased it.
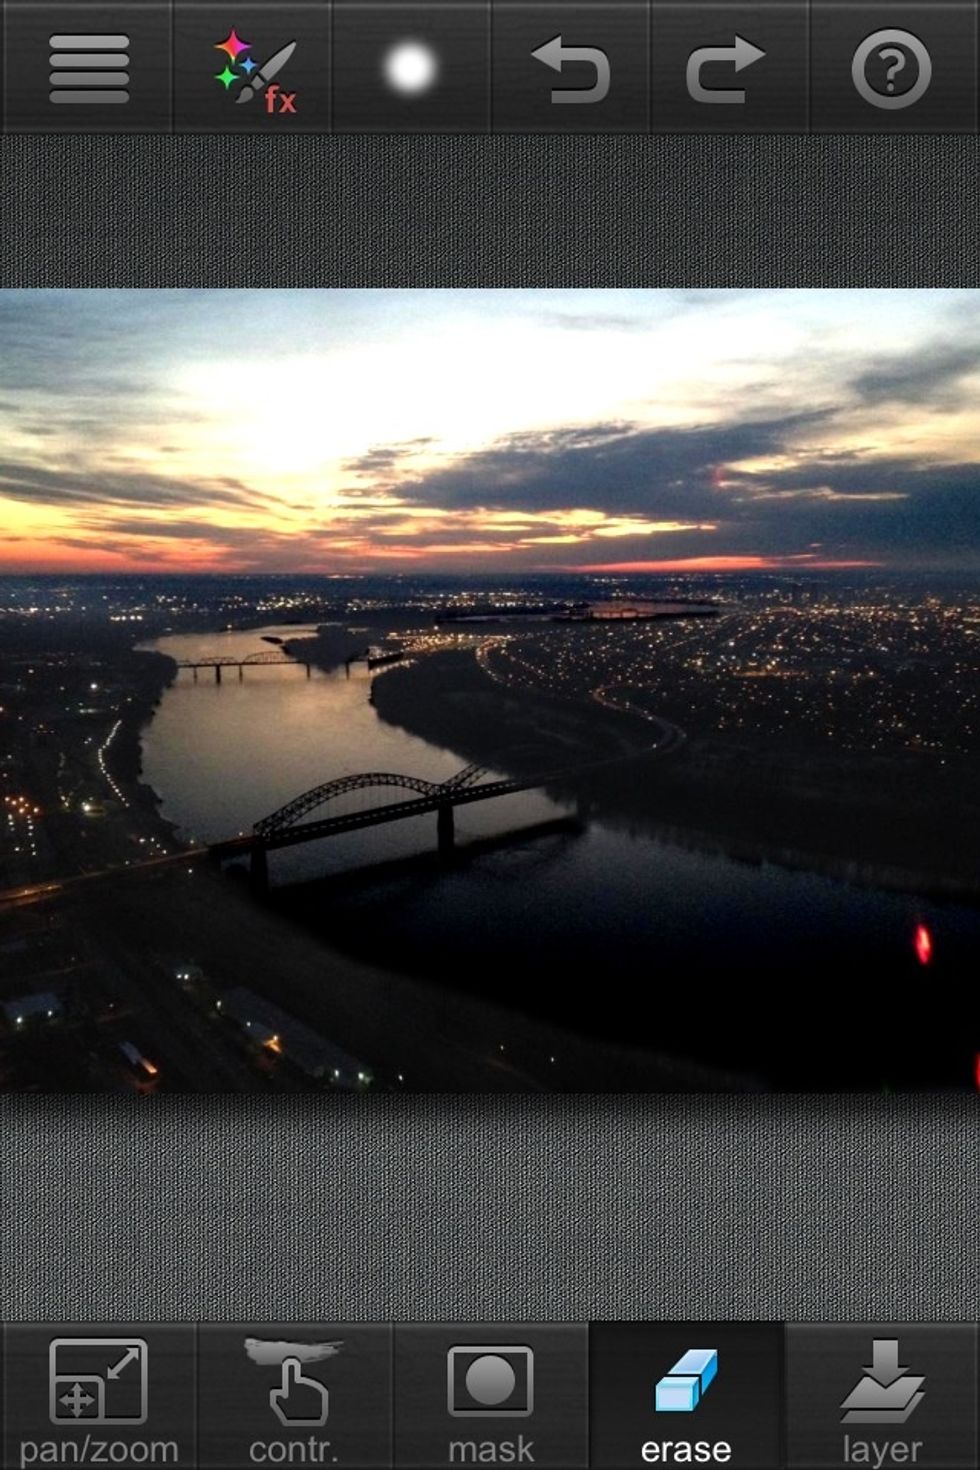
This is after I erased my mistakes.
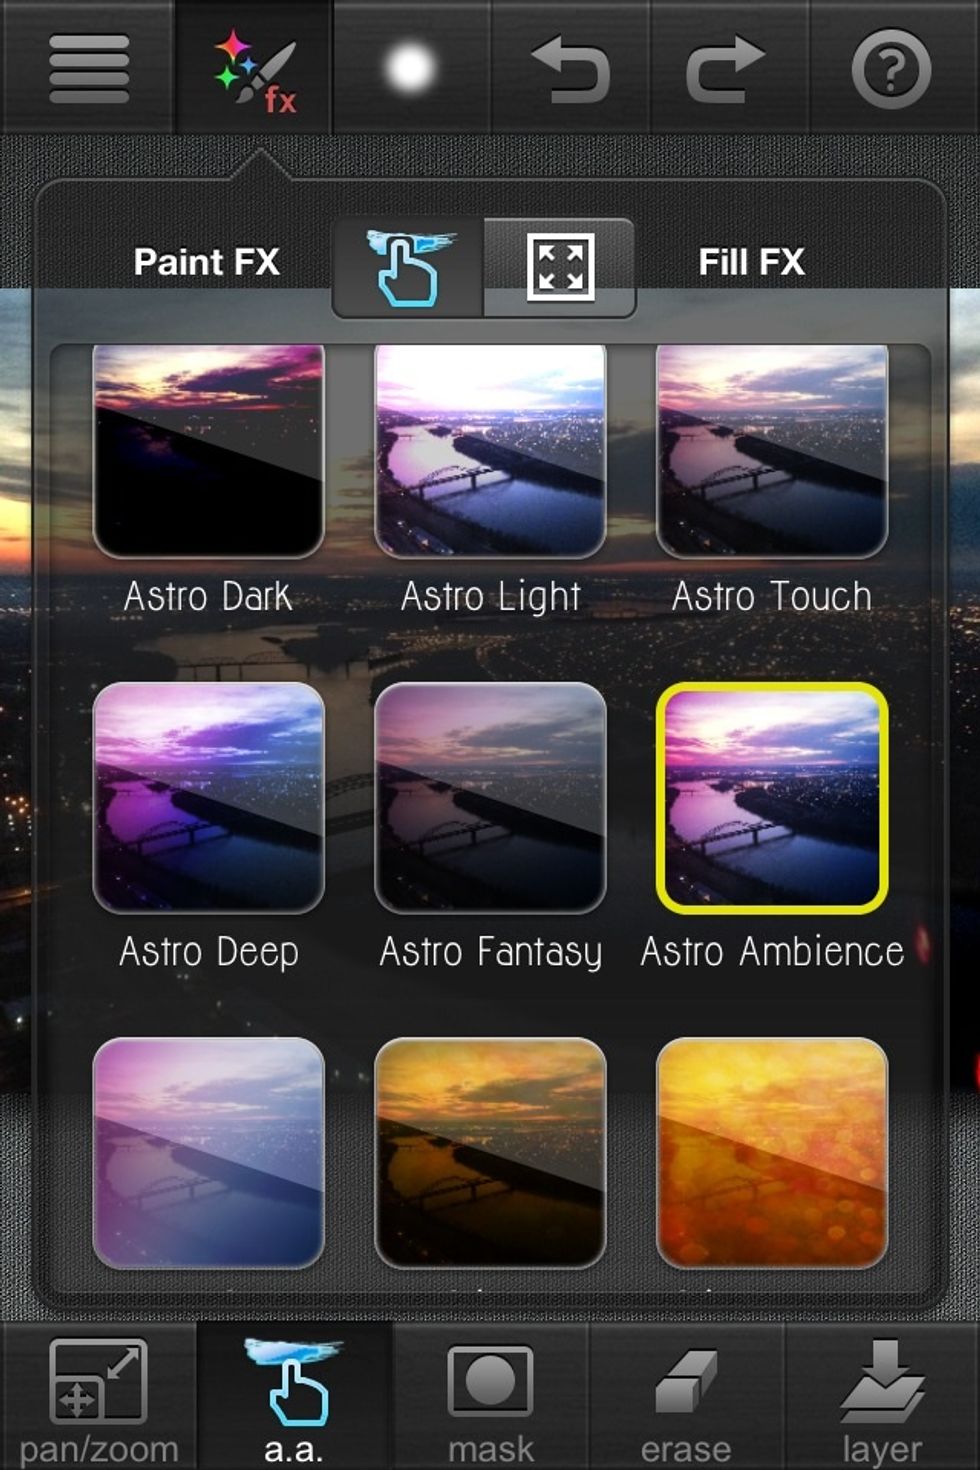
Now the fun part. Open the FX tab again and scroll down until you see Astro Ambience. Click it!
Now we want to fill in the sky and river only.
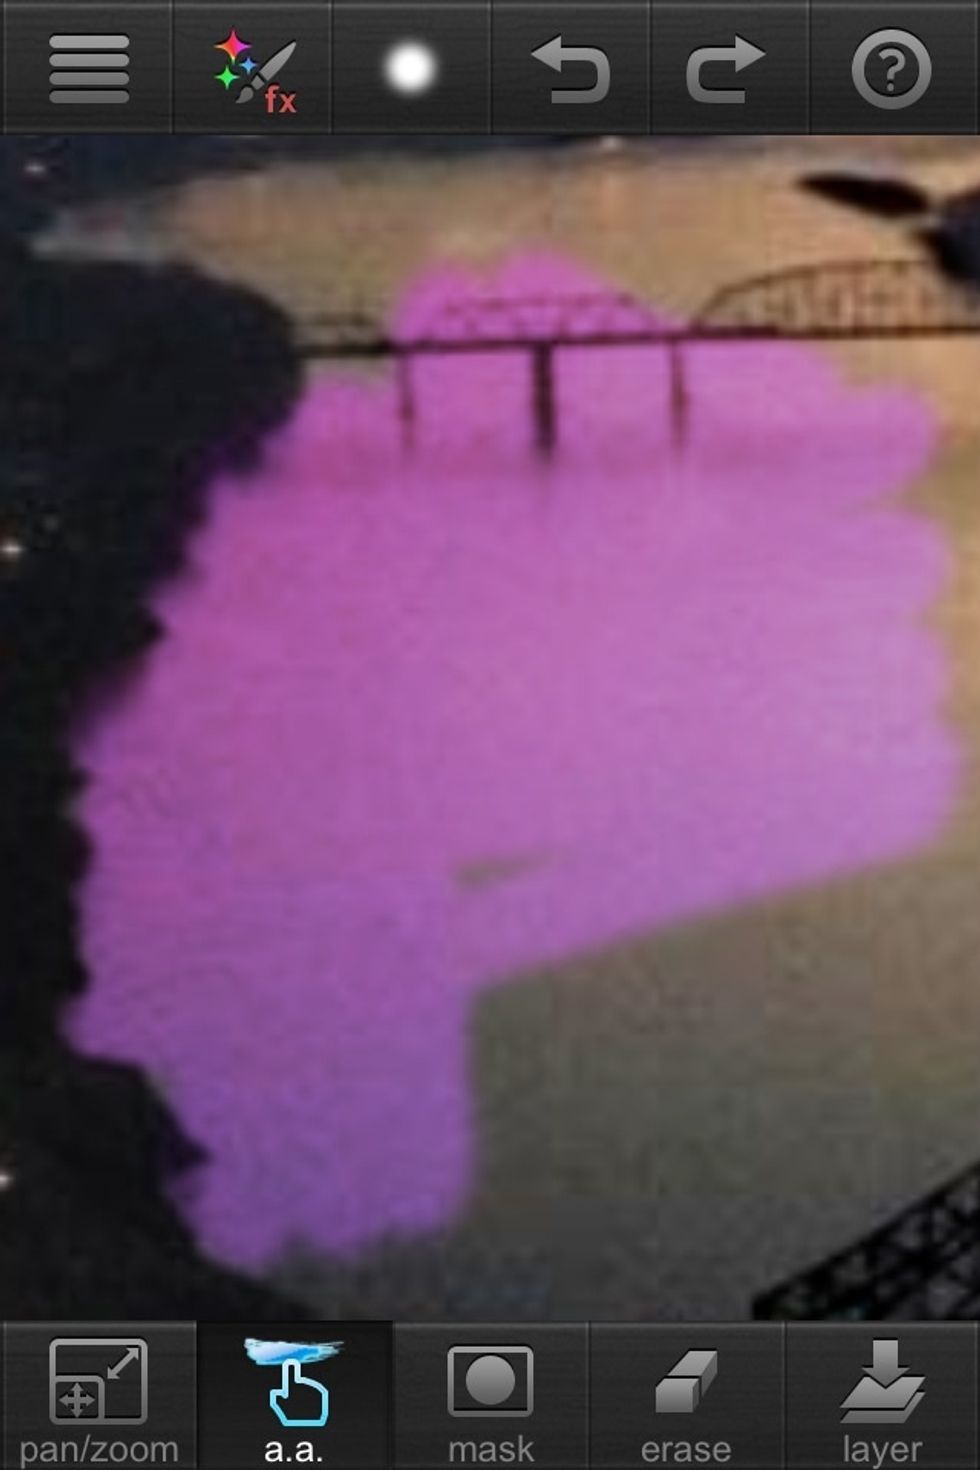
If you Over lap on dark areas some with the Astro ambiance it should be fine. If its not zoom in and erase it!
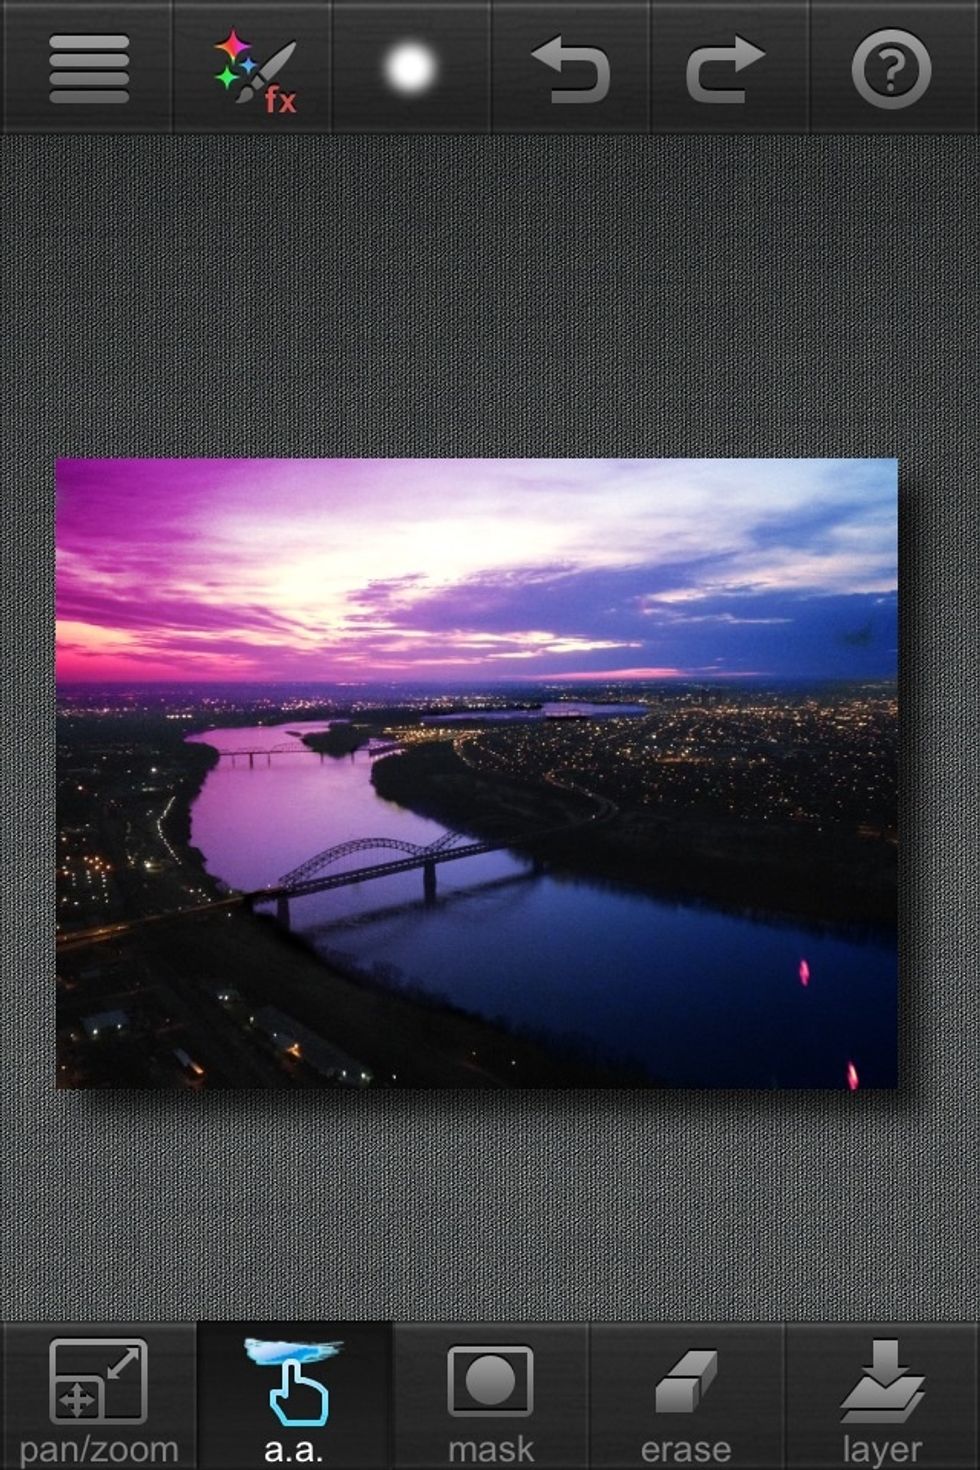
Here is the finished product. Took about 5 minutes and you have an awesome edited picture! There are a ton of different options so just play around and have fun!
Now you have a very whimsical landscape photo to share! Thanks for checking out my guide! If you have any questions please ask! 💜