The Conversation (0)
Sign Up
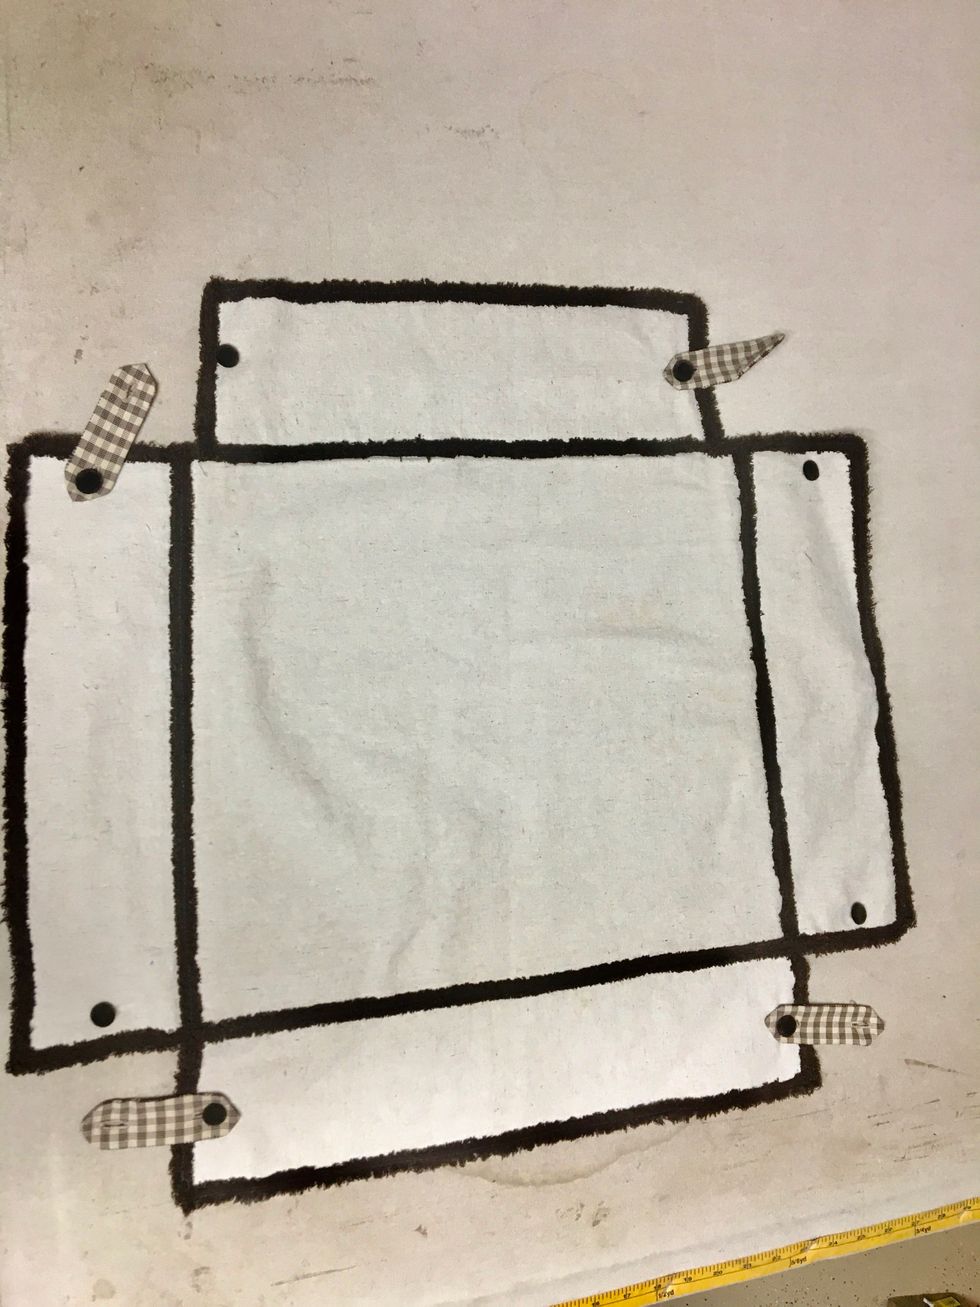
The originals had all 4 corners cut away which created the drop or flap of the slips and connected with tabs.
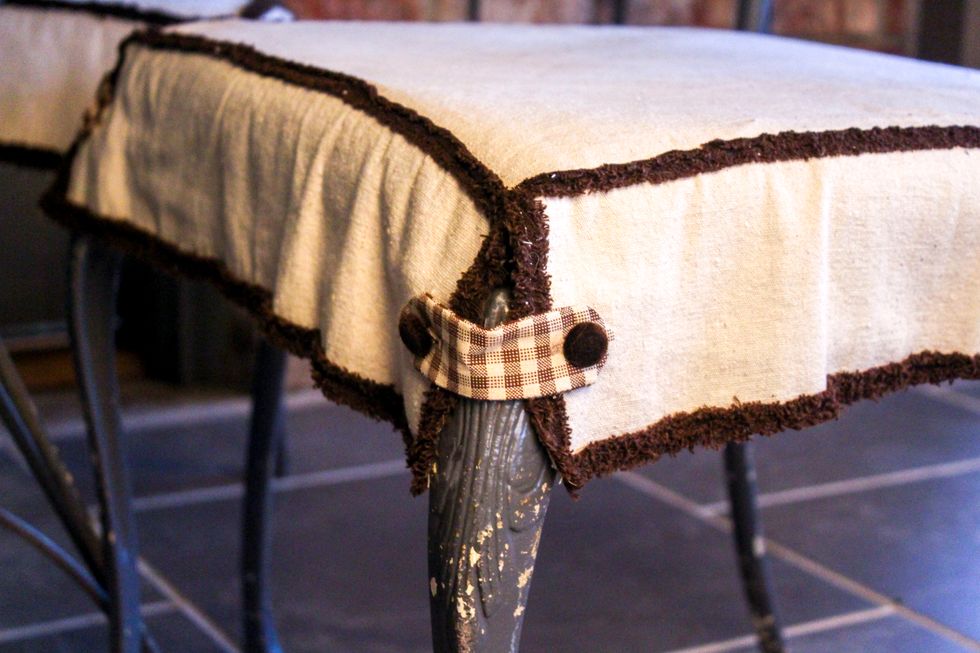
I wanted to eliminate the back tabs and create this flap to wrap around the legs with a button closure so I had to make some adjustments to the back portion.
This was my old slip cover. I used it as a pattern. Is't the Chenille-It a FUN little detail? You can purchase it on our website herehttp://bit.ly/2tdqGoX
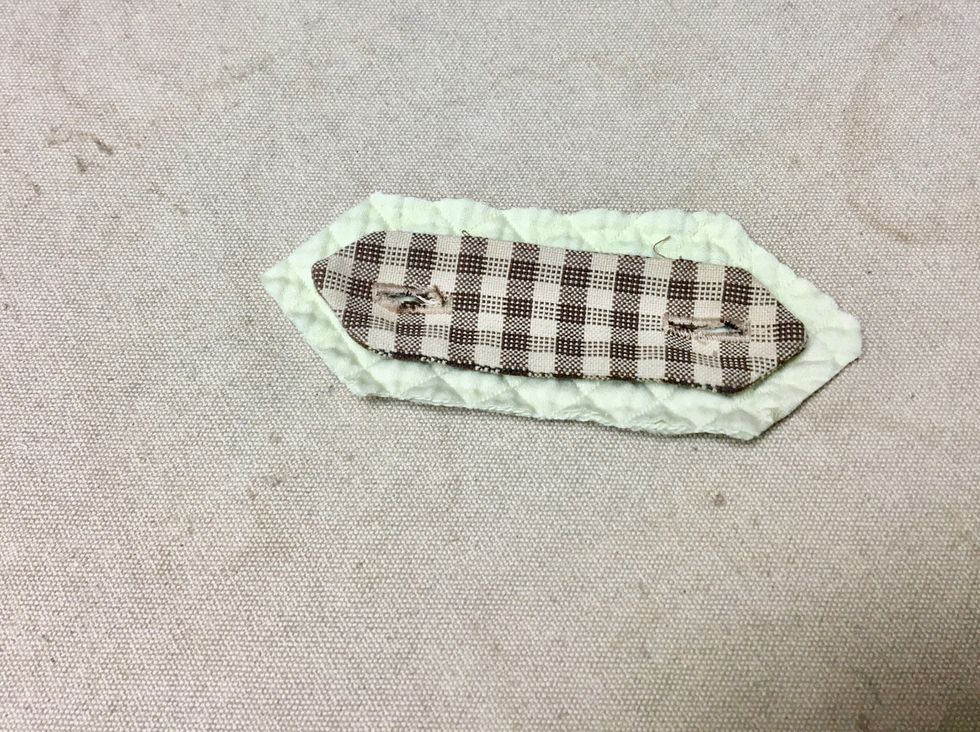
I cut 1 tab. I wanted my tabs to be a little larger so I cut them 1 inch larger all the way around. The size depends on the style and size of your chair
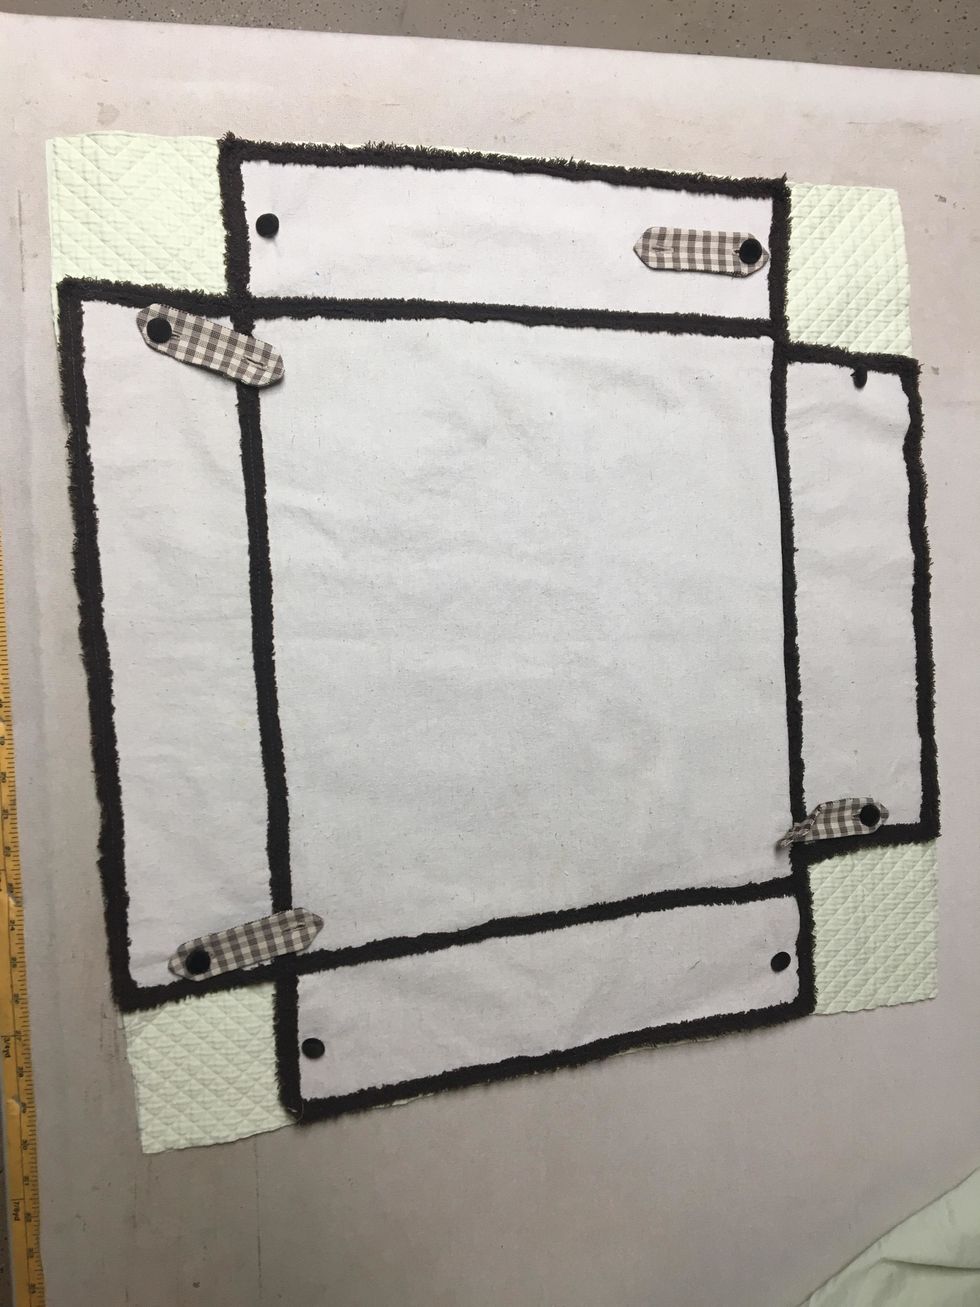
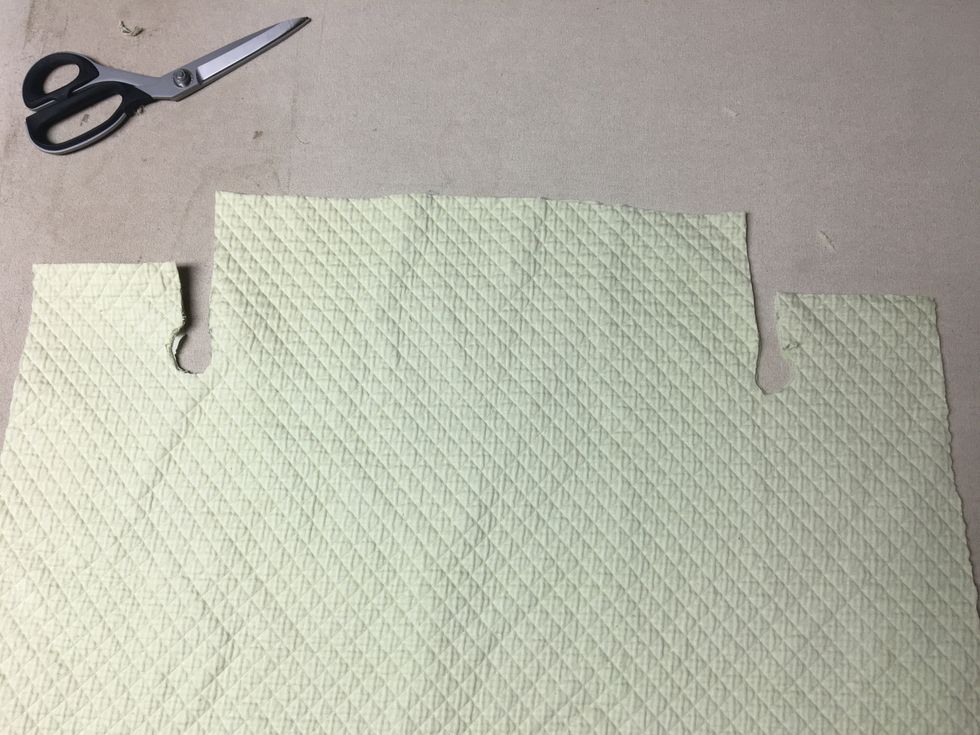
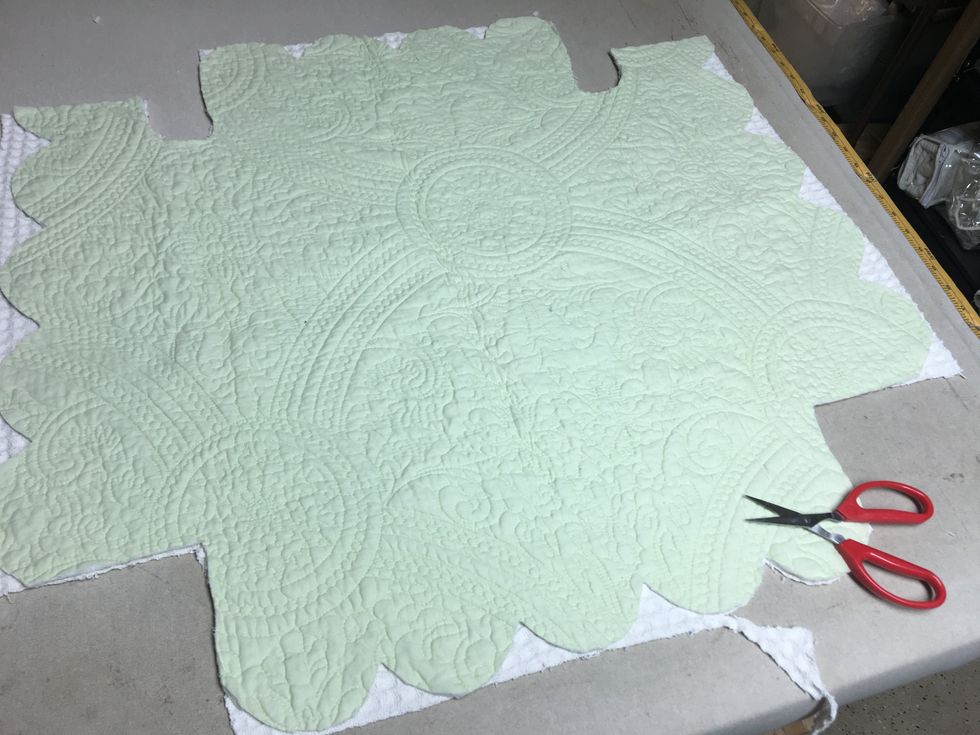
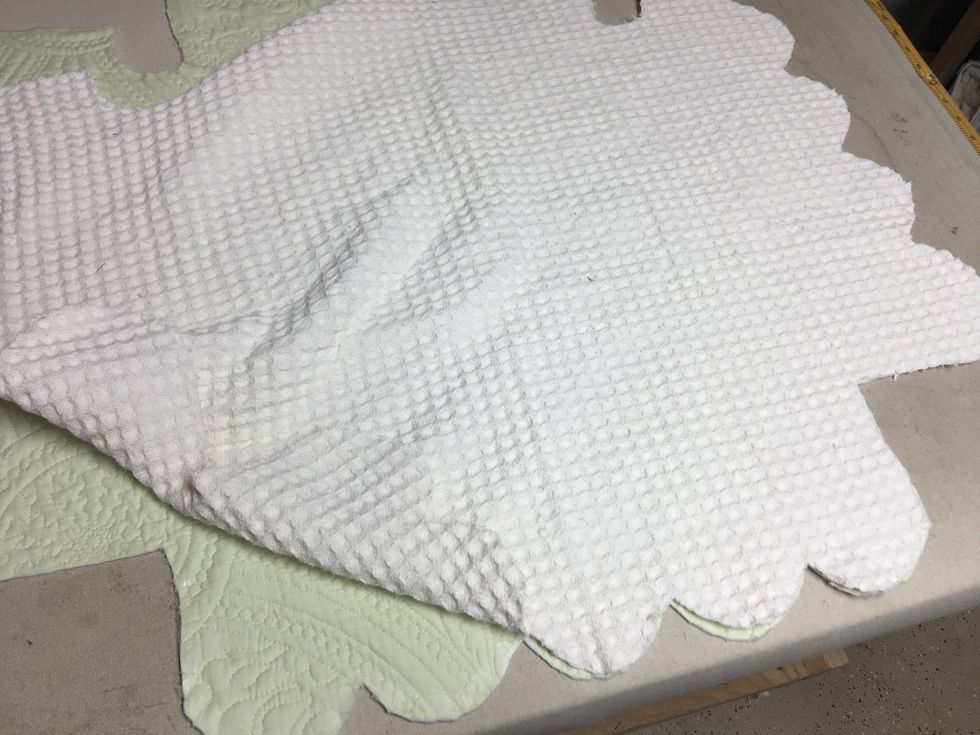
First cut 1chair slip using the original chair slip as my pattern - But .......DON'T CUT THE CORNERS AWAY.
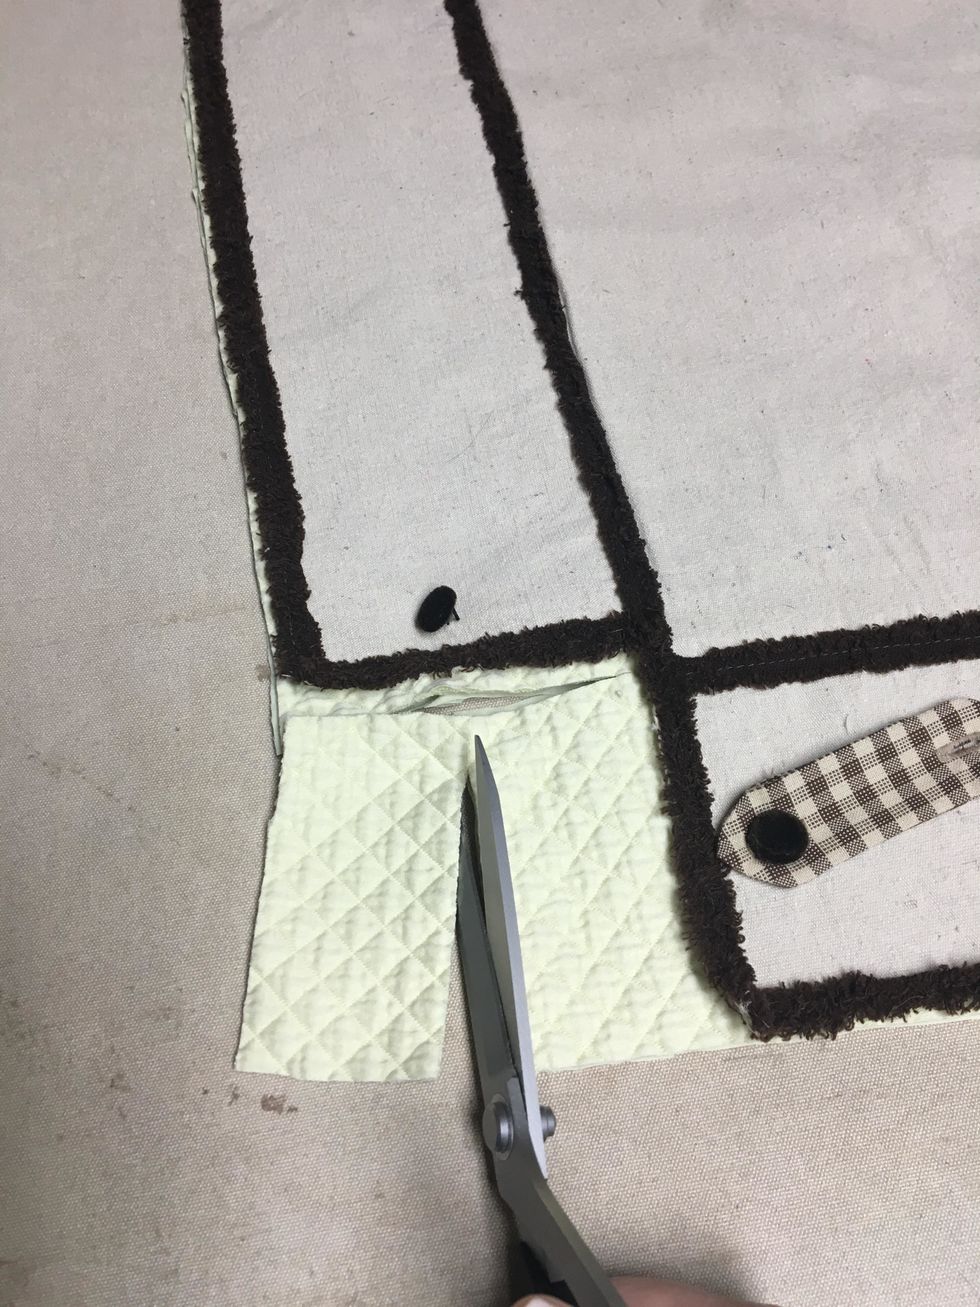
Next cut ONLY the FRONT corners away as shown. I knew this slip fit perfectly but if you're not sure cut the square smaller. You can always trim more away but if you cut too much its ruined.
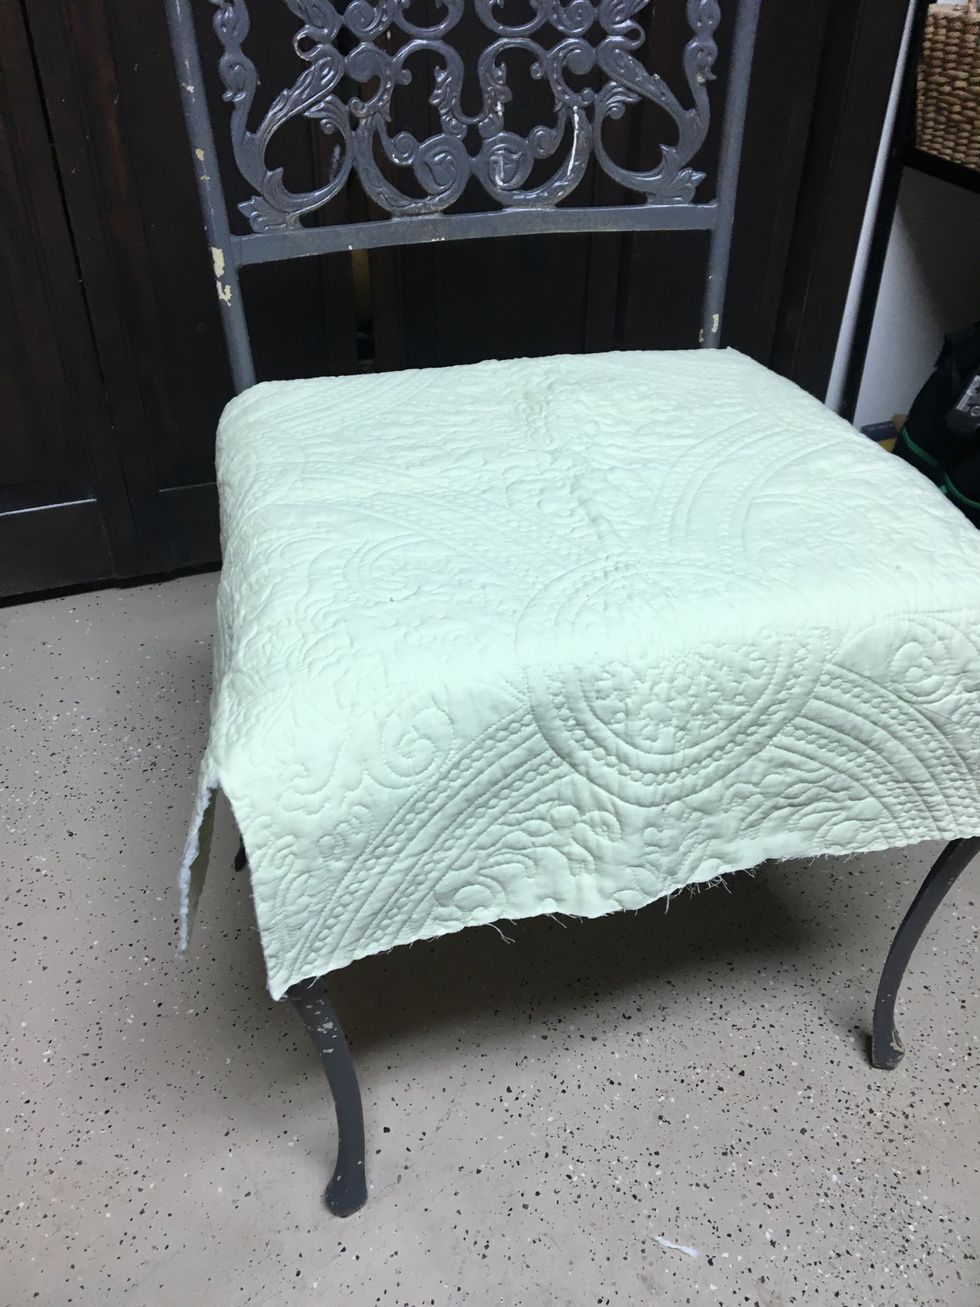
Then place it on your chair to make sure the front corners are going to hit in the property place. Trim them a little at a time until the top of the corner hits where you want it.
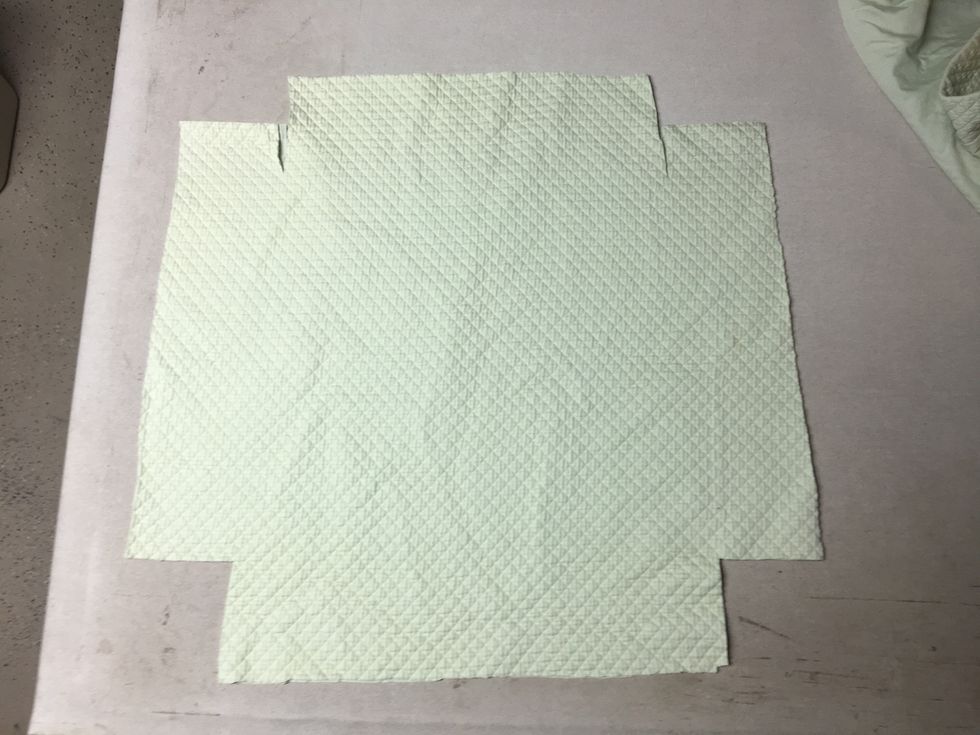
Return it to your work table and lay the original pattern on top of it again in exactly the same place and work on the back corners.
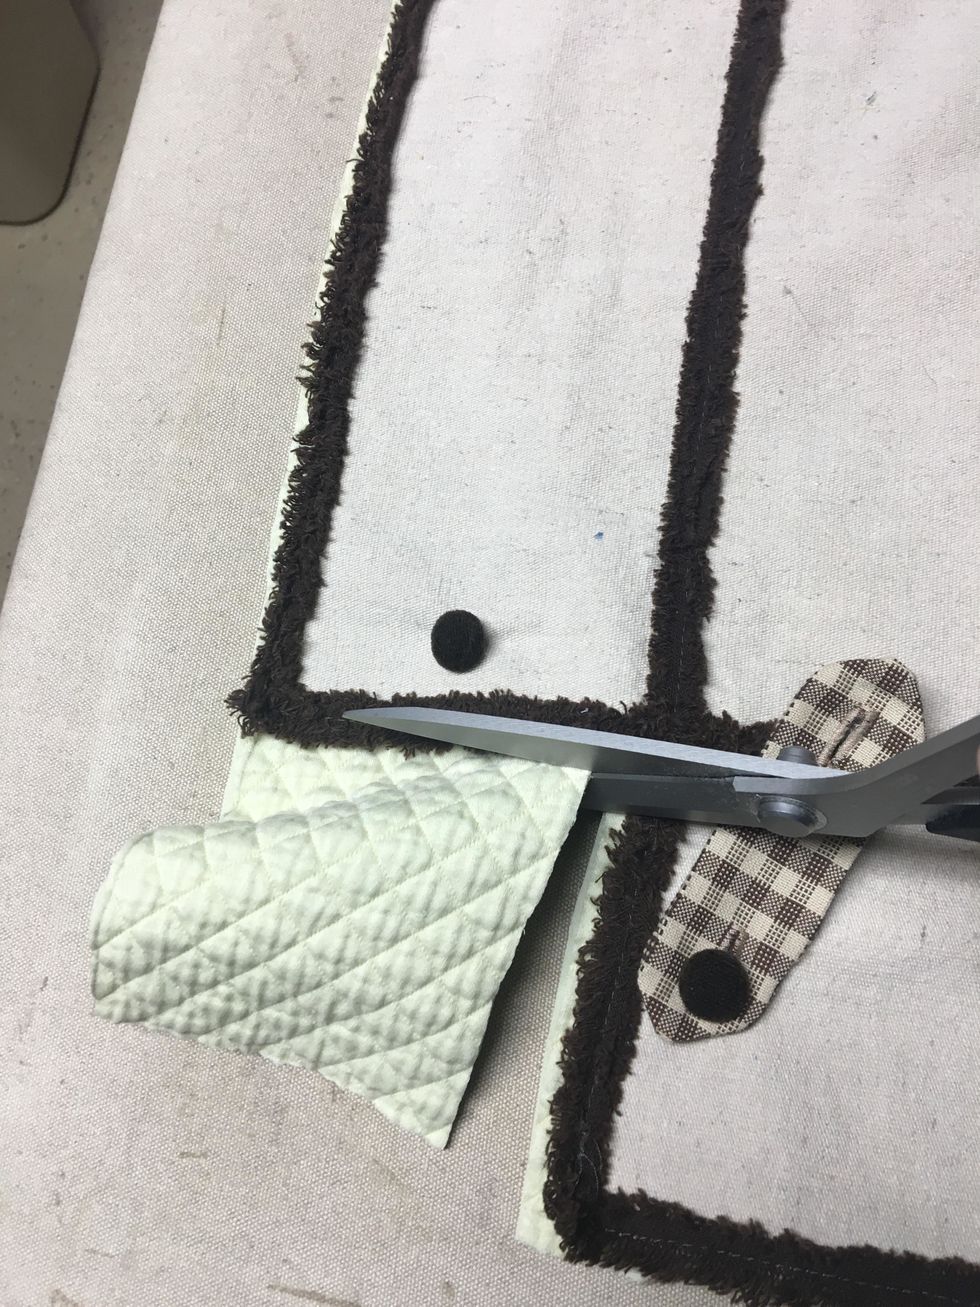
Make your first cut on back corners along the back flap/drop. You want this cut to be 1/2" wider than the finished width on each side of the back flap/drop as shown .
I ended up trimming it down to be about 2" wider than the finished width of the side flap/drop. If you chair has larger legs you won't need to trim as much away. Trim too much and its ruined!
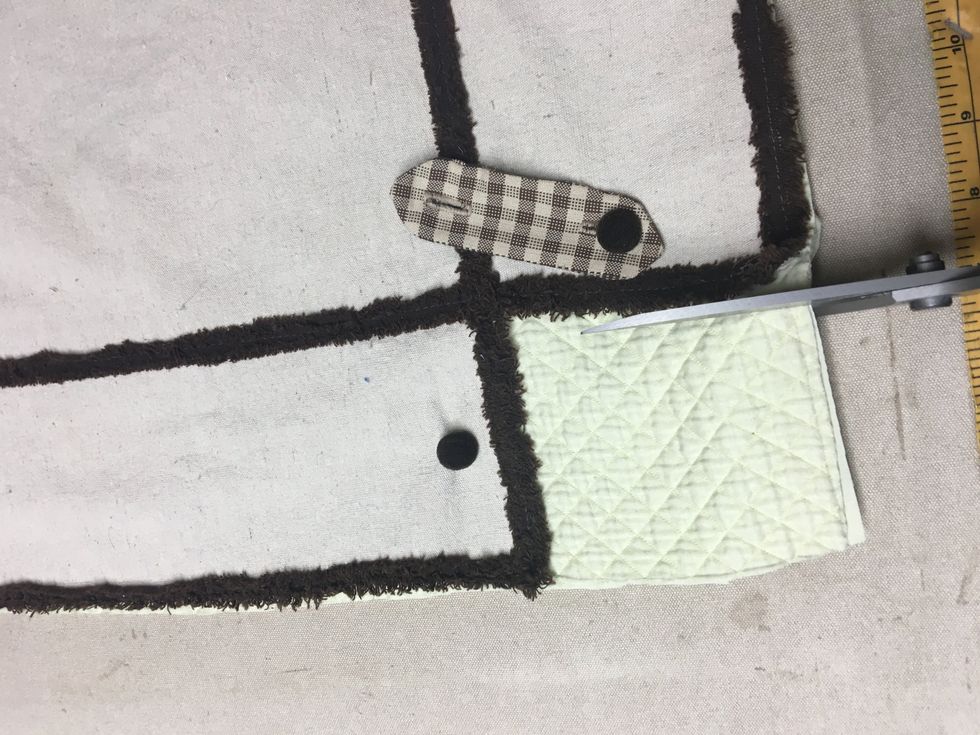
Fit the slip to your chair again. As you can see the first time I cut the flap it is about 4" wider than the finished width of the side flap which creates the wrap around.
Lay it back out on your table and create the circle cuts for the legs. Mine only needed to be the size of a quarter.
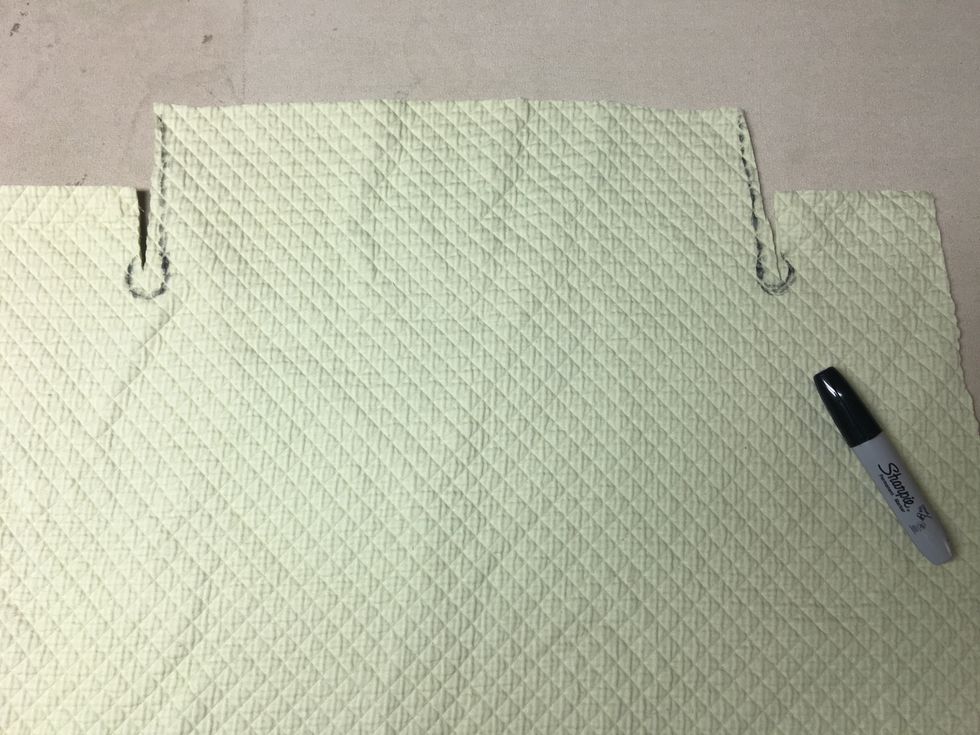
Draw a cutting line to square up the sides of the back flap/drop if necessary and where you want to trim out a circle at the end of the cuts so it will fit around your legs.
Trim away slowly and a little at a time. Fit it on your chair again. Trim too much and it's ruined.
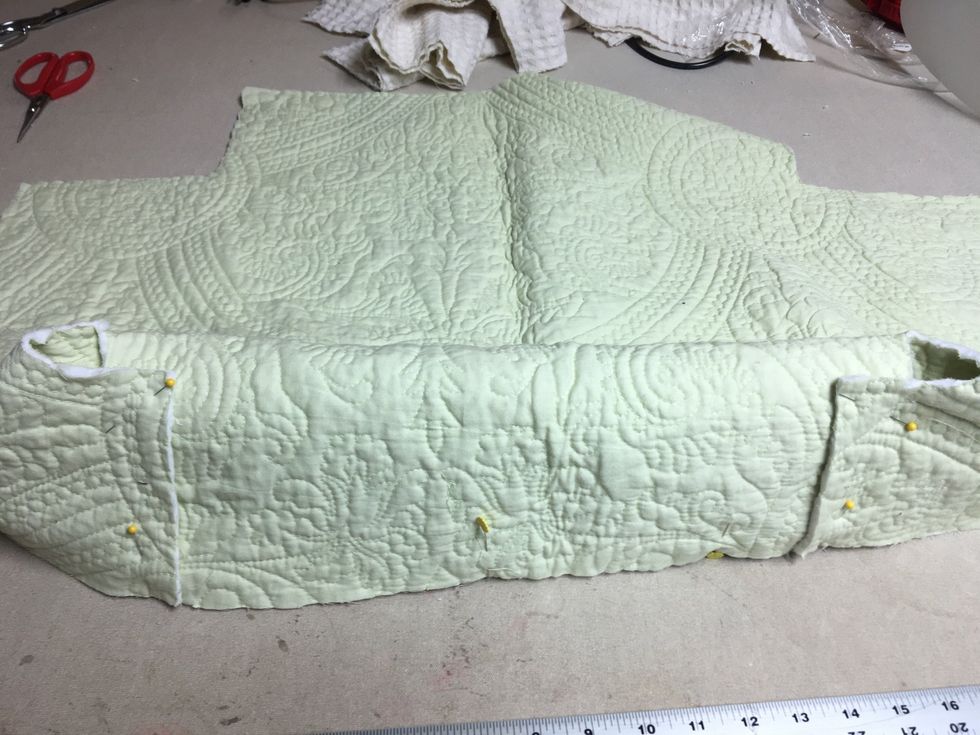
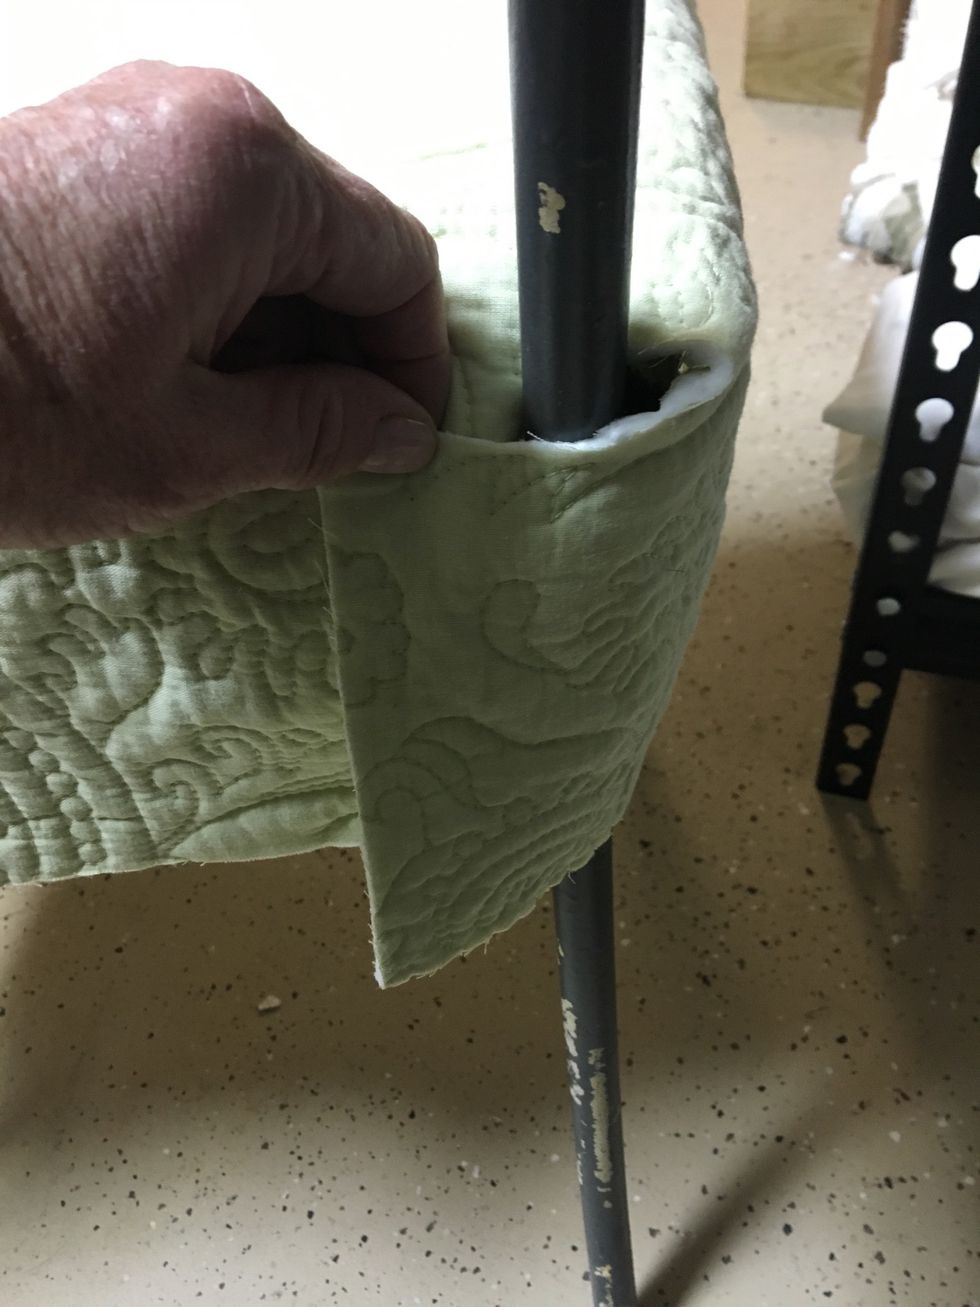
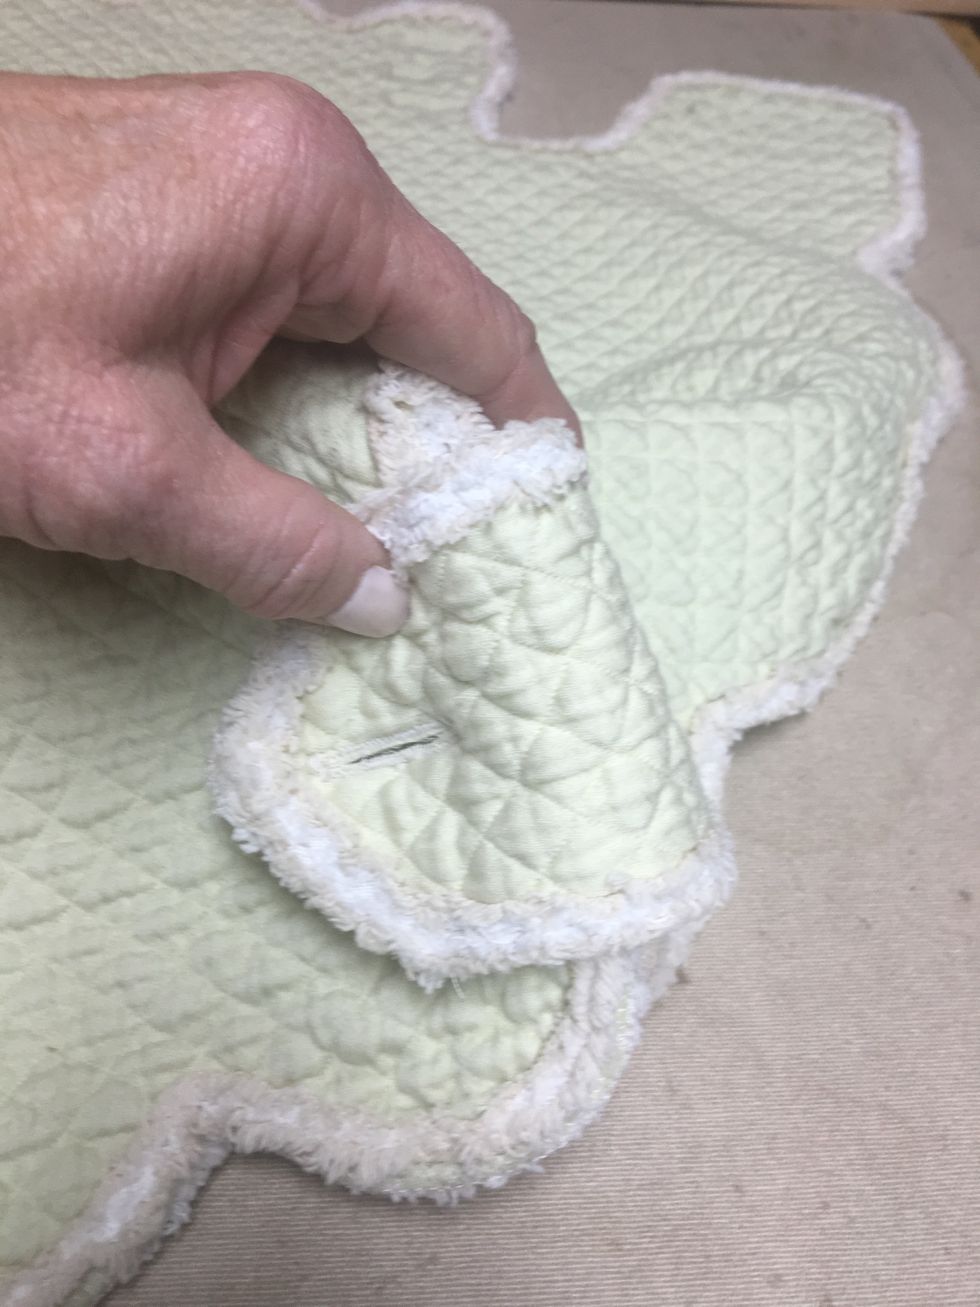
The side drop has to wrap around the leg and behind the back drop. I have it pinned wrong side out so you can see what it will look like from the back.
I wanted my slips to have a contrast fabric for my reverse side. If you do not and just want yours single layer, skip to Step 39.

If you are making your slips reversible as I did, use the new top slip as a pattern for the contrasting side of your slips. Lay new top on the contrasting side with wrong sides together and cut.
I wanted mine scalloped along the bottom. So if you just want yours straight, skip to Step 33.
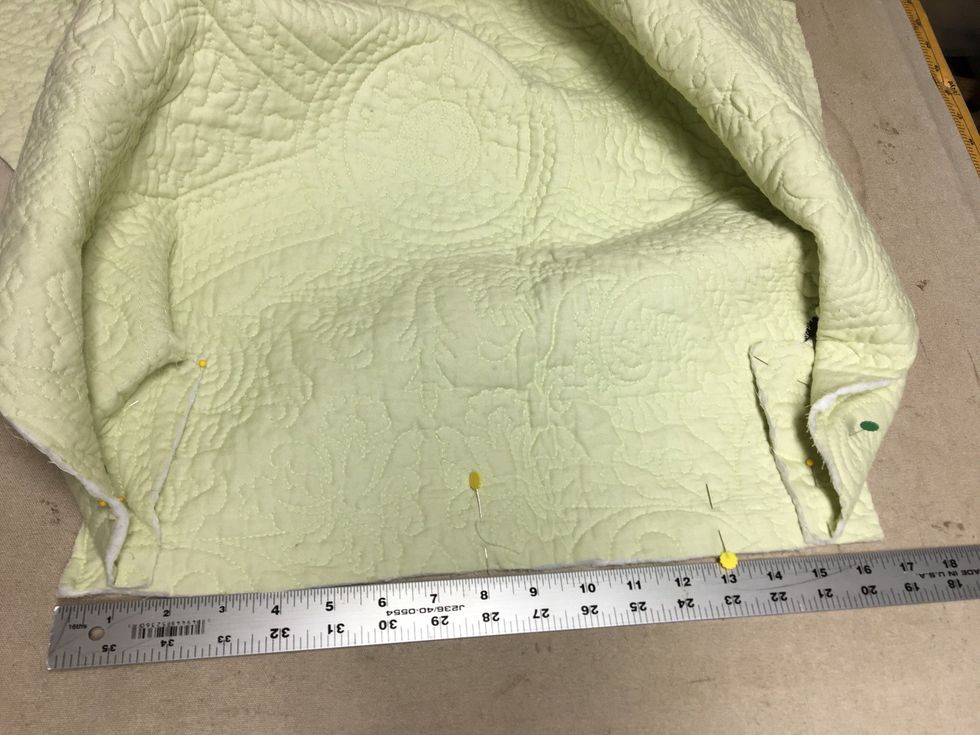
Pin your side tabs around to the back flap as they will be when it is finished. The finished width of the back will now include some of the wrap around from the side flap. Put a pin in the middle.

Measure the width of the side flap but only from where it wraps around the leg to the front edge.
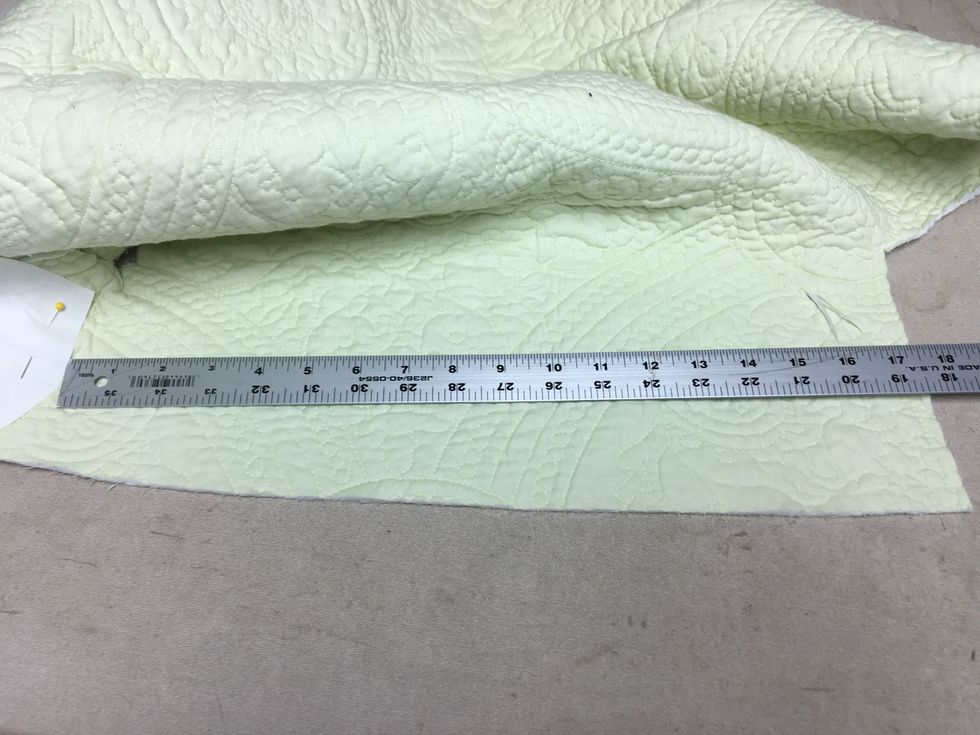
Do the same along the front from edge to edge.
We use Buckram for so many things. It is normally used in the top of pleated panels to provide stability but we use it to create patterns. It's available here. http://bit.ly/2oJON9c
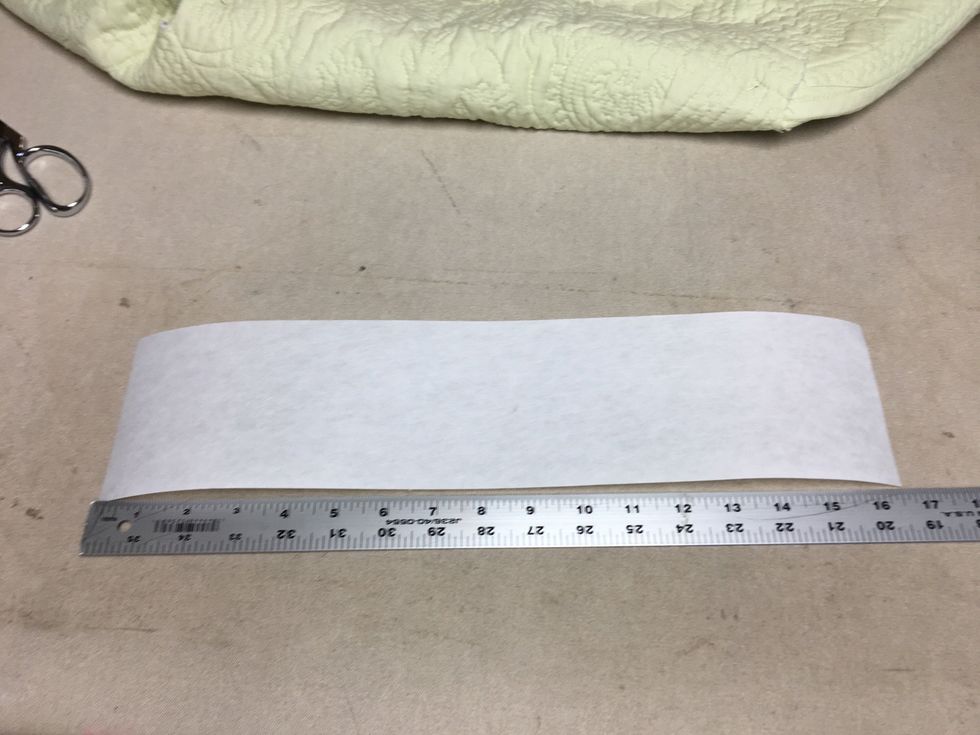
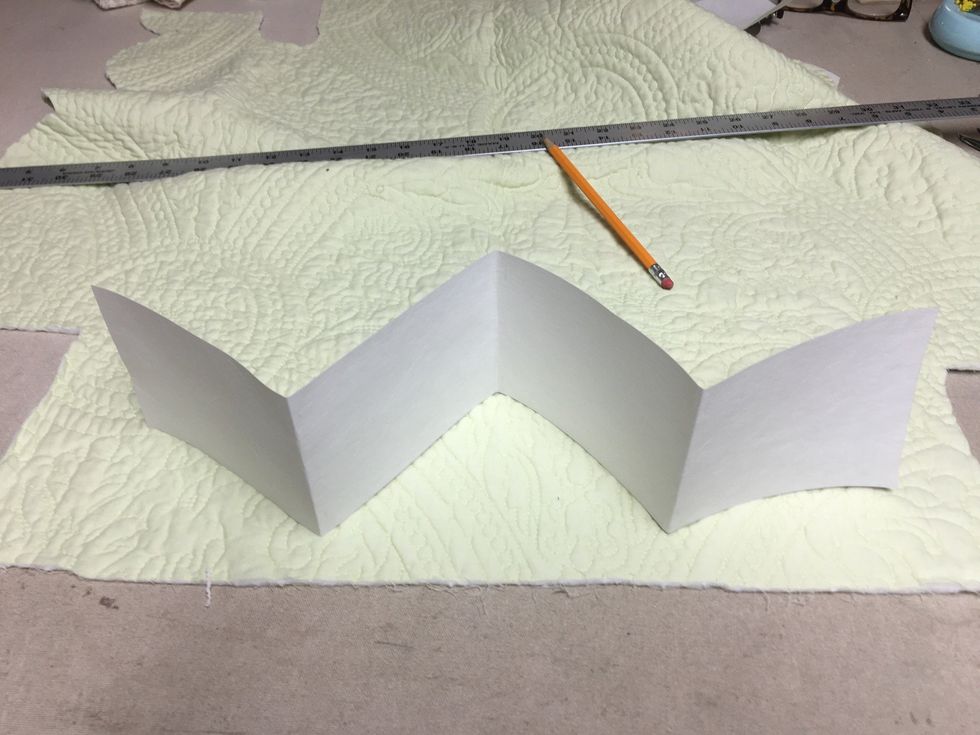
Cut buckram sizes of your slip sides. One for the front, one for the sides and one for the back as these measurements will most definitely be different.
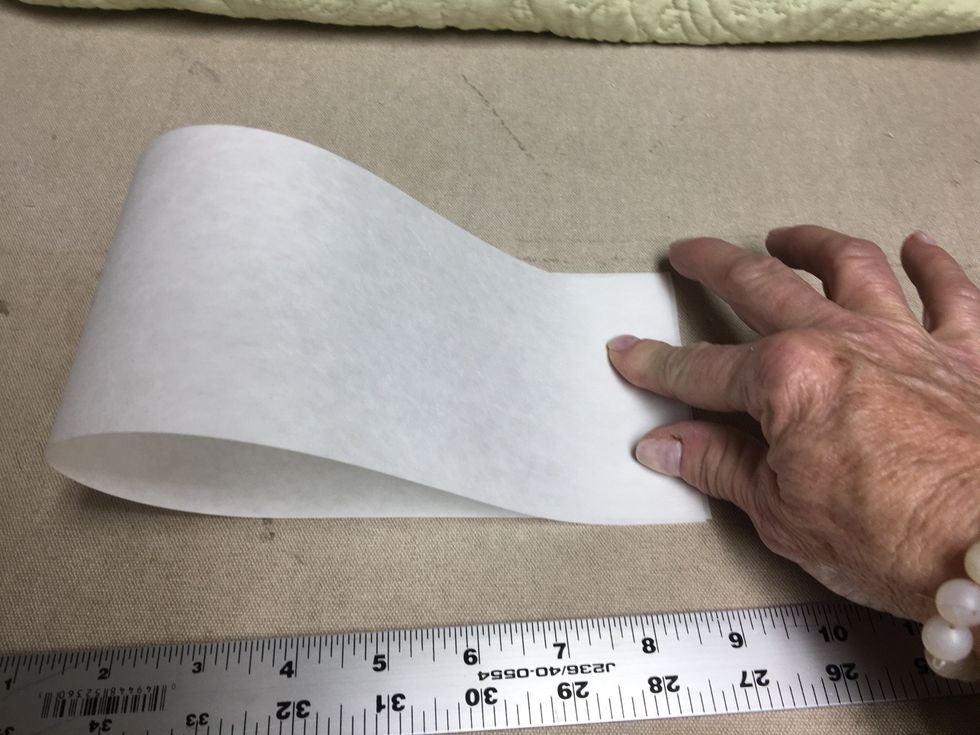
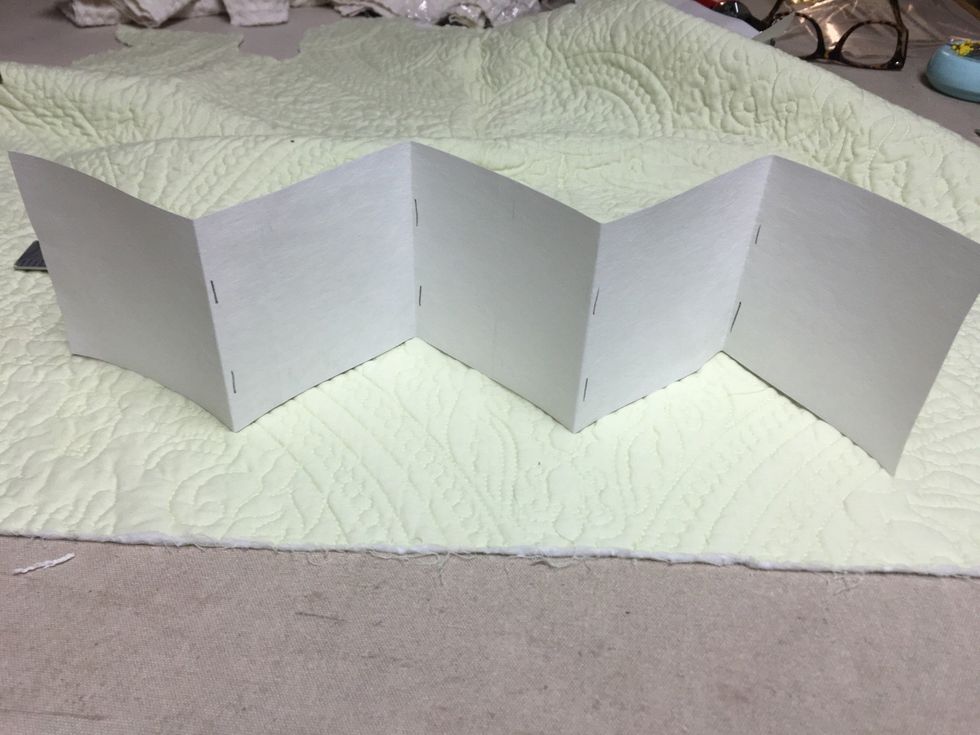
Decide the amount scallops you want on each side and fold the buckram into equal sections for the amount of scallops.
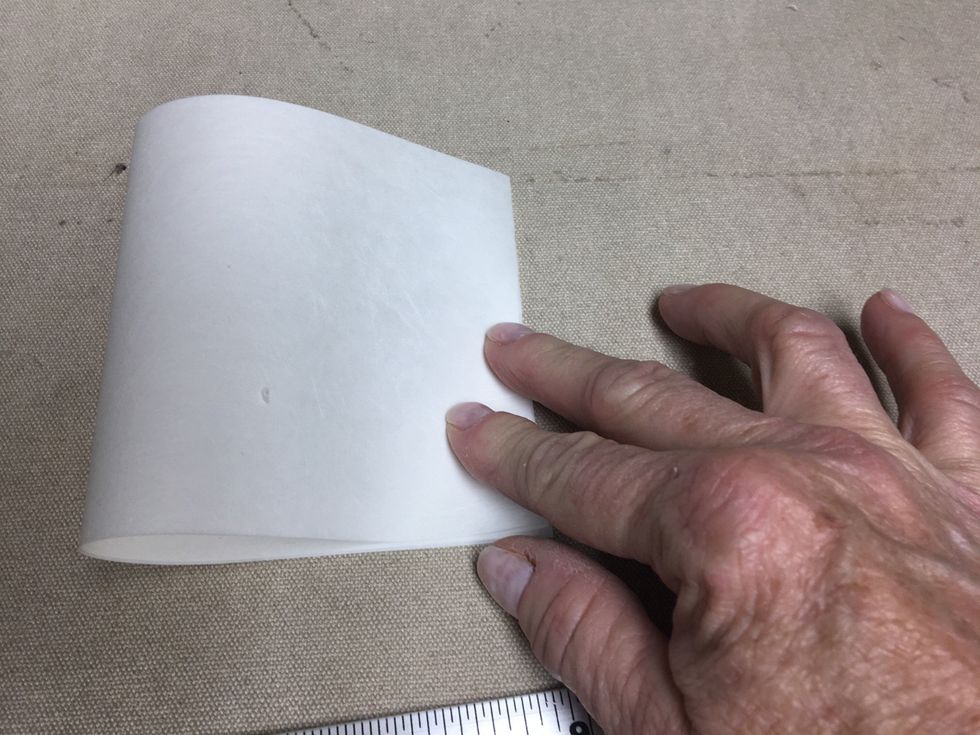
You want these scallops to be as close in size as possible.
Mine ended up being 4 sections for the back and side flaps.
And 5 along the front flap.
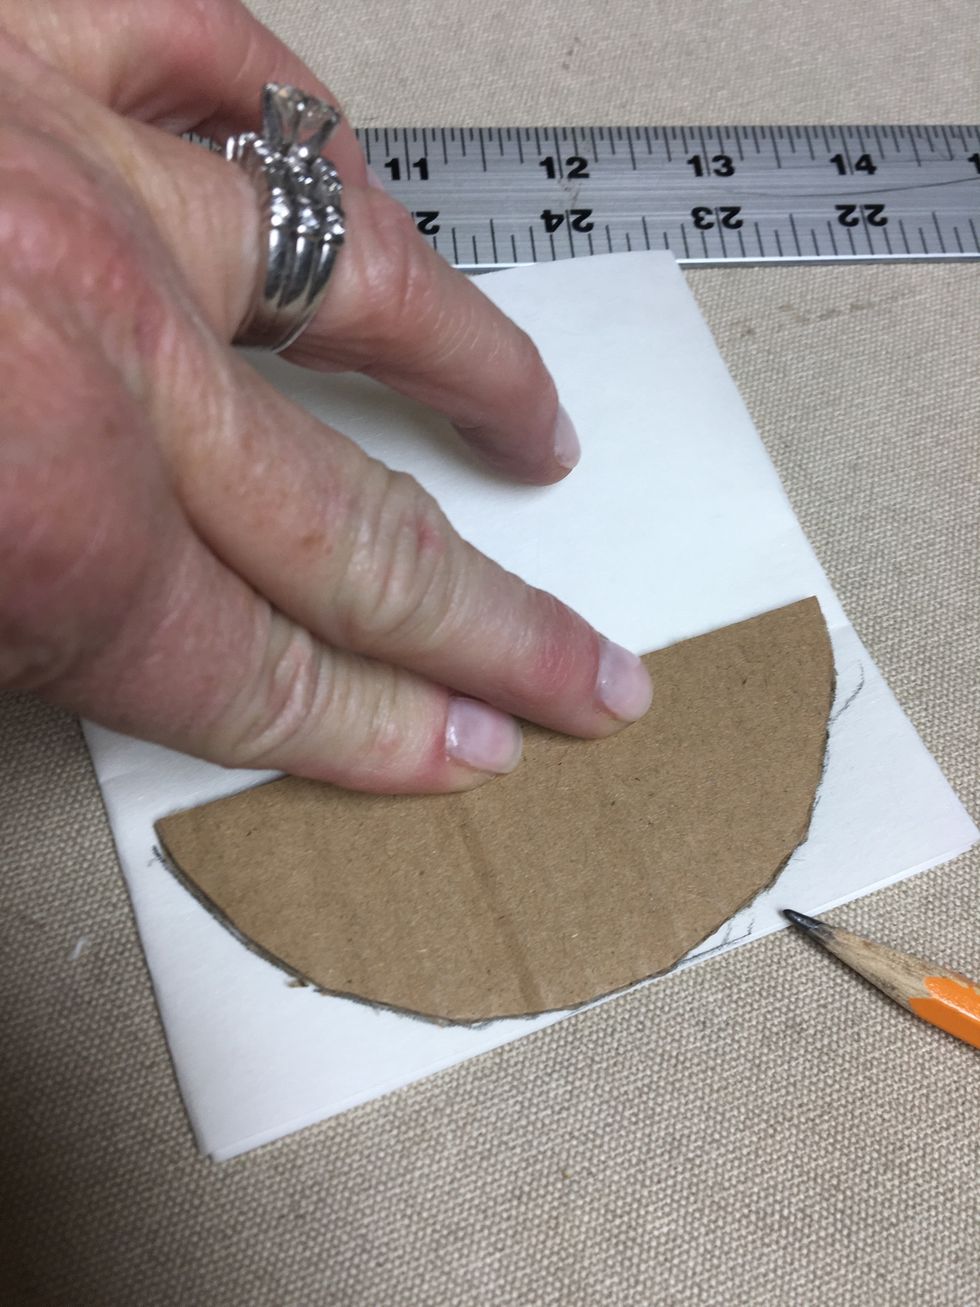
I used a piece of cardboard to determine the shape I wanted then traced it on the bottom of the folded buckram.

Then I trimmed it off WITH PAPER SCISSORS !!!! not your fabric scissors!
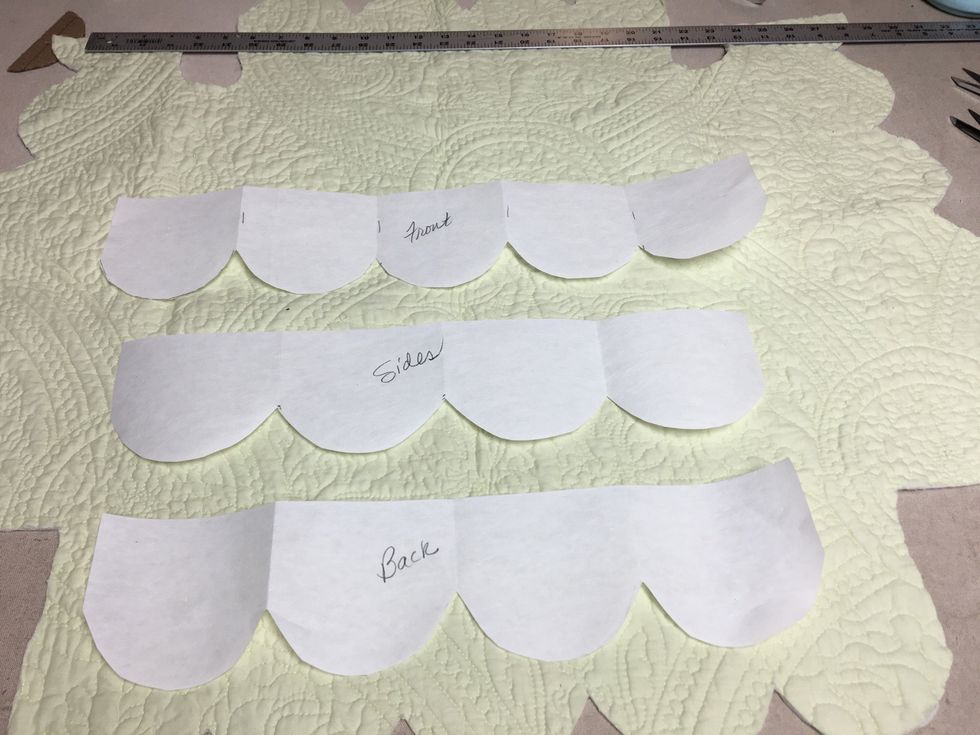
Kinda like making paper dolls !!! Label each one so you won't get confused.
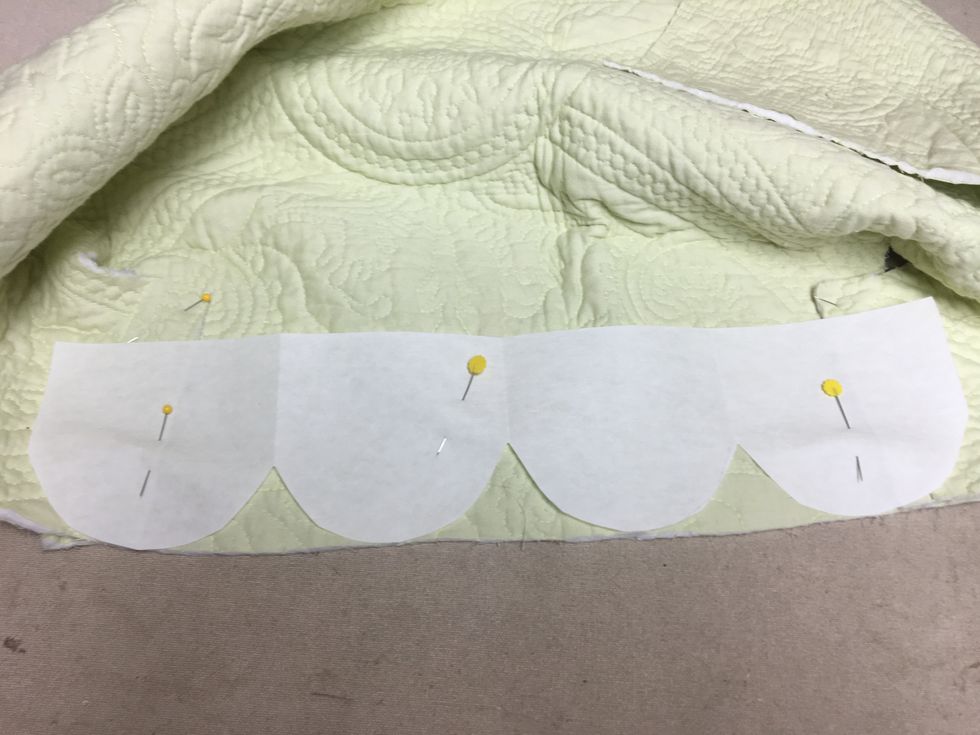
Pin each section on the appropriate flap.
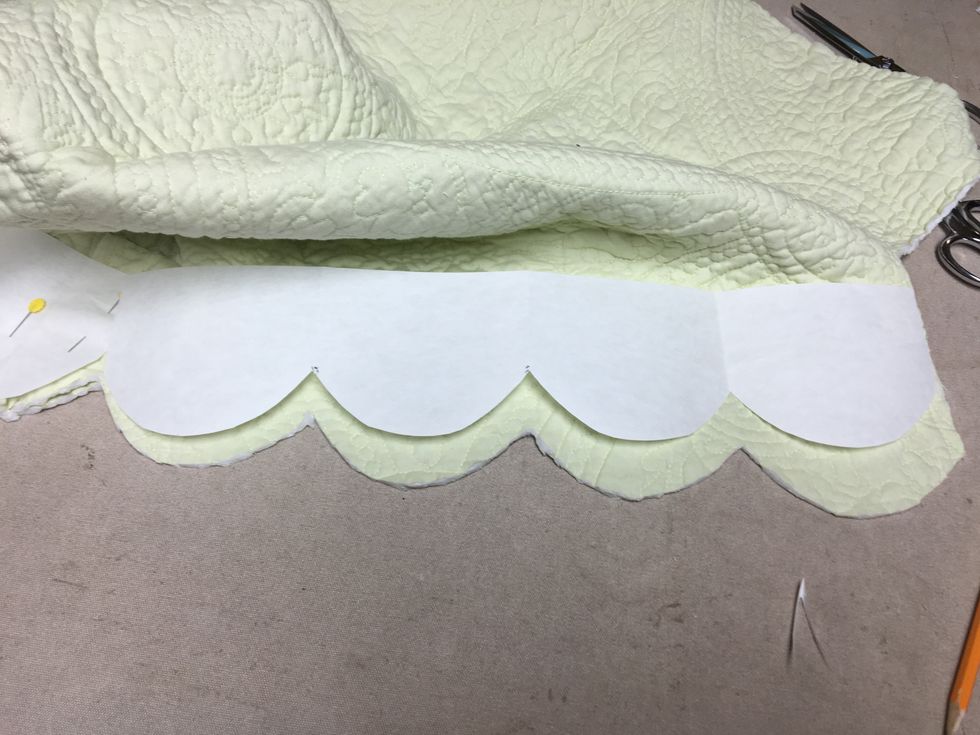
Cut the flaps following the buckram pattern.
If you are using two fabrics cut the top first then lay it on the contrast side (right sides together) and cut it to match.
Now you will bond these two fabrics together. Working with the top slip, Iron SteamASeam2 to the edges of the wrong side of the top slip all the way around as shown.
Lay the contrast layer on top, aligning all the edges and smoothing everything out evenly.

Press and steam to bond the two layers together.
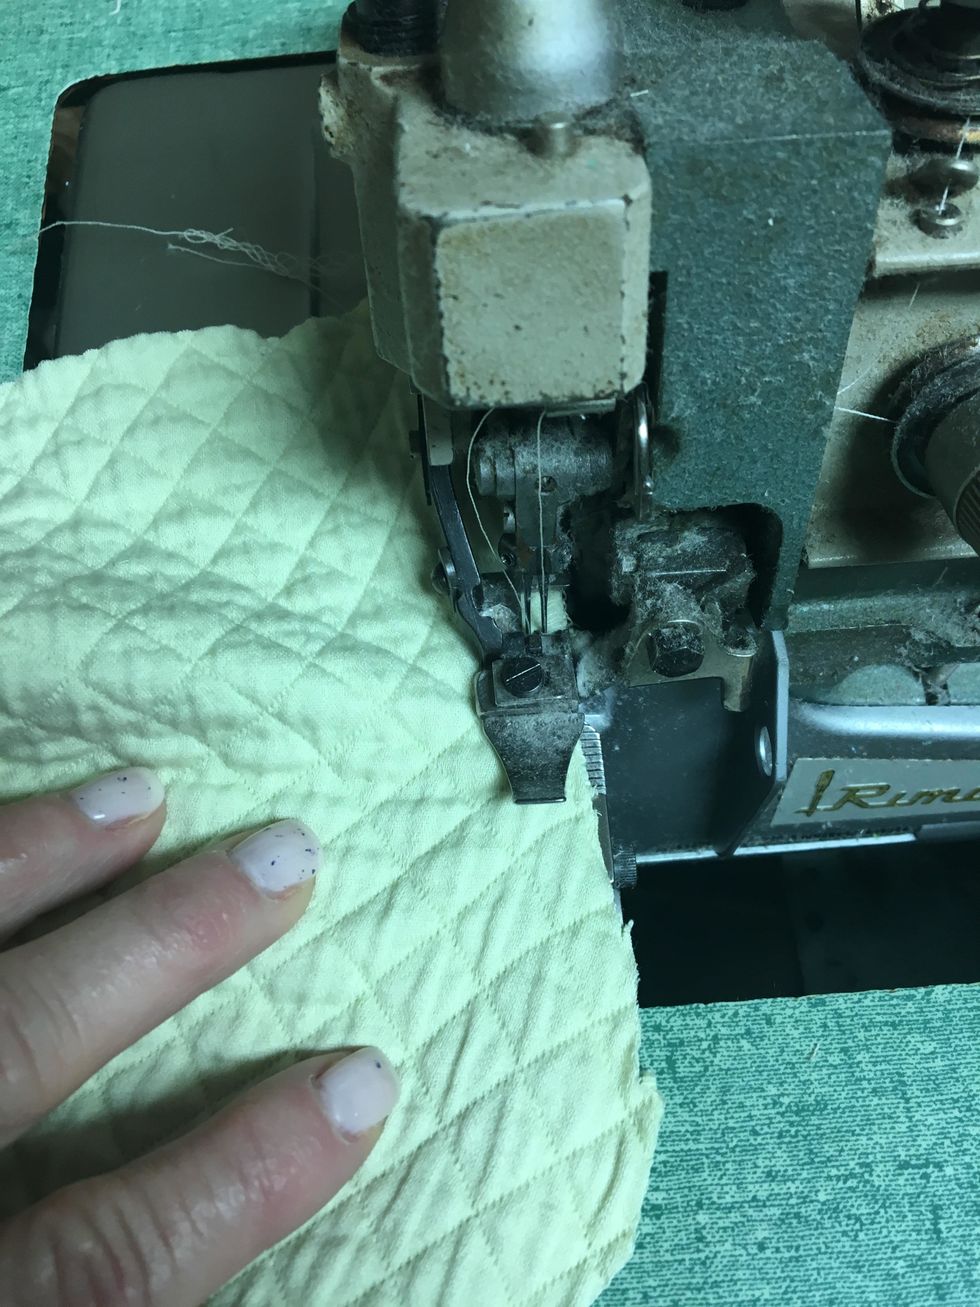
Serge or ZigZag both layers together along the edges all the way around of the slips and all the tabs.

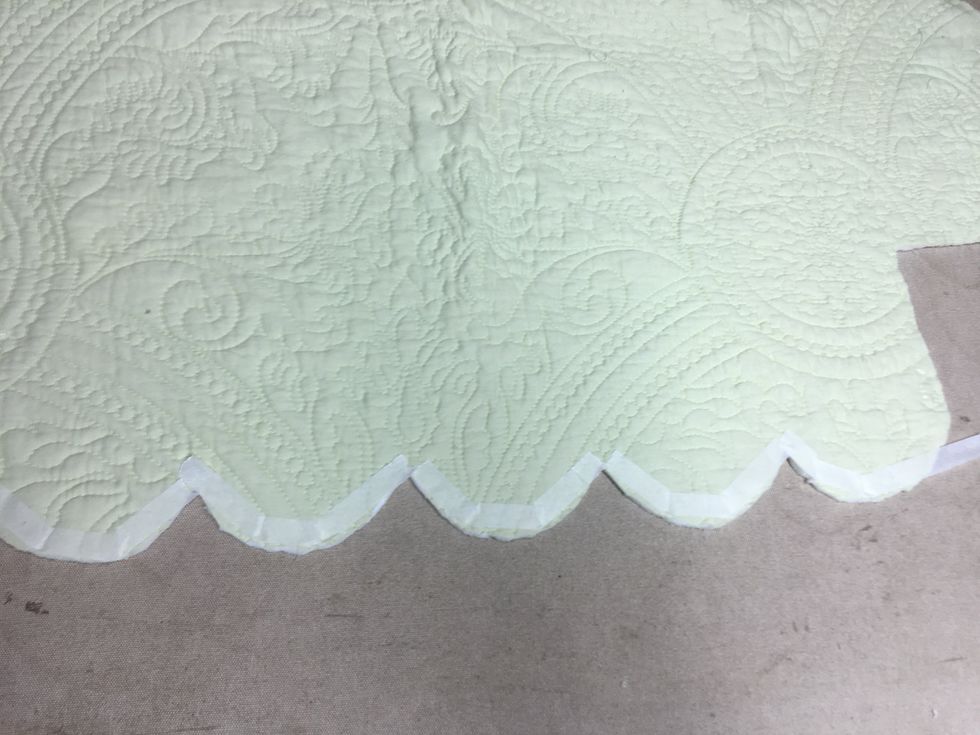
Sew the combined Chenille-It along the bottom of one side of your slip - all the way around. Flip it over and repeat on the other side.
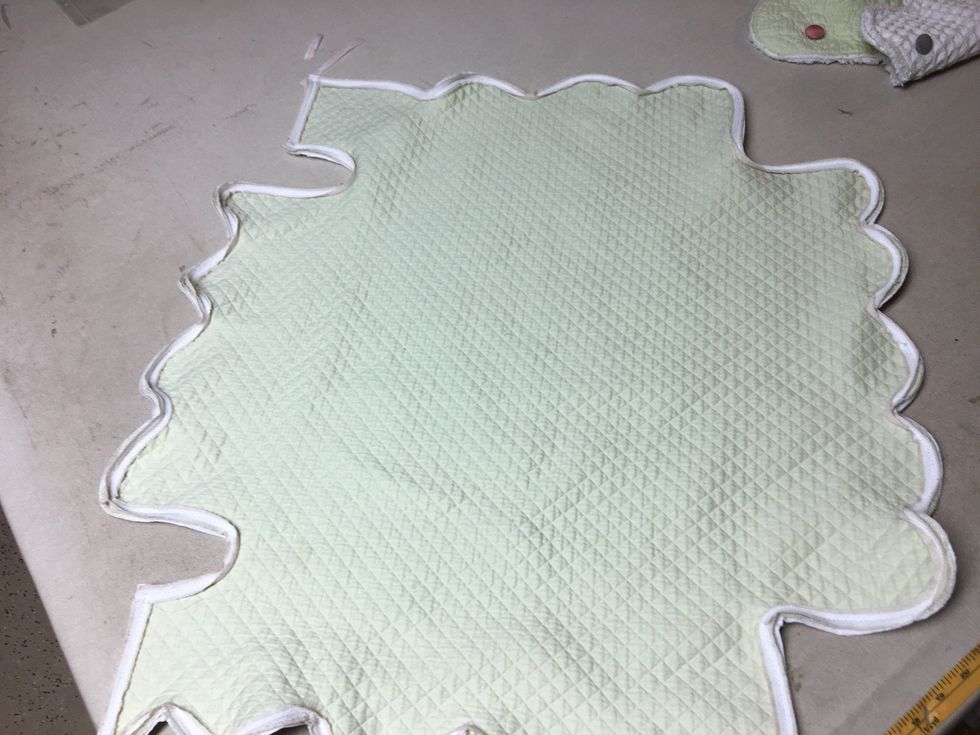
It will look like this. Repeat for the remaining slips and tabs then toss into the wash and dry.
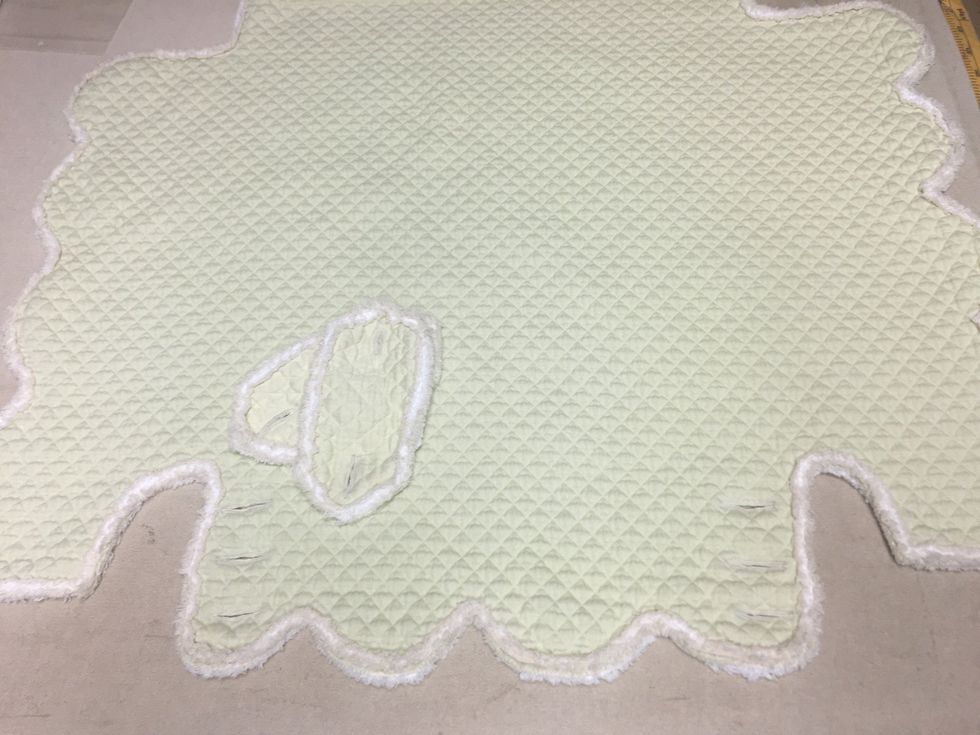
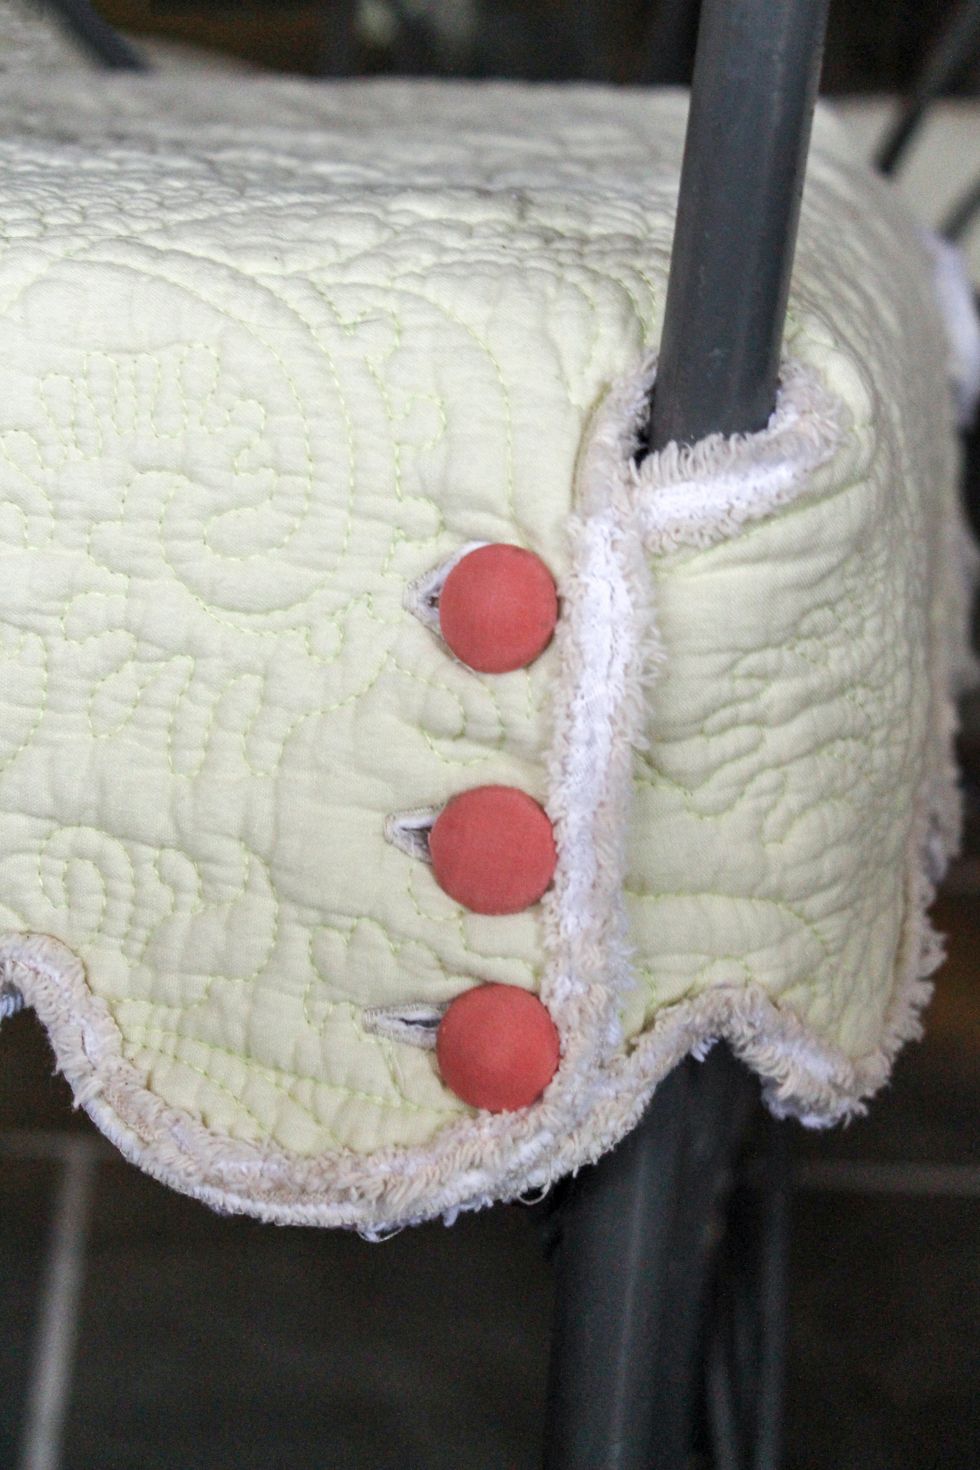
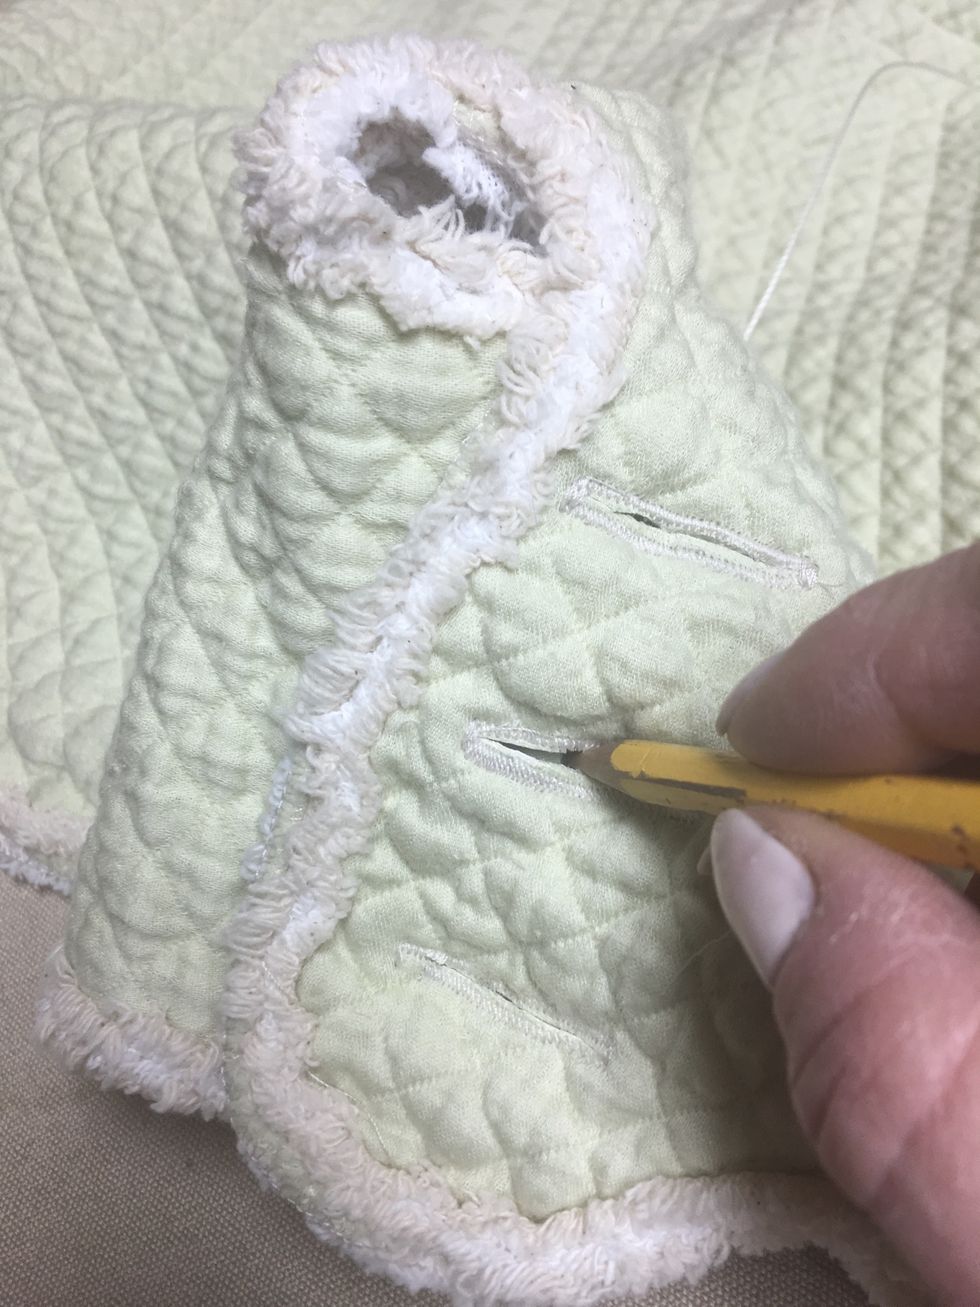
Make 6 buttonholes on the back flap. 3 on either side. And 2 in each tab.
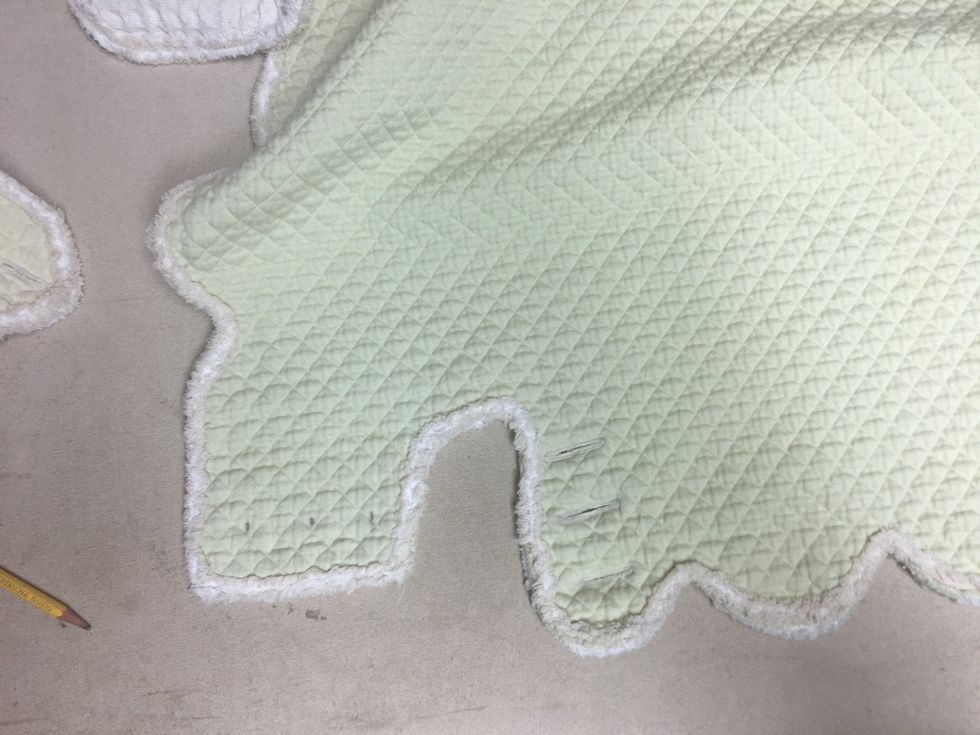
Mark the button placement through the buttonholes on both sides of the back flaps
Make enough buttons for your slips. For a one sided slip you will need 10 buttons for each slip - for reversible - 20 per slip. I know.It's a lot. You can get them here http://bit.ly/2CVTkKU
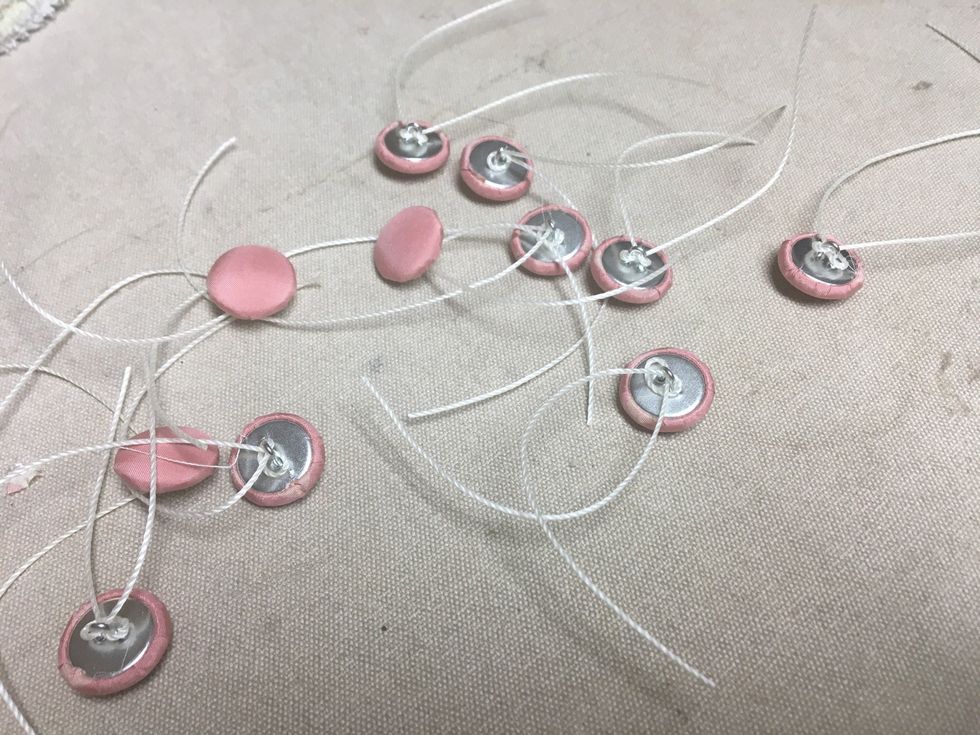
String all the buttons with tufting twine or dental floss as shown. I used pink on one side and gray on the reverse. So I had 10 pink and 10 gray for each chair.
It will look like this
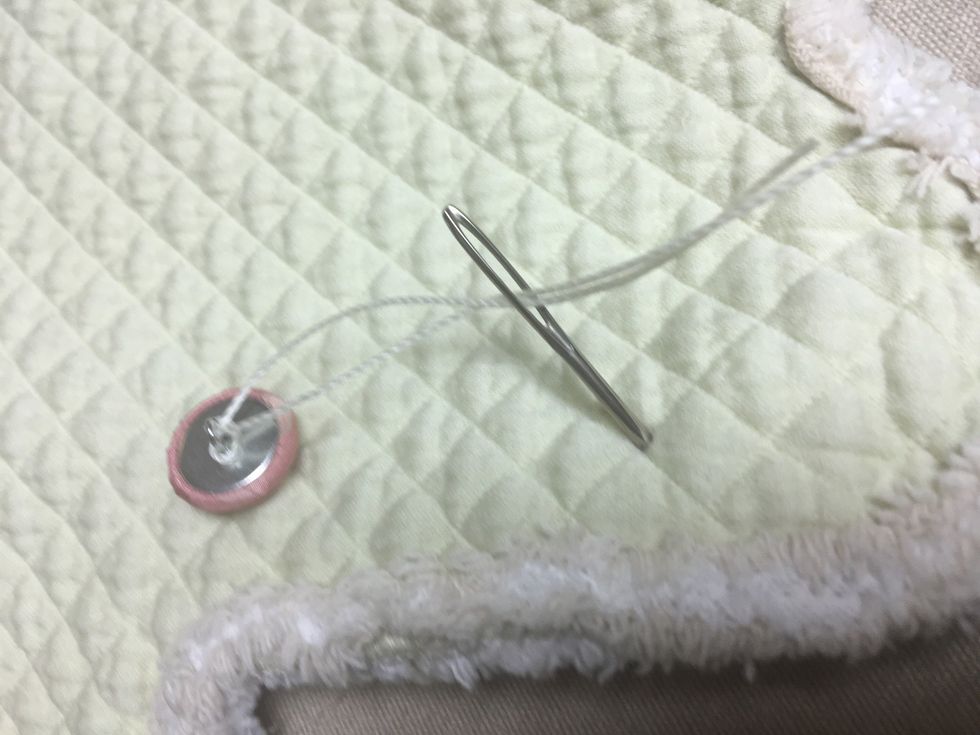
Pull the tufting twine, that is attached to the button (pink), through the fabric at the pencil mark to the contrasting side........

Then string the contrast button (gray) on the reverse side and tie in a knot. Put a dab of hot glue on the knot and clip the strings close.
Wrap the tab around the front corner and mark the button placement through the button holes with a pencil as before and attach the buttons to the slip front corners the same way.
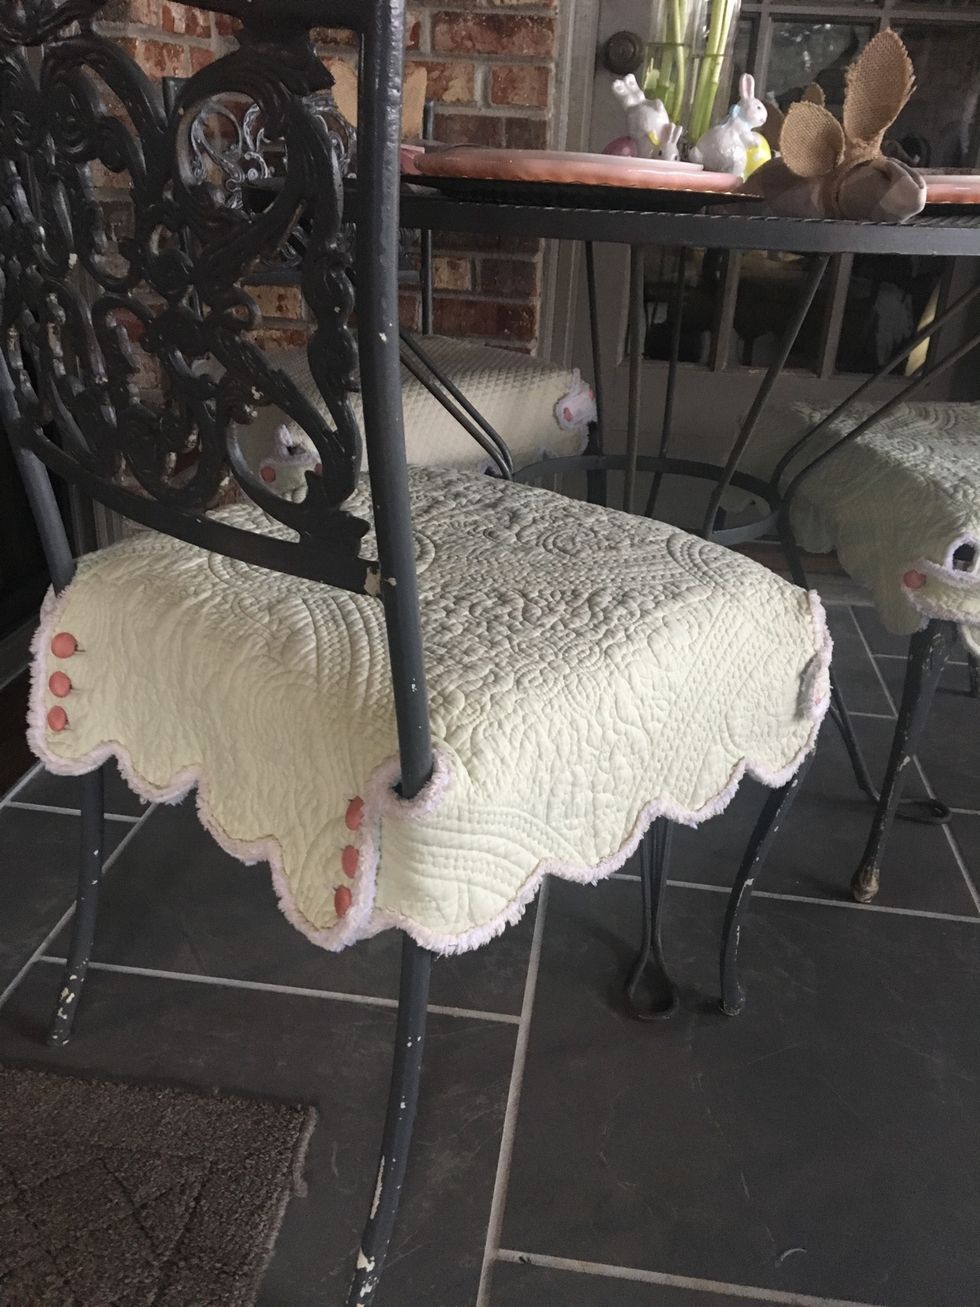
Look how cute !!!! I'm so proud! Check out the to hear all about how I came up with this project.
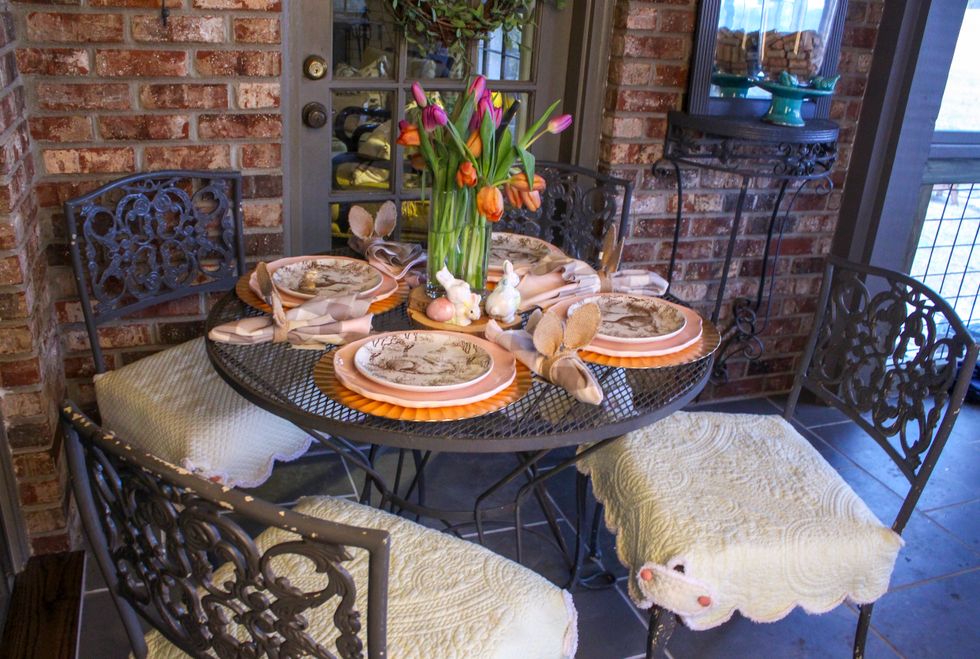
Here's the Easter Table Setting
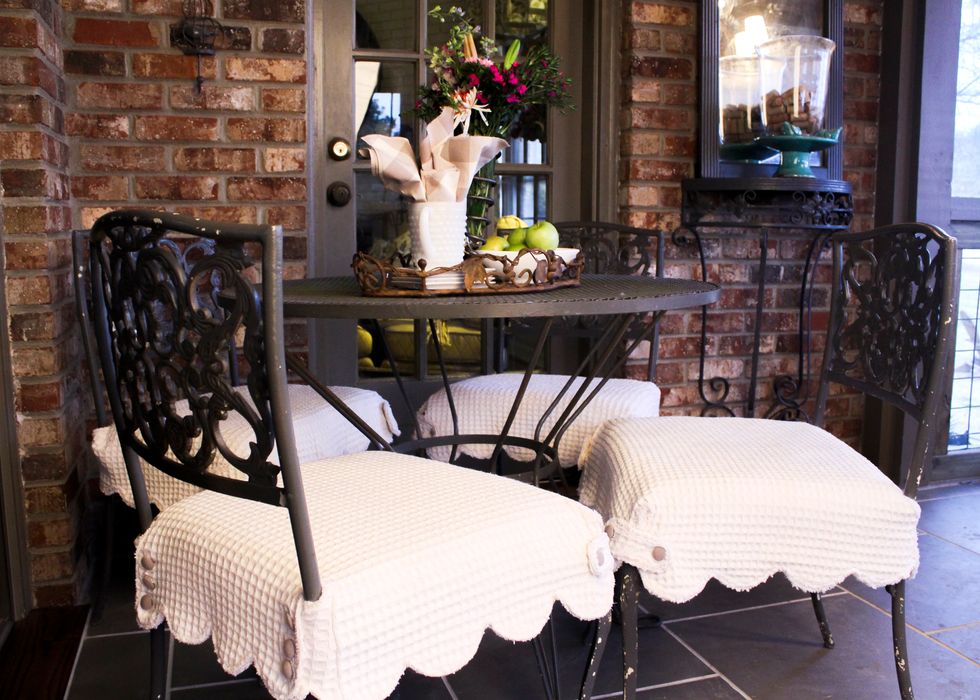
This is the reverse side I use for everyday. So it was worth all the work. Don't you think ??