The Conversation (0)
Sign Up

Start by sketching a very light oval shape on your paper.
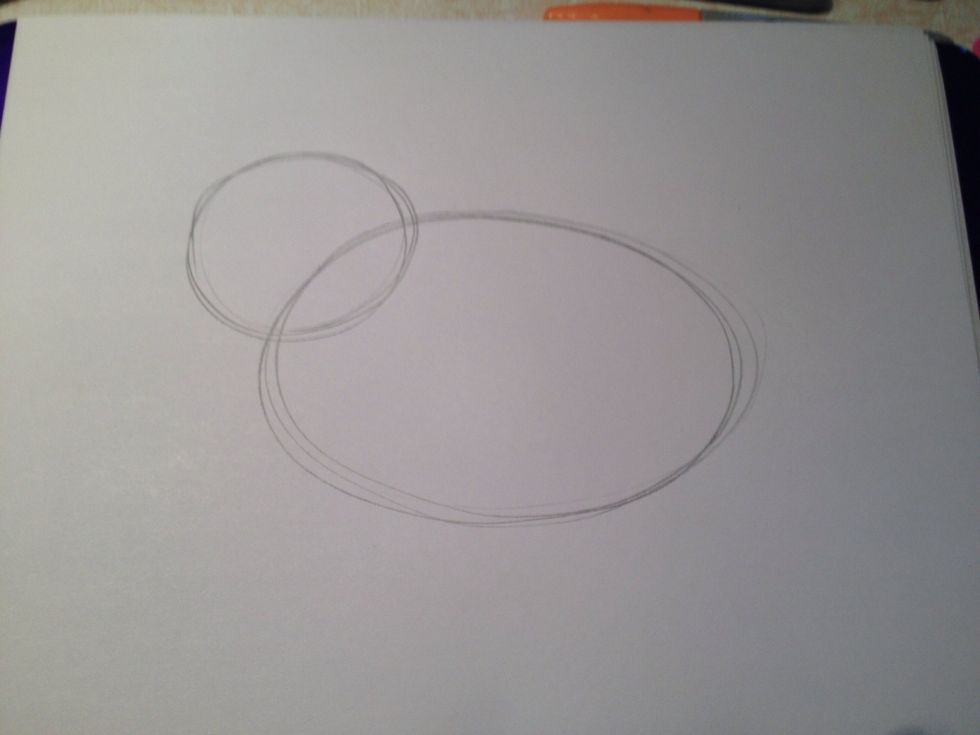
Add another smaller oval shape as shown, overlapping the first oval. This will become the bunny's head.
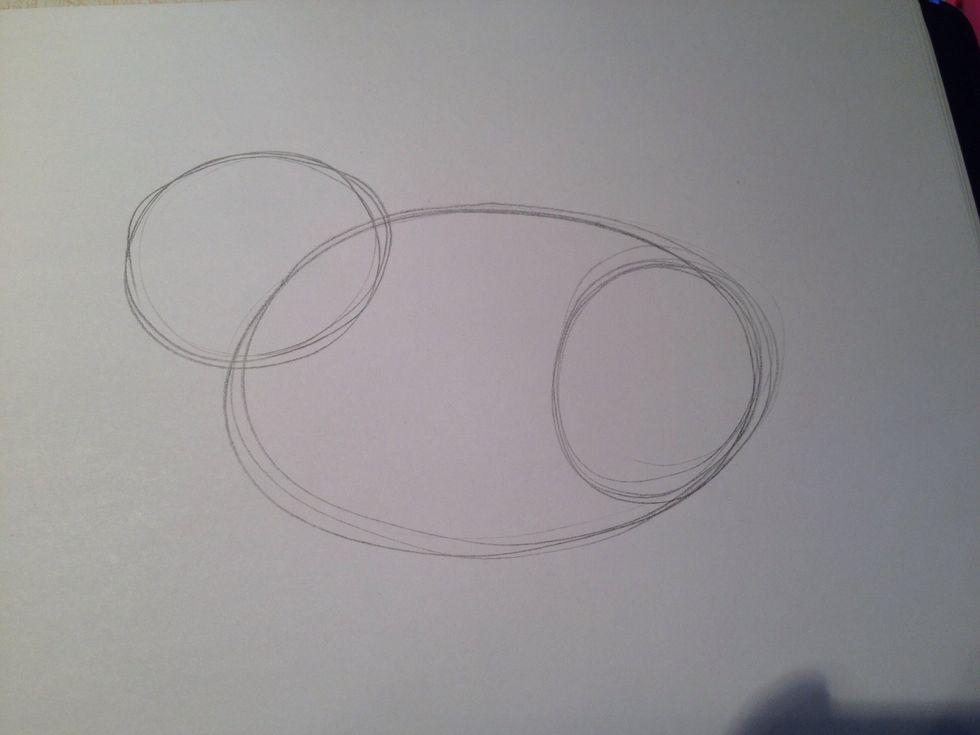
Draw a third oval shape that will become the bunny's hind leg.
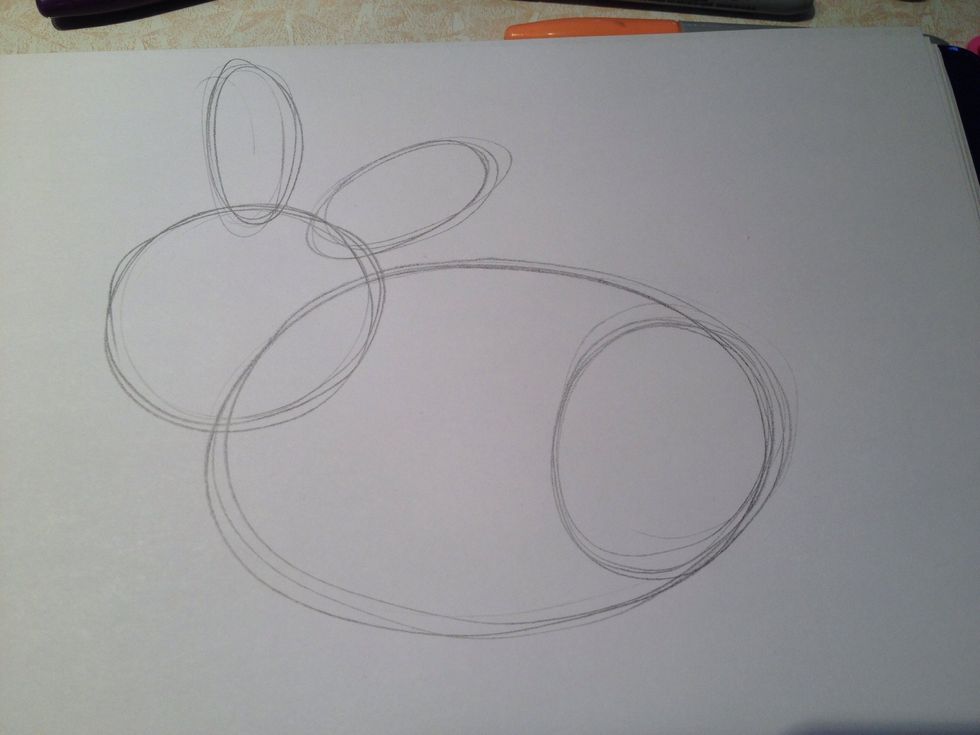
Add two elongated oval shapes overlapping the head. These will be the ears.
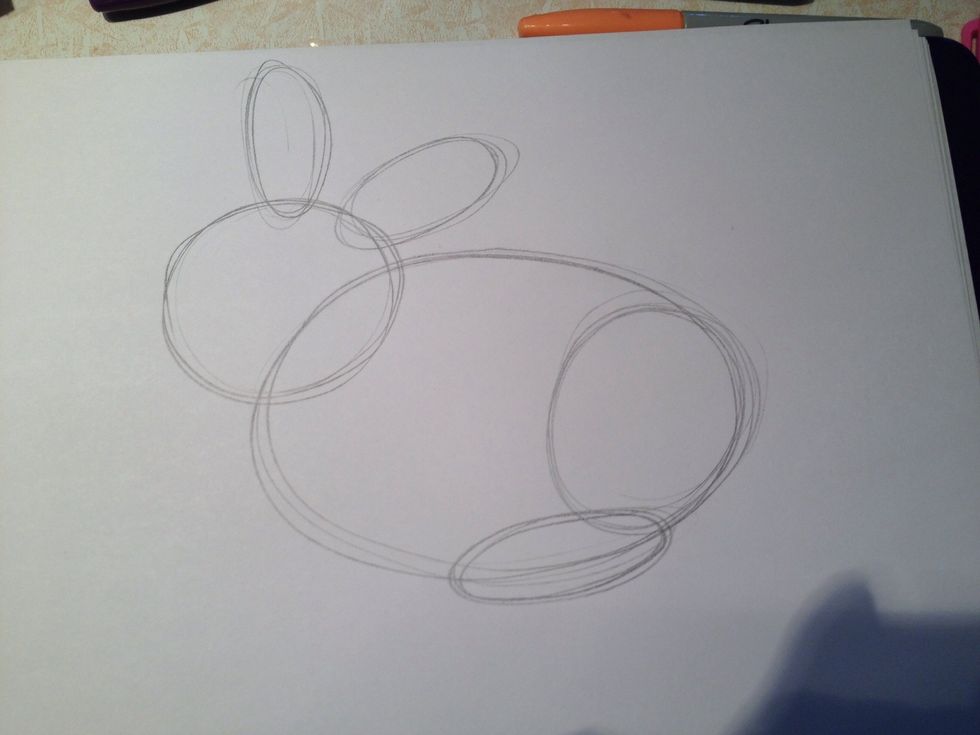
Add another oval near the tummy, overlap again. This will be a hind foot.
Two more overlapping ovals will become the front paws.
A small circle will soon be a bunny tail.

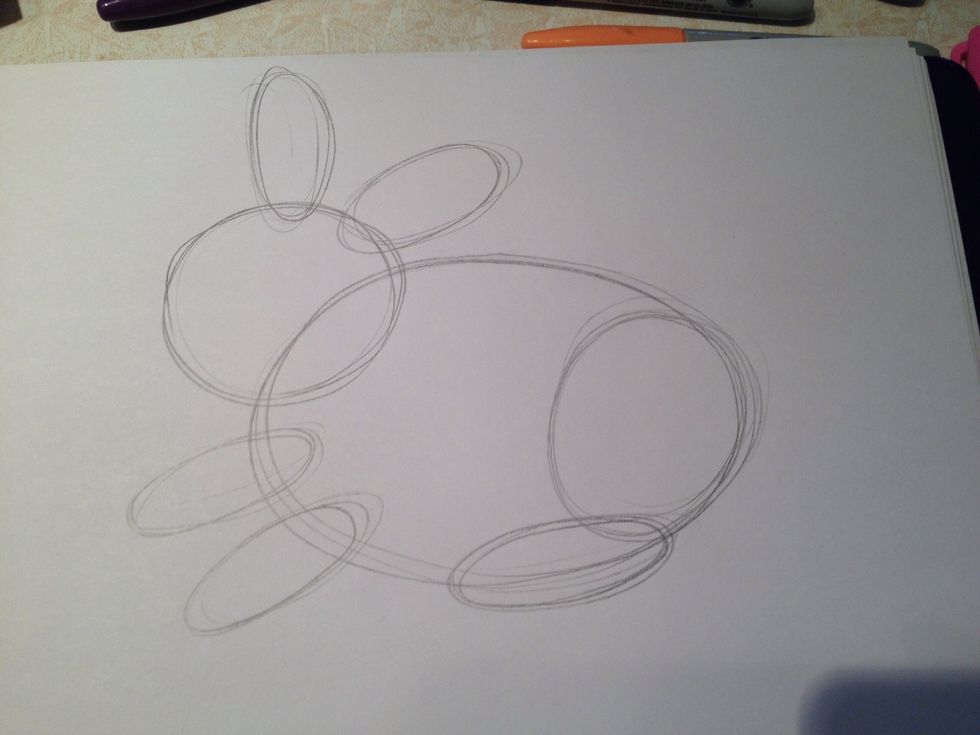
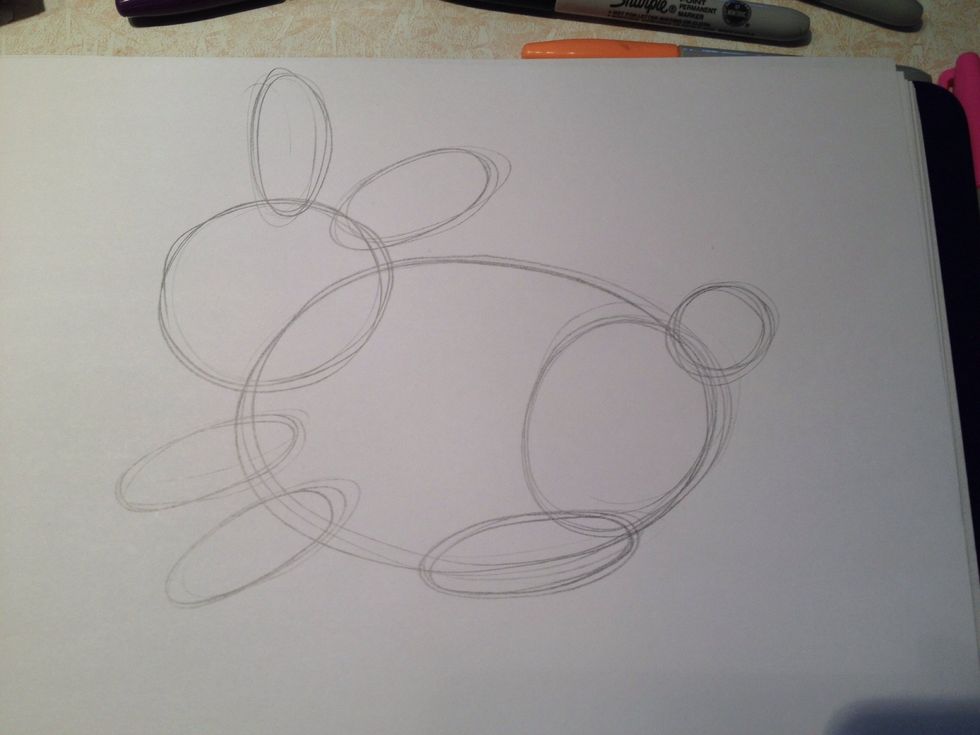
Start gently erasing certain lines, as shown. Pick the ones you want and need and get rid of the rest.
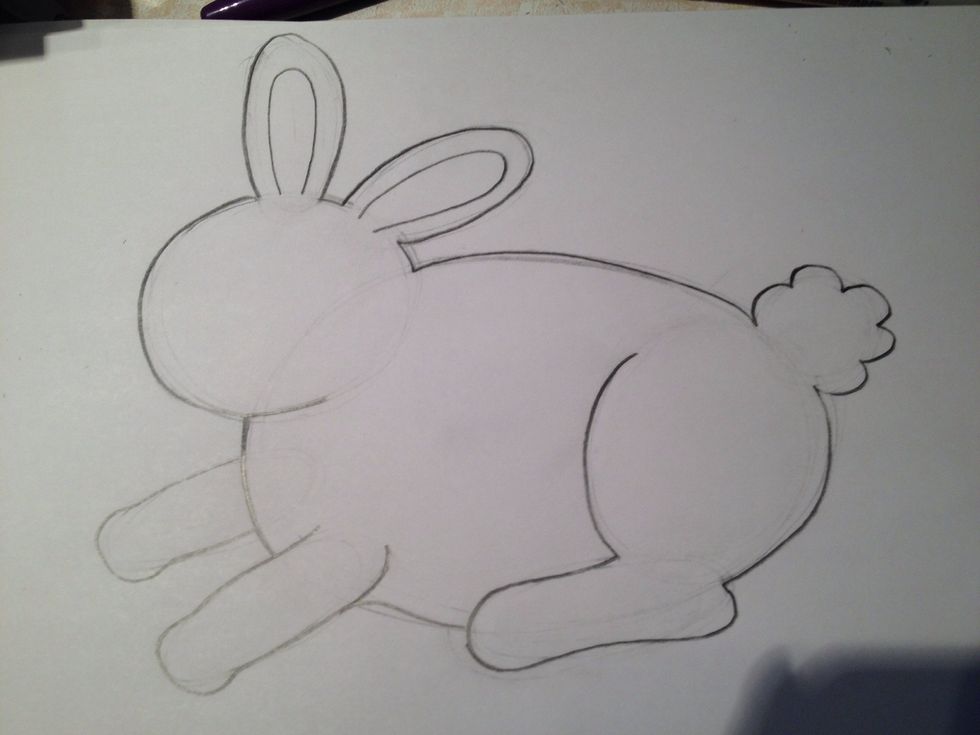
Add more defined detail and line. Start rounding parts and working on the final bunny. I have added some ear detail.

I have fluffed up the tail, added a simple face and the suggestion of the other hind leg,
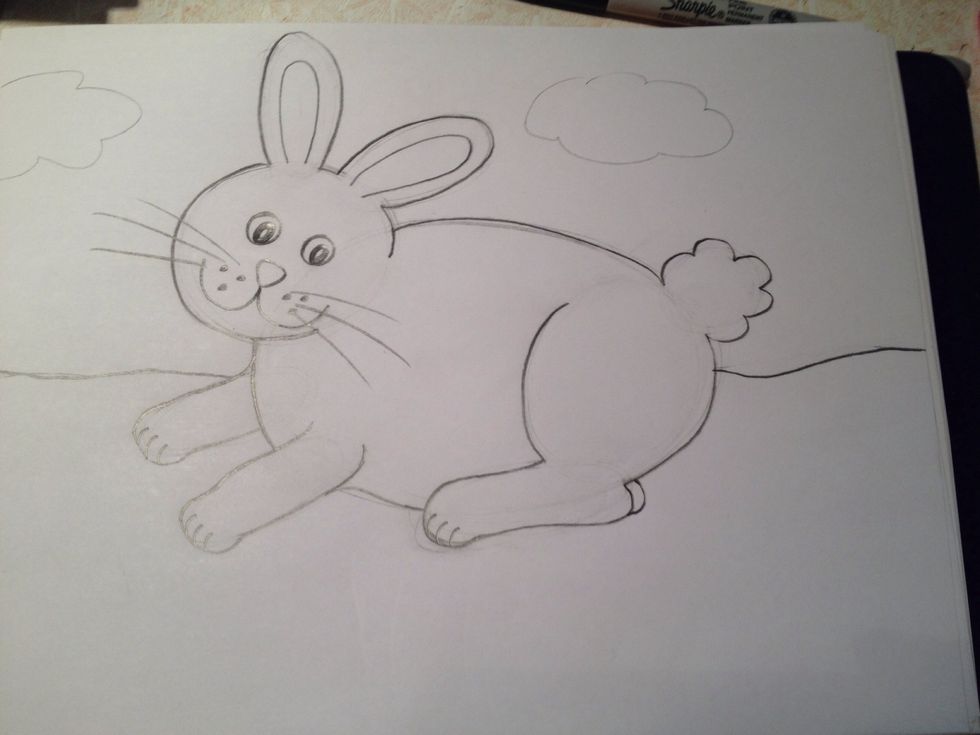
Add a horizon line so your bunny is not floating and then add other details if desired.
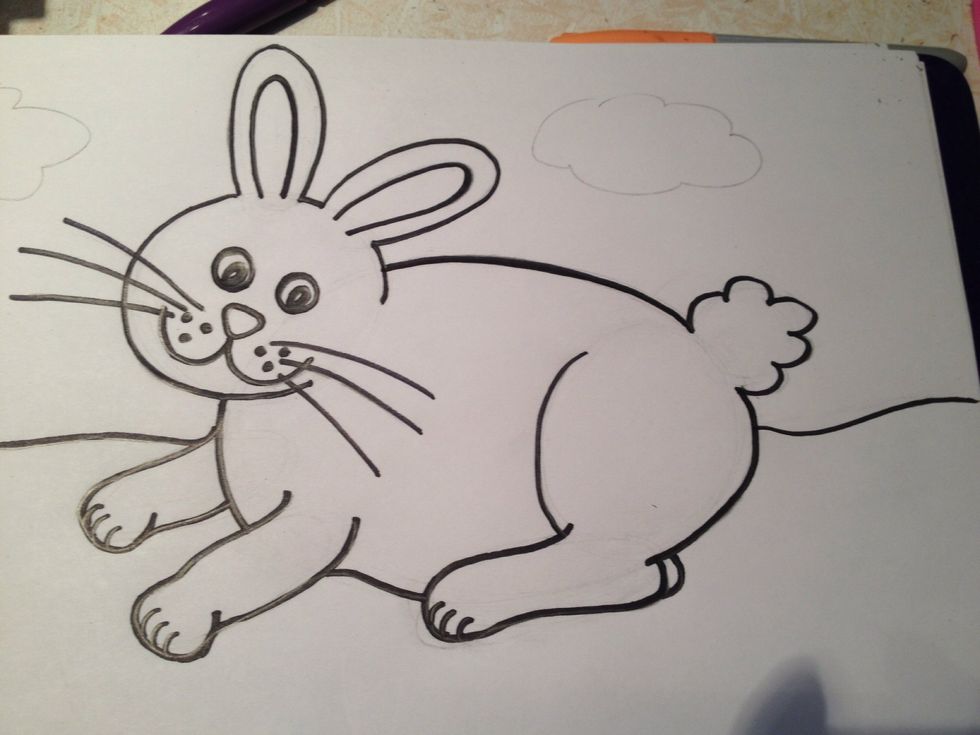
I outlined my bunny with permanent marker before coloring.