The Conversation (0)
Sign Up
It is usually recommended to apply dye to unwashed hair because the dye will take better. I got all items at a beauty store (Sally's) and I've had very good luck with the L'Oreal brands.

Gather your supplies. If you have really dark hair, I would suggest 40 developer or a mix of 30/40. It can dry your hair out though so beware. 30 for med to dark hair and 20 for lighter hair.

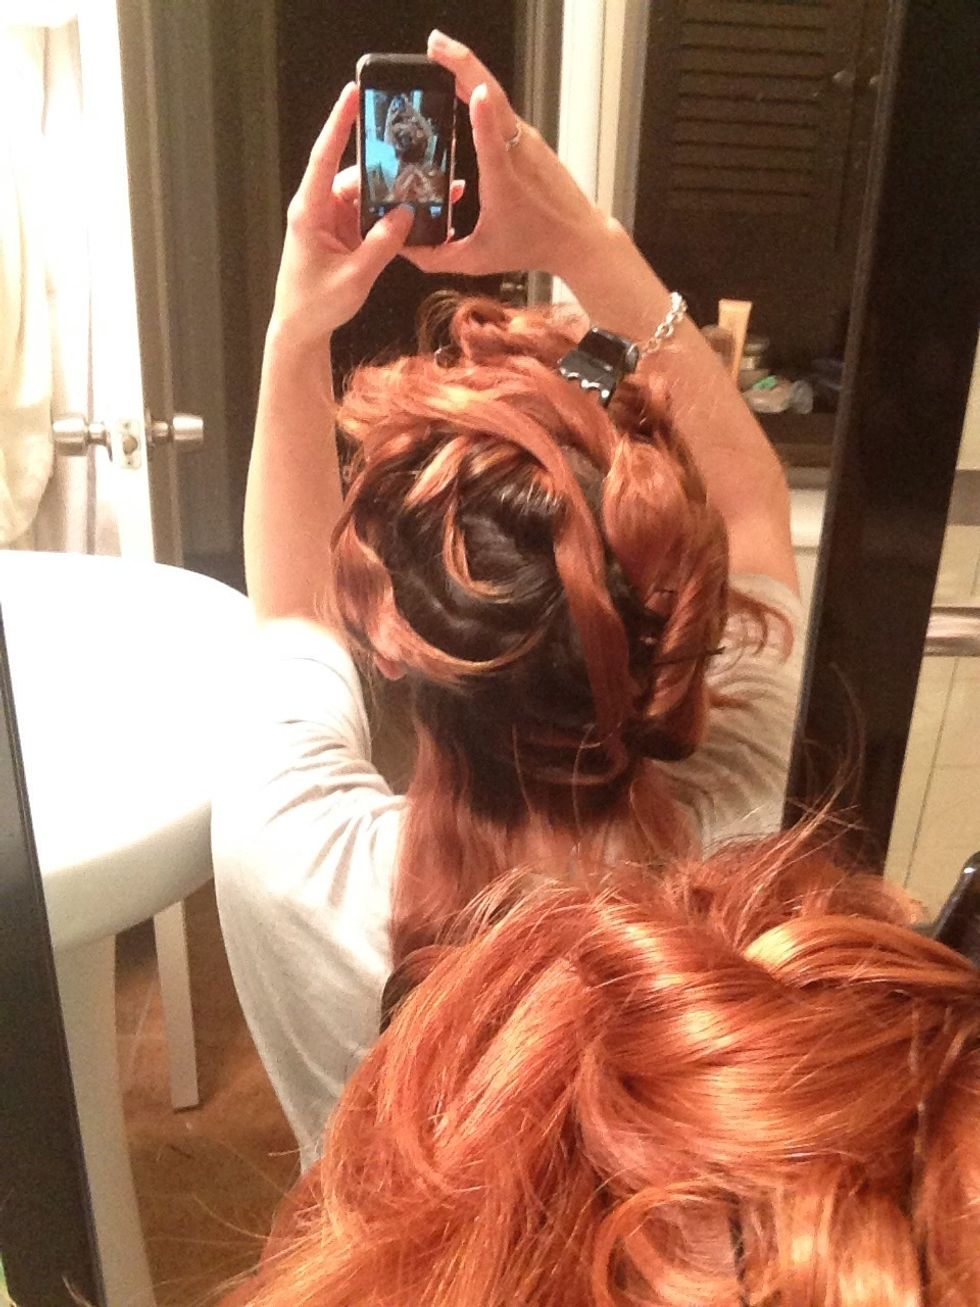
As you can see, my hair has faded and my roots have grown in, so time to dye my hair! Just a note: I am not a professional, I've just always dyed my own hair.
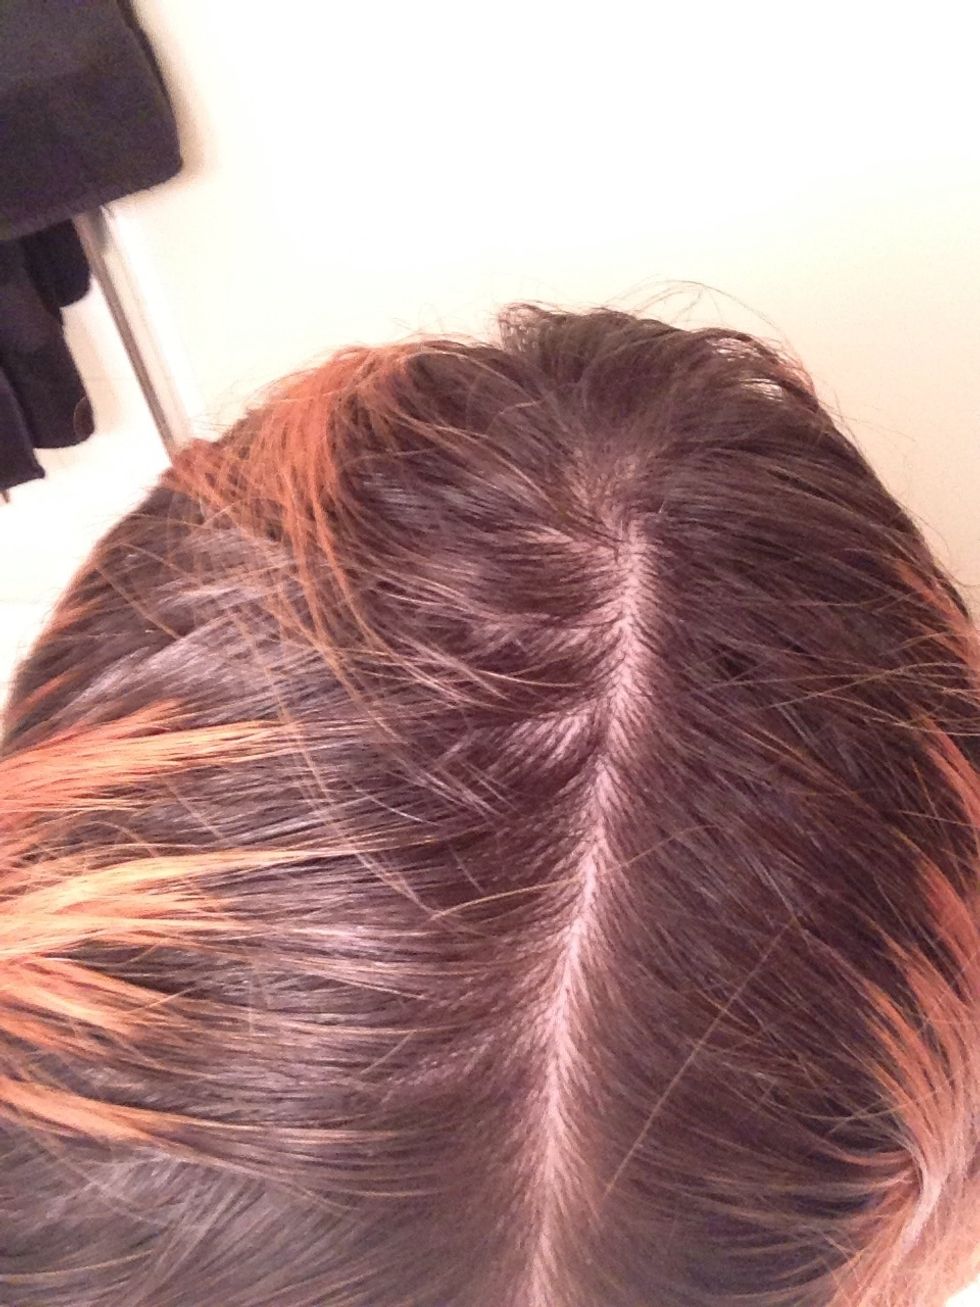
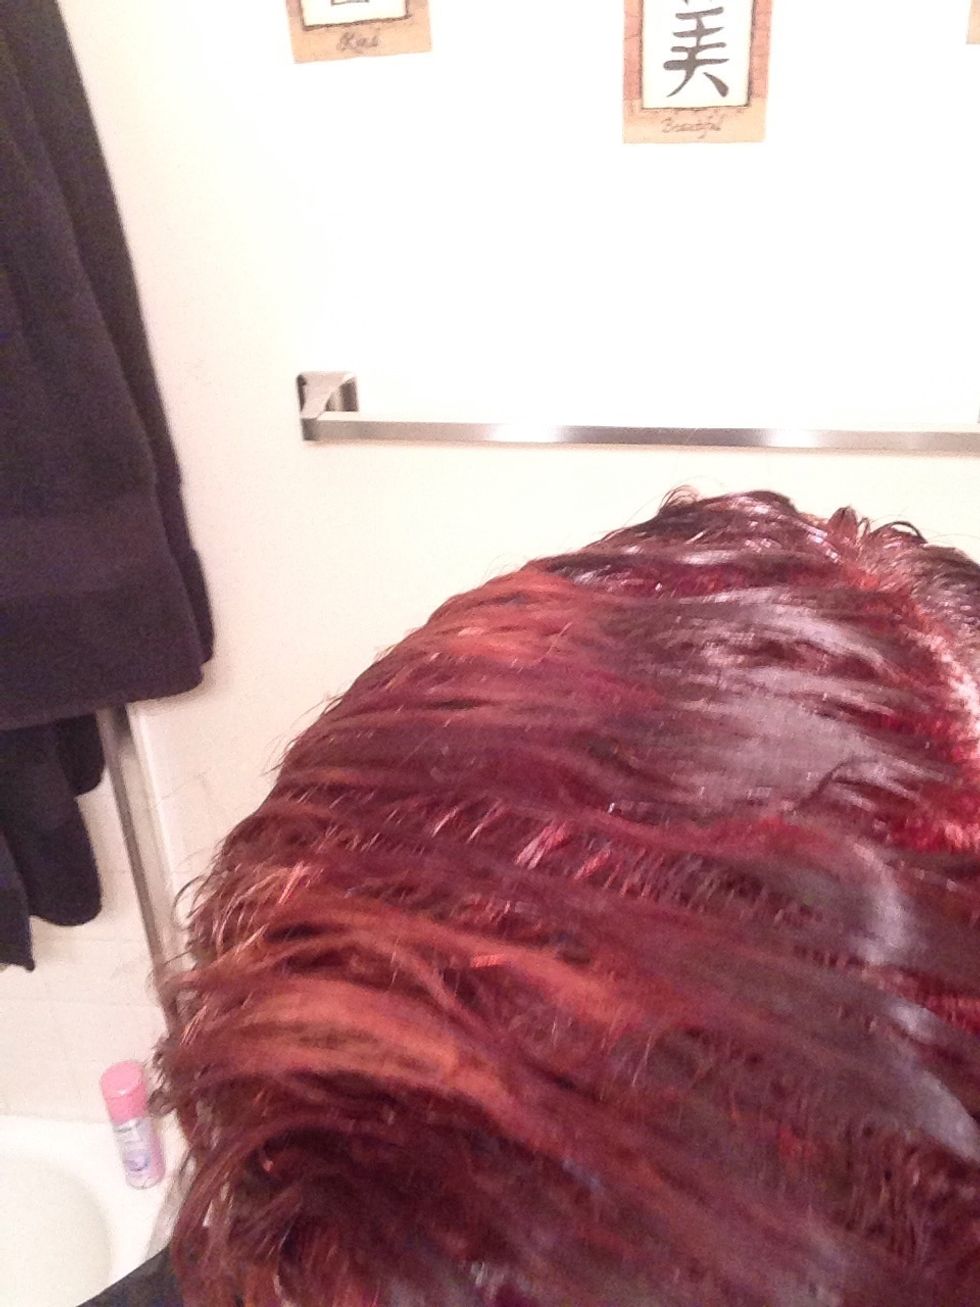
Top view of how bad the roots were.
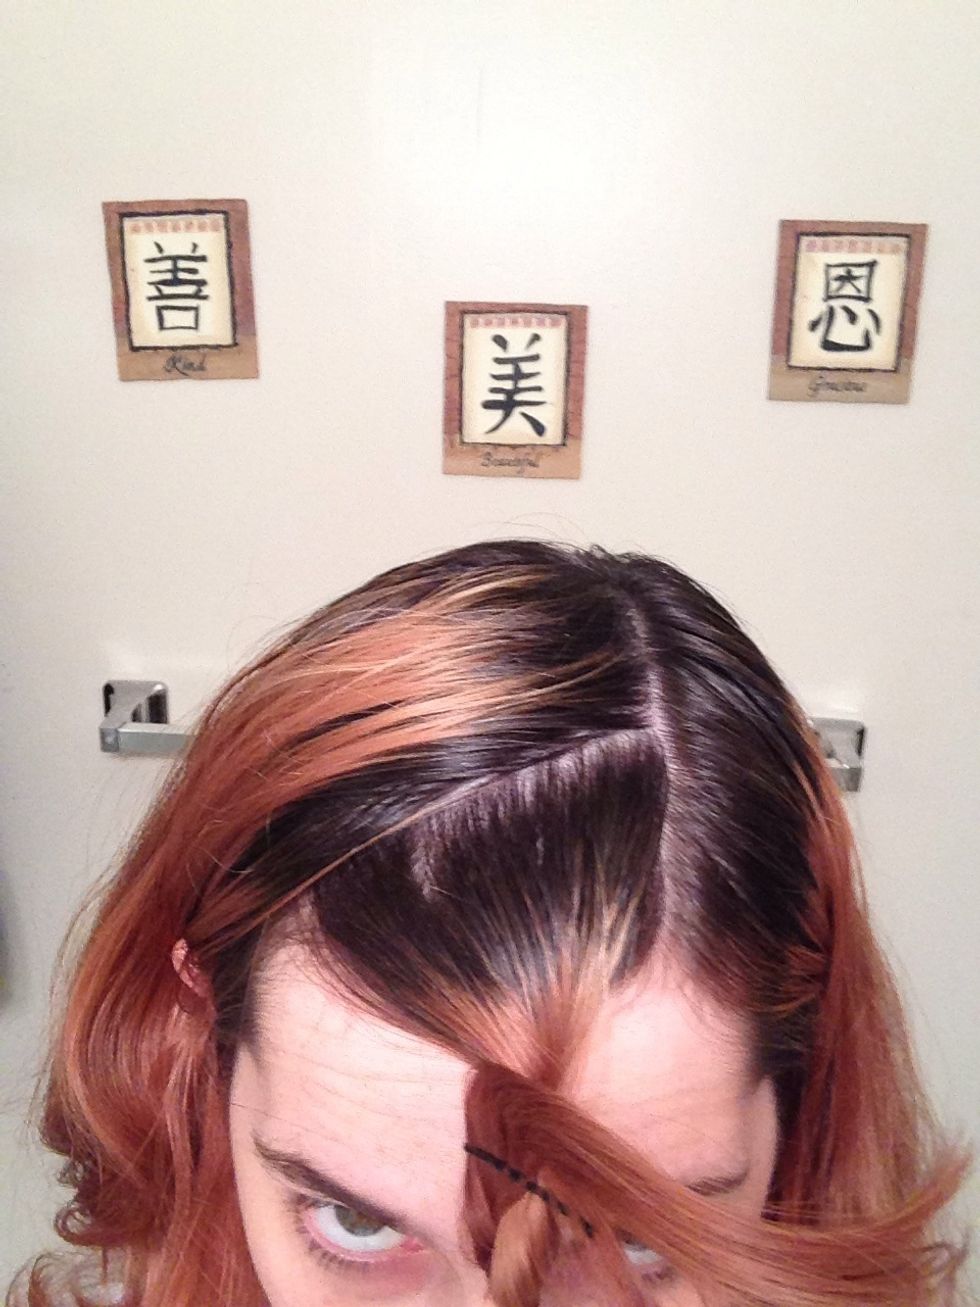
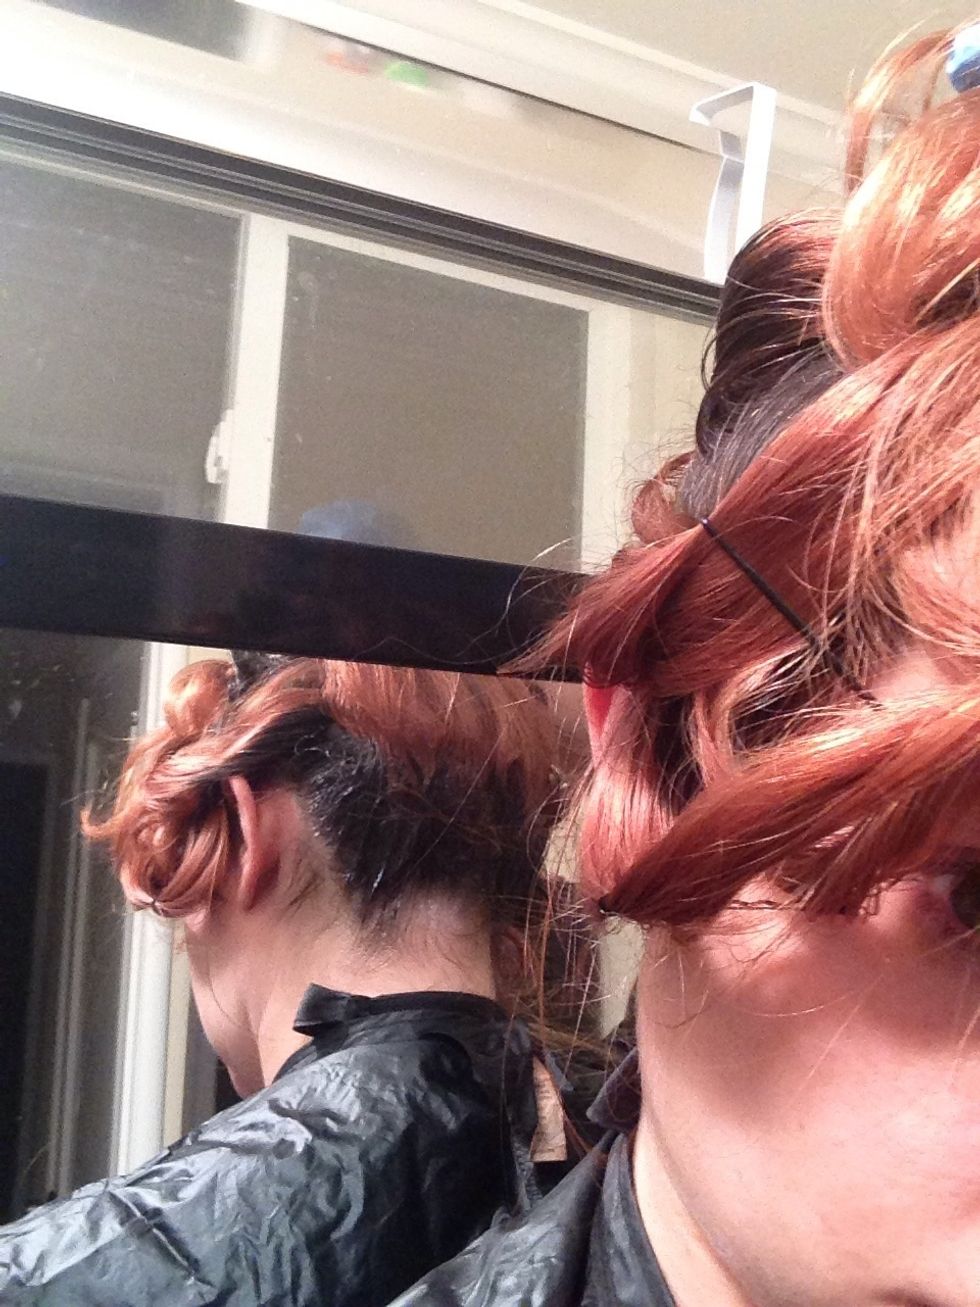
First we are going to separate the hair in small pieces. This ensures you apply the dye evenly across your hair and don't have patches.
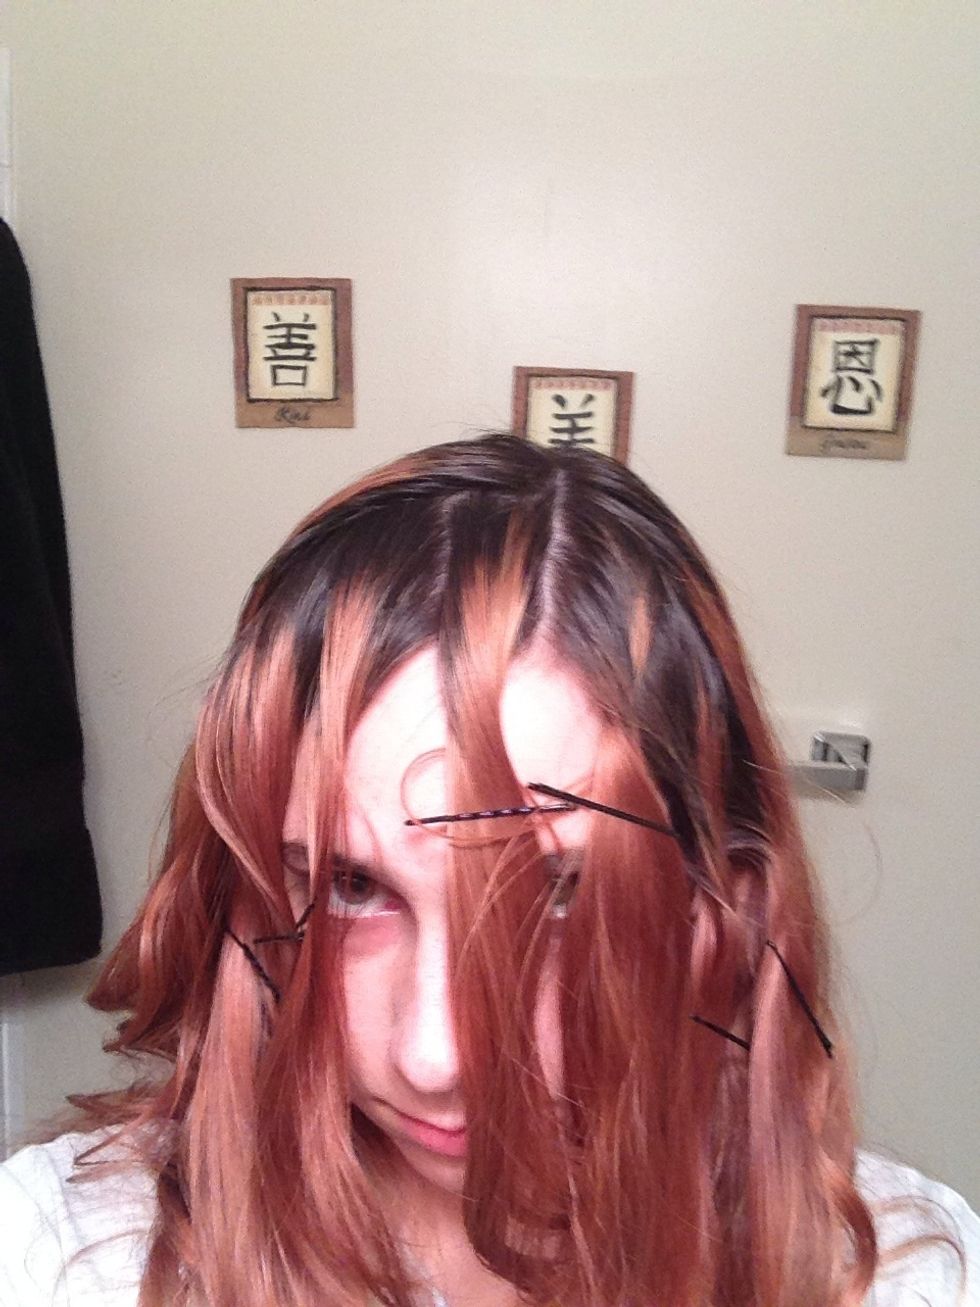
The front separated. I use bobby pins to separate because they are easy to clean and easy to remove when you are ready to dye the section of hair.
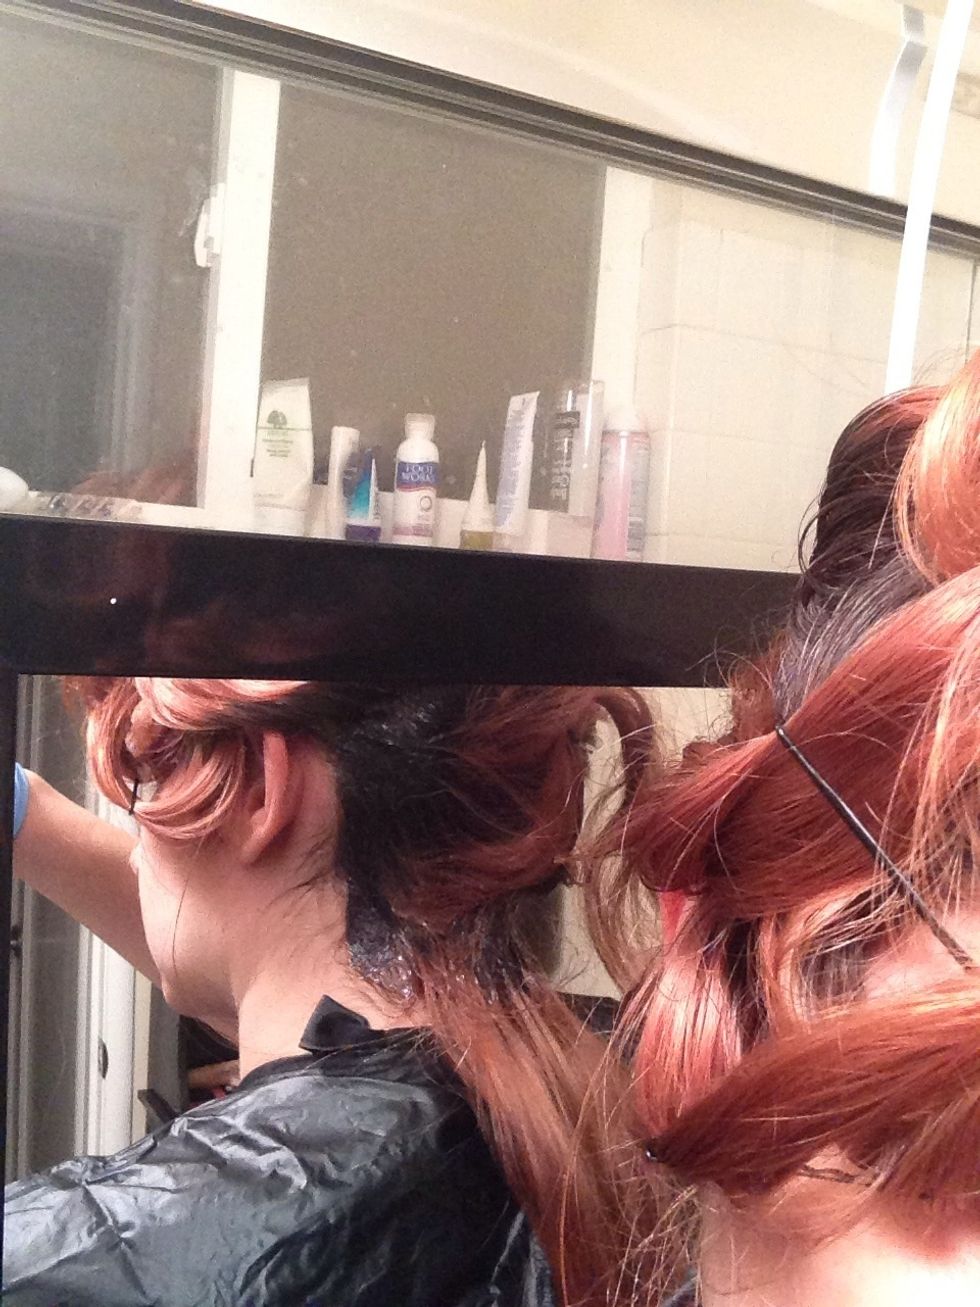
Once you have the front area bobby pinned, I gather it up and put in a clip. This ensures hair doesn't get in the way later.
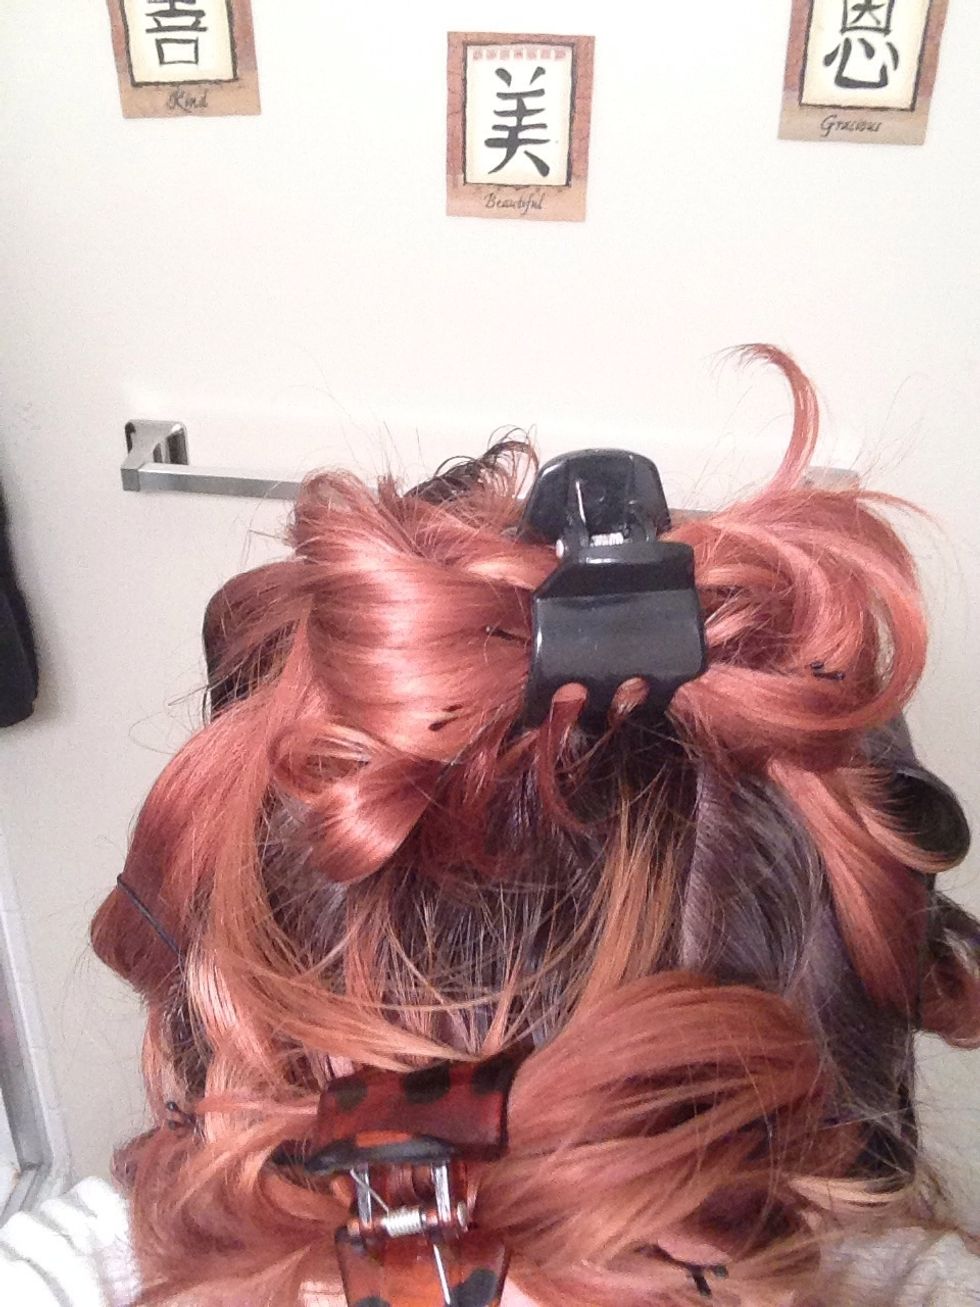
I start at the bottom because it is the hardest to get, but you can start at the front of your hair. This is my completely separated hair. I have two mirrors set up so I can see the back.
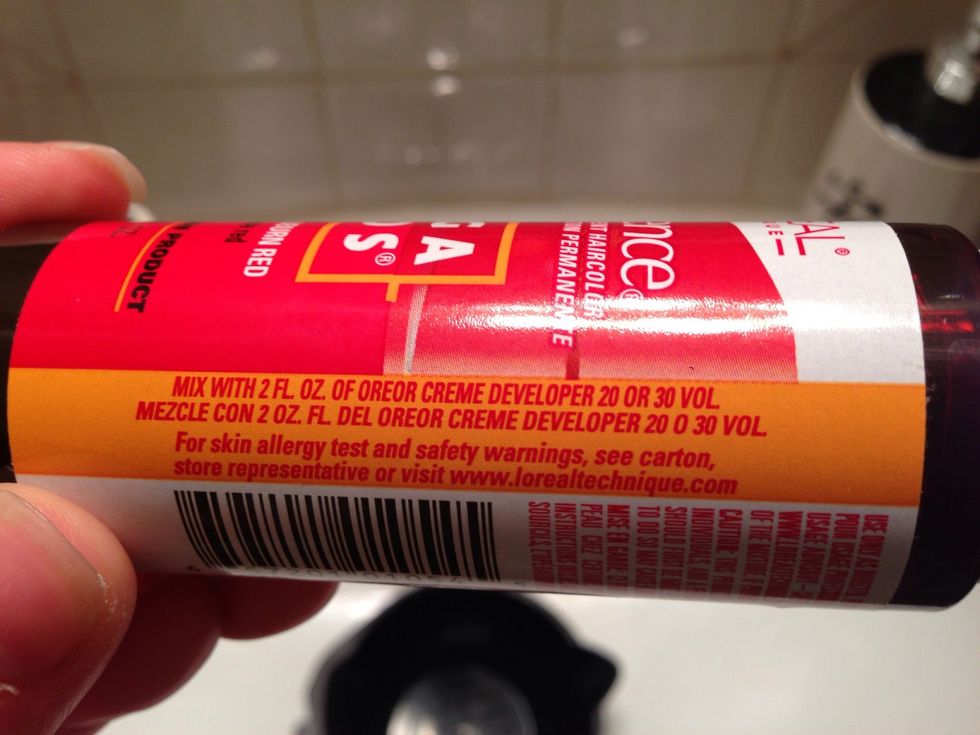
Read the dye directions. Usually it is one ounce of dye to one ounce of developer. I used 40 developer on my hair since it is darker.
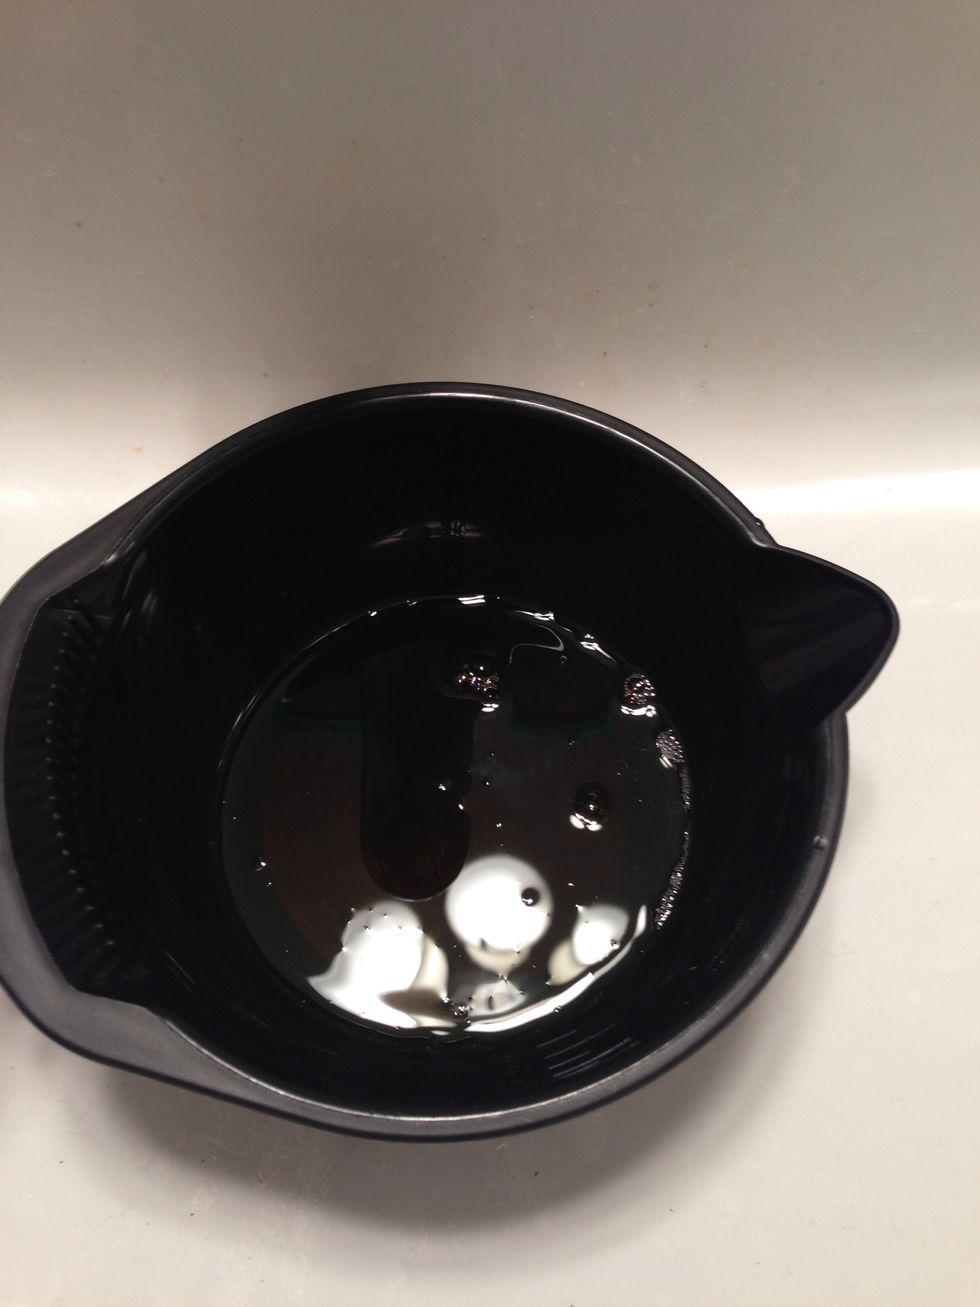
Put the dye in your plastic cup.
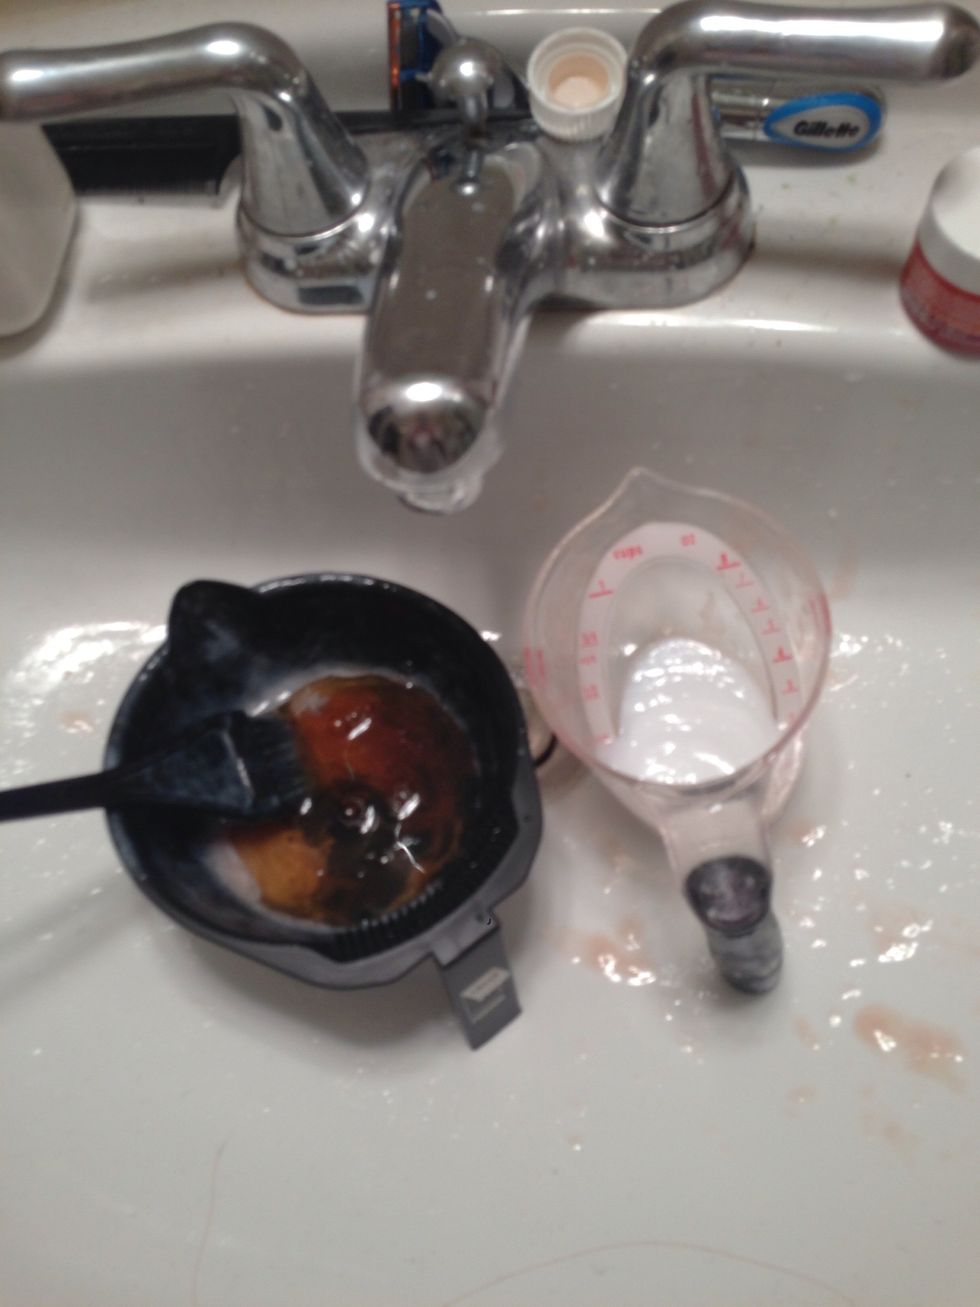
Measure out the developer and add it to the dye.
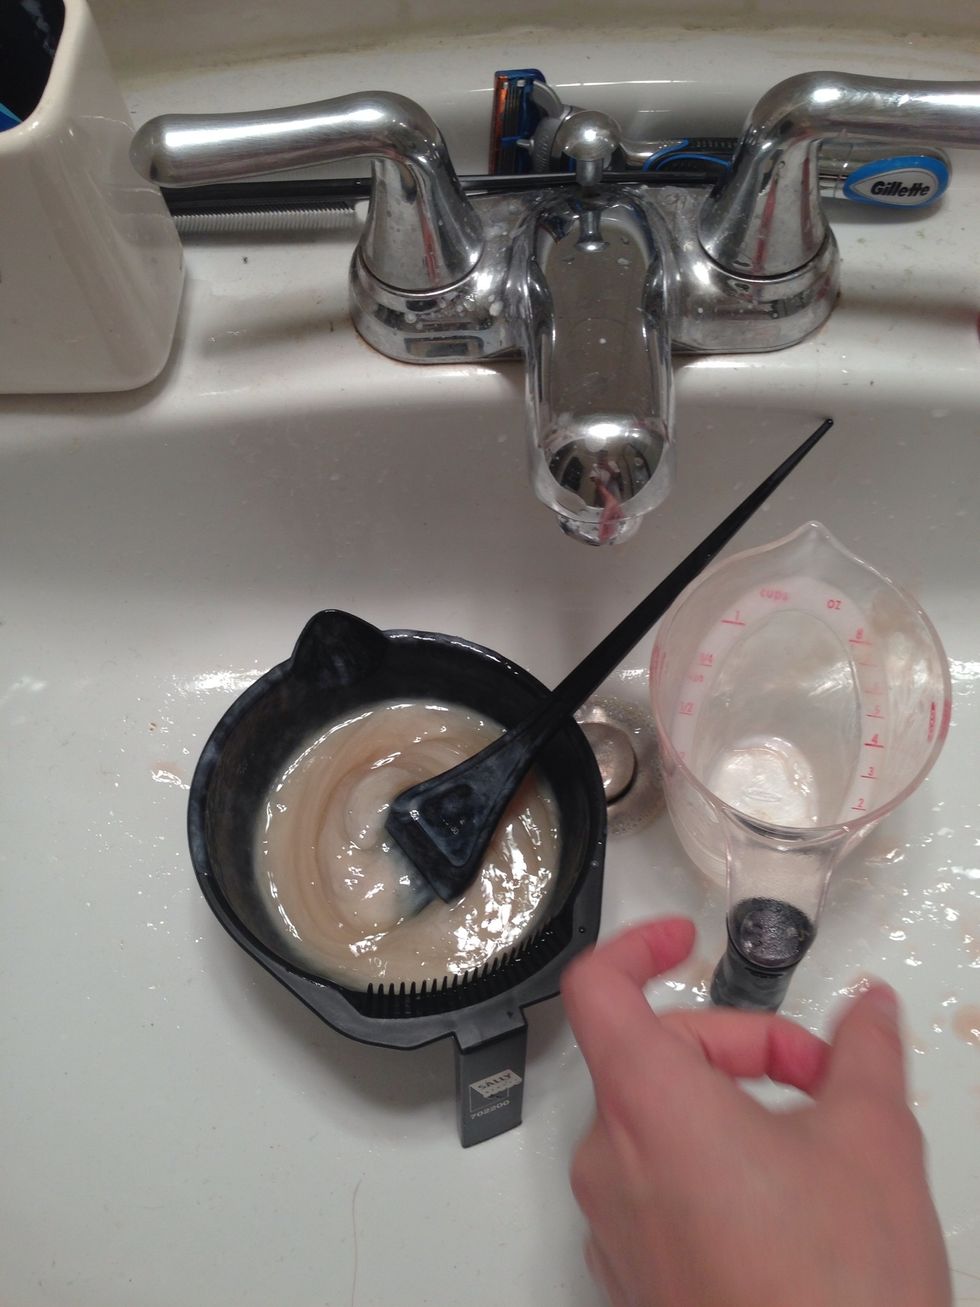
Mix the developer and dye thoroughly together.
A lot of people put Vaseline around their hairline to minimize the chance of the dye staining skin, but I've never had this issue, so this step is optional.
Apply the dye with the dye brush to the bottom of your hair roots. ONLY TO THE ROOTS! Sorry for the bad photos. It was hard to take photos and dye hair without it getting every where.
Next, add dye to the top part of the hair section you put dye on previously. Repeat applying dye to the bottom of a section, then the top of a section for the rest of your hair.
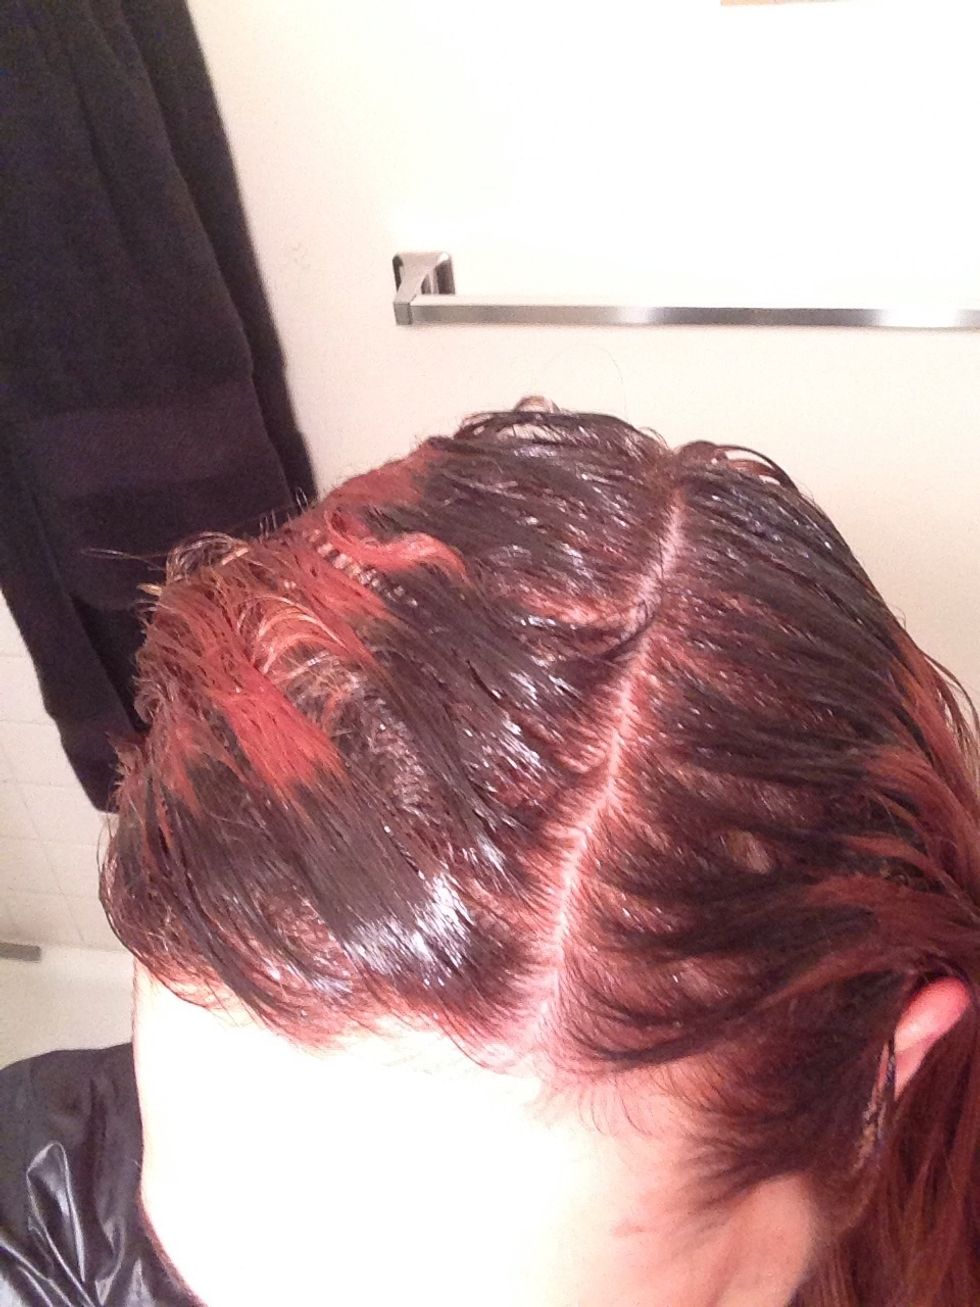
Make sure you do the roots of the front of your hair really well. Now let the dye process. I let the dye process for 40 minutes since it is darker, but 30 would be fine.
Once my roots started looking red(about 40 min later), I started dying the rest of my hair. Use sections like before and start with the bottom of a section and then the top for the rest of your hair.
I couldn't get a good photo of this, but when I finish a section of hair, I pinch my fingers on the hair section and run it through my hair to make sure the section is evenly coated.
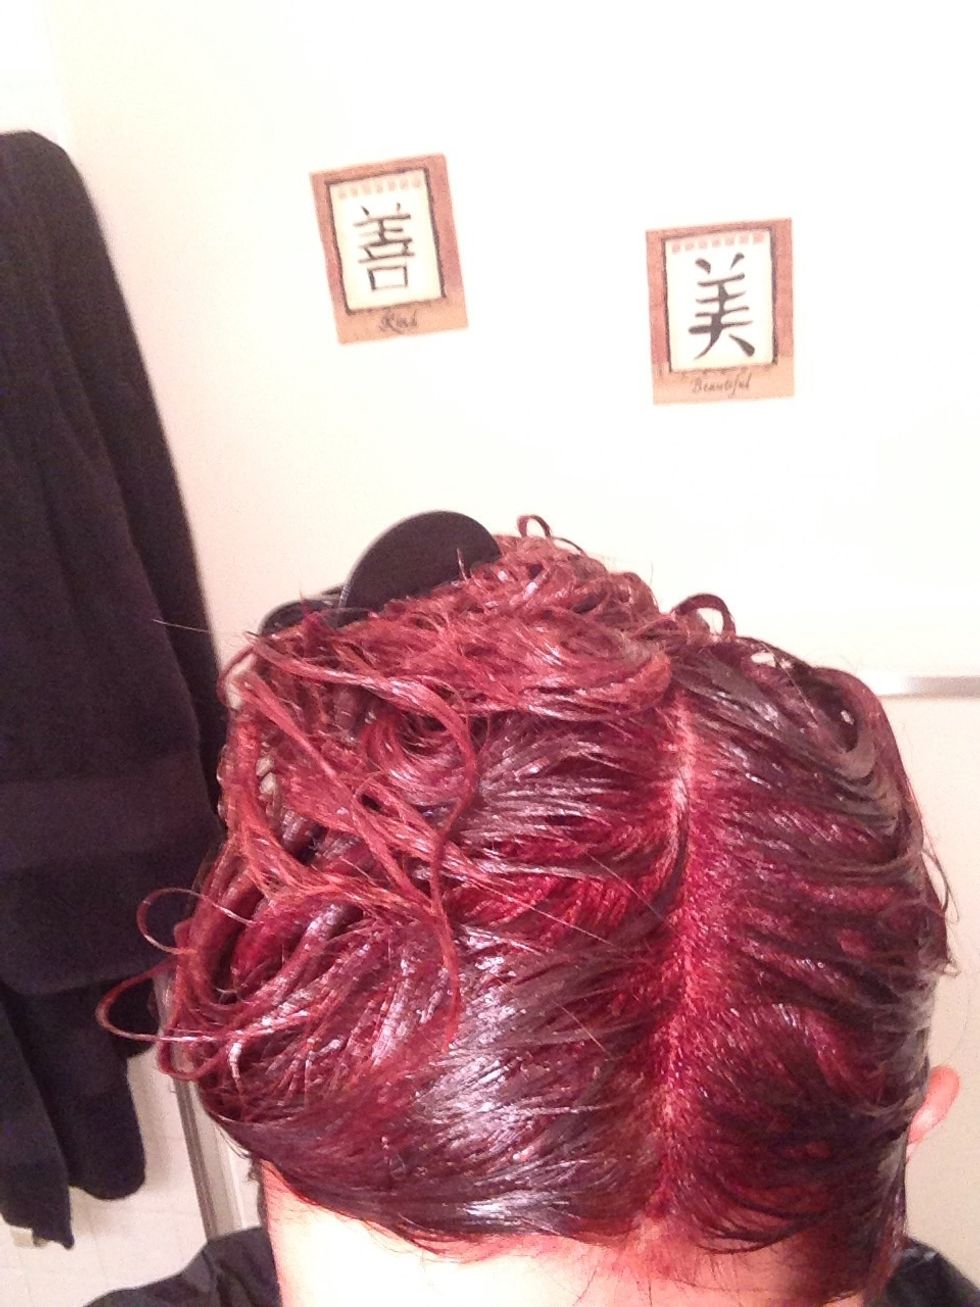
When you are finished, put your hair on top of your head and let the remaining hair process for 10-15 min. When your hair looks the same color (as pictured), it's time to wash it out!
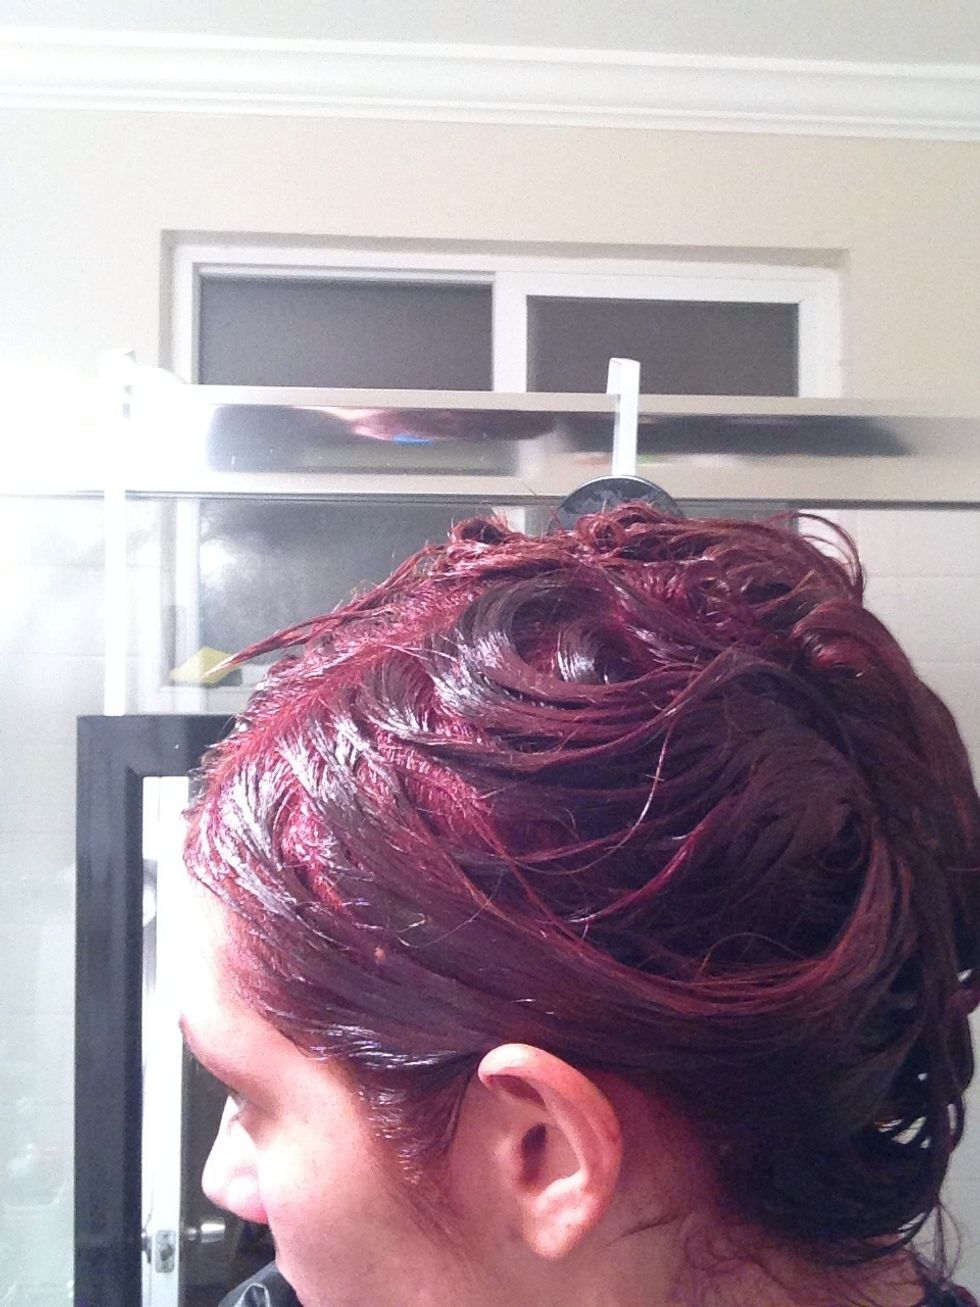
Side view of the hair being the same color.
Now it's time to rinse it out. When you are in the shower, rinse with cold to med cold water until there is no more red. Now apply ONLY conditioner to you hair. I leave it in for 5 min and rinse.
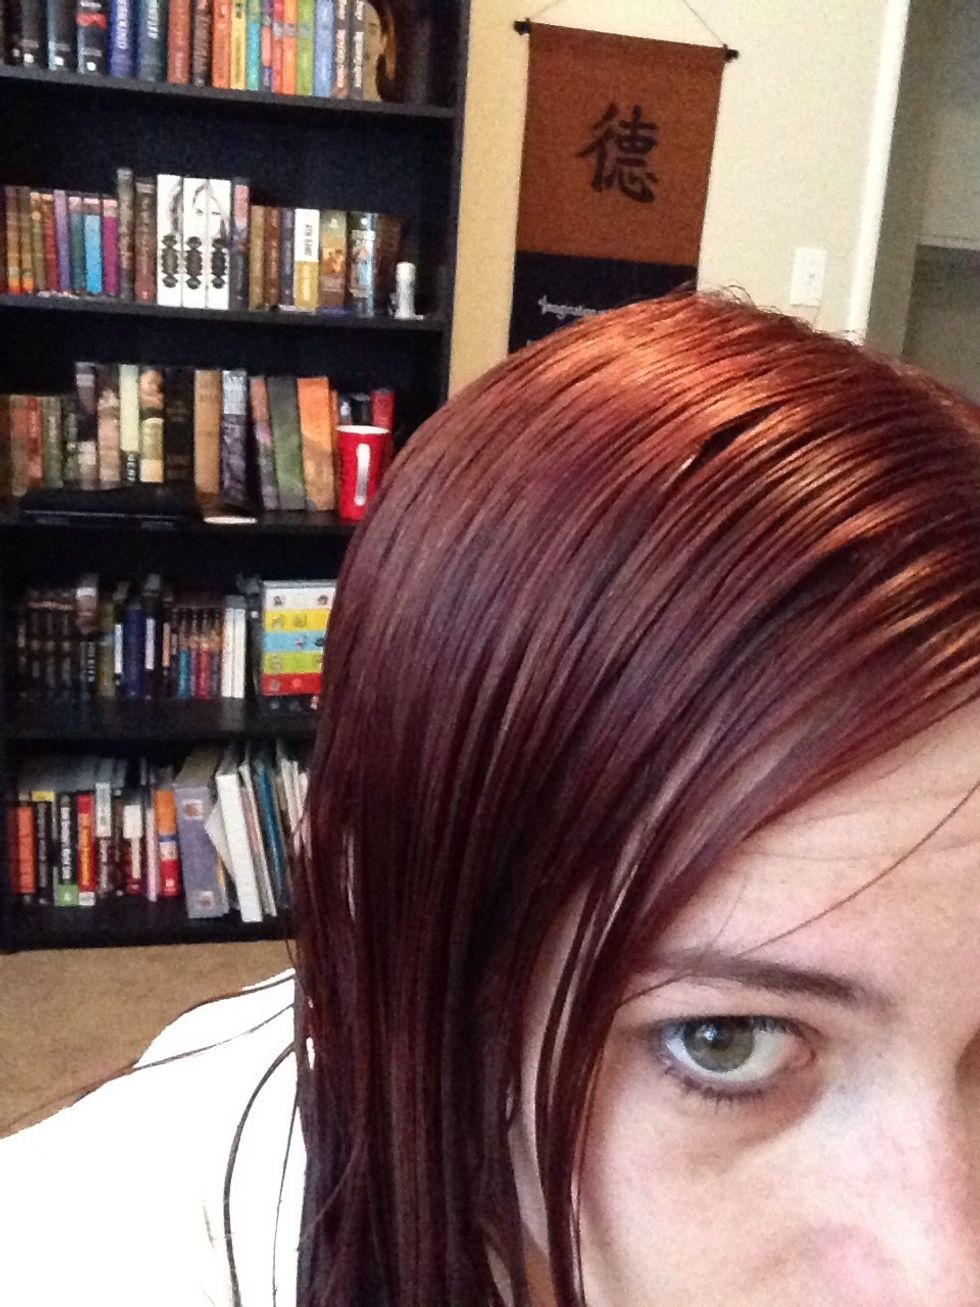
Once you are finished rinsing, it's time to see that lovely hair color.
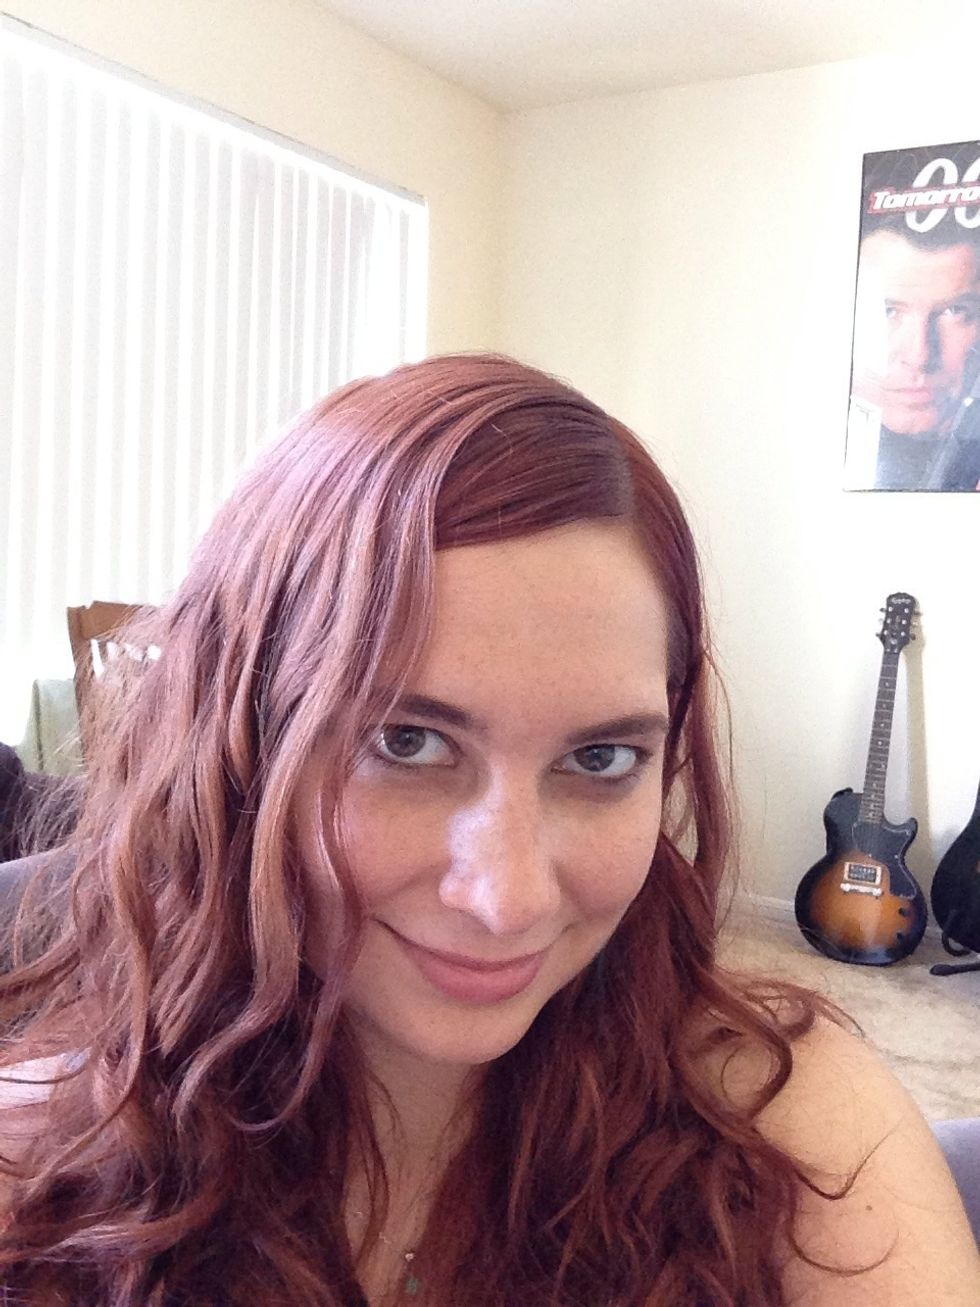
Style as normal with your sexy new hair color!