The Conversation (0)
Sign Up
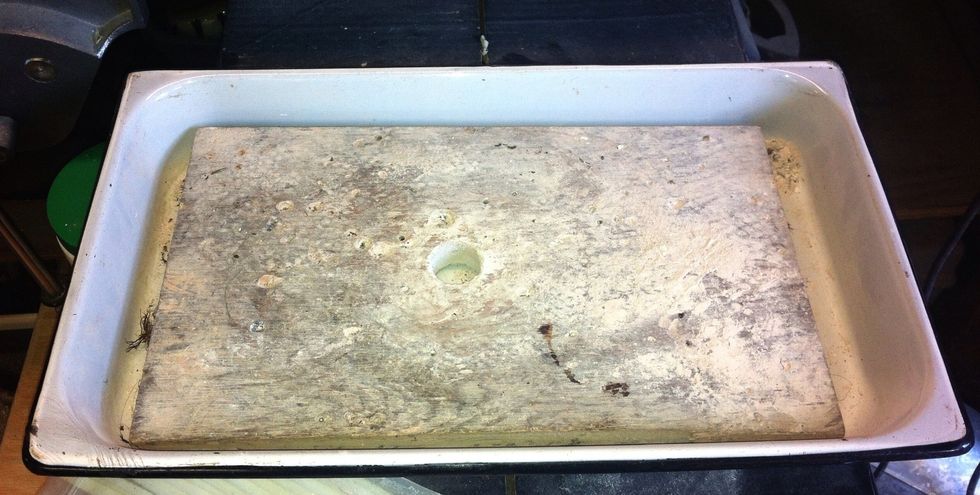
I work with an old metal tray that I've fitted with a piece of plywood. This provides support and contains the dust. Once a hole has been made, the larger hole in the wood will come in handy.
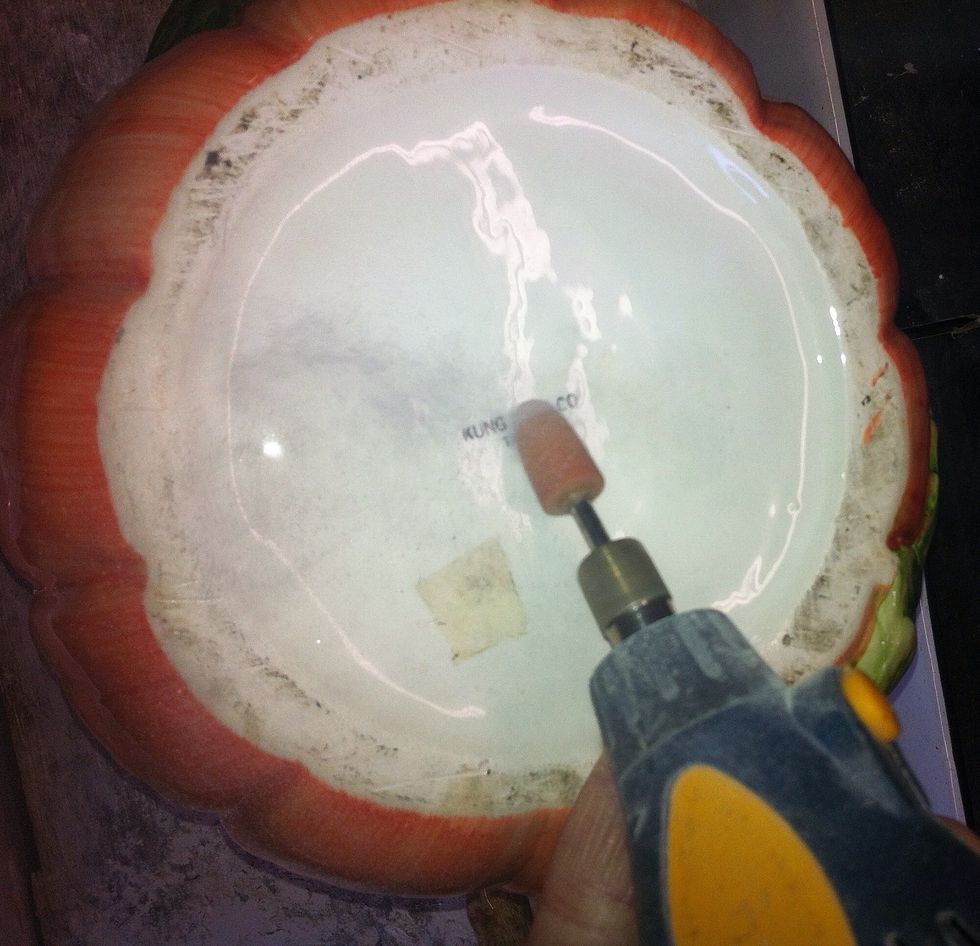
Place the container onto the wood in the tray, upside down. Place the stone tip in the rotary tool, and grind a spot where you plan to drill a hole. By removing the glaze, this makes drilling easier.
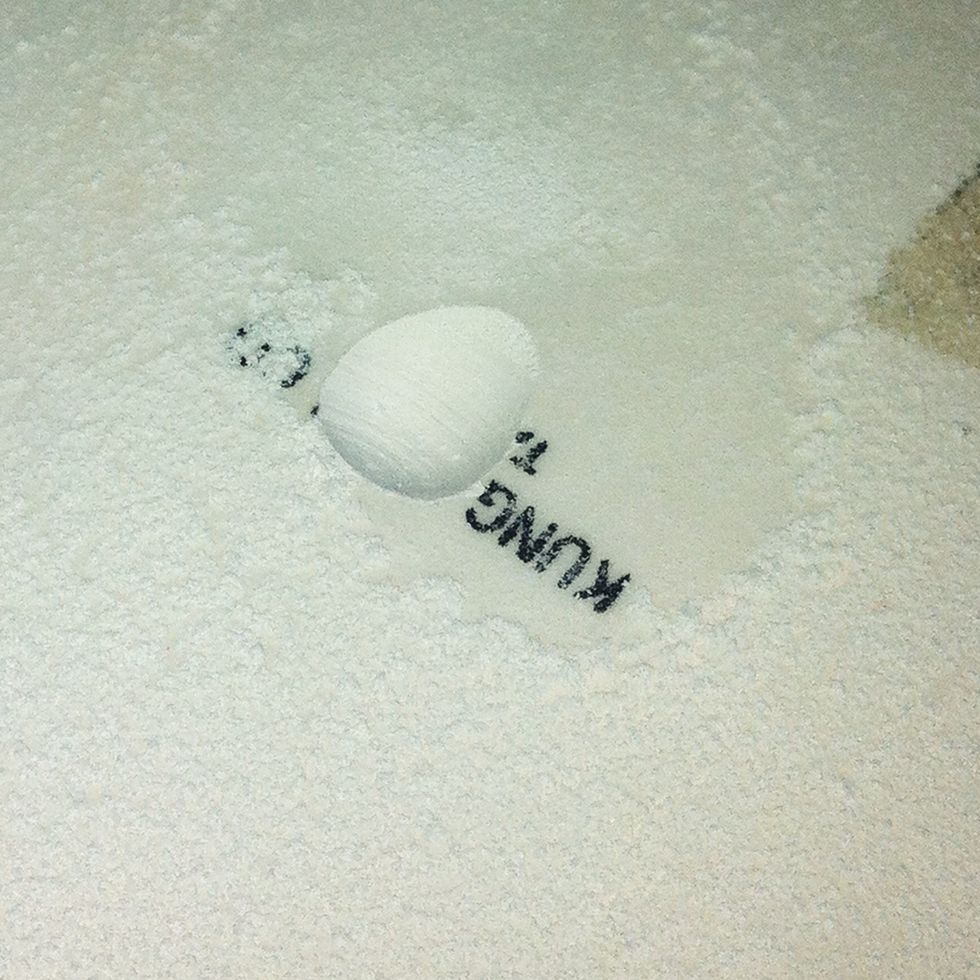
This is what it should look like after using the rotary tool and stone bit. The depression allows a place for the glass and tile bit to "sit", rather than scooting all over the uniform glazed surface.

Place the glass and tile bit in your drill.

After turning on the drill, position bit in the cavity created in step 2. Do not apply pressure, just hold the drill in this position until you see an opening in the container.
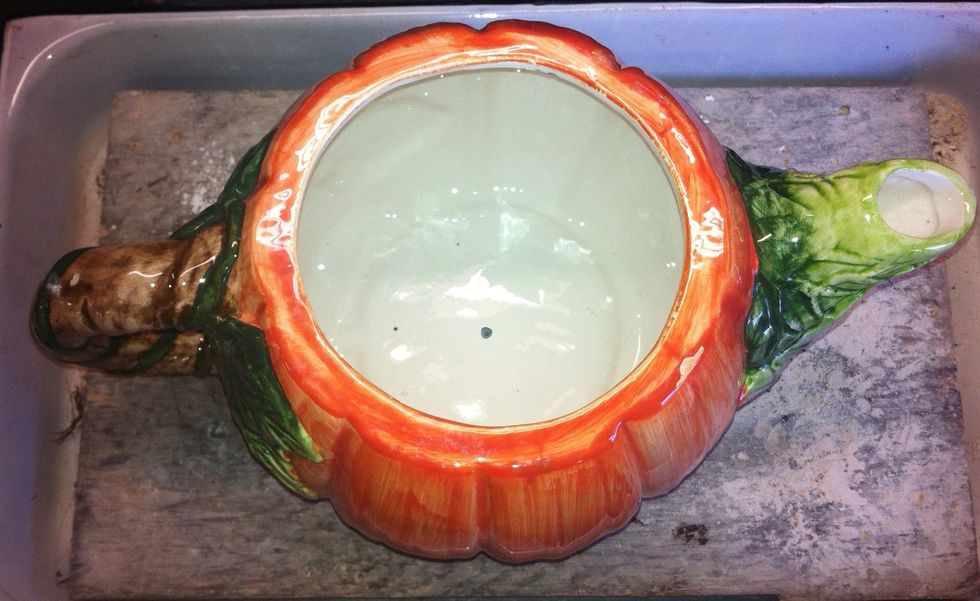
As soon as I have a small hole, I flip the container over. I position that hole over the larger hole in the wood base. This supports the container and allows you to drill through without damage to bit
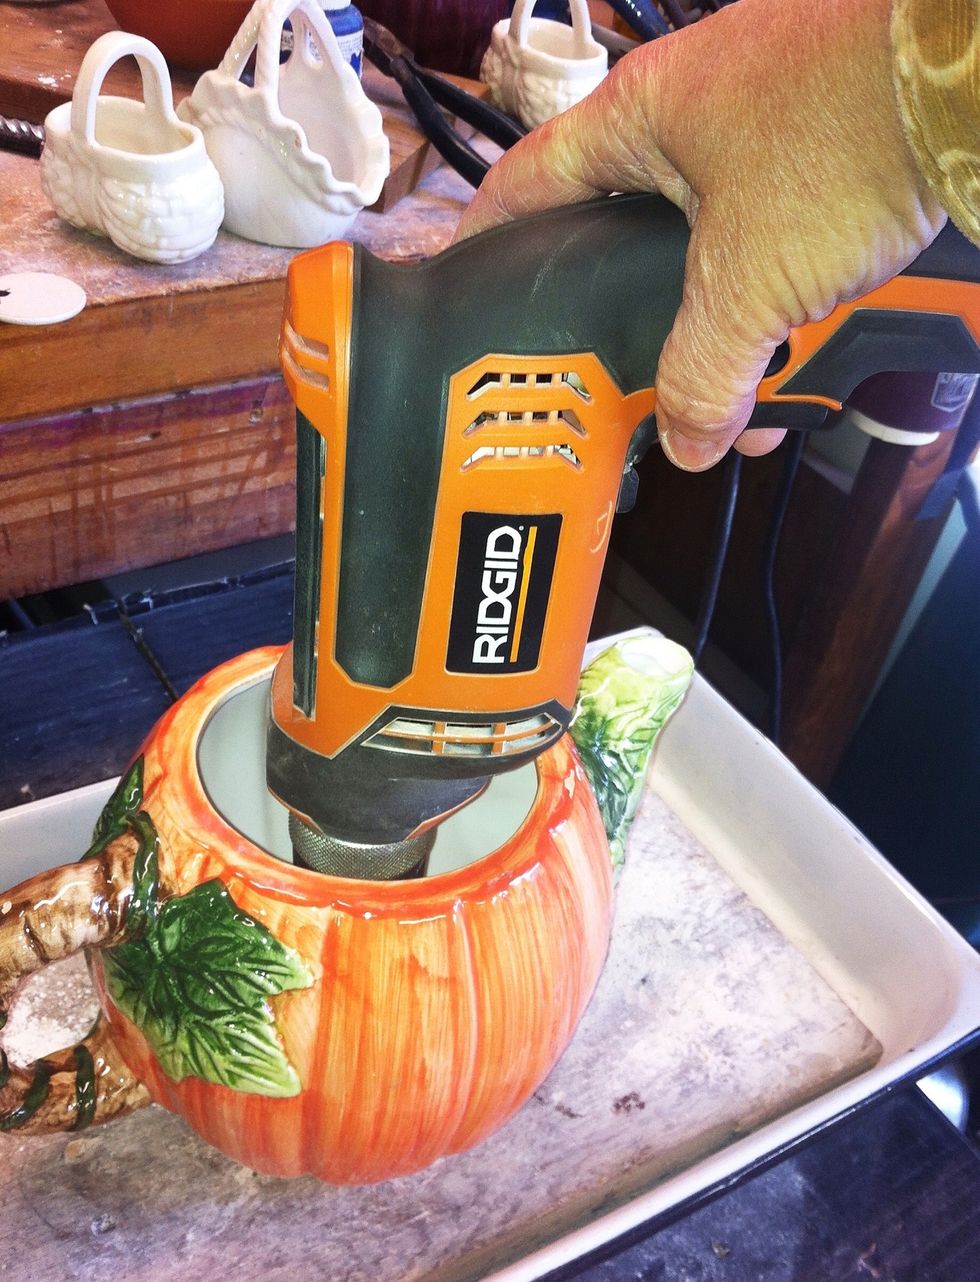
I can now finish drilling the hole until the bit goes all the way through.
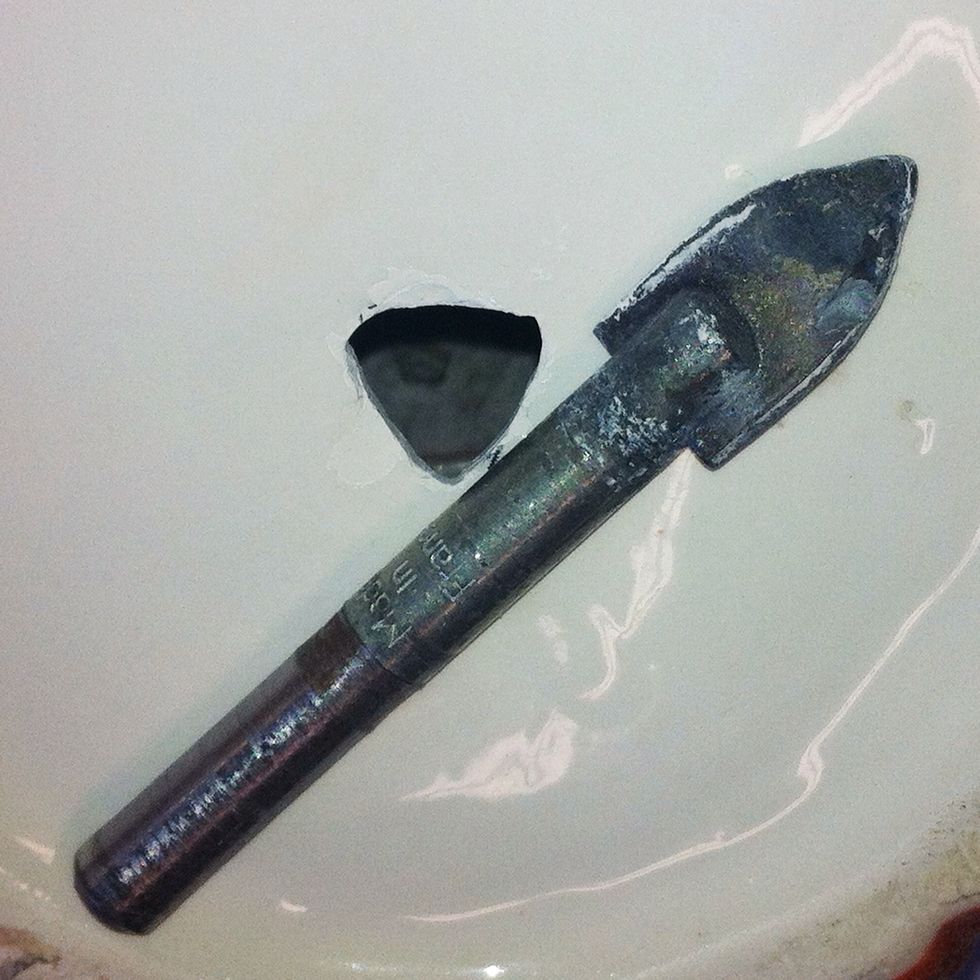
Here's the finished hole and a close up of the glass and tile bit used to create it.
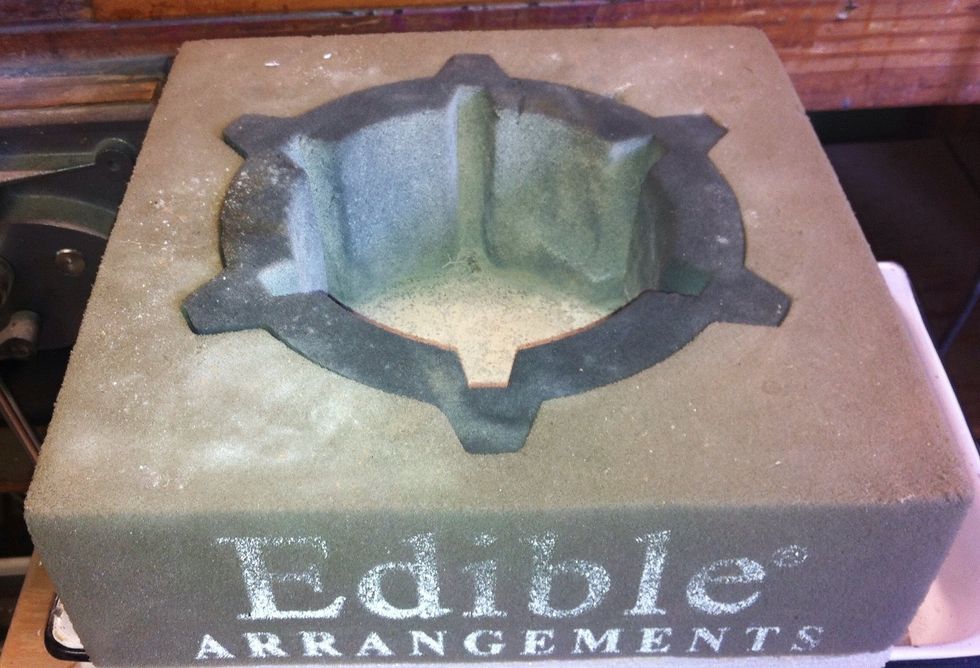
For odd shaped containers, I use this foam as support.
These are general instructions, not all containers are the same! If you are not making progress, put it aside and let things cool down. When things overheat, you run the risk of damage.