The Conversation (0)
Sign Up
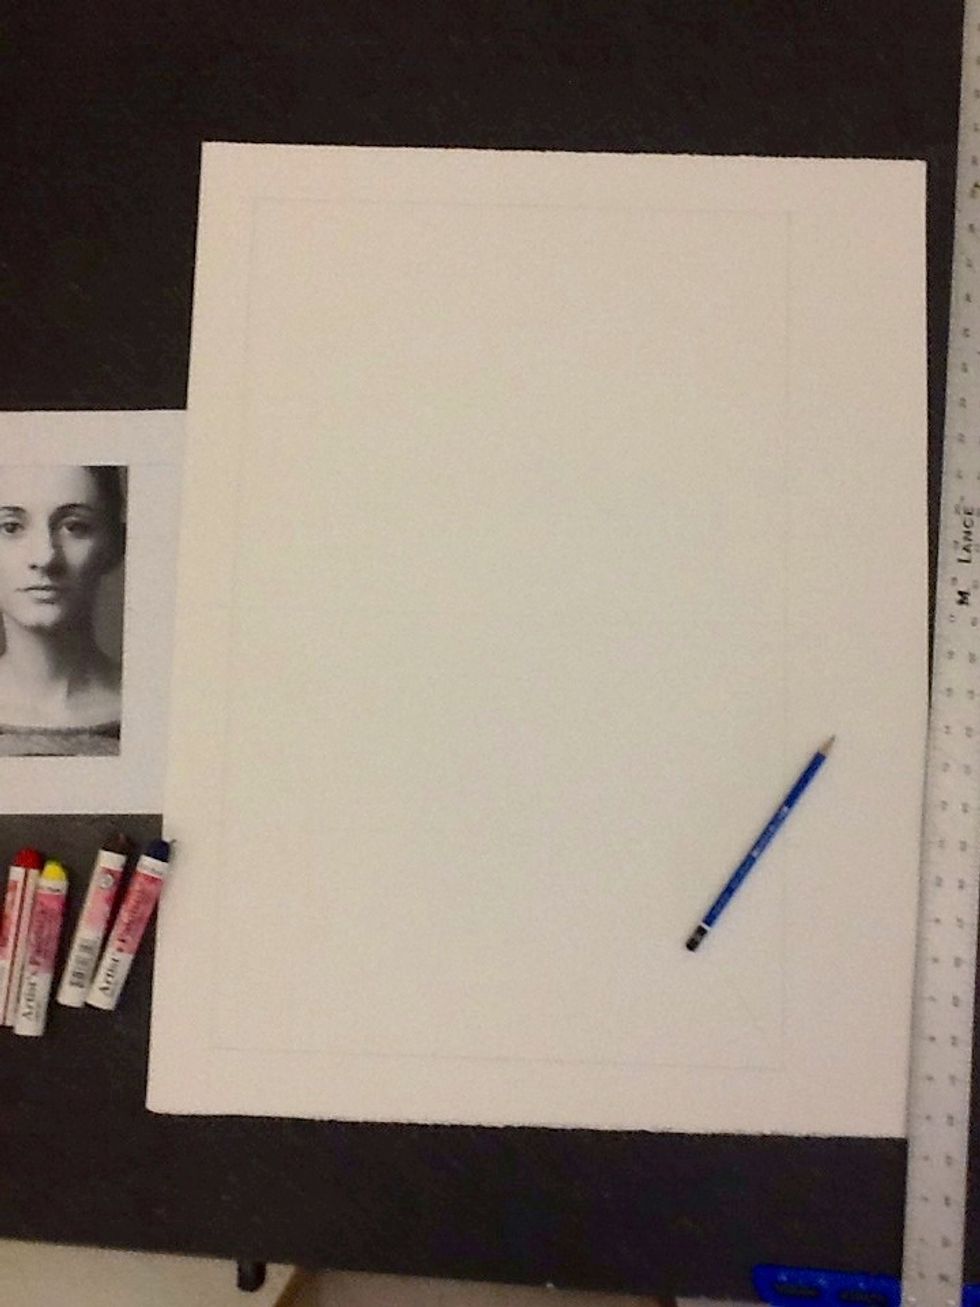
You will need large watercolor paper, a photo YOU have taken, HB pencil and erasers, ruler, colored pencils and the student pack of oil sticks. Put your name on the back of paper & oil sticks.
Follow these directions to create an enlargement of the original.
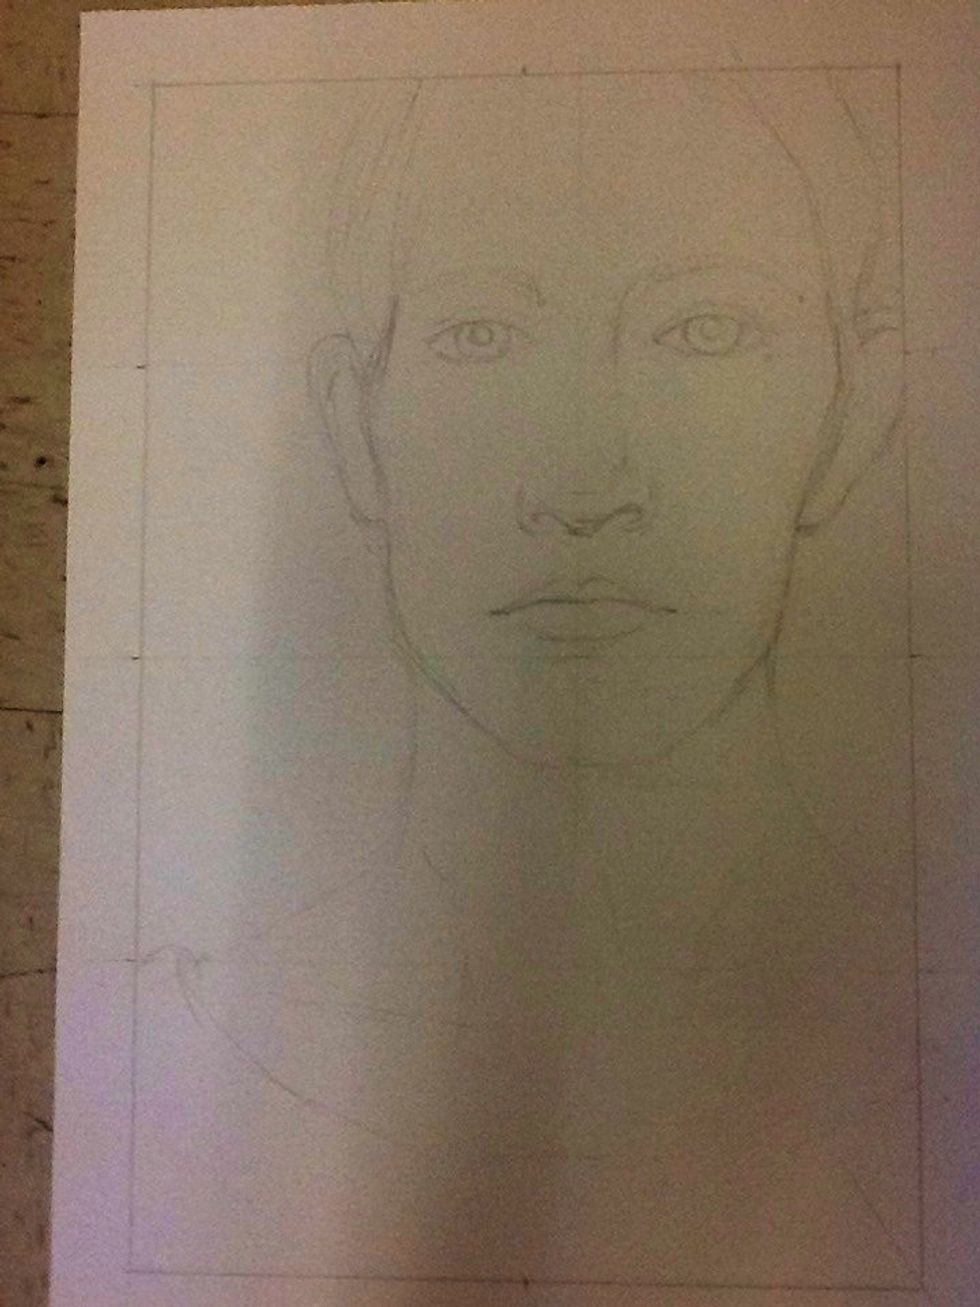
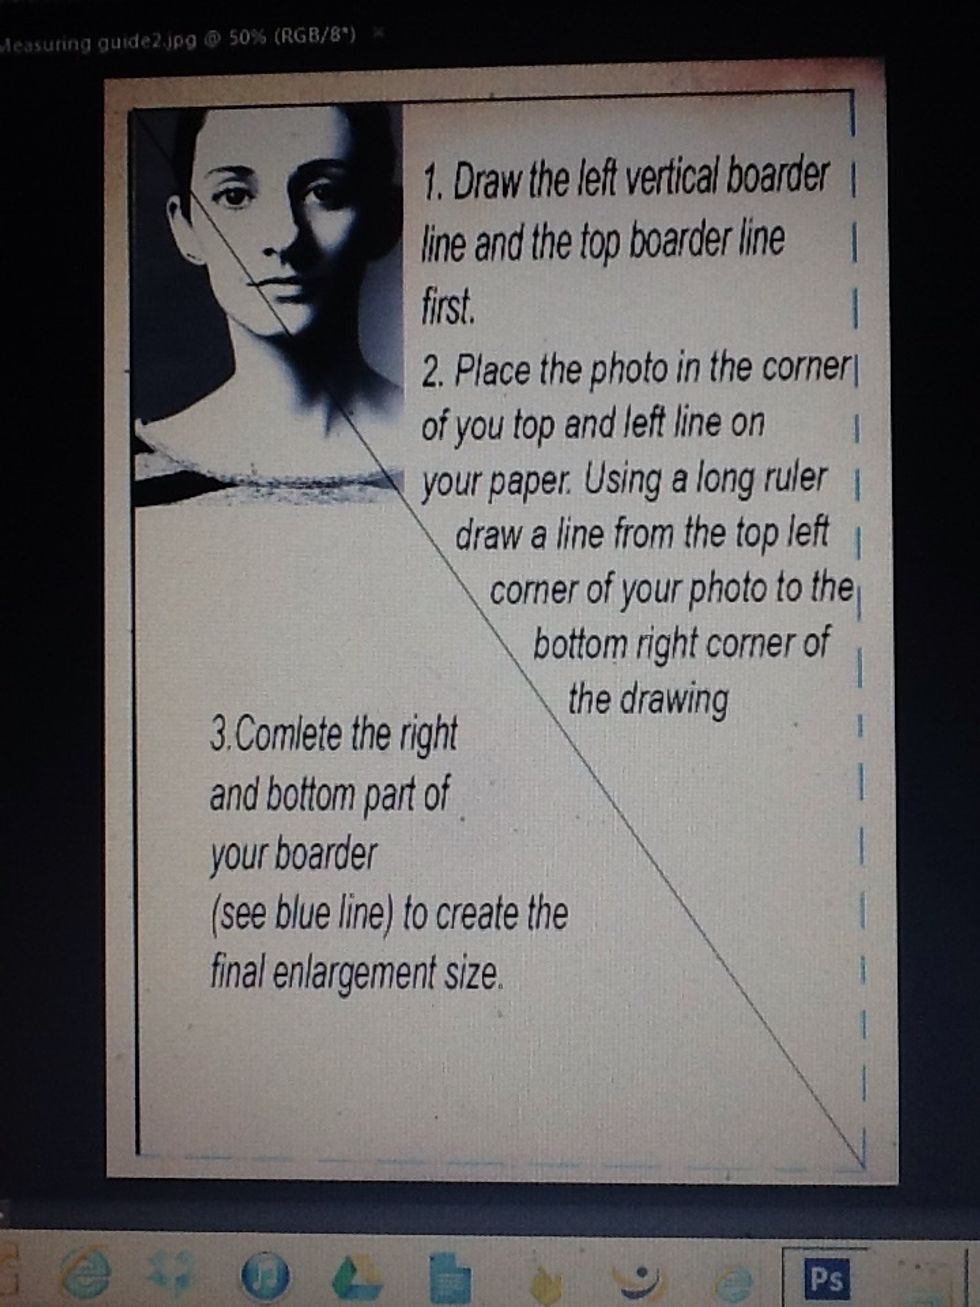
You may divide your image, on your photo AND paper, into four to eight sections. Draw LIGHTLY! From there carefully draw, LIGHTLY, a counter line of the photo,.
Use a tissue to take the hardened skin off the outside of the oil sticks. Gently peal and clean

Begin with the background! Choose colors that are darker or much lighter than the colors you plan to use for the portrait. I have chosen a blue and green since my portrait will be very warm colors.
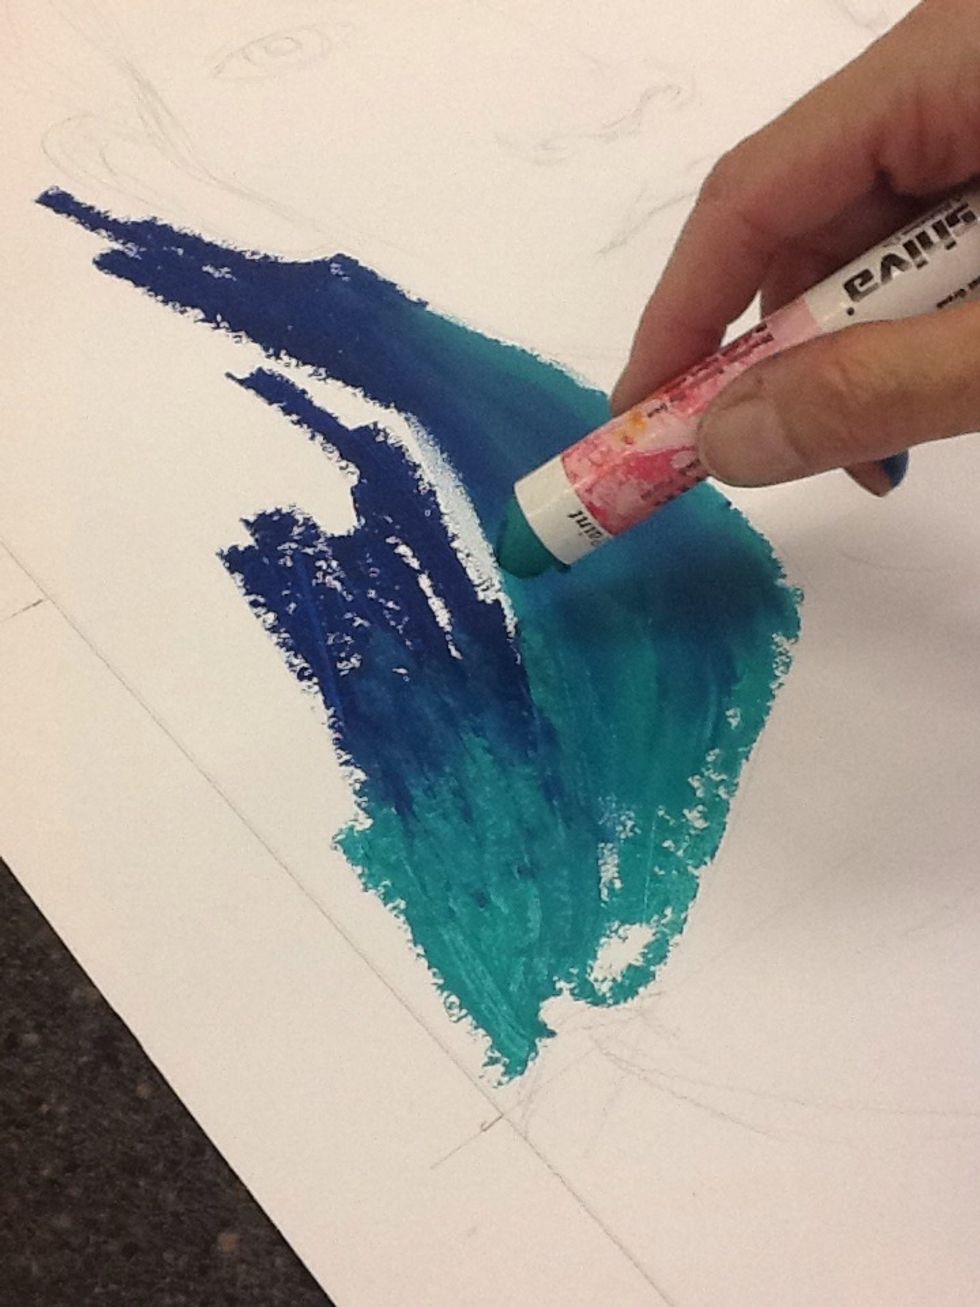
Blend at least two colors together. Working in opposite directions will move the colors into one another.

You may also use your finger for smoother blending. Because the oil sticks are oil based your fingers will not harm the drawing.
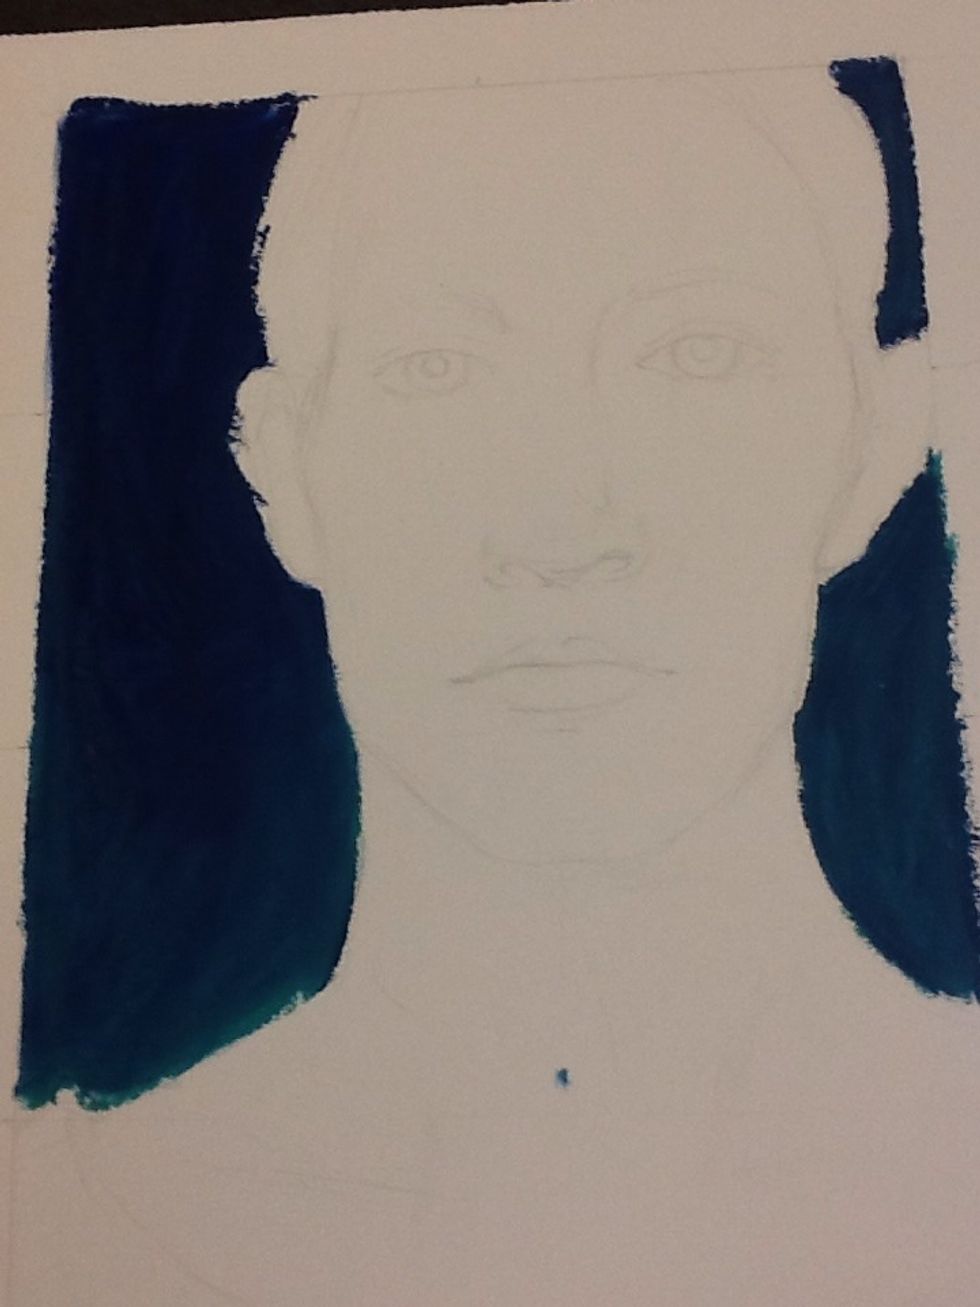
Don't worry about the ruff edges. You will clean them up later. I left some of my background slightly un mixed for a textured effect. You may smooth it more if you like.
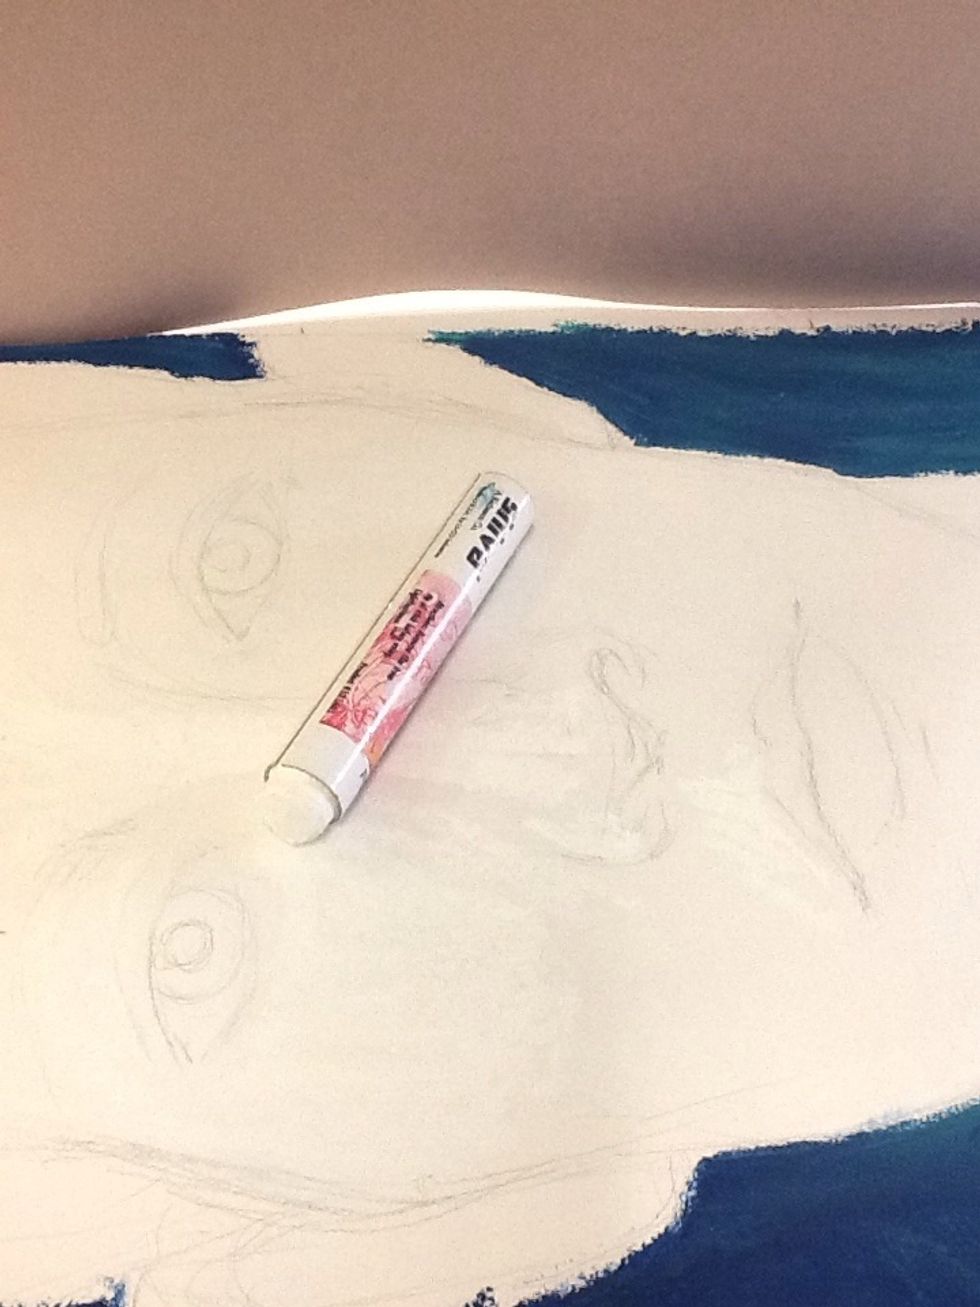
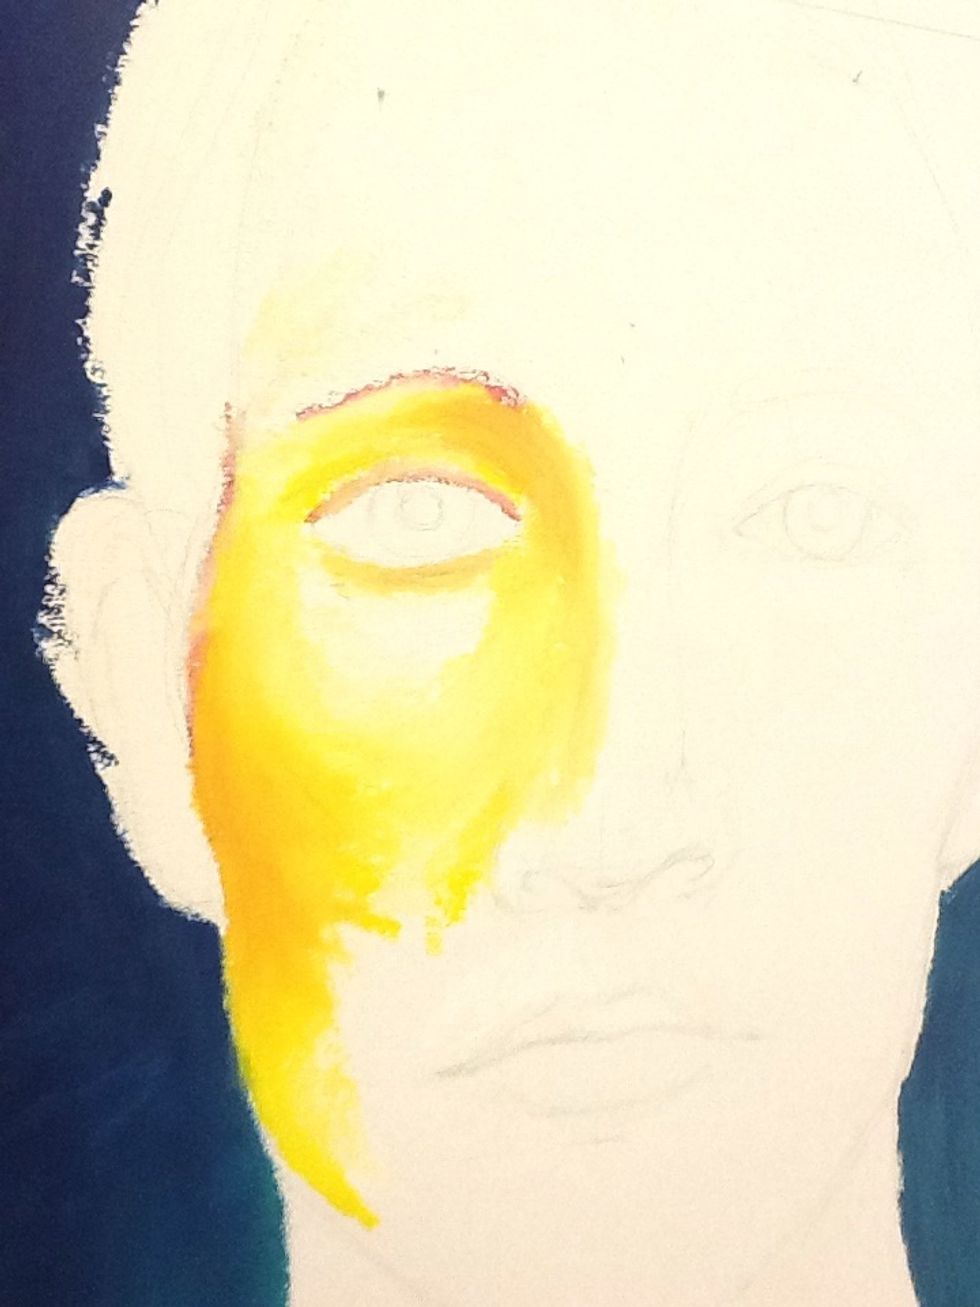
I begin the face with a white layer of oil stick laid down in all the lightest areas of the face. Some of these areas will stay white and some will be blended with the next color value.
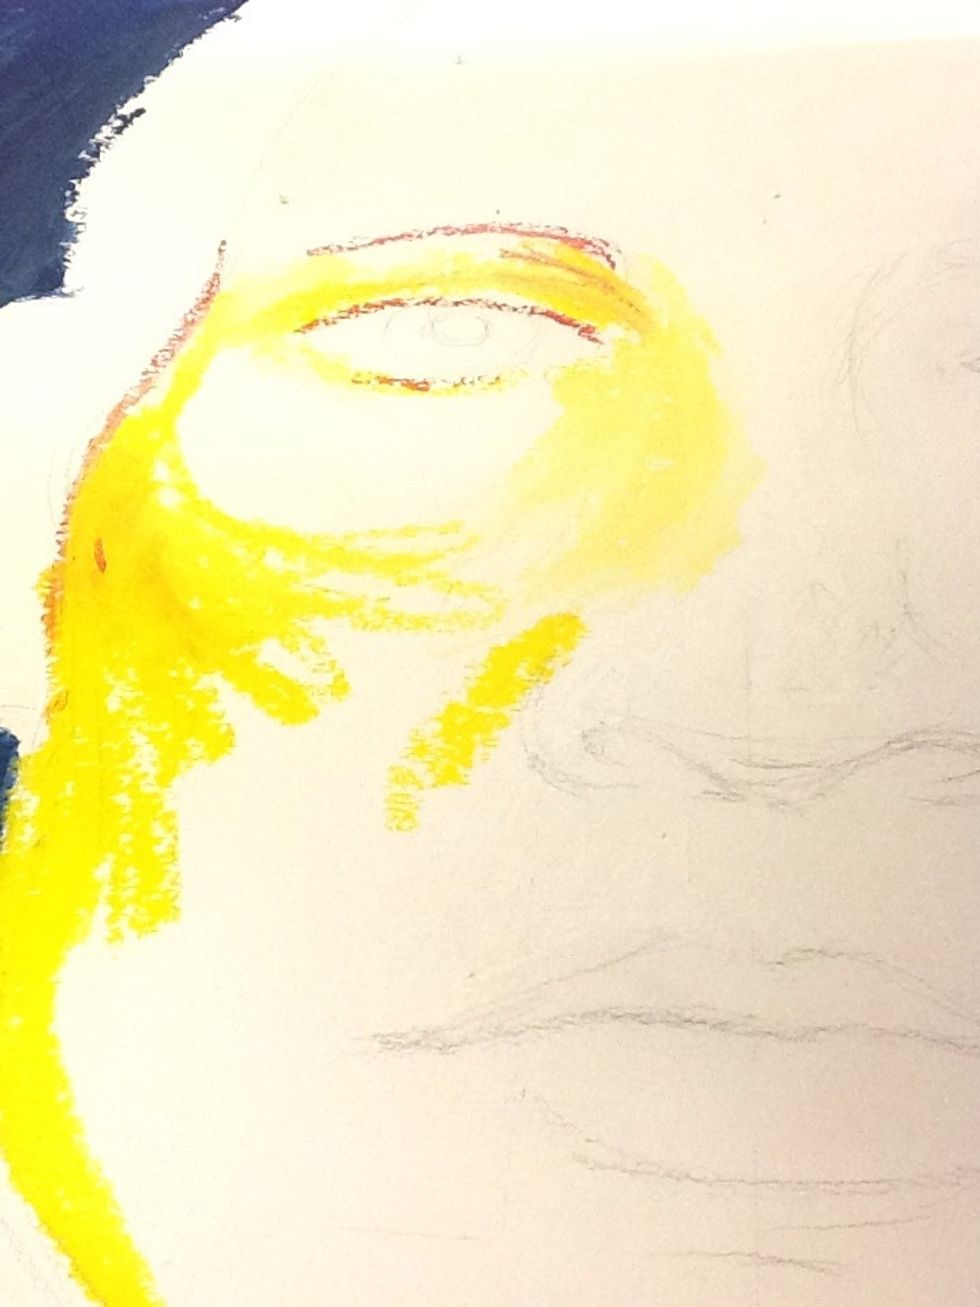
Yellow is my next lightest color value.
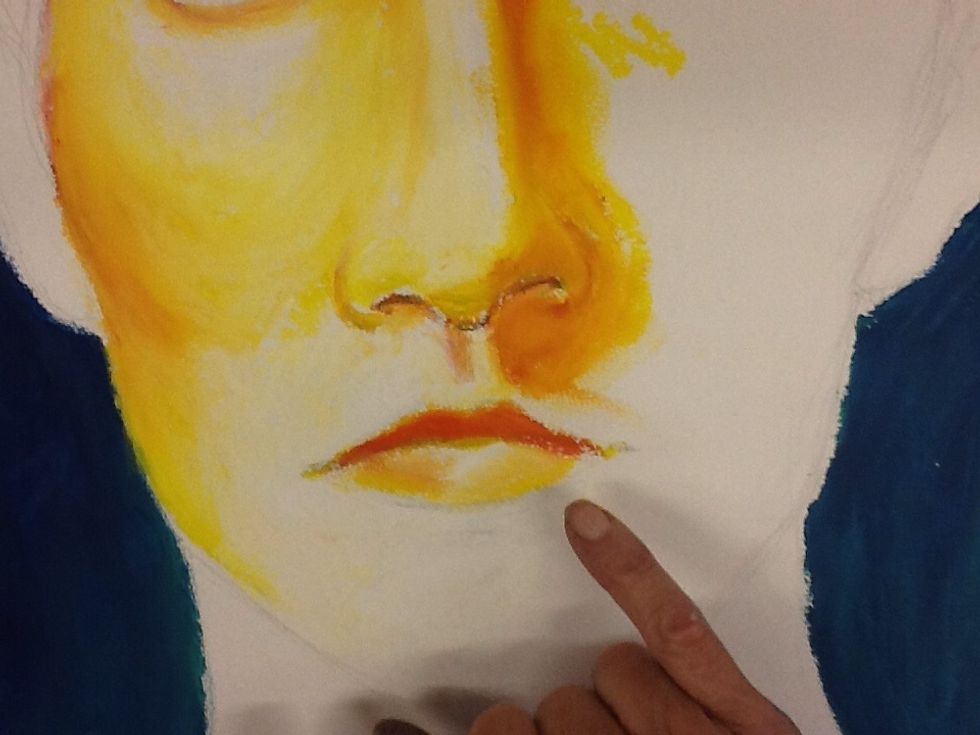
Next, I add red to the darker areas and blend with the two lightest colors. I have used red to darken under the cheek bones.
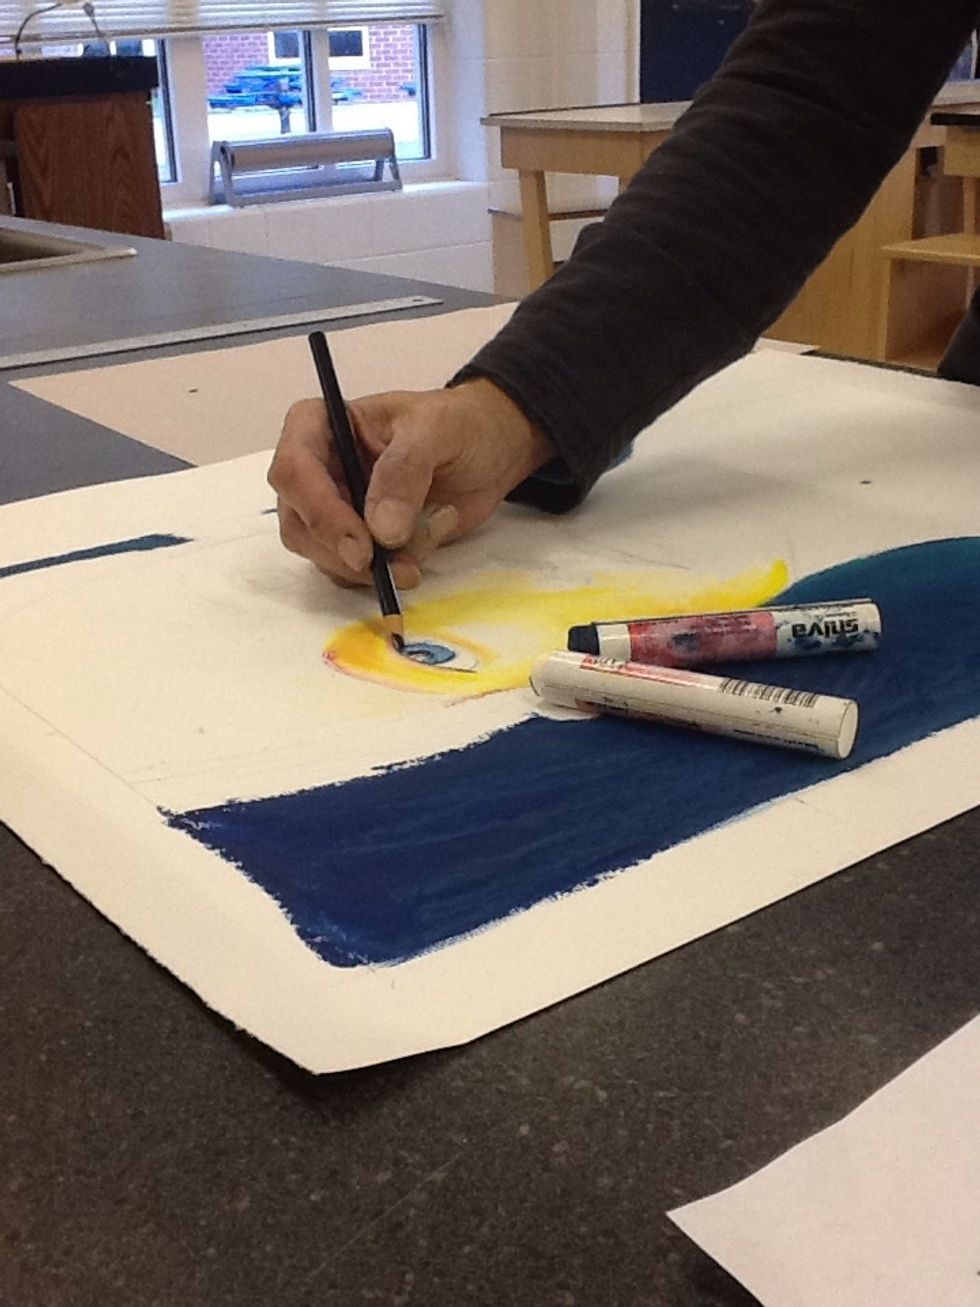
You may use a small amount of colored pencil to achieve details. Here I have used a black colored pencil to add focus and a small amount of shading to the eyes.
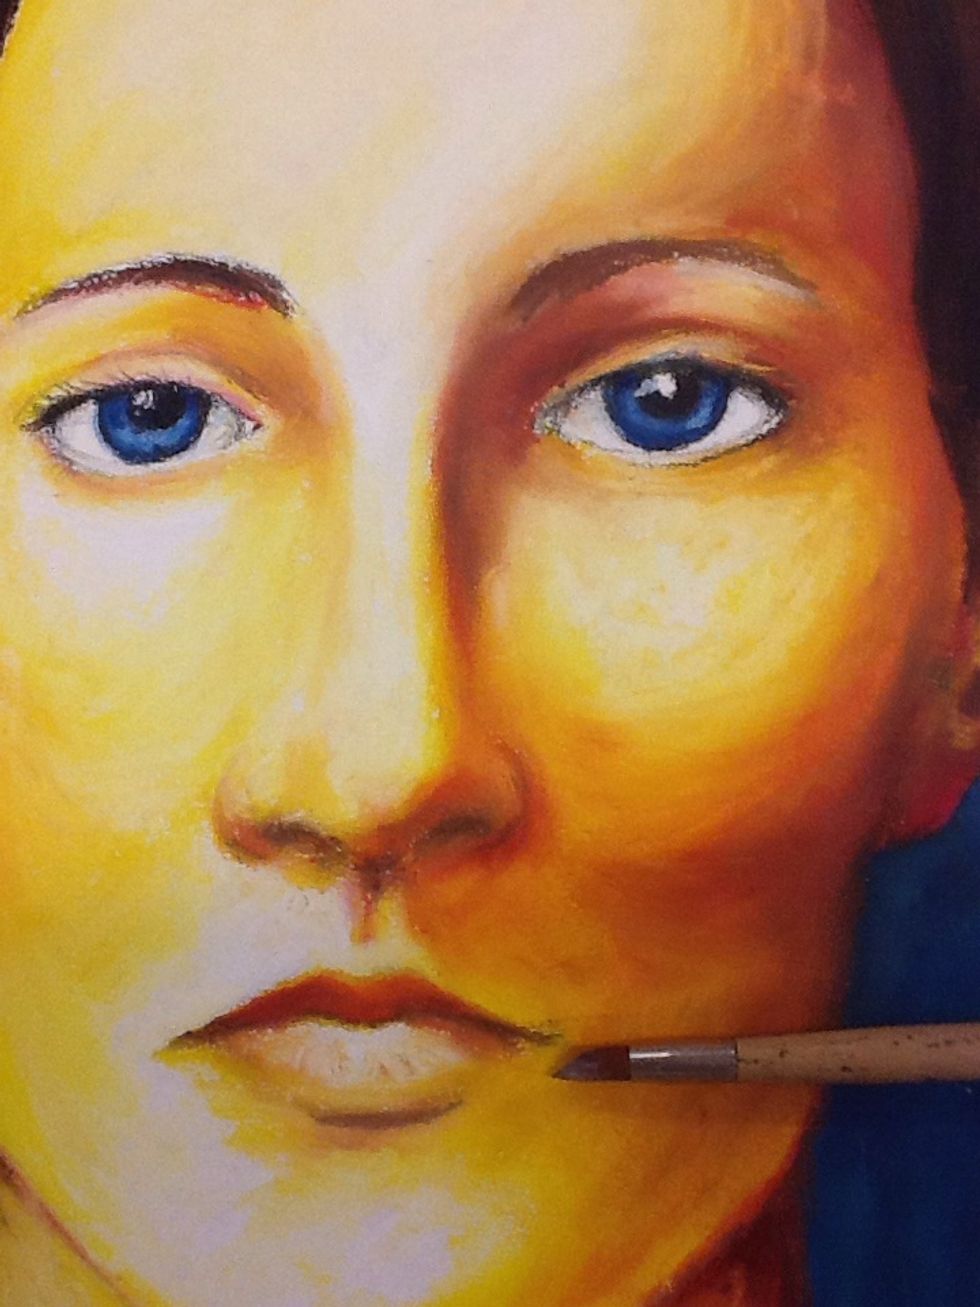
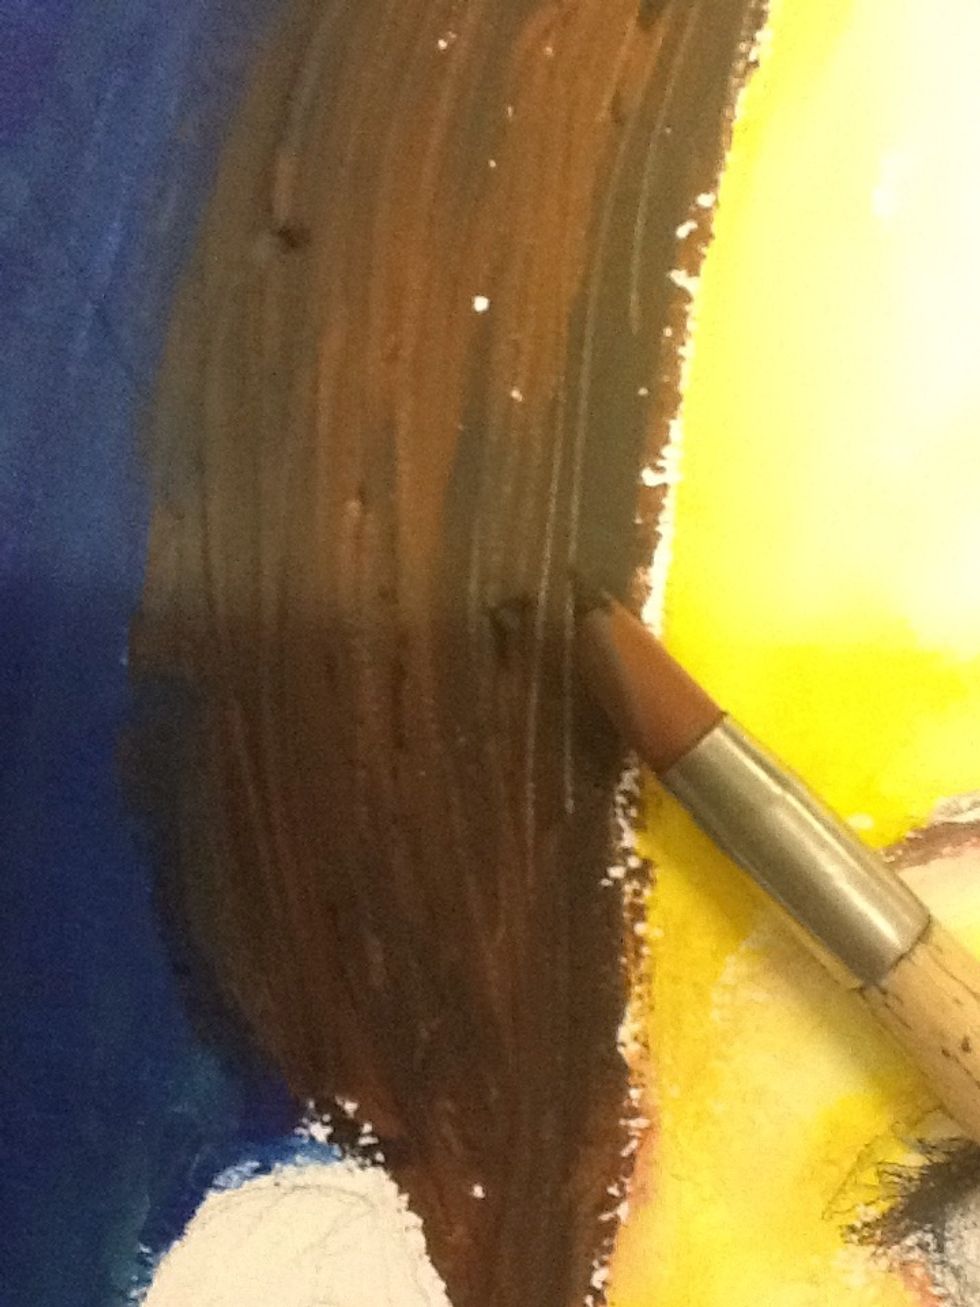
I am using brown to darken some areas further. Edges can be cleaned up with your pinky finger, a rubber tipped drawing tool and colored pencils.

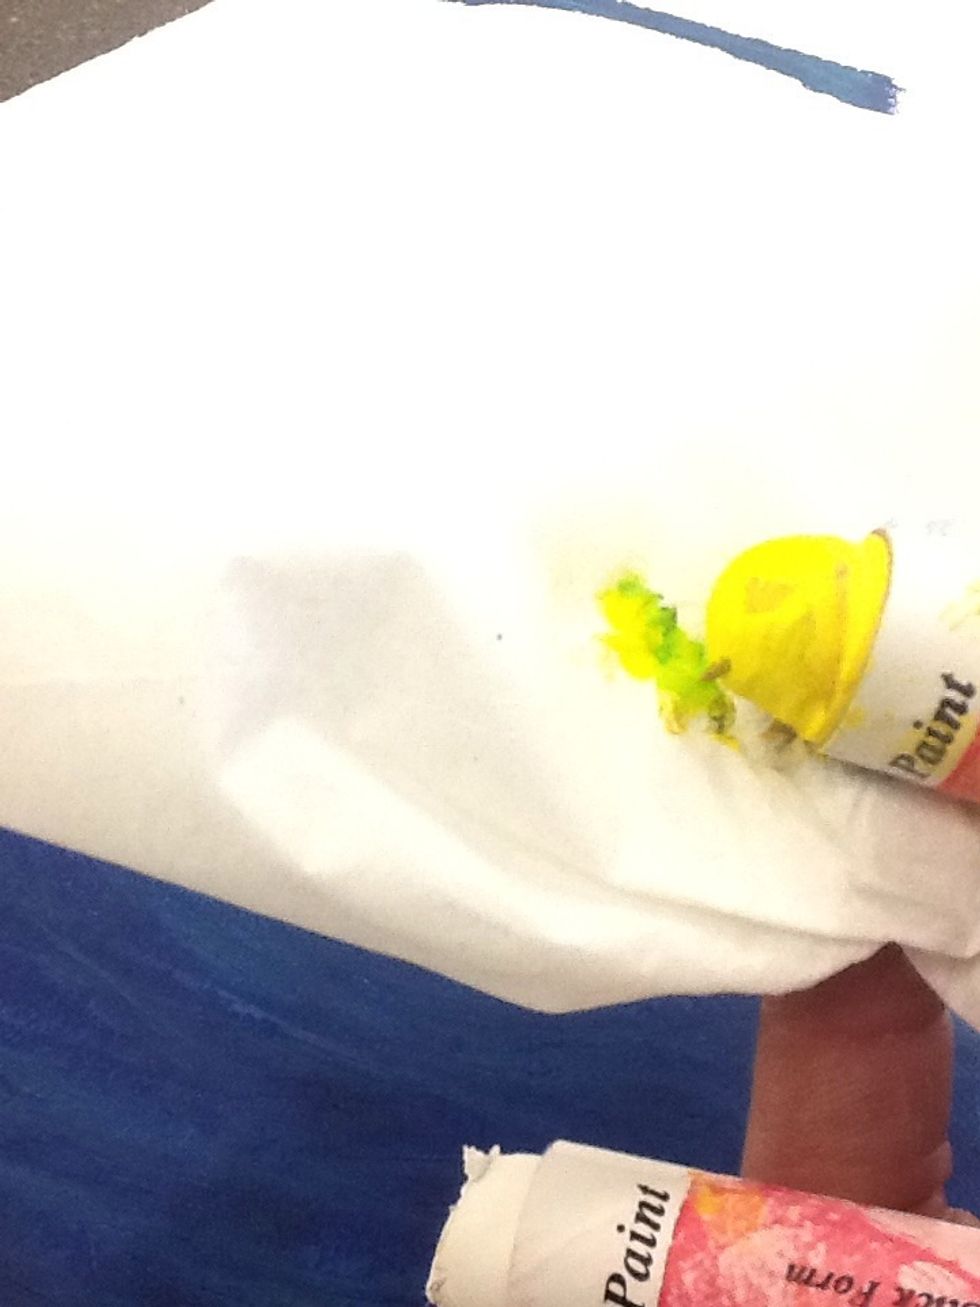
Oooops! This is what happens when you don't check your oil stick before you use them to make sure another color is not still on them. Be sure to wipe them clean with a tissue often!
This is the drawing tool you may use to do some clean up. I only have a couple so you will need to share and return to my desk.
This rubber tipped shaping tool may also be used to etch lines into your drawing. I am using it here to pull out some white thin lines in the hair.
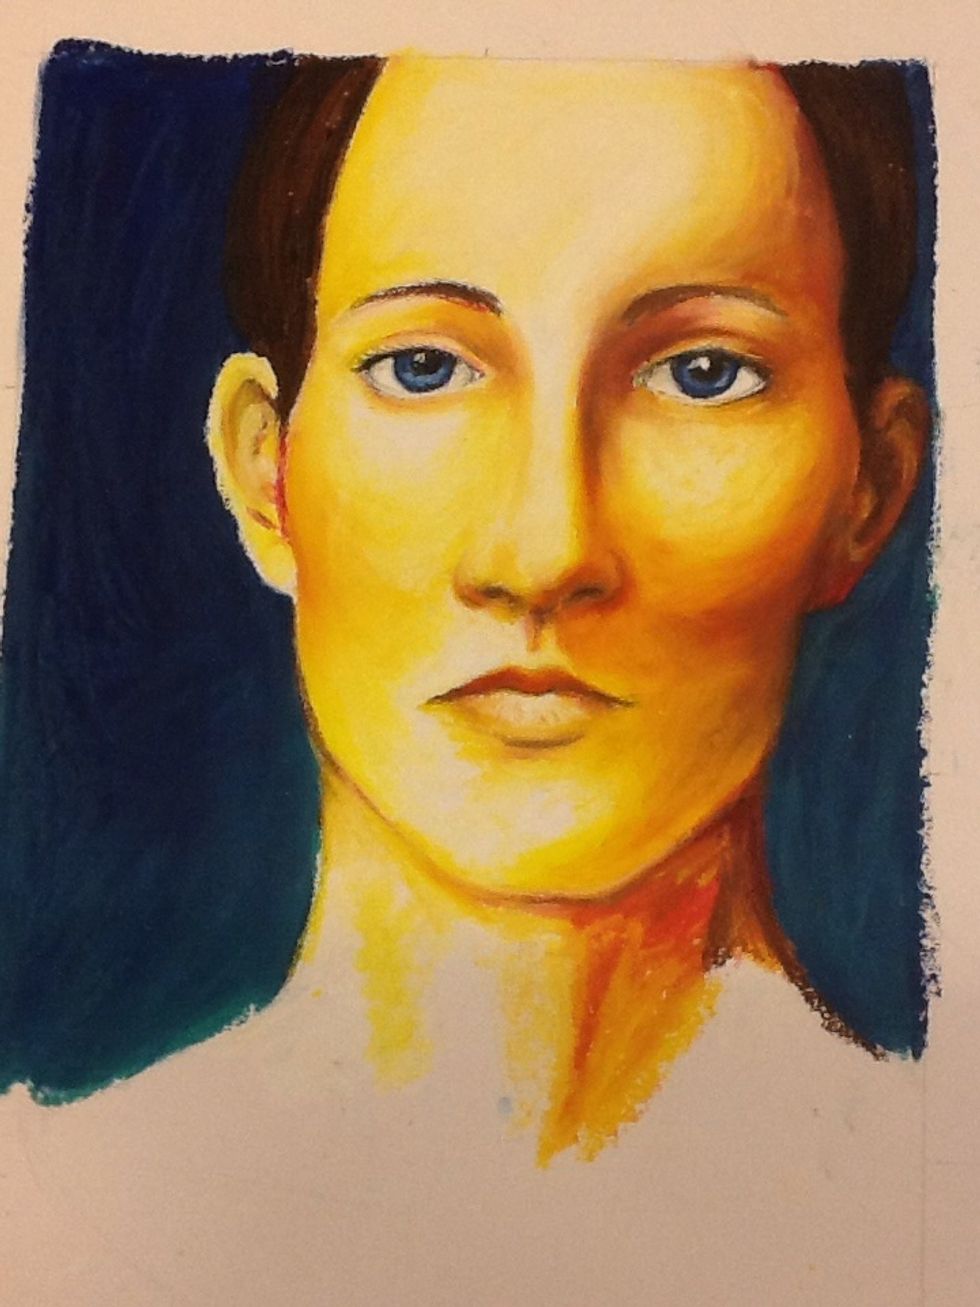
Still a lot of work to do. Mouth and left ear need finishing. The eyes, nose and hair need some work and then the neck and shirt. For today we need to clean up.....

To clean the oil sticks off your hands... Pour a small amount of vegetable oil (yes vegetable oil) in the palm of your hand, over the sink!

Work the vegetable oil through your hands and all the oil stick smudges still on you hands.

WITHOUT rinsing the veggie oil out, pump some of the "Orange Clean" soap into your hands and work through.
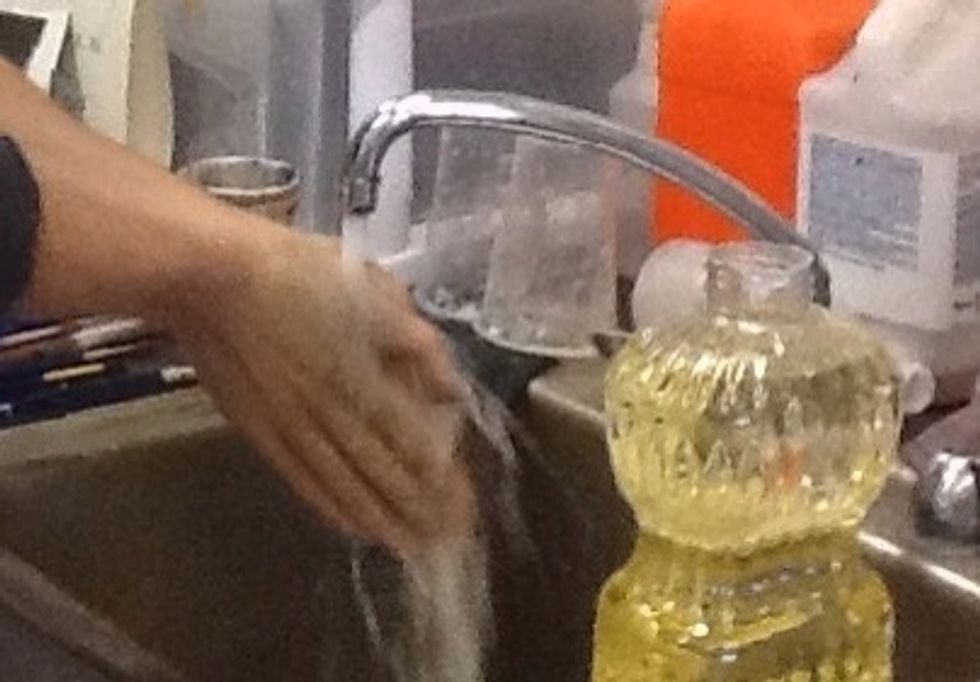
Now you may rinse your hands off. See how smooooth and clean they are!
Final drawing to come!