The Conversation (0)
Sign Up

Download Brushes 3 from the App Store. It's free but layers are a paid option. I recommend unlocking them.

Here's my reference picture. I've drawn him a lot over the years but I want it to be accurate.
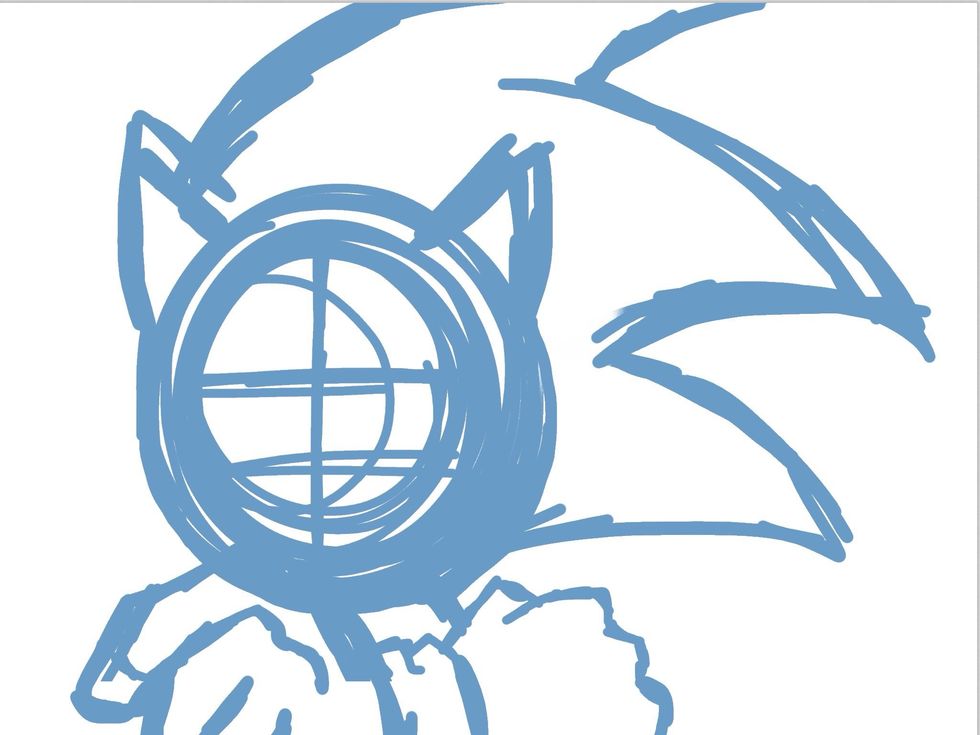
Start on layer one with a rough sketch in blue. Start considering the anatomy. Yes, cartoon characters have their own special anatomy. That's how it looks like Sonic.
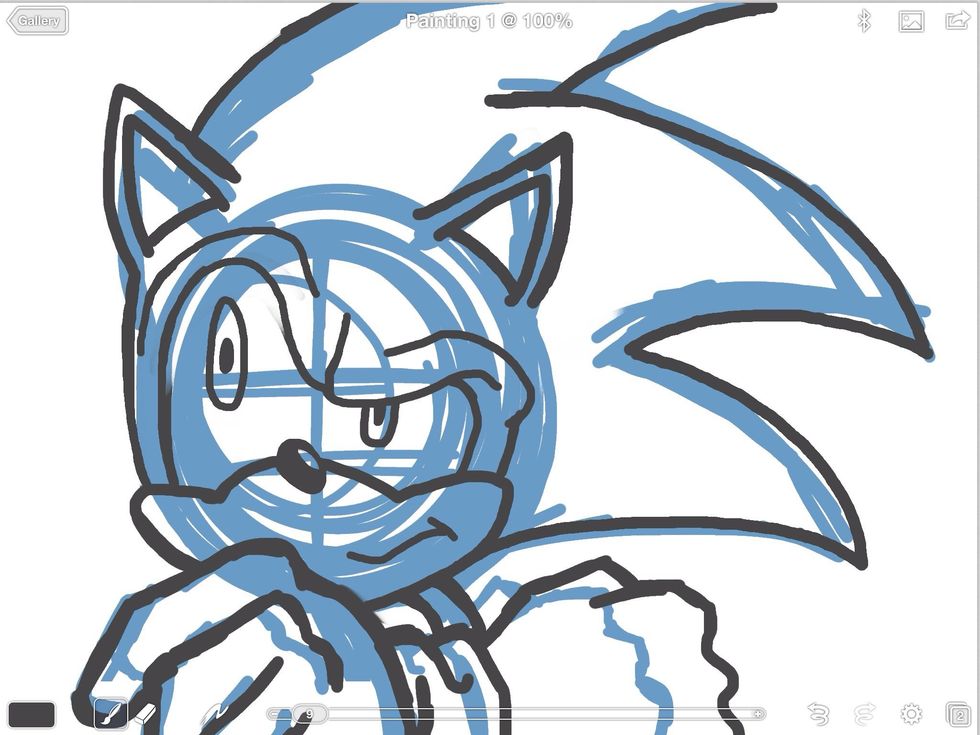
Now I create a new layer (my graphite layer) and I draw over my rough and start adding details. His look is important to capture the attitude.
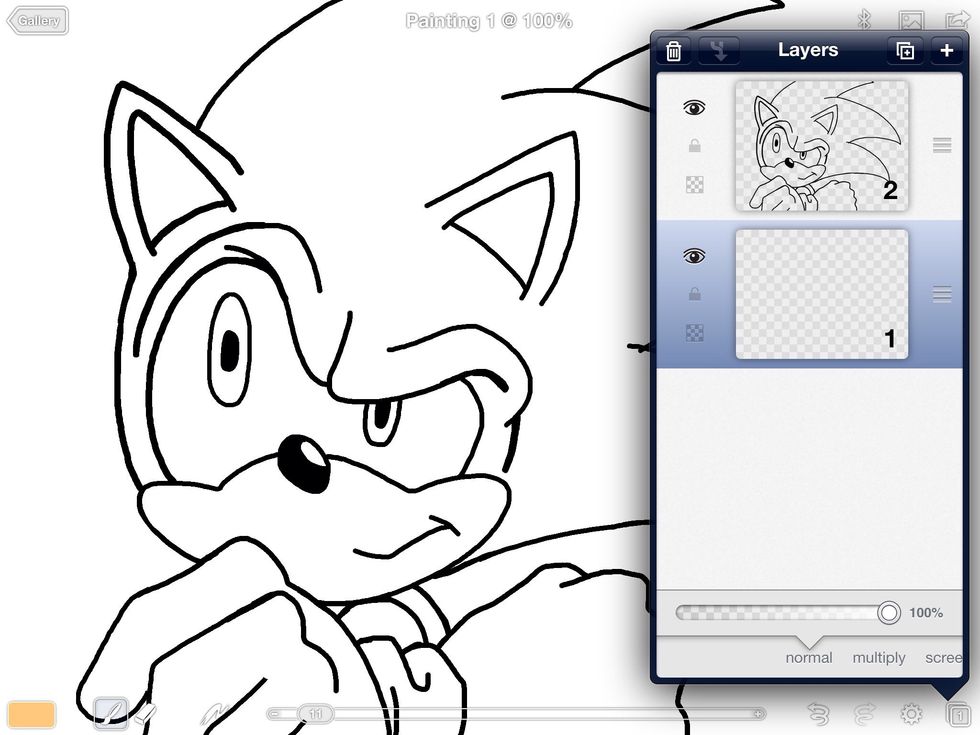
Once that's down the blue layer gets deleted and a new ink layer is added. I zoom in to gets all of the little details and tighten up my illustration.
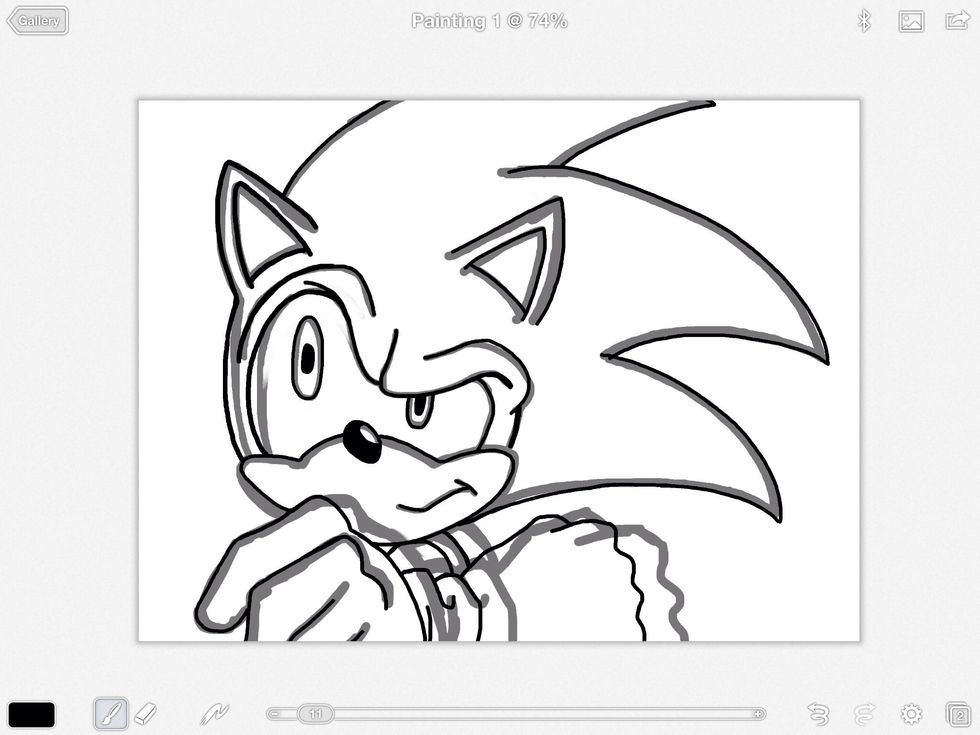
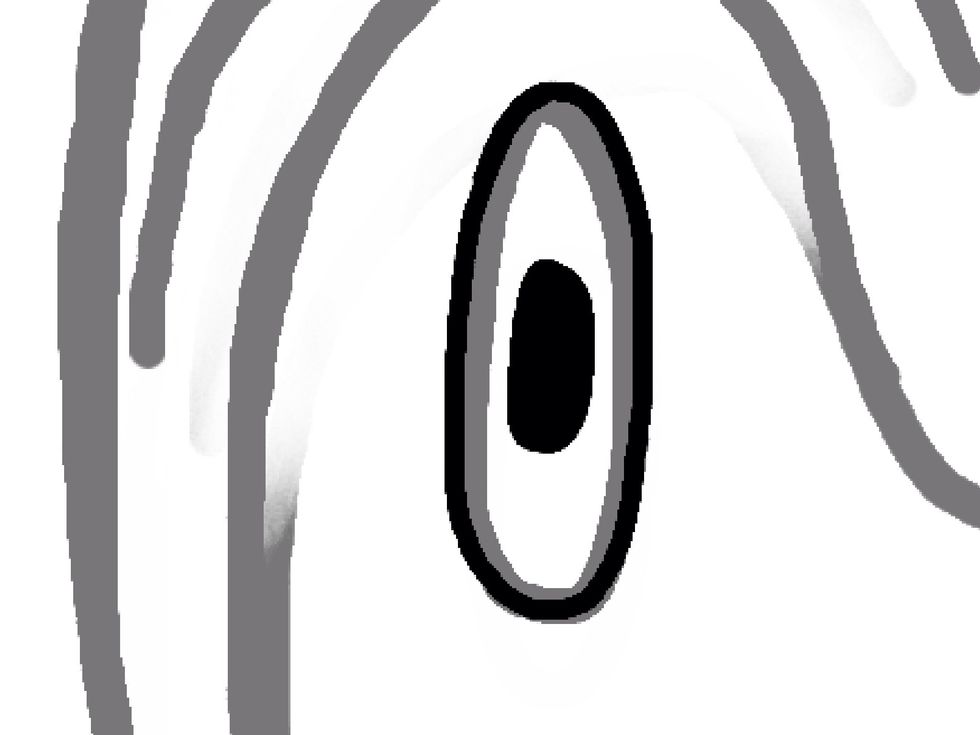
It's important that I compare my work to the photo. The ink layer is what comes before color and it has to be right. As you can see here the hands are a little big so I needed to rework them.
Now I create a new (color) layer and tuck it under the ink. The layers are transparent. I select it to start the fun part.
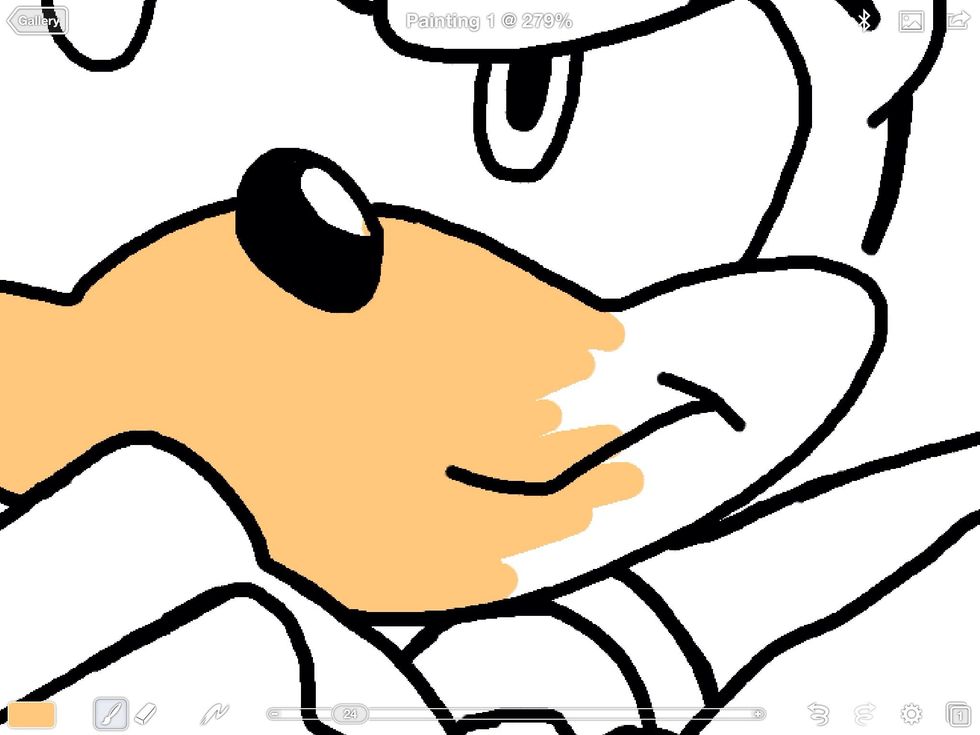
Zooming is always important so I ensure proper coverage.
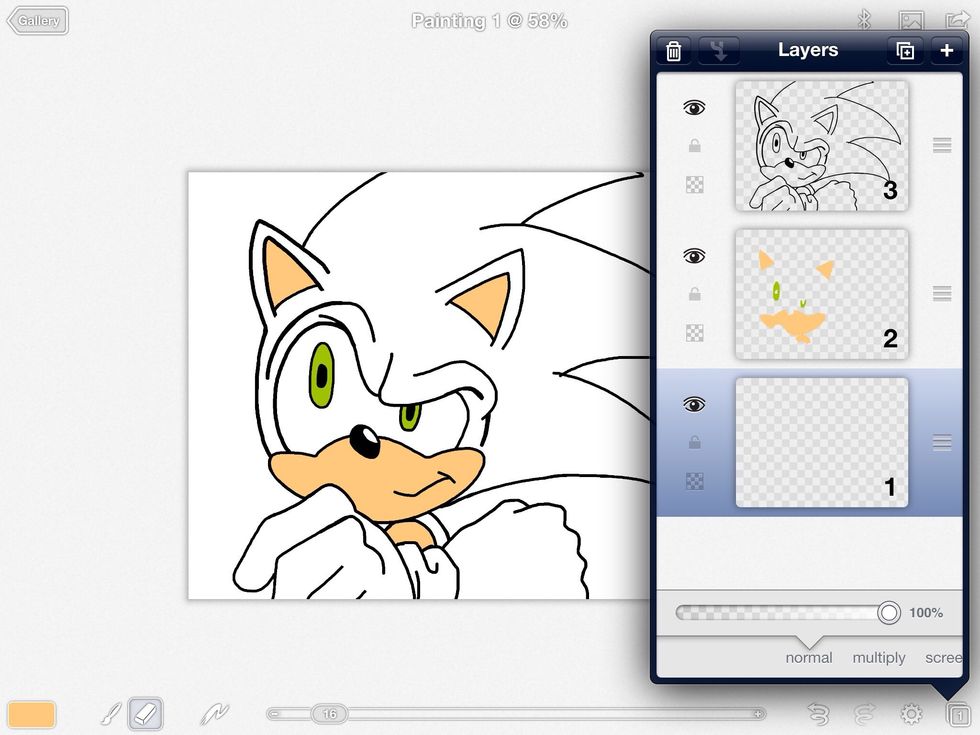
Creating multiple layers also helps so you don't undo the colors you just put down. Stack accordingly.
This is the basic coloring phase. Next I make a new color layer for light and shadow. This makes the character come to life.
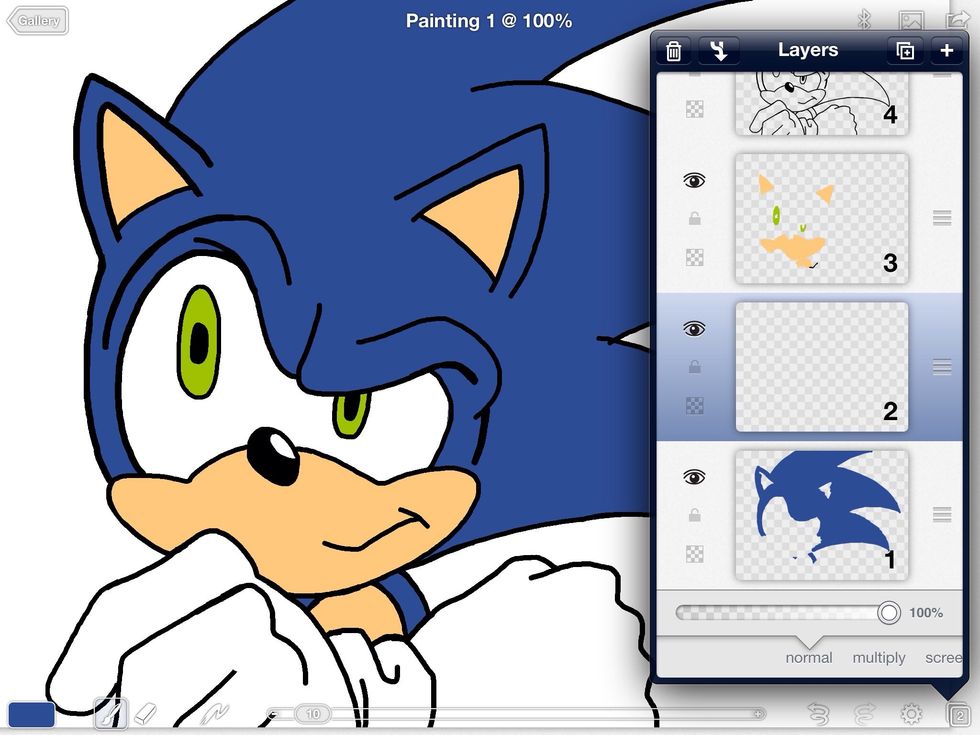
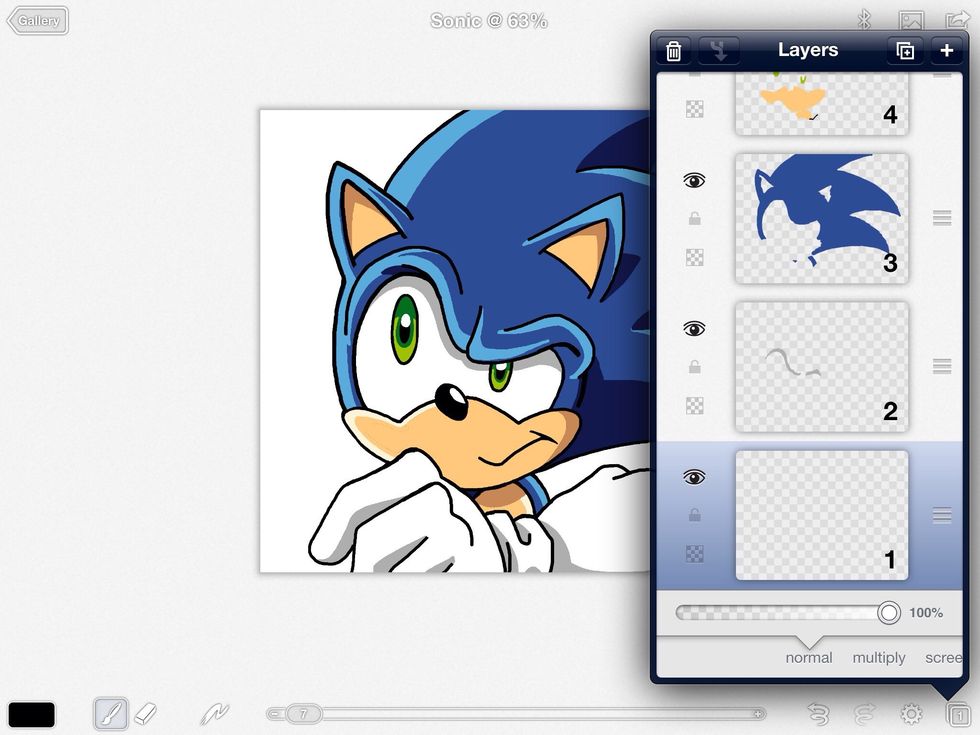
Here's how all of my layers look.
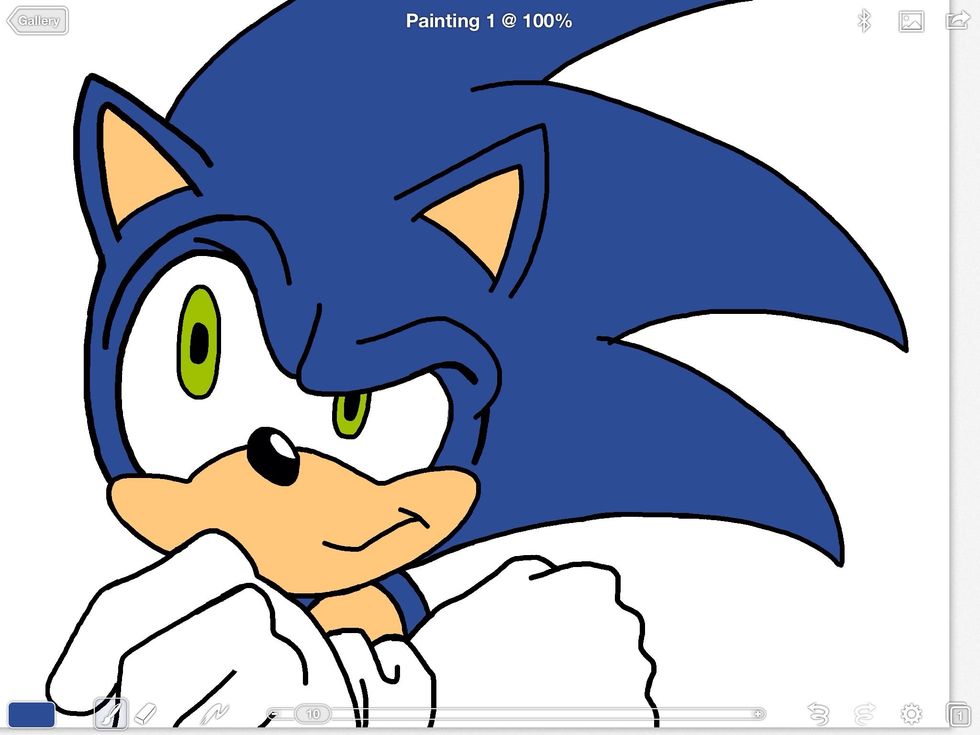
Here are how the lights and shadows look on the new layer. Make sure it's under the ink layer.

I make a background and place it on the bottom. A golden yellow makes Sonic really stand out. Colors that work together make for a stronger piece. I sign my name, save and I'm done.

That's it for the tutorial! I hope you enjoyed it. To see more of my work head to http://about.me/raheemnelson. Prints can be bought at www.bluecanvas.com/raheemnelson+.