The Conversation (0)
Sign Up
I'm going to be showing you the basics on how to shade.
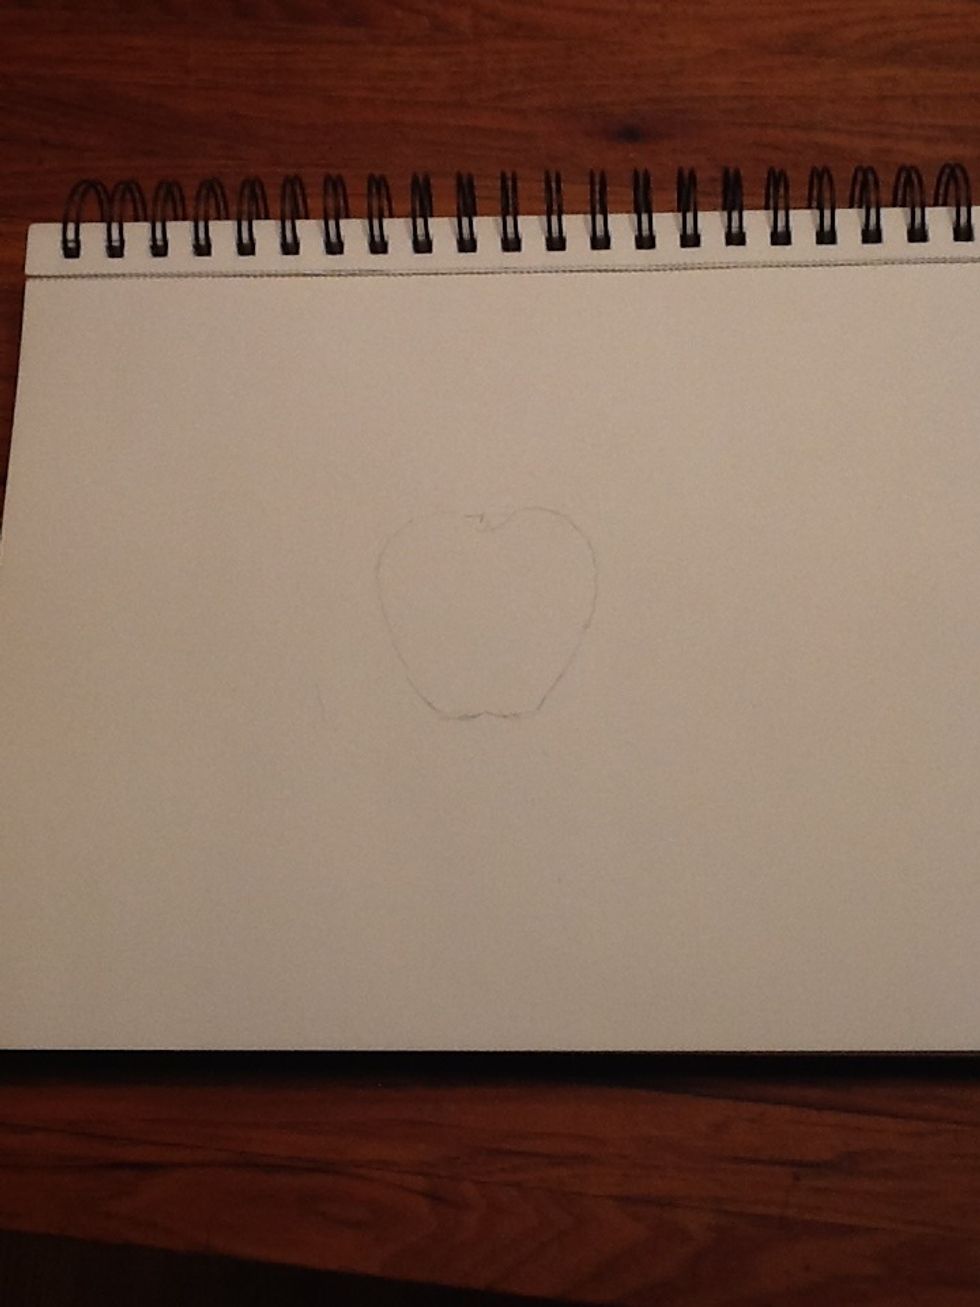
Start will a light sketch of your drawing.

Start adding in the darkest areas.
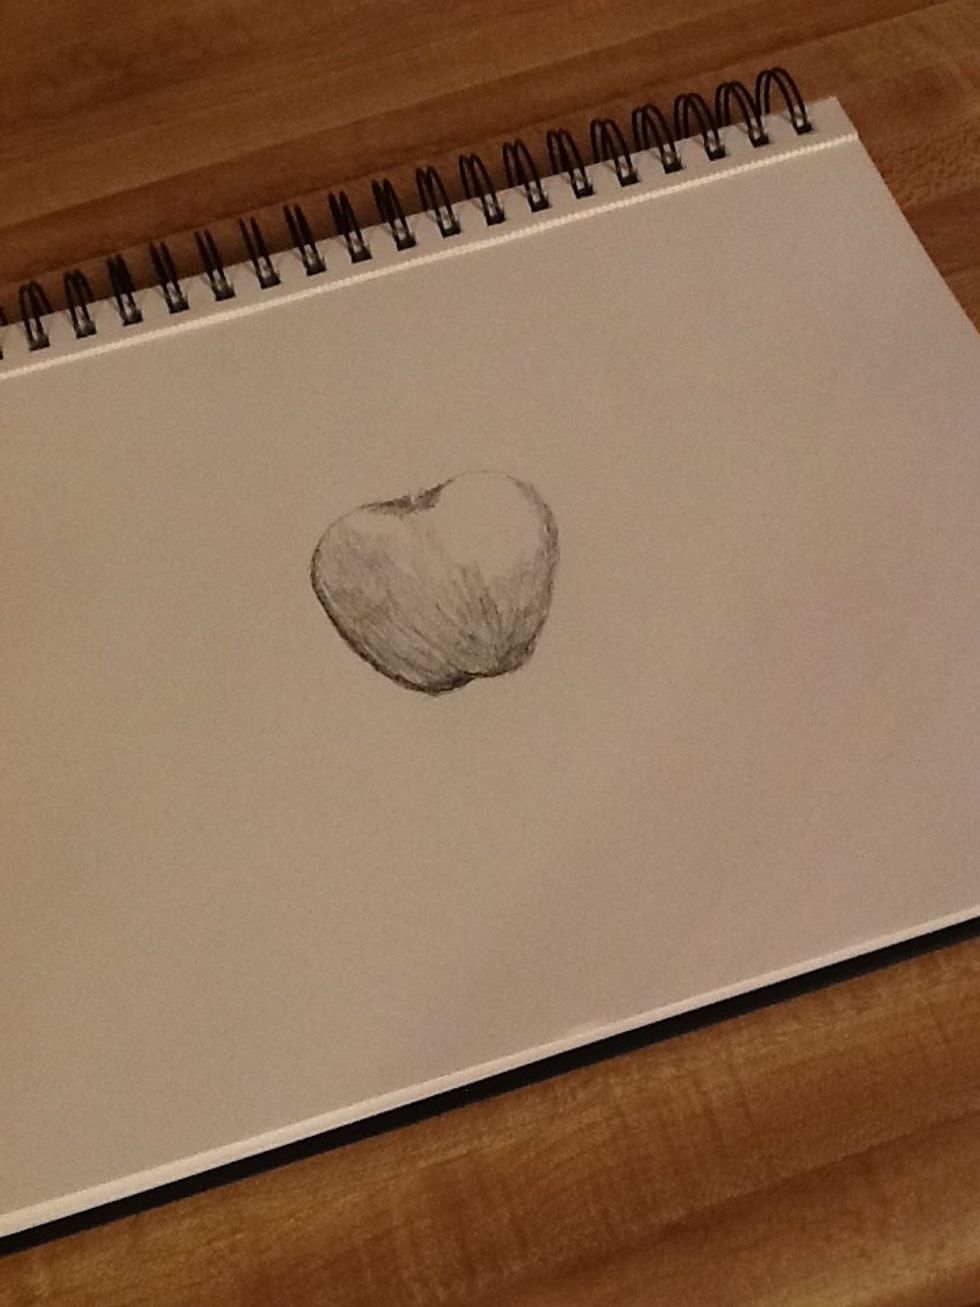
Continue, gradually getting lighter and lighter.
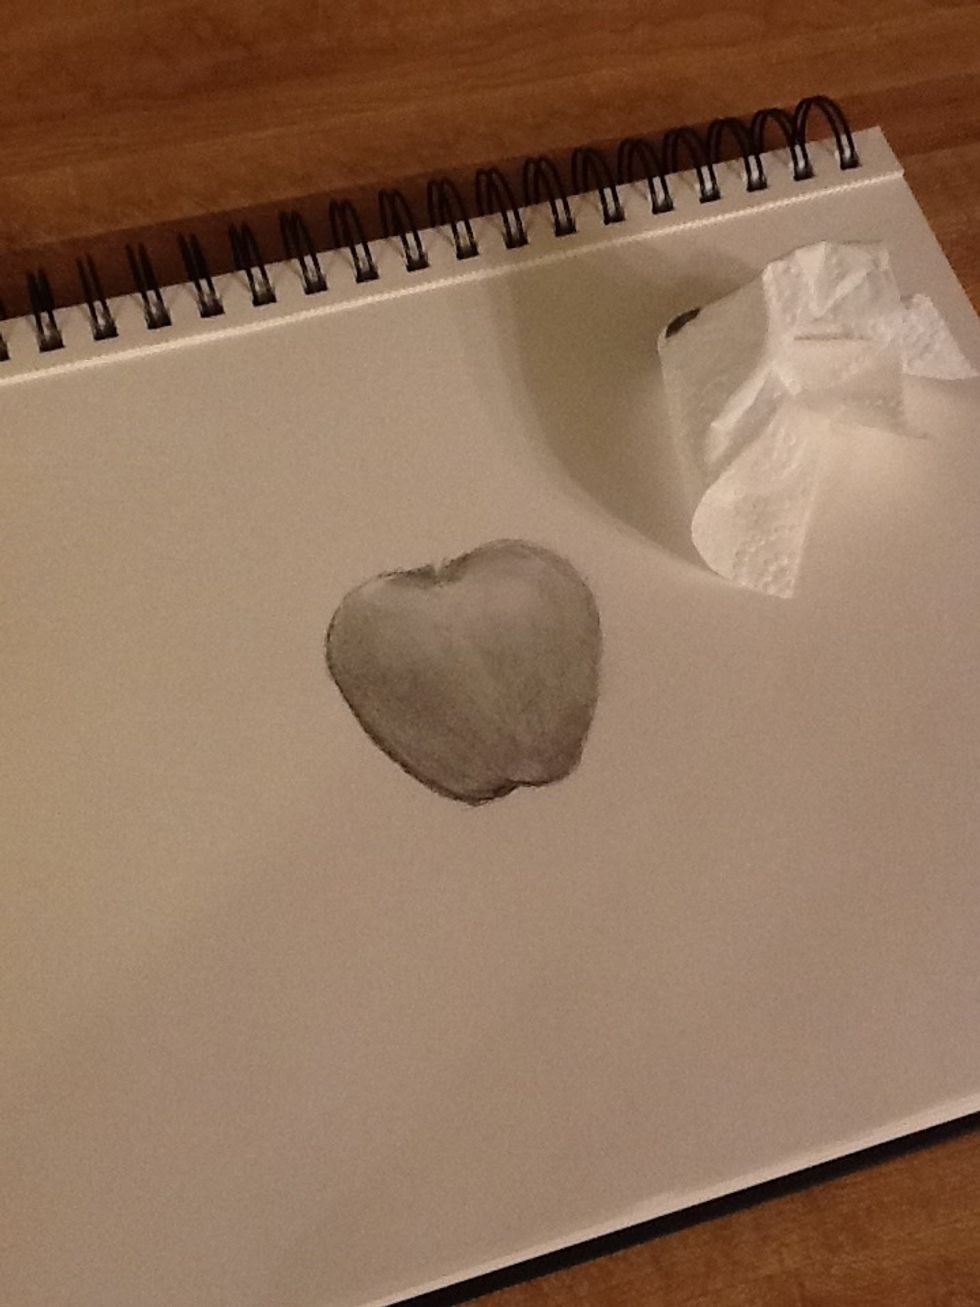
Take a paper towel or toilet paper around your finger and shade from the lighter areas to the darker areas.

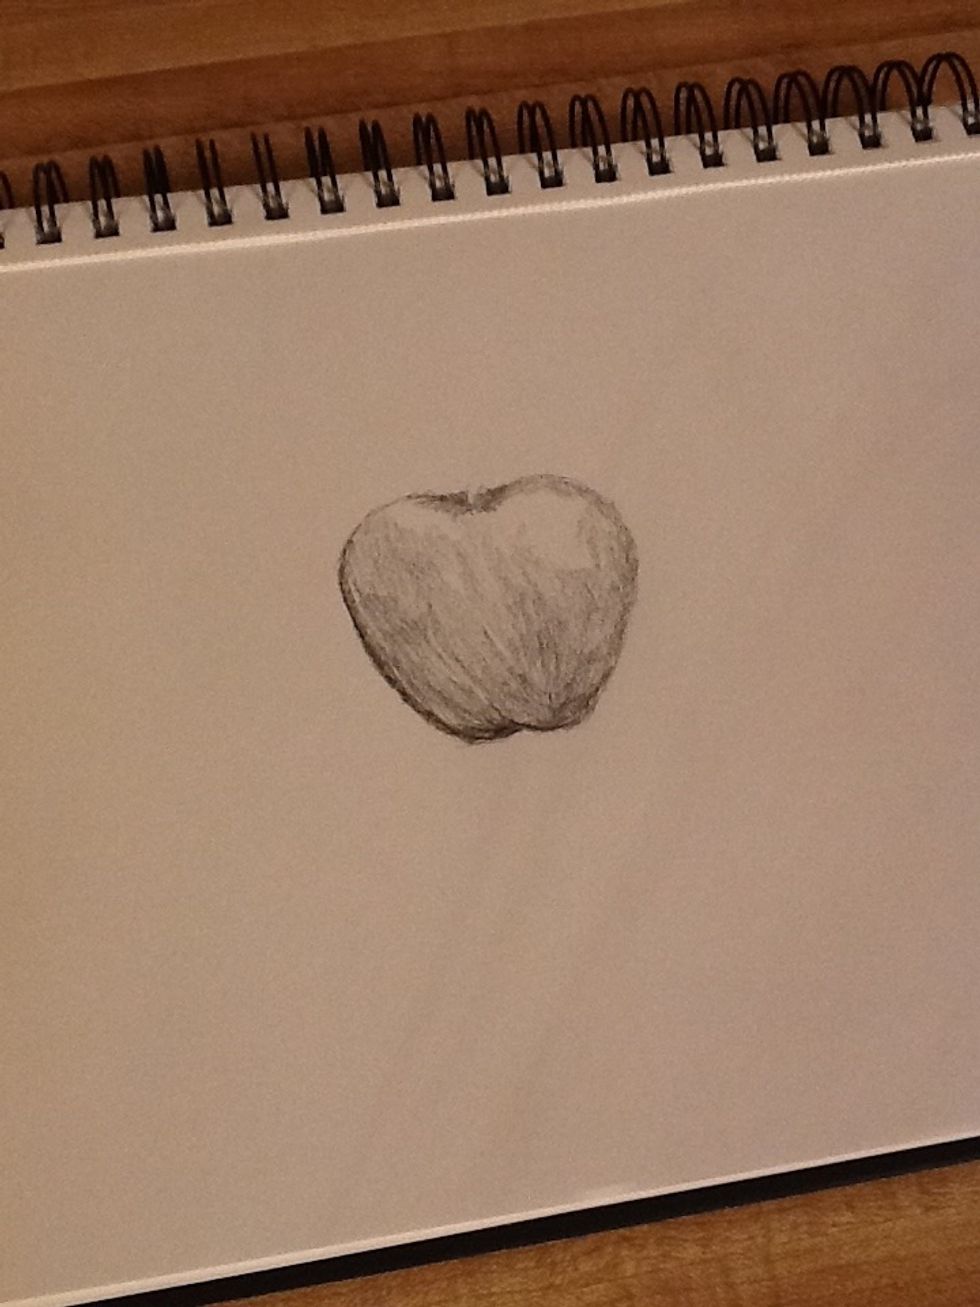
Continue to layer more and more, not pressing too hard.
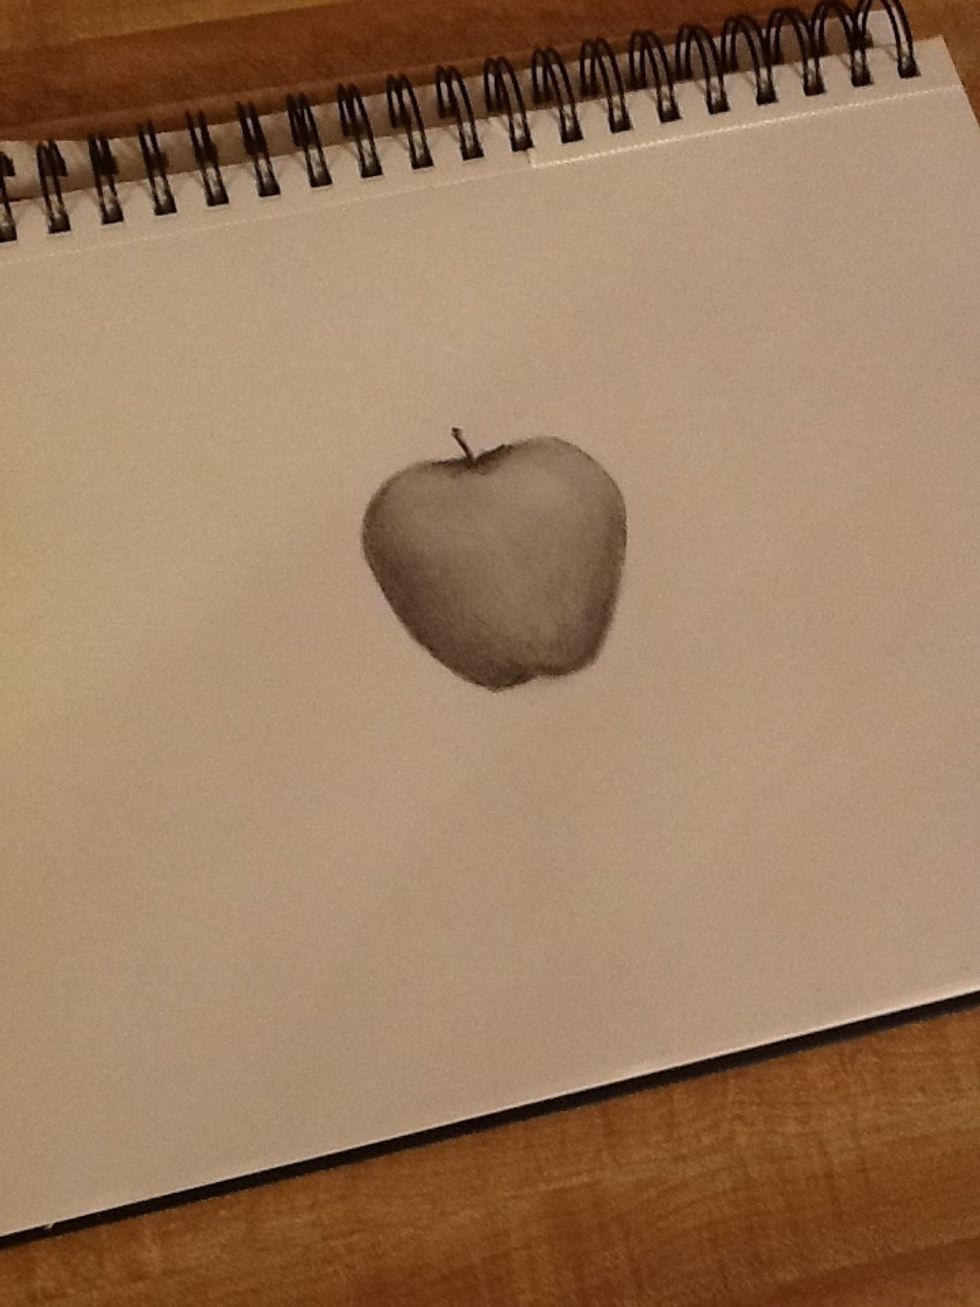
I added a stem and darkened around it.
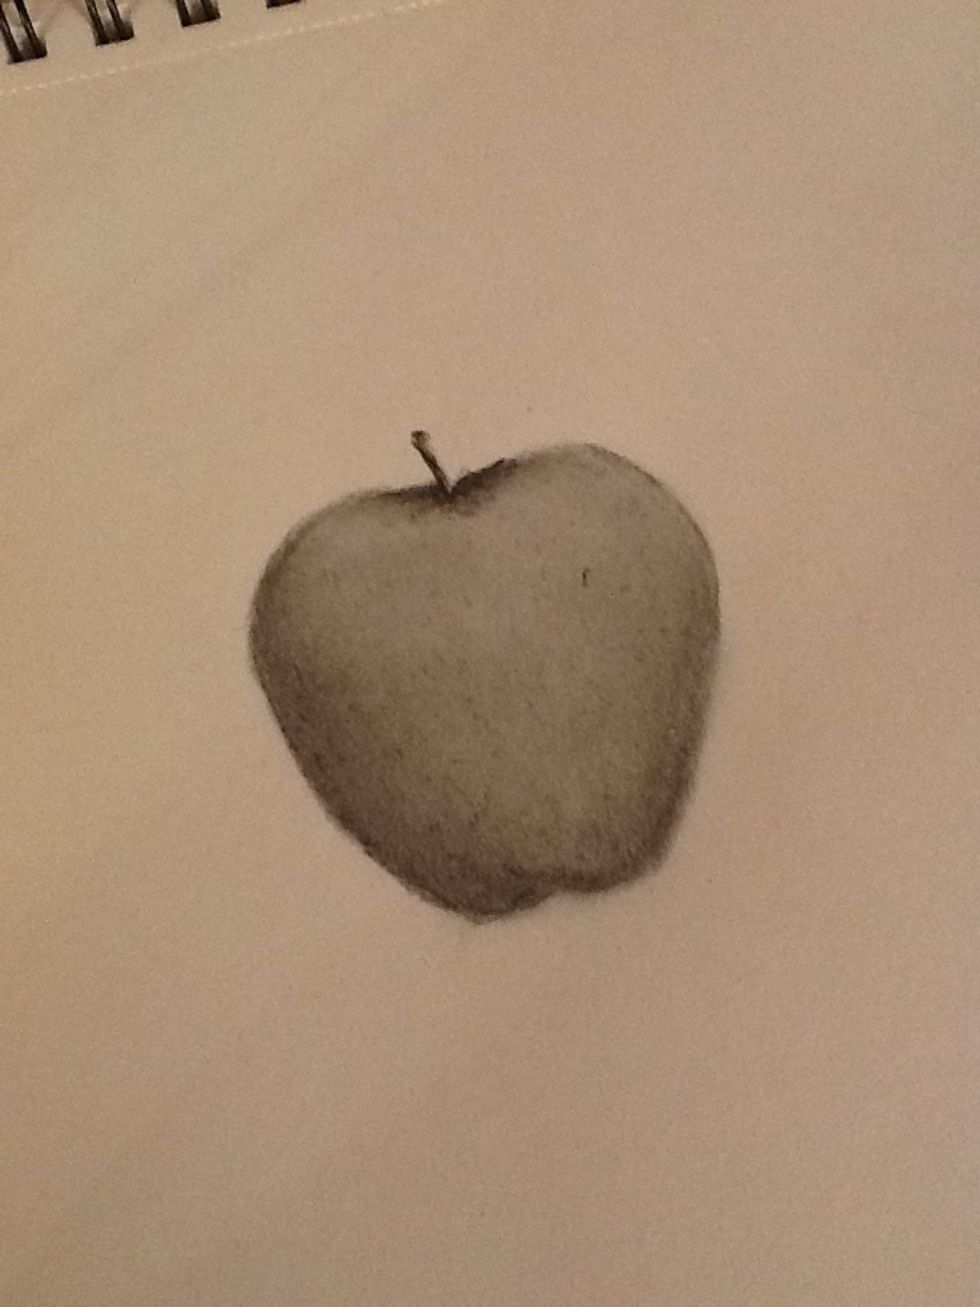
Detail by adding little dots around the entire apple, getting bigger toward the front in the lighted area, smaller toward the back. This apple is okay, but needs a shadow to keep if from floating.
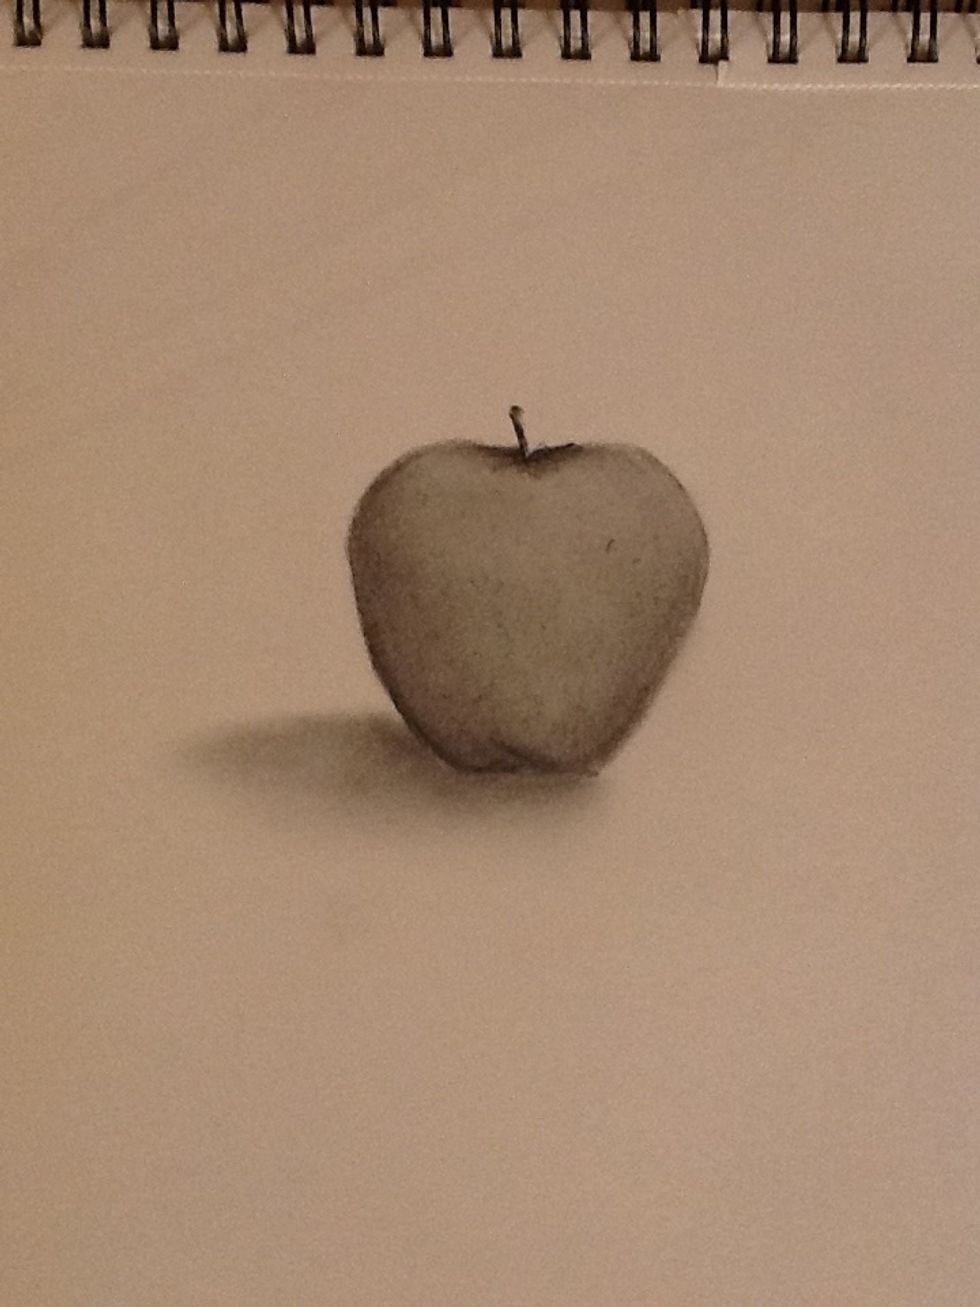
There, now it appears as if it is setting on a table.
You can use this to draw people, flowers, or almost anything. Remember to layer when you're shading to keep from getting a glossy shine.
This applies to colored pencils too, instead of just using black, use a darker shade of red then a mid tone and highlight color to get a natural color. Finish with black in darkest areas.
Please follow me on Twitter: @AaronLoyd96