The Conversation (0)
Sign Up
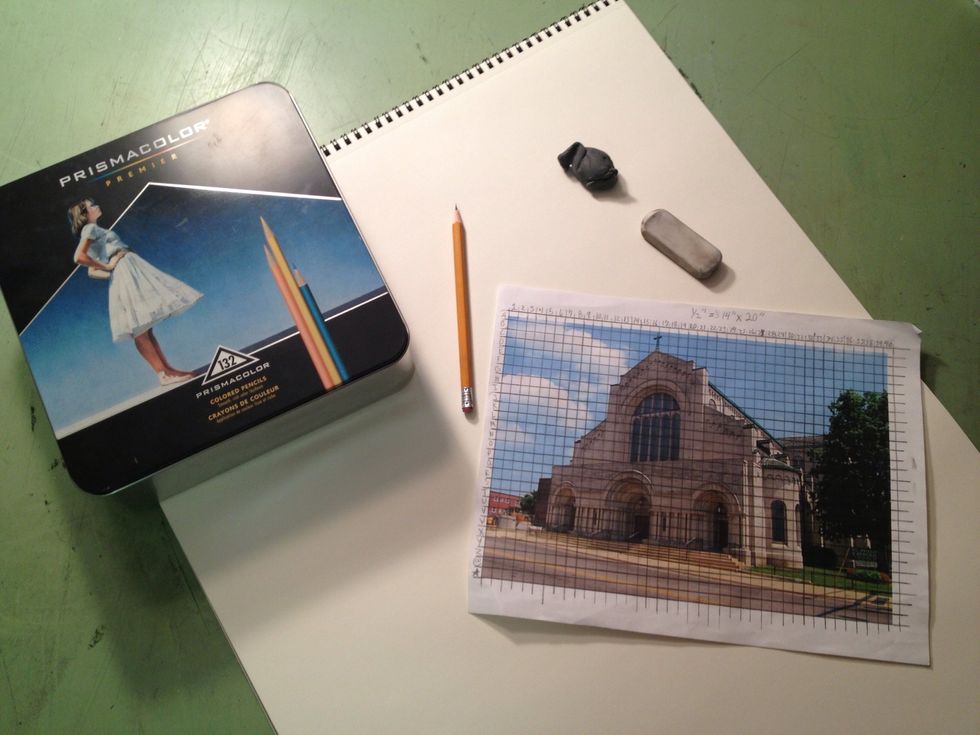
A few of the supplies you will need
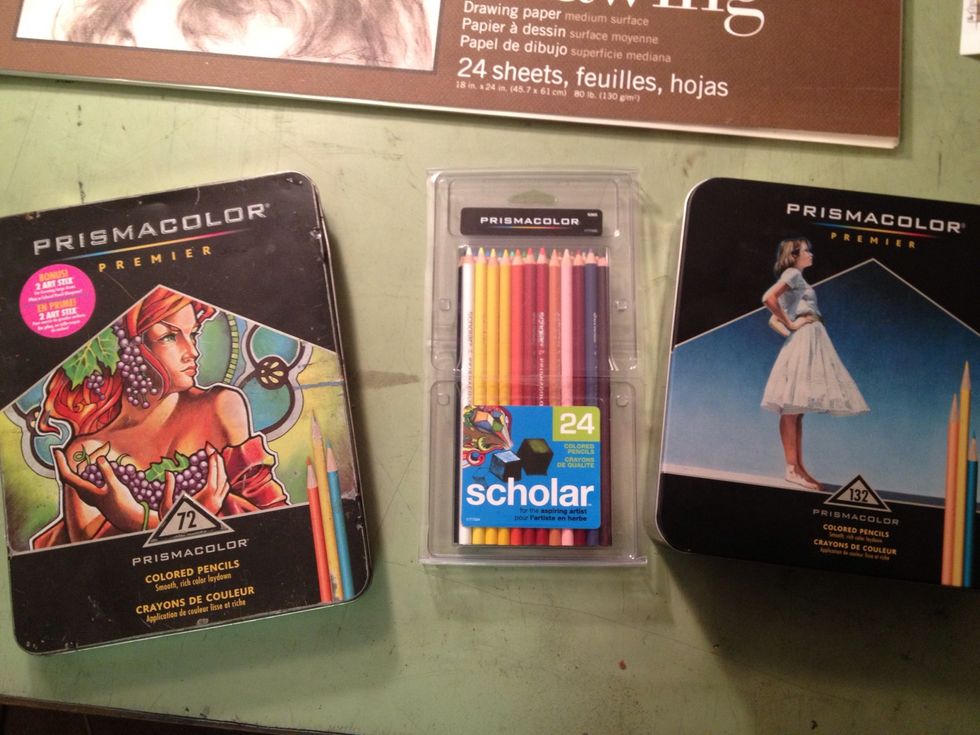
If you can't afford the 132 box set a cheaper 24 pack will do well. Or if you only have crayola colored pencils that is fine too!! Whatever medium you are most comfortable with!! 😊
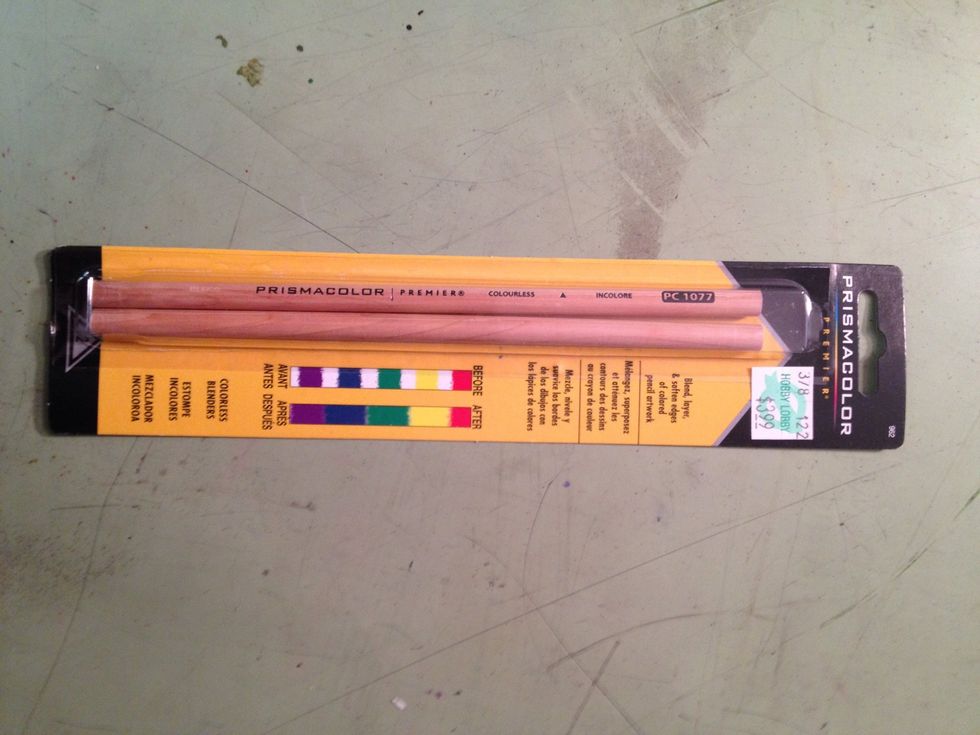
With prismacolor colored pencils though I love their colorless blenders!!! These are great for getting that polished and smooth effect!! I wouldn't draw without them!!
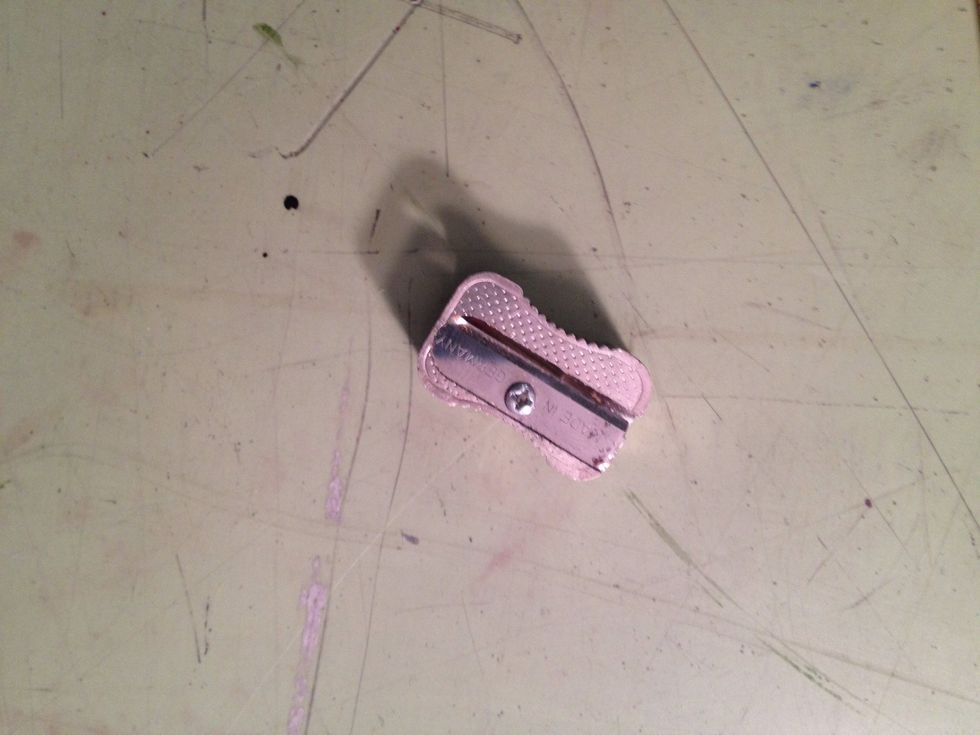
This small sharpener is key when working with prismacolor colored pencils! This is the only sharpener I will use on these!! The leads are soft so any rotating sharpener would destroy the lead.
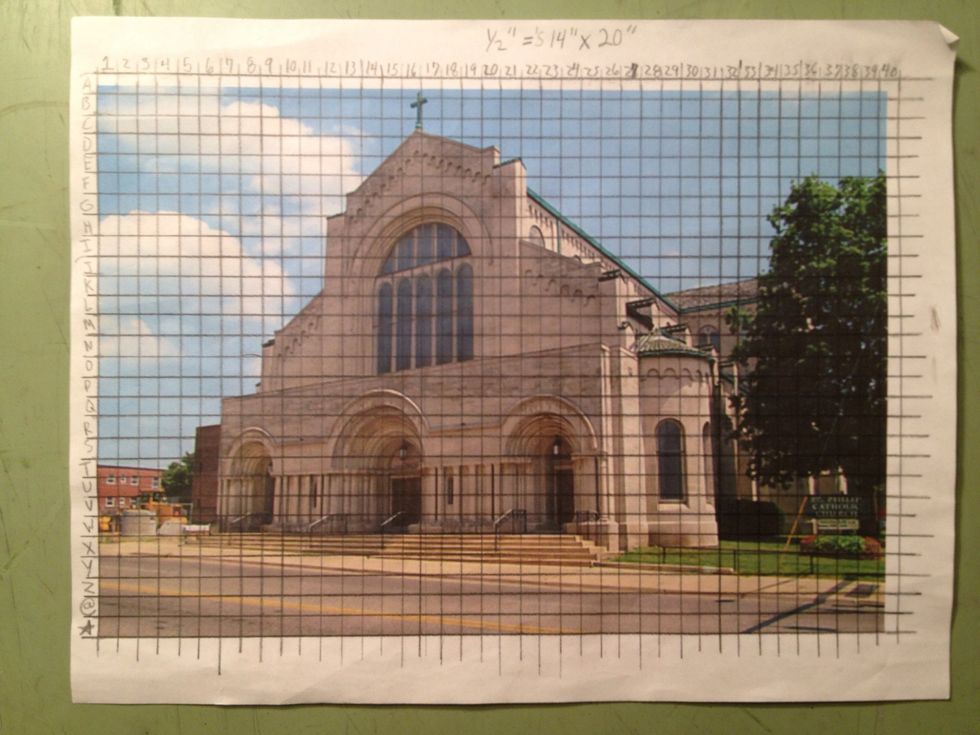
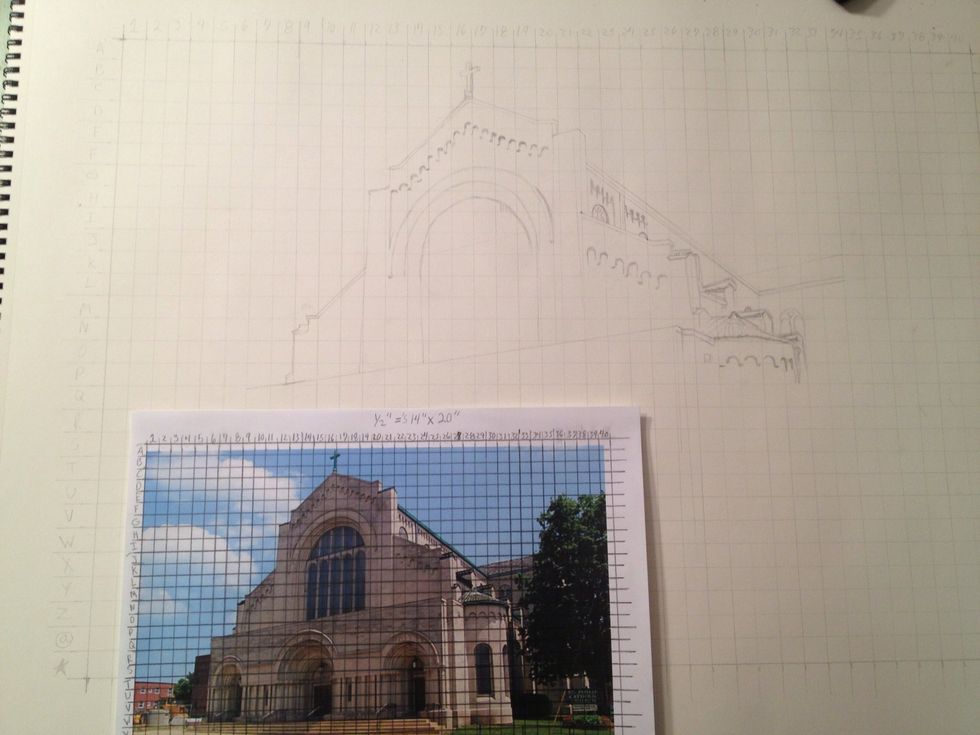
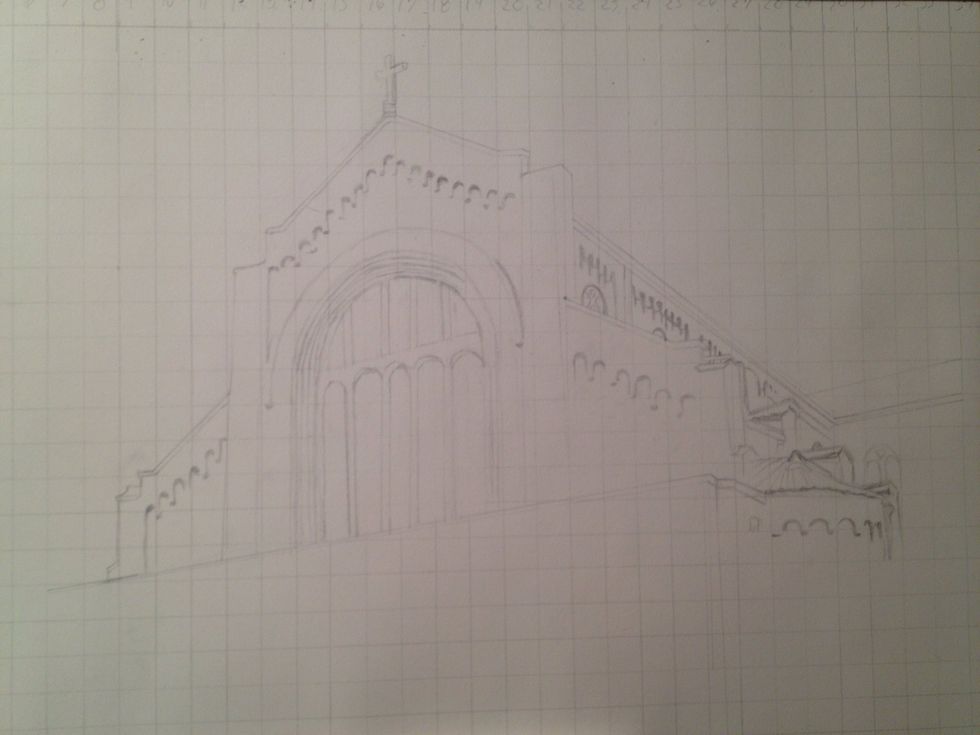
I start by taking my picture I am going to draw and draw a small grid on it with pencil. Make sure to do it precisely and dark enough to see. Label the top1-? And the side A-Z or in this case A-🌟
Grid your paper with a larger grid, I usually double my grid, so a .5" grid on my picture would me a 1" grid on paper. Label as on your picture. Then take each coordinate and look at each square.
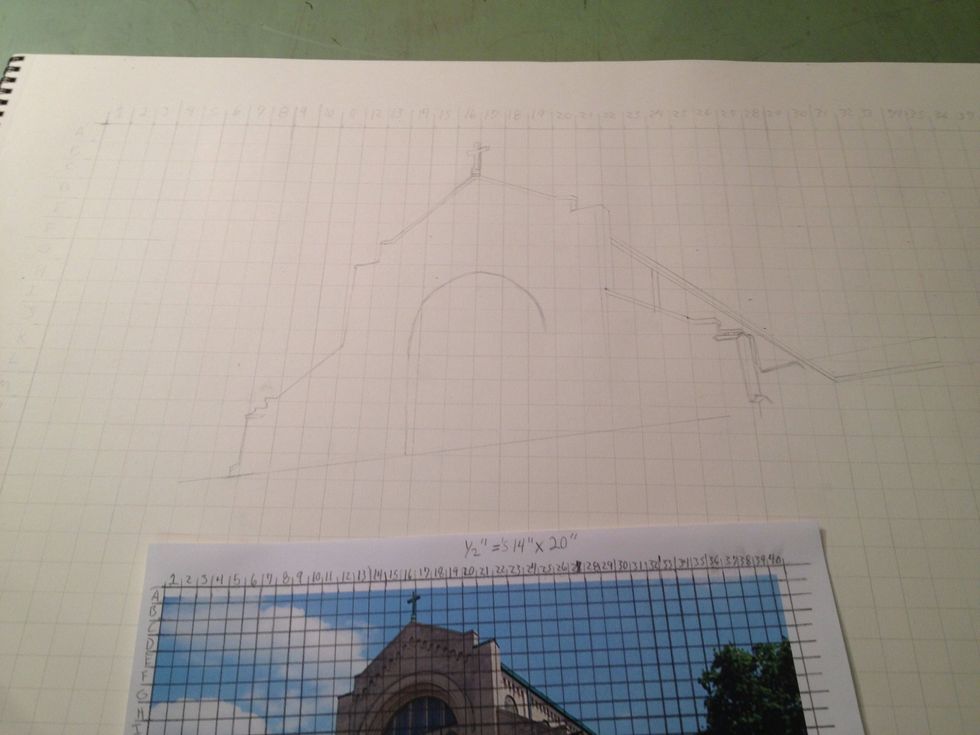
Begin wherever you want taking each square and looking at where the shapes are within that small square.. The more squares you do close together the more a picture emerges.
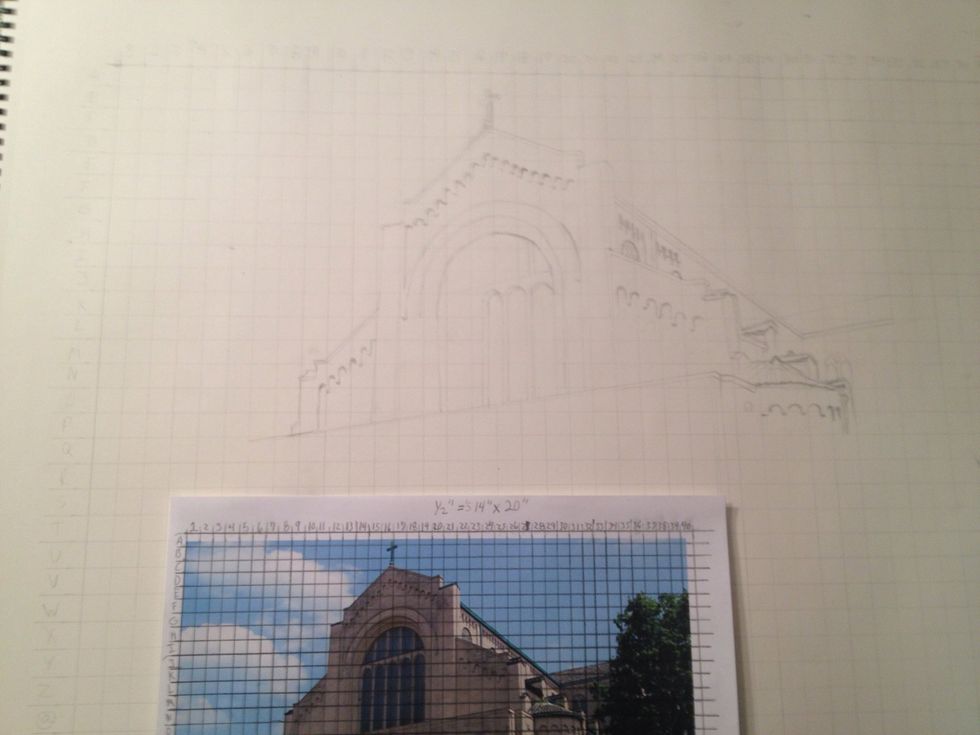
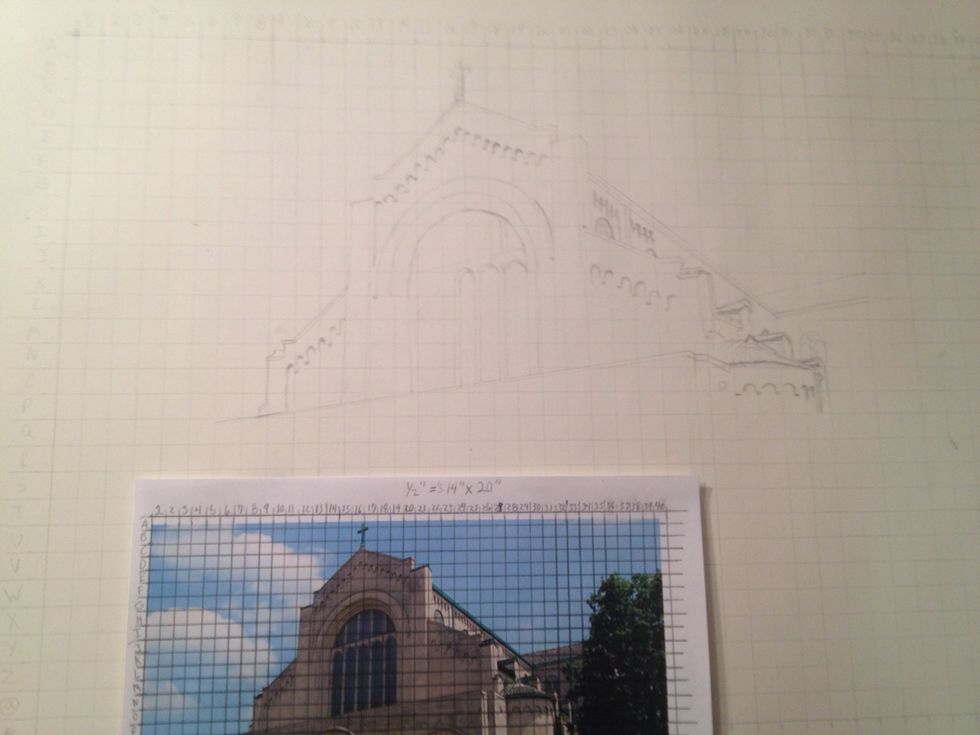
Be careful not to draw too dark as you will be erasing your grid, and drawing over your pencil, Tip: only draw or make a line where it is dark on your picture, no outlining light spots!

It will take a little bit to get the hang of connecting squares but once you see the grid as a tool of measurement things get a lot easier!
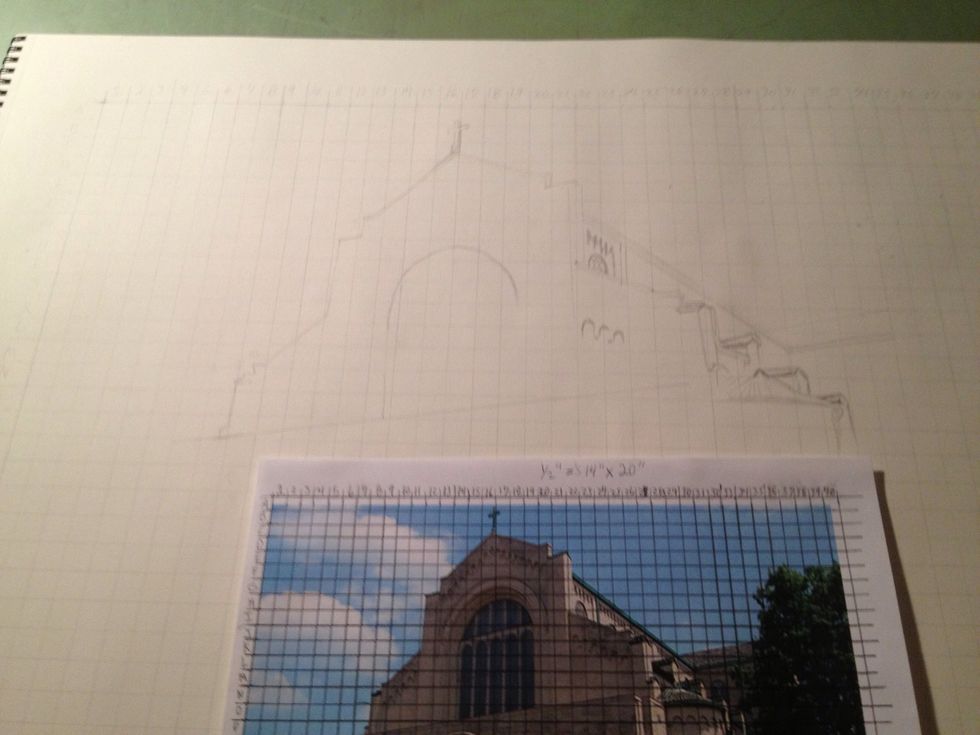
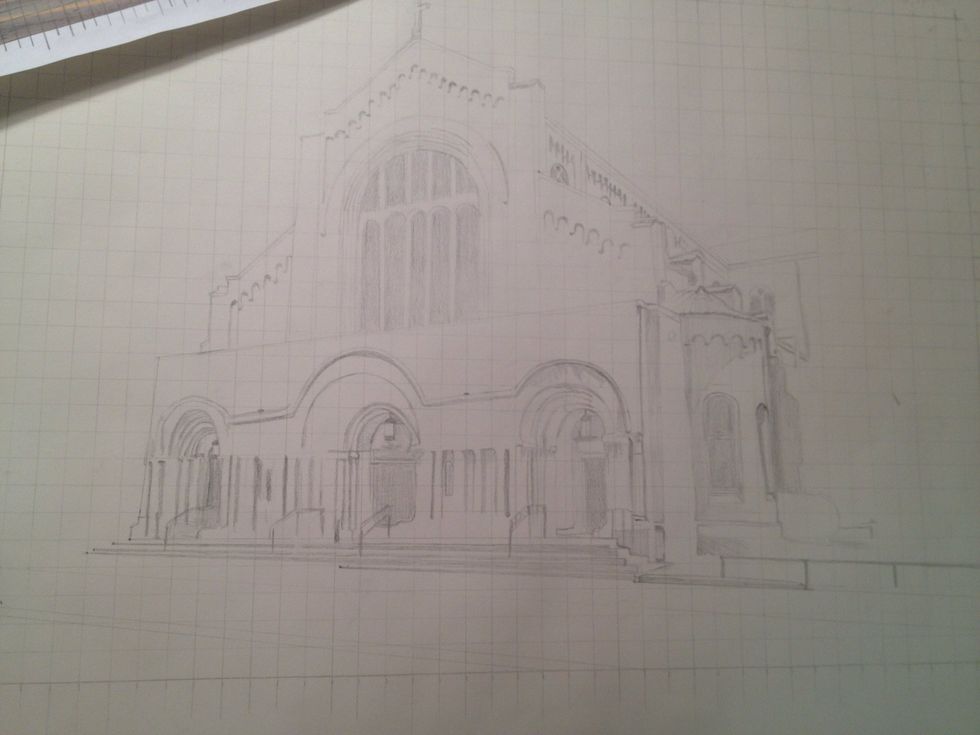
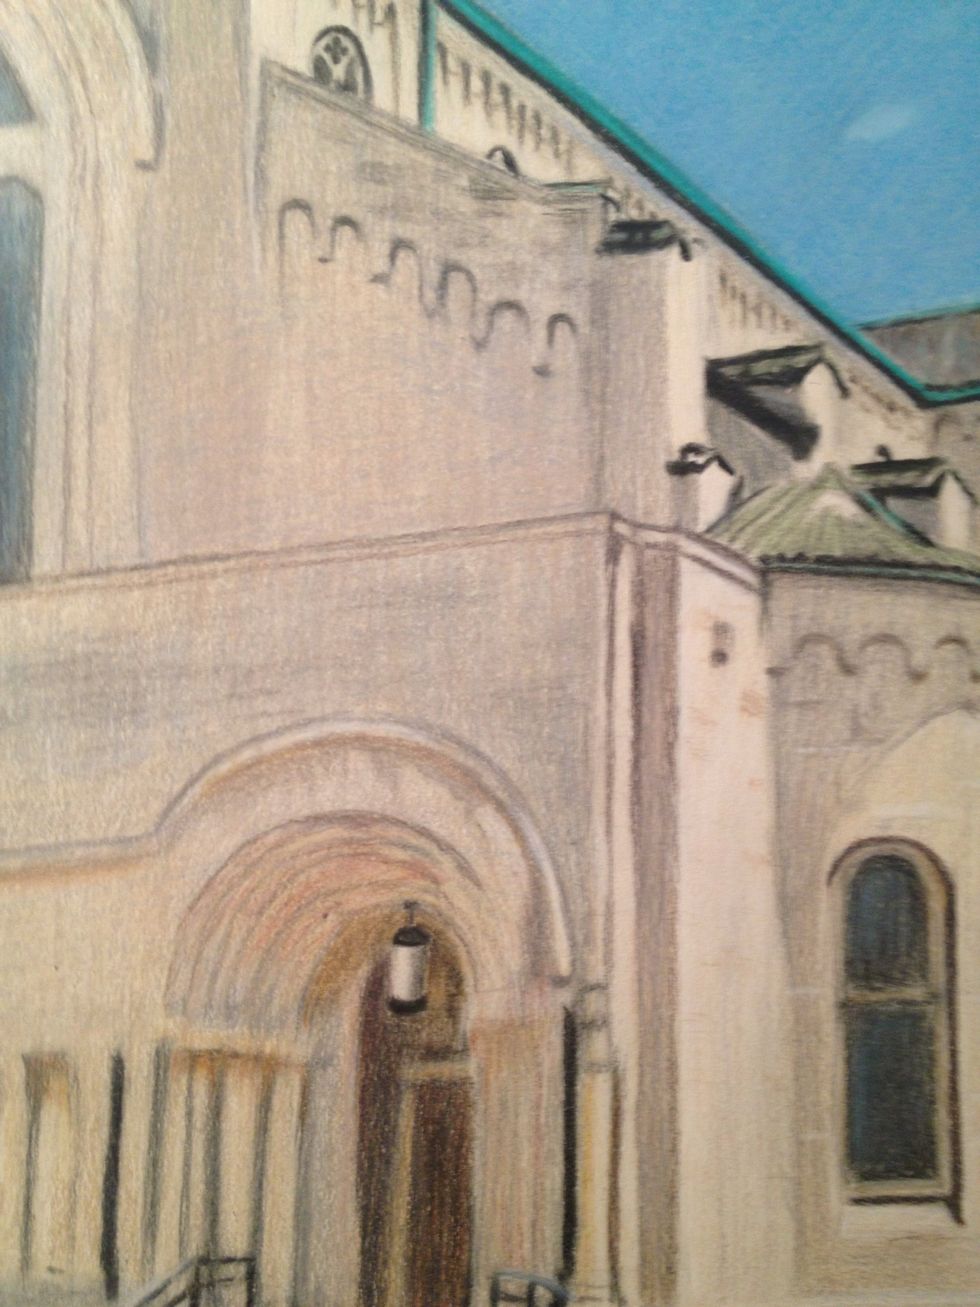
Detail down the right side of the church
Starting front window detail
A little shading with your pencil is fine just not too dark!
I darkened the contrast for you to see better
A darker contrast if the left side face of the church being started
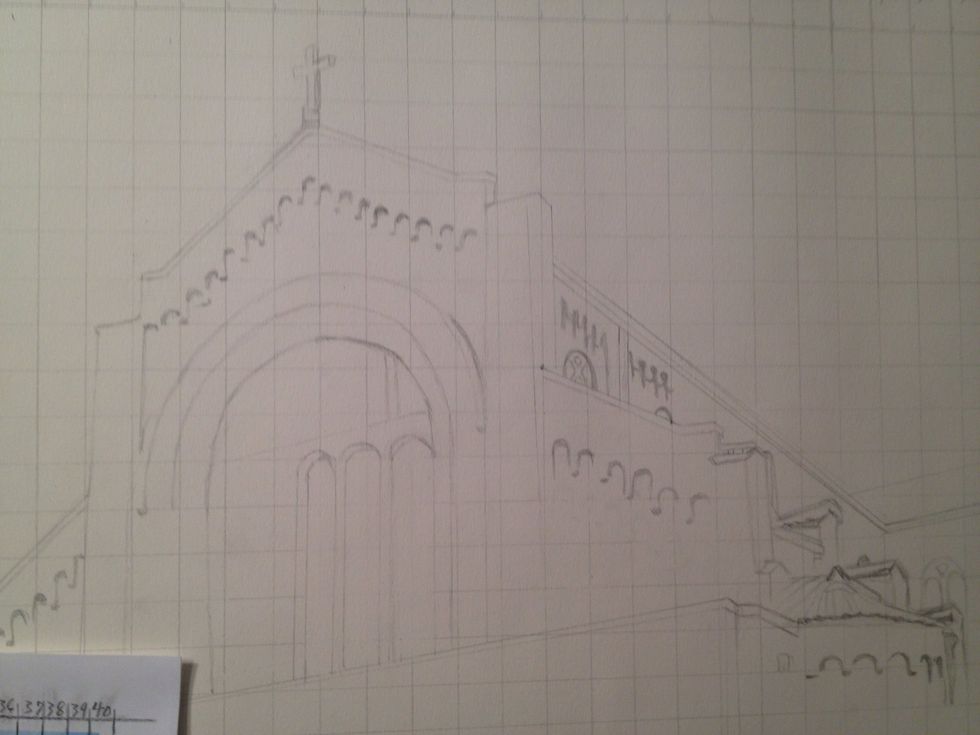
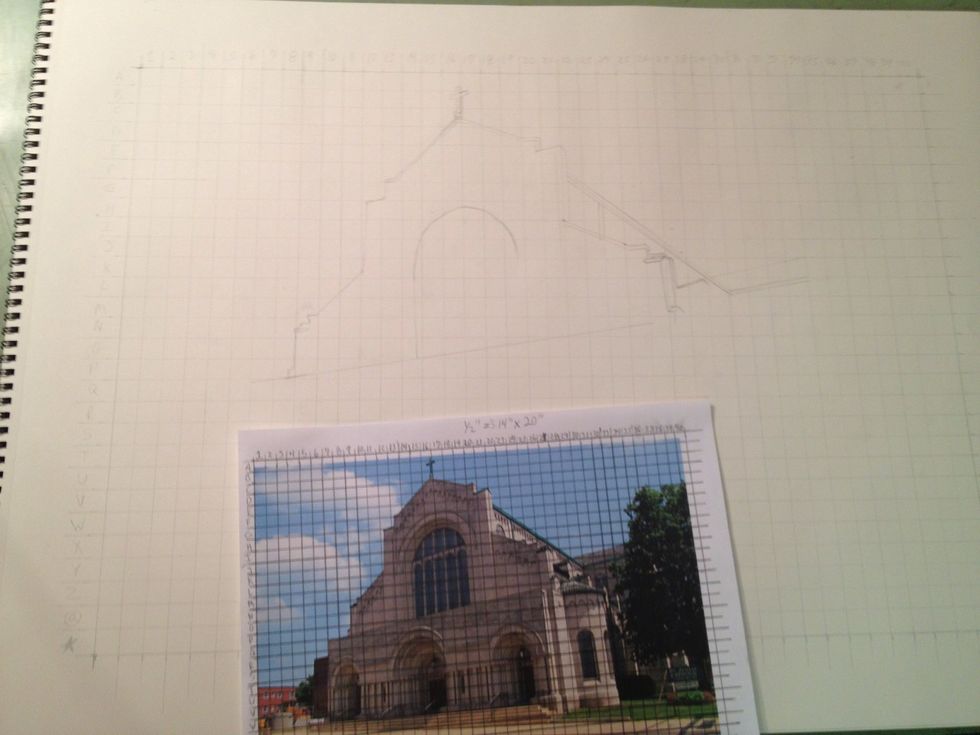
Tip: when doing architecture it's ok to take two points and a ruler to draw a straight line.
Working on front arches now
First and second doors drawn
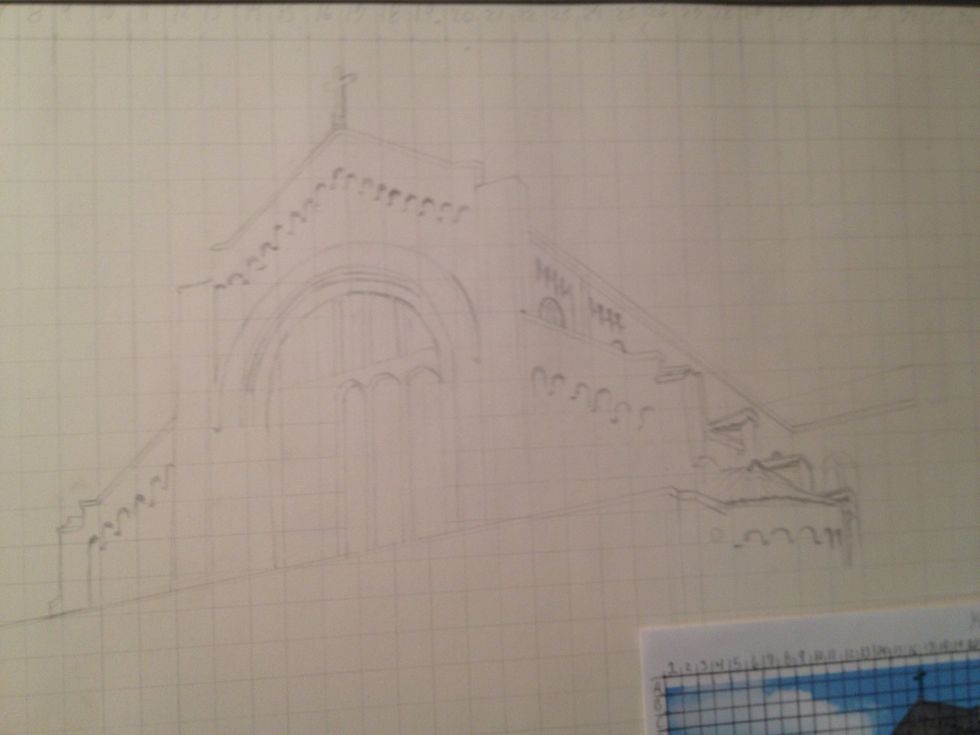
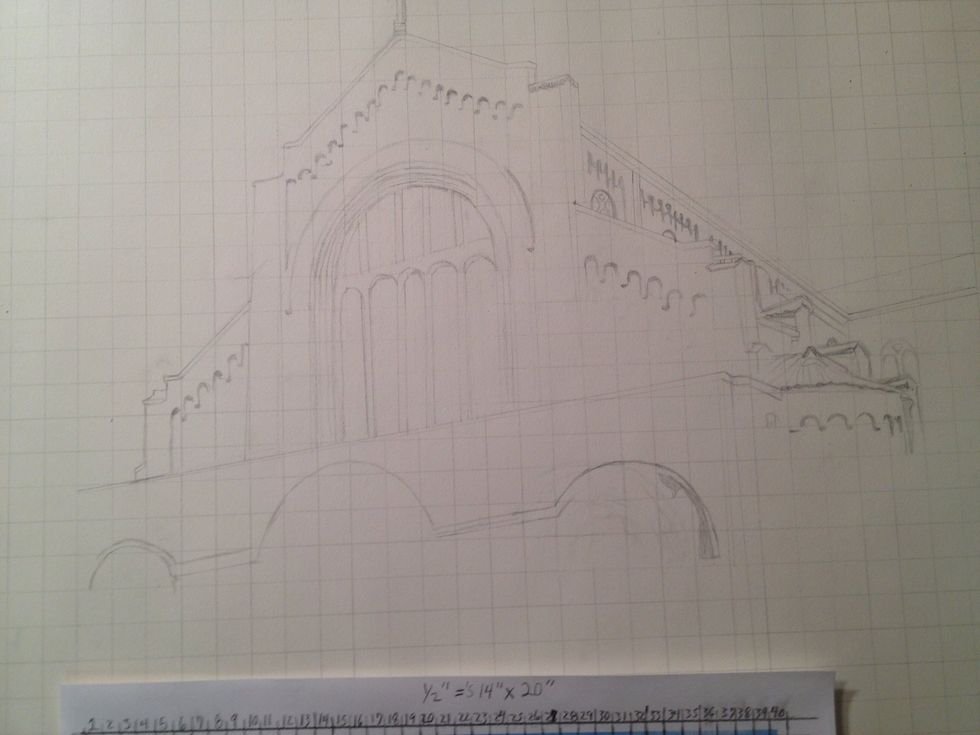
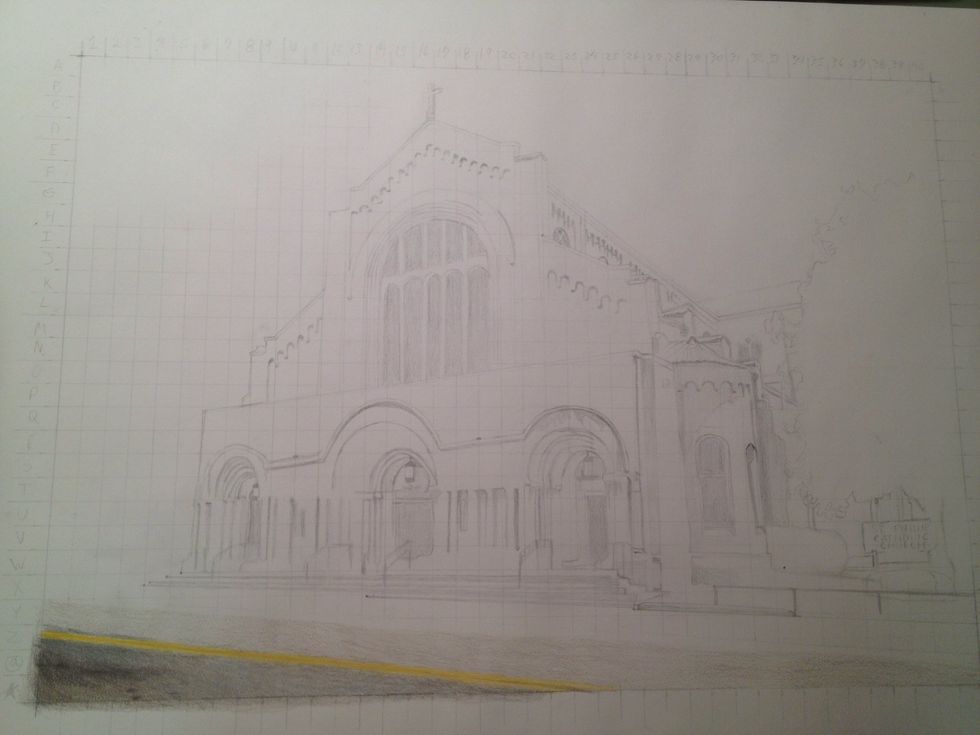
The rough sketch is complete!!! Now time to erase your grid, I only do this in small sections that I am working on incase I missed something
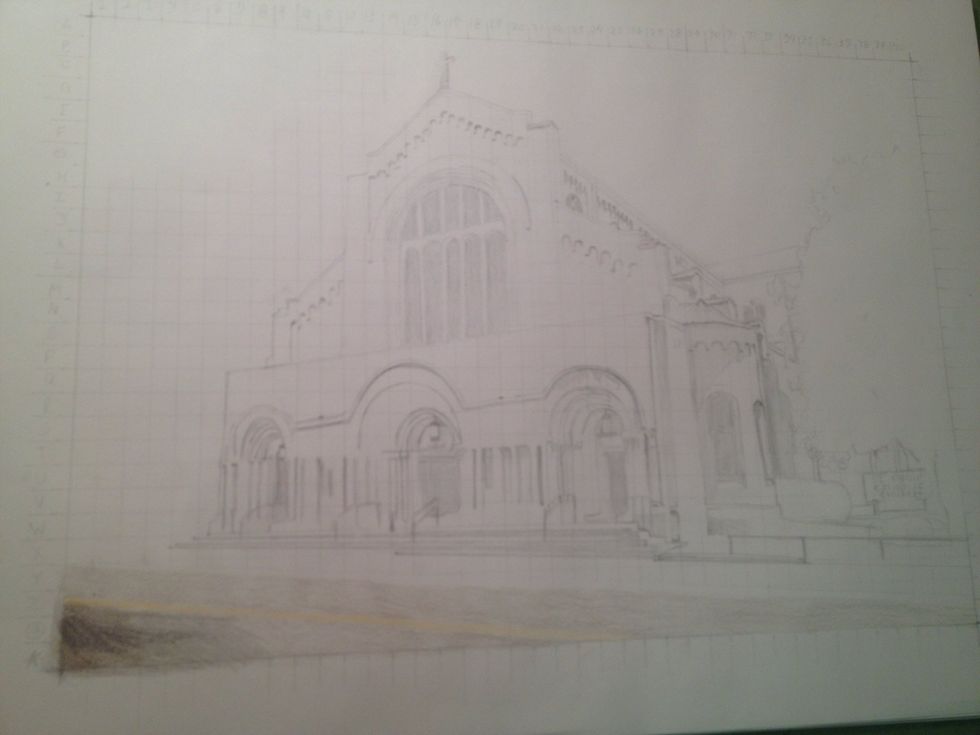
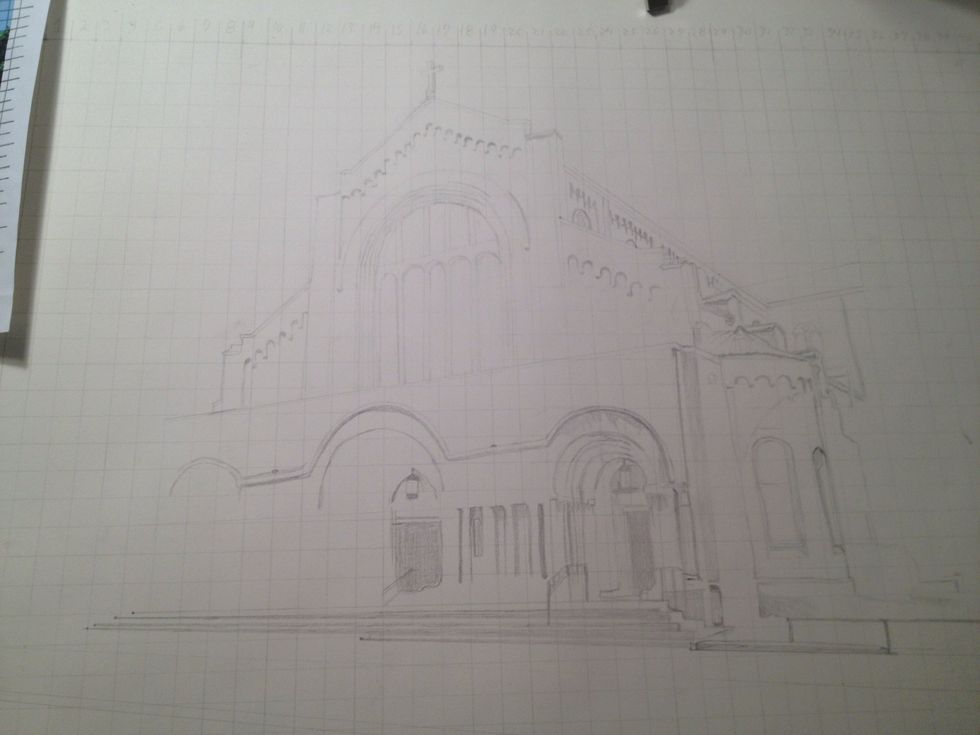
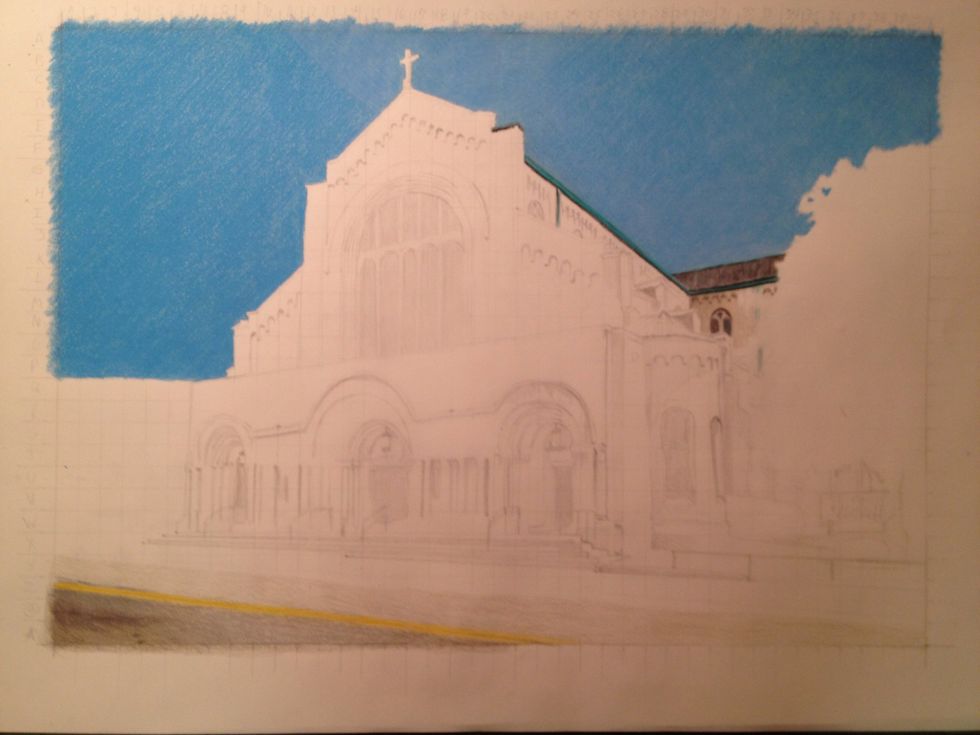
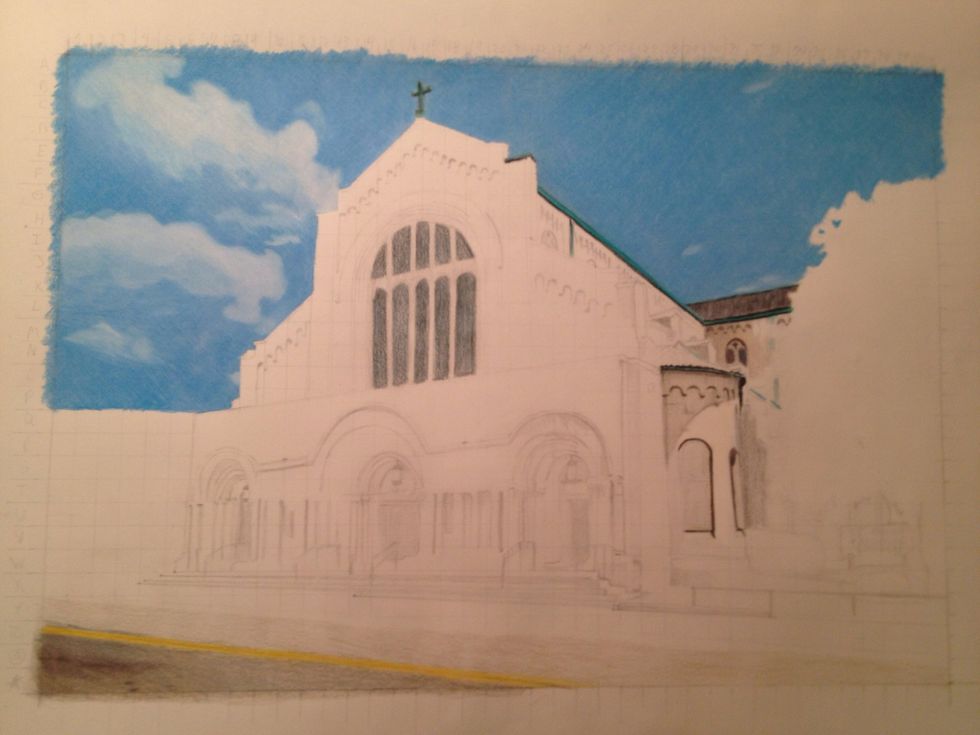
Erasing top right corner grid and bottom left grid and started coloring the road
Always start out light with your pencils! Apply color in subtle layers to build up rich color and texture
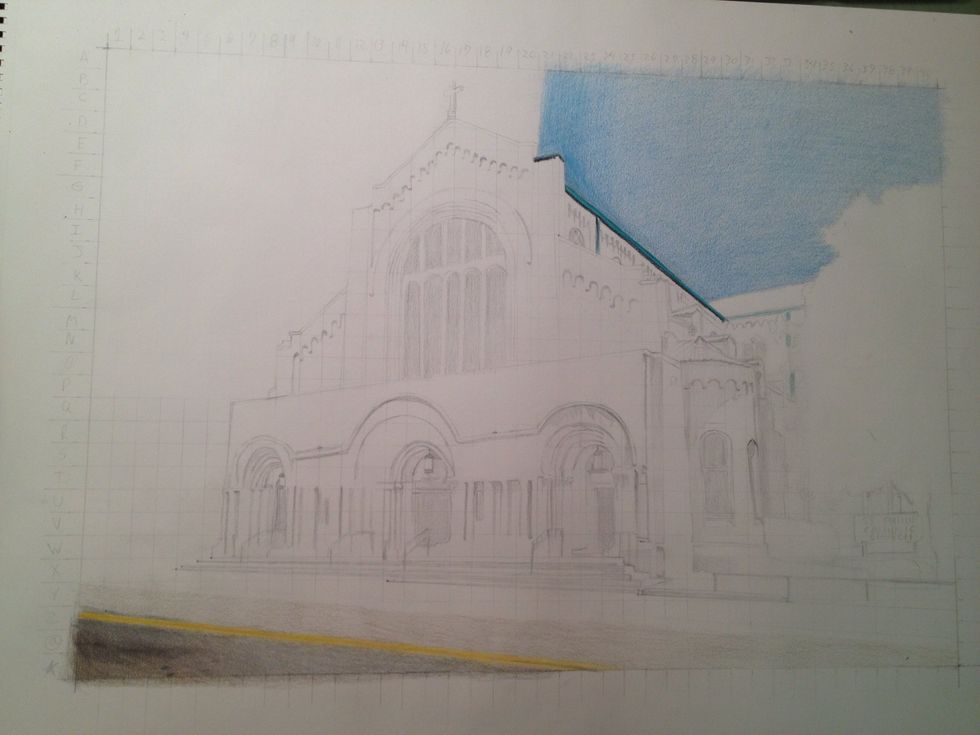
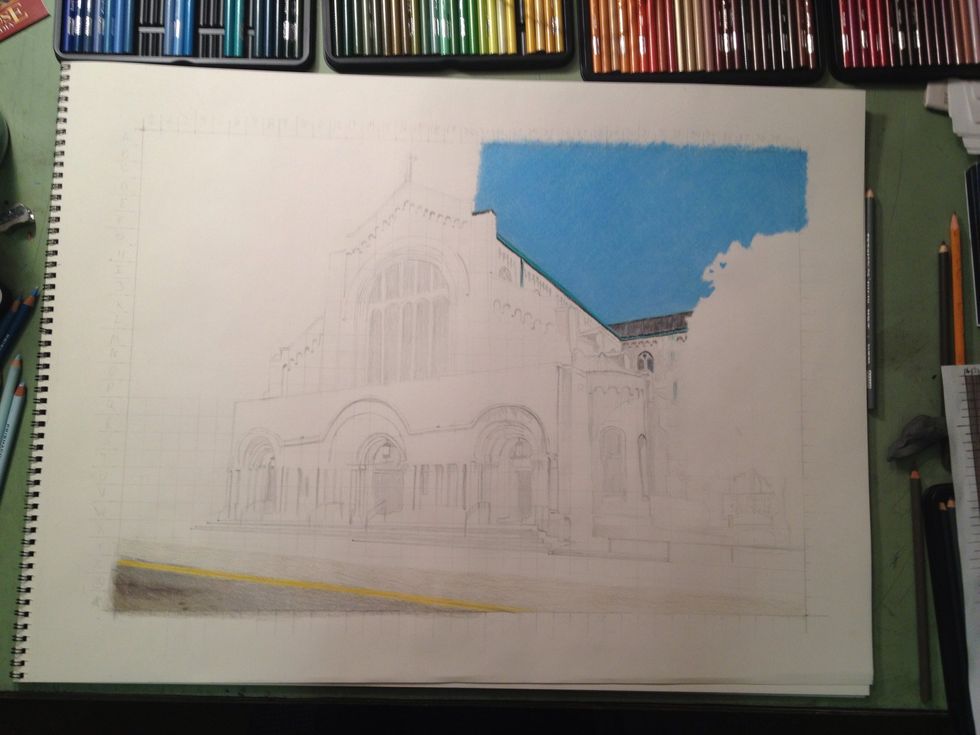
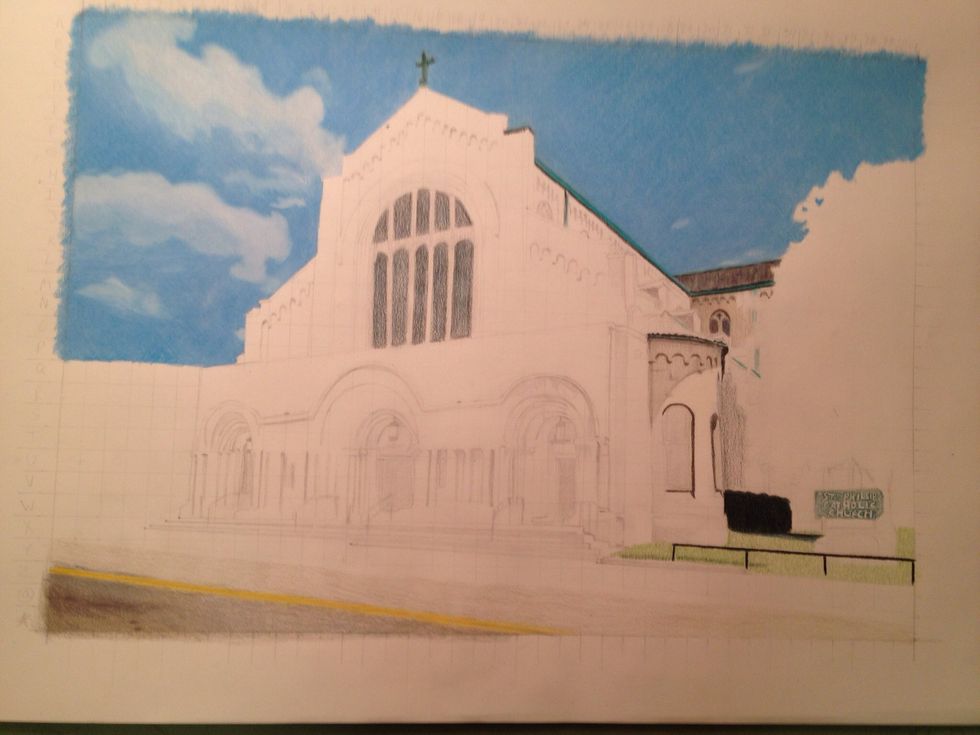
Starting the sky
The colorless blender works great here
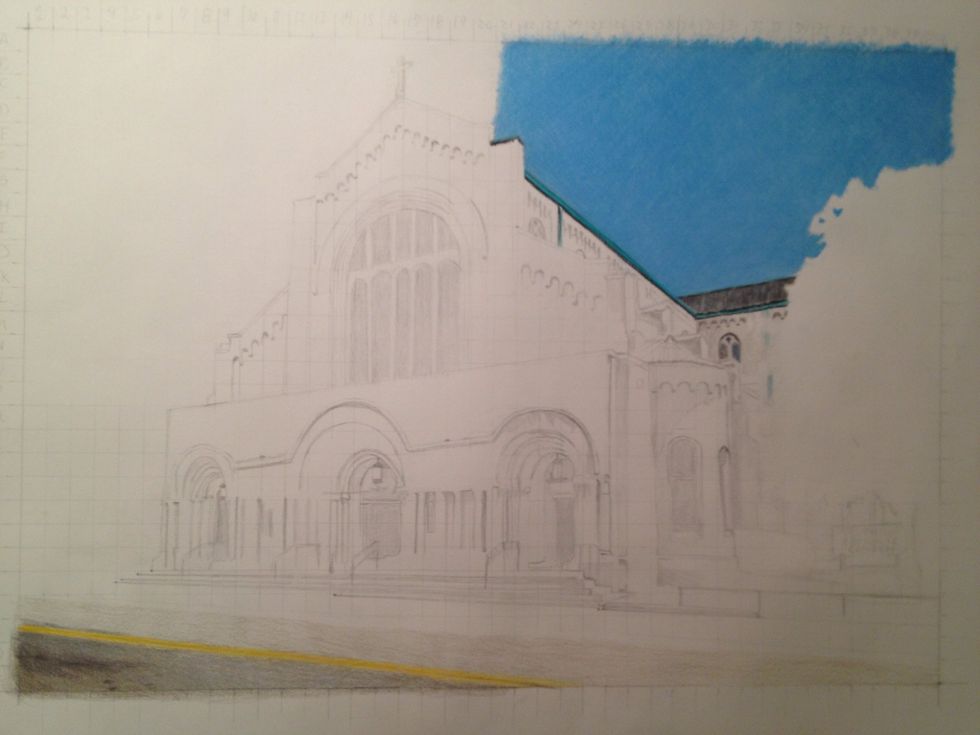
Starting the roof
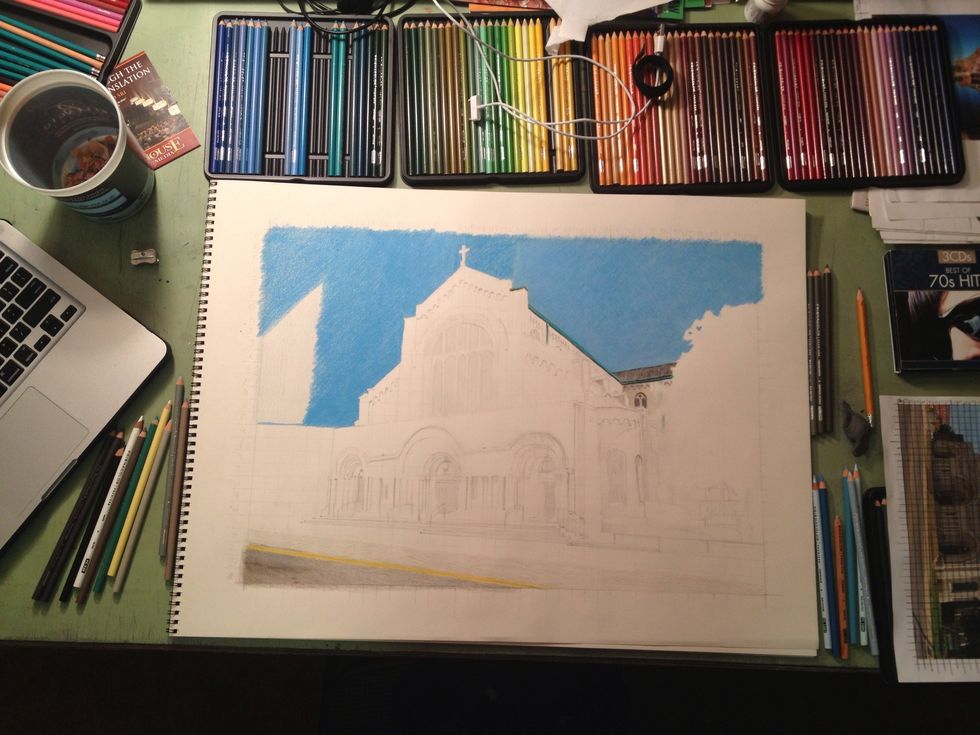
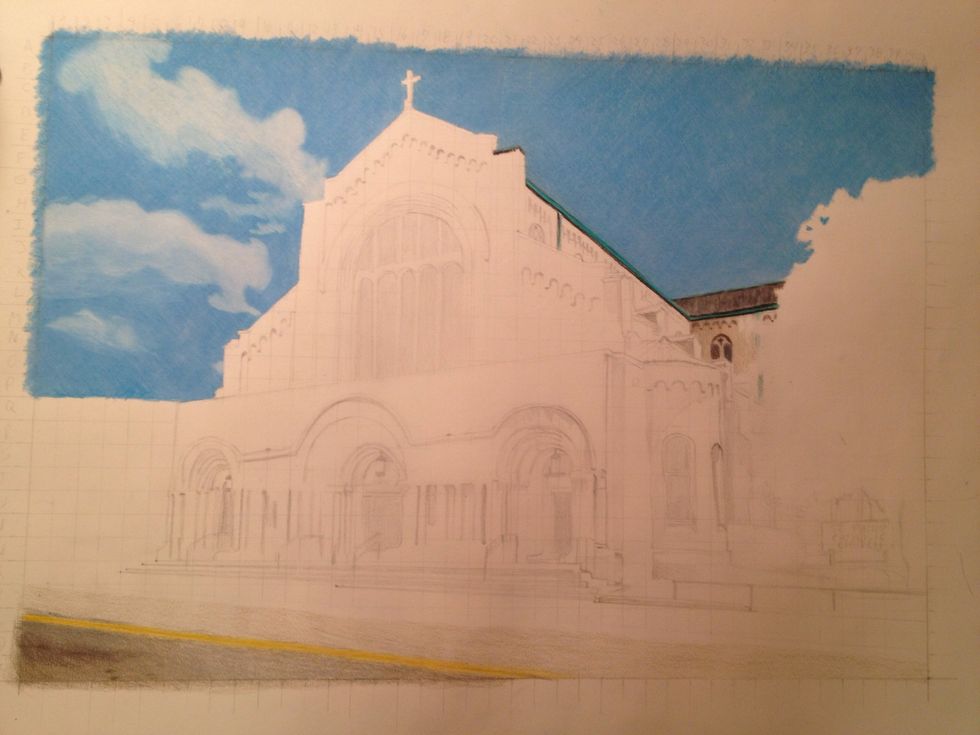
Sky is looking well block in those colors!
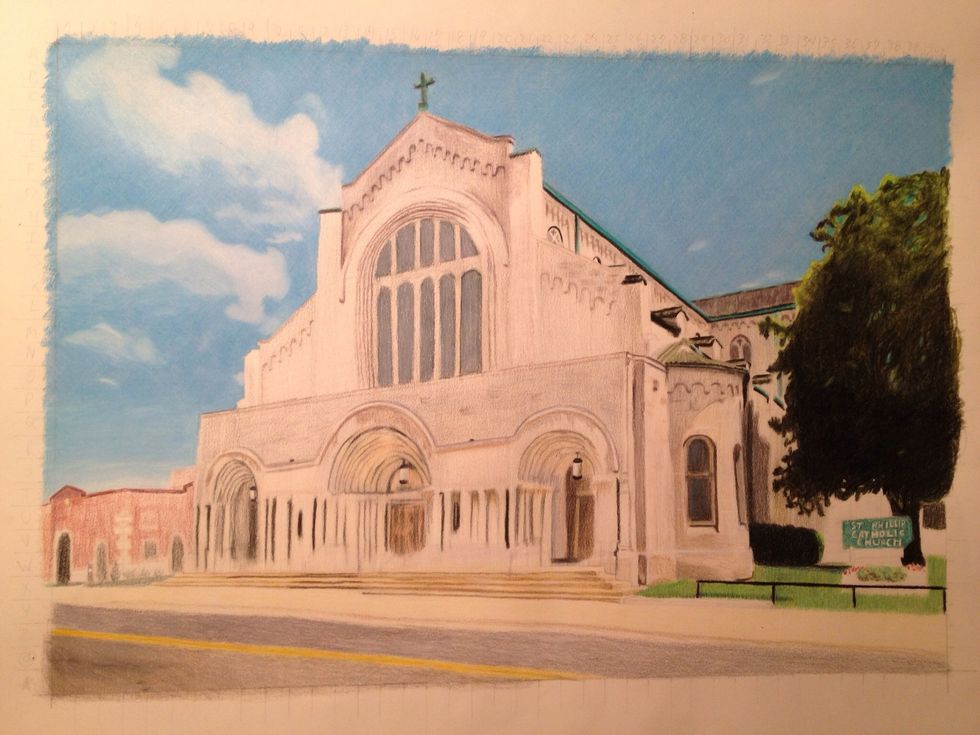
Almost done!
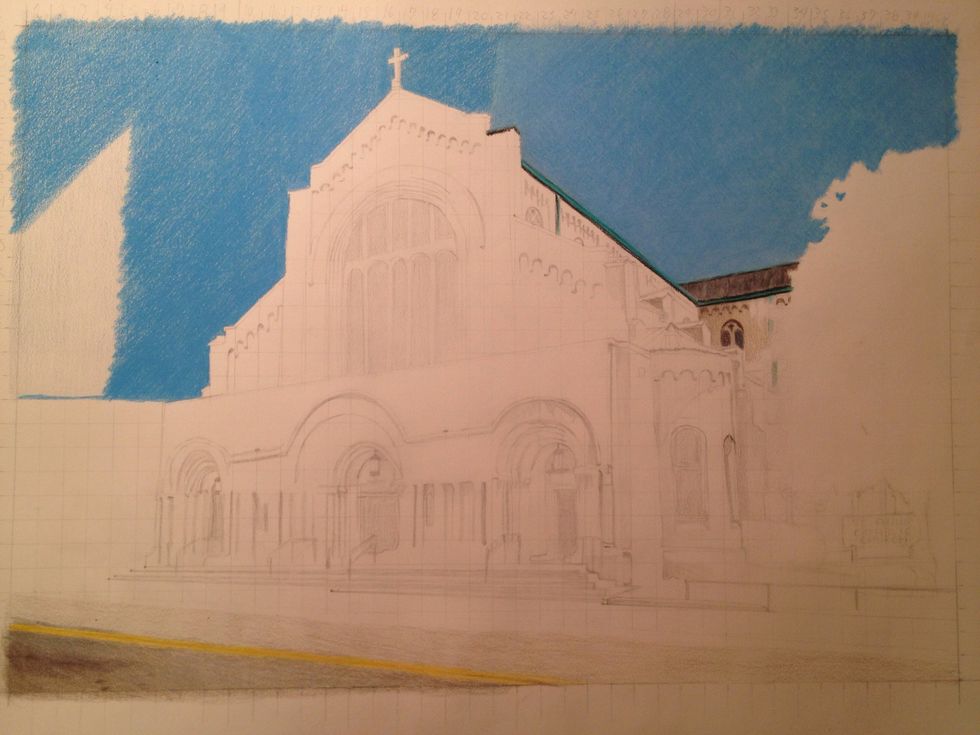
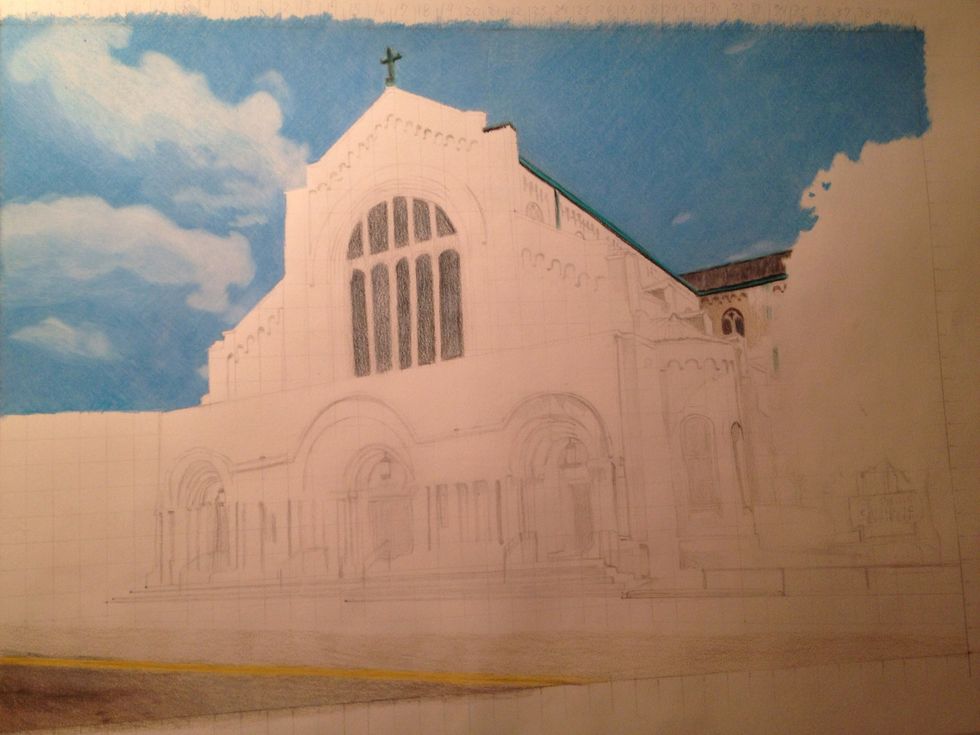
Ok you are done blocking in the color, looks a little fake so we will lighten it with our white and erase where we want our clouds
Clouds and grass and leaves are all easy to do I mostly scribble and shade and scribble some more!
The cross
Starting the gutters
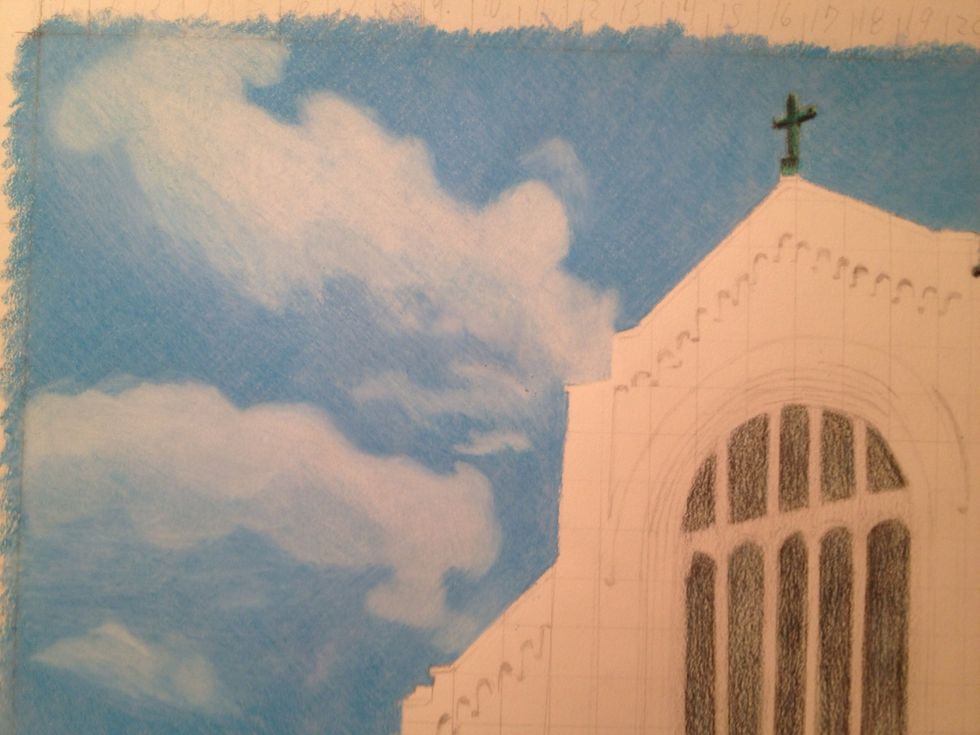
To make great looking clouds lighten the sky around them to make them look real..starting on the front window
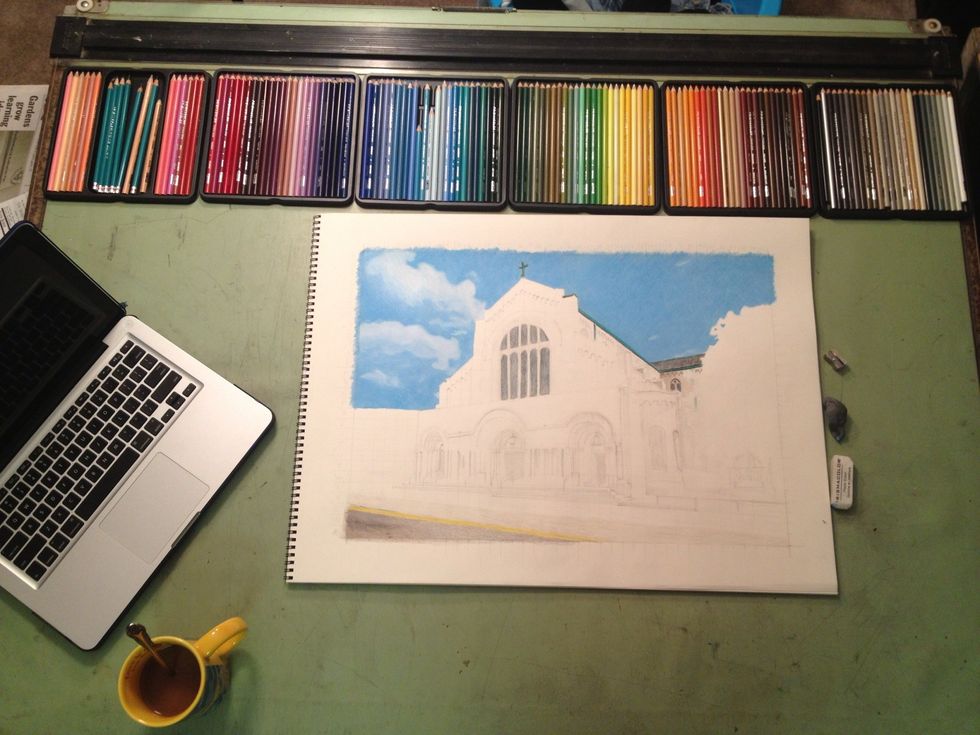
Keep a neat and clean area! I love music so I usually have music playing on my computer to help me work ☕ lol coffee!!

Shading in some more of the road
Side arch windows
Lightly draw individual green lines to make realistic grass

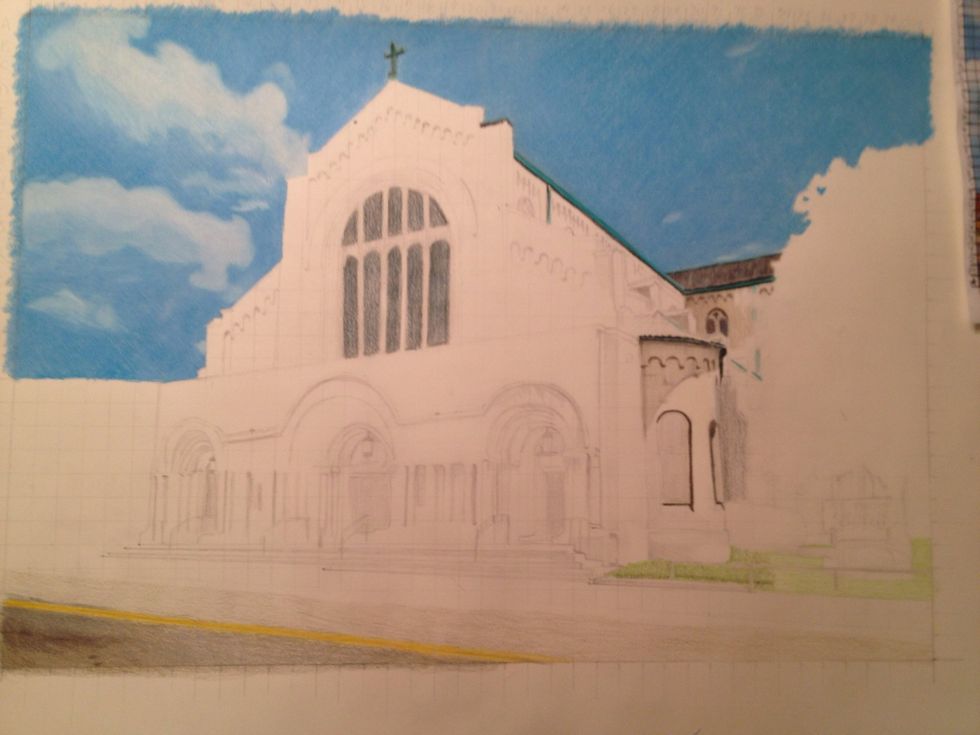
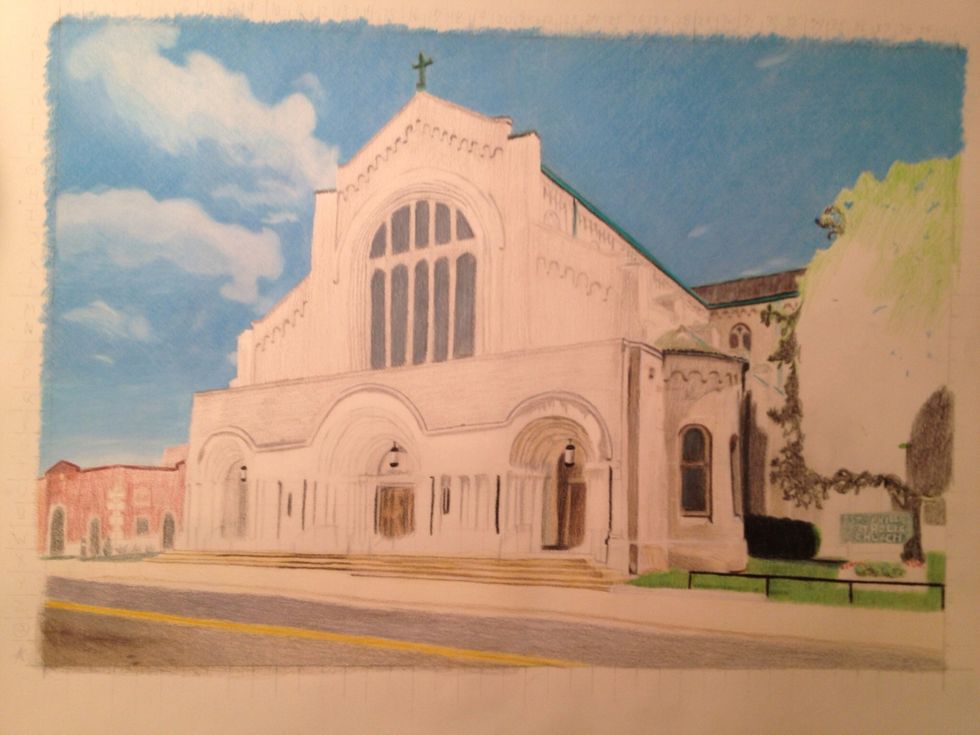
Blocked in bush and added railing and sign
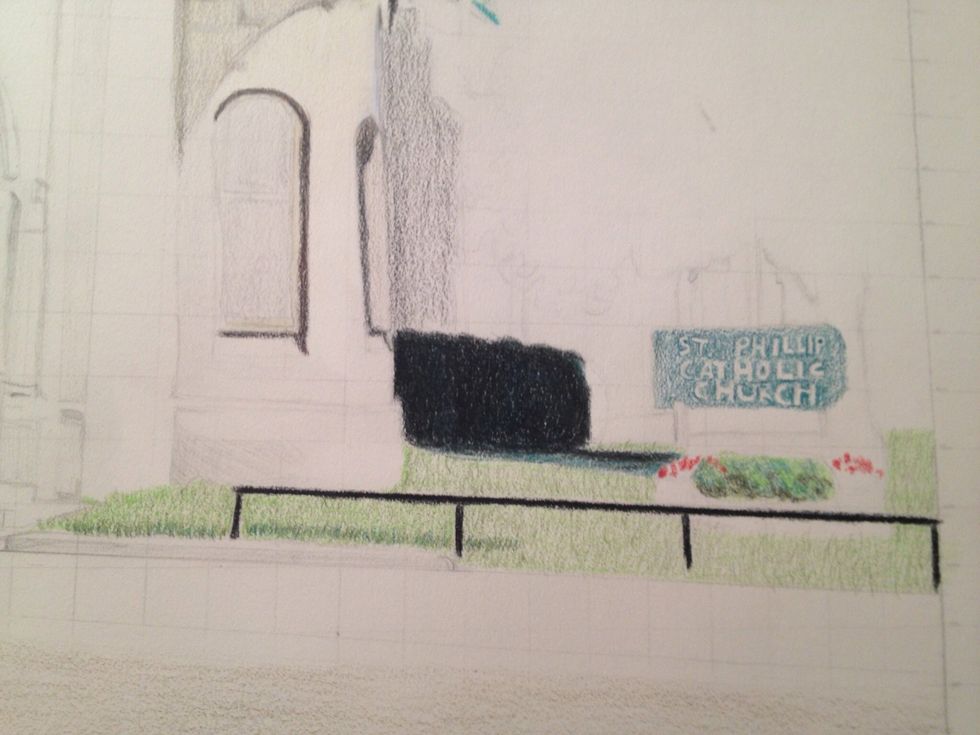
The shadow on the grass is individual darker green strokes to create a real grass effect
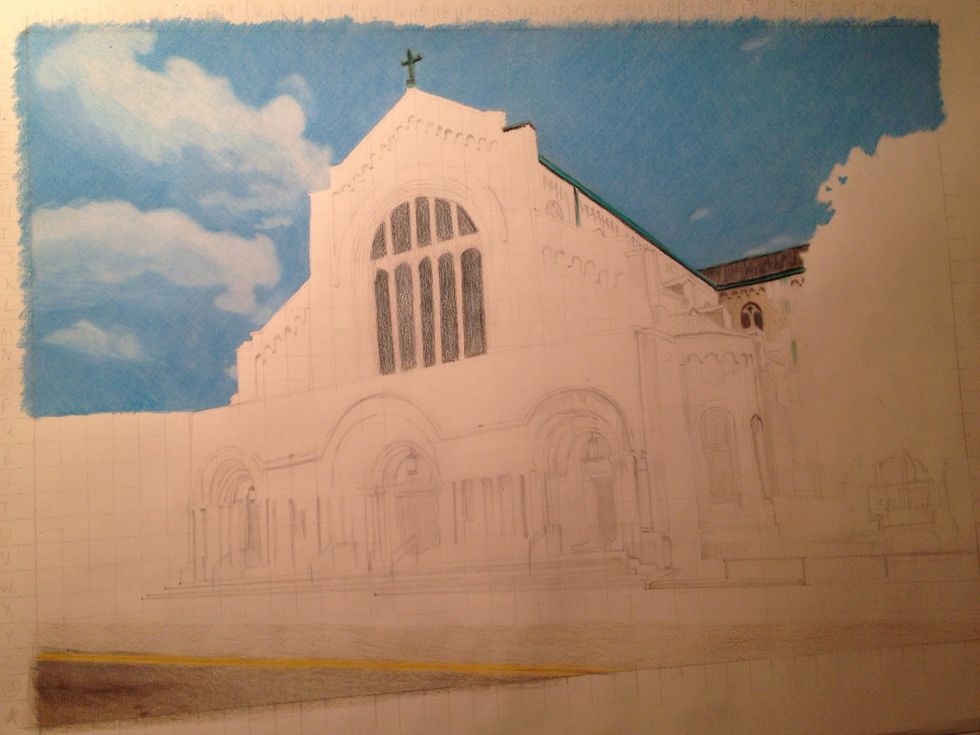
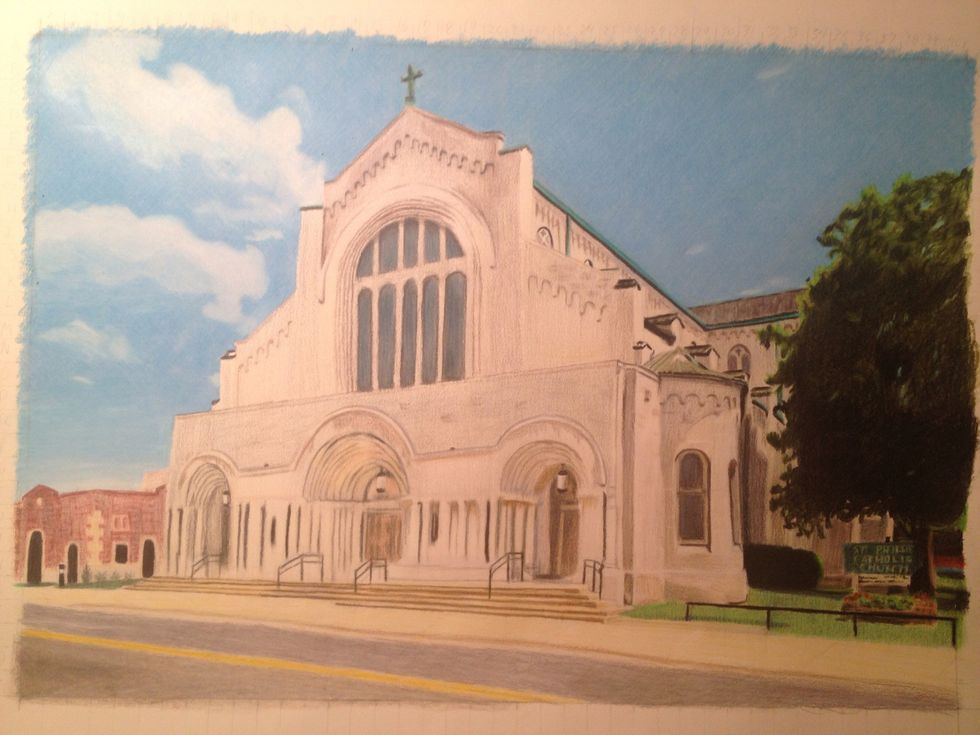
Looking good lets keep it up!
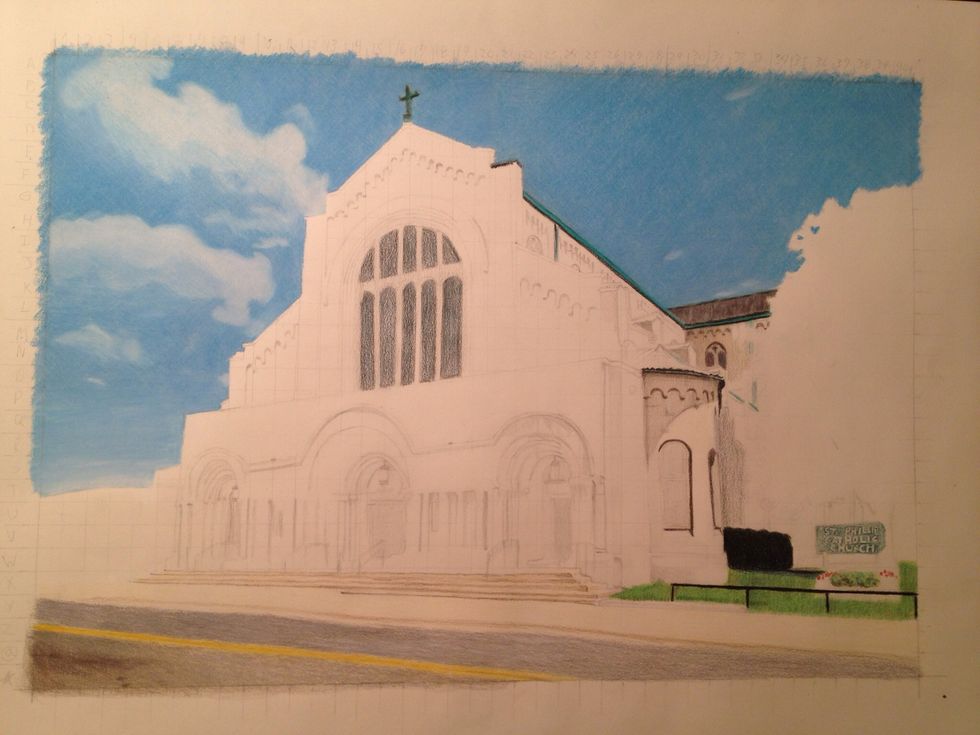
Coloring and shading of the front stairs
Use your blender to bring out the colors and smooth it all together
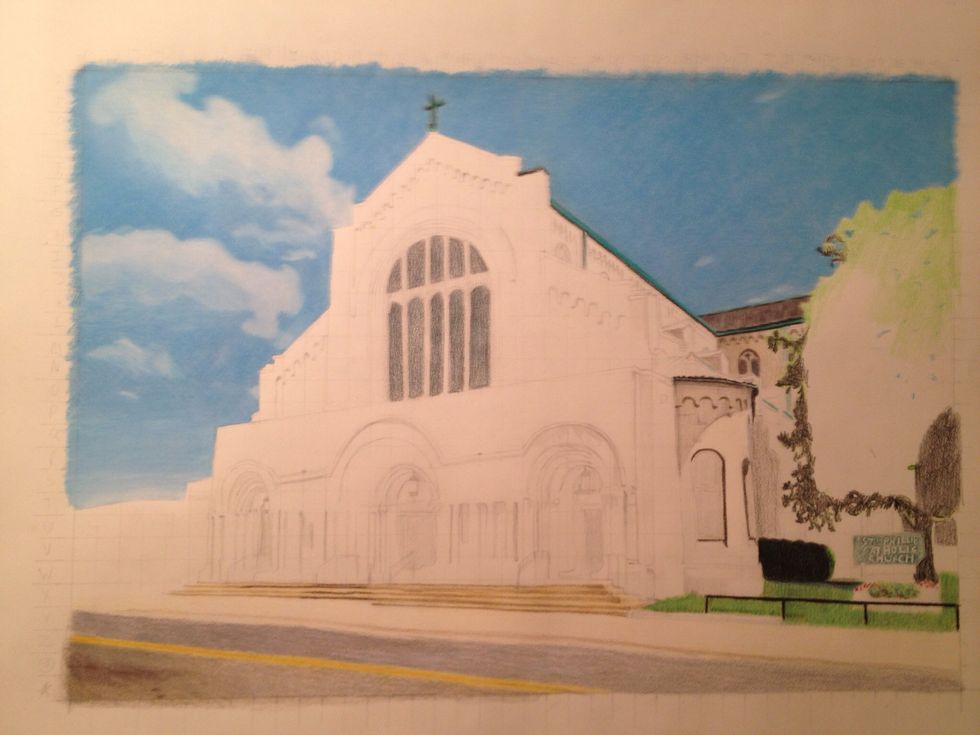
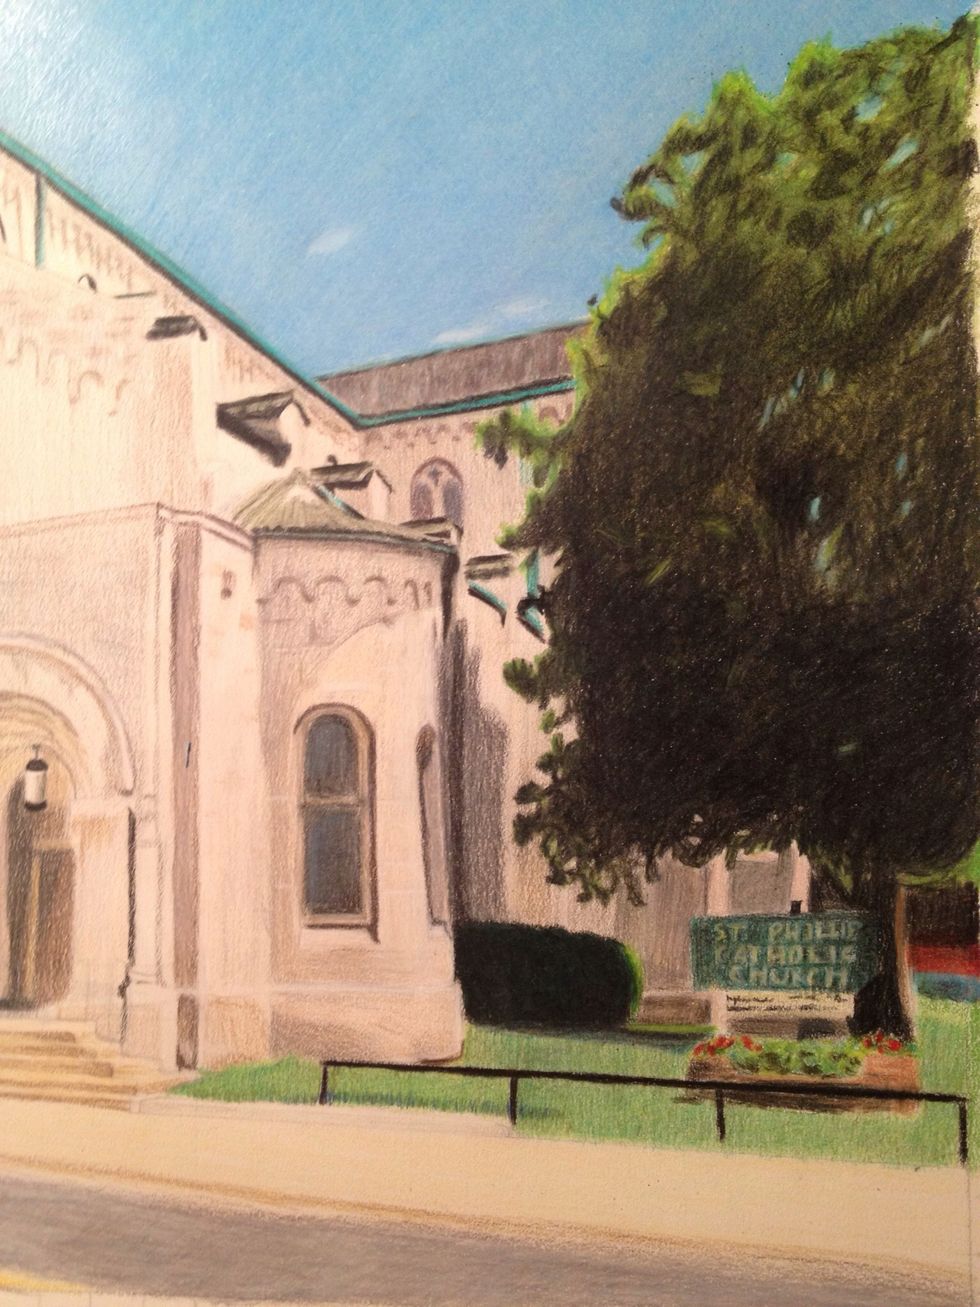
Colorless blender on front windows, and starting on the edges of the tree filling in windows on the side
Darkened top of arches and added a couple shadows on the church by the tree and added building behind church on the left side
Starting lightly on the first door and building blocking in color of the tree start with your lights first and build up the dark tones for texture
Darkening of the first door
Starting second door darkening building windows
You are building up colors nicely not too dark too fast!

Working on building some more
Lights in doorways blocking in more color on tree

Tree is finished now and light on bush is added

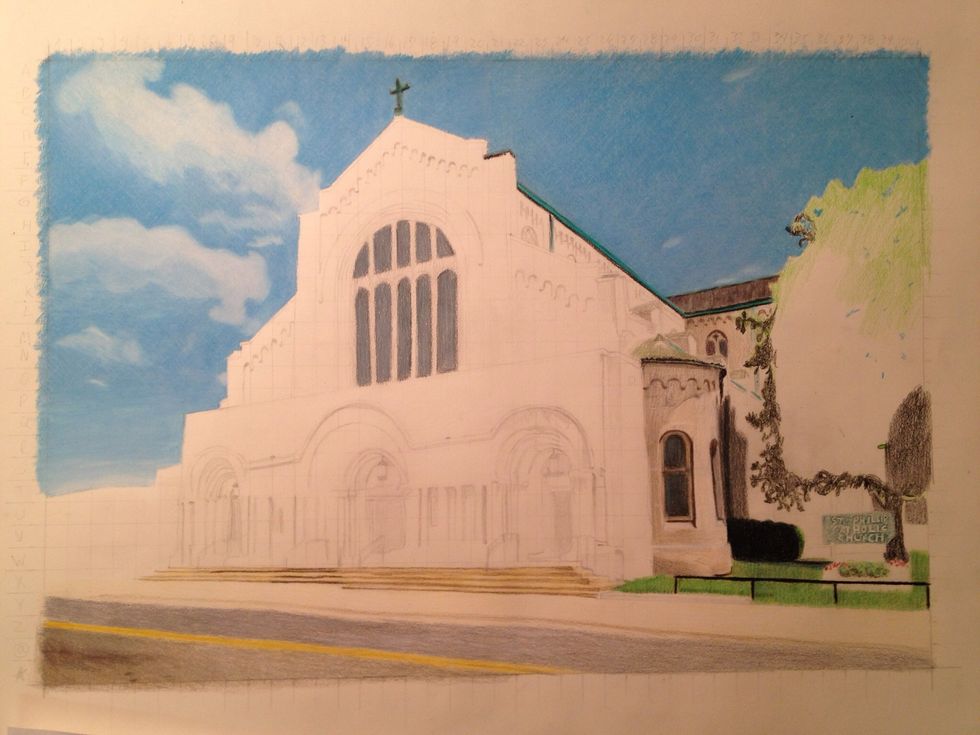
Add darker spots to look like bricks shading front right of the face of the church added shadows on upper roof windows
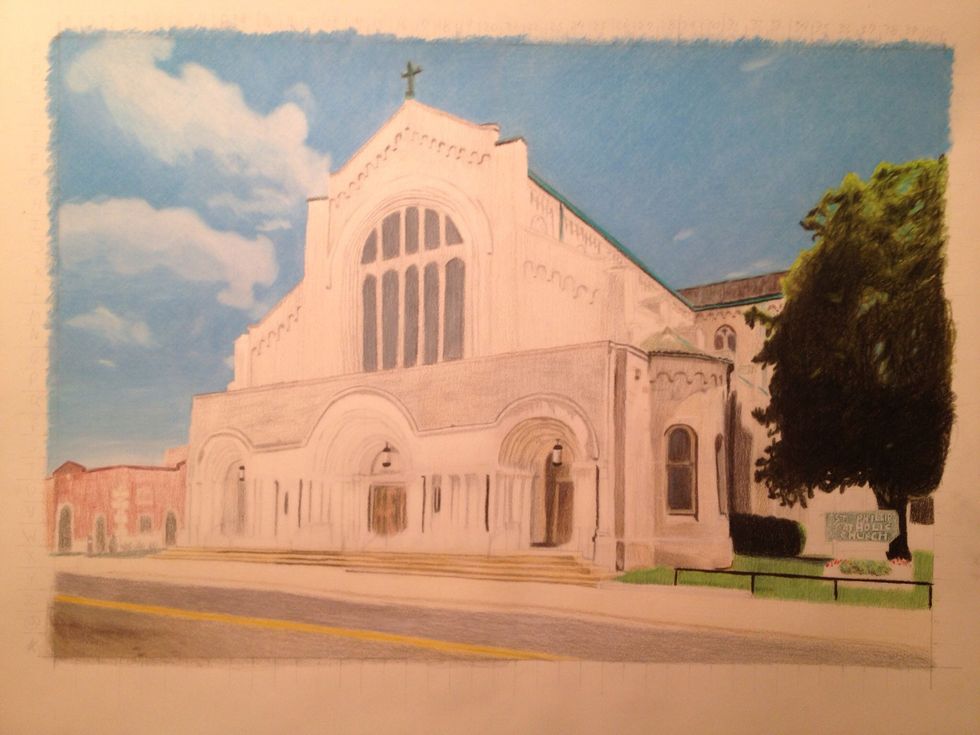
Now it's time to start shading and darkening the front of the church
Top peak shading
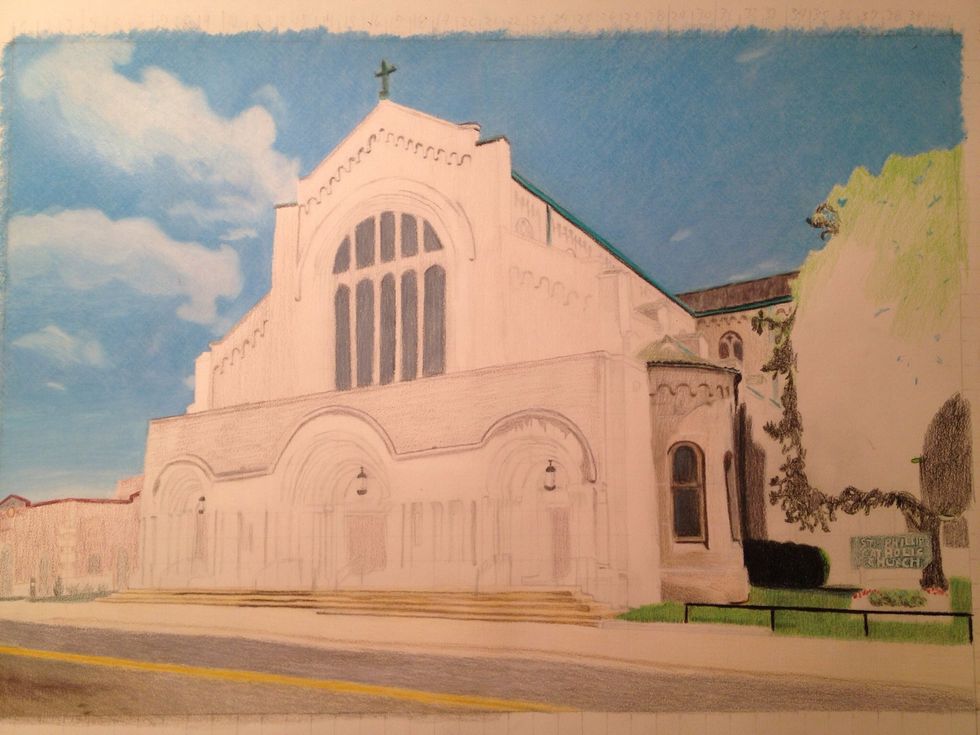
Blend it all together to keep it all fluid
Darkening shadows
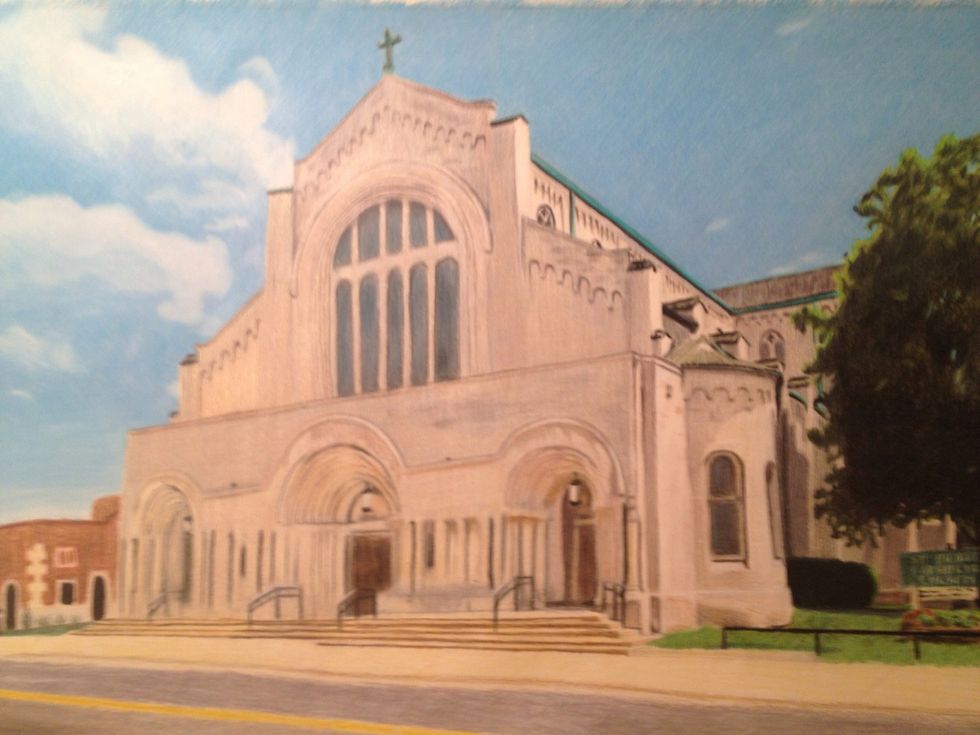
Side complete
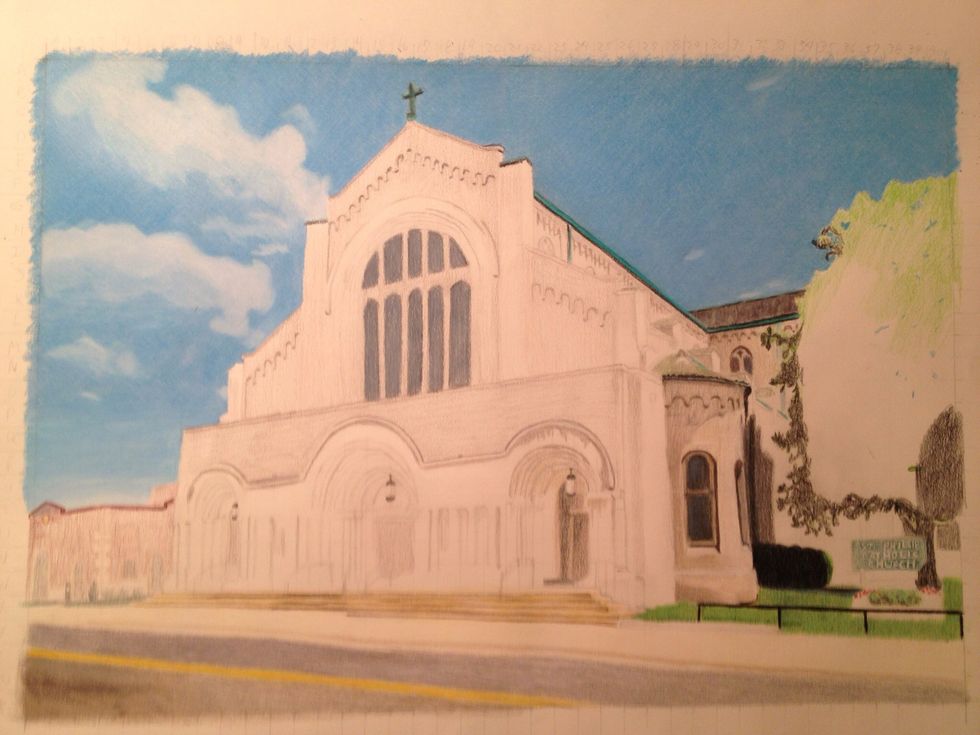
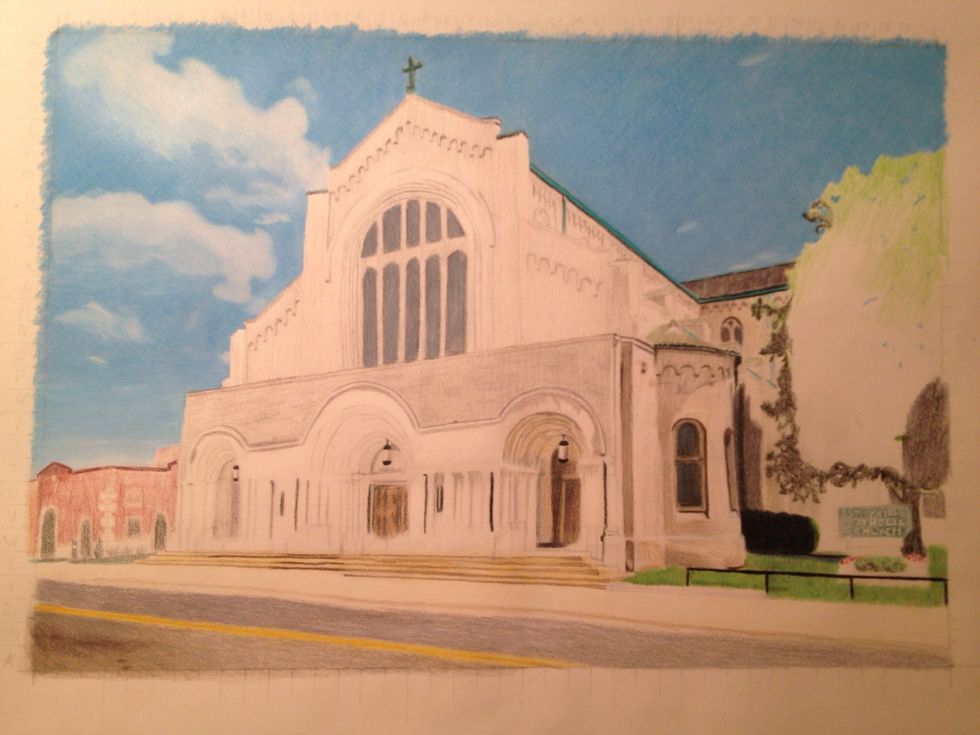
Not much more to do next is railings on the stairs
Railings complete, darkening and columns by doors being shaded
Unless you have to try not to use black use browns and purples to get colors darker, look at all the colors in the first arch
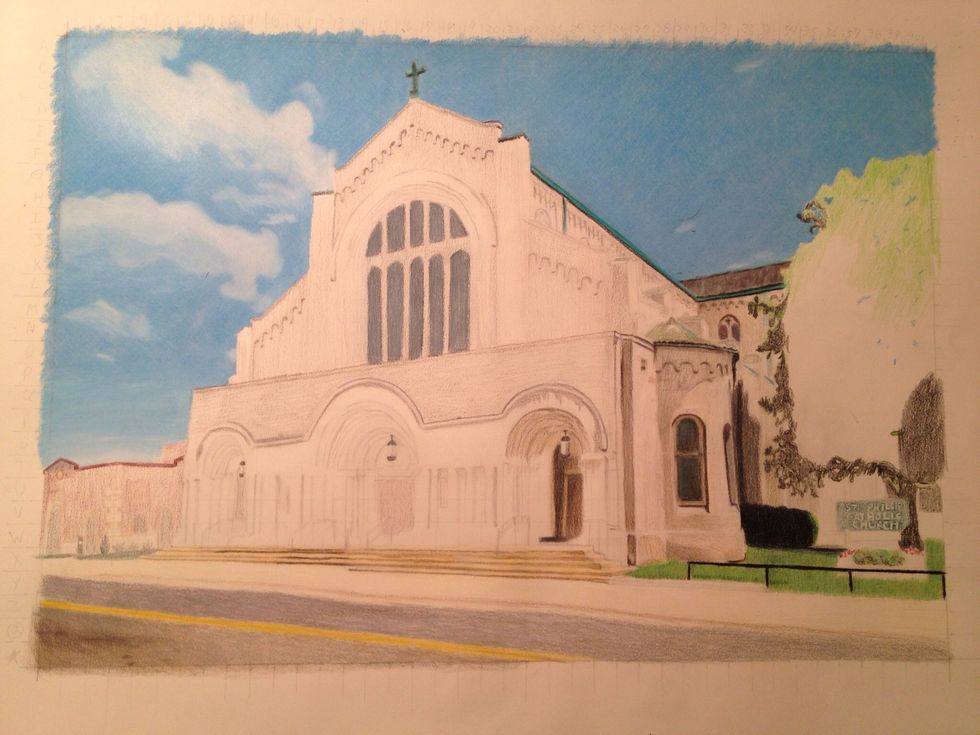
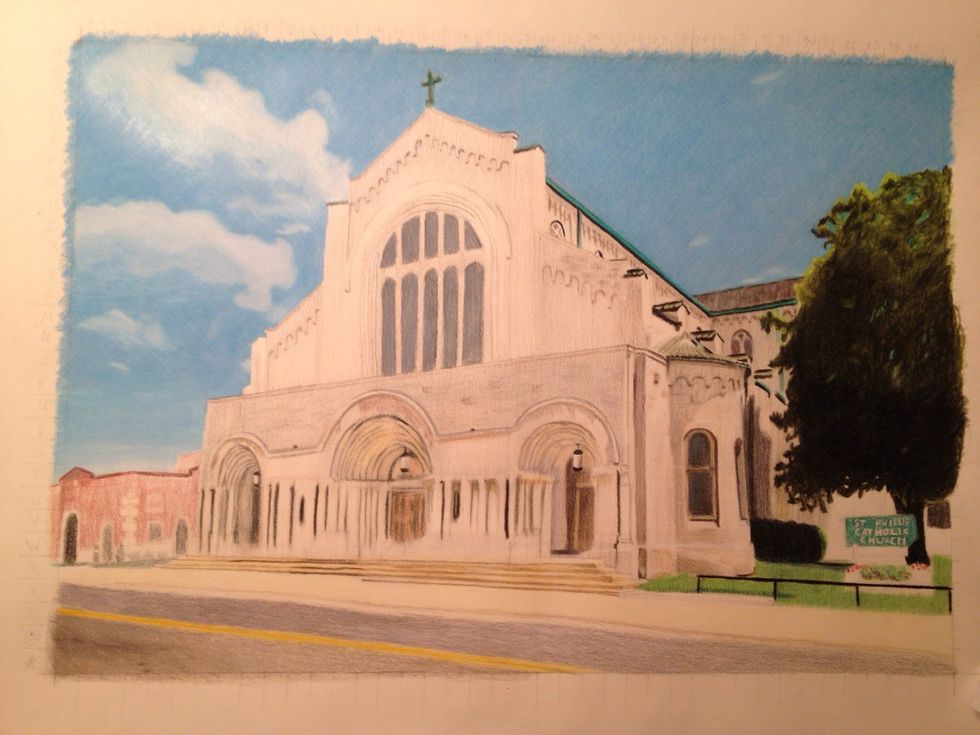
Ad more bricks to top peak
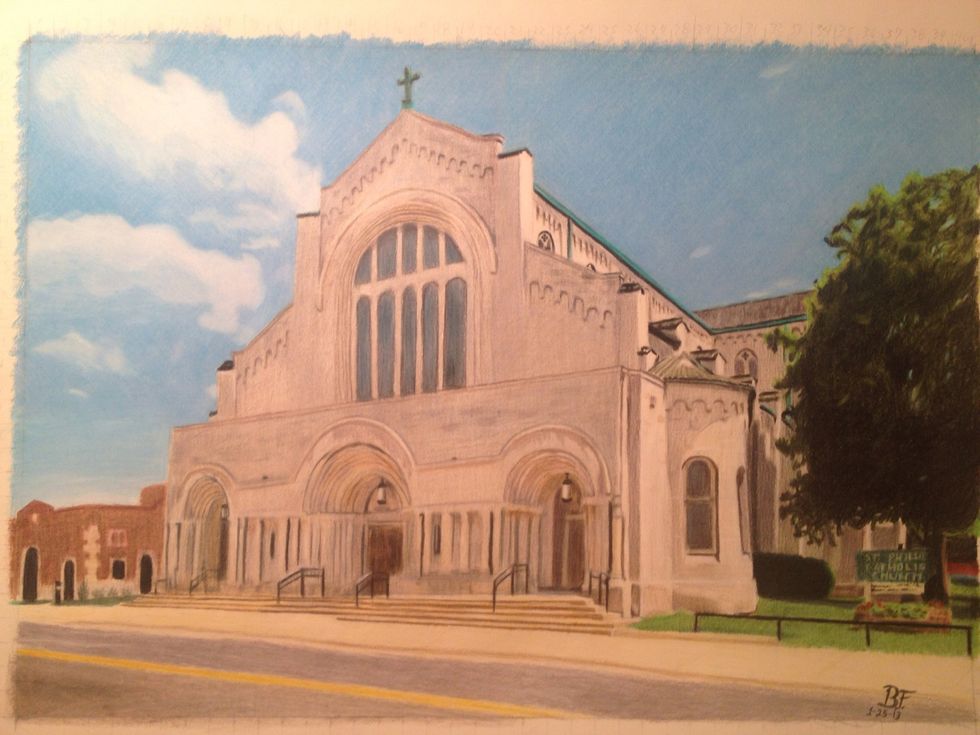
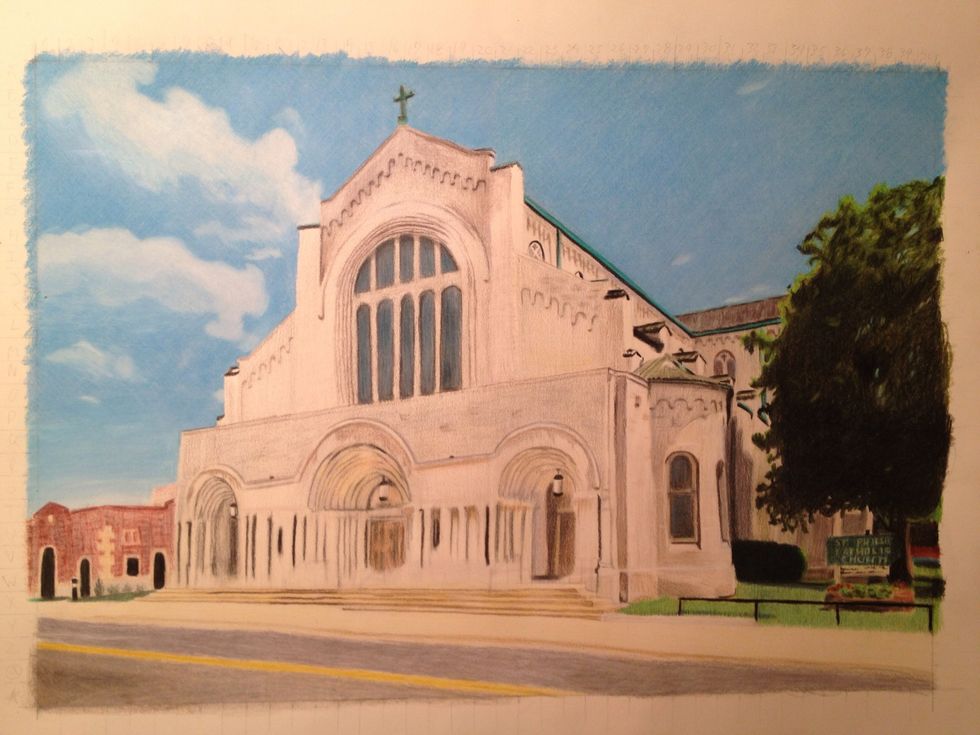
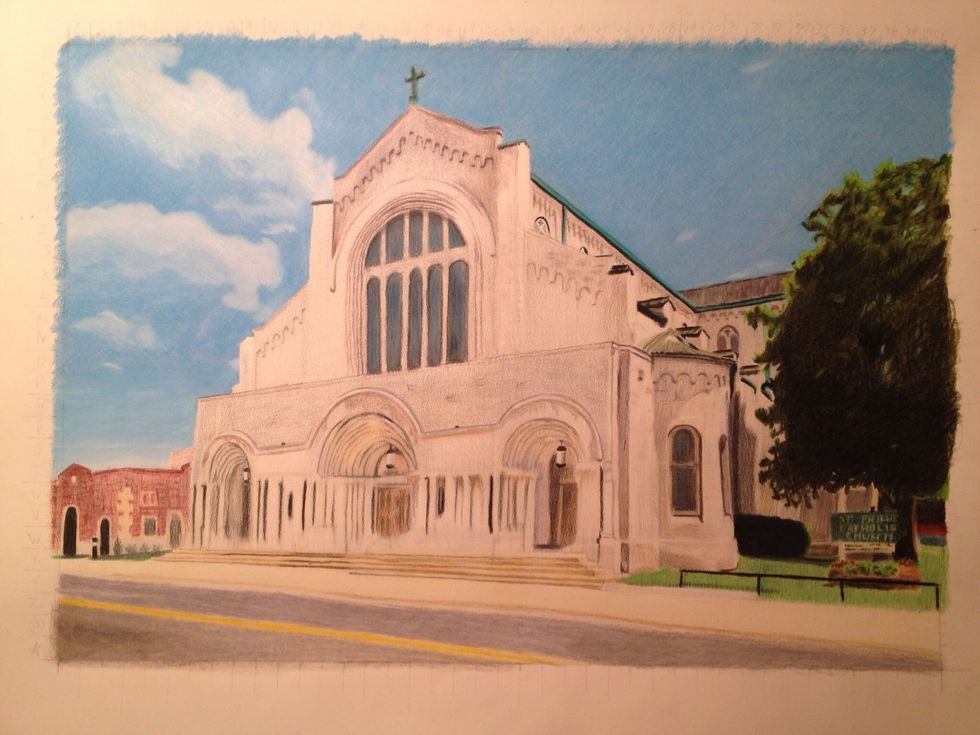
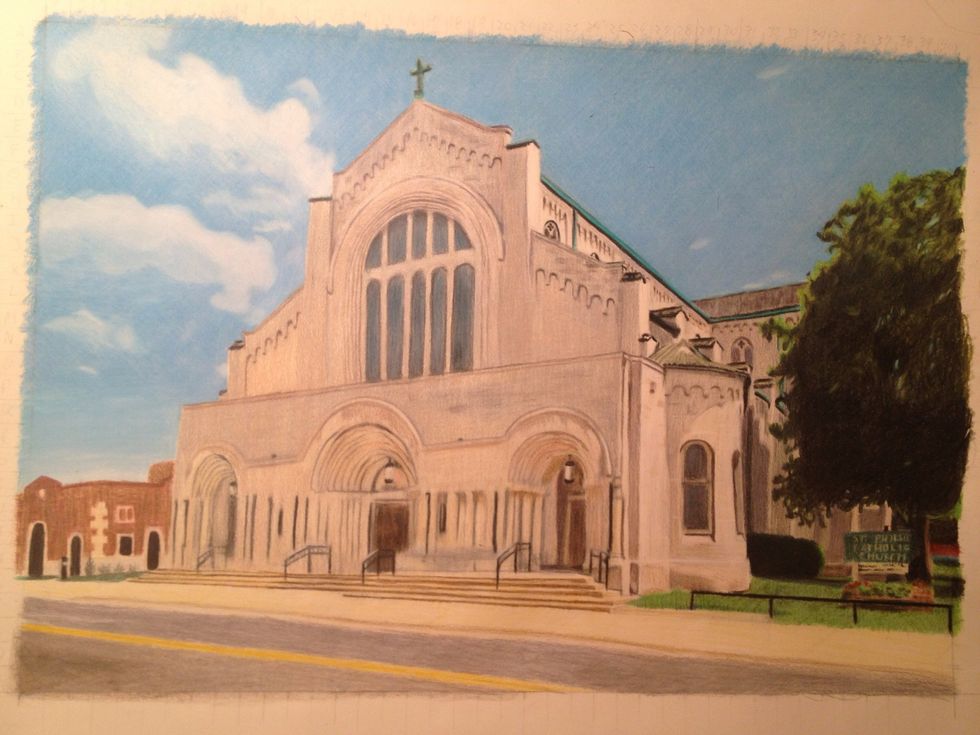
It's complete!!....... but wait!!!!
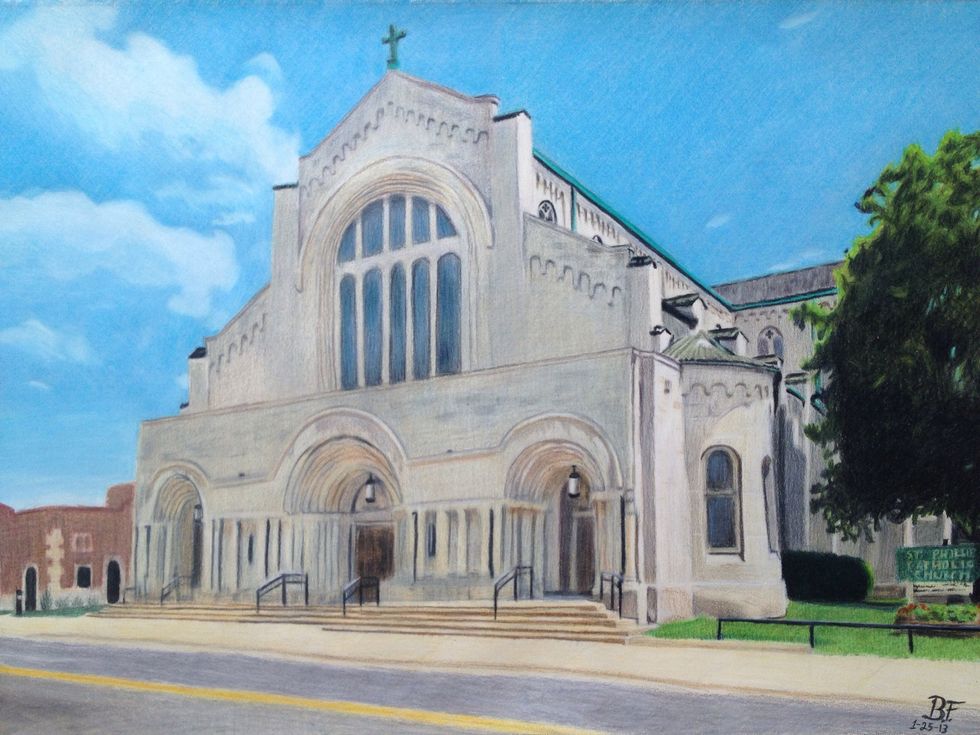
Being inside using an incandescent light makes your colors look warmer than they actually are so before you take a picture go to the window and open up the shades! It looks great!!!