The Conversation (0)
Sign Up
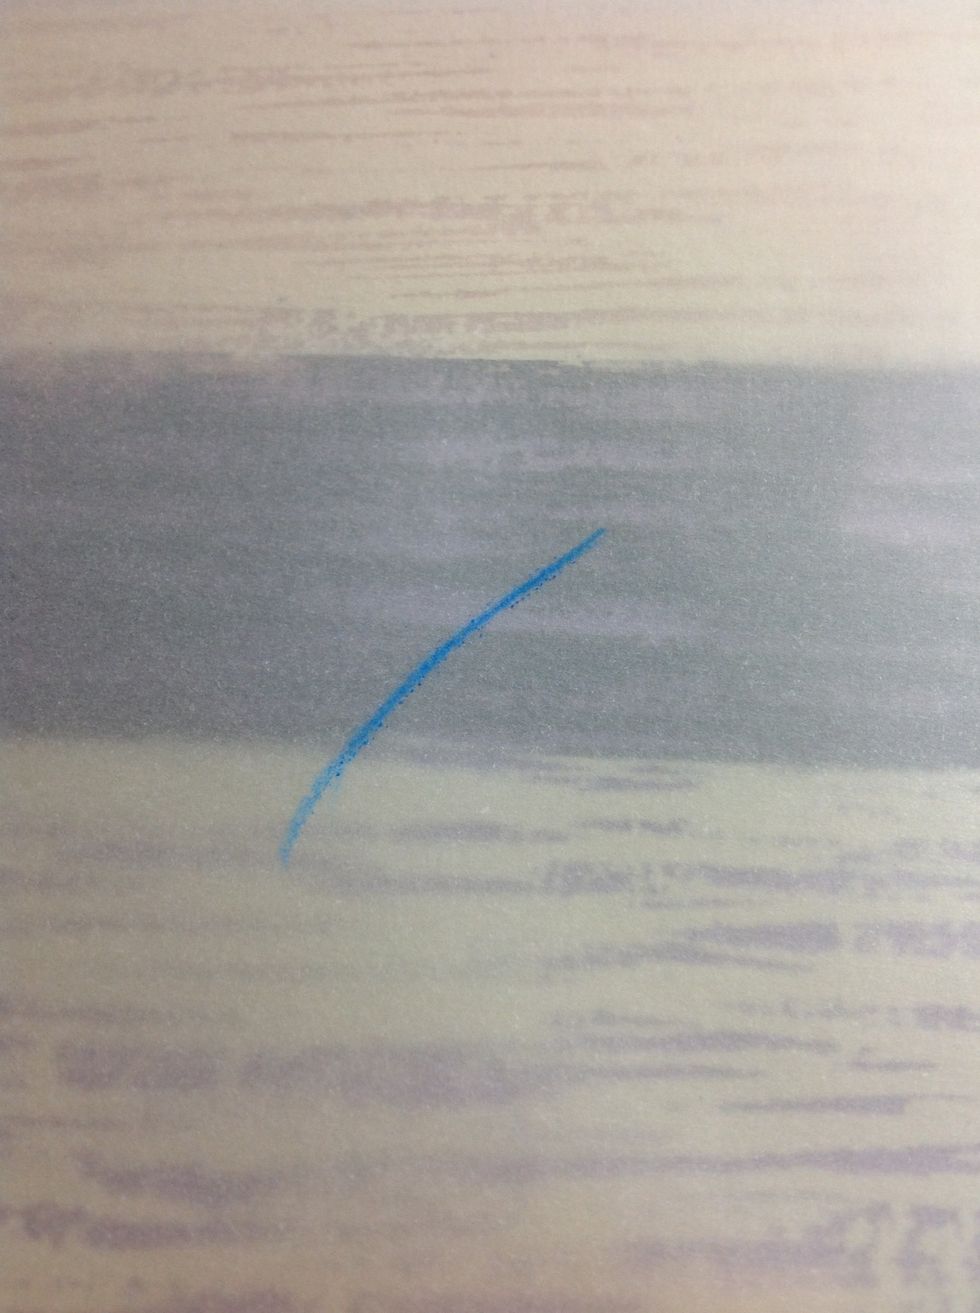
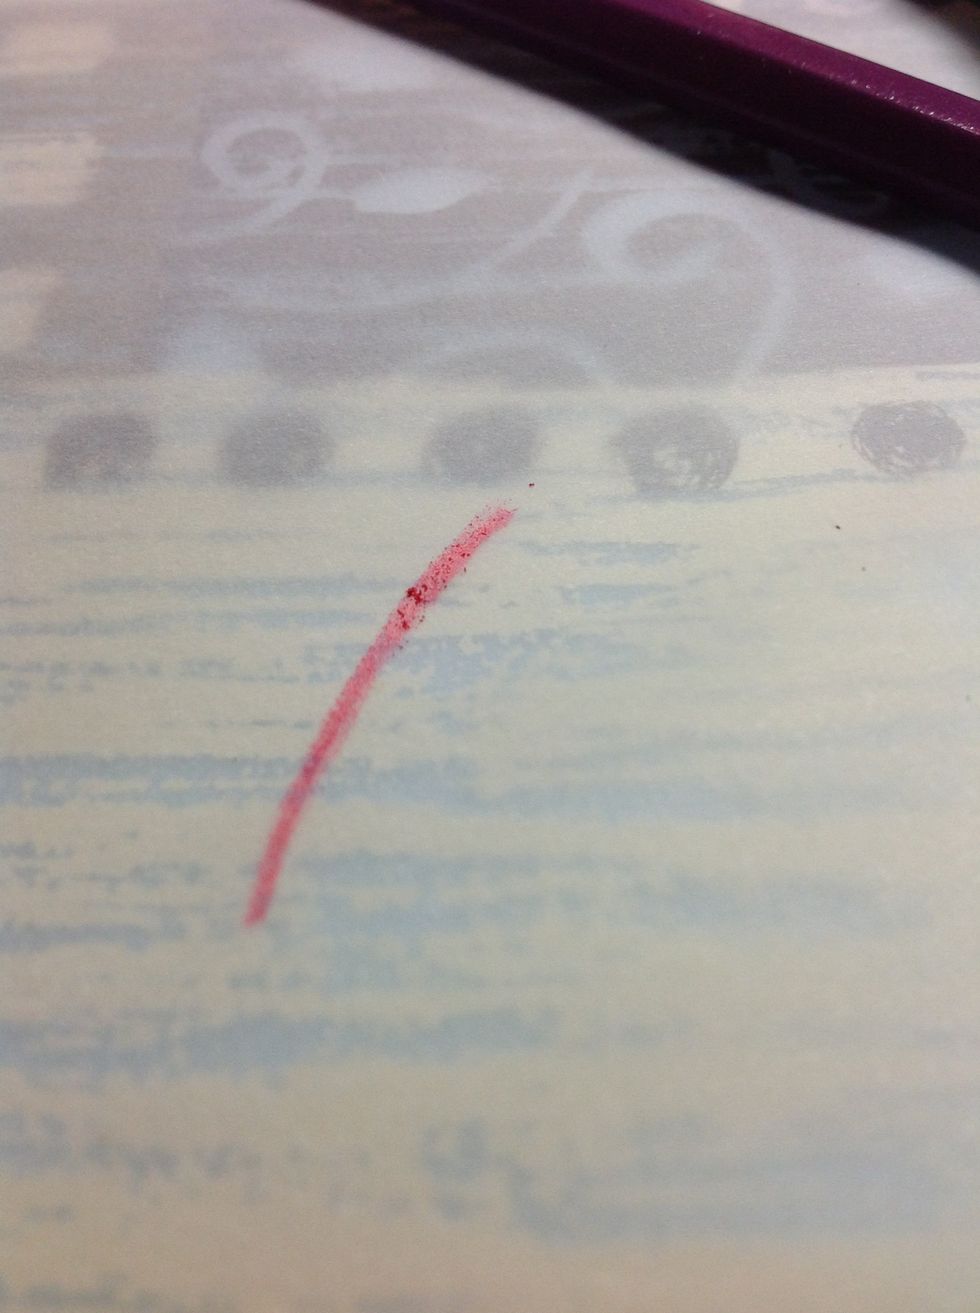
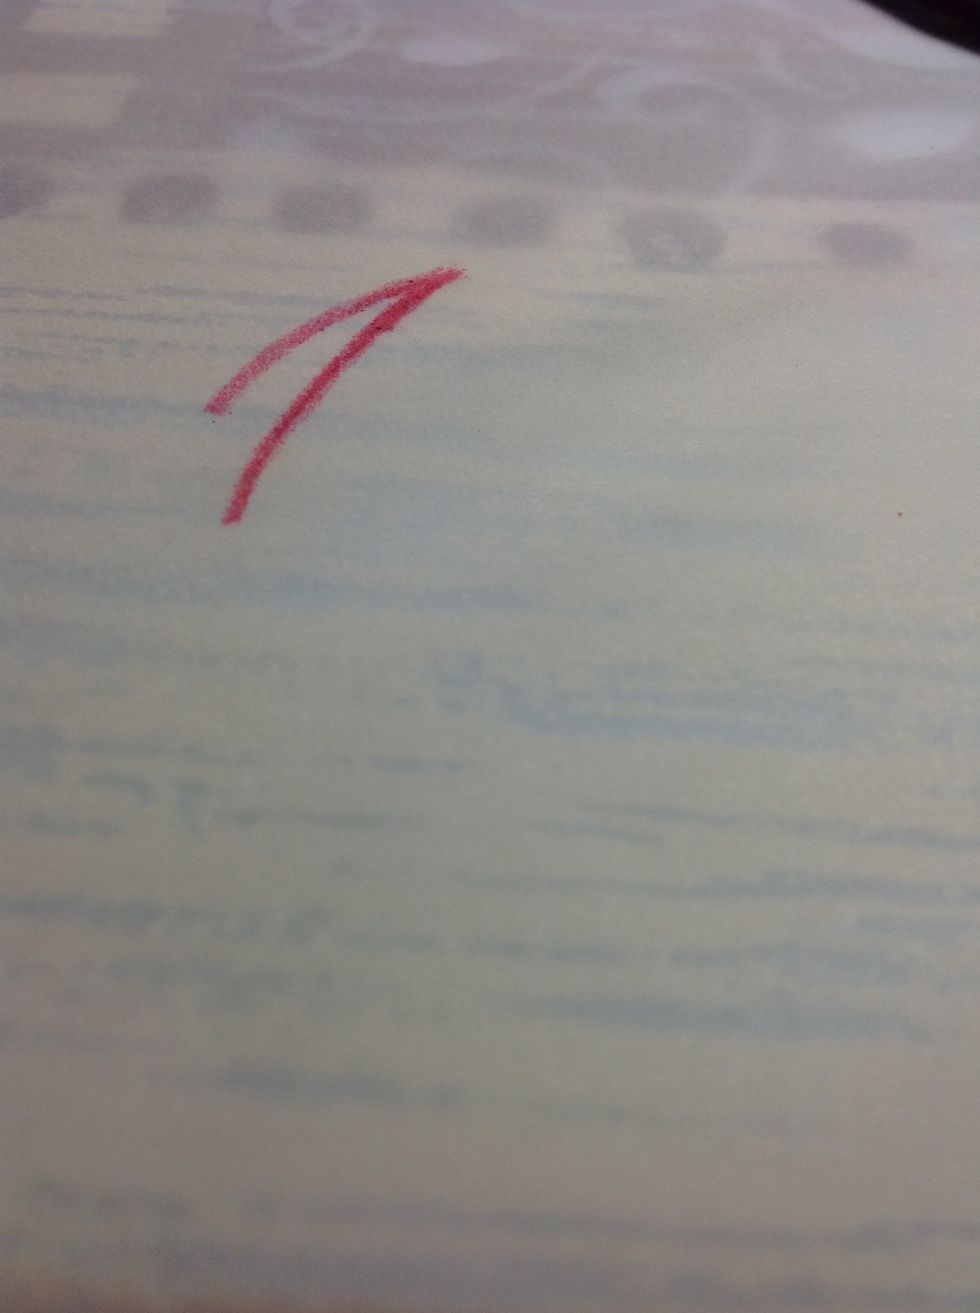
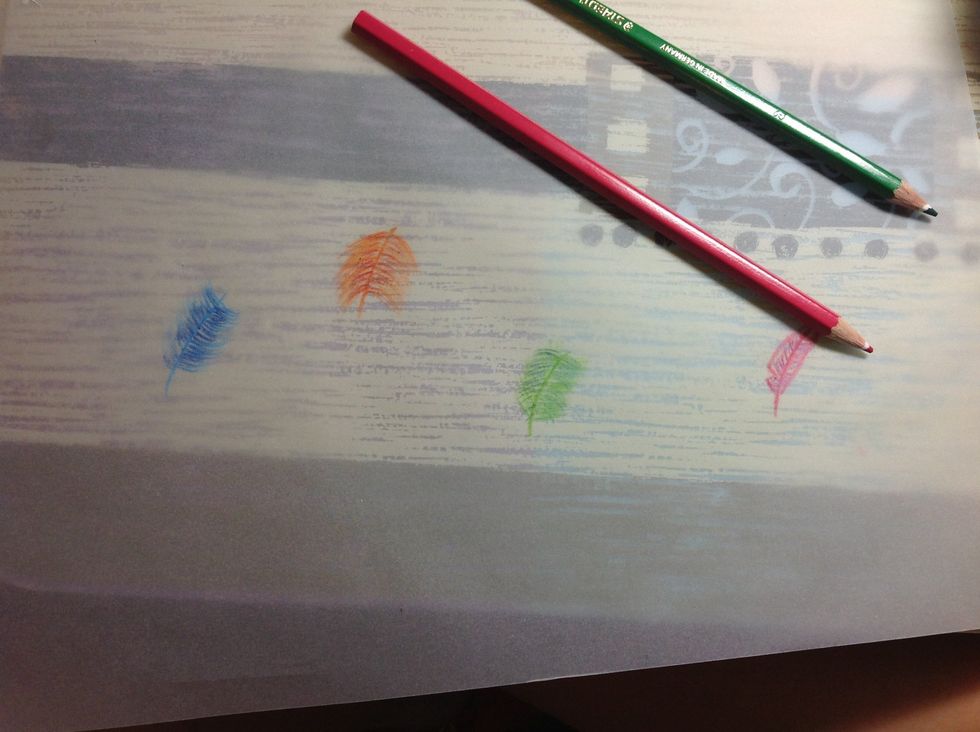
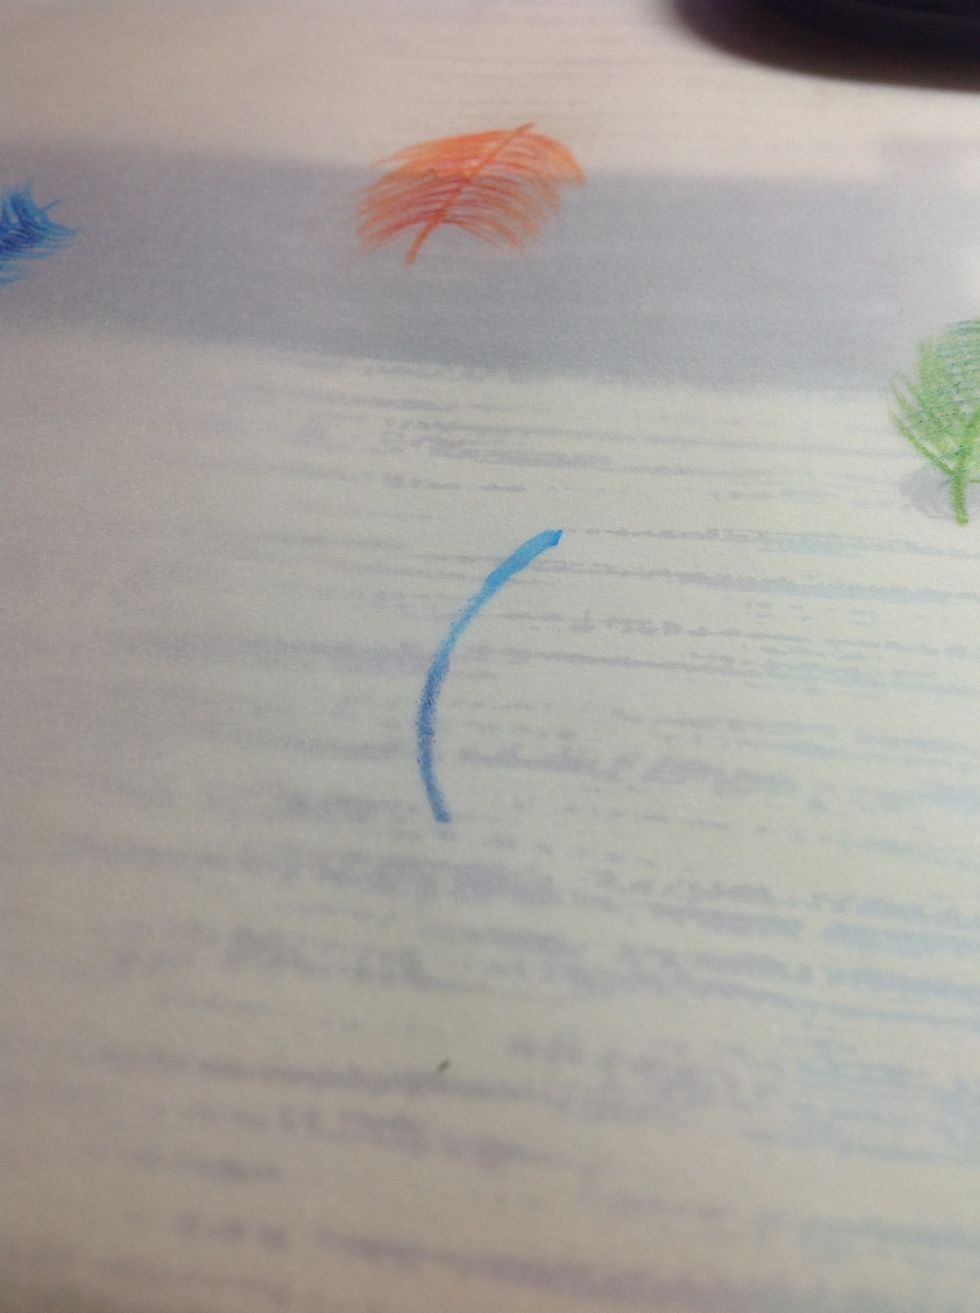
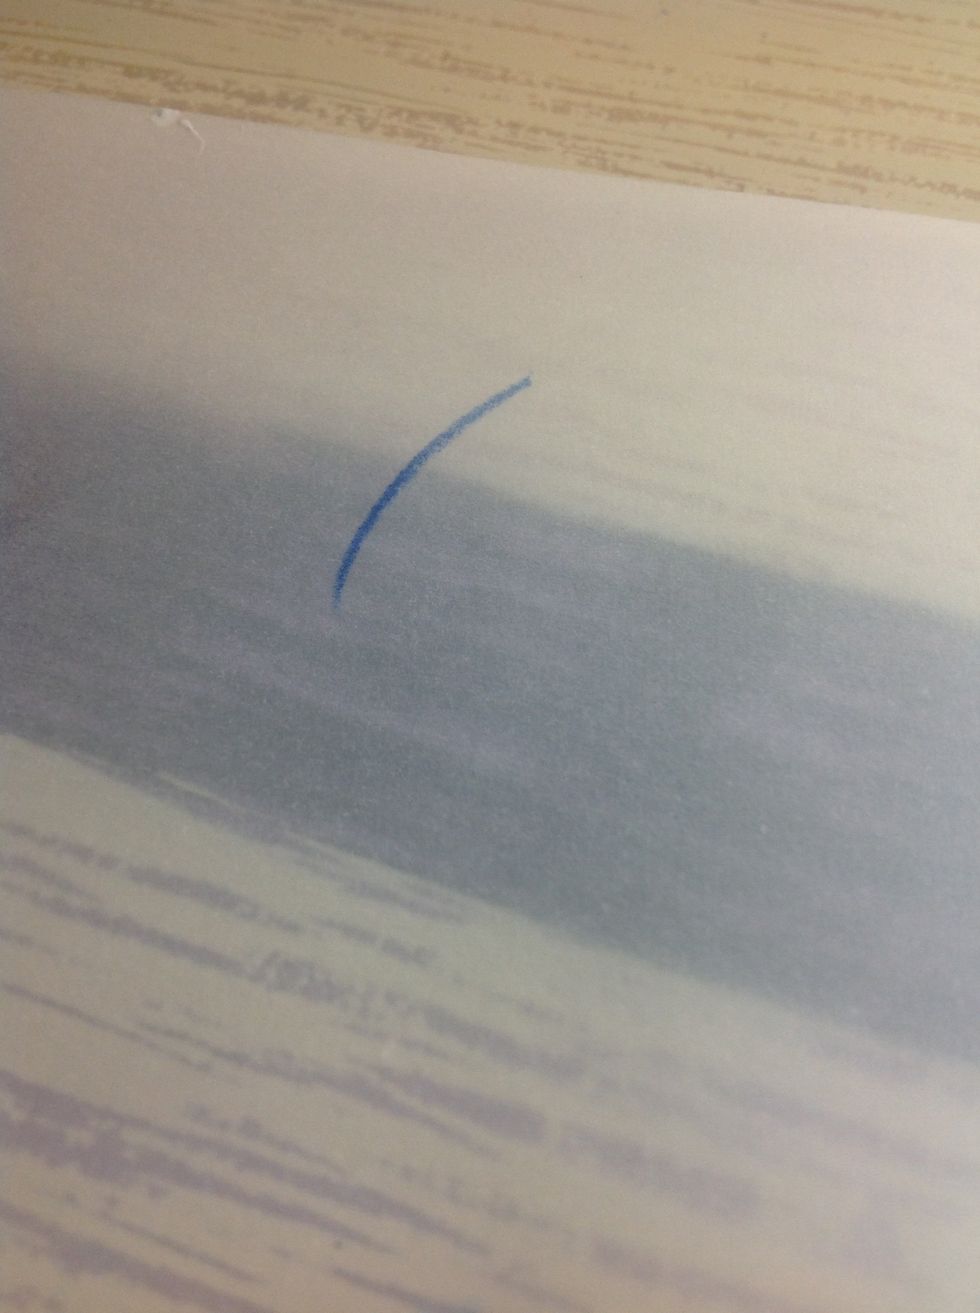
Start by drawing a curved line, stroke from the top. I am drawing on tracing paper.
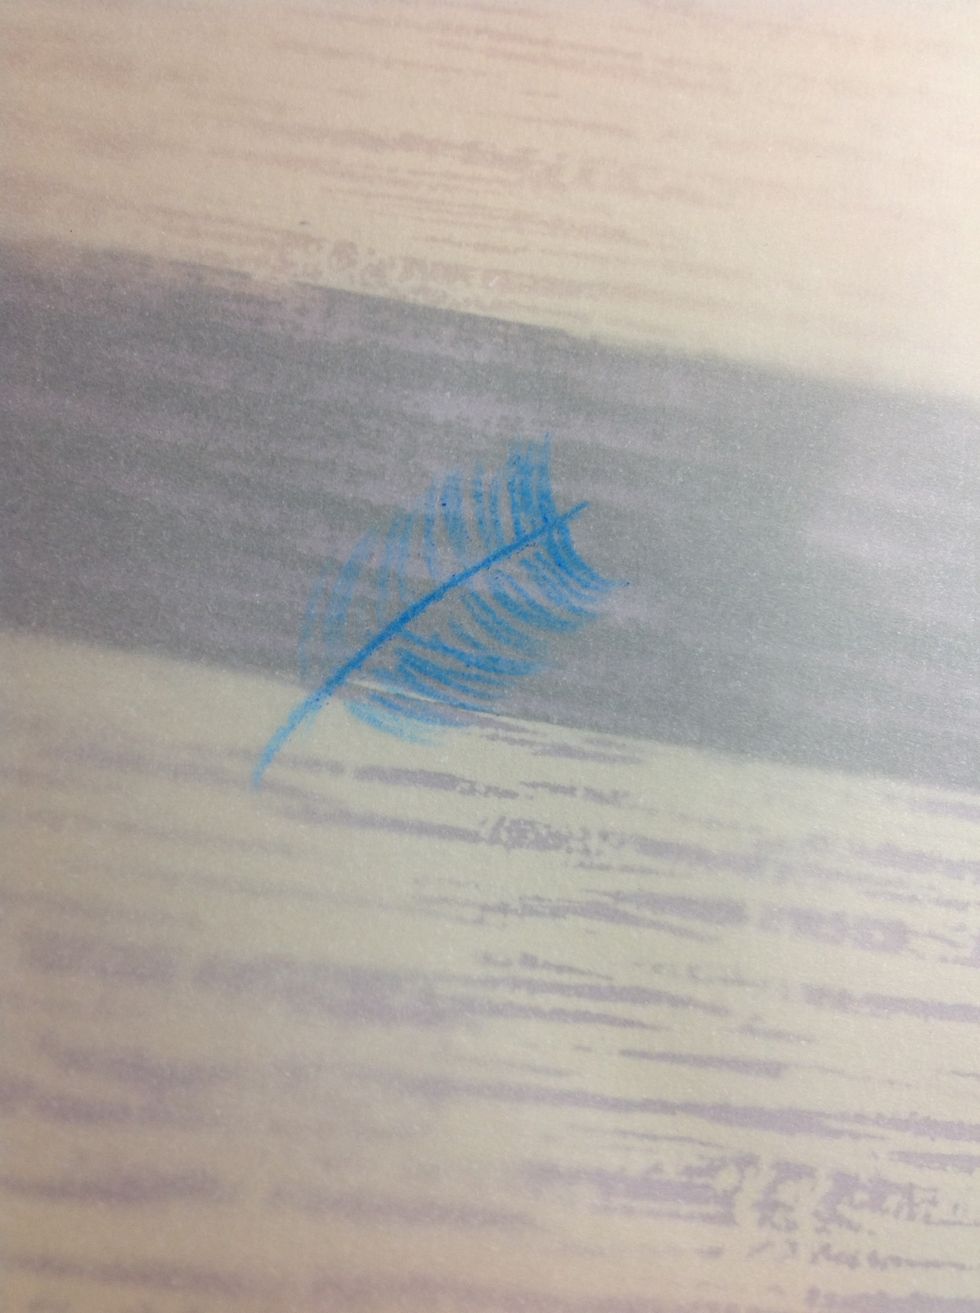
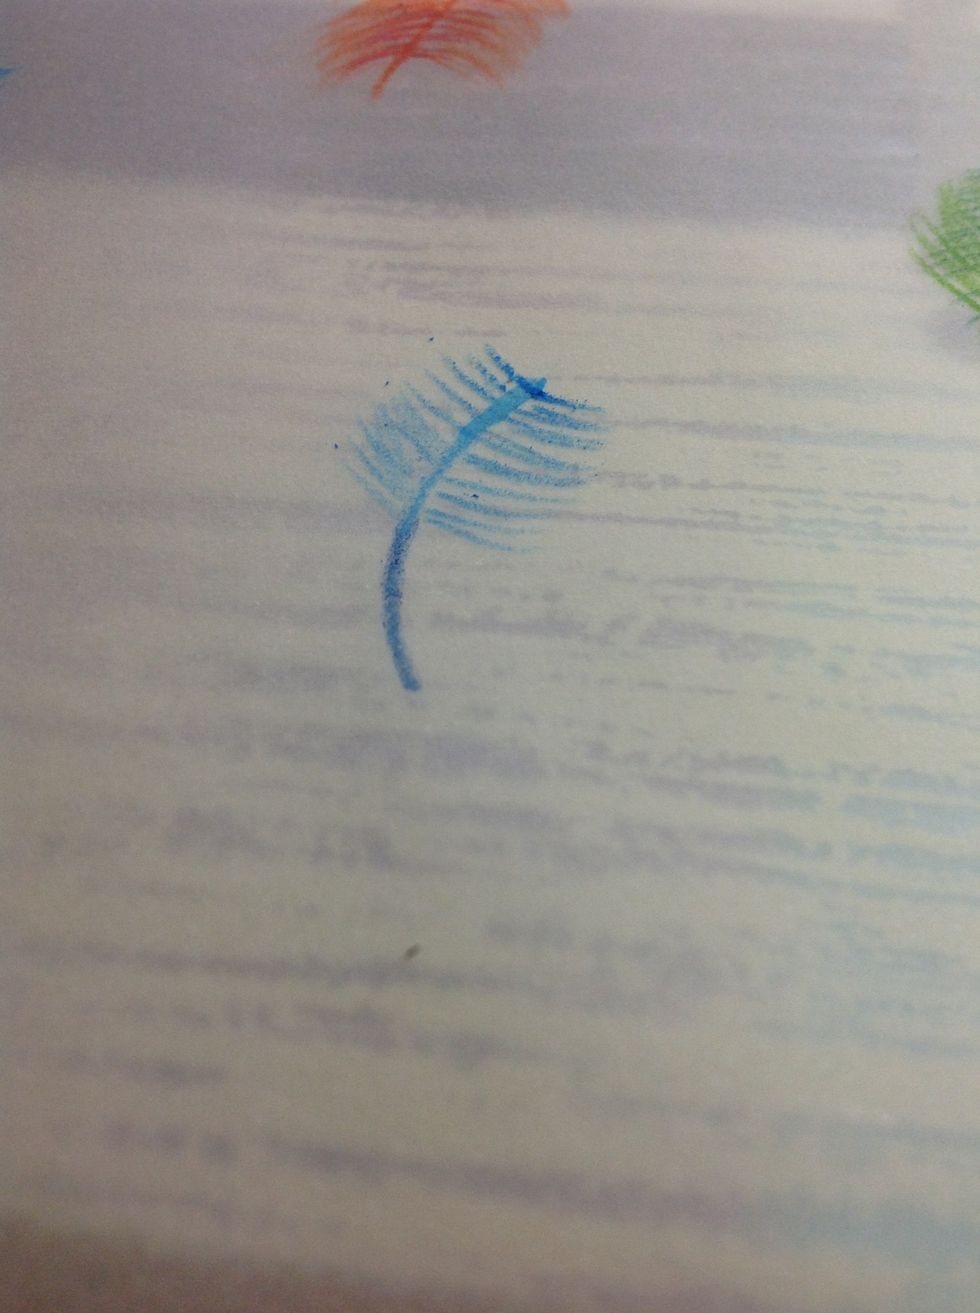
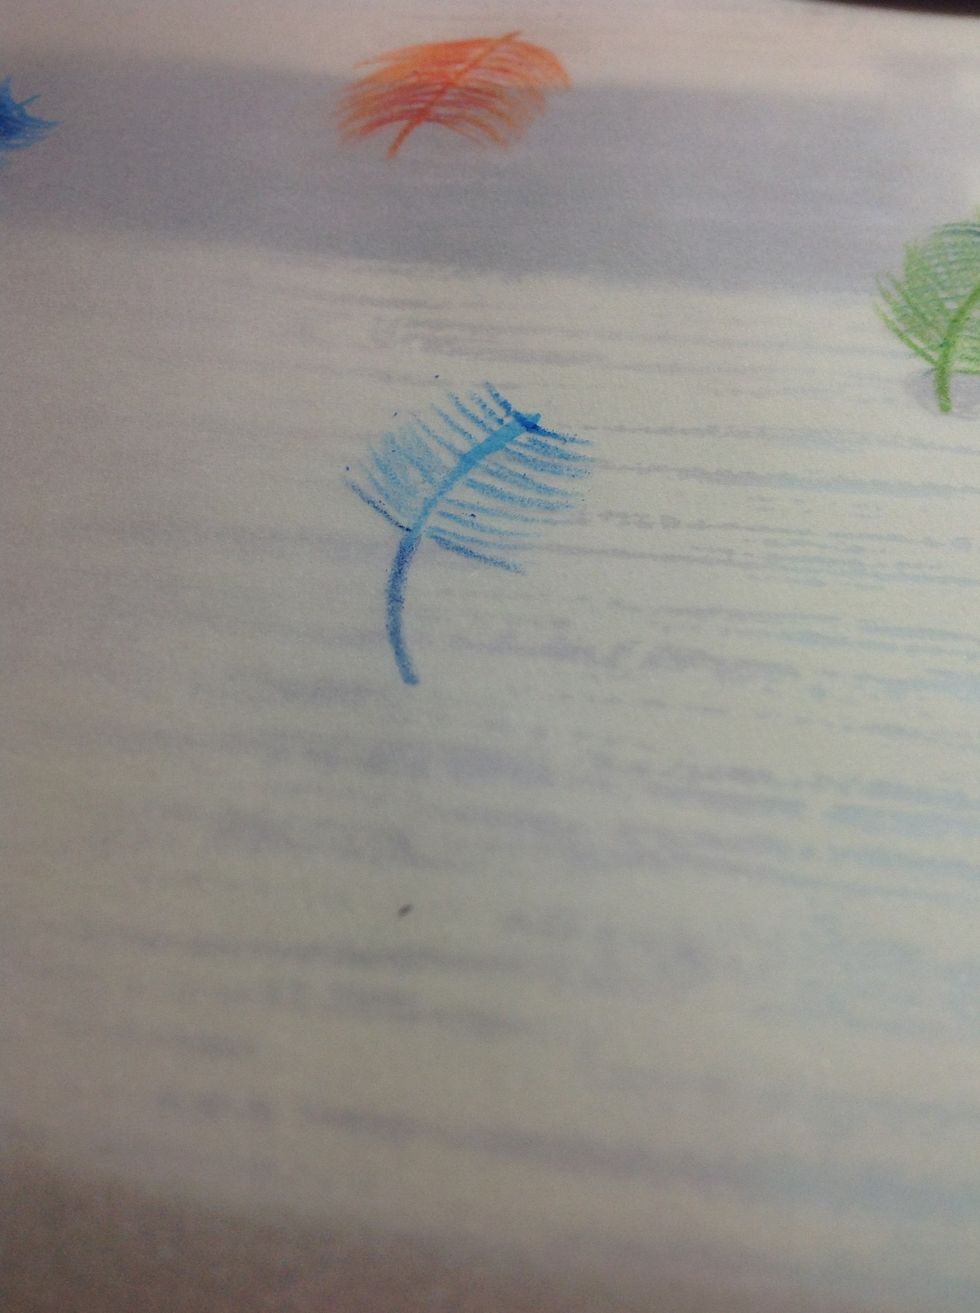
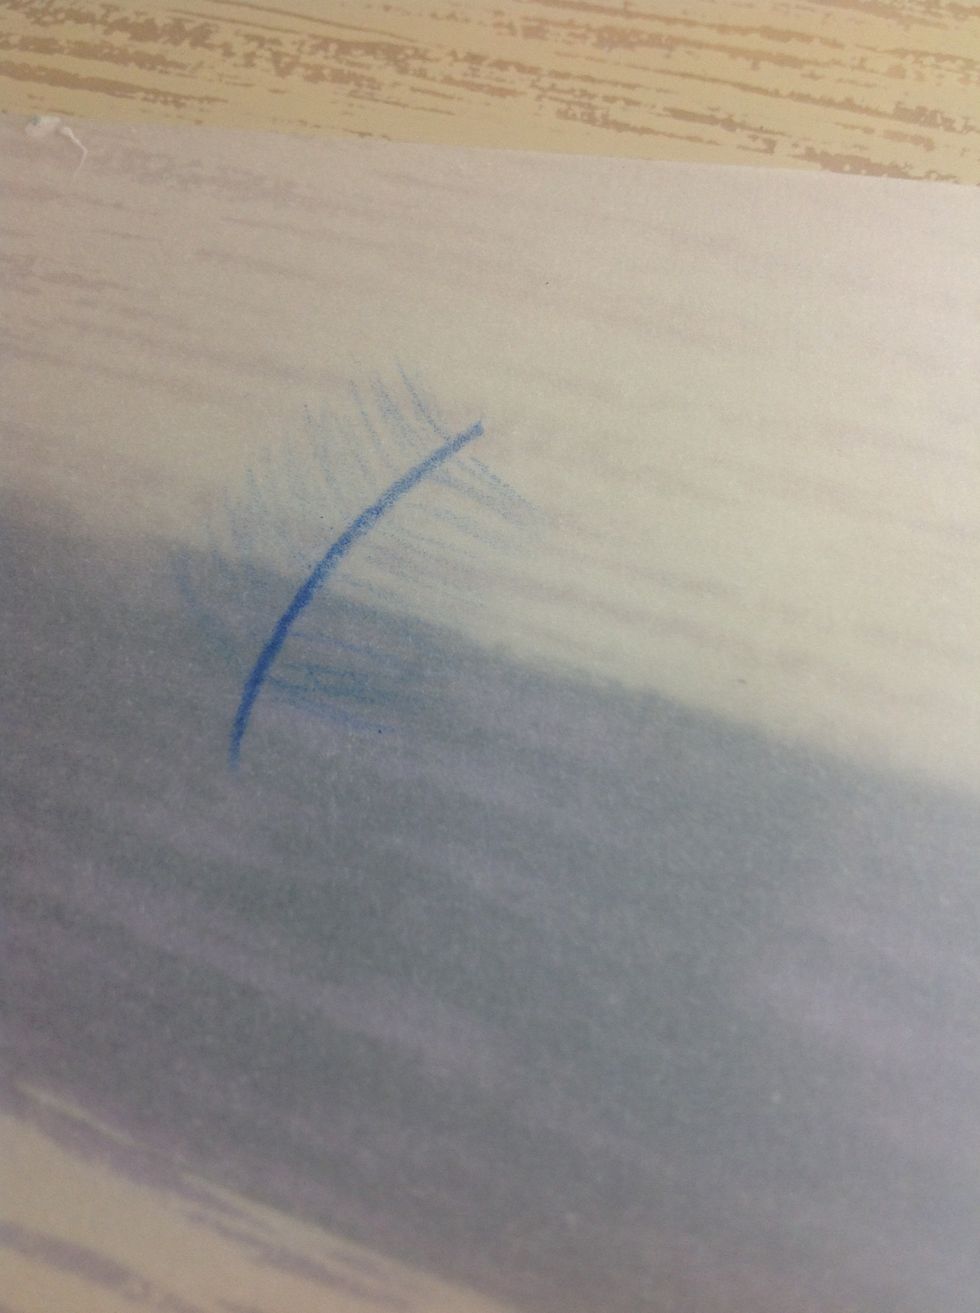
Next add upward strokes on both sides of the line you just drew. Start the strokes from the middle
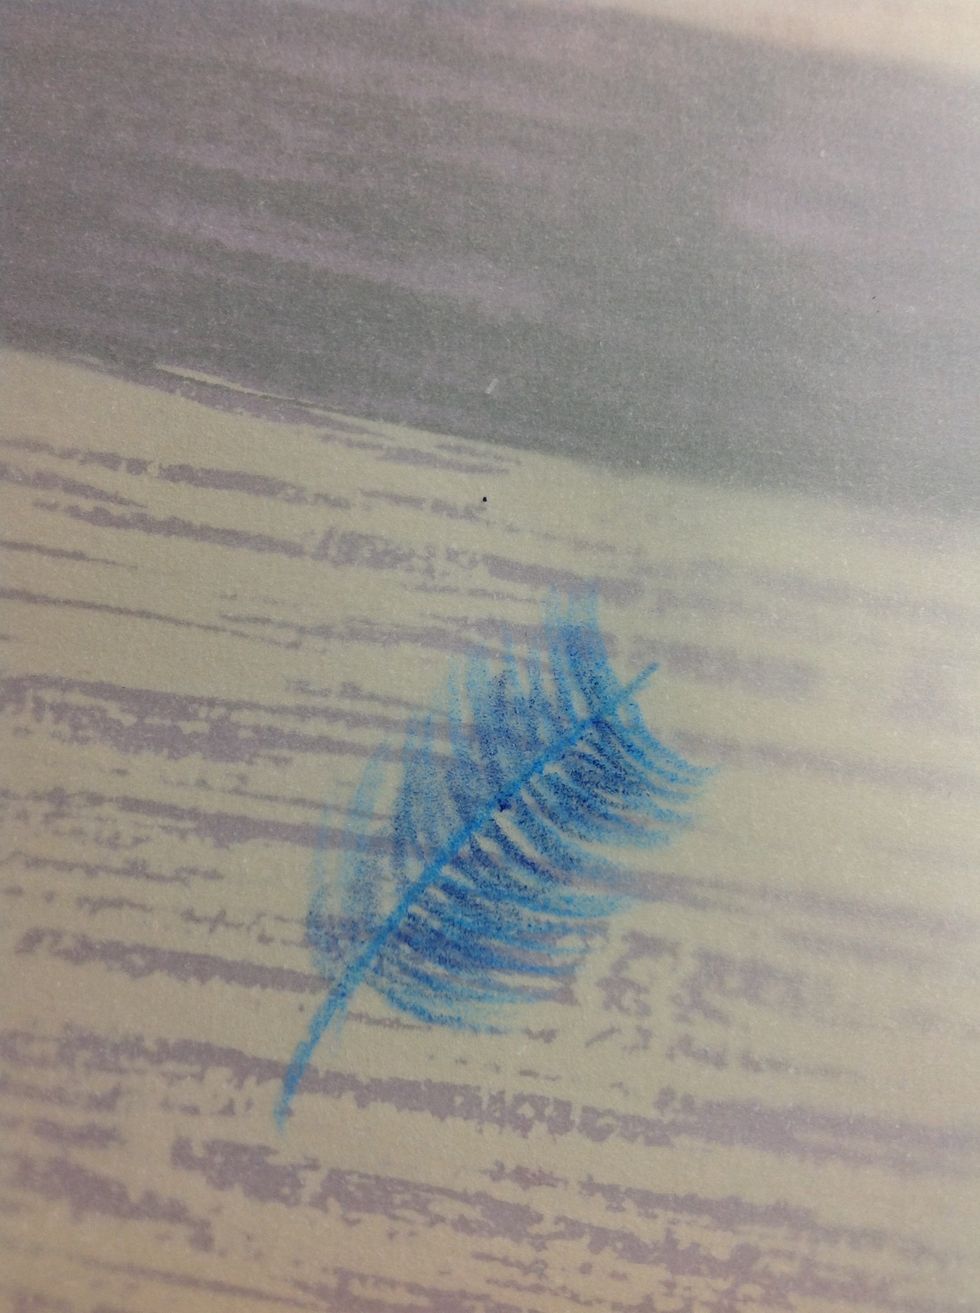
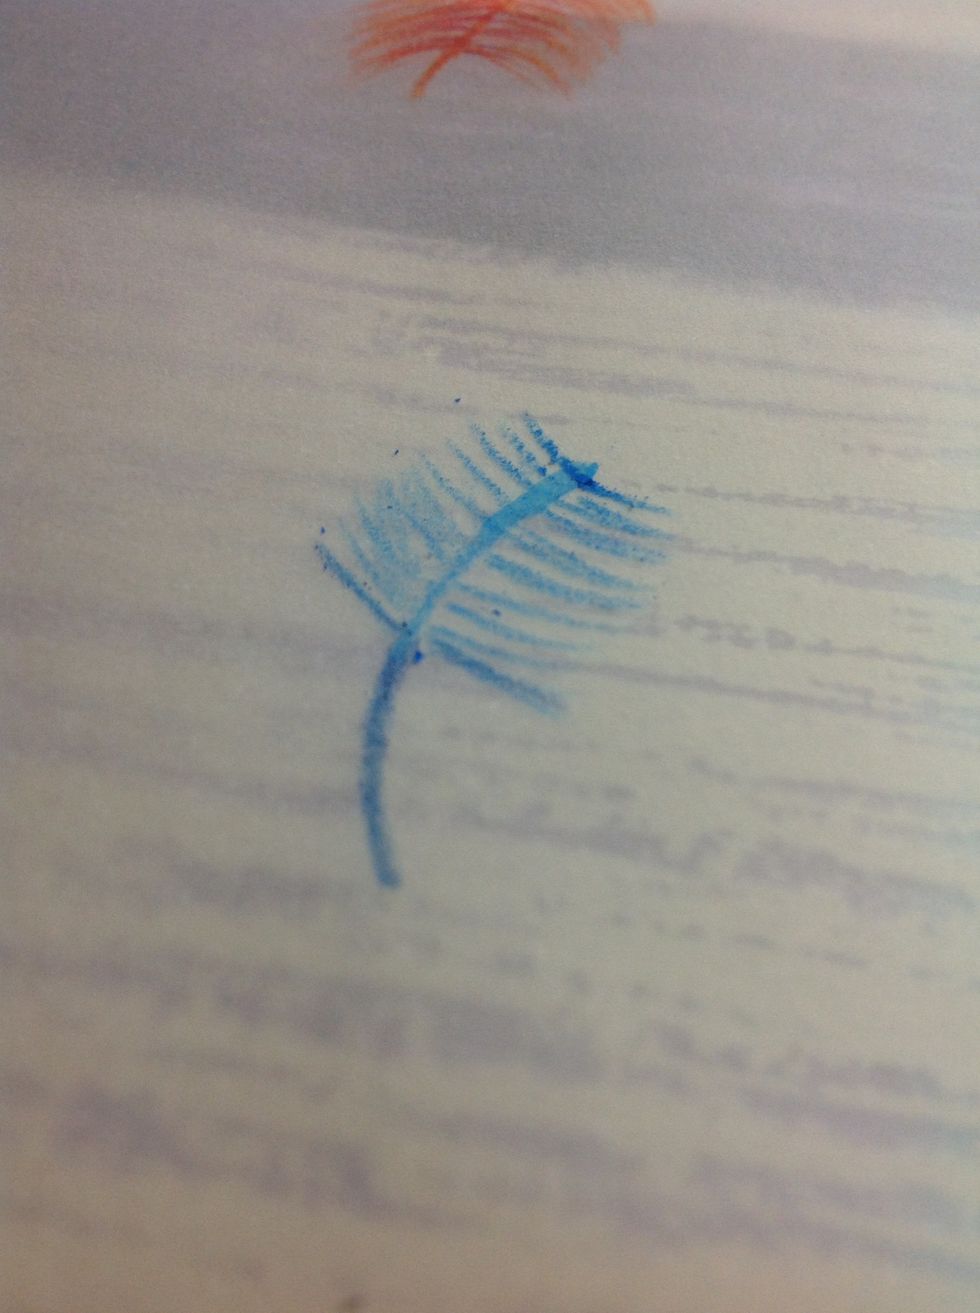
I used a darker color in the inner parts to make it more defined

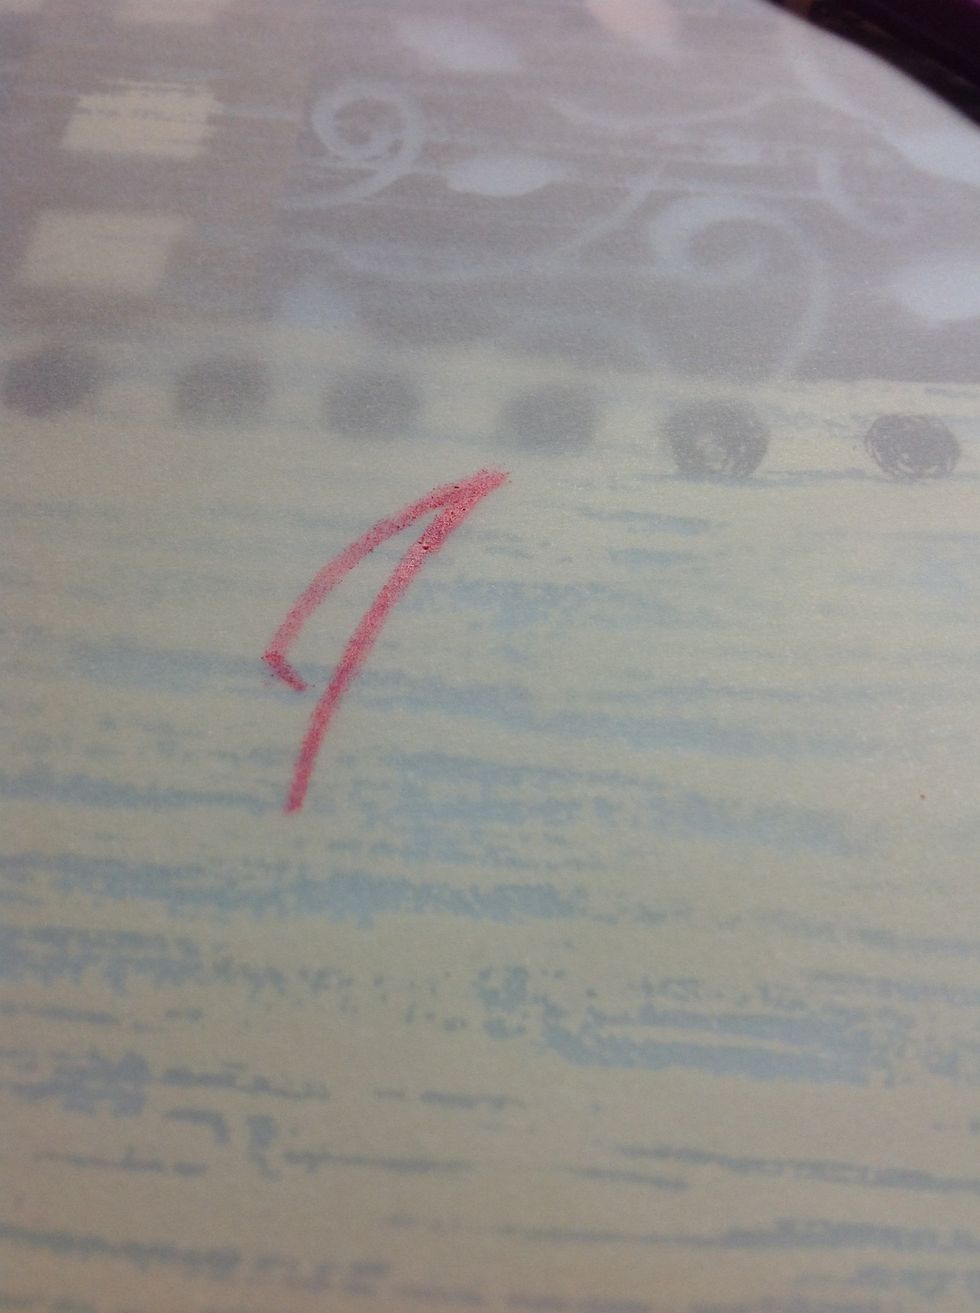
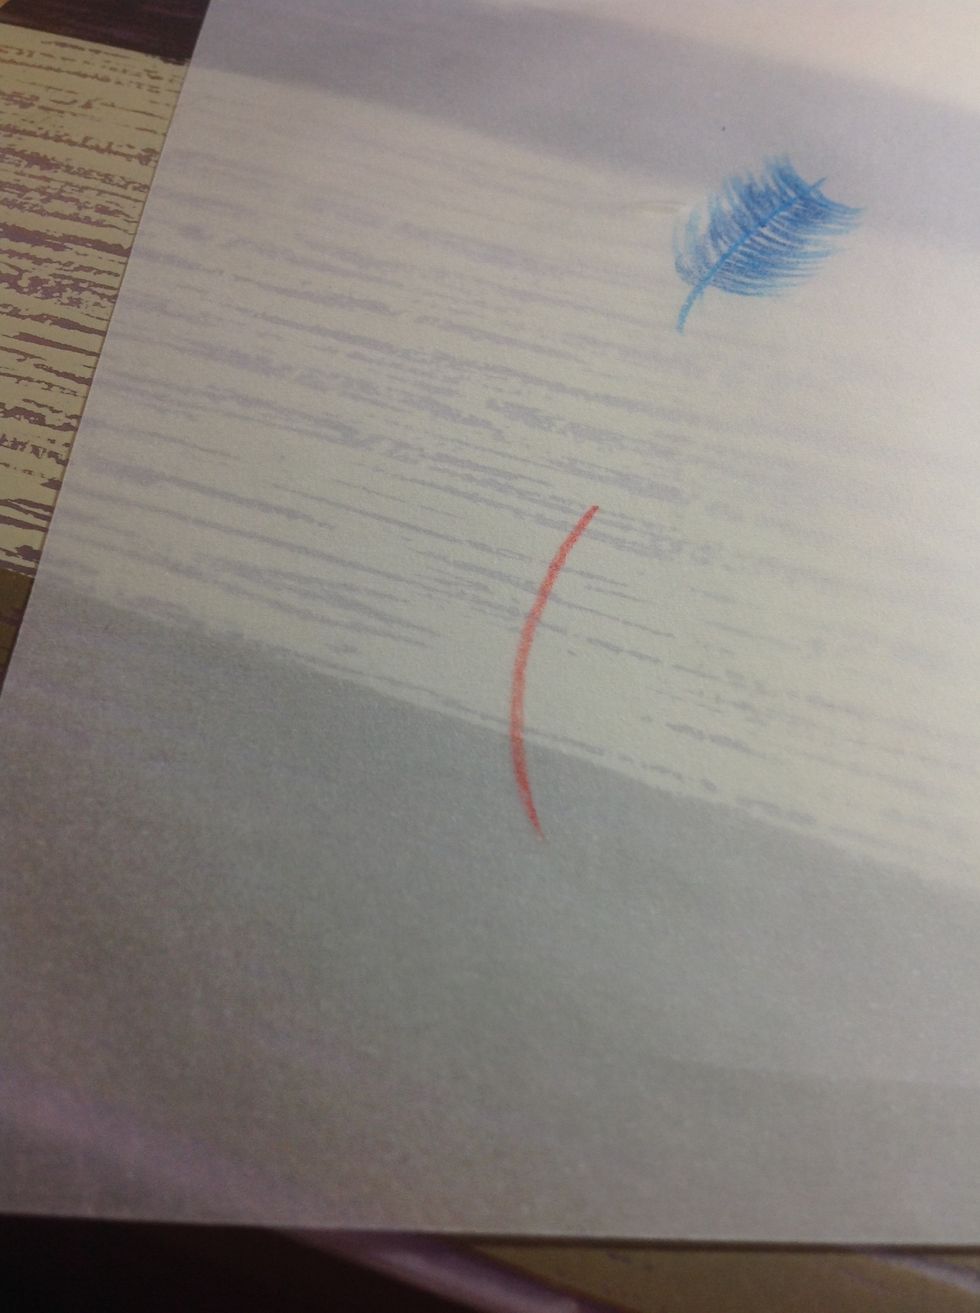
Now lets do another type of feather! Start off with the curved line just like before.
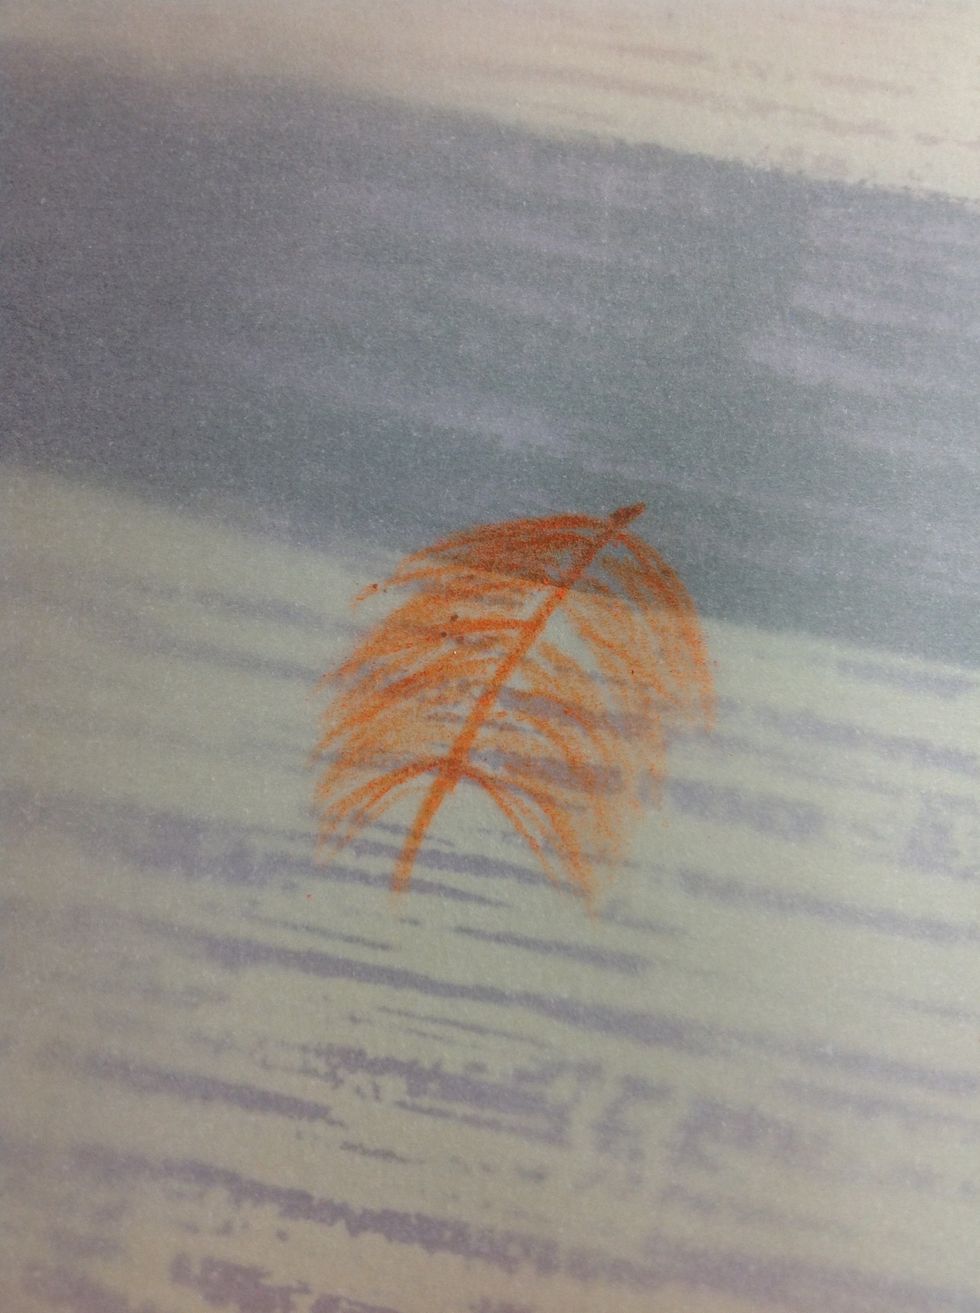
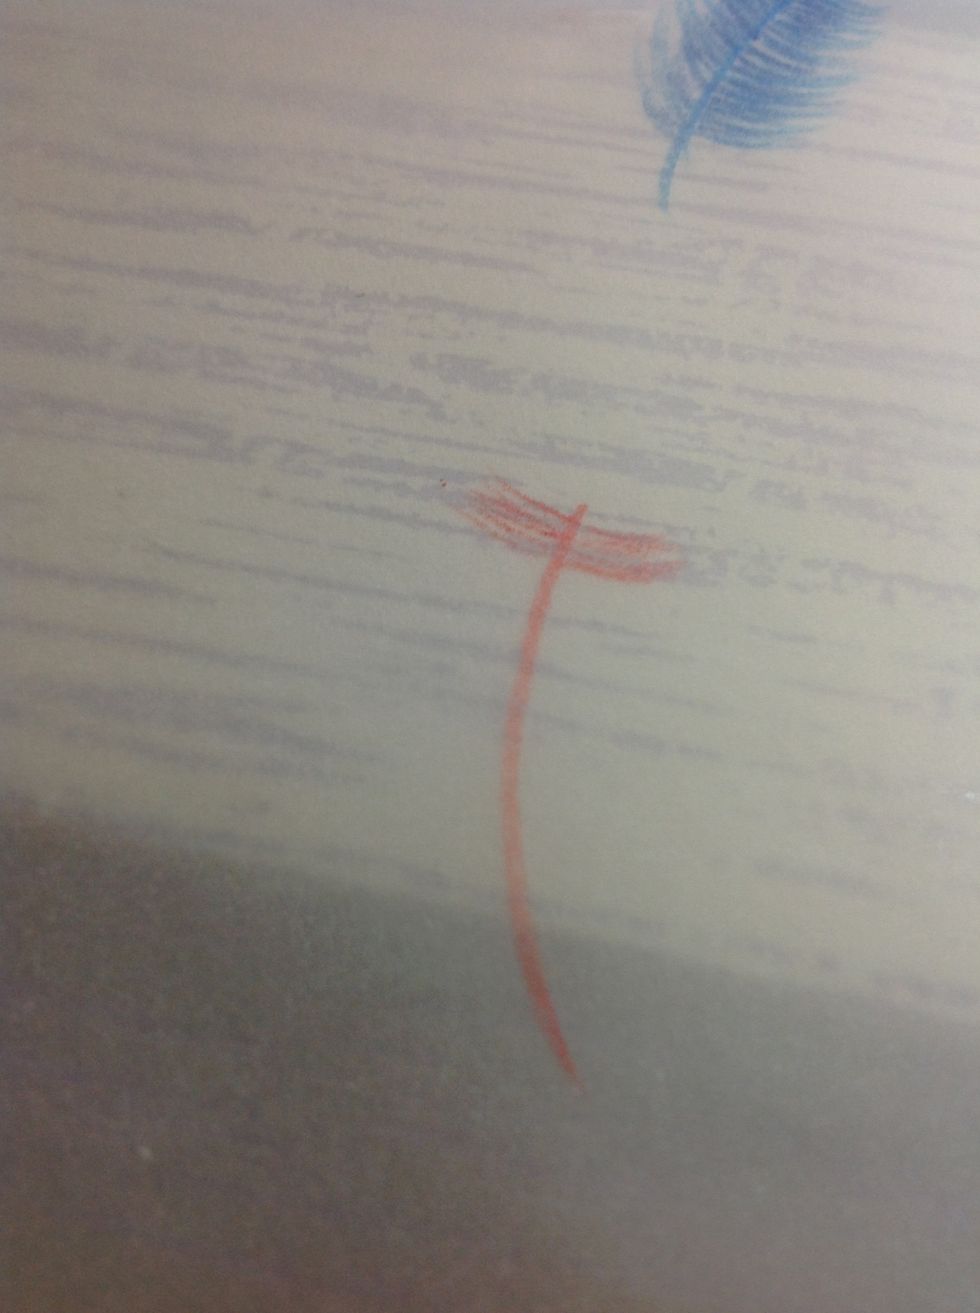
This time, draw downward strokes. The strokes should start from the middle. Remember, your pencil should only touch the paper once which gives it a nice effect.
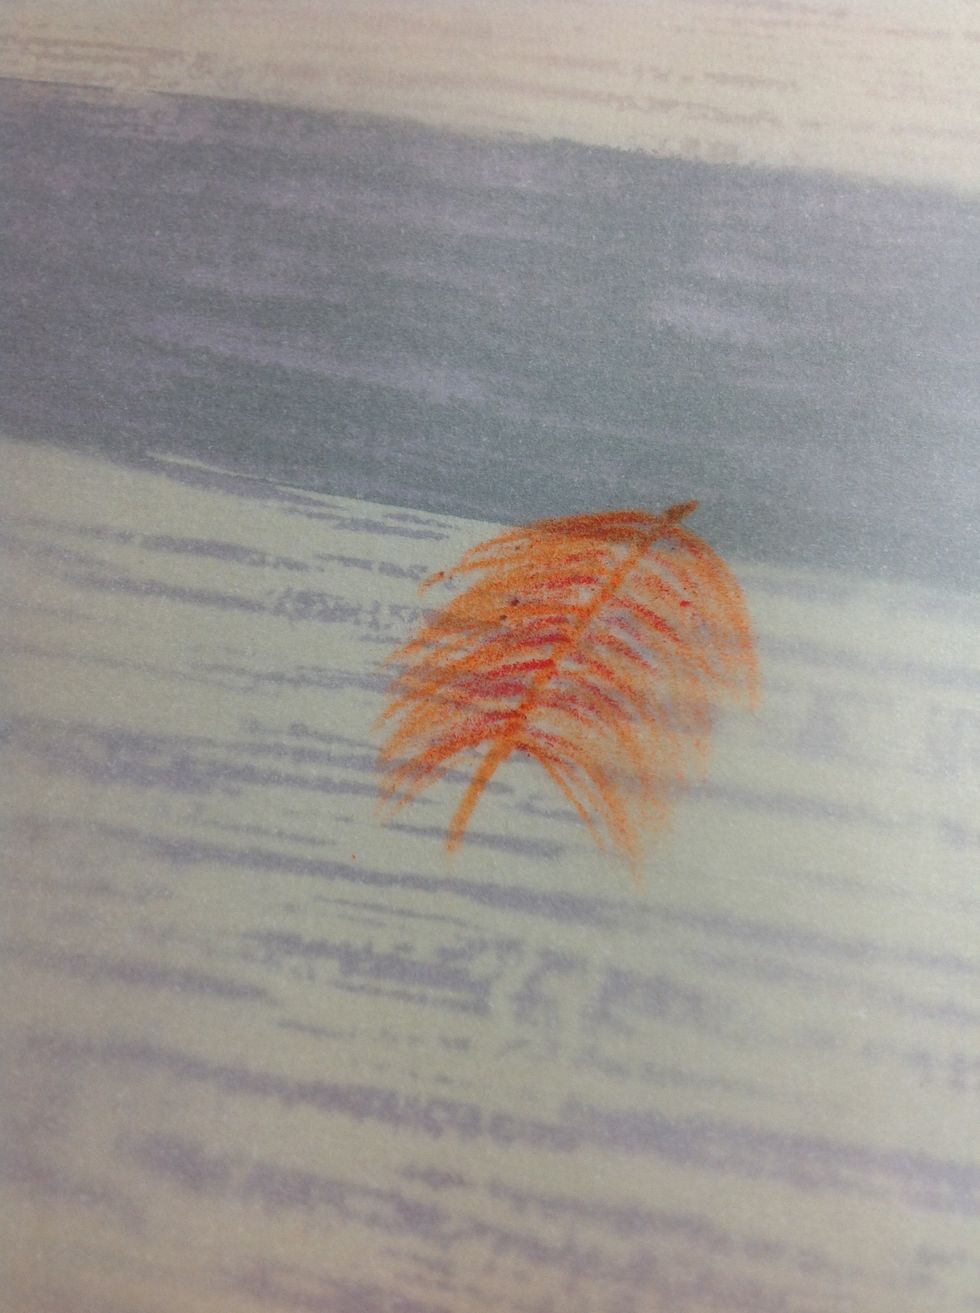
Now I'm defining it with red.
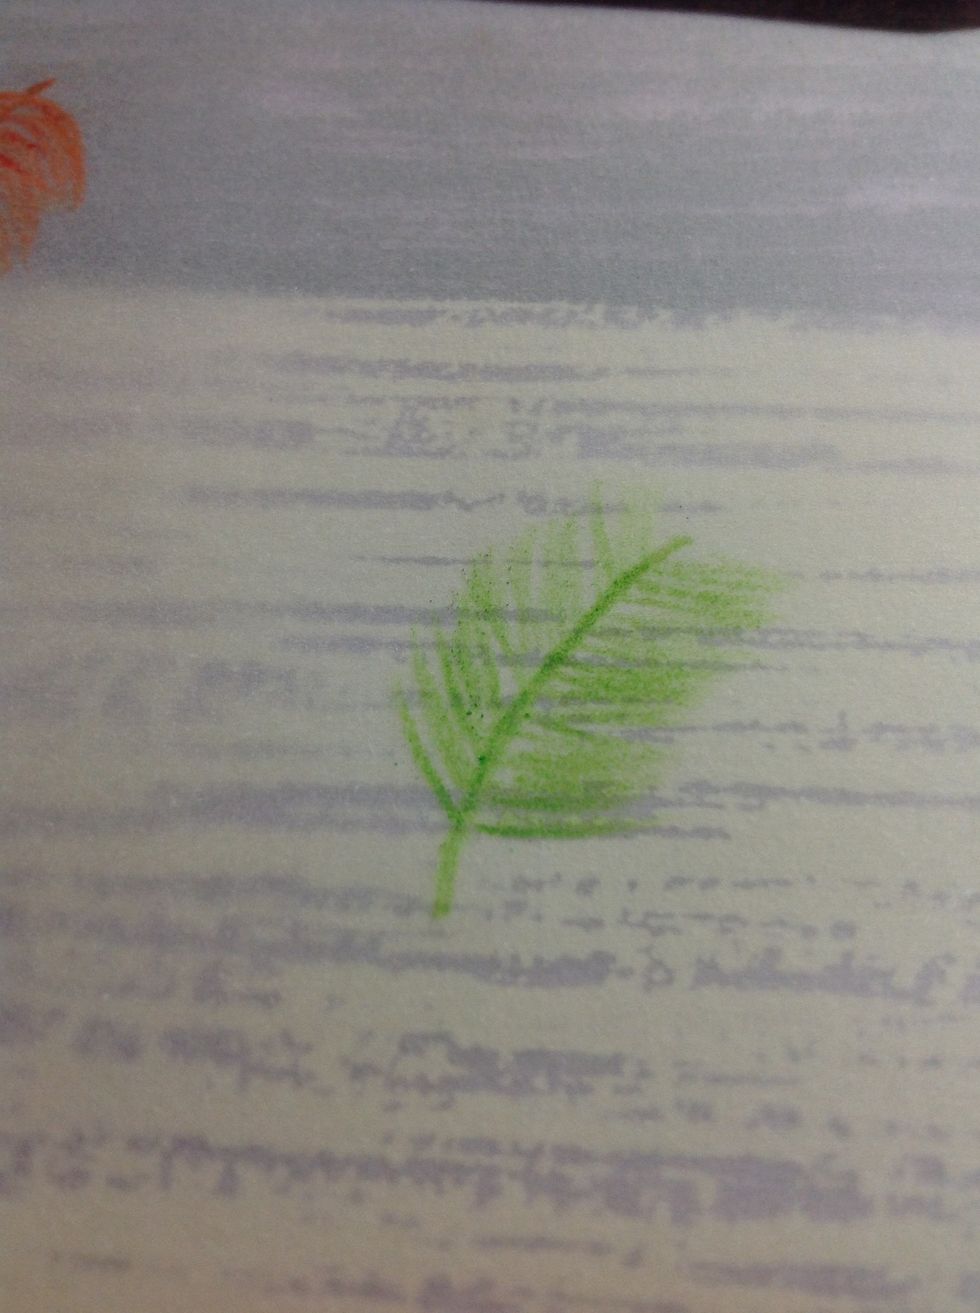
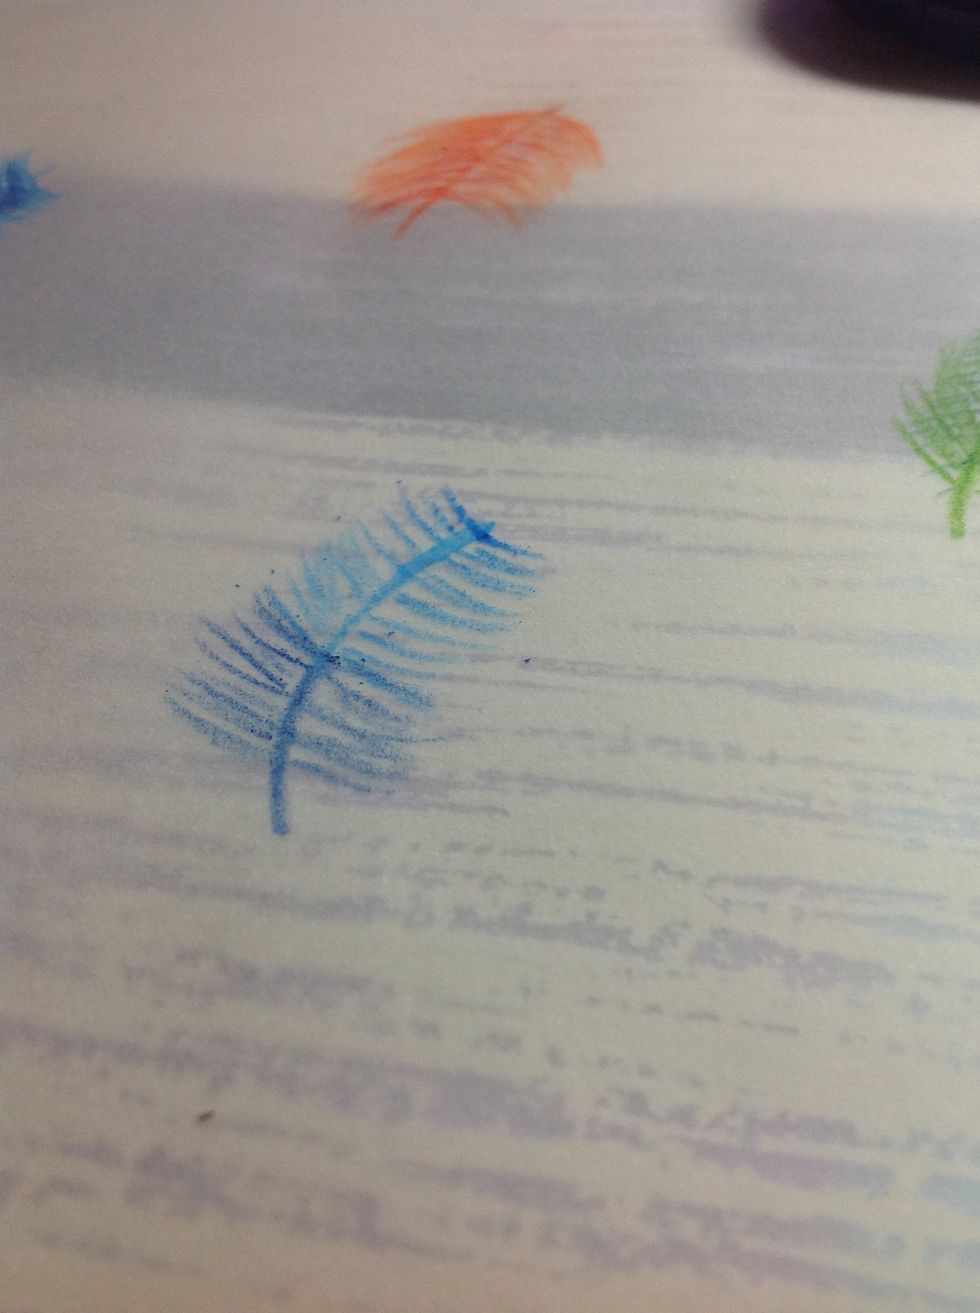
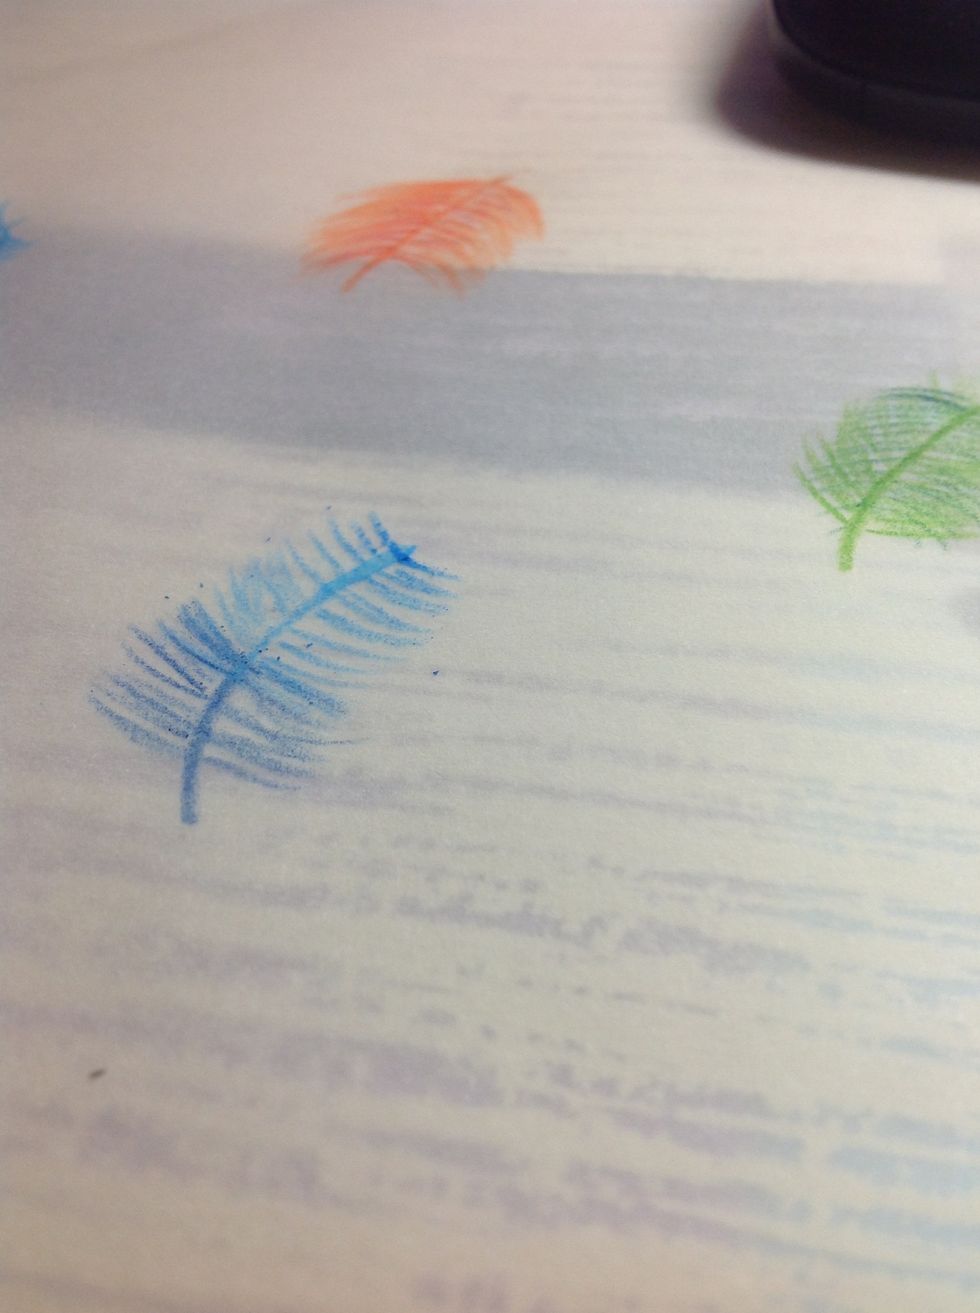
Here just repeat the steps shown before, start with the curve and add on the feathers, you can choose a downward or upward curve for this feather
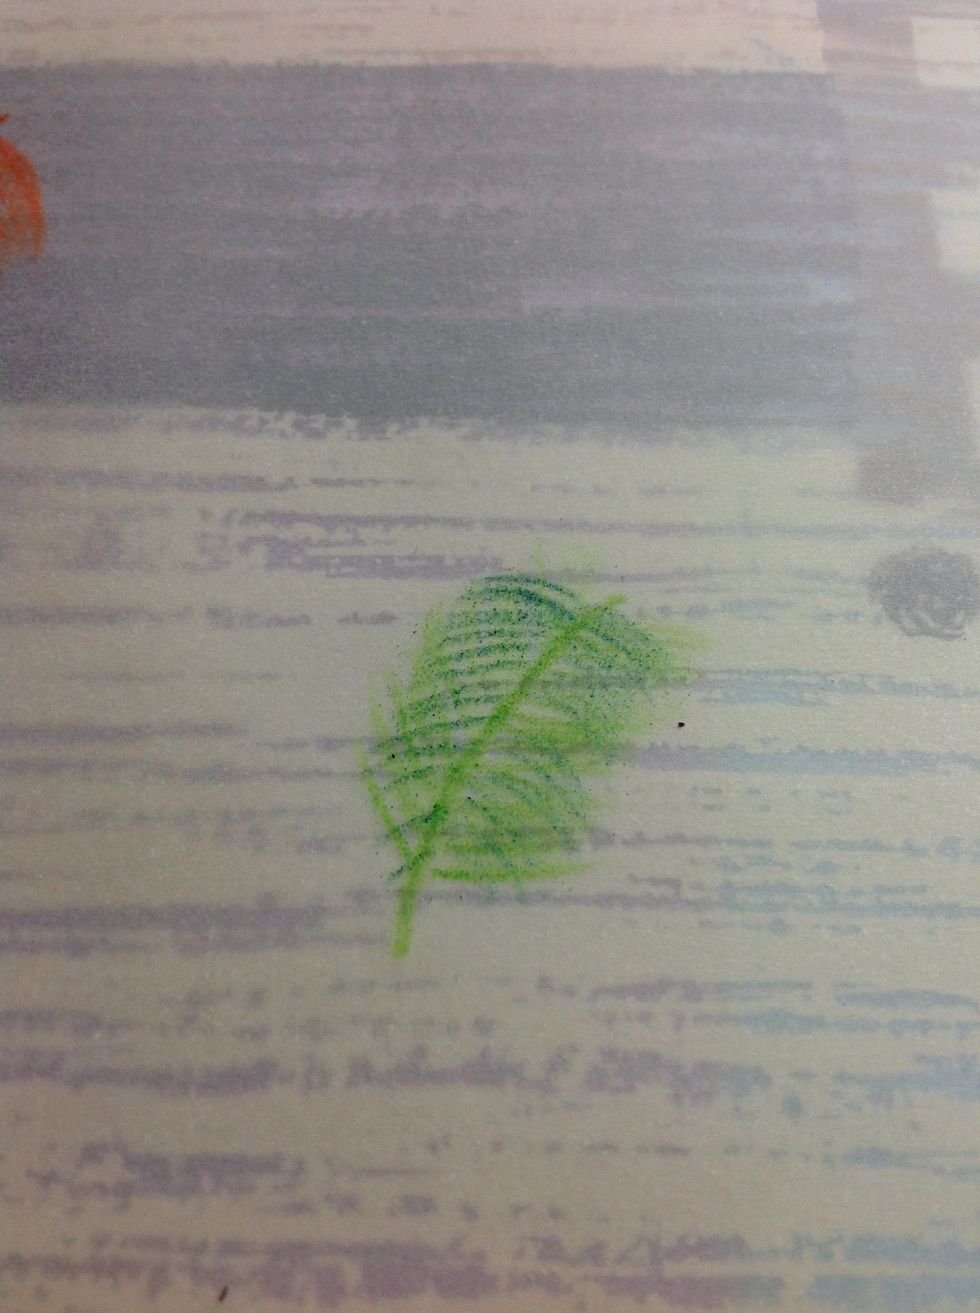
Now, for the defining I'm curving it the opposite way. So the light green is curved upwards, whilst the dark green is curving downwards.
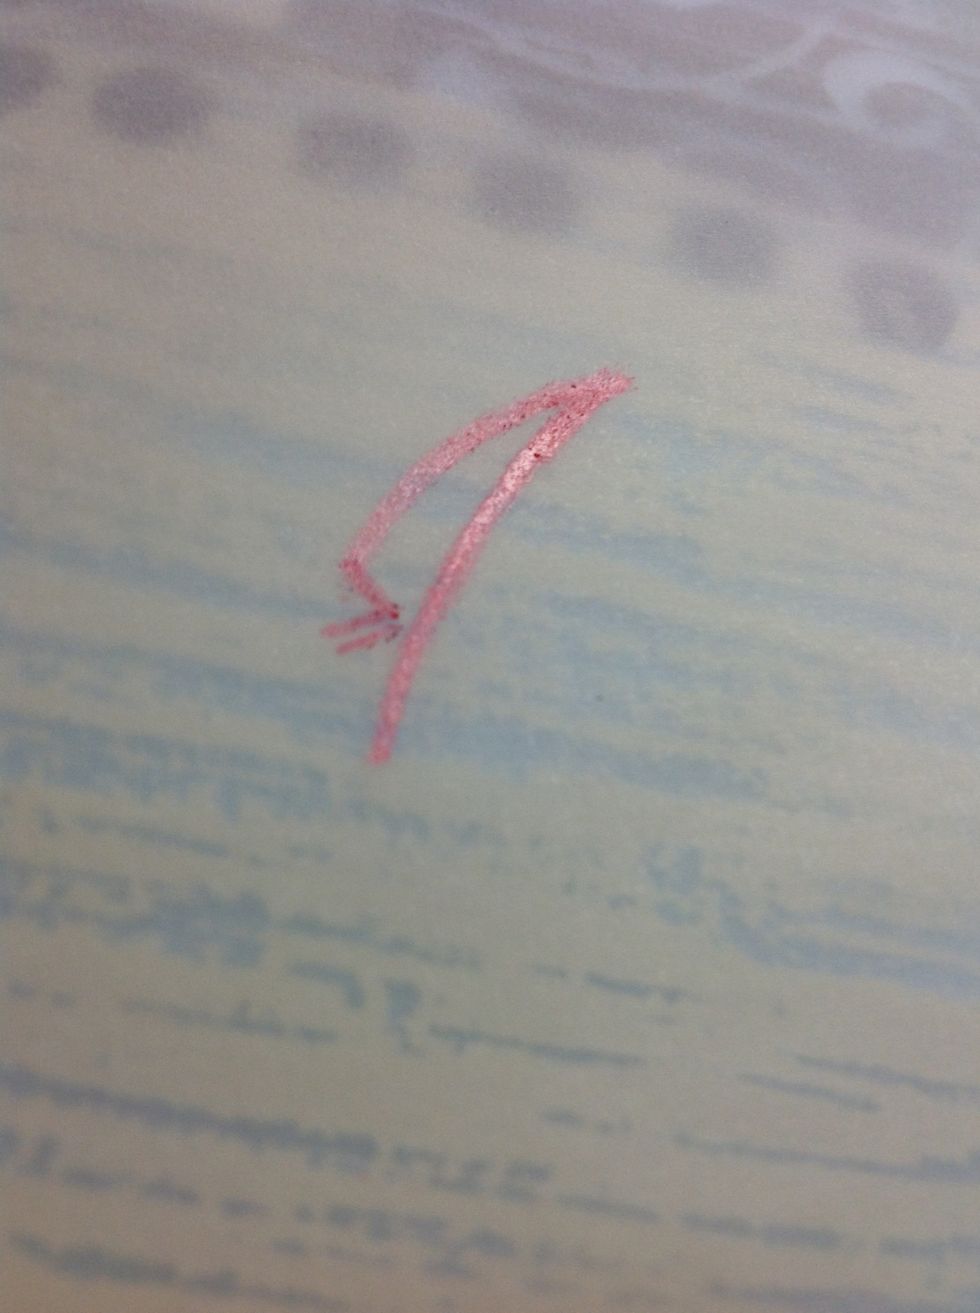
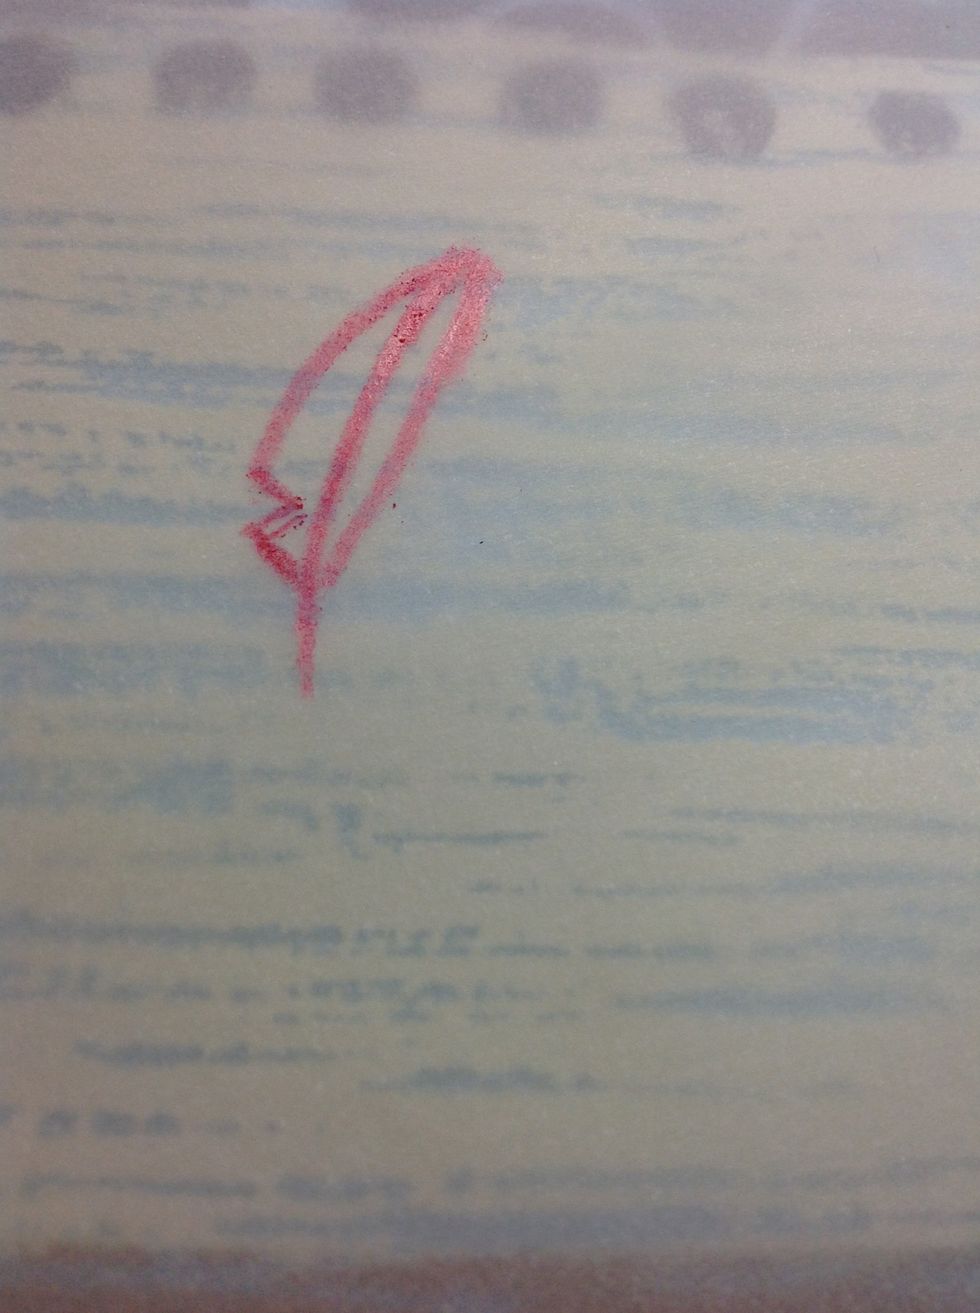
Here is a more cartoon like feather. Start off with a long curved line
Now, draw another curve connected to it, it should look like an upside down V shape. Make sure you leave some space underneath.
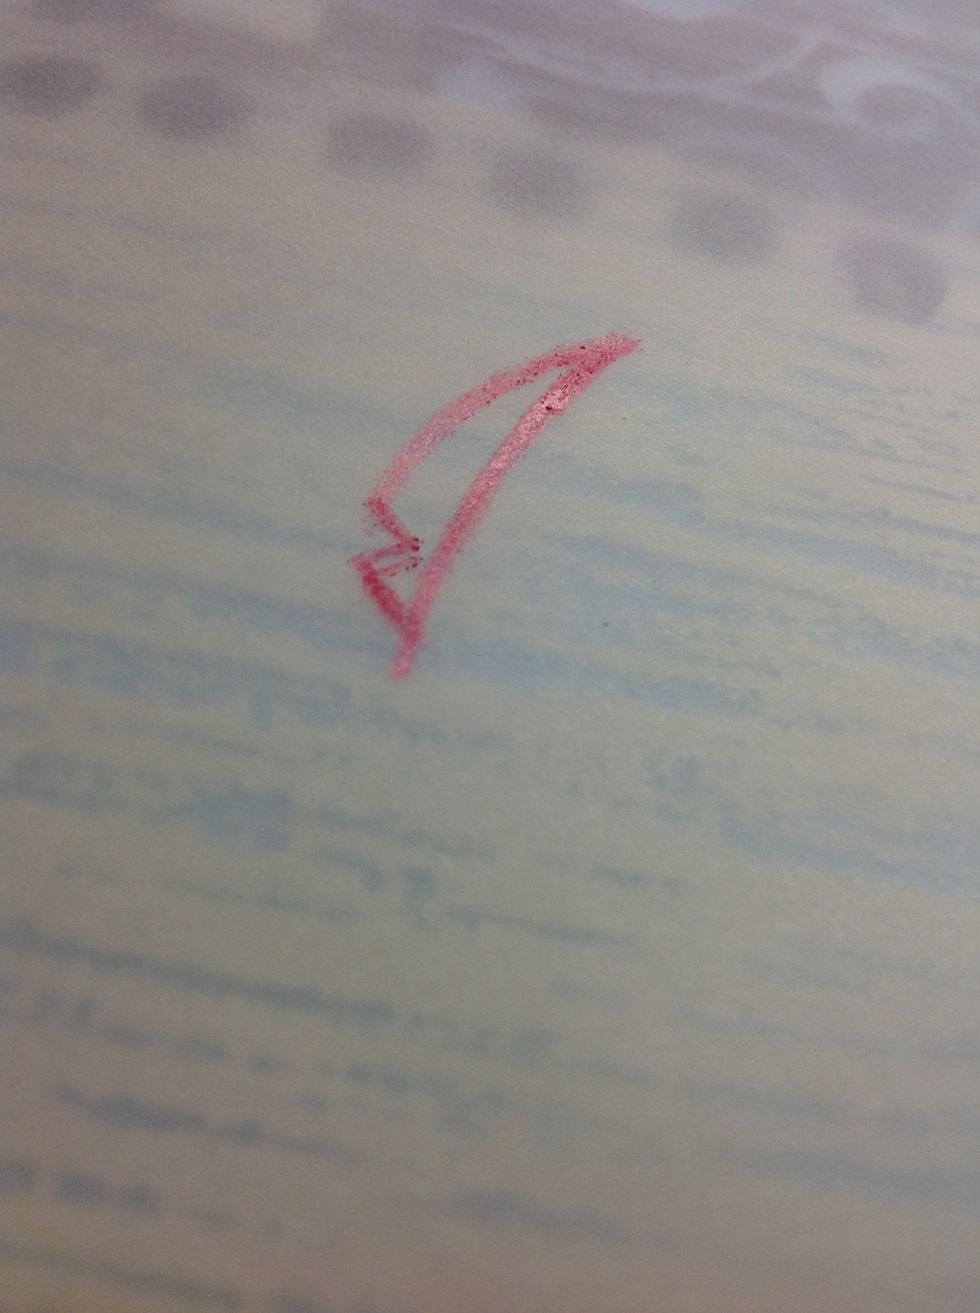
Add a diagonal line to the curve, make sure it's close to the center line but it doesn't touch,
Draw another diagonal line, it should form a triangular-ish shape.
Now add a line to connect it to the center line
Now, simply add a curve on the other side.
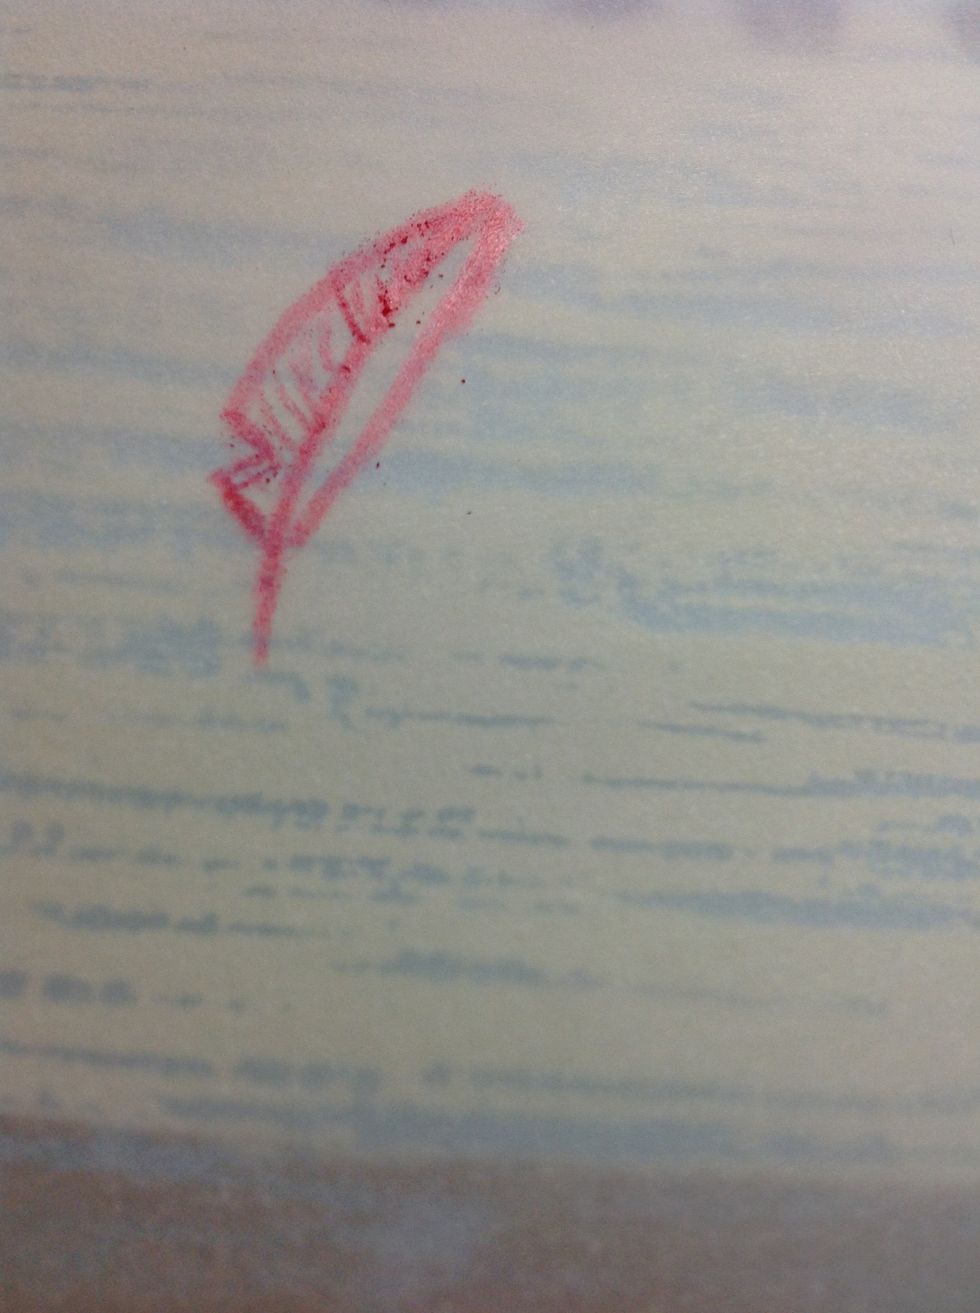
Start adding strokes.
And repeal on the other side
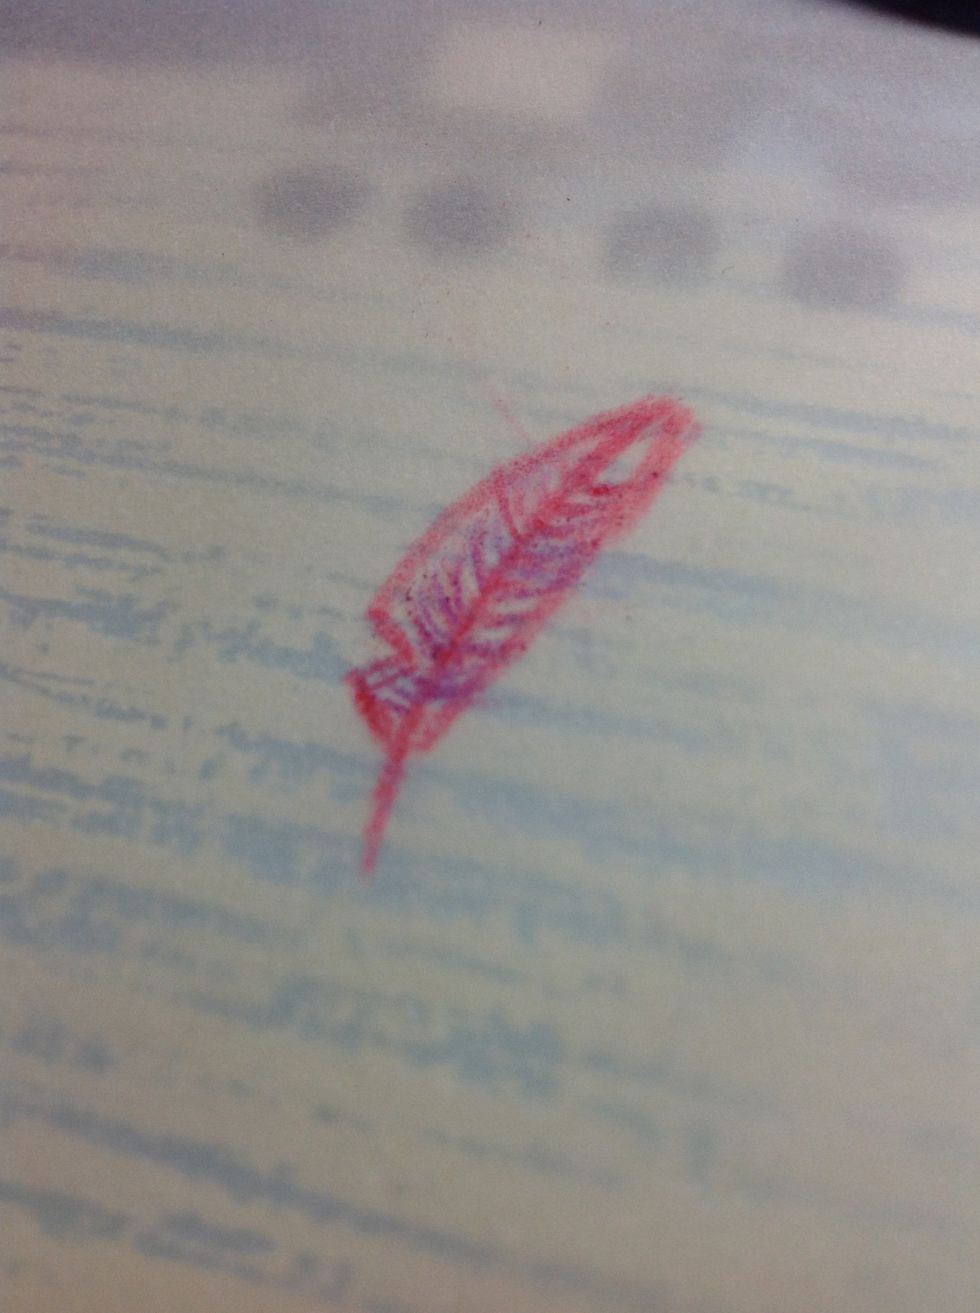
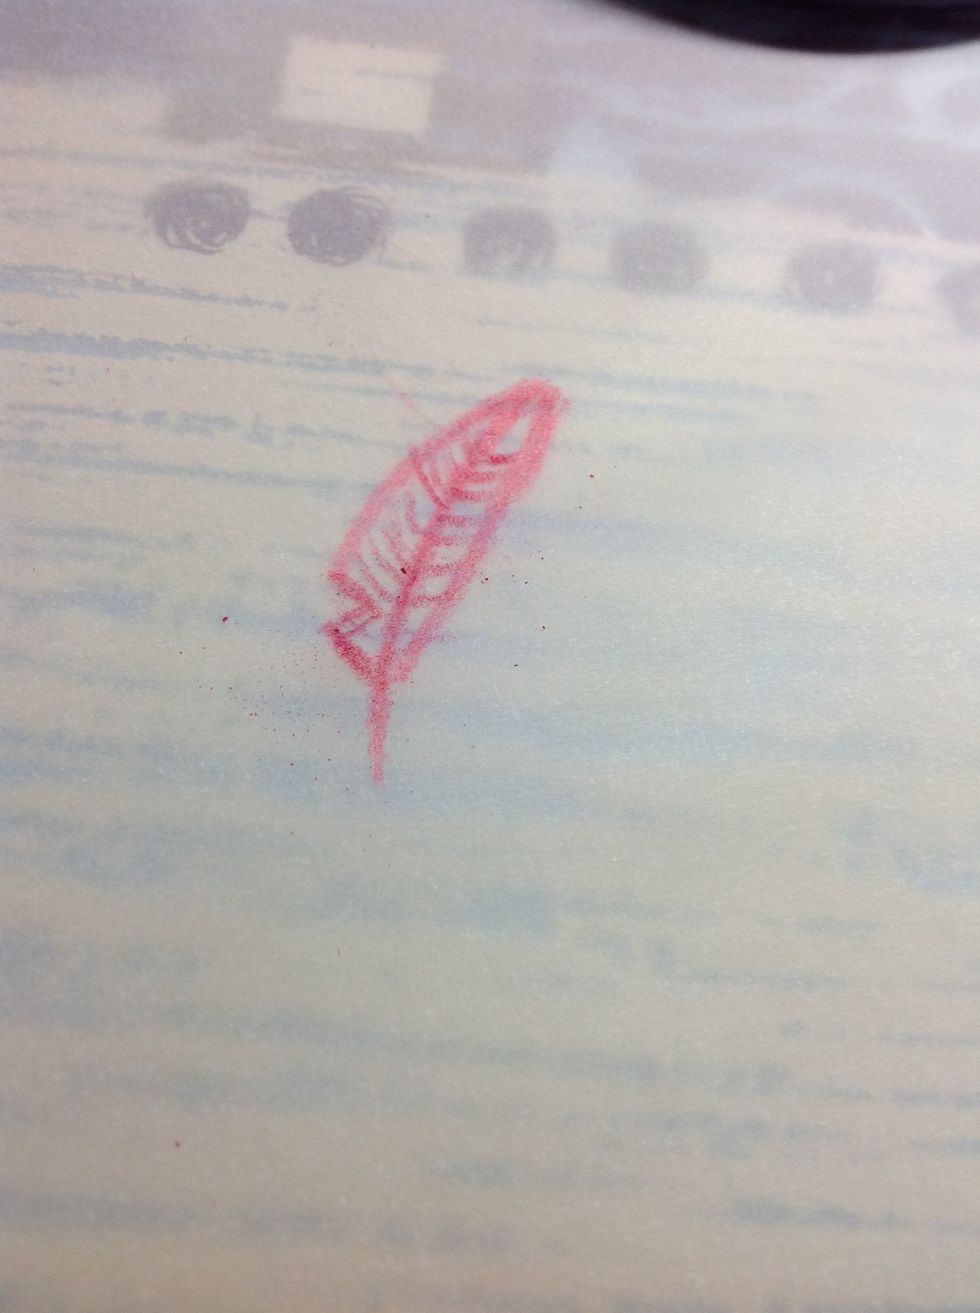
Define it.
And here are the simple feathers! now let's get decorative! 😃
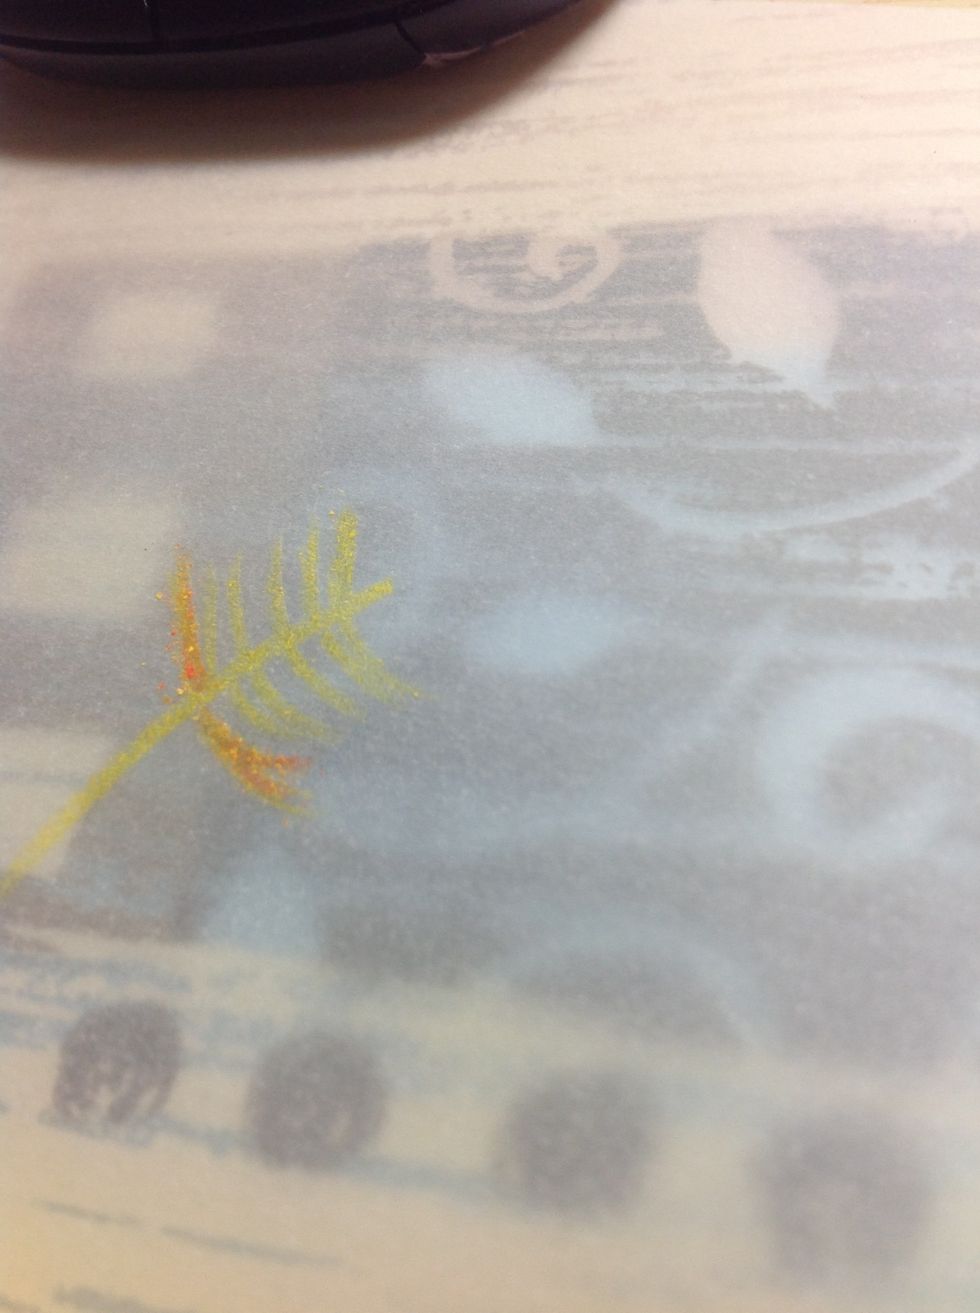
Now lets start off with a simple 2-color gradient, you can use as many colors as you want. Draw the center curve.
Draw the feathers on, leaving the bottom half blank
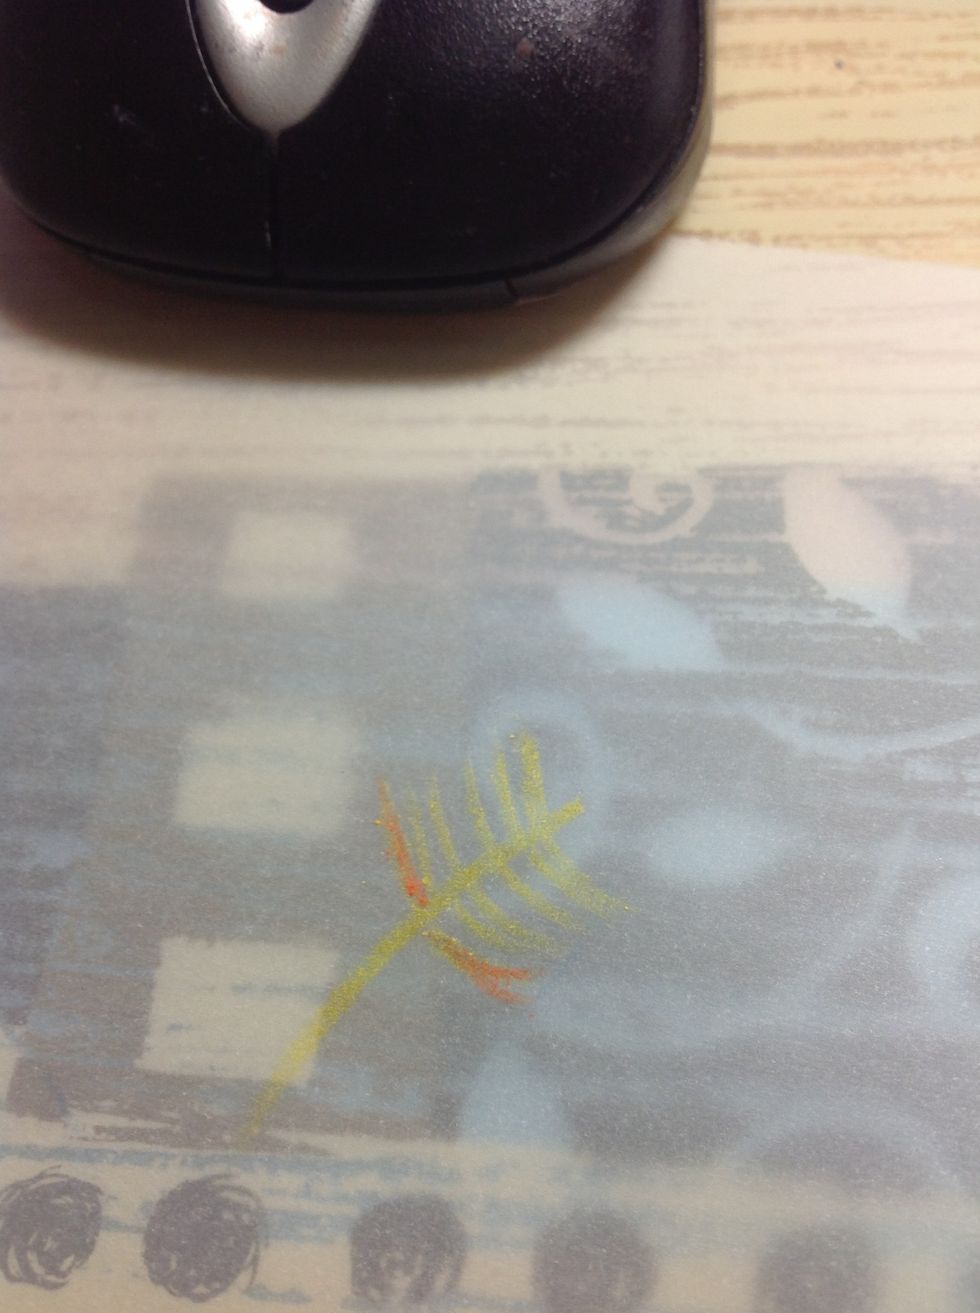
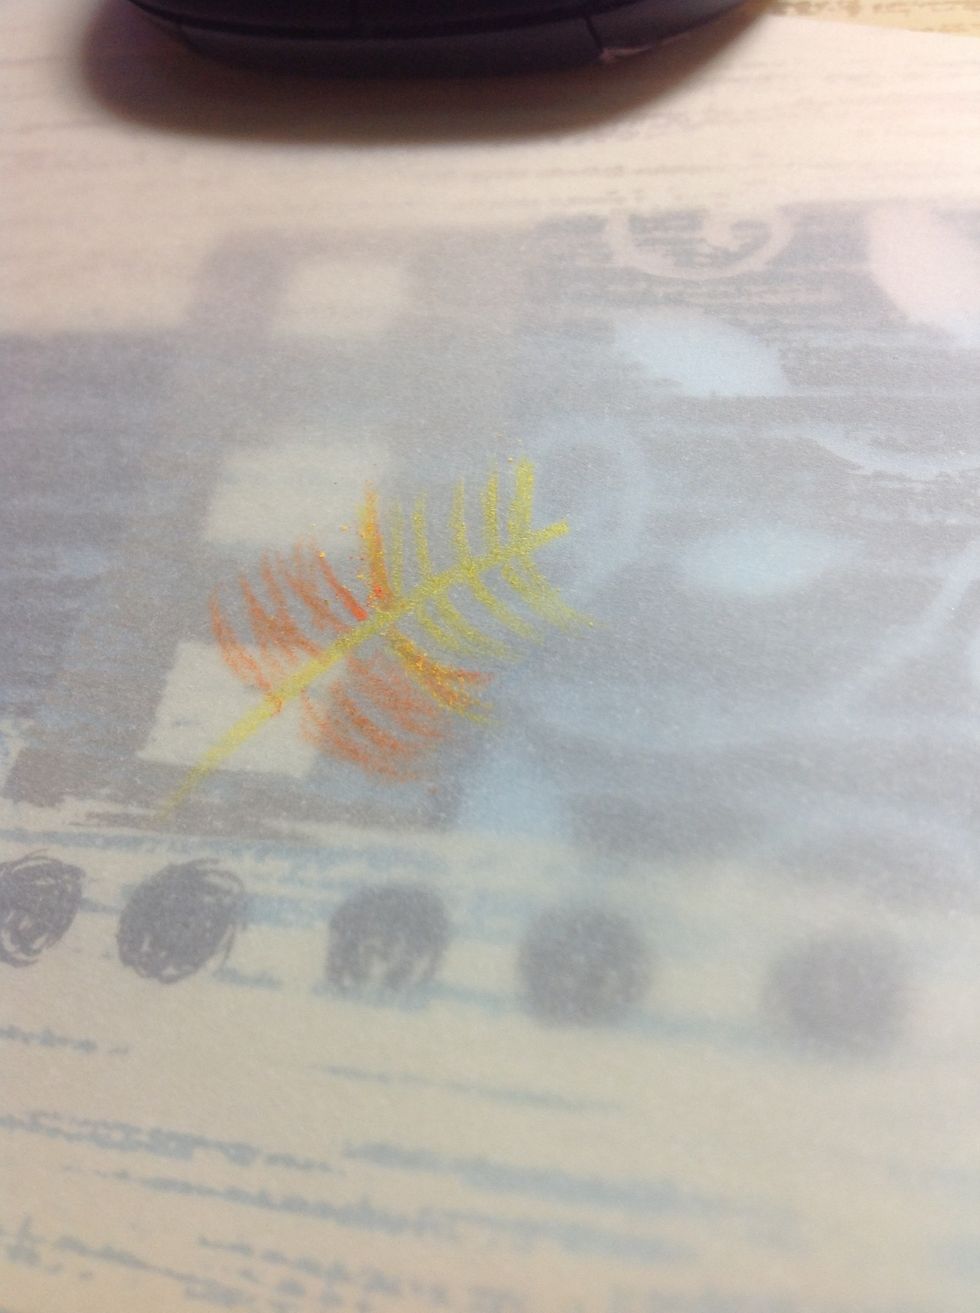
Next, layer the next color on top of the last two strokes on each side.
And layer the previous color (yellow in this case) back on top.
And add on the rest of the strokes.
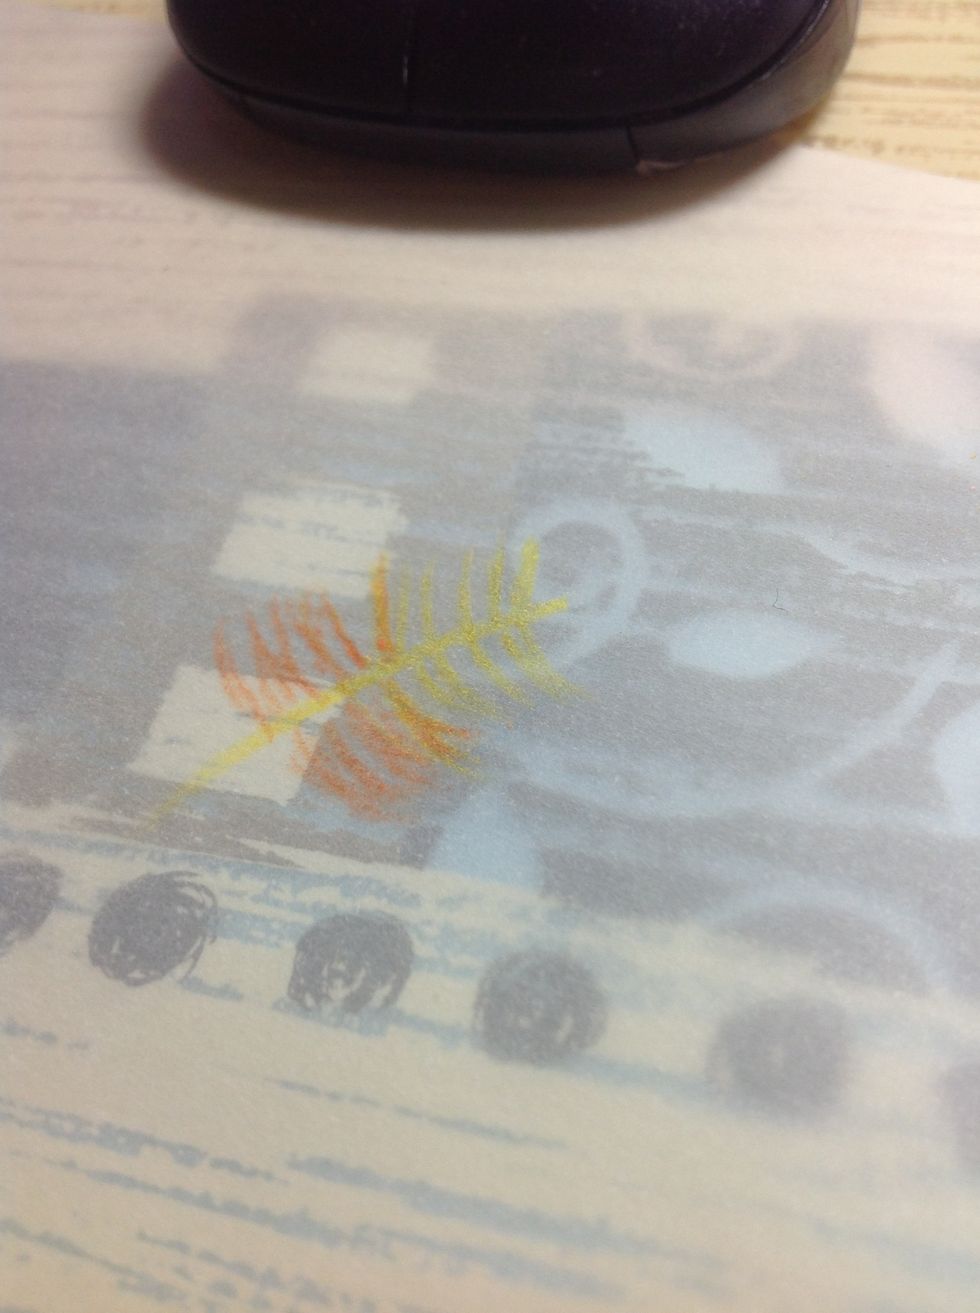
Taking the color we used before, lightly color the first two rows of strokes on the bottom.
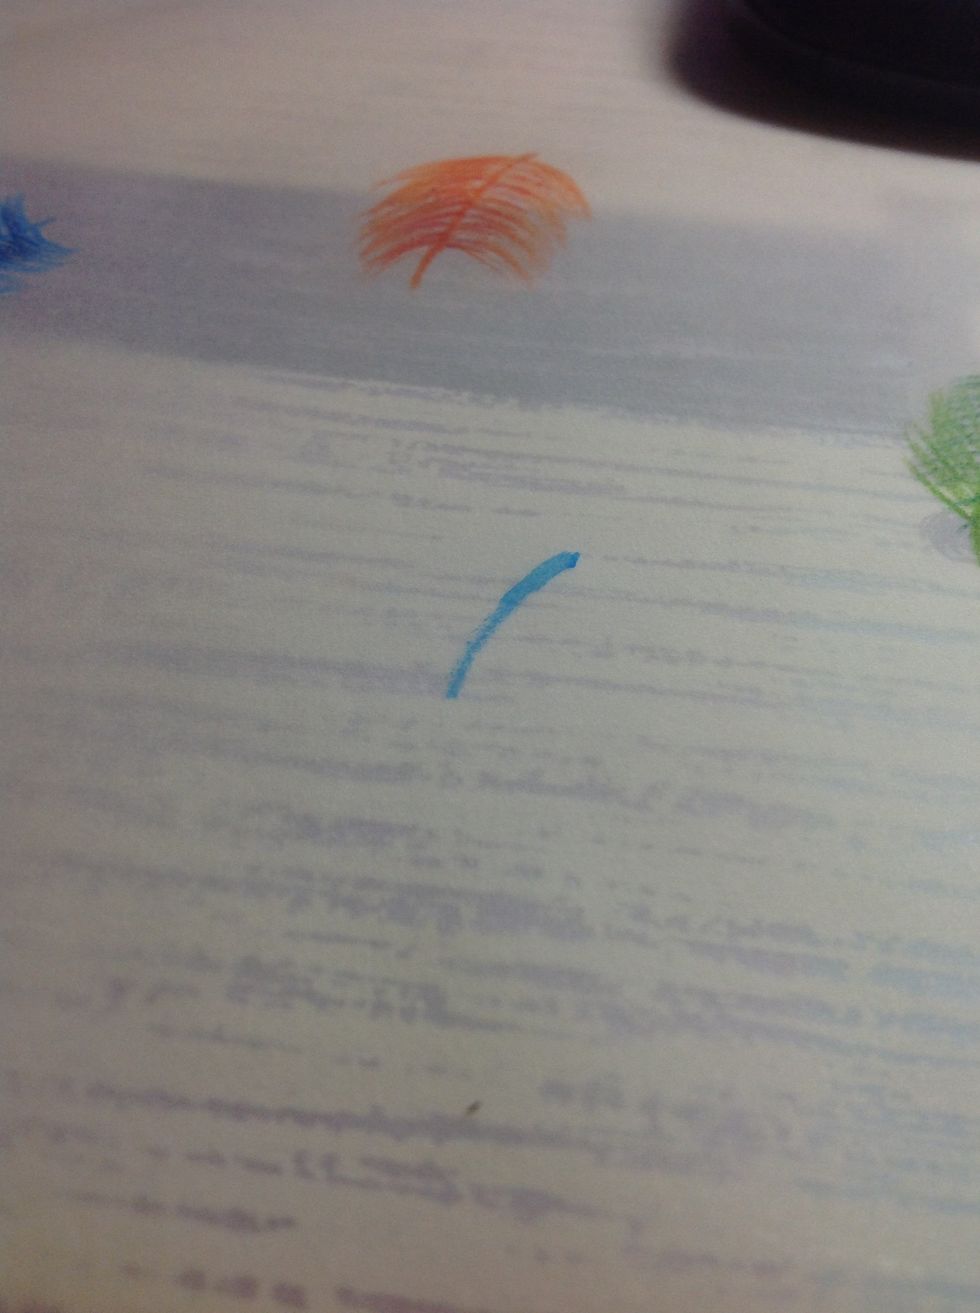
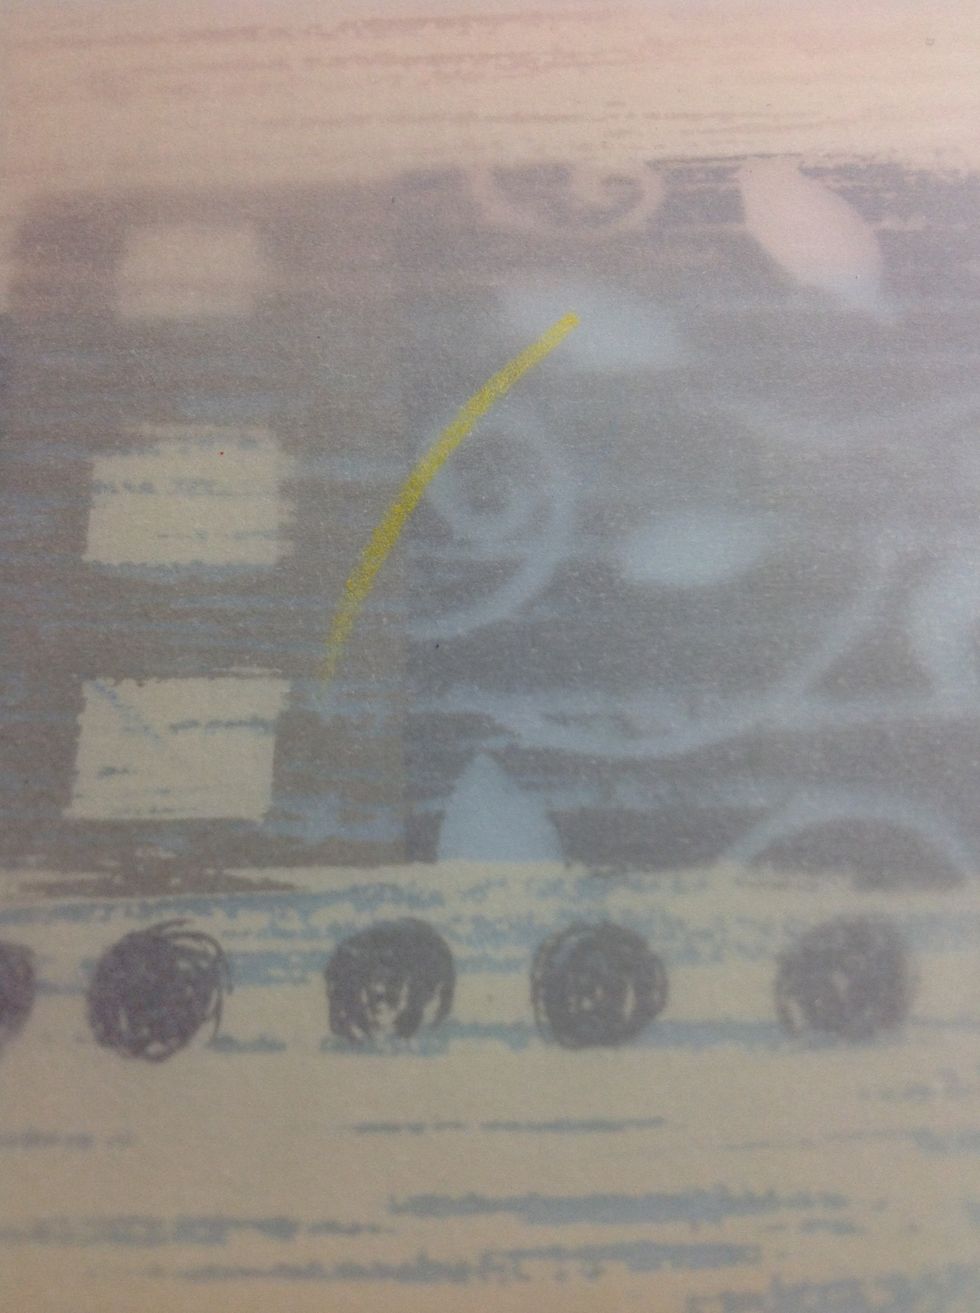
Now here's another type of gradient feather, draw half of the center curve
Now attach the next color to it, making it full length. Overlap the colors a bit, it will have a smoother transition effect.
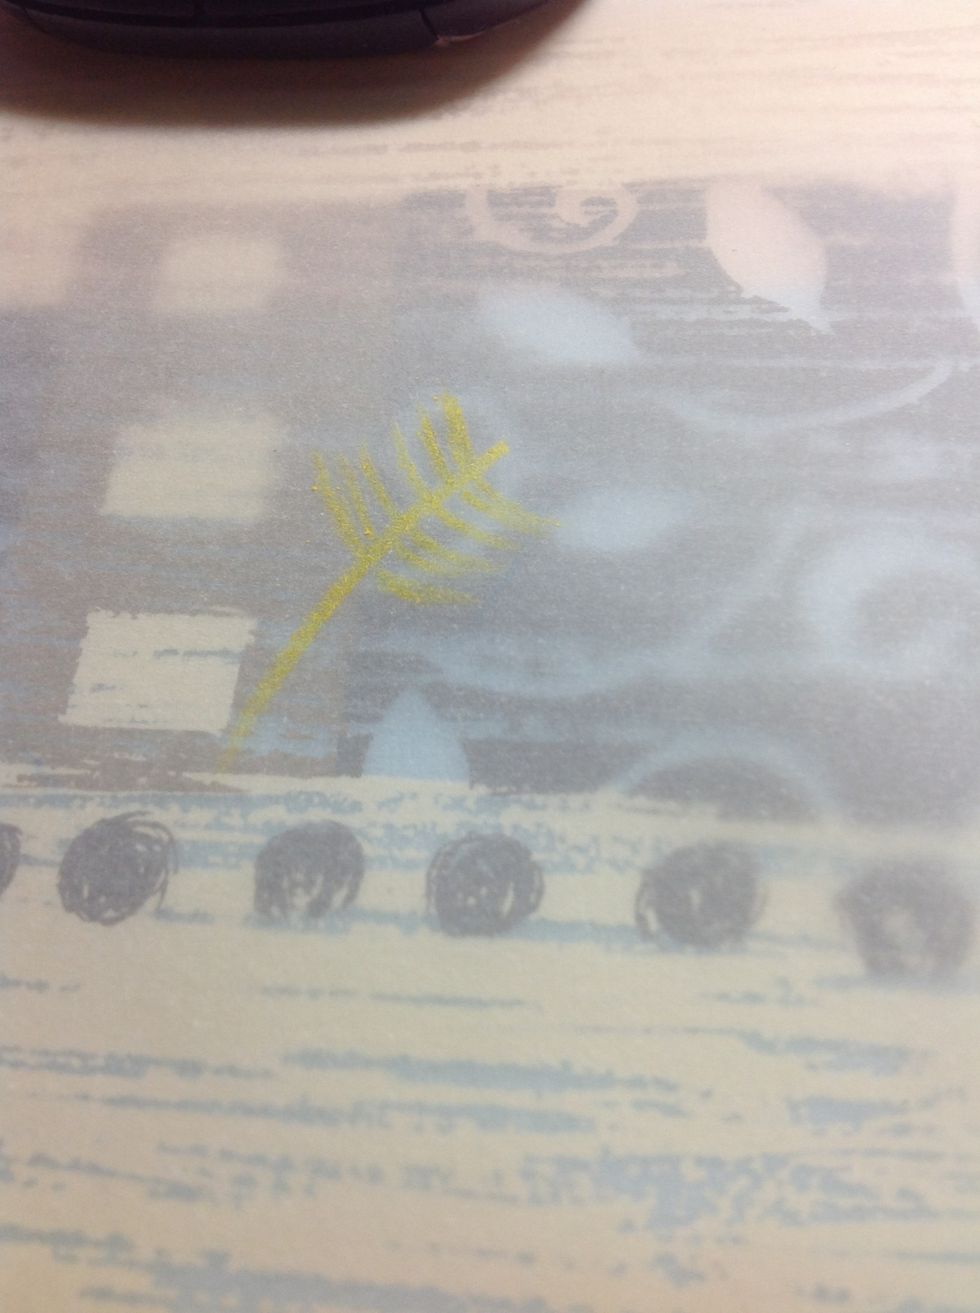
Now, add the light blue strokes until the light blue center ends. In using straighter lines if you couldn't tell, you get a different effect.
And layer the dark blue on the last row of light blue feathers
Layer the light blue on top of the dark blue (again) ☺
Continue adding the dark blue feathers.
And don't forget to add light blue to the first two rows of dark blue
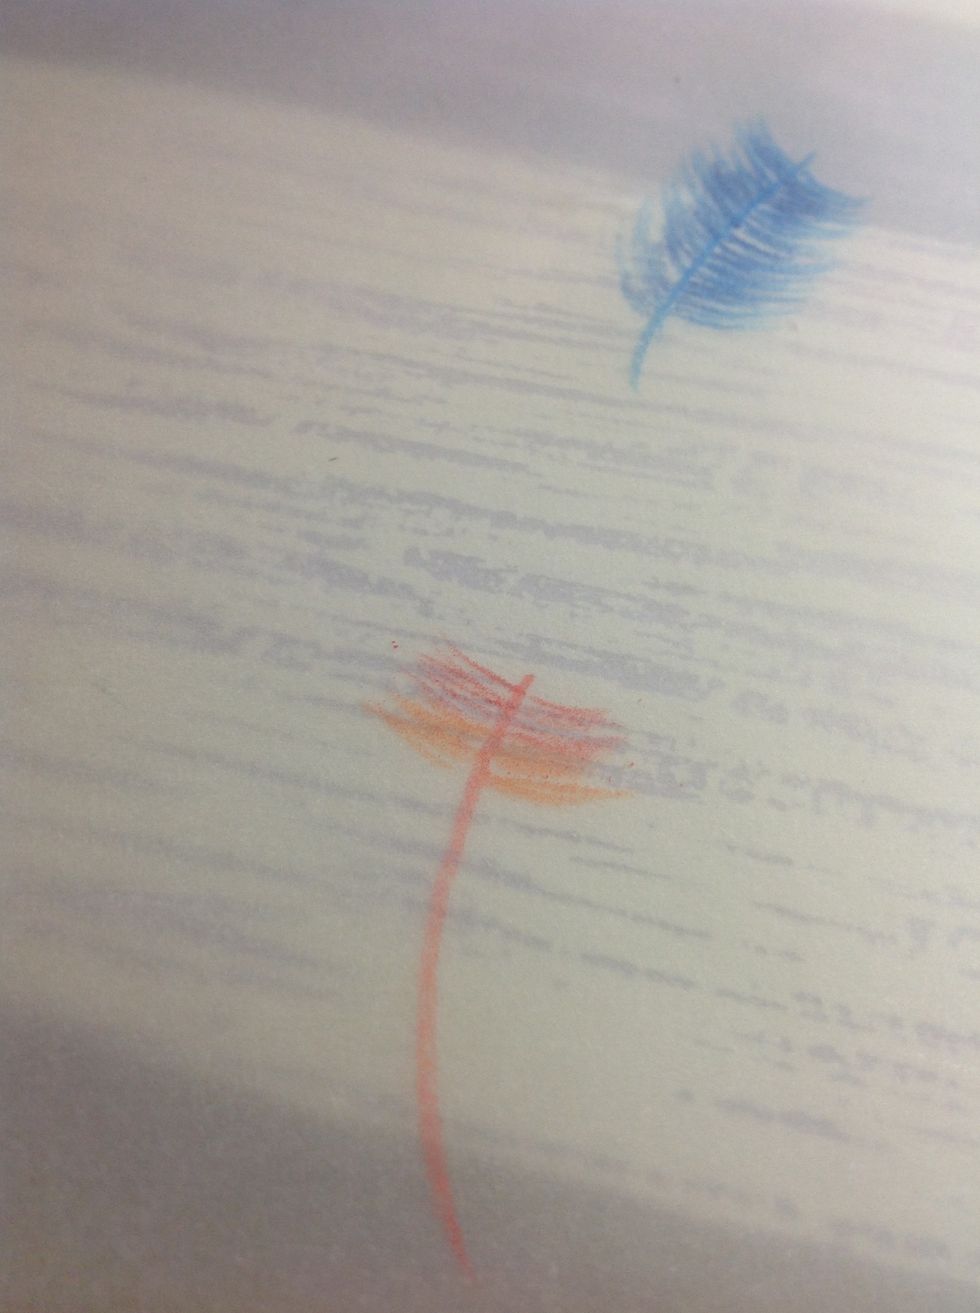
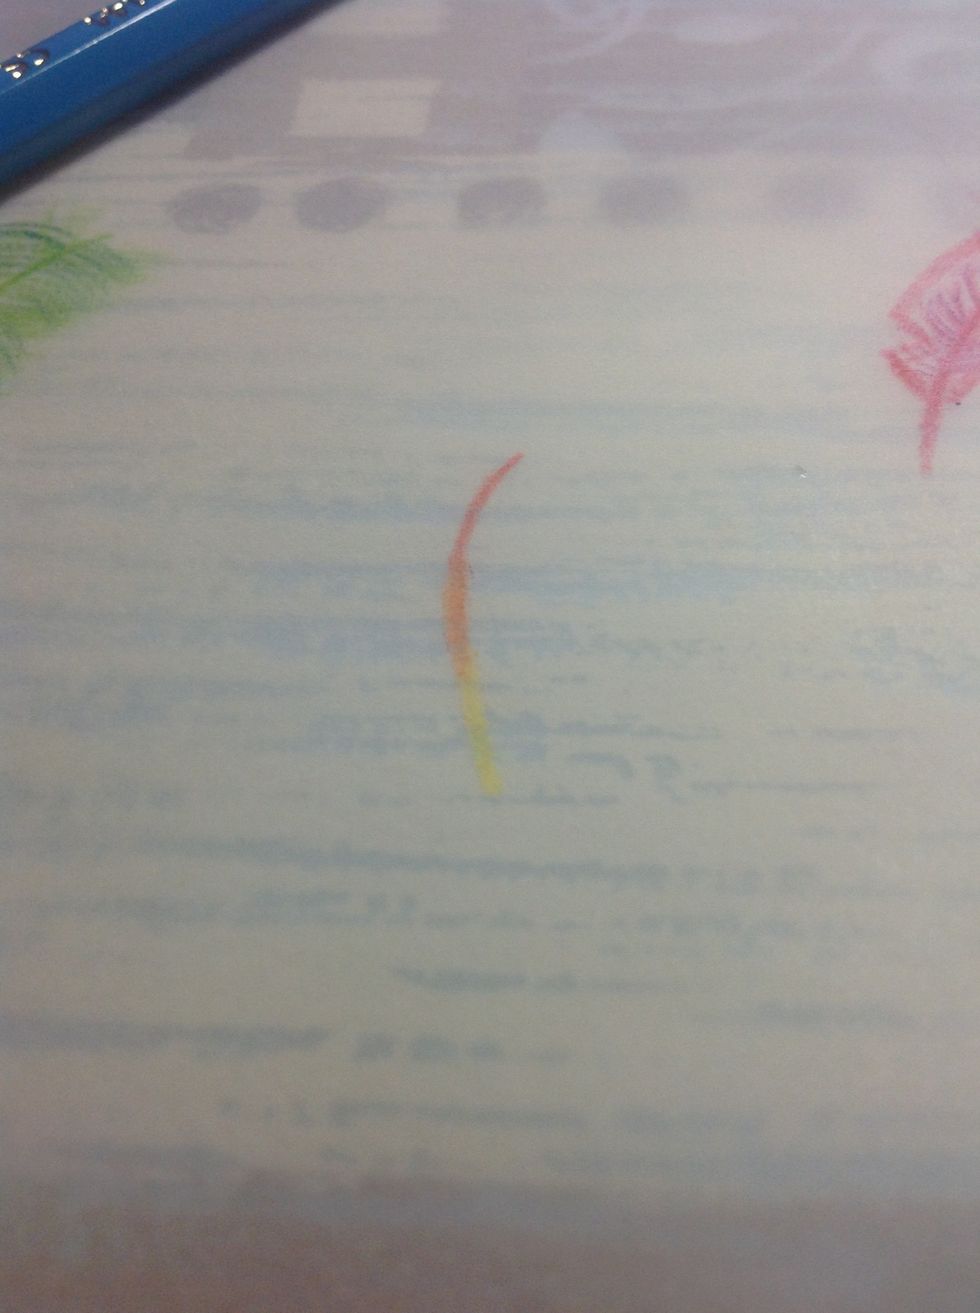
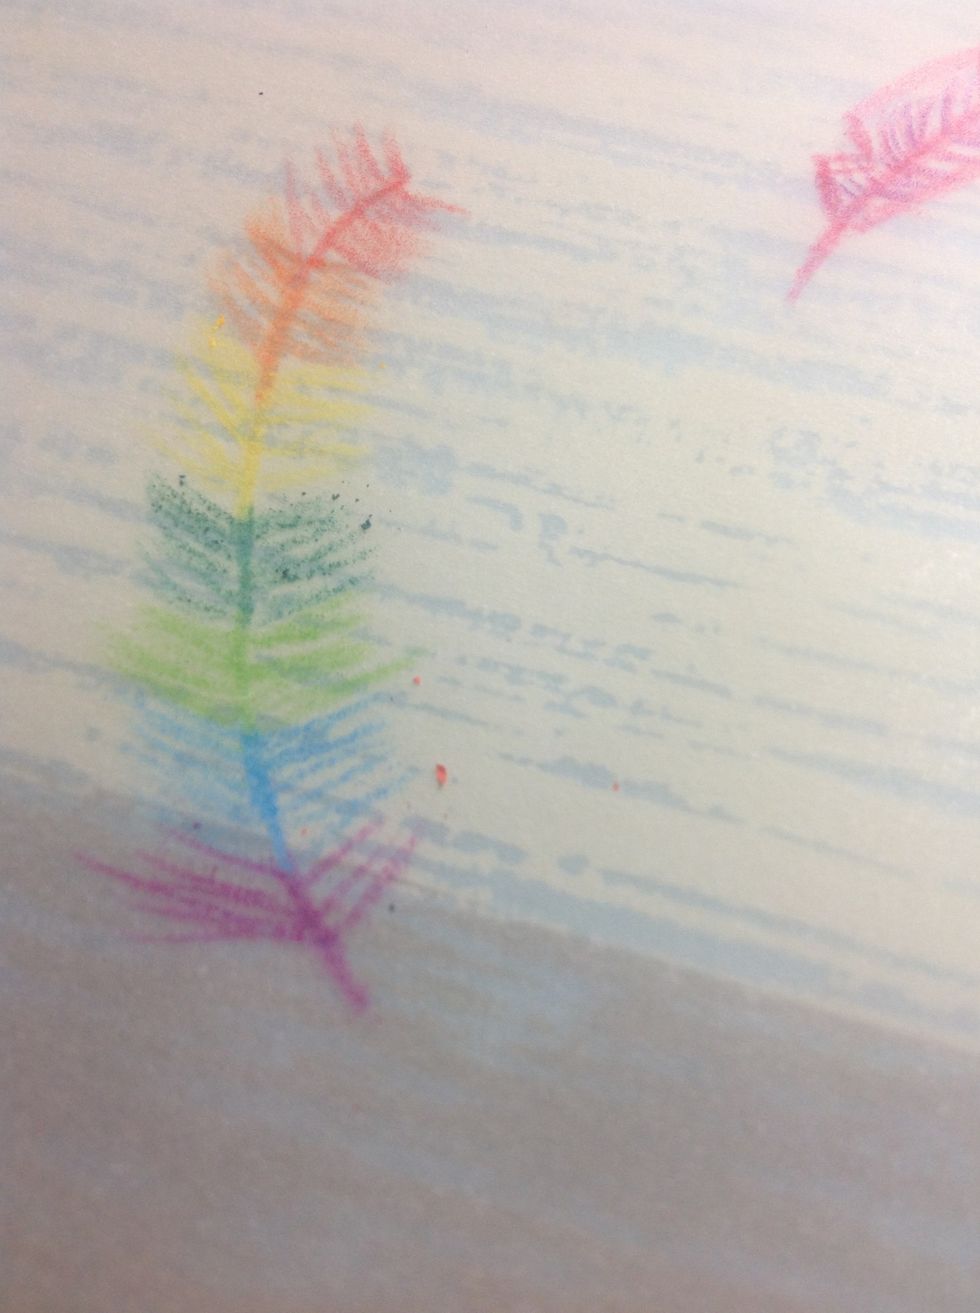
Okay it's...... RAINBOW TIME. Start with any color of the rainbow as the center line.
Add 6-8 strokes of each color on either side.
Now orange........
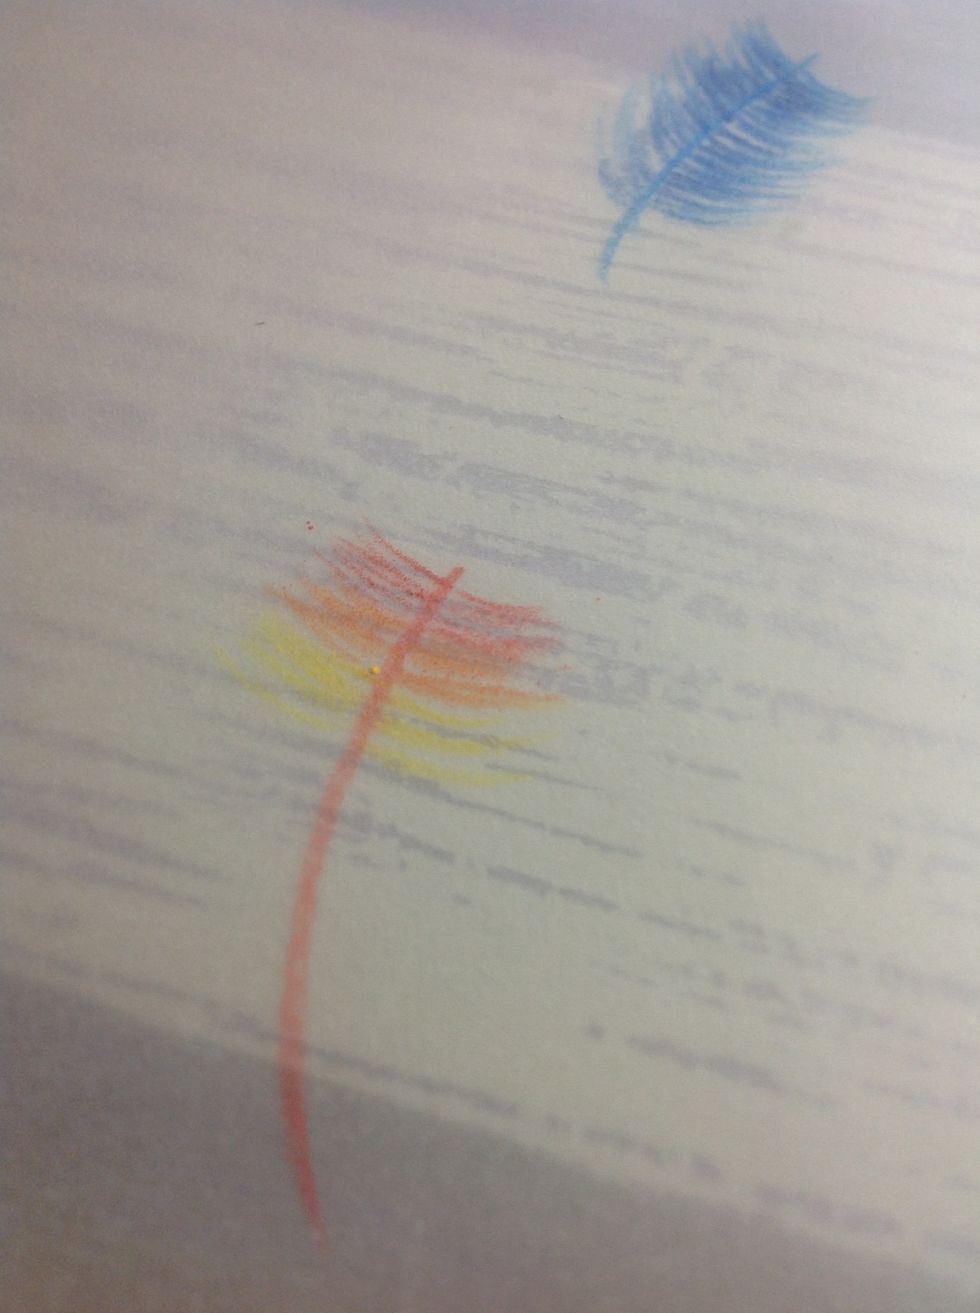
Yellow........
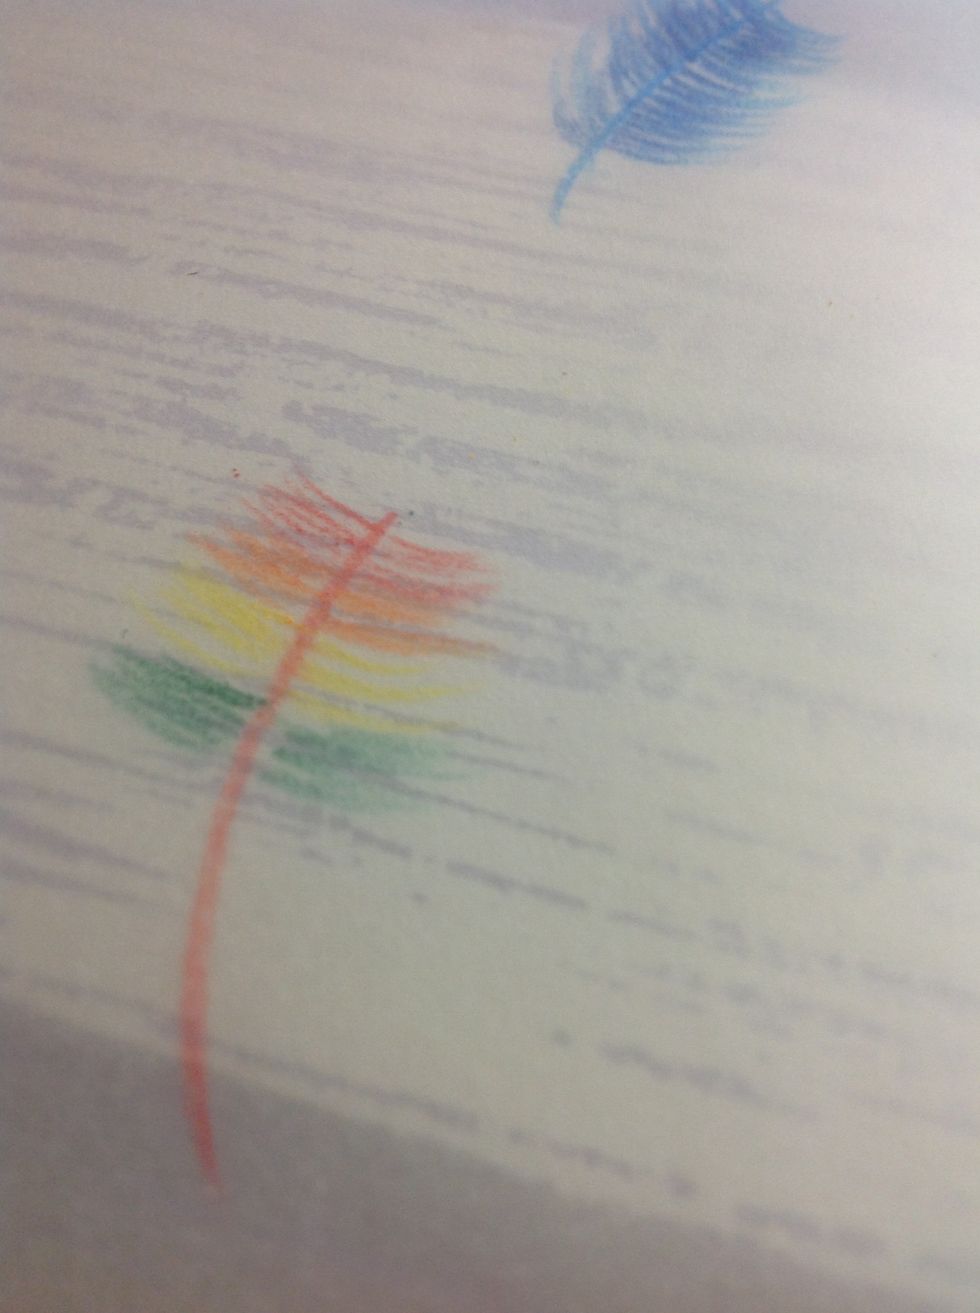
Green........
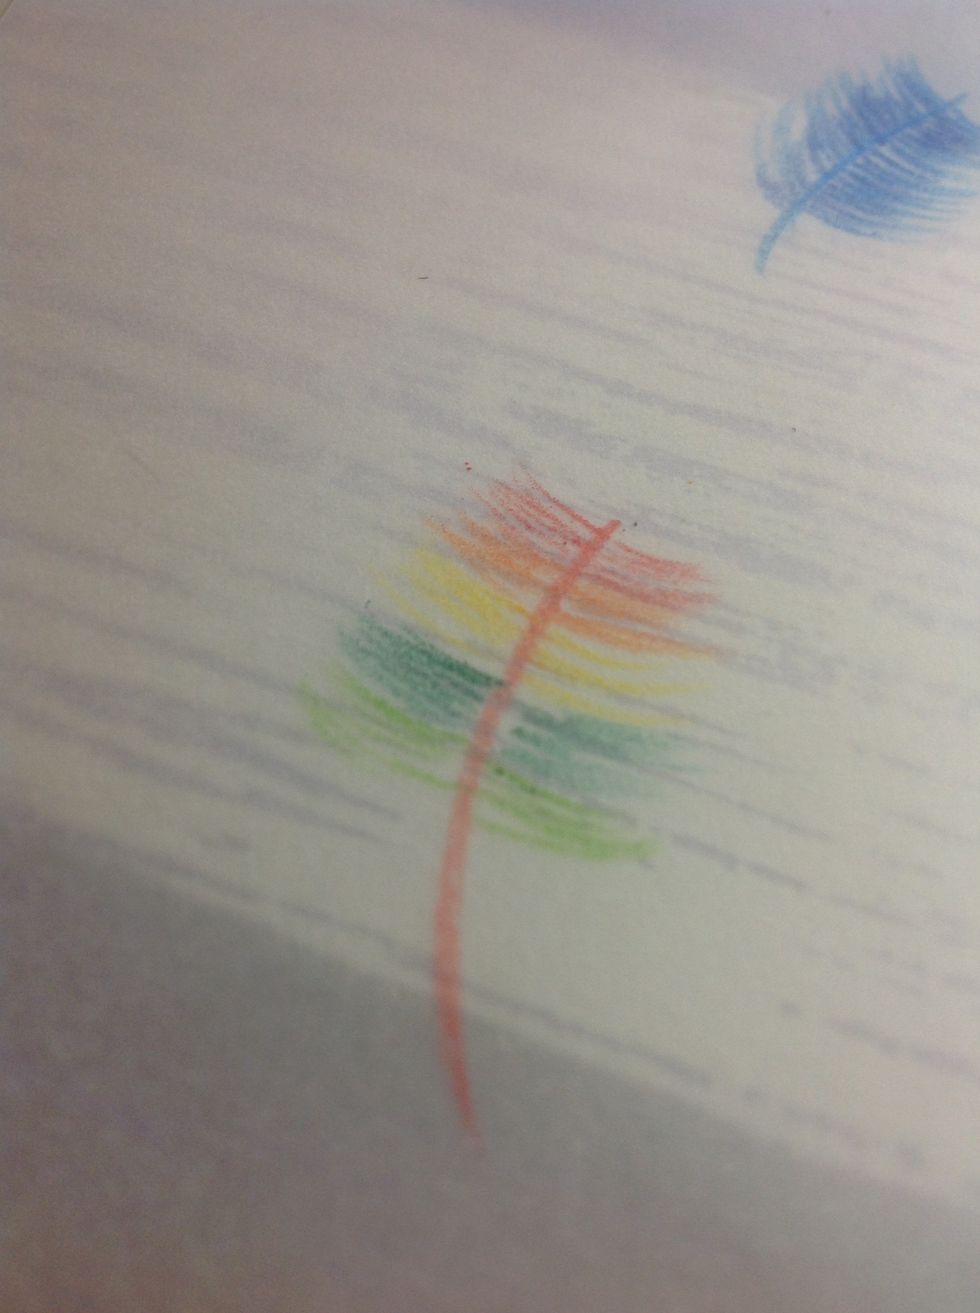
Light green............
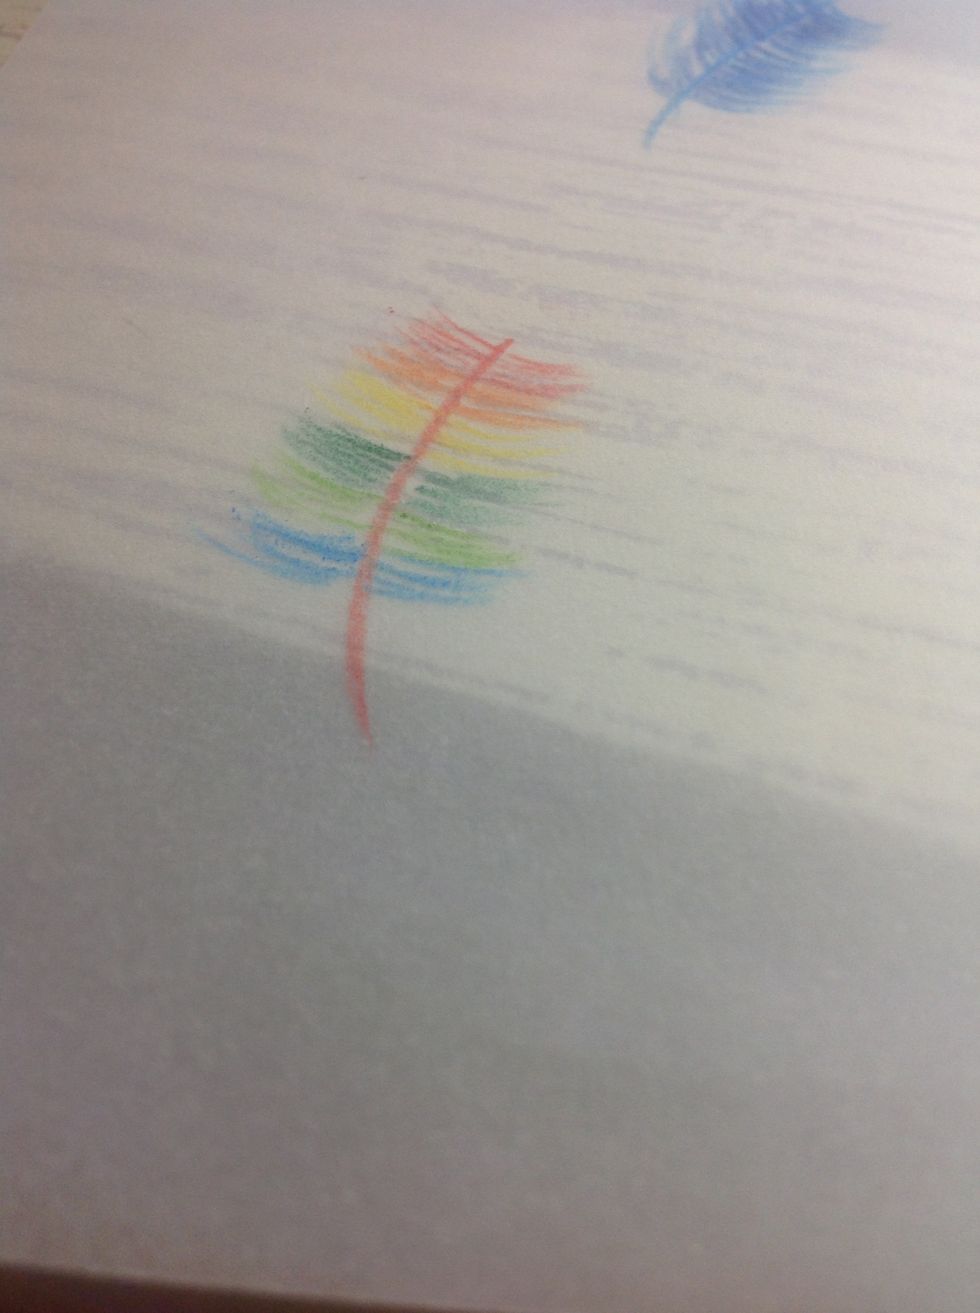
Blue.........
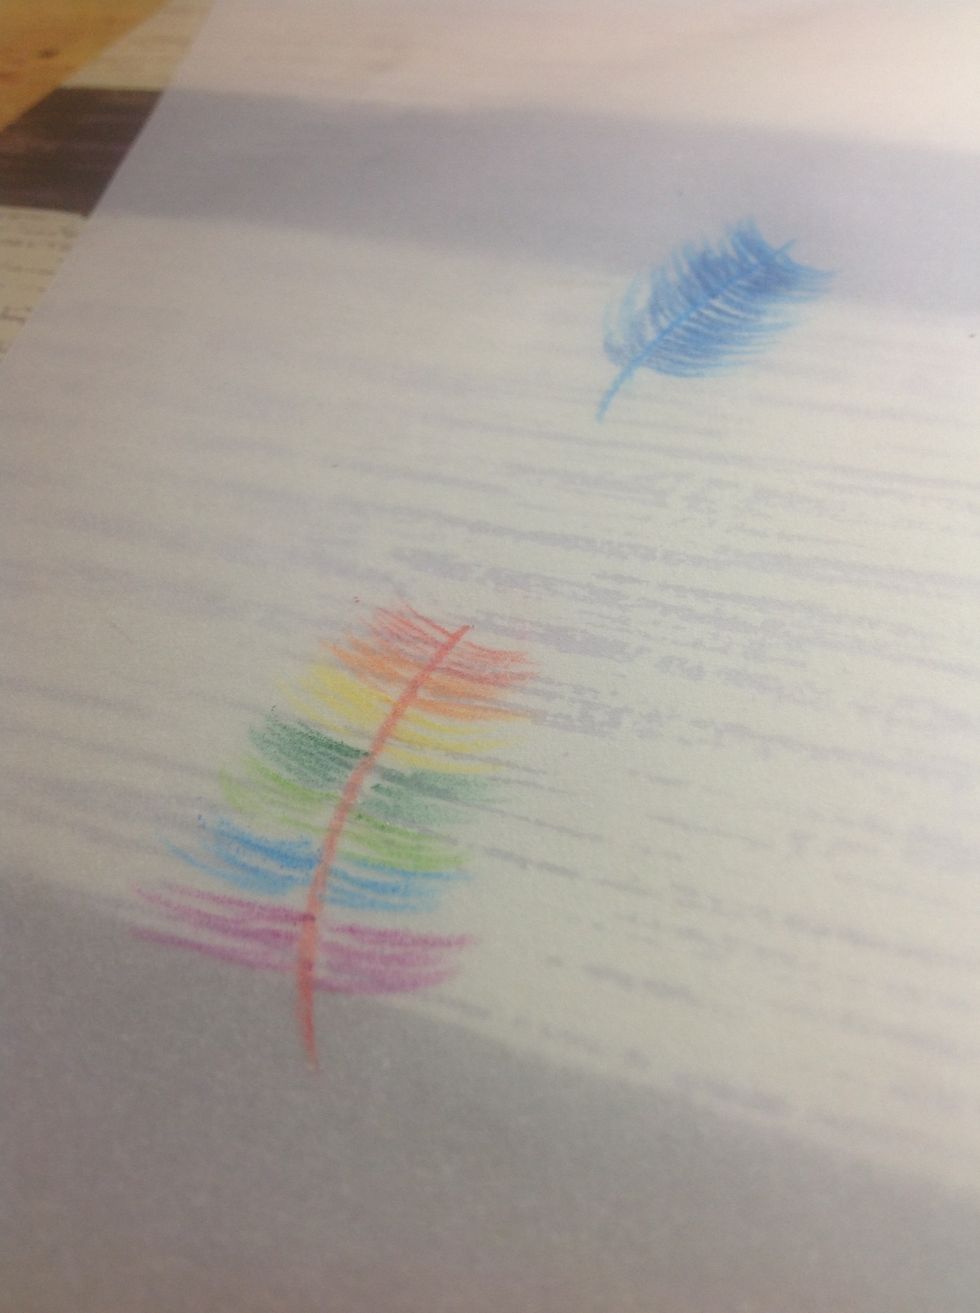
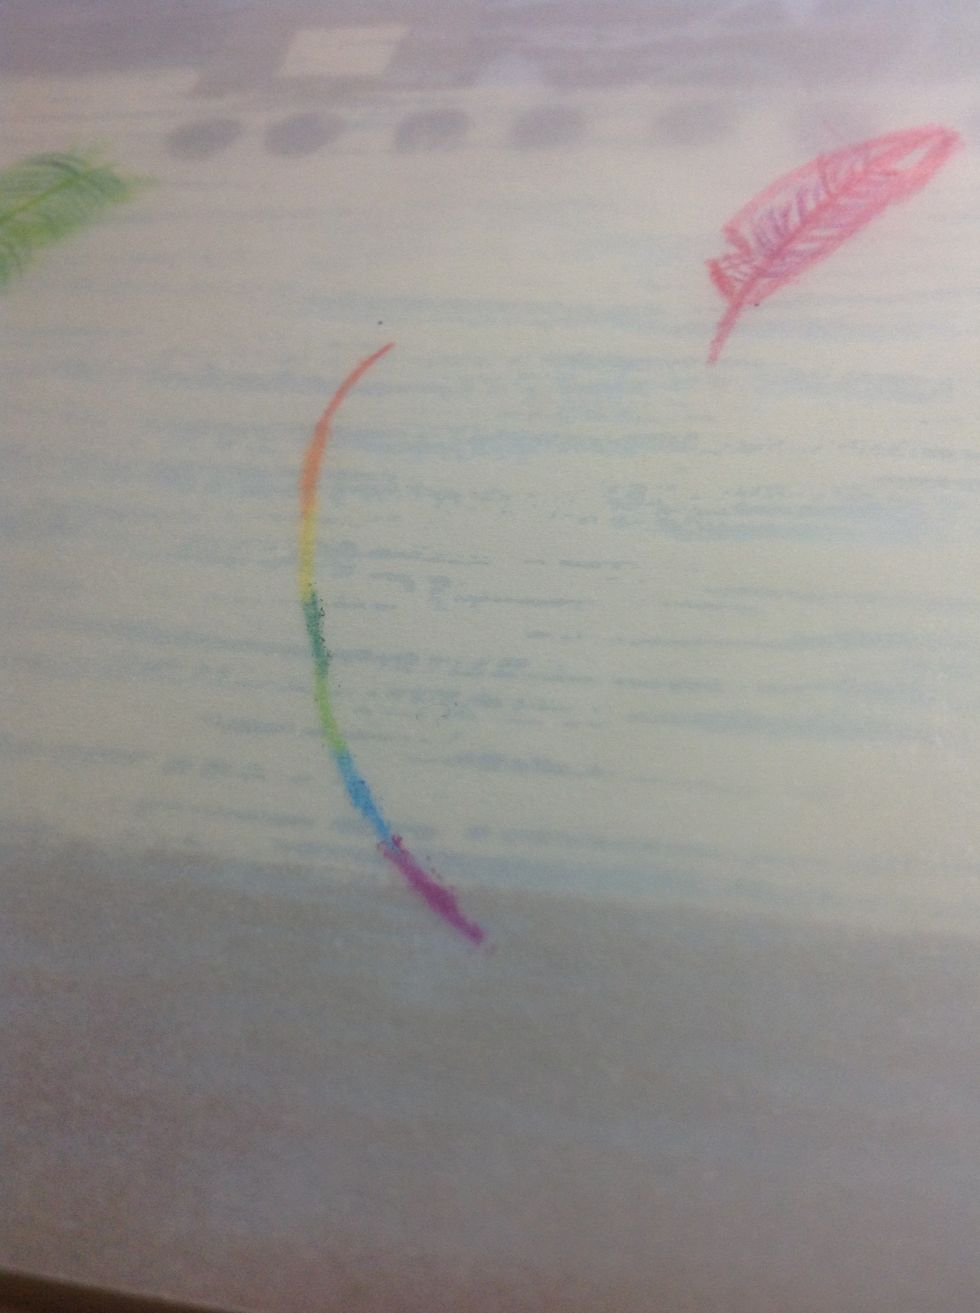
And PURPLE.........
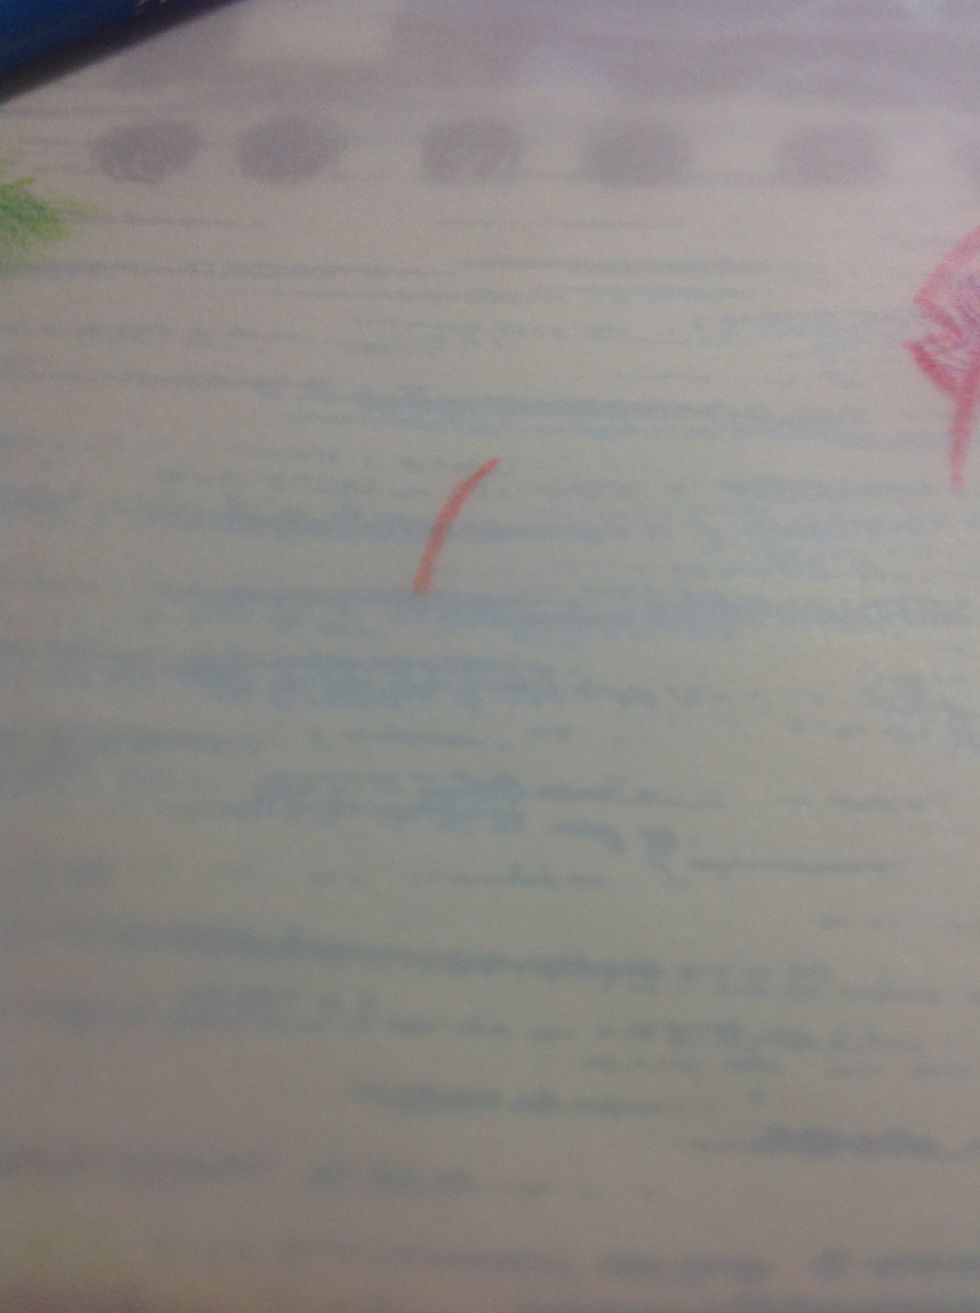
Now, obviously, there is another way to draw the rainbow feather. From rainbow dash's mane,which makes it 20% cooler. And obviously Gagas beautiful hair. Okay so draw a bit of the center line with red
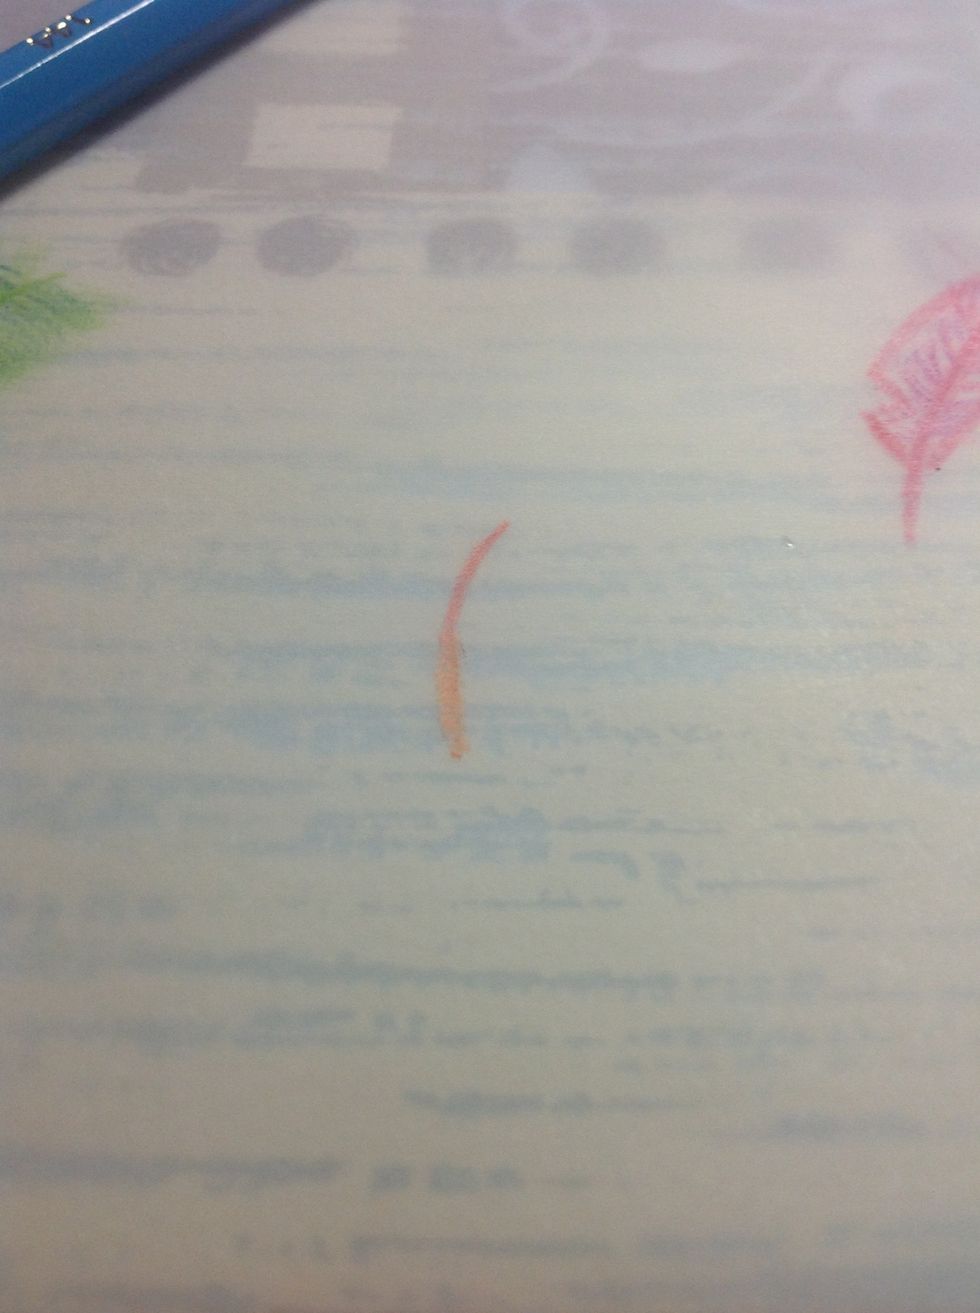
And add orange to it, remember to overlap it slightly,
And yellow.........
Our greens, blue and PURPLE..................
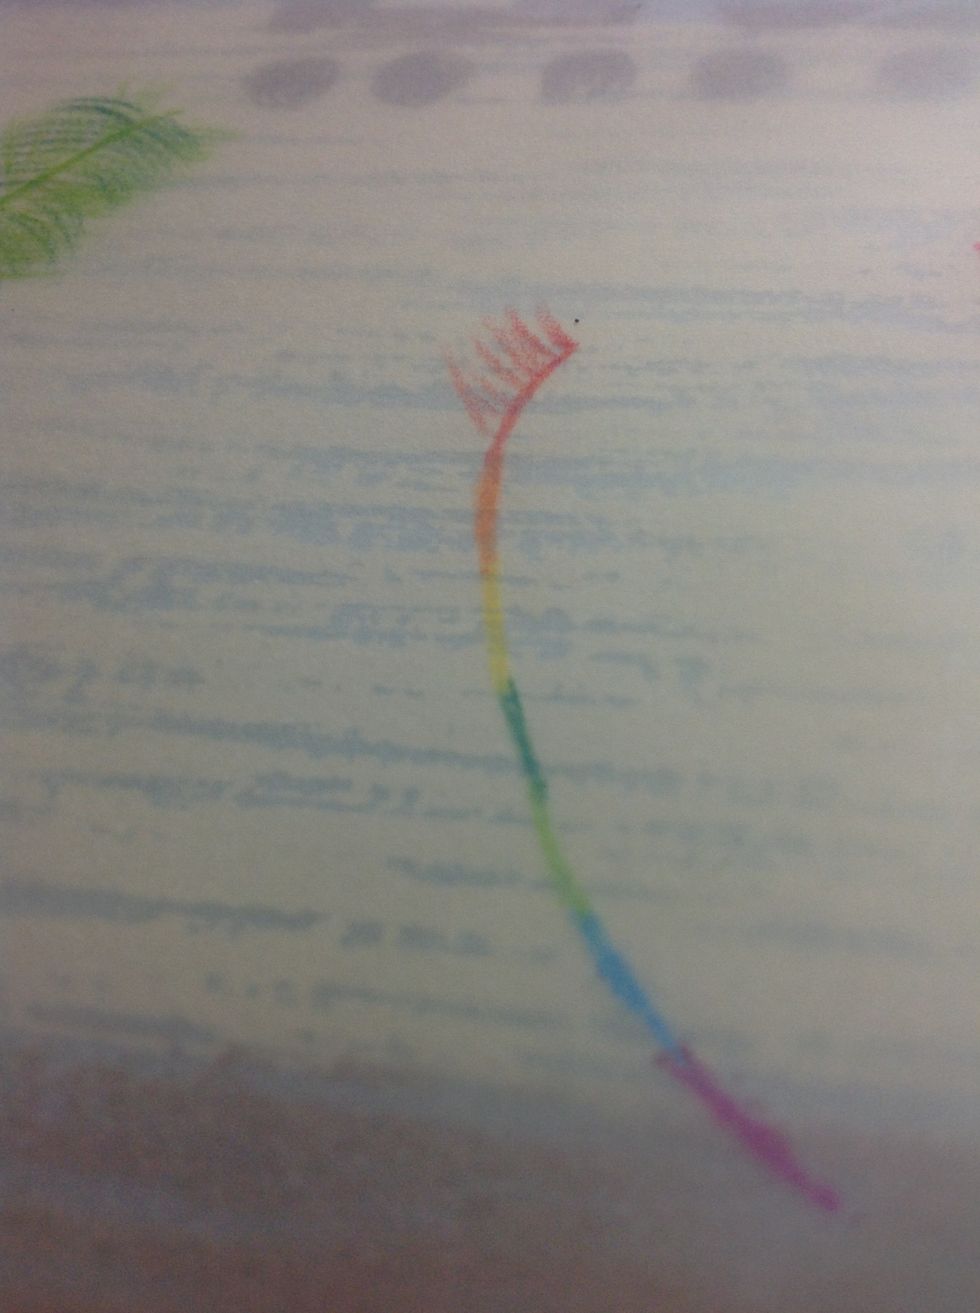
Now, add the strokes up till the red center line end.
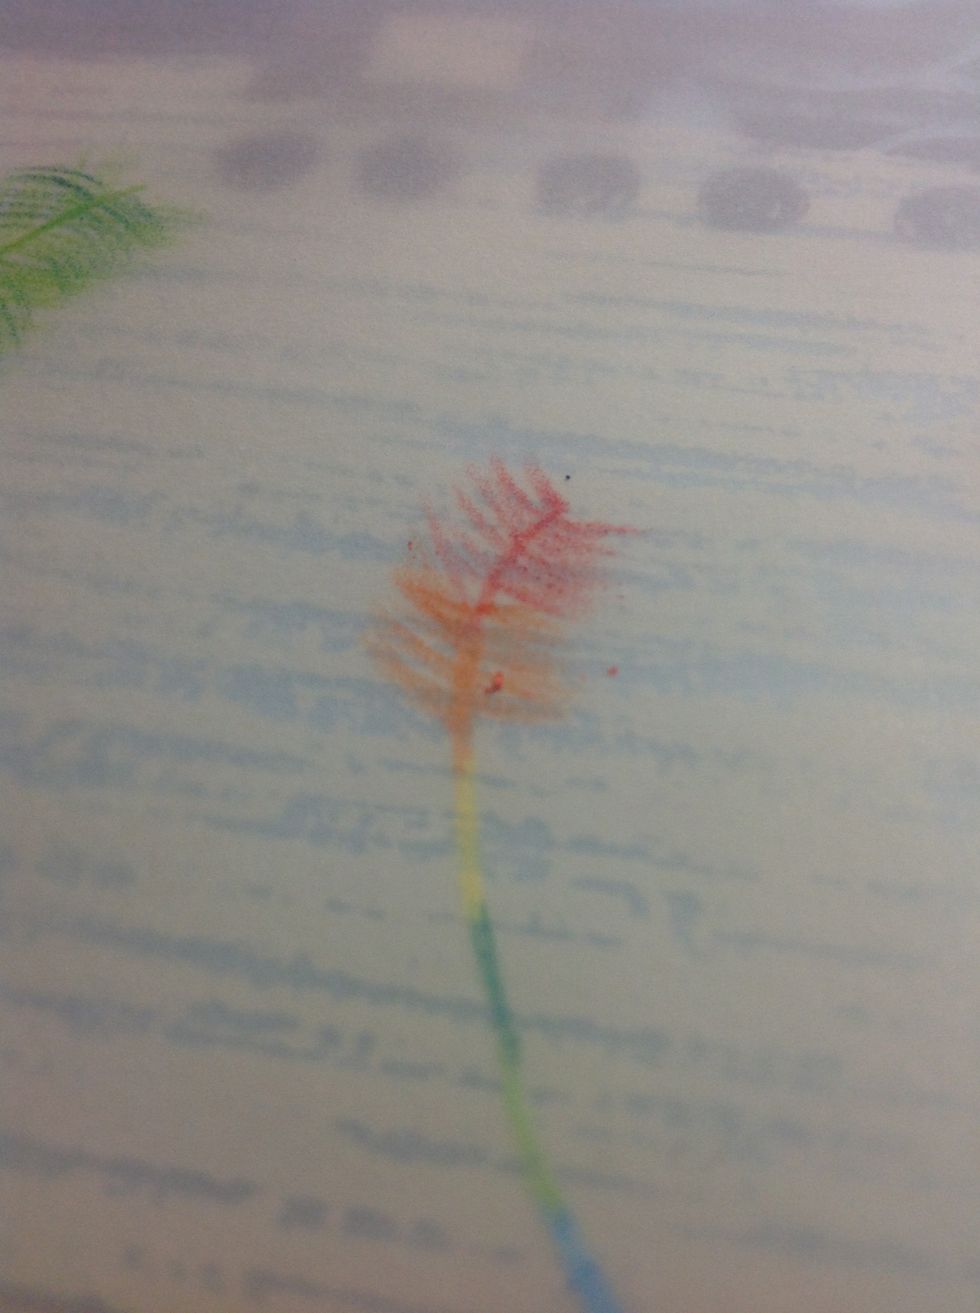
Now the orange
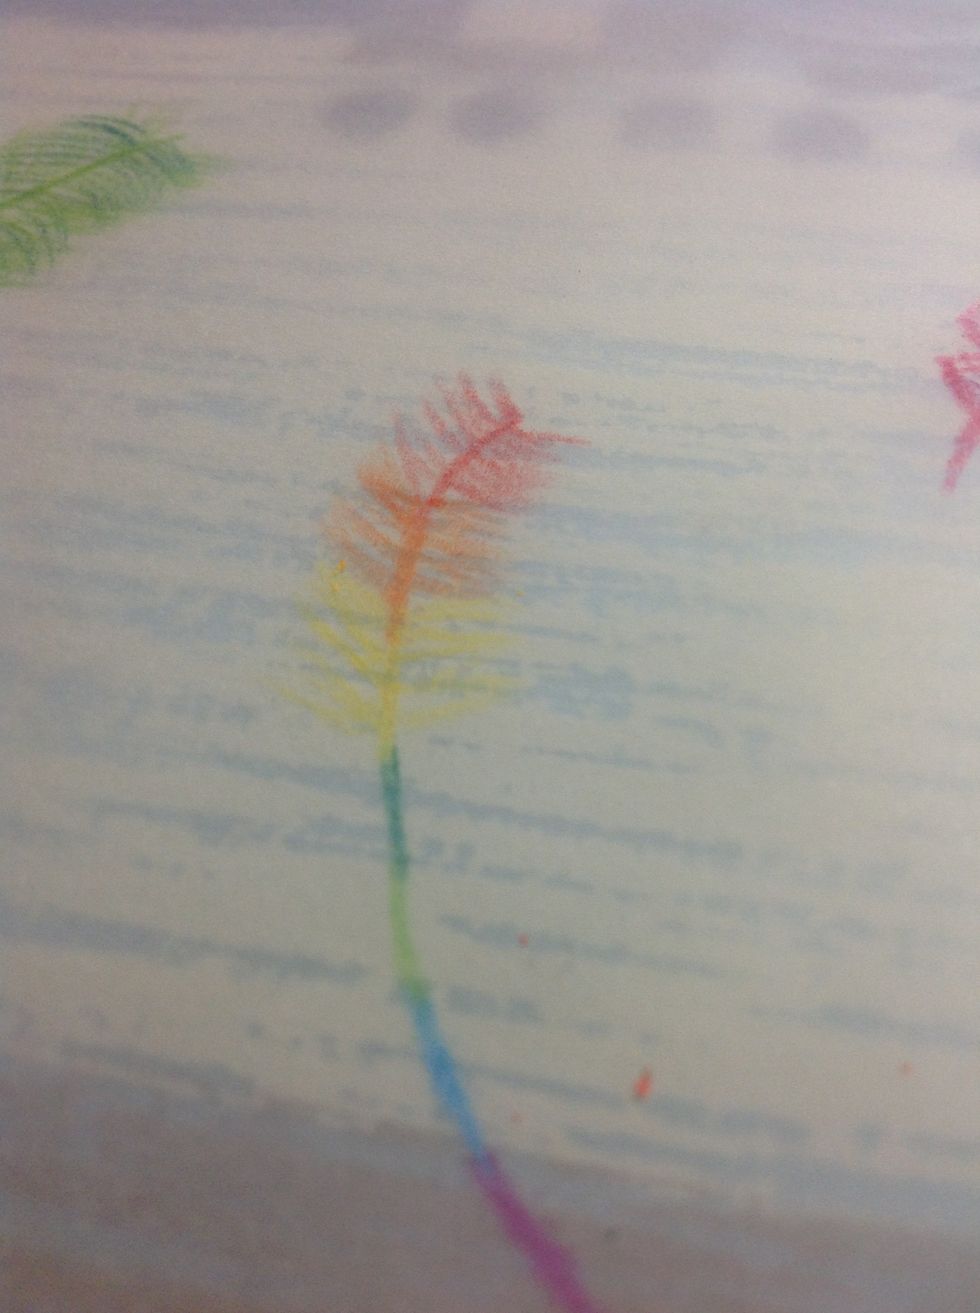
Yellow
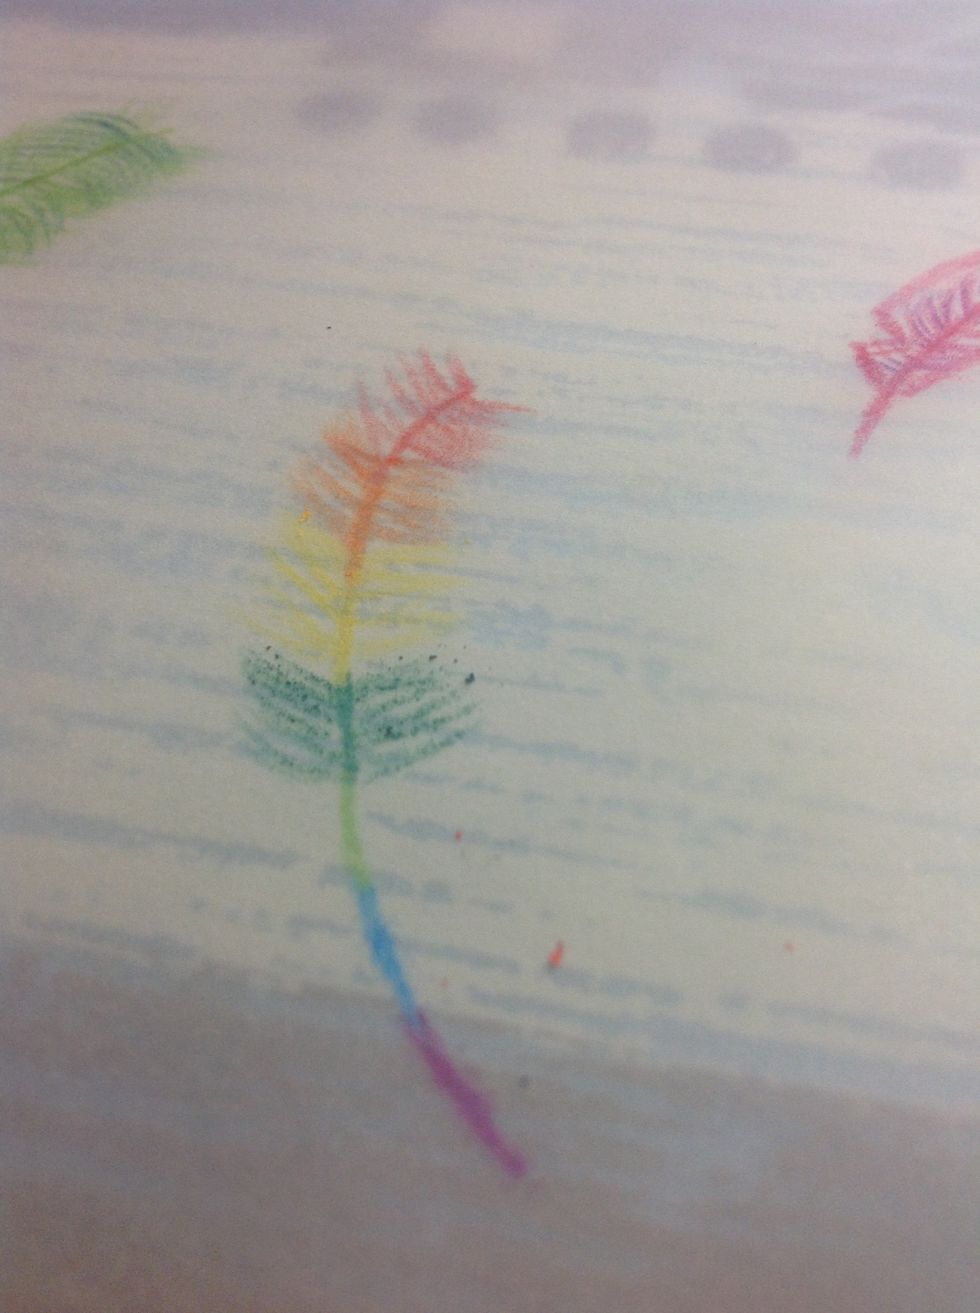
Green
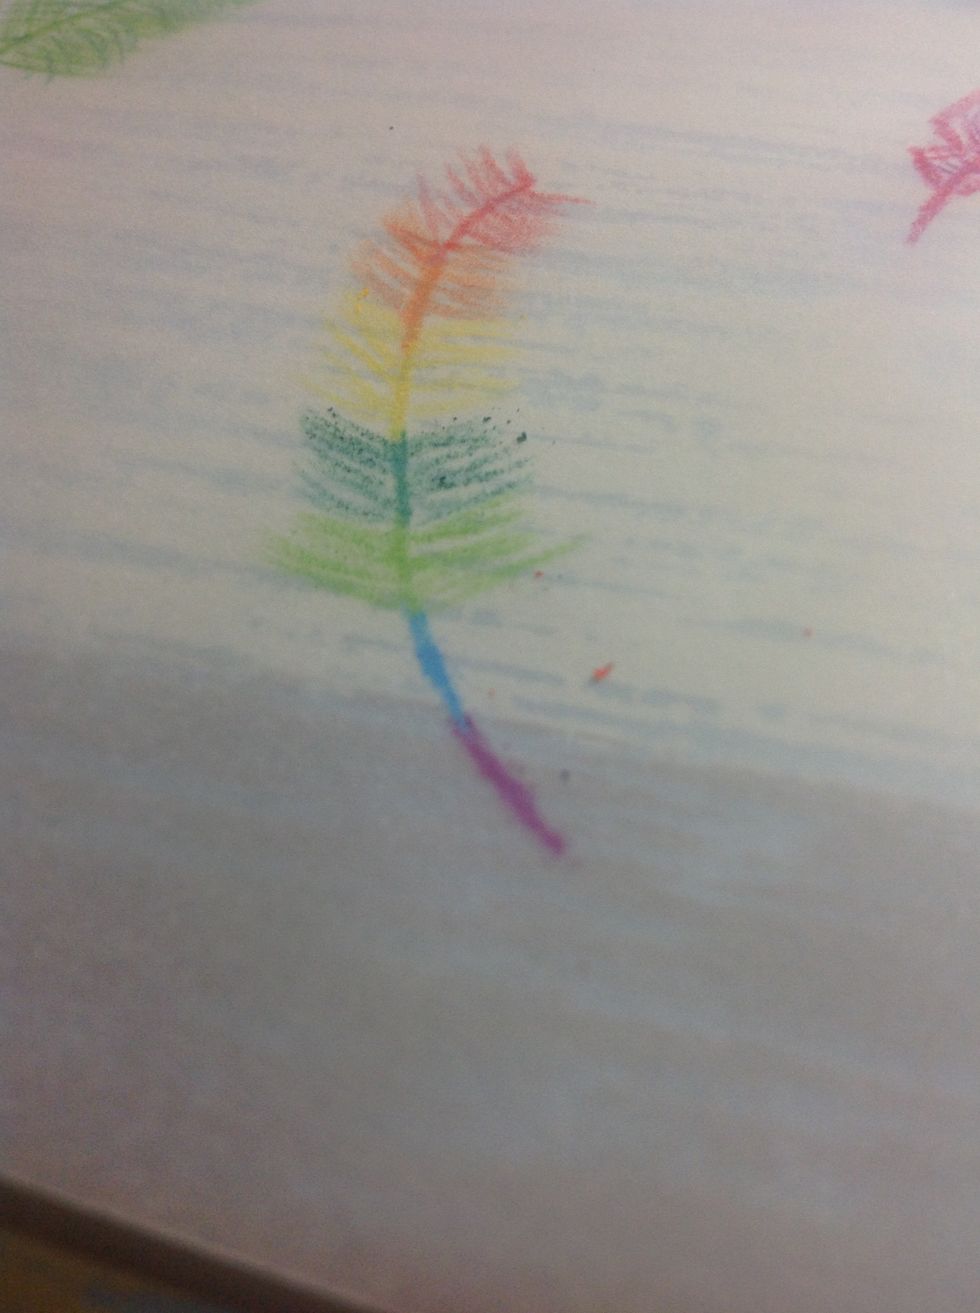
Light green
Blue
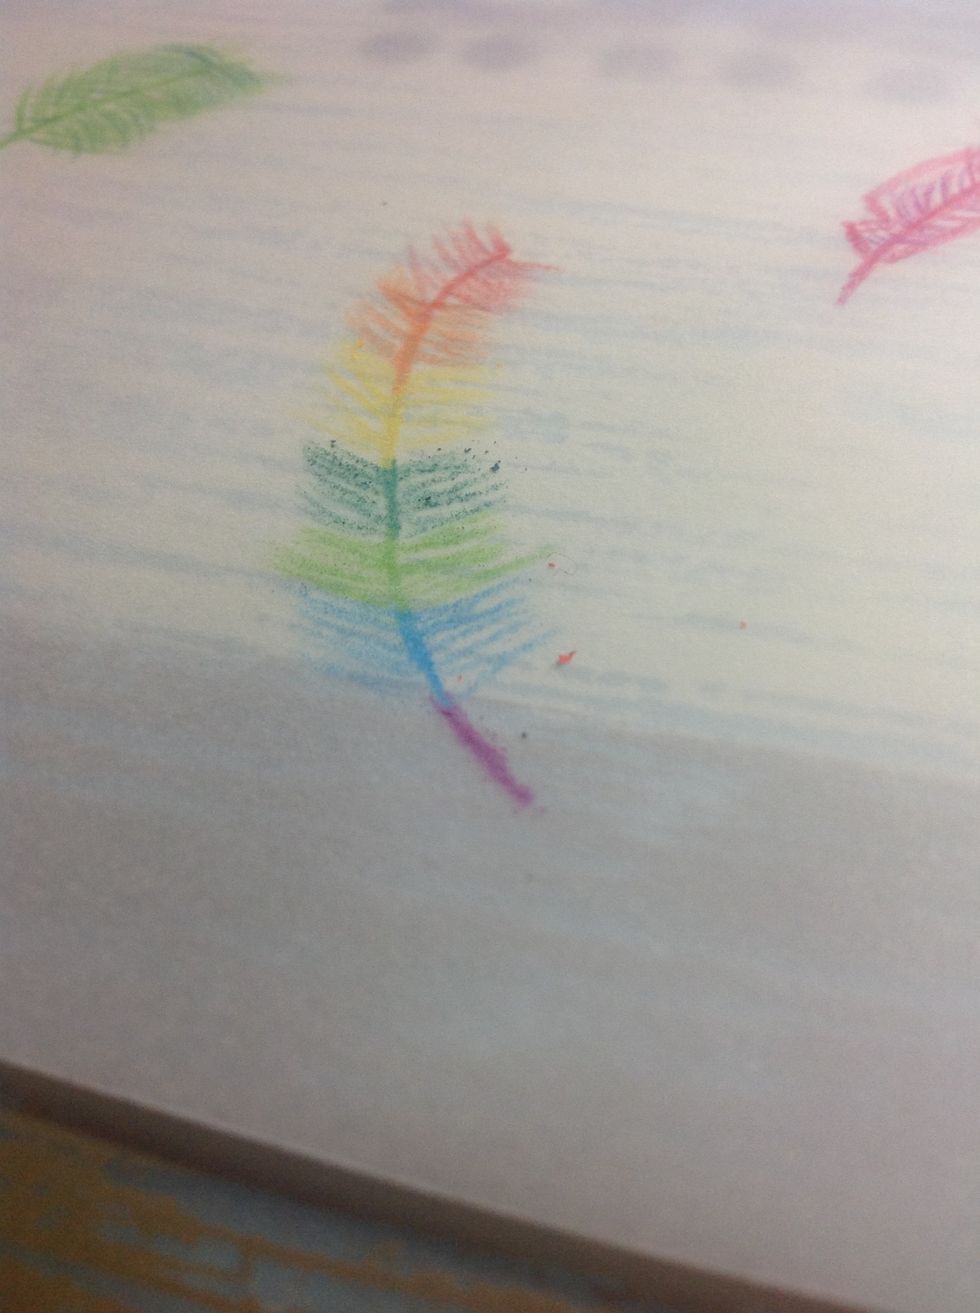
And PURPLE. Make sure you leave a bit of space at the end
Now lets make a patterned feather. I'm starting off with a dark blue, draw the center line.
Lightly, like really lightly draw the feathers on, this will be your guides when designing the pattern.
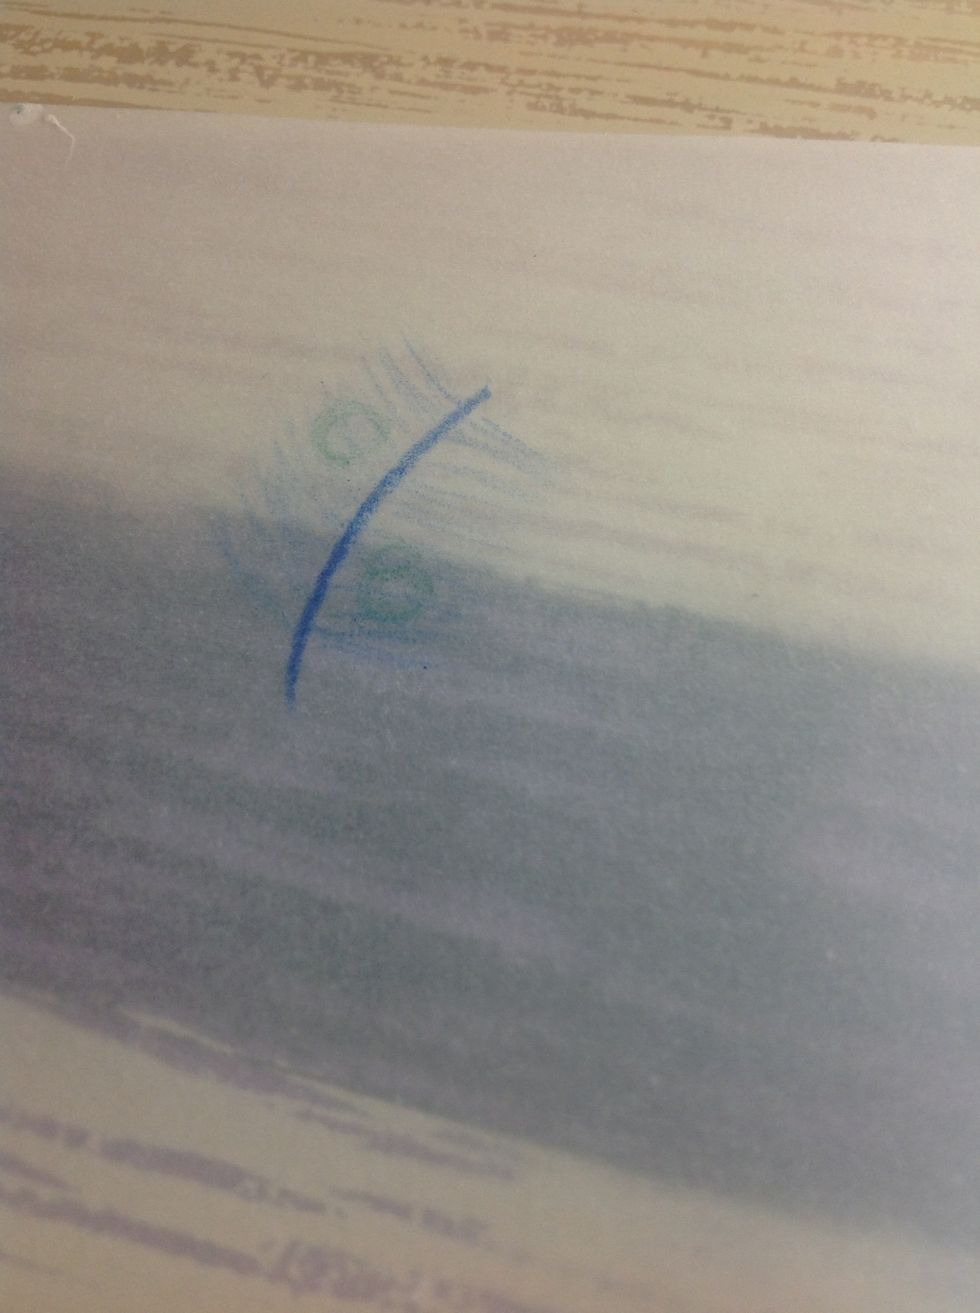
Using the color of your choice, I'm using green, lightly draw circles on the feather.
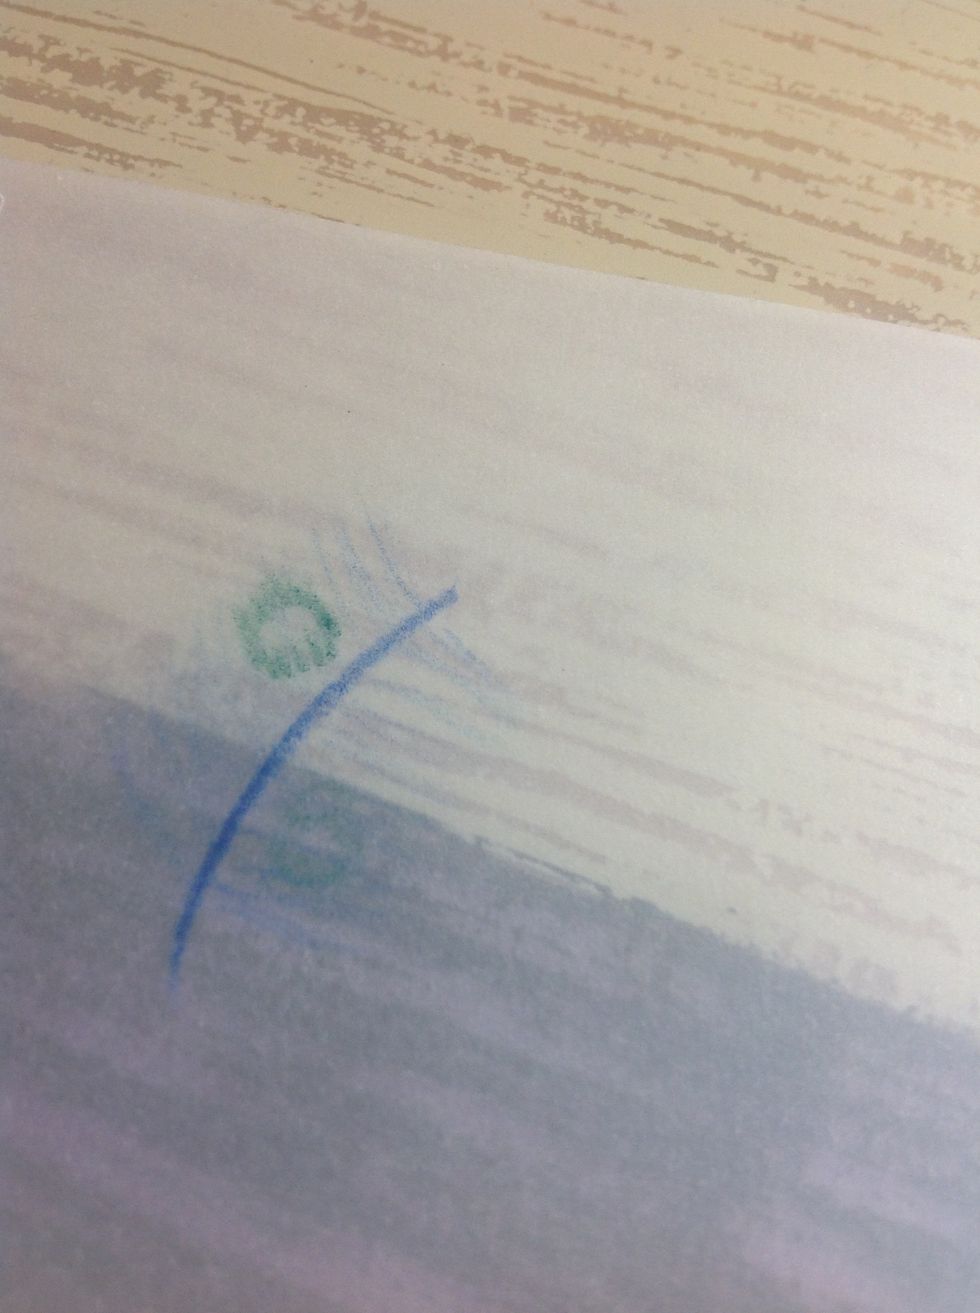
Now, following the blue strokes, stroke the outline of the green. This time you don't have to do it lightly anymore.

Now I'm adding light green circles. And repeat the stroking
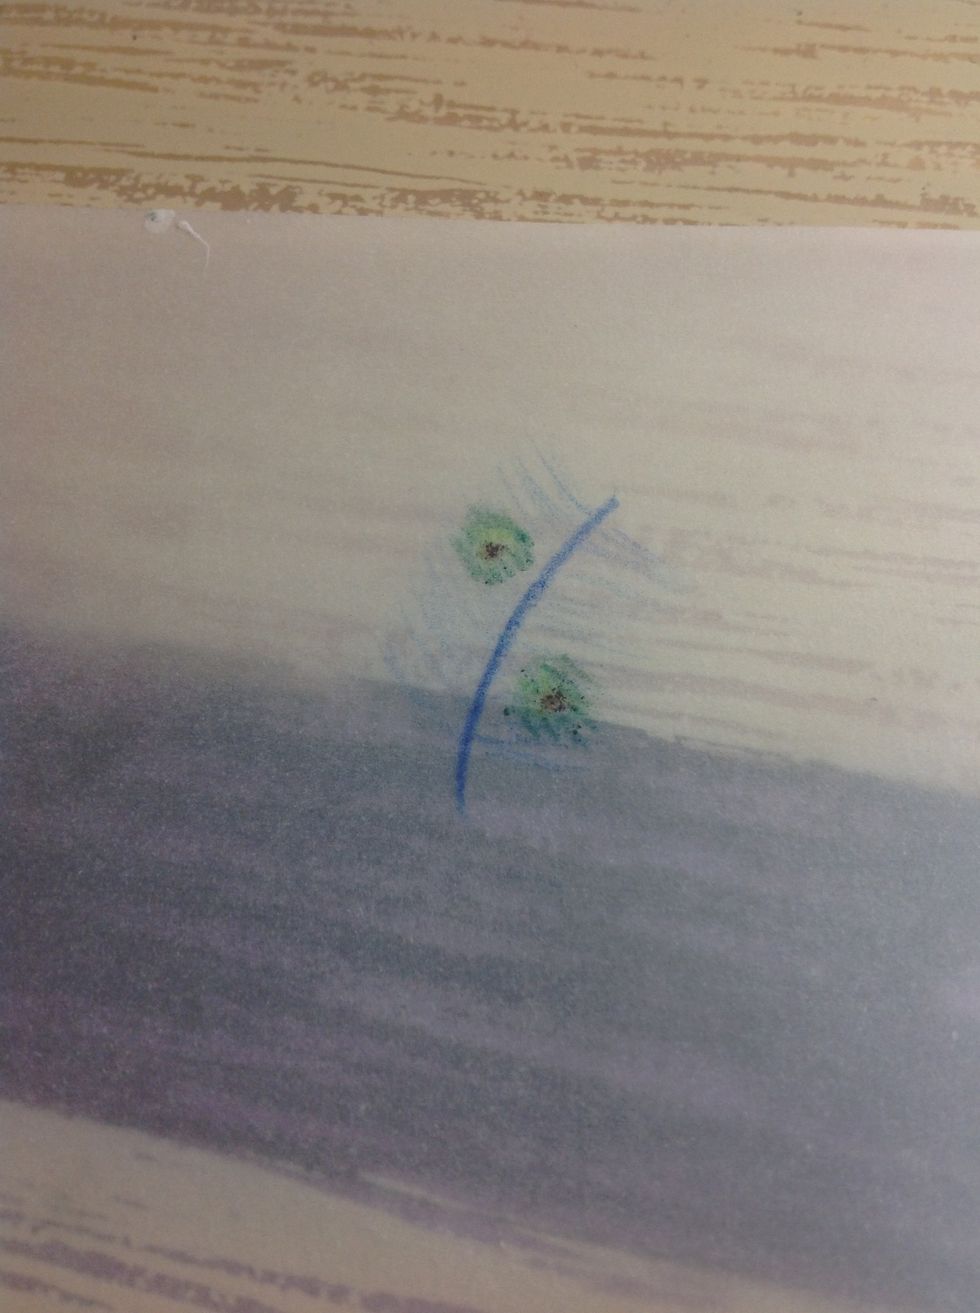
Now I'm adding a dot if brown. You really don't have to do any stroking for the dot.
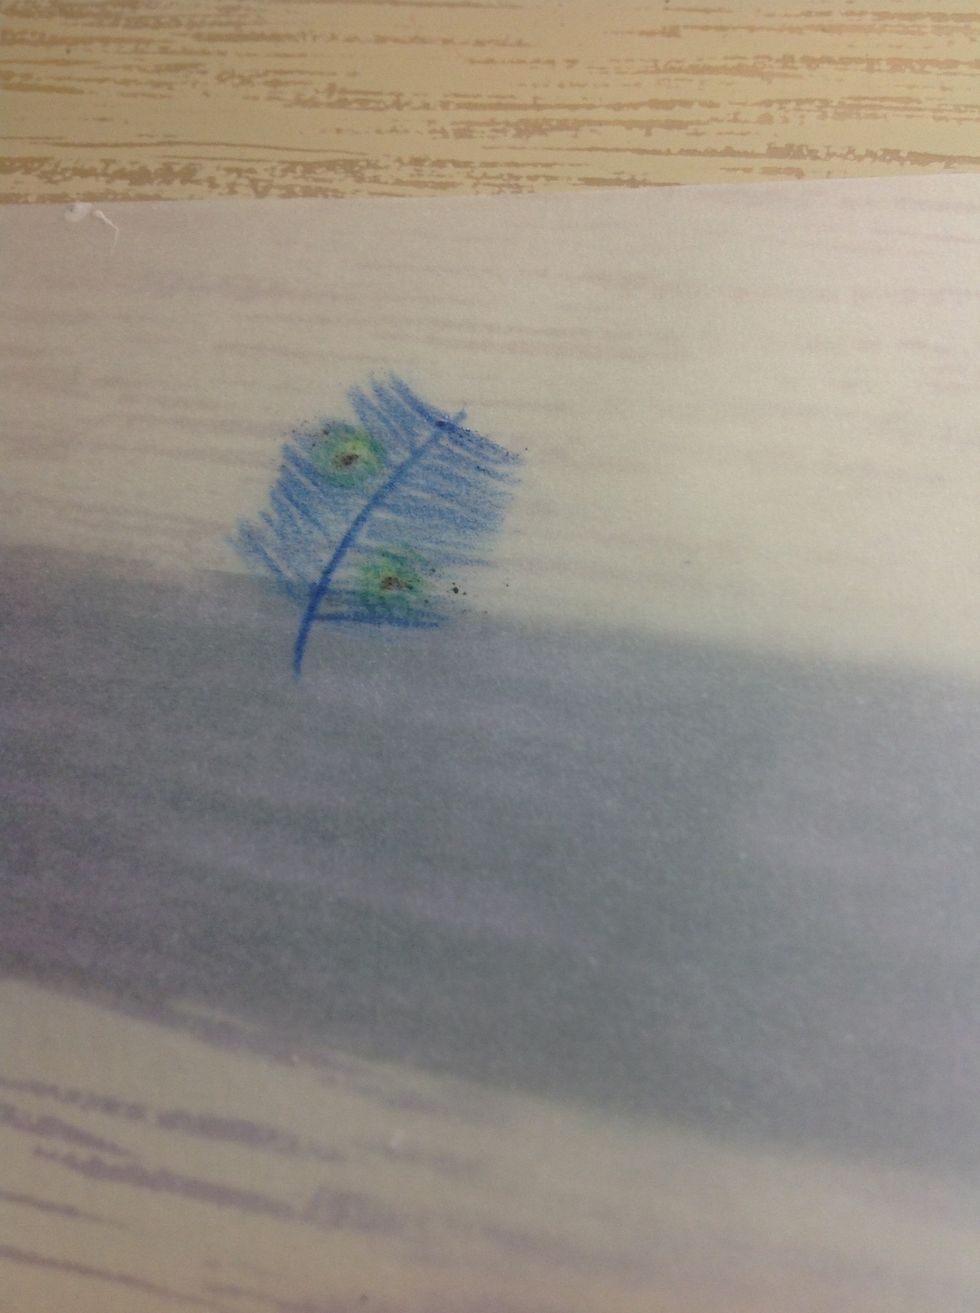
Now take the dark blue and draw the feathers boldly, go over the circles lightly. And that is the technique to making designs/patterns
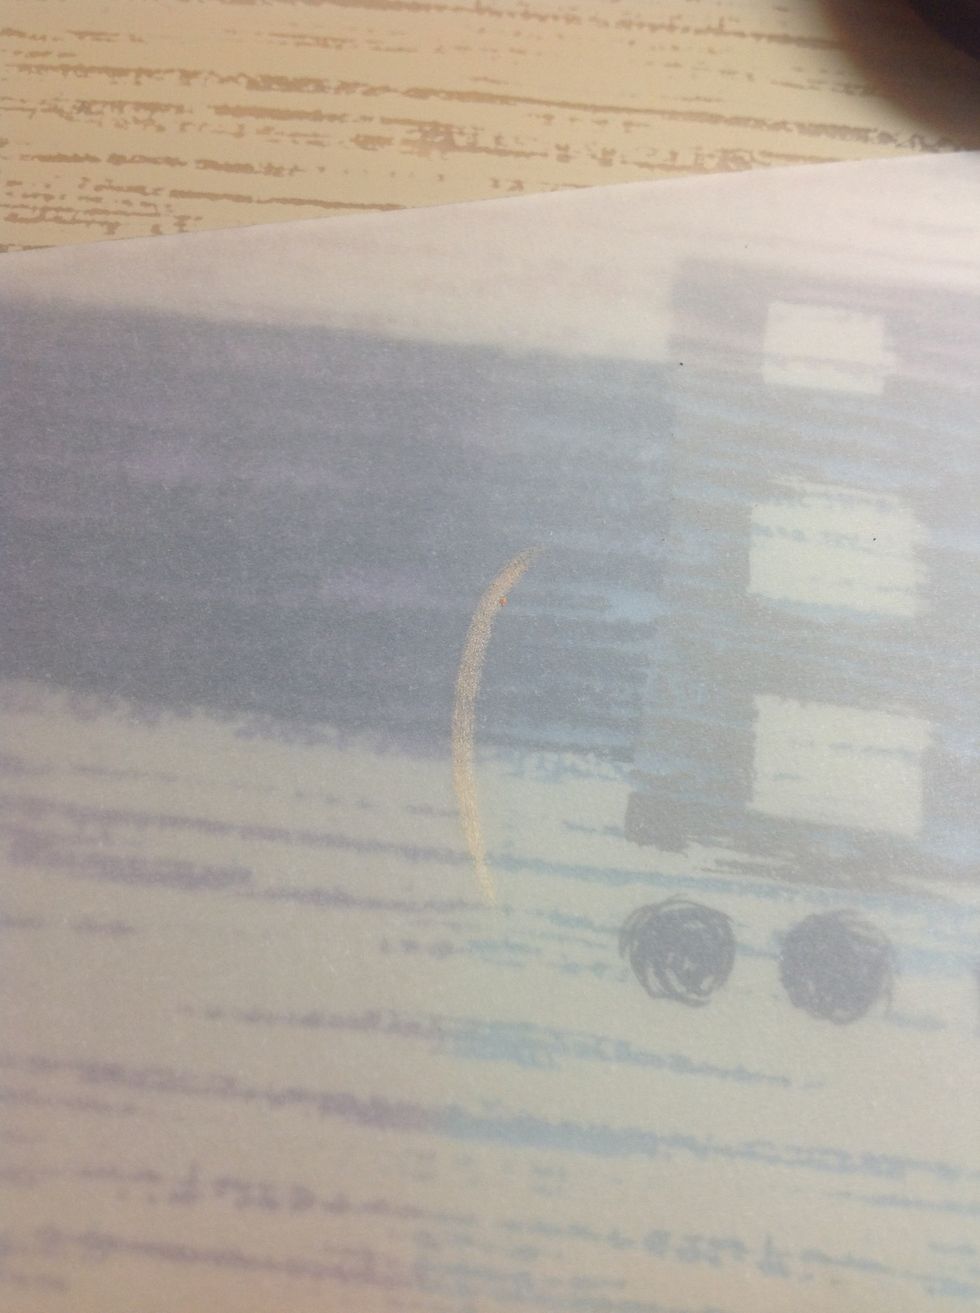
Now lets do a leopard print. :) Using peach, draw the center line.

Now lightly draw the feathers on, again, these will be your guides.
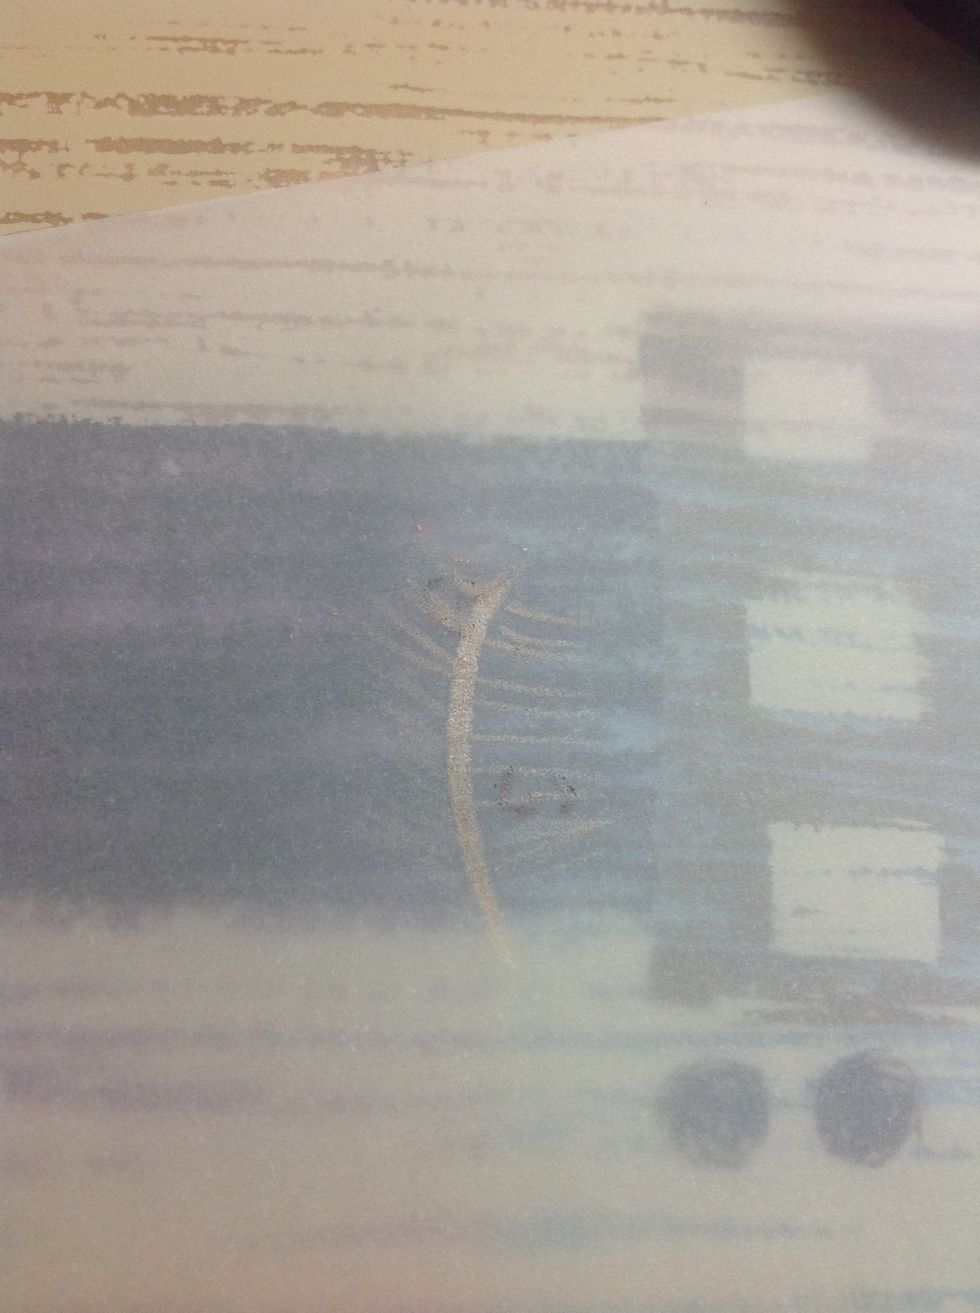
Now, using brown, lightly draw c shapes and inverted c shapes facing each other, adding dots in-between some of them
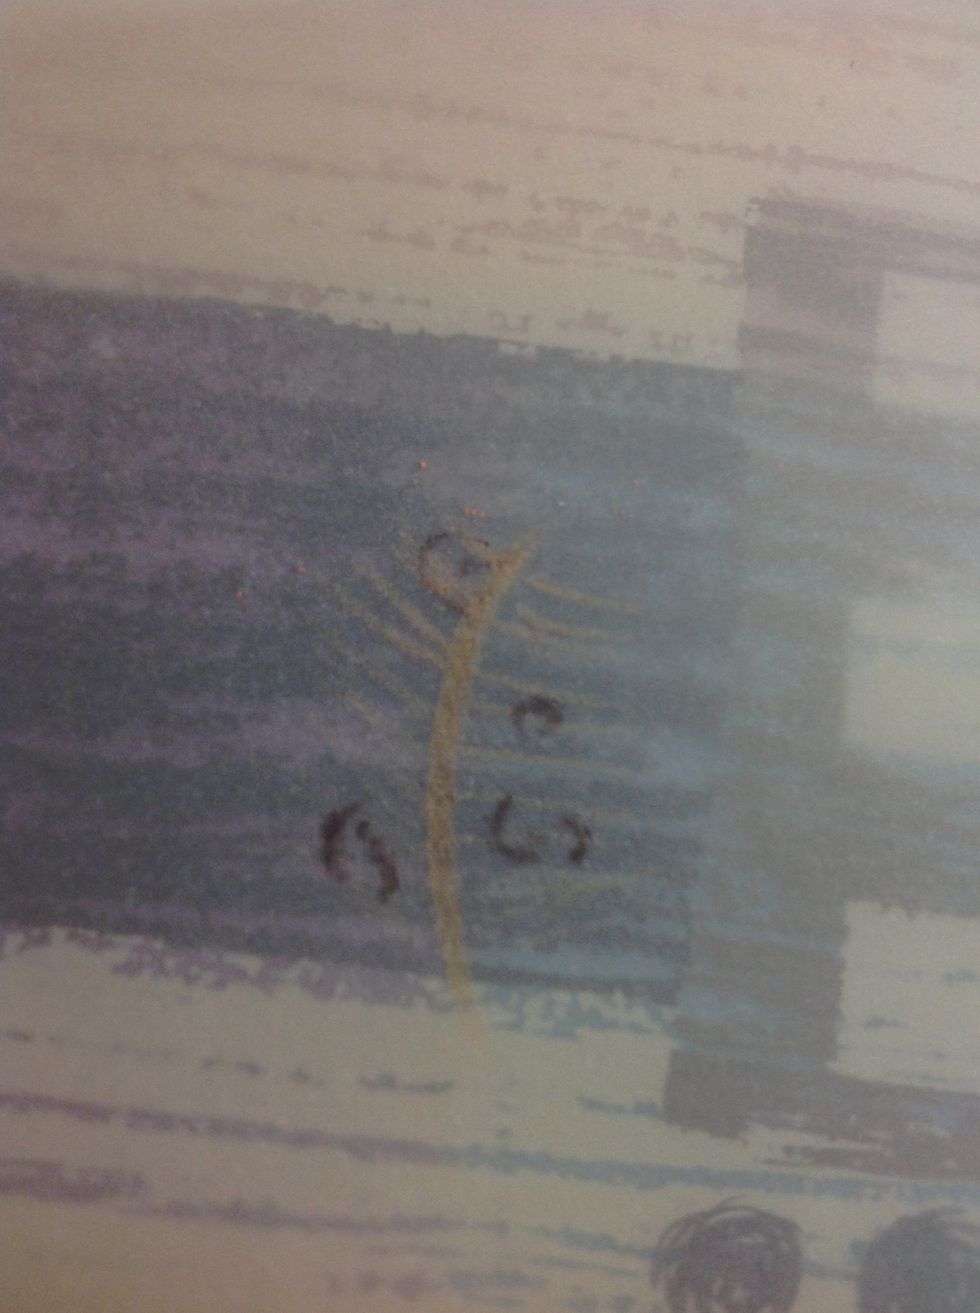
Here I darkened it up a bit for the camera
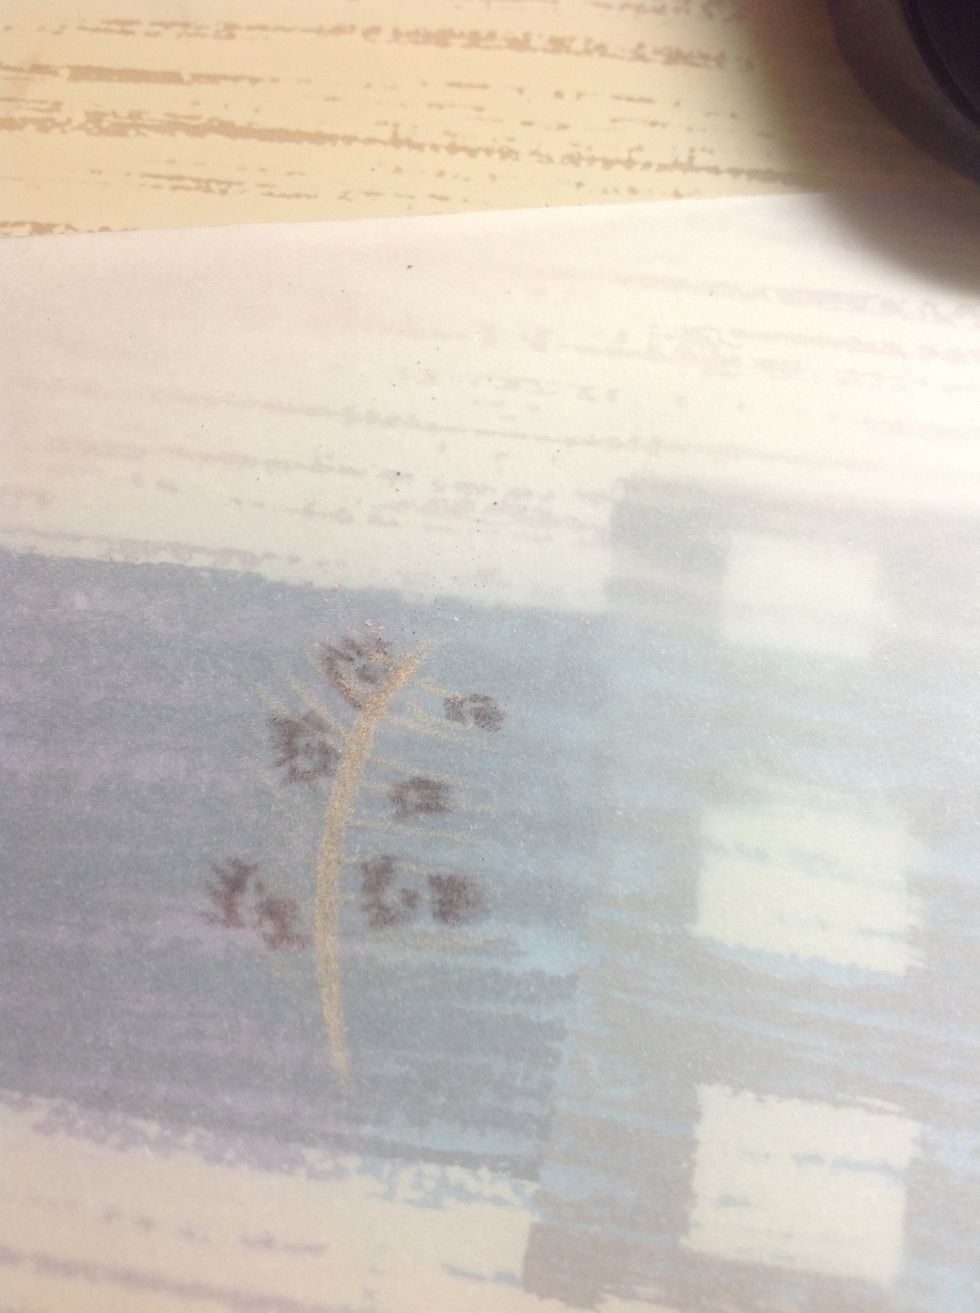
Now lets STROKE on the prints
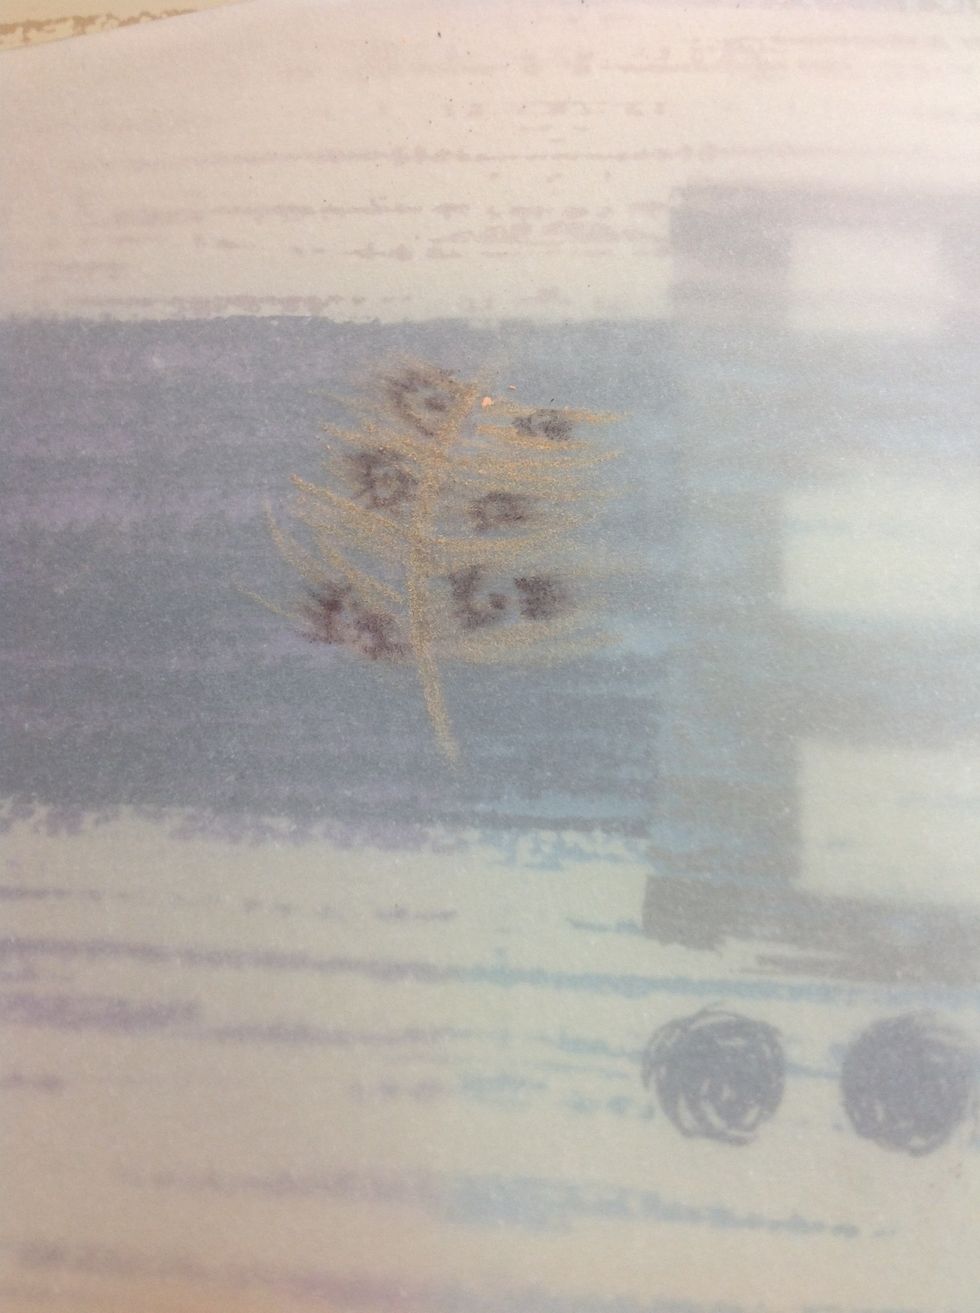
Darken up the peach feathers, remember to go lightly on top of the prints
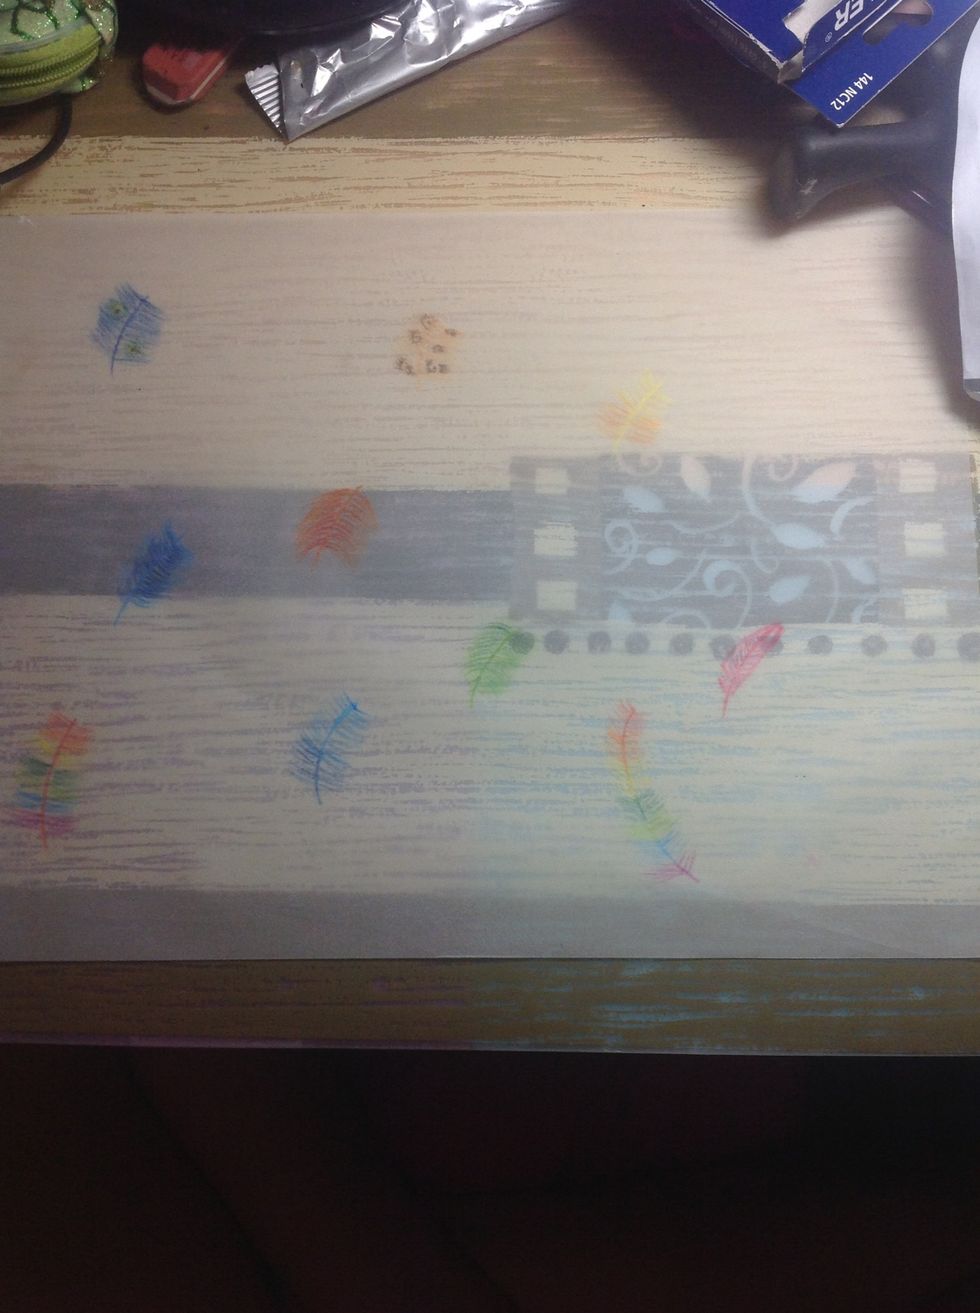
And wah-lah! These are quick and simple! You can draw them within 10-15 minutes!