The Conversation (0)
Sign Up
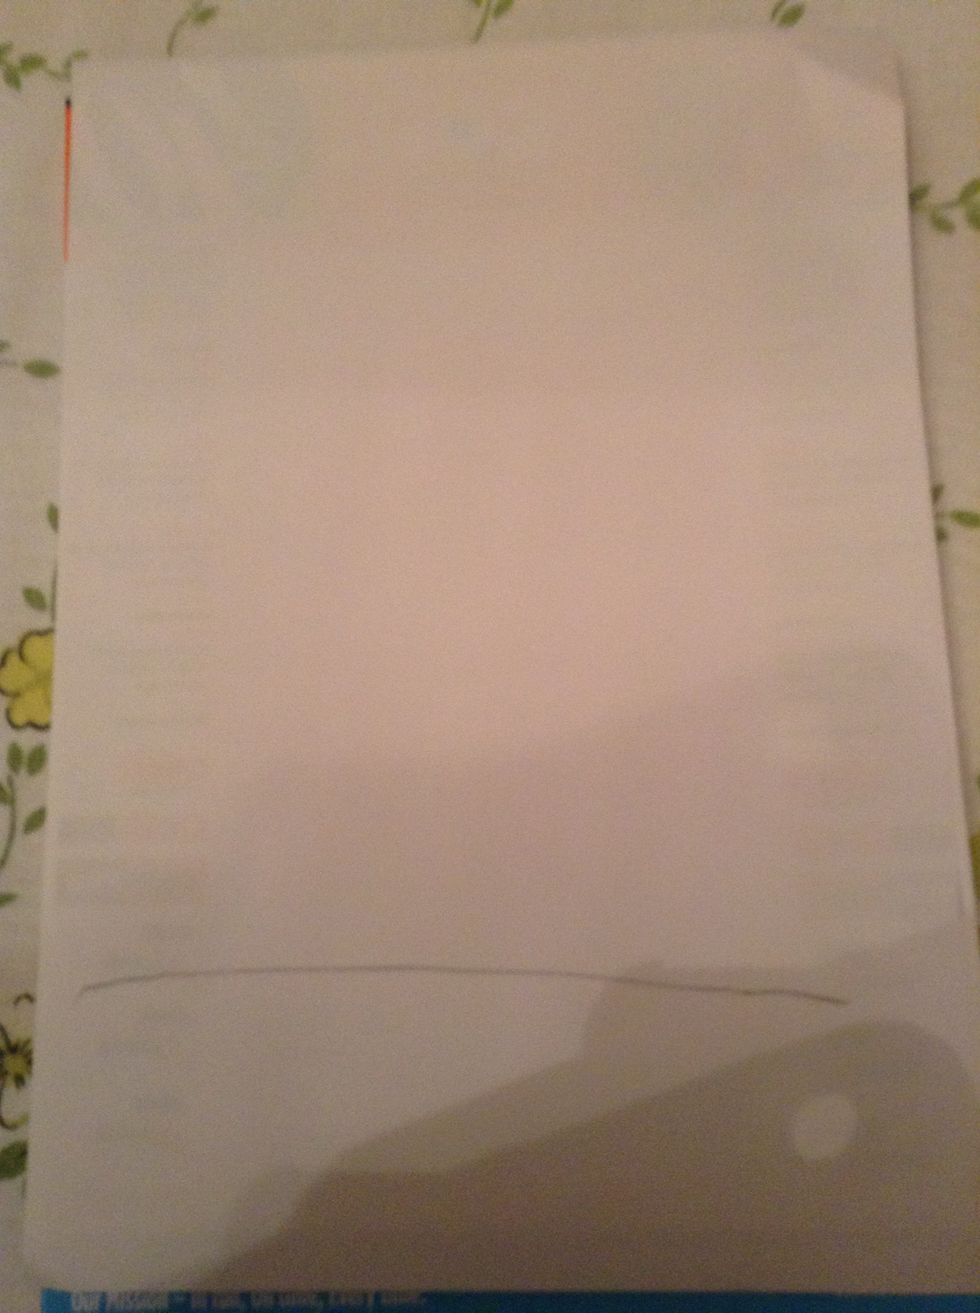
First of all draw a line so you know where to put Olaf.
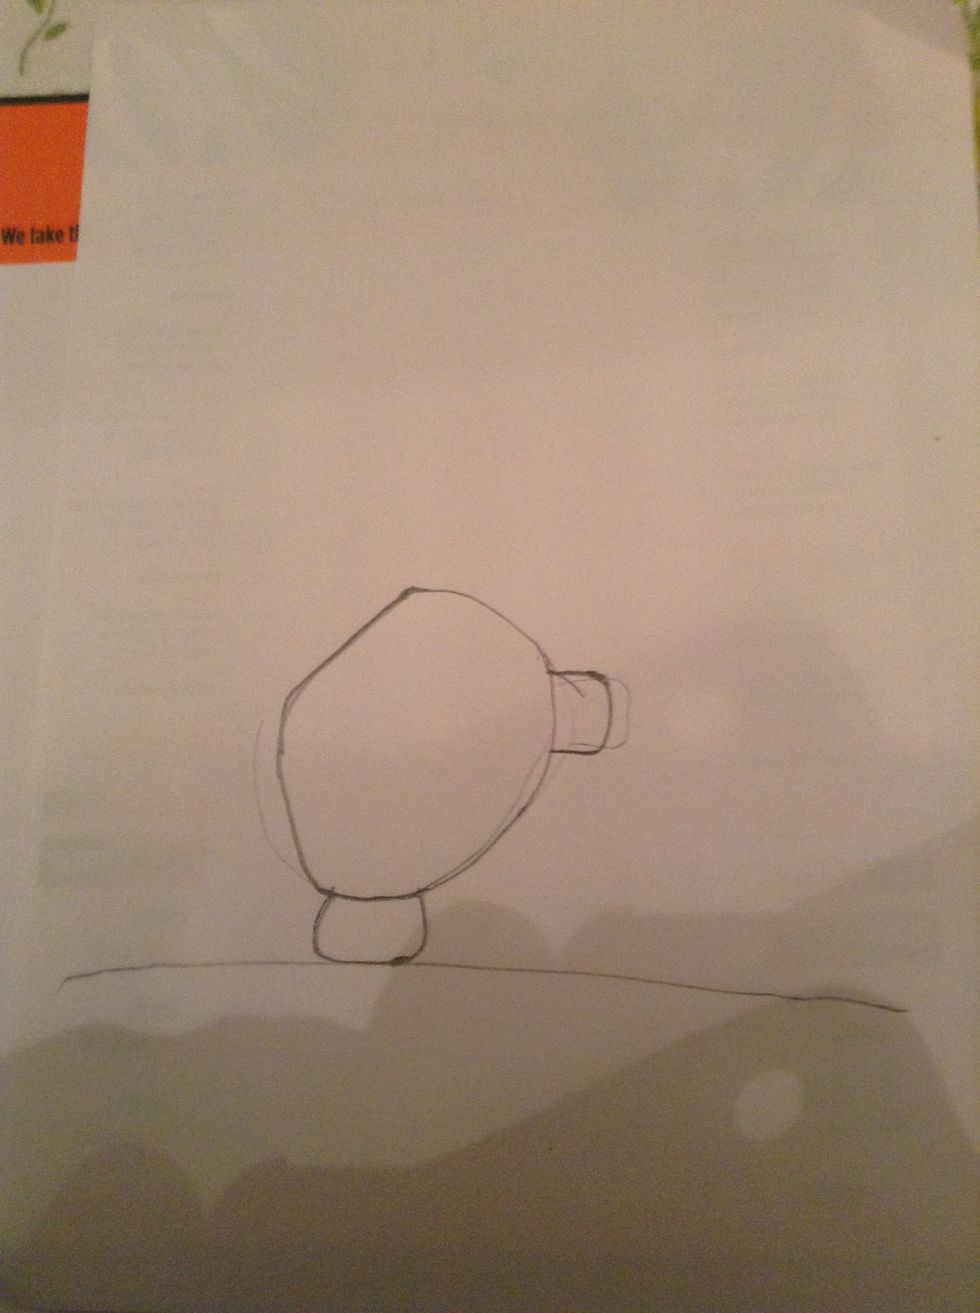
Then draw his bottom foot first followed but his body and his other foot. Put Olaf's body more on a angle than straight.
Next draw the top part of his body. Leave a gap at the top so we can put Olaf's head there.

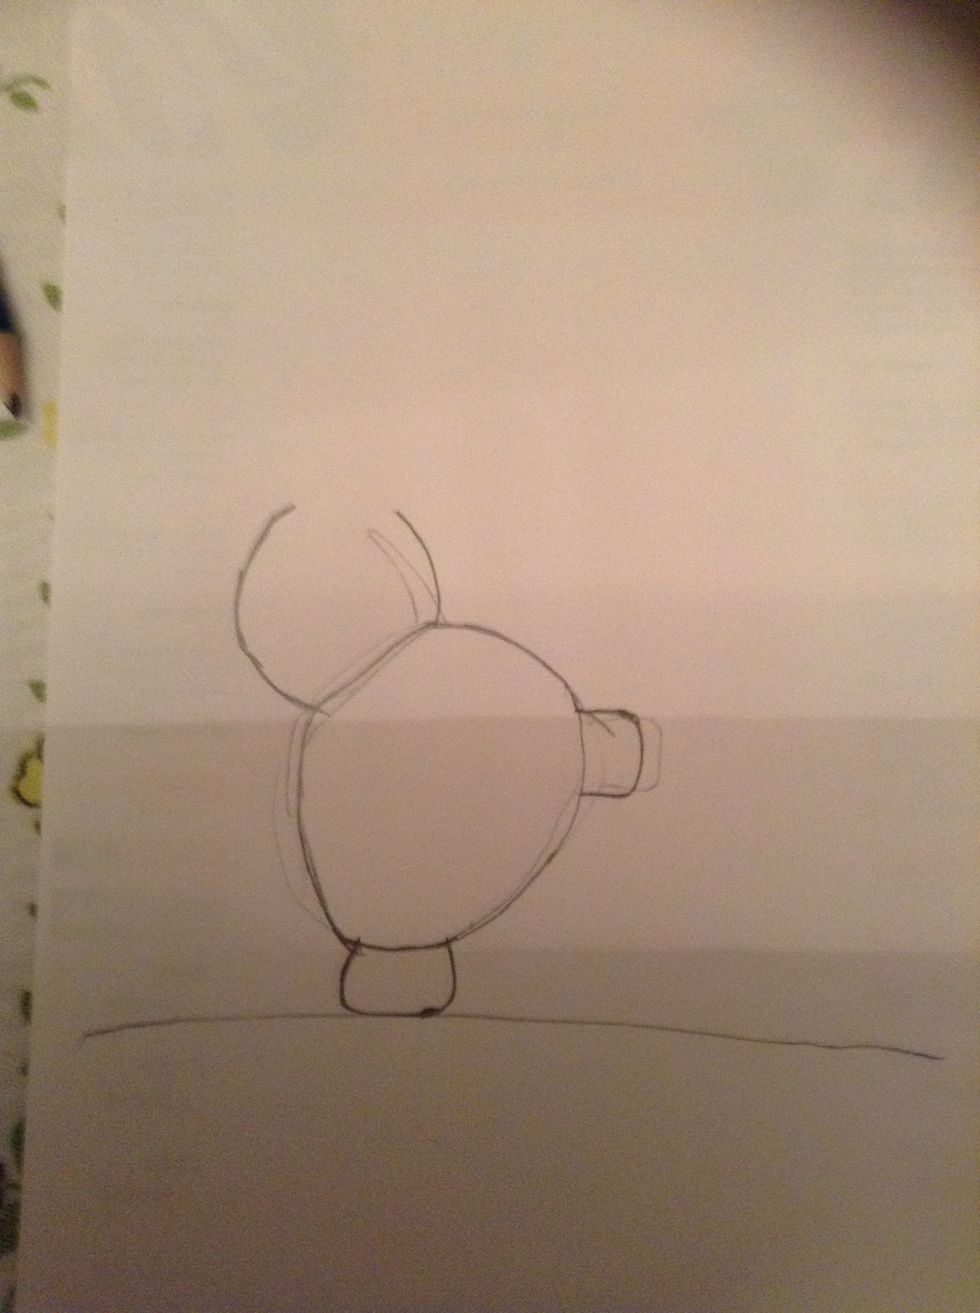
Then draw his head on a slight angle. You can always go back over it if you don't like it.
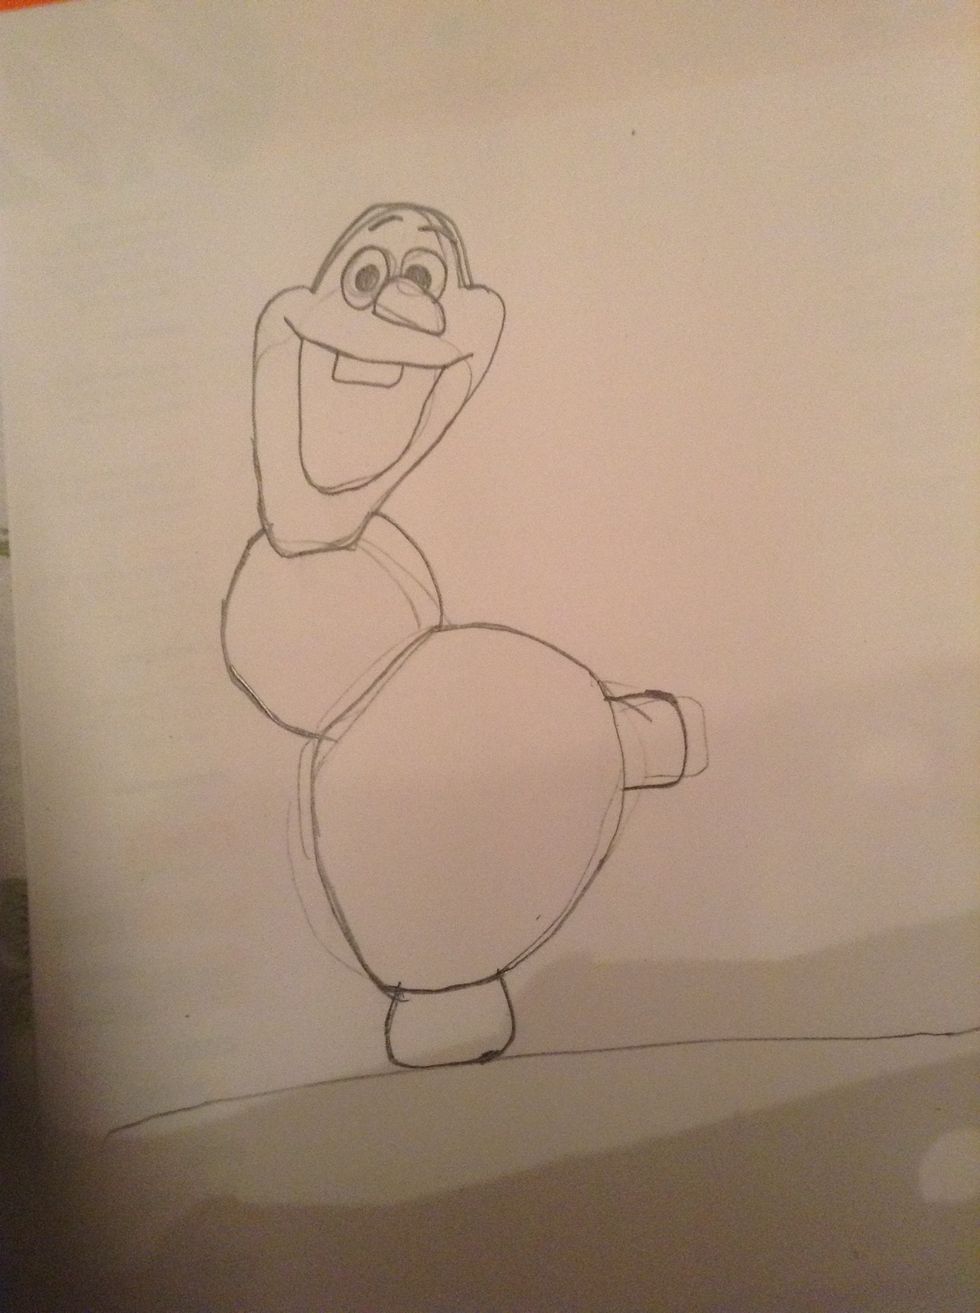
Next to draw his face.
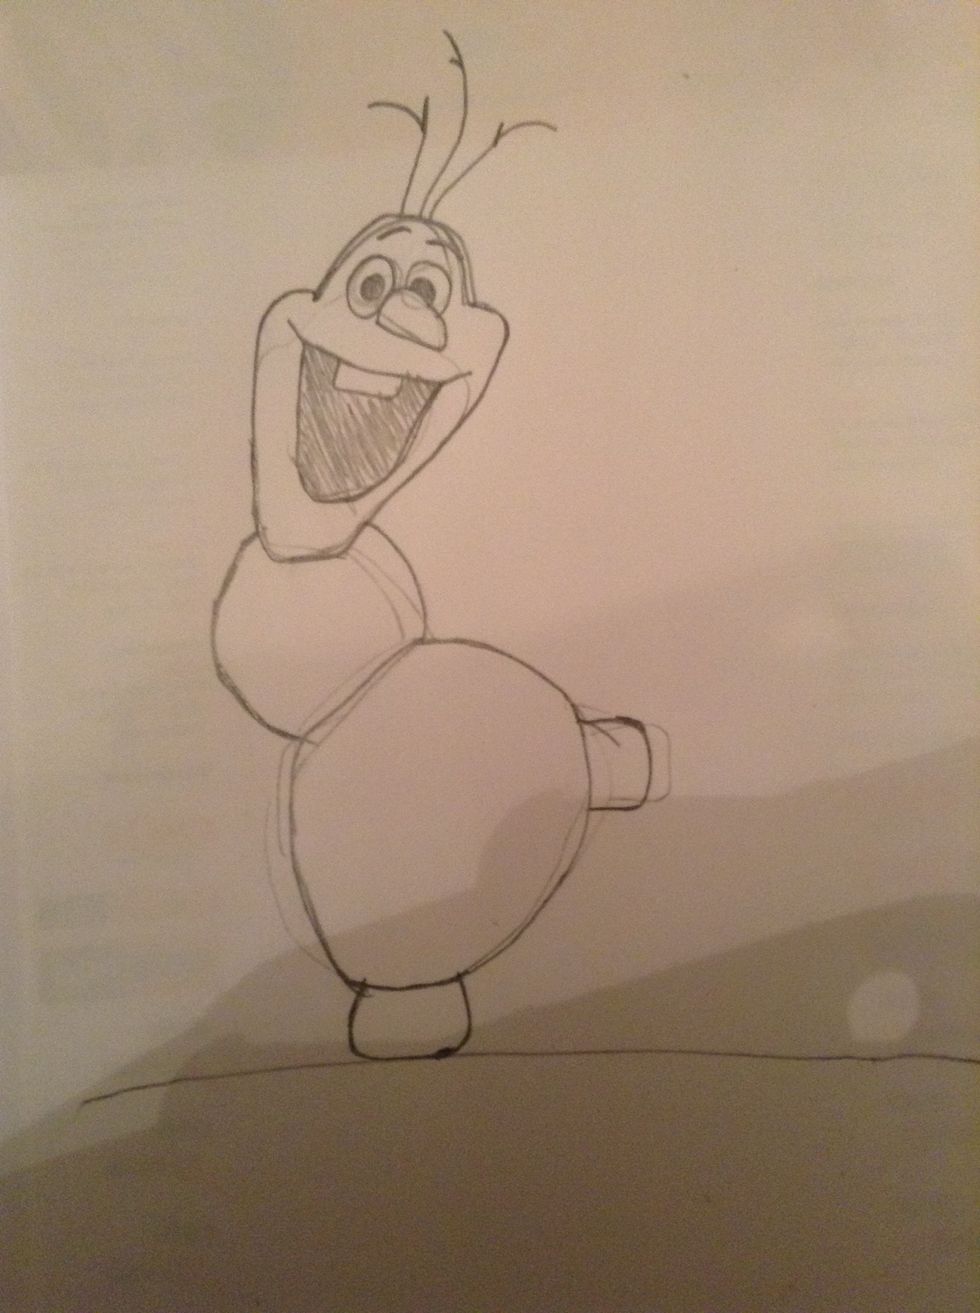
Draw his hair (sticks) on his head.
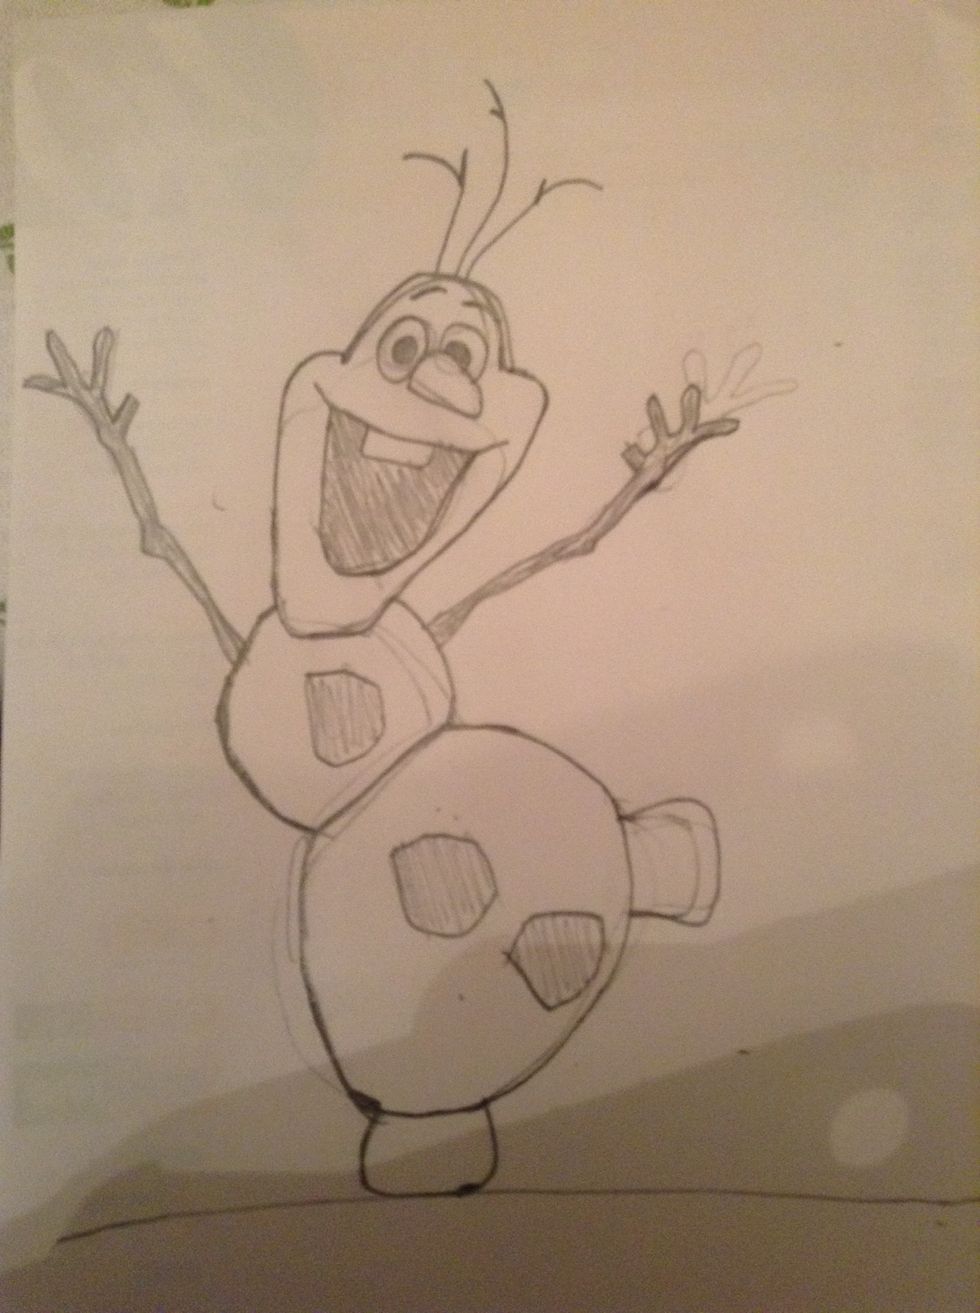
Then draw Olaf's arms and buttons. The buttons aren't exactly round they have a bit of corners.
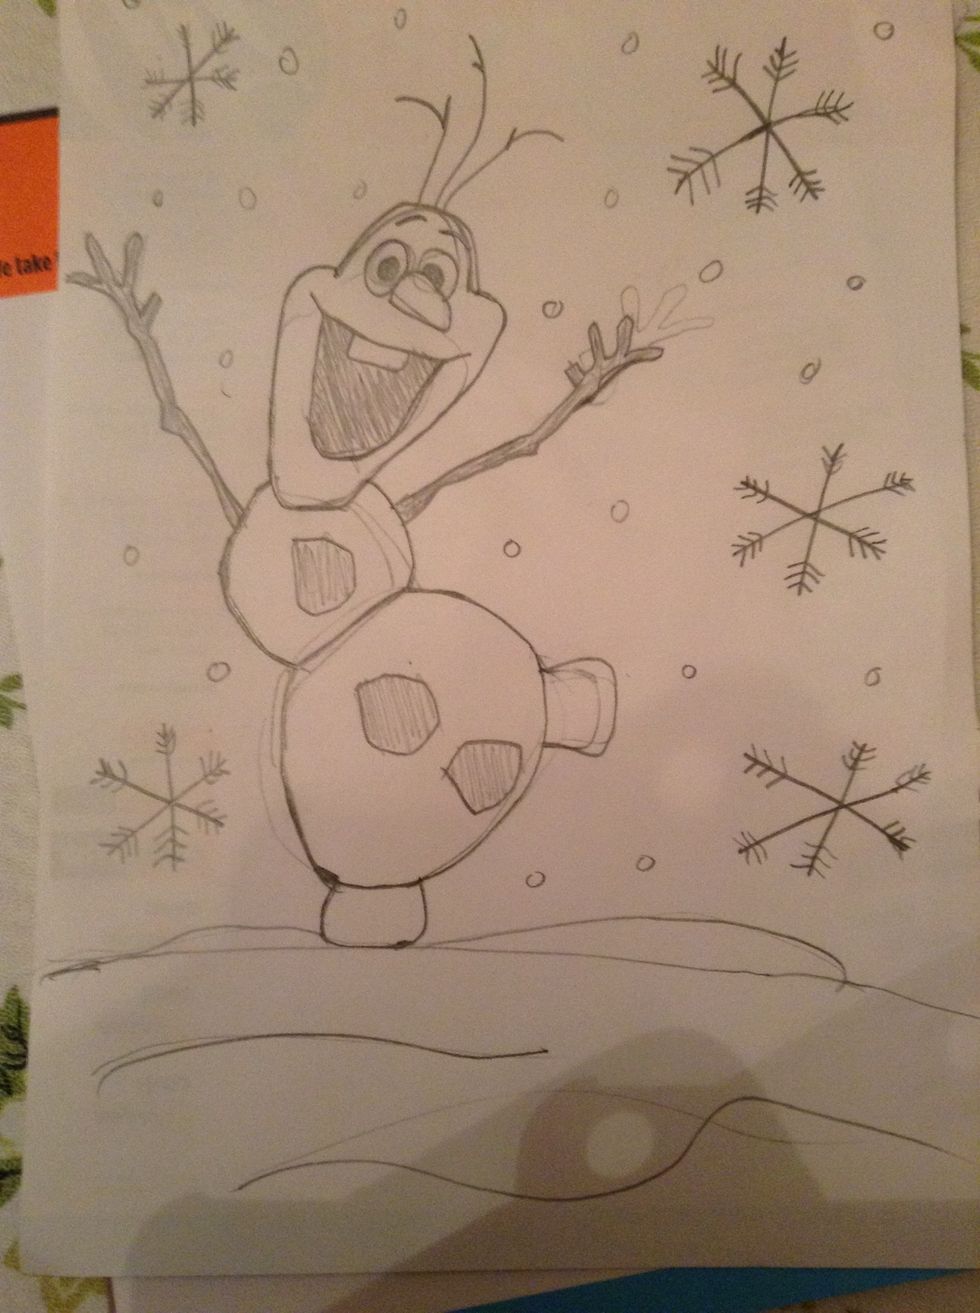
When you have have finished drawing Olaf you can also add a back ground for a great effect.

Finally colour Olaf in. It is an effective and great piece of art. Now show of to your friends.😉