The Conversation (0)
Sign Up
First you want to get Procreate for iPad. It's $4.99 on the app store.

Make sure you have a good stylus. I highly recommend a Nomad Compose from nomadbrush.com.

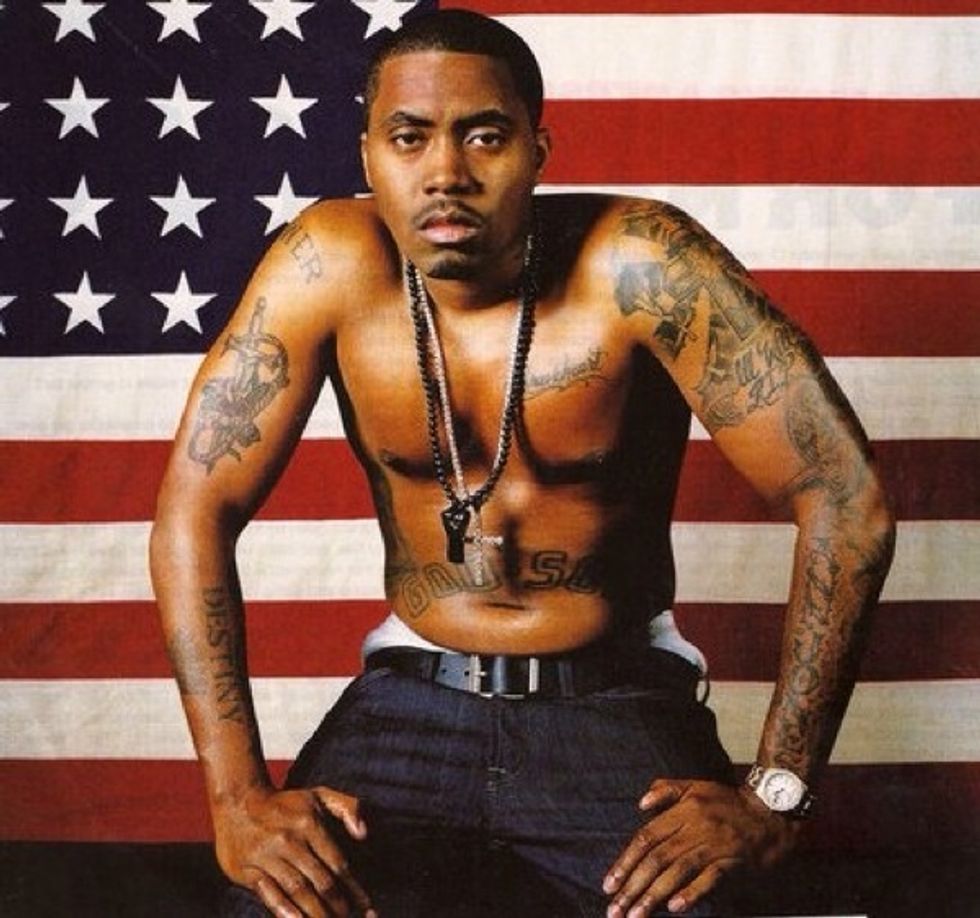
Here's the reference photo. I keep this on my iPhone and iPad as I work. I'm a stickler for details so I often use the eyedropper to get all of the individual colors.
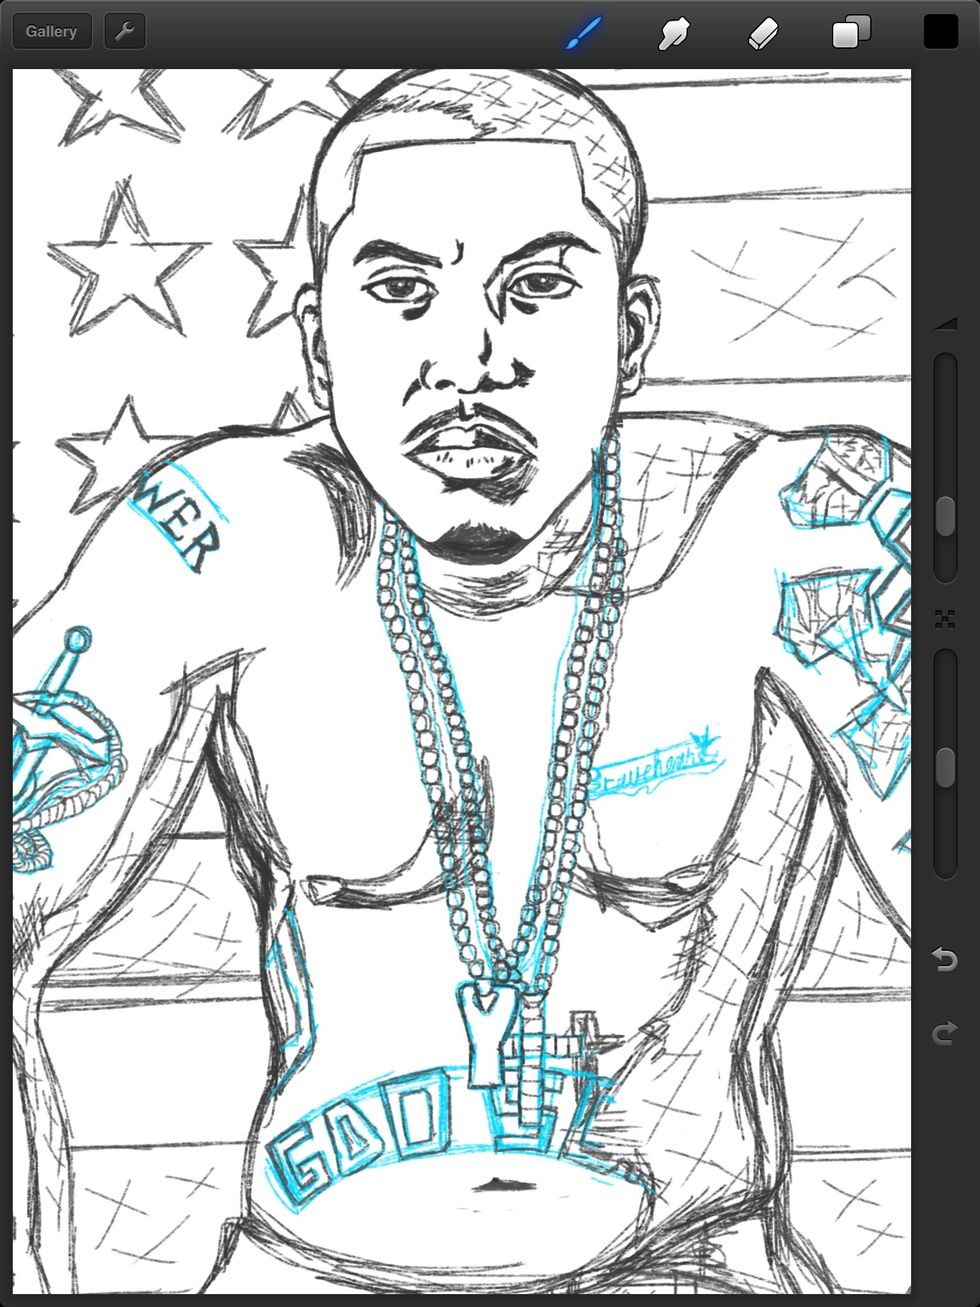
I lay down a rough sketch in blue and another graphite layer for more detail. As I draw I'm measuring all the little details. How many tattoos can I see, how is his head shaped? It's all important.
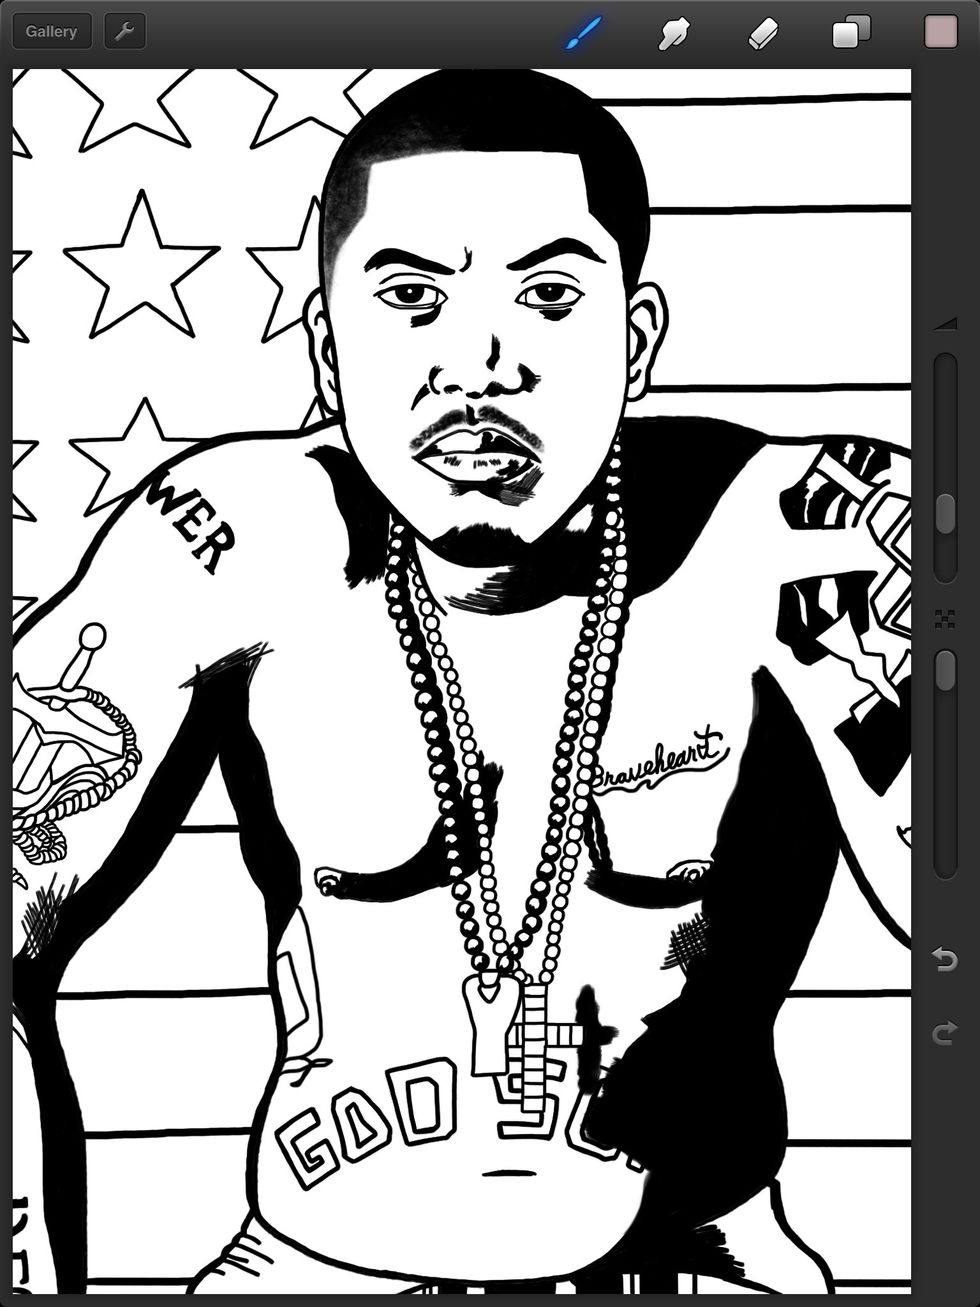
Next a new layer is created for the ink. I go over my rough sketch with black. I usually use the flat marker and flat brush options. The first two sketch layers are no longer needed.
A new layer is made and tucked under the ink. The flat colors go here. My photo is used for colors. I keep it on top but turned off and out of the way.
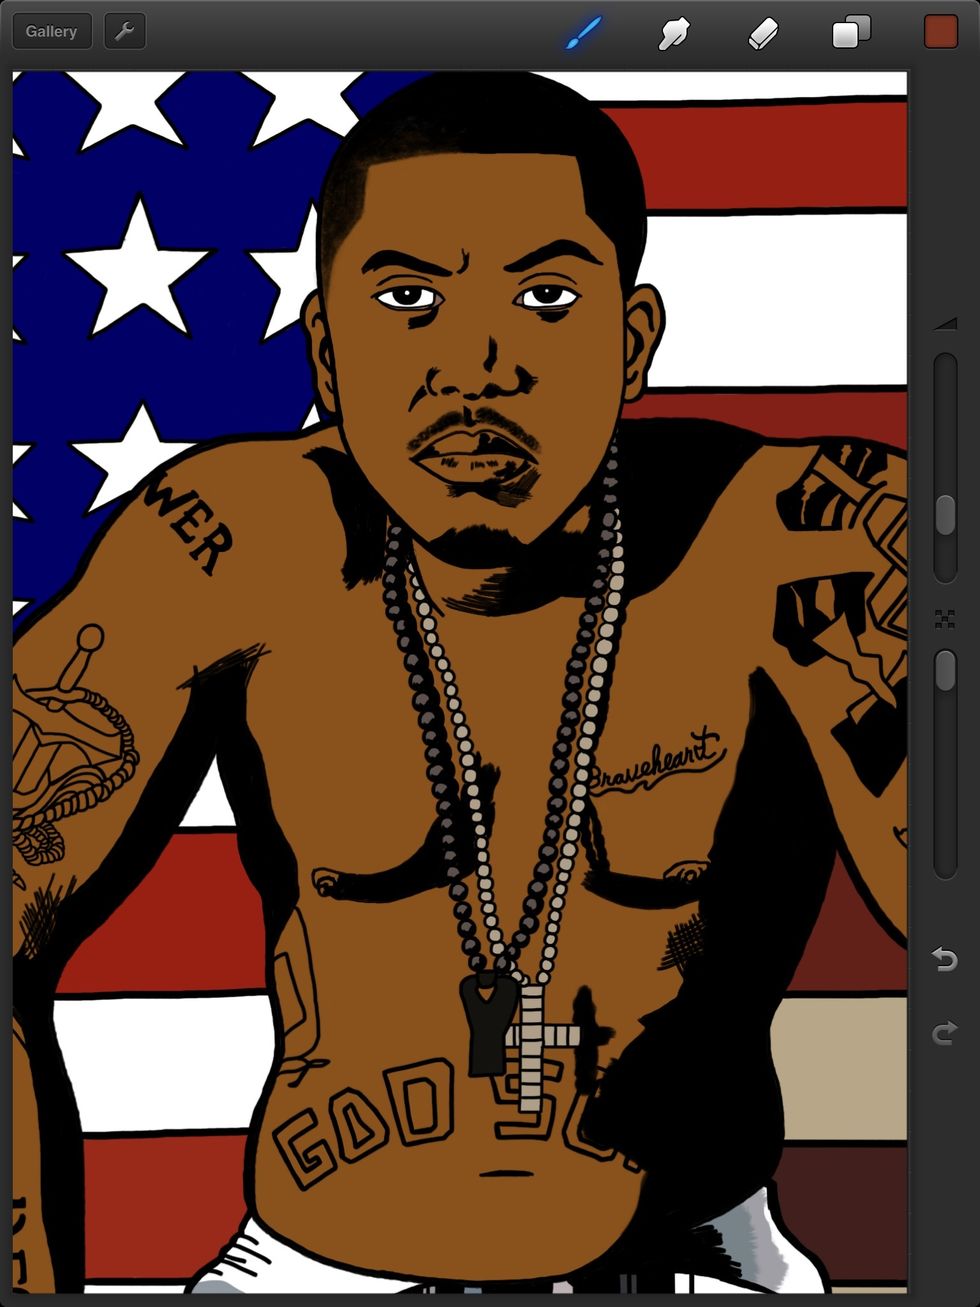
I turn on this layer and grab all of the colors I need with the eyedropper. Just press a finger down on the photo to get colors. Only the basics for now.
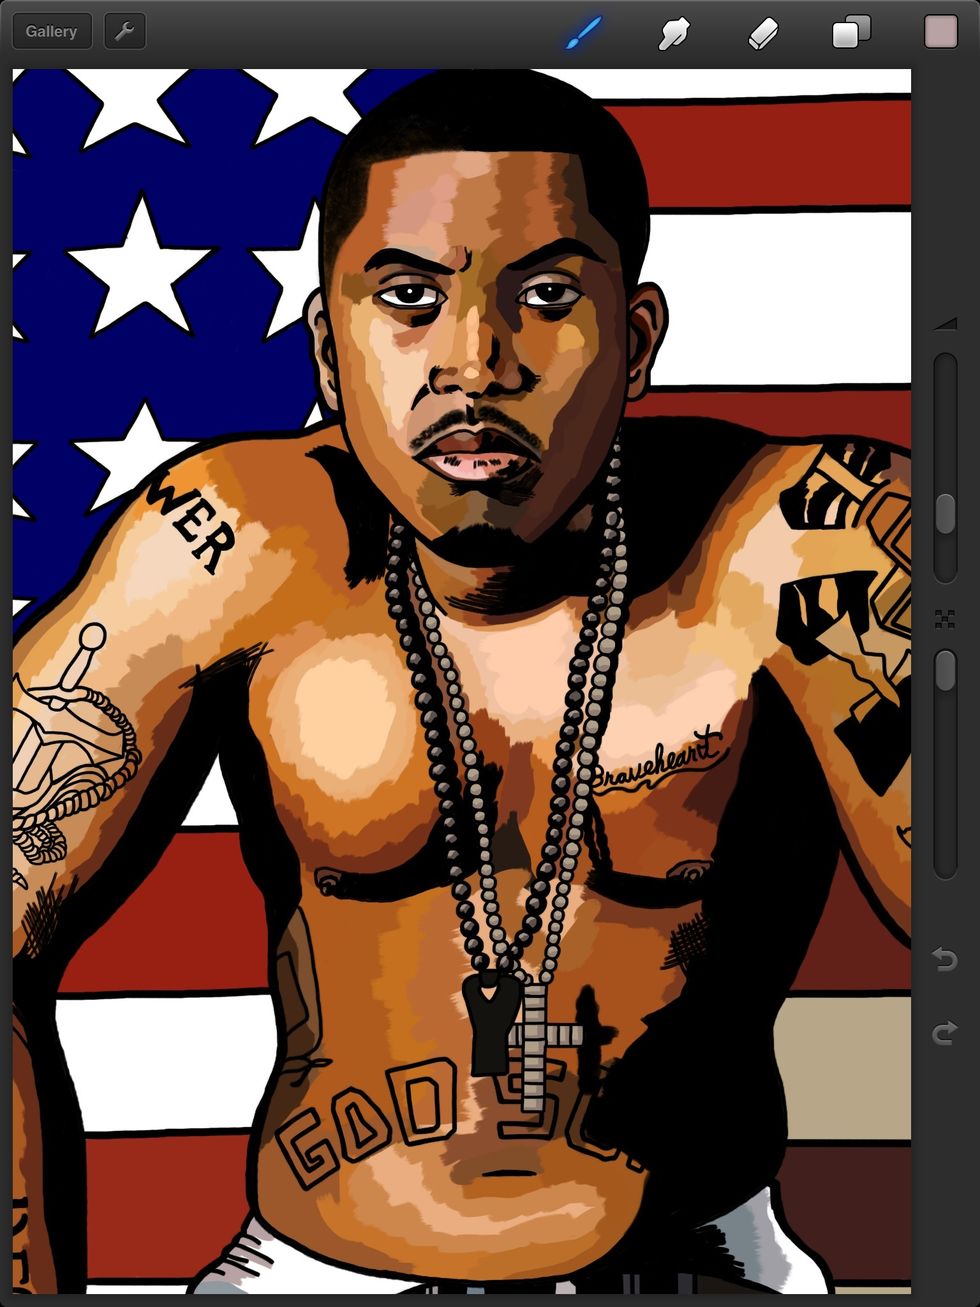
After the basics are down I create another layer. This is for the render. I use the flat brush tool to quickly lay down light and shadow. It's important to pay attention to what's in the photo.

I save another copy of the art and I begin to blend using the smudge tool. The airbrush options are perfect for skin.
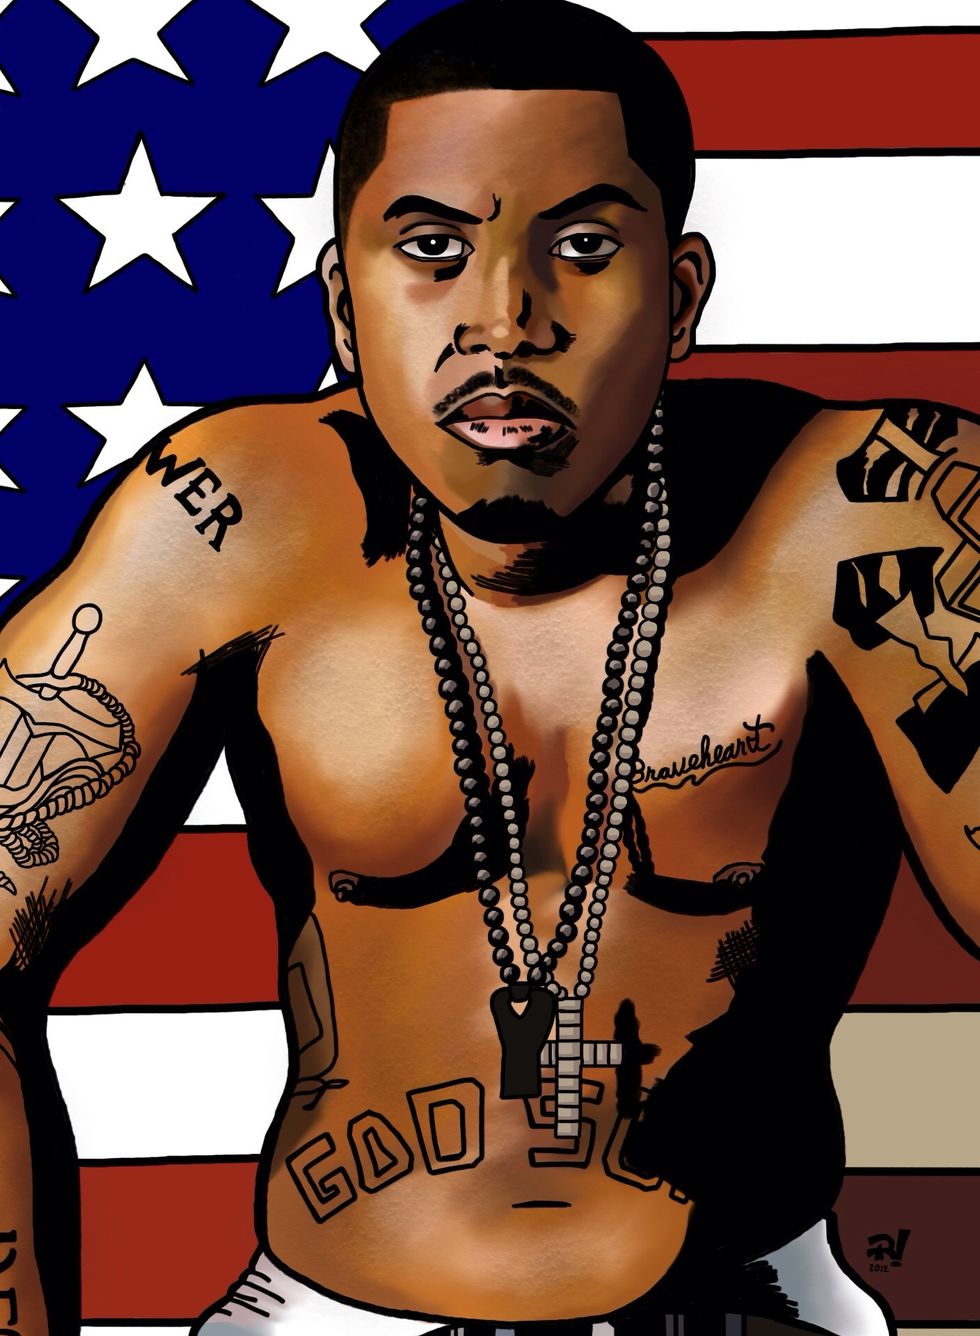
Finally I add some texture with a brush called "rough skin." It's a paid add on called touch ups. Btw this is done on a new layer. After I dial down the opacity to get the desired results. Done!
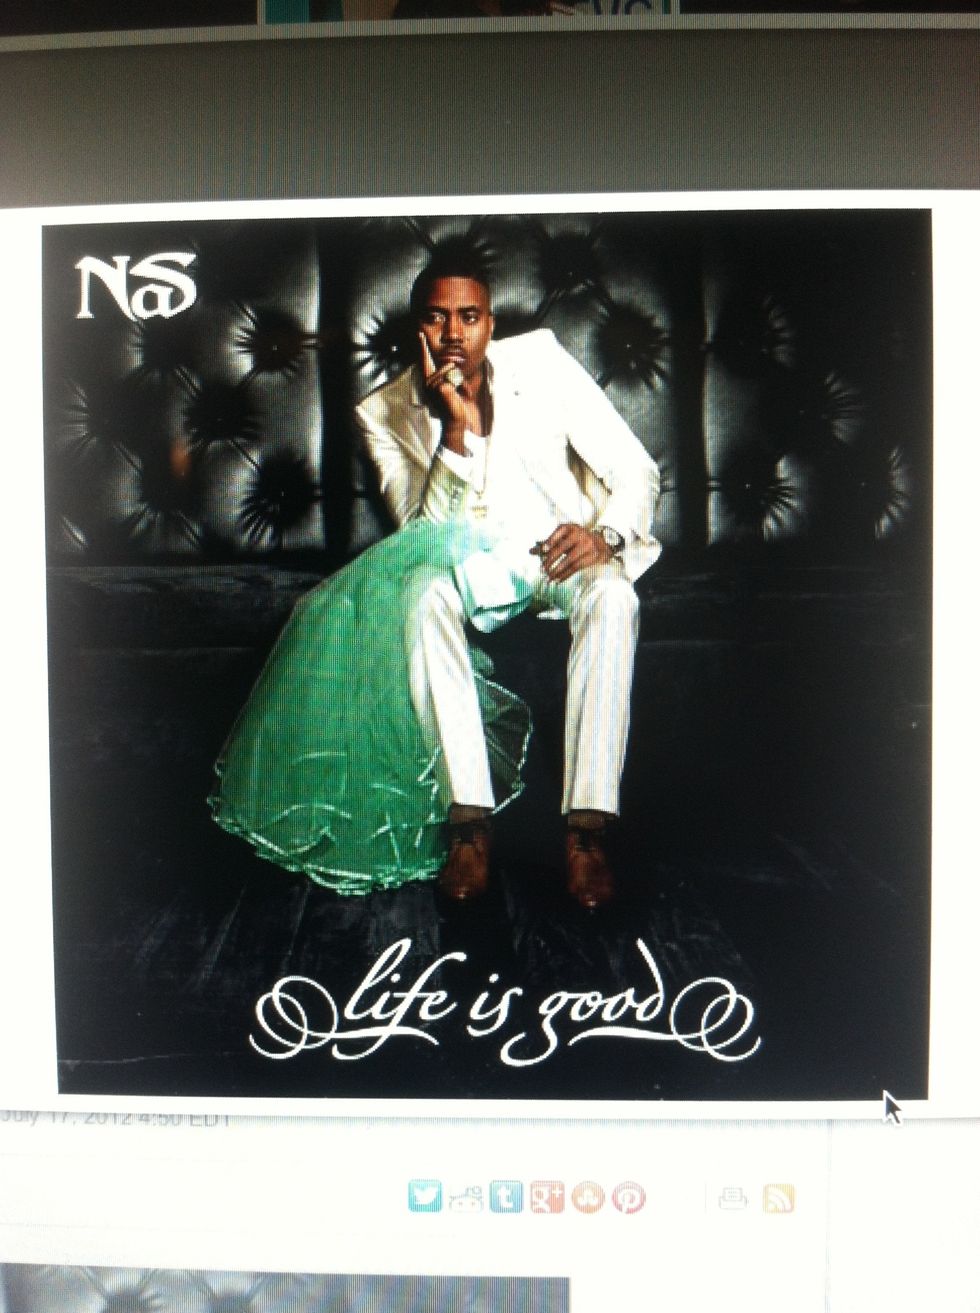
Hope you enjoyed the tutorial. Nas' new studio album, Life is Good is available now. Check me out on about.me/raheemnelson.