STEPS
TOOLS

First draw the head (the smaller circle) pointing slightly down. Then, make a fairly elongated oval that just barely touches the circle. This will be the body.
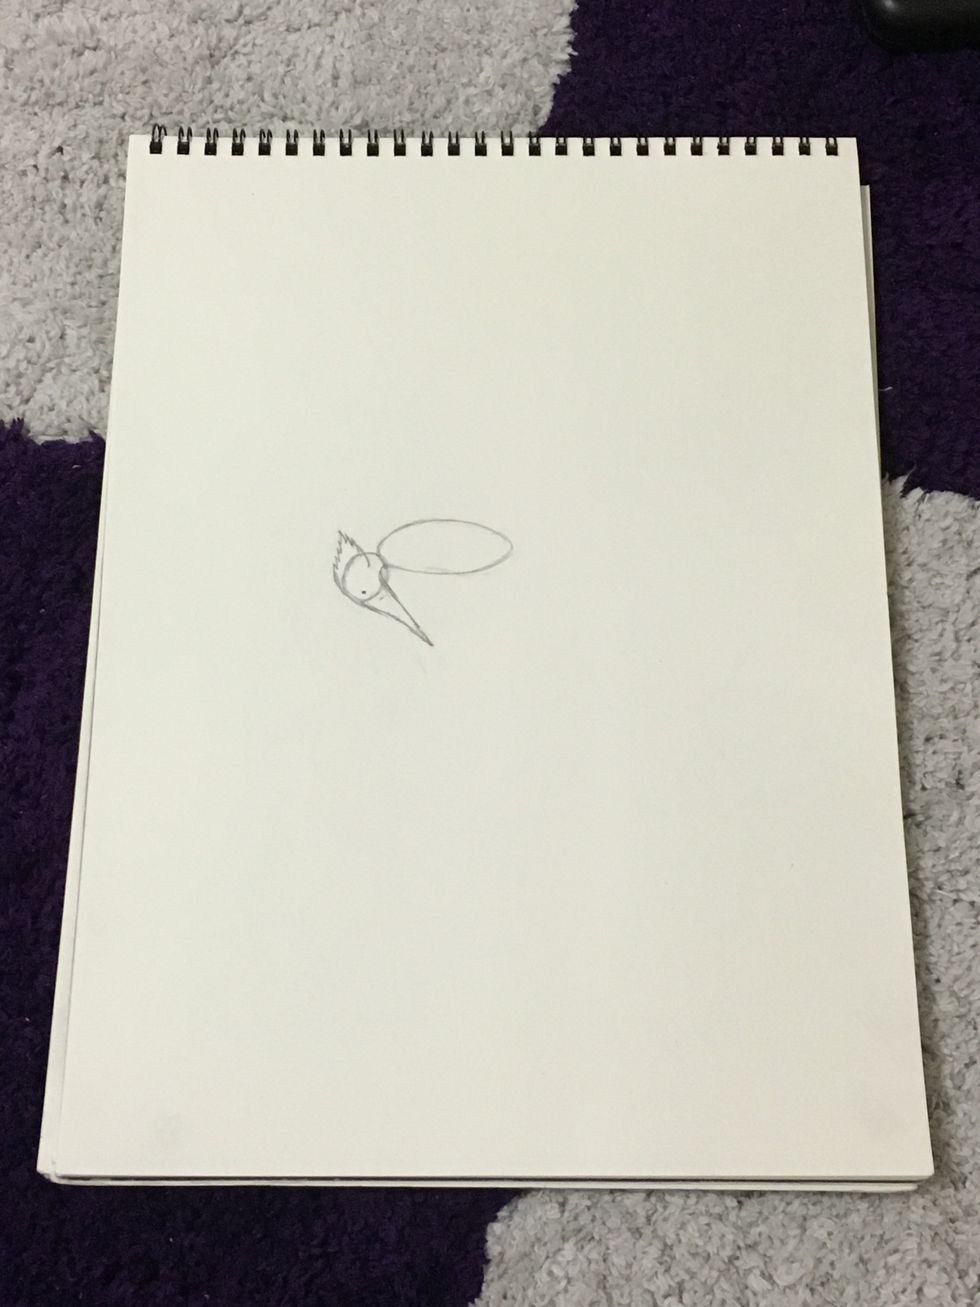
Add details to the head by sketching ruffled feathers. They end at a tip. When adding the beak, notice how the neck curves into the circle head. The beak is fairly elongated. Make a dot for the eye.
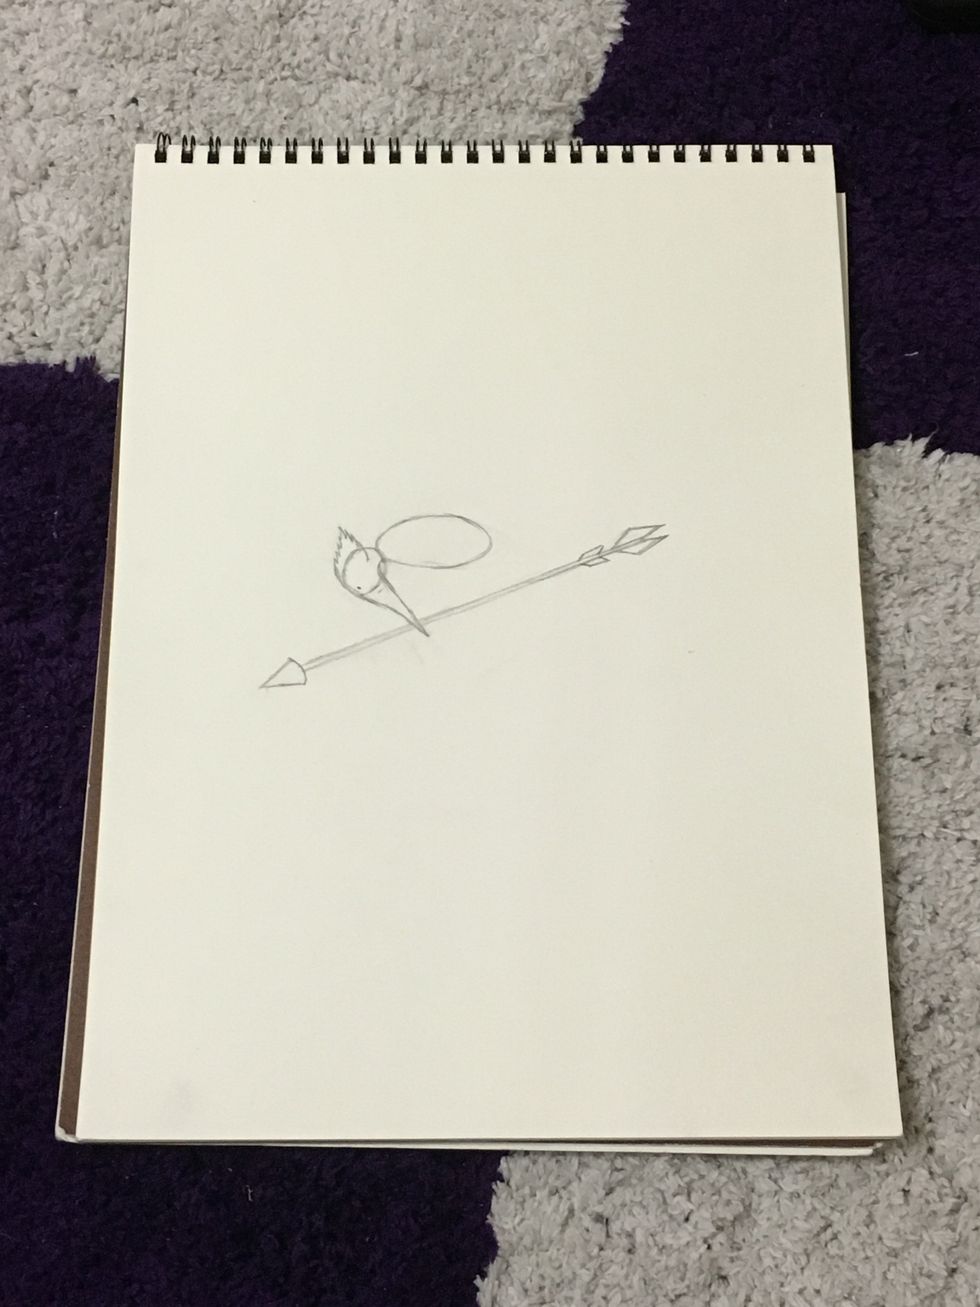
Sketch out a long line for the arrow. Notice how it goes beyond the bird itself. The broadhead is curved and the 2 fletchings at the back are made with sharp lines. Make both sides as even as you can.
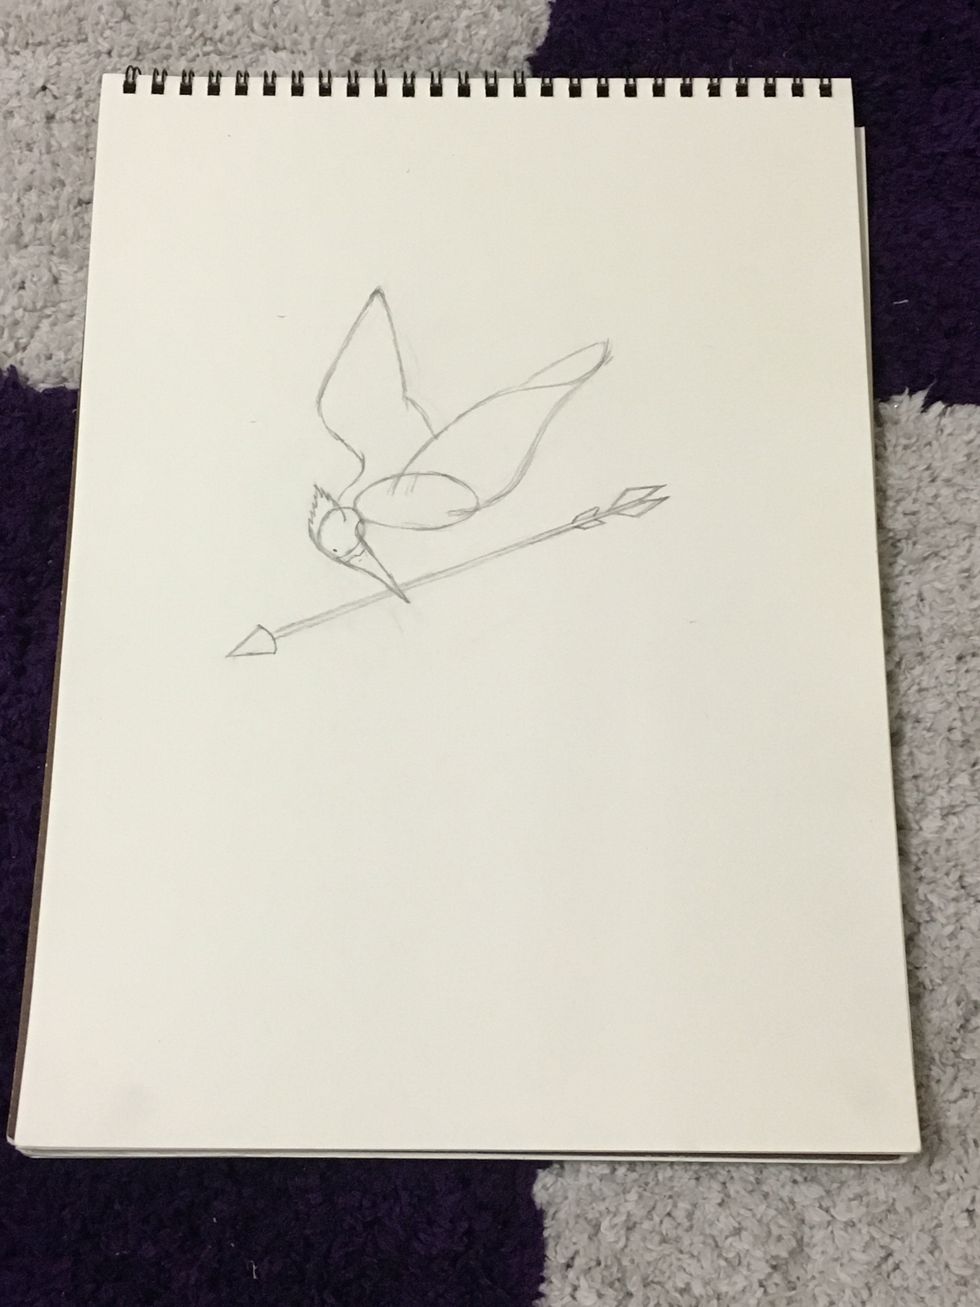
Approximate the outline of the wings. The tips aren't pointed; they're rounded. Curves are gentle. You can see the proportion between the wings and the torso. Make sure one is higher than the other.
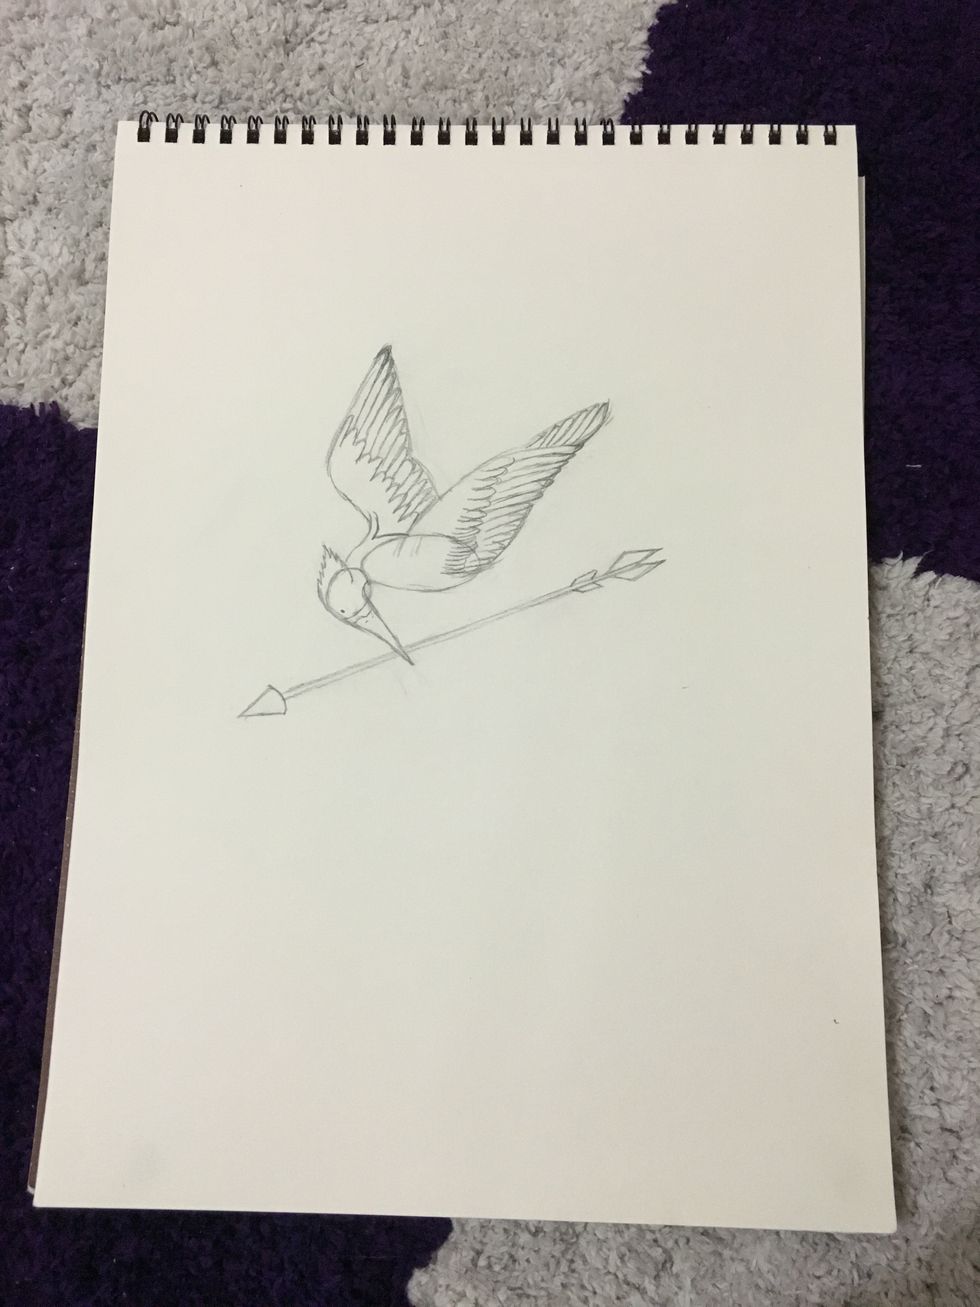
Draw in the feathers; they are not confined to the outline, but should follow the general shape. Remember to make them smaller as they get closer to the body. The second layer can be more irregular.
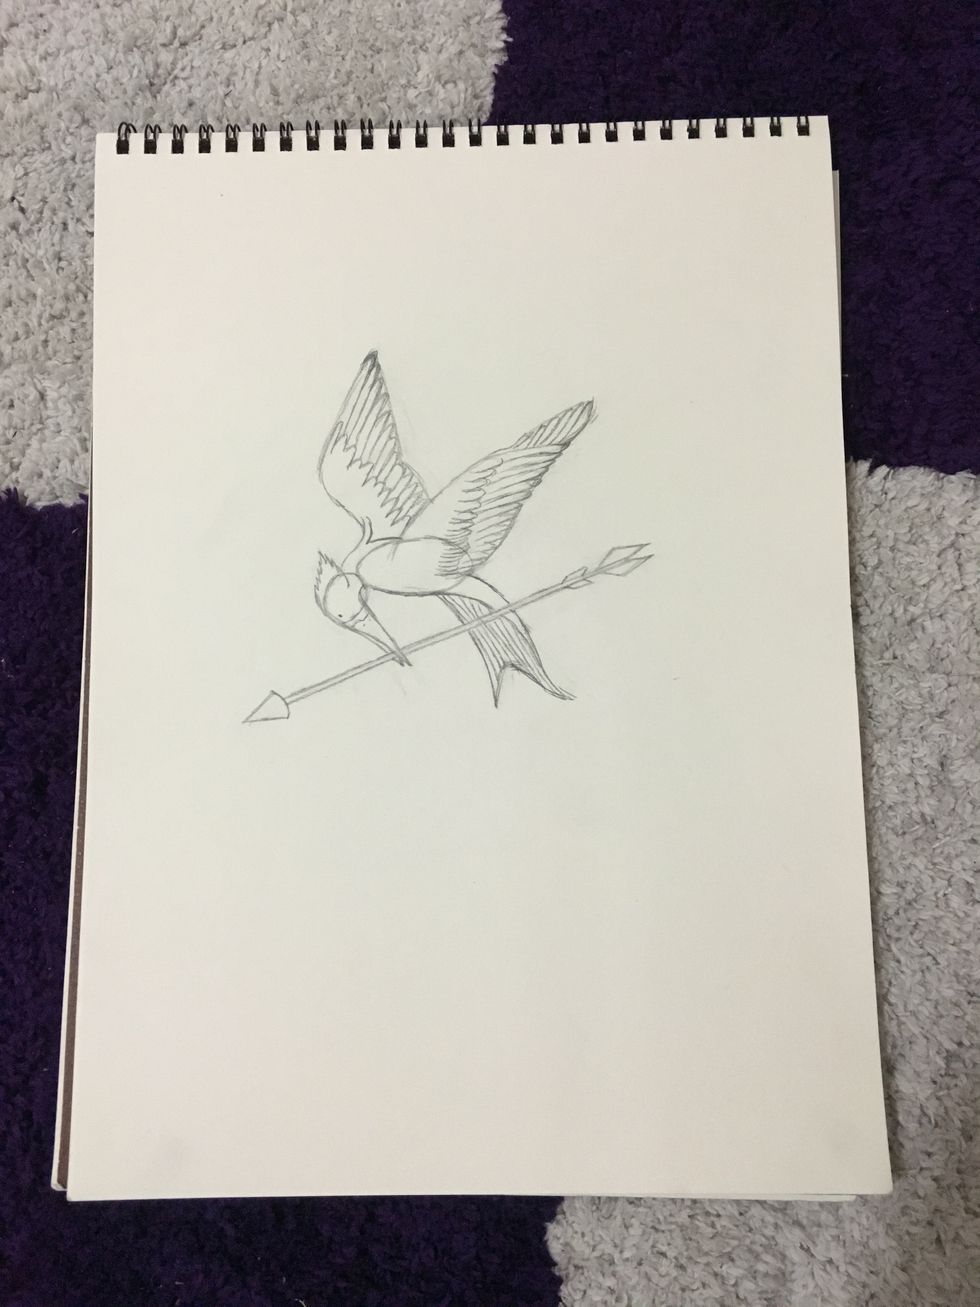
Form the tail with flourishing curves. See how the reach of the tail's far tip is less than the front wing's reach. The underside of the tail has irregular stripes. Follow the tail's curve for those.
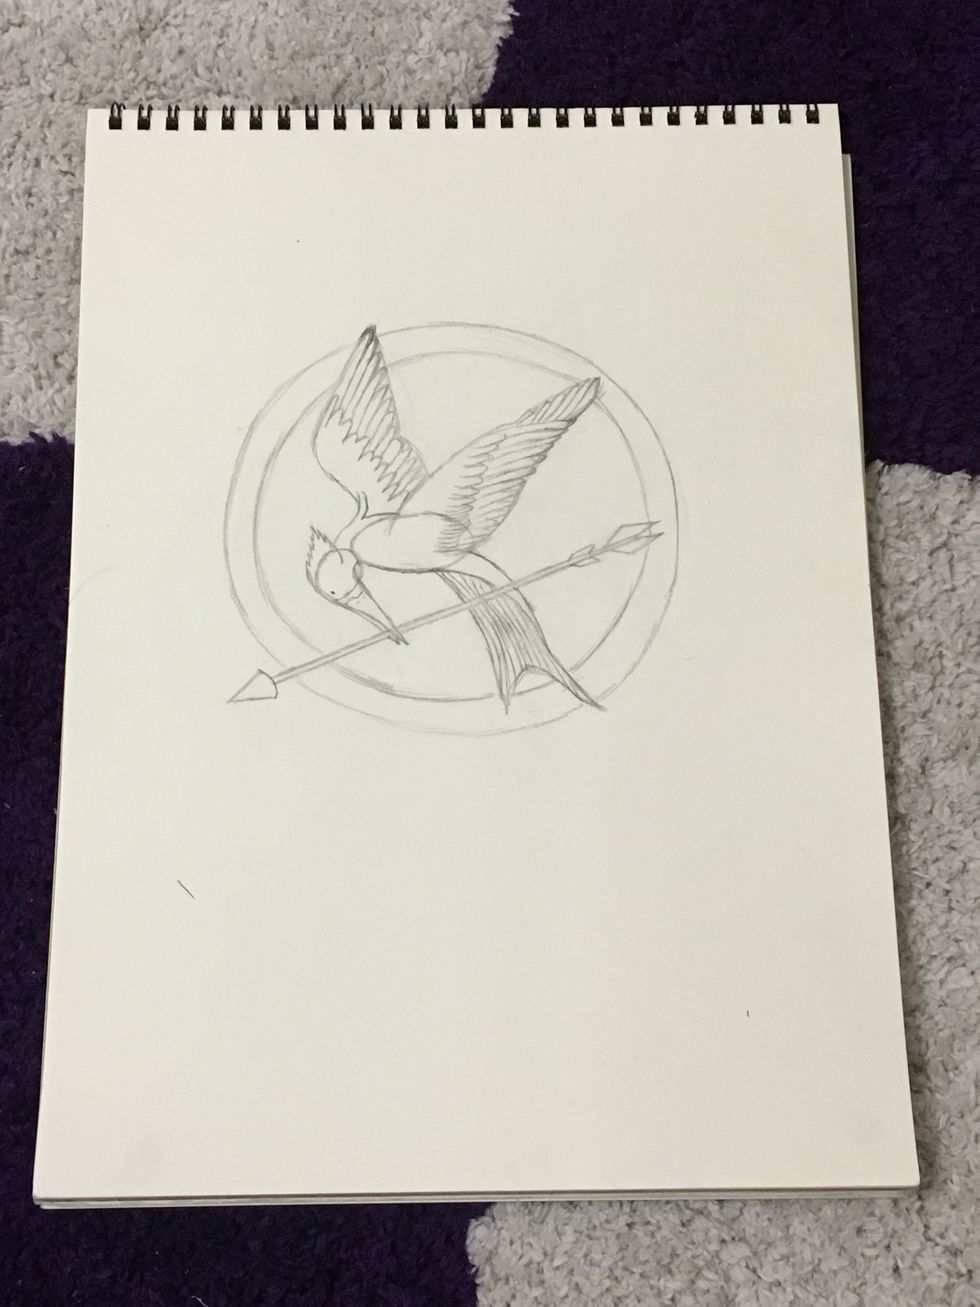
Roughly draw the surrounding circle. Keep in mind that the tip of the tail, front of the arrow, and back wing surpass the boundaries. The front wing and the back of the arrow pass the inner outline.
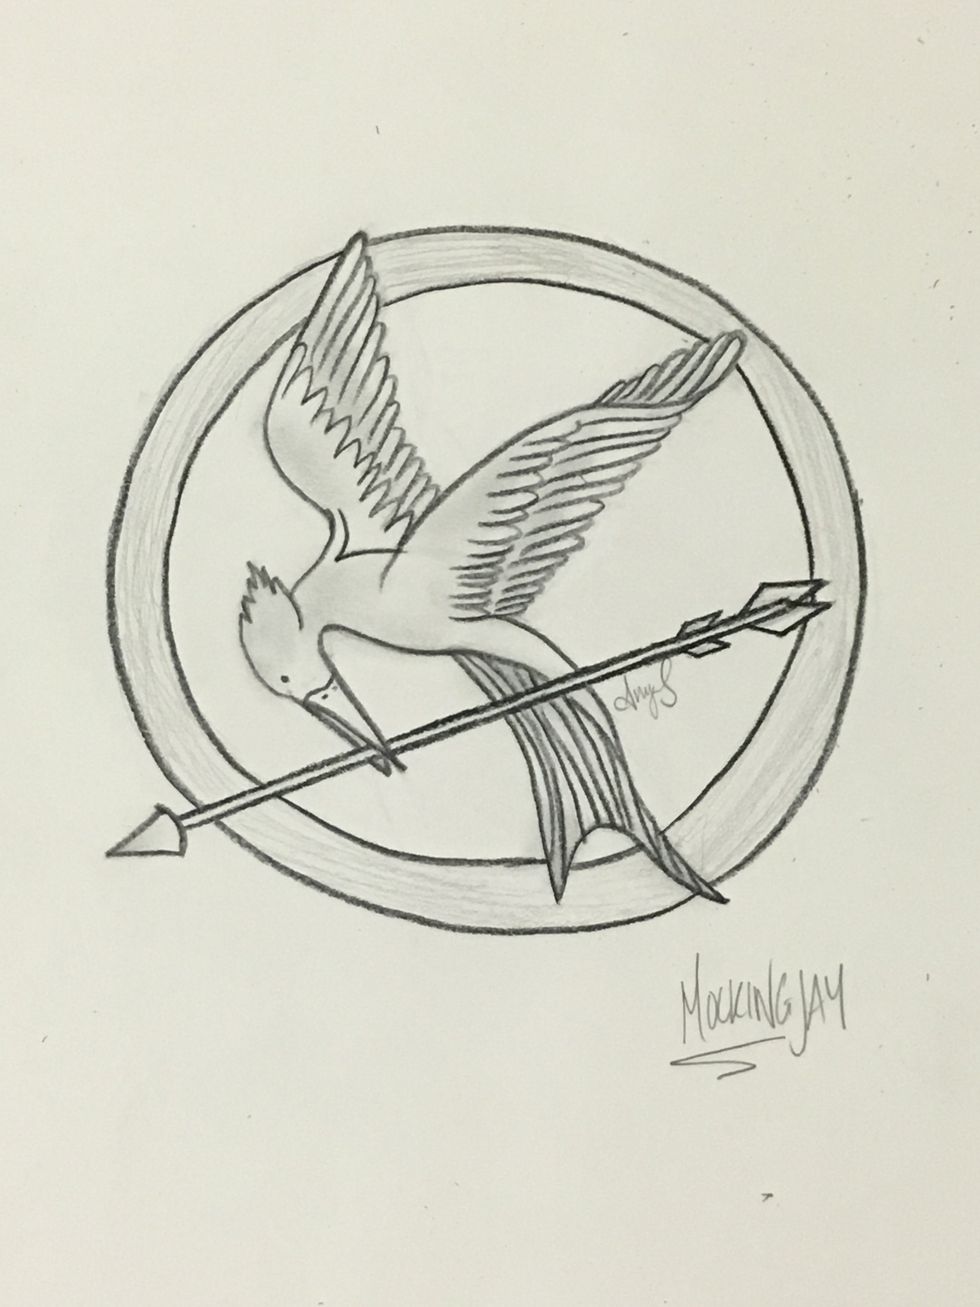
Erase any guidelines and trace the figure. Shade in the areas shown and look at how the feather tips are light and the area between the layers is darker, as well as the tail's underside. That's it!
- Paper
- Pencils (you don't have to use only HB)
- Eraser
- Cardboard blender or your finger to blend shades
- Prismacolor/Sharpie to trace the figure
The Conversation (0)
Sign Up