STEPS
TOOLS
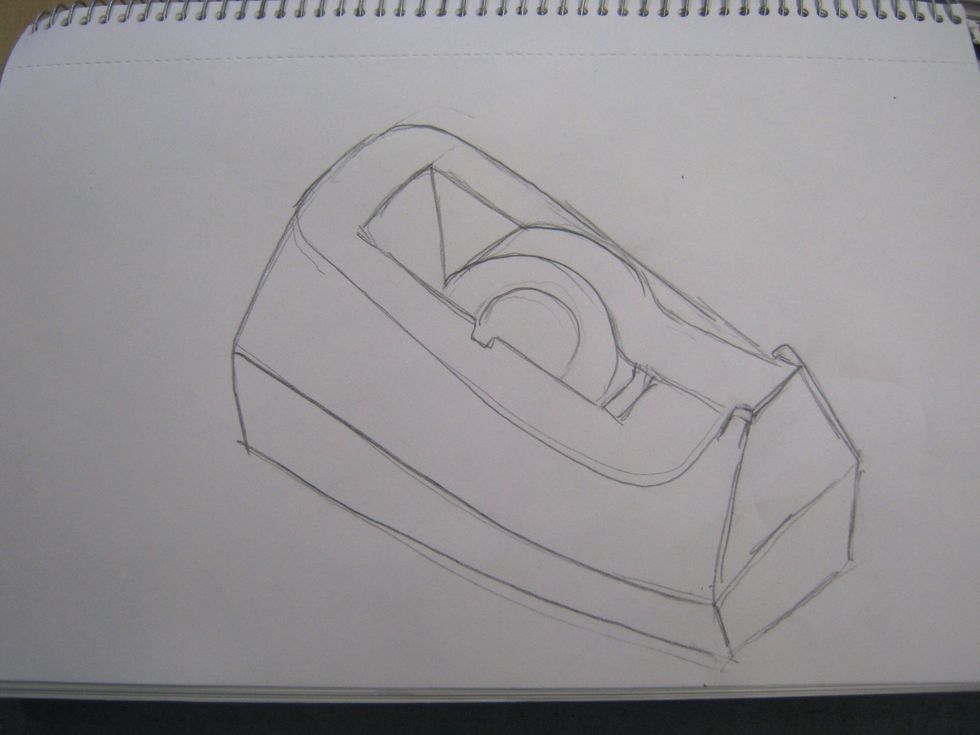
Start by making a contour line drawing of your subject.
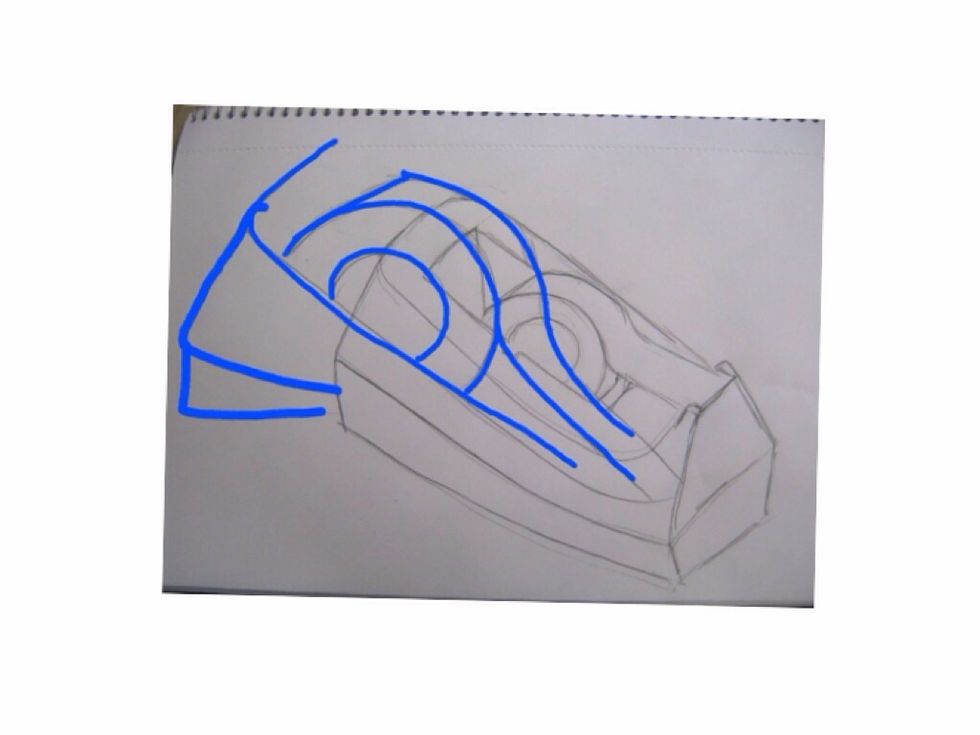
Repeat lines and shapes from your original drawing in other areas on your paper. As you draw, these will overlap.
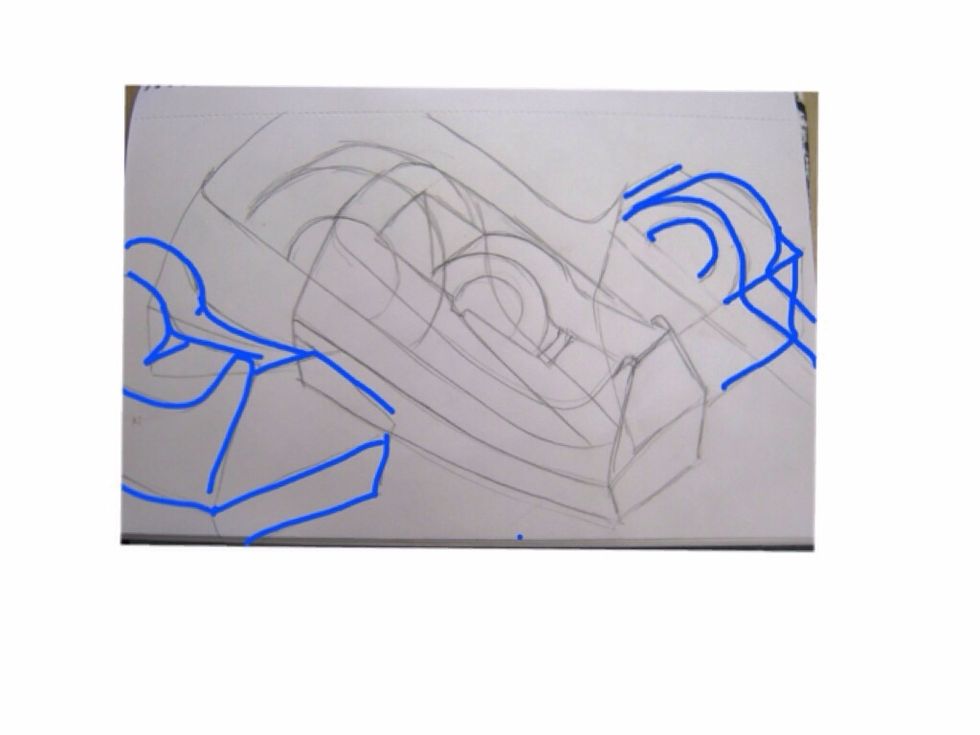
Try using a variety of sizes.
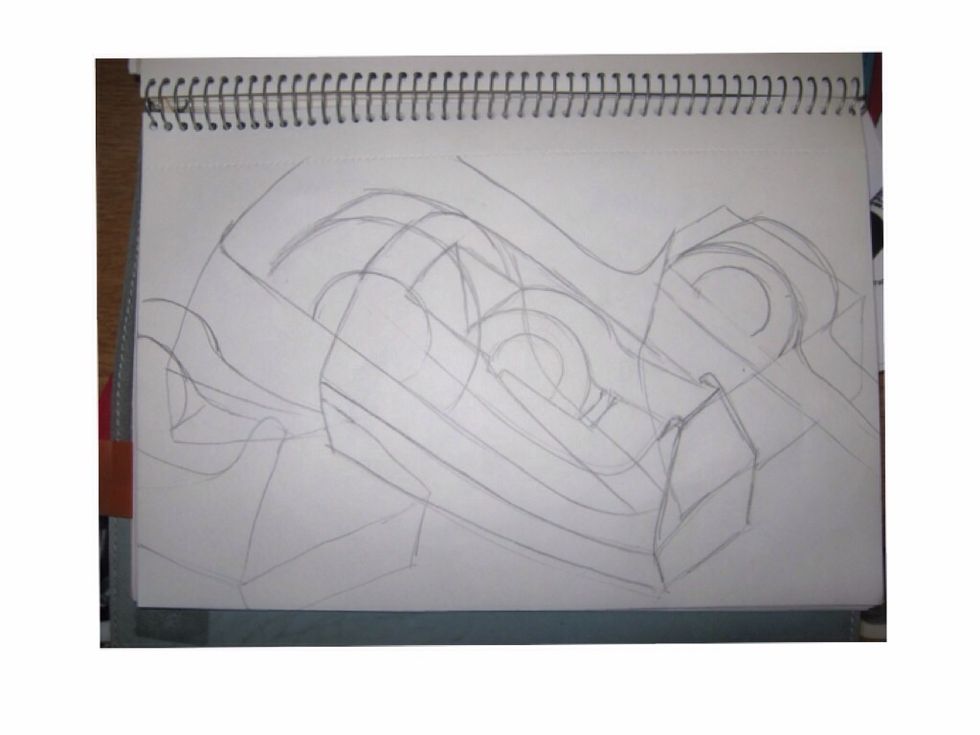
As you draw, be thinking about balance.
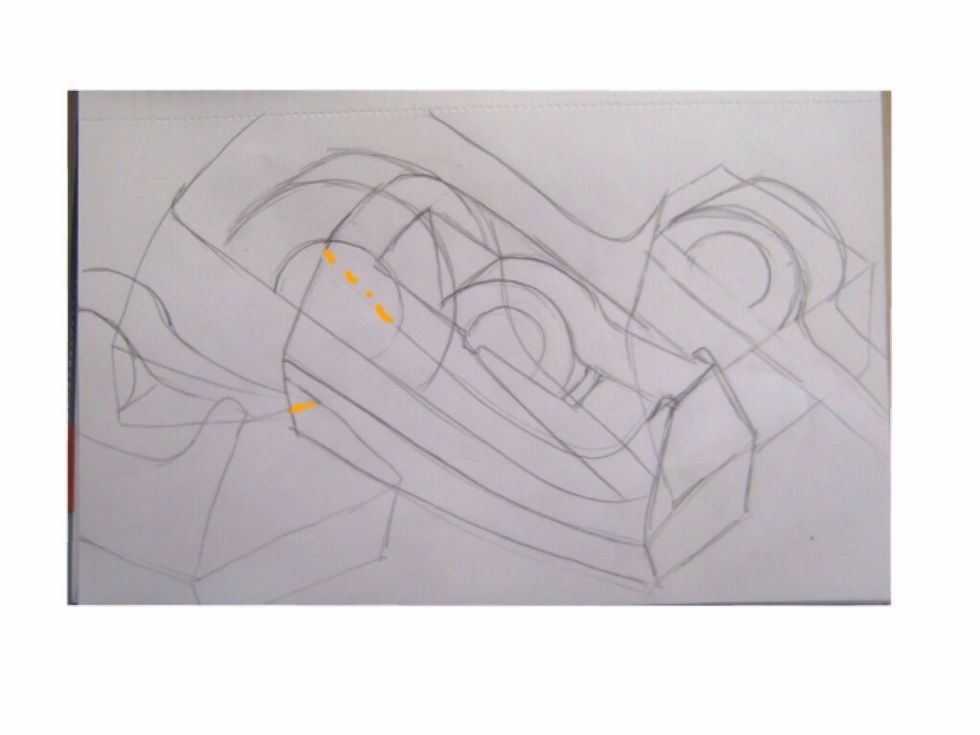
Next, choose some lines to remove by erasing.
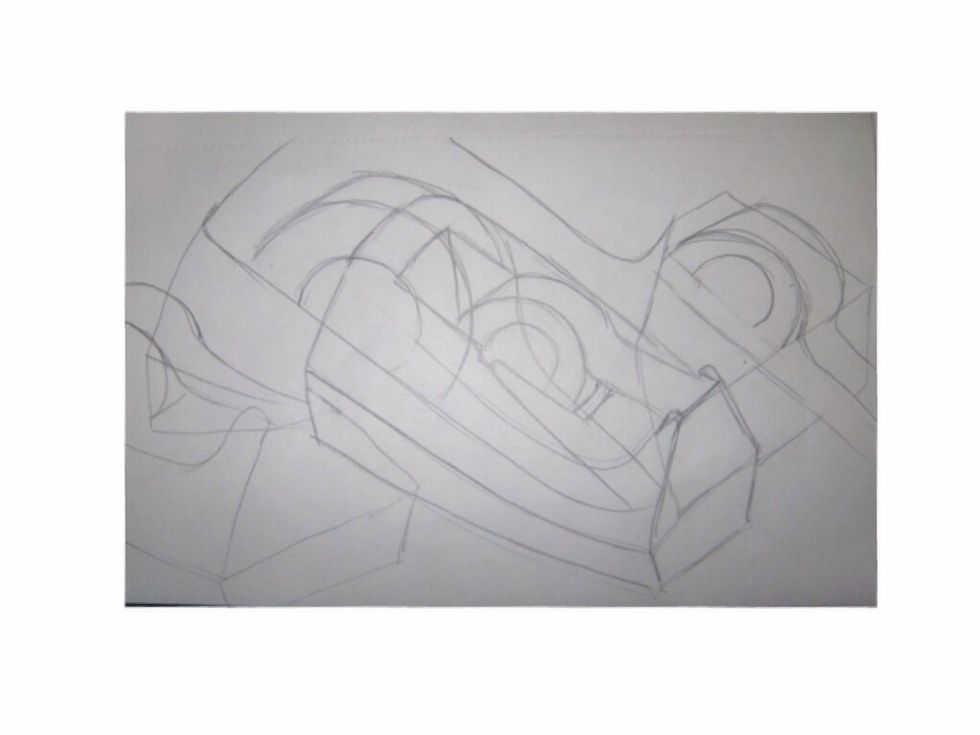
This will create larger areas and make shapes merge together.
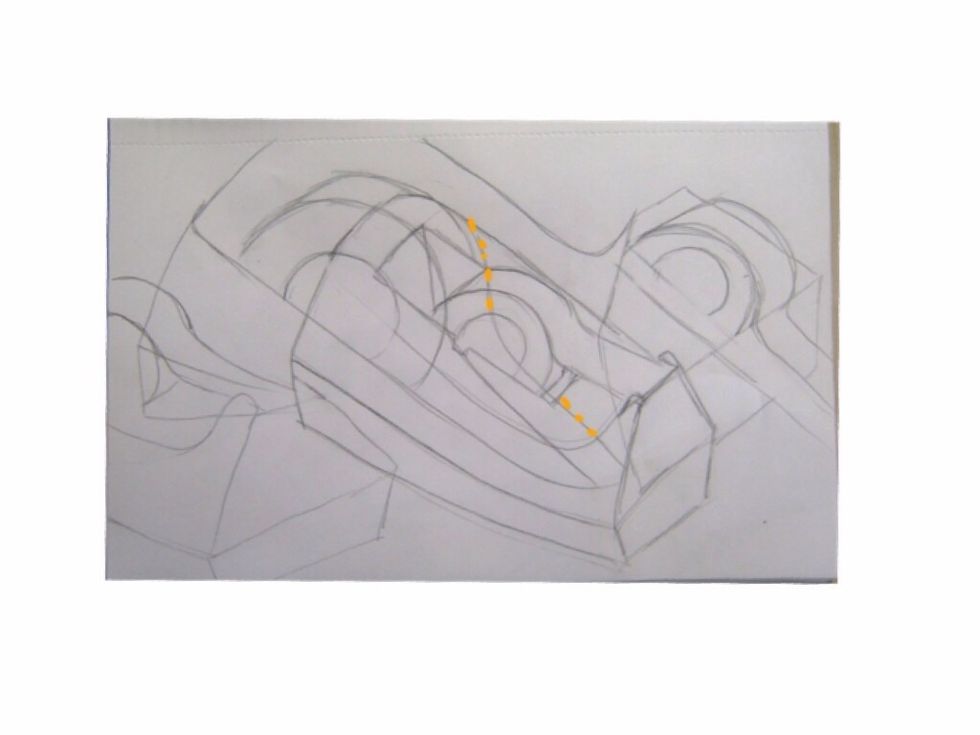
As you continue to remove lines, don't over-do it and lose your subject.
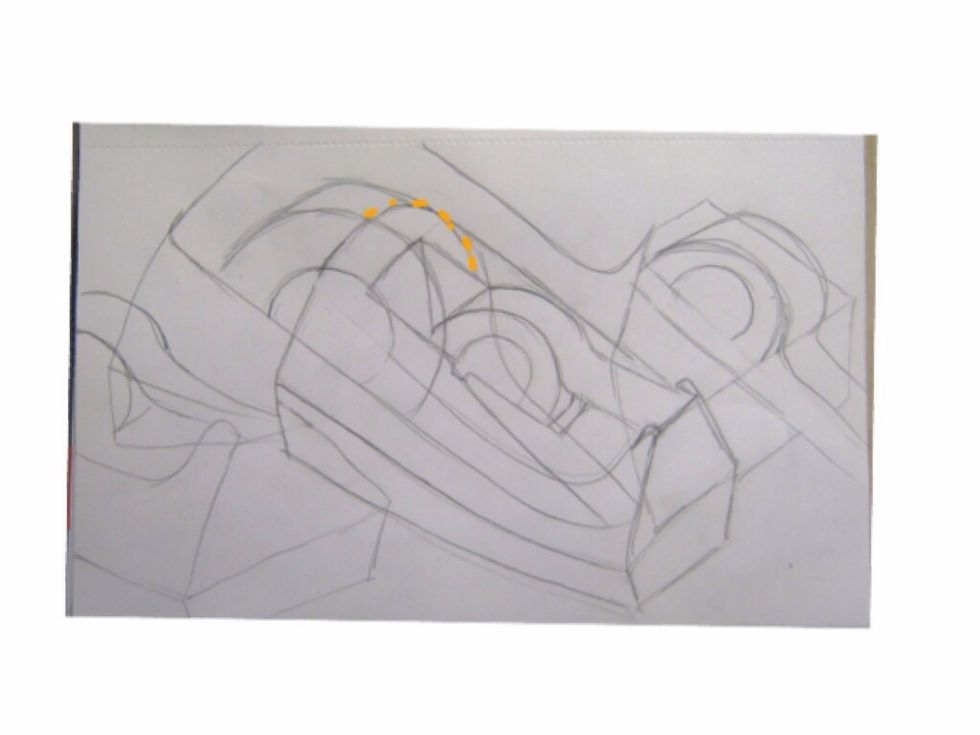
And....
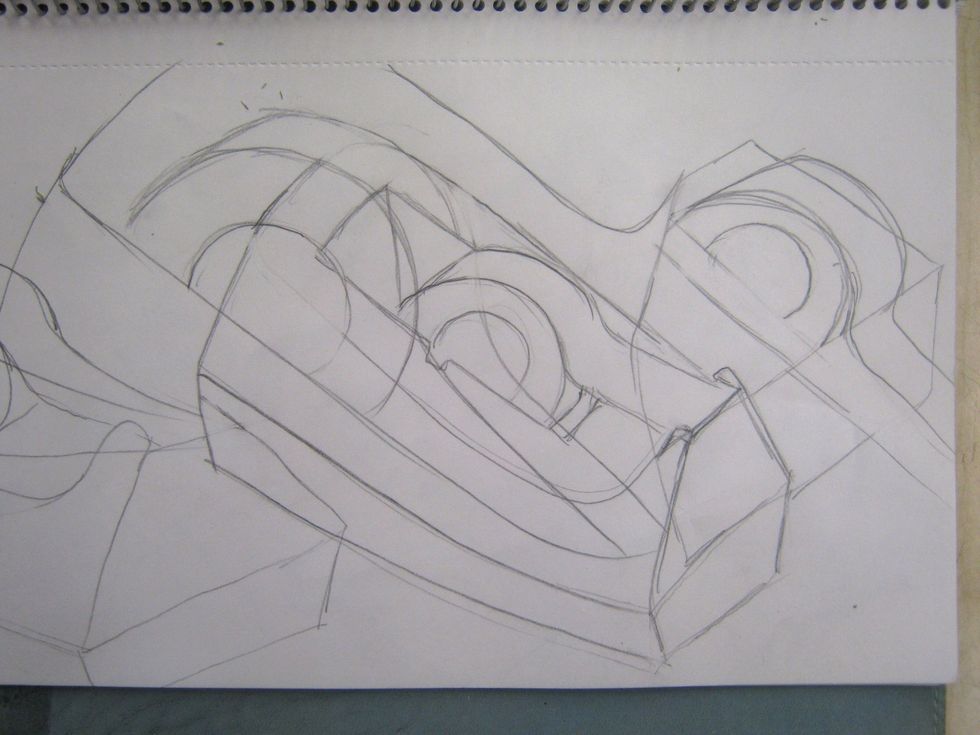
Stop when it feels right. This will be our base drawing.
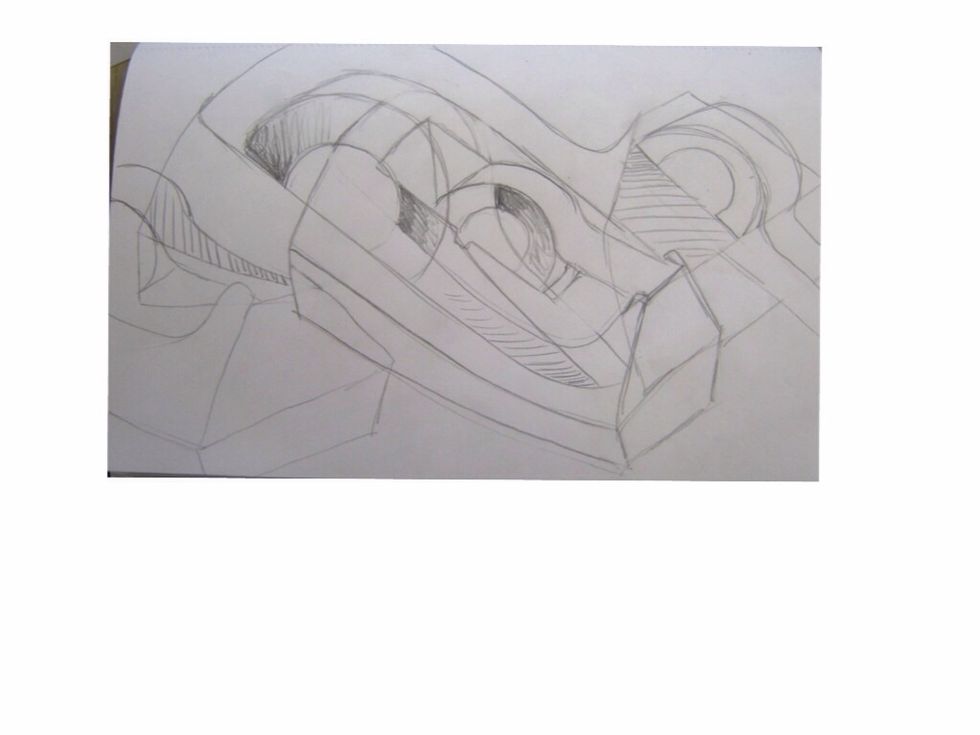
Now, choose areas you want to define by adding hatching or gradient fading. This can really bring out your subject if it seems too hidden.
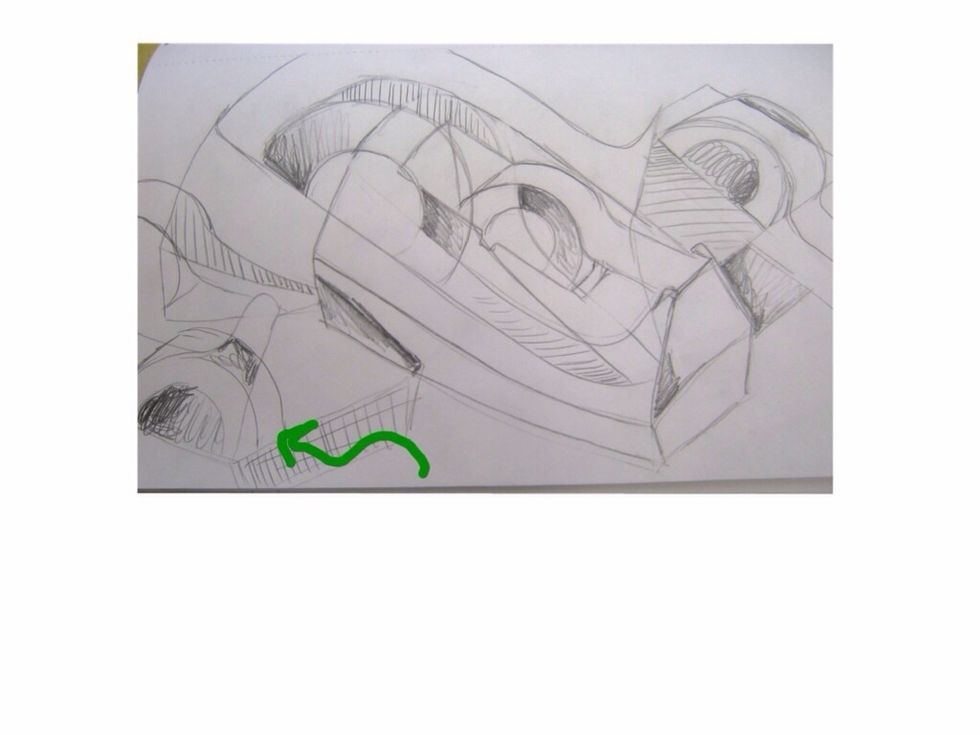
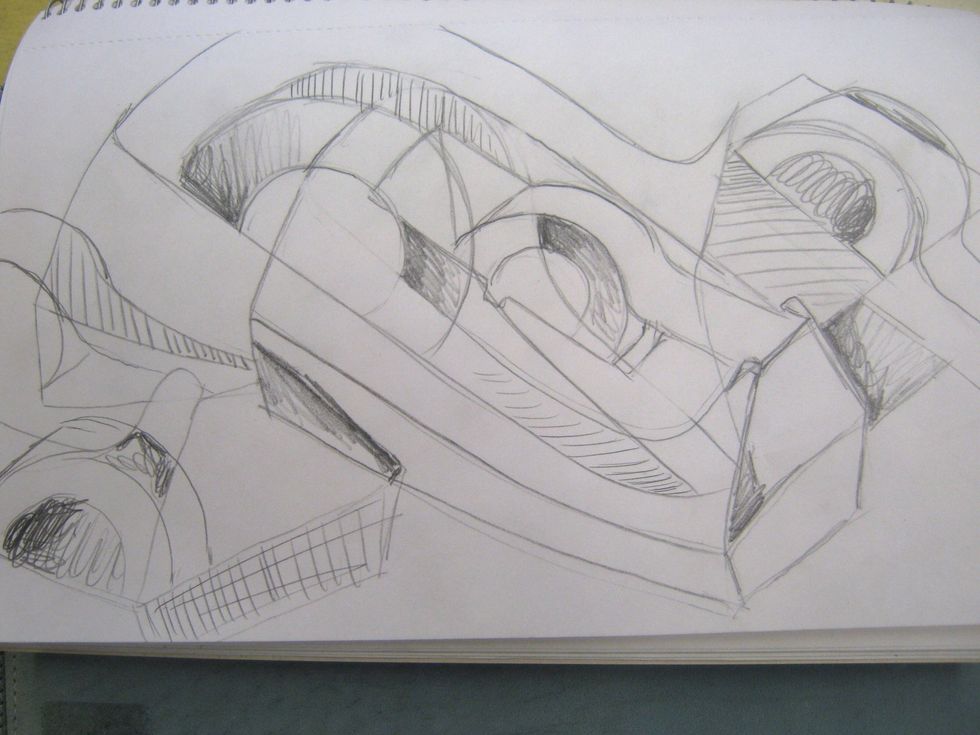
I chose to add another shape for balance. Don't feel limited to hatching and shading, experiment with mark making, patterns and even collage.
- Paper
- Pencil
- Object
- Eraser
The Conversation (0)
Sign Up