The Conversation (0)
Sign Up
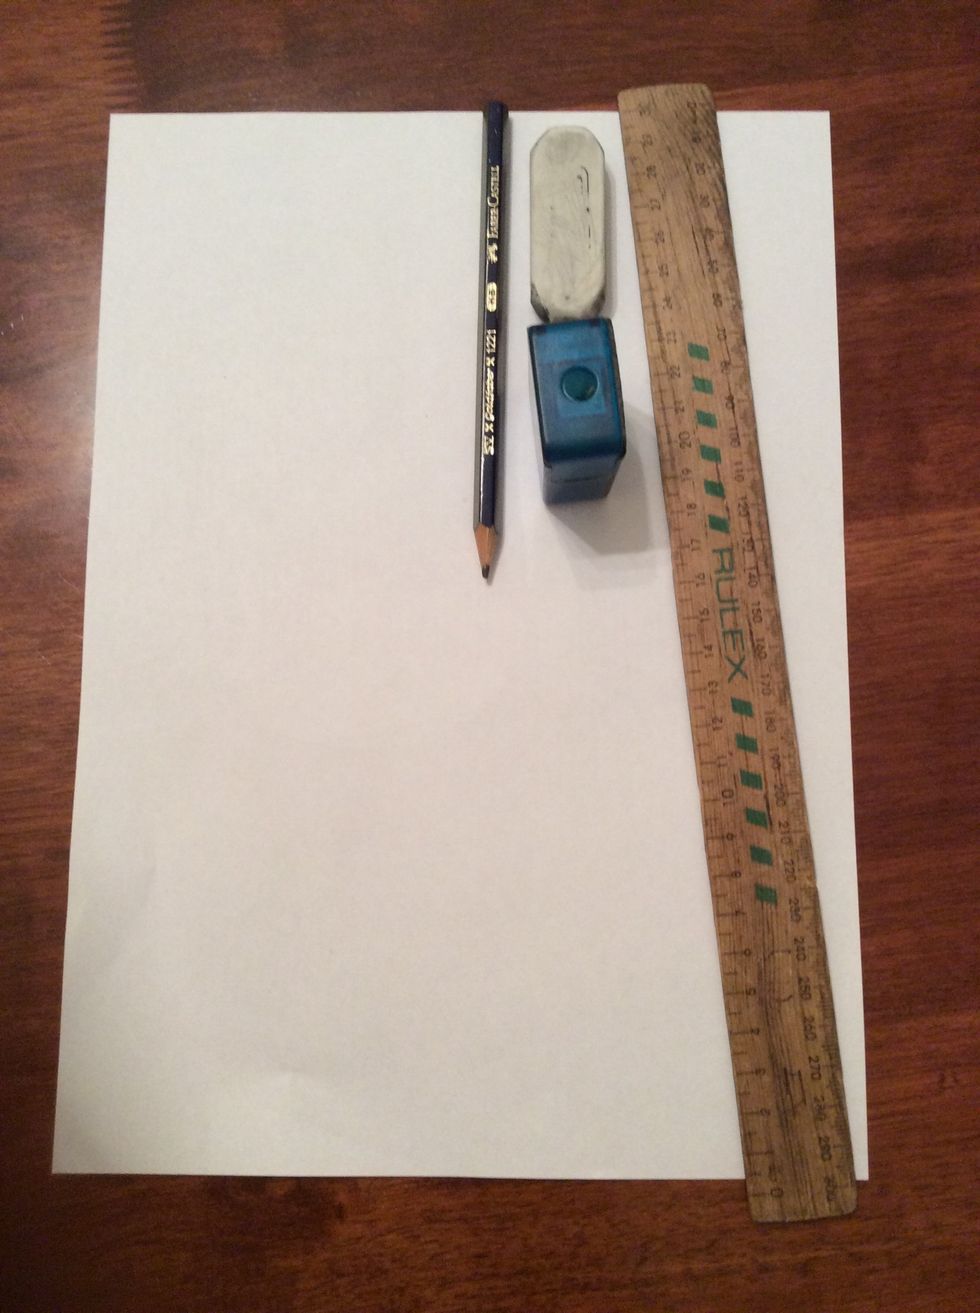
1. Gather your materials.
2. Place your paper on a flat surface.
3. Now it is time to start drawing! The size of Hedwig depends on the size of the paper, in this example I have used A4 paper.
4. On the right hand side of the paper measure 4.5 centimetres from the right and mark it with a small dot, then at the top of the page measure 6 cm down and mark it with a dot.
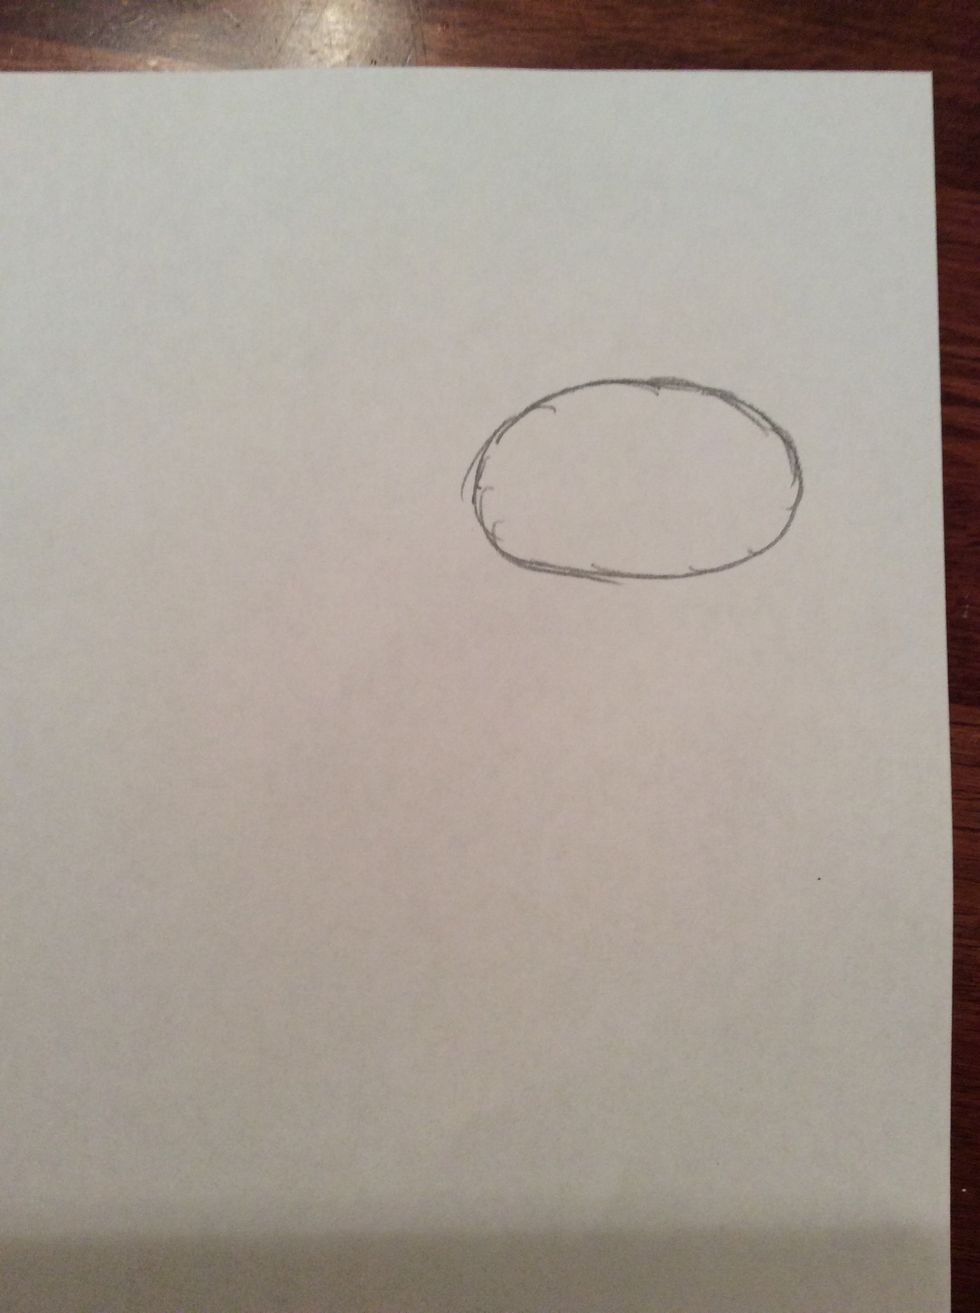
Now draw a medium sized oval using the markings to guide you.
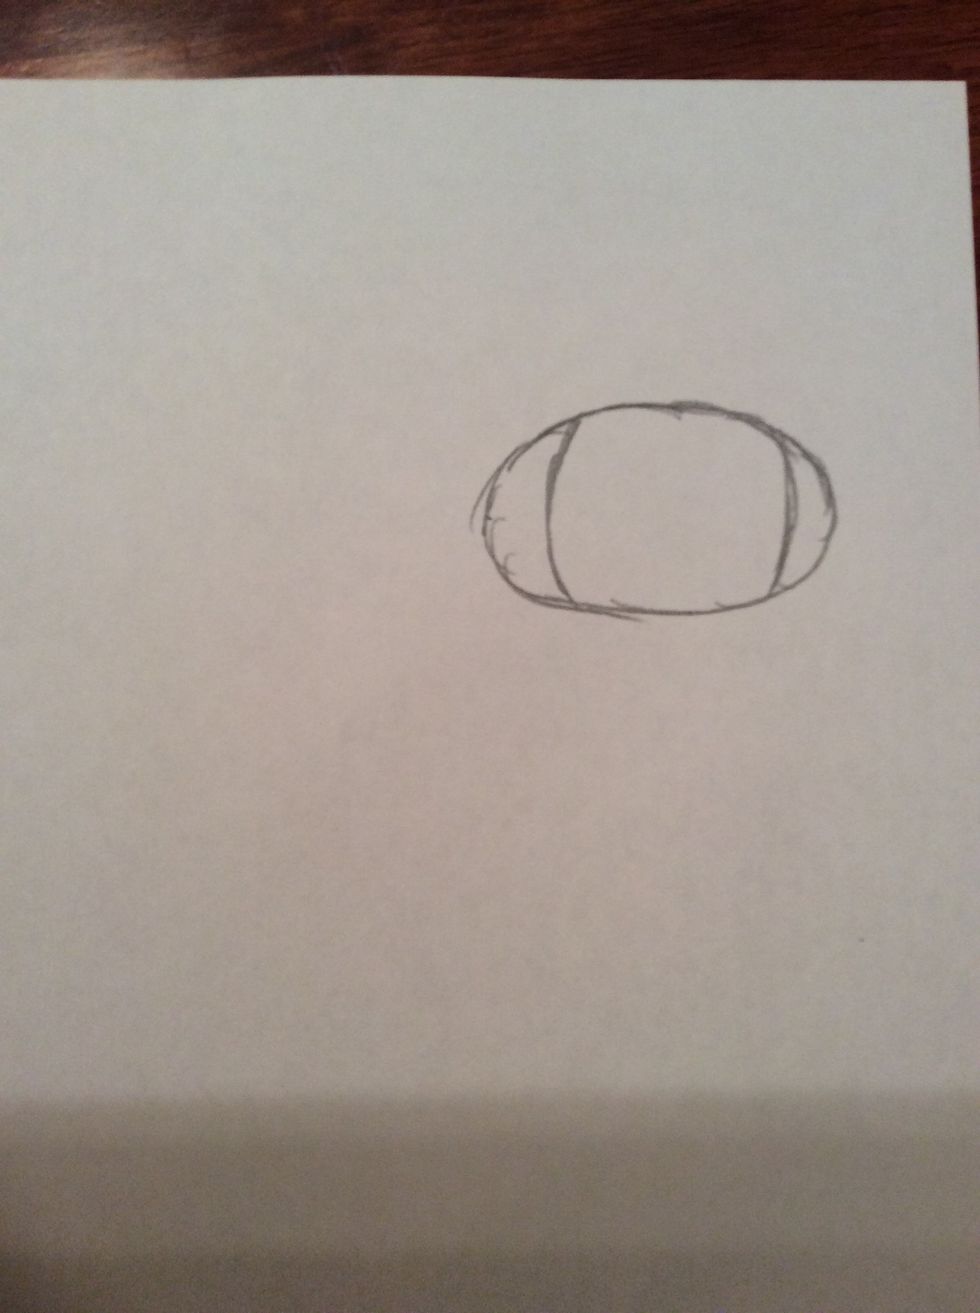
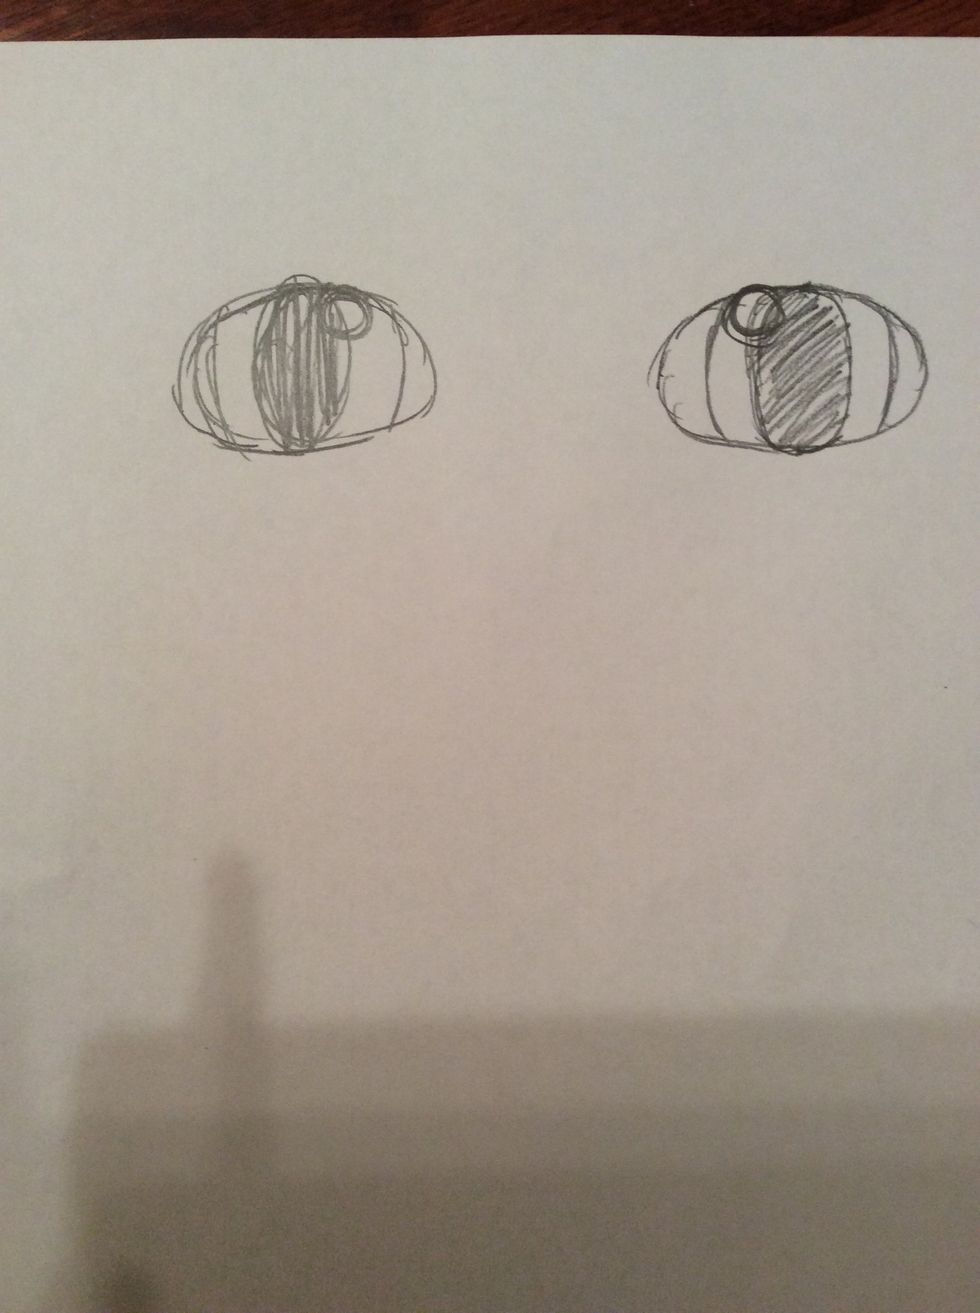
5. Draw a curved line in the oval 0.5 cm away from the left side of the oval, drawing it from the top to the bottom. Repeat on the right side of the shape.

6. Now in between the two, curved lines that you have drawn in the previous step draw an oval measuring 1cm in width, colour in the oval that you have drawn.
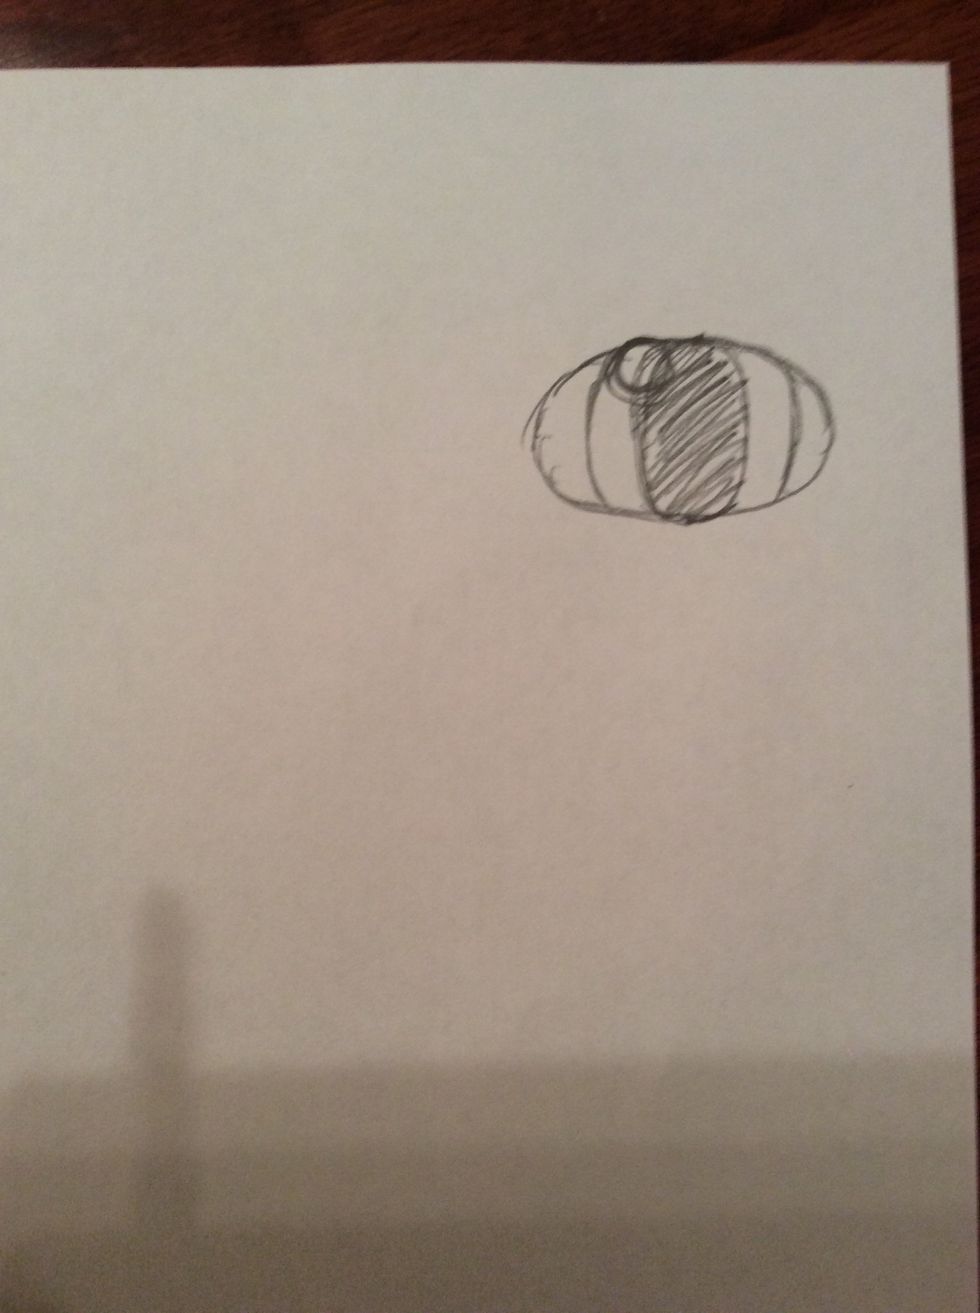
7. Draw a small circle, measuring 0.5cm in width, in between the two curved lines that were drawn in step 5 and overlapping the shaded oval.
8. Measure 3cm from the eye that you have drawn and do the exact same method from steps 5 to 7.
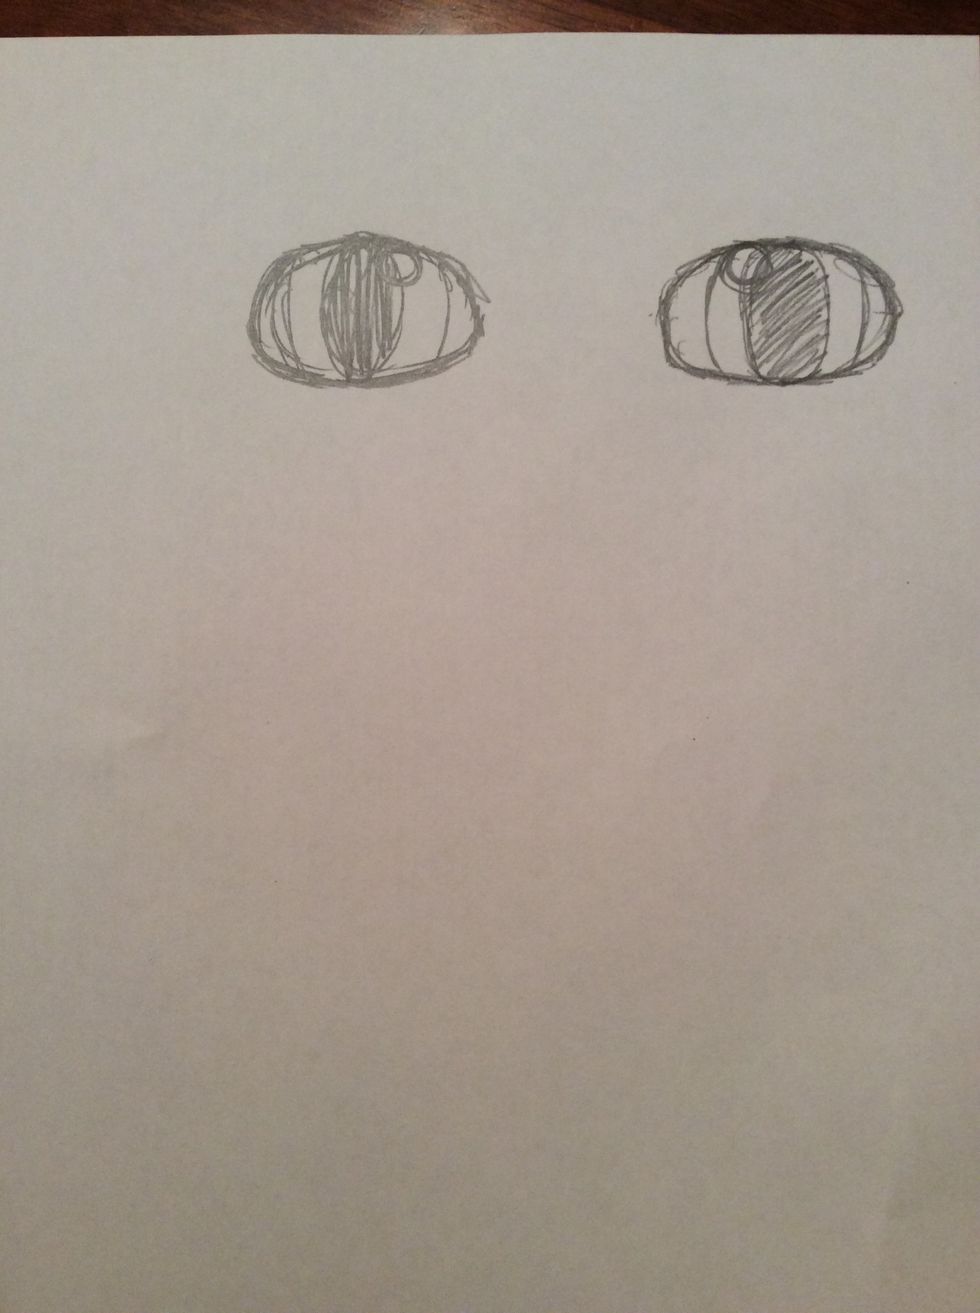
9. Lightly shade around the two eyes.
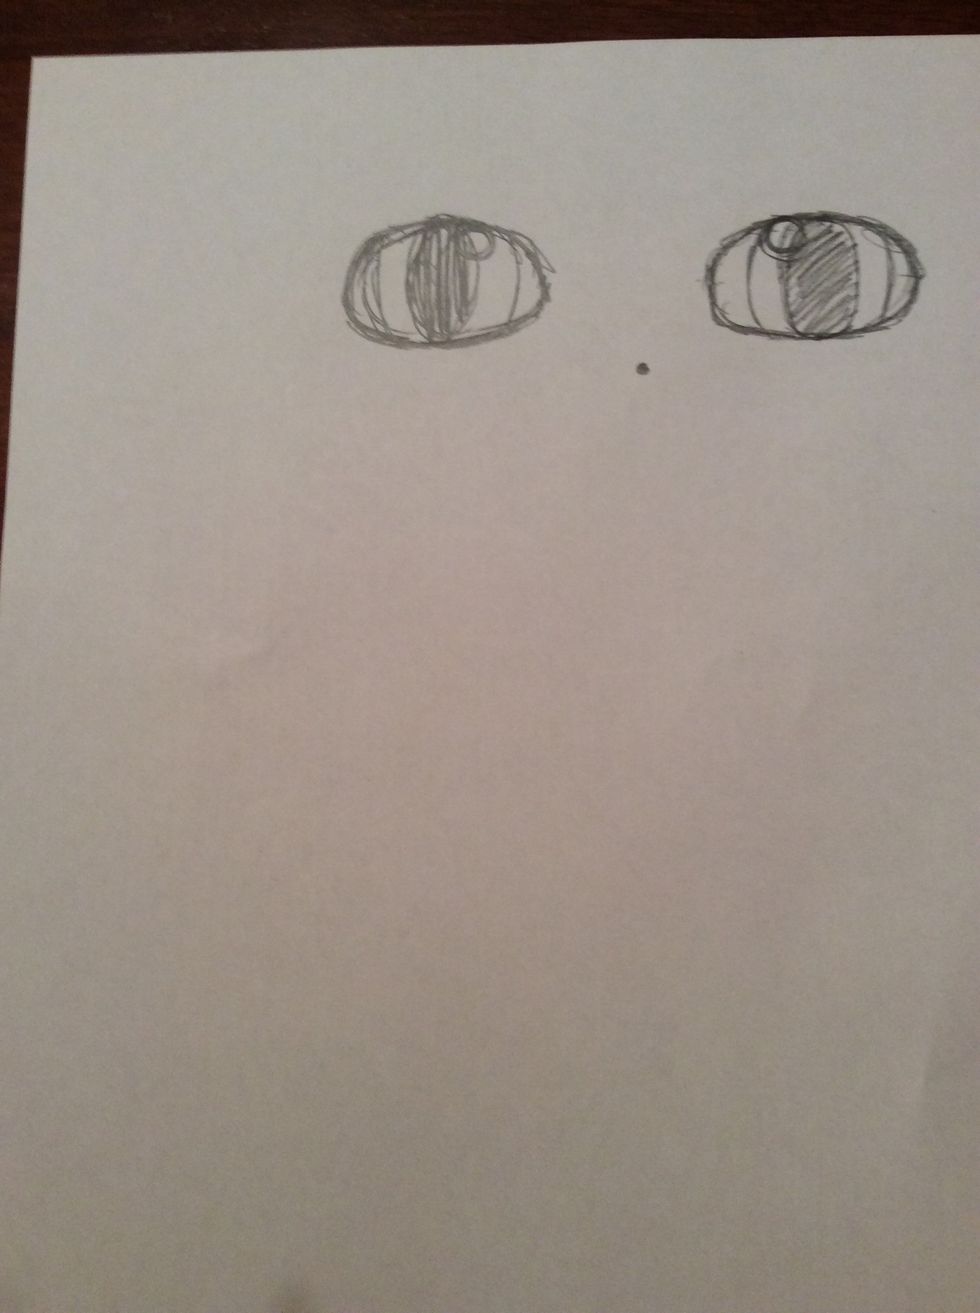
10. To draw the beak, measure 2cm down from the middle of the two eyes and mark with a small dot.
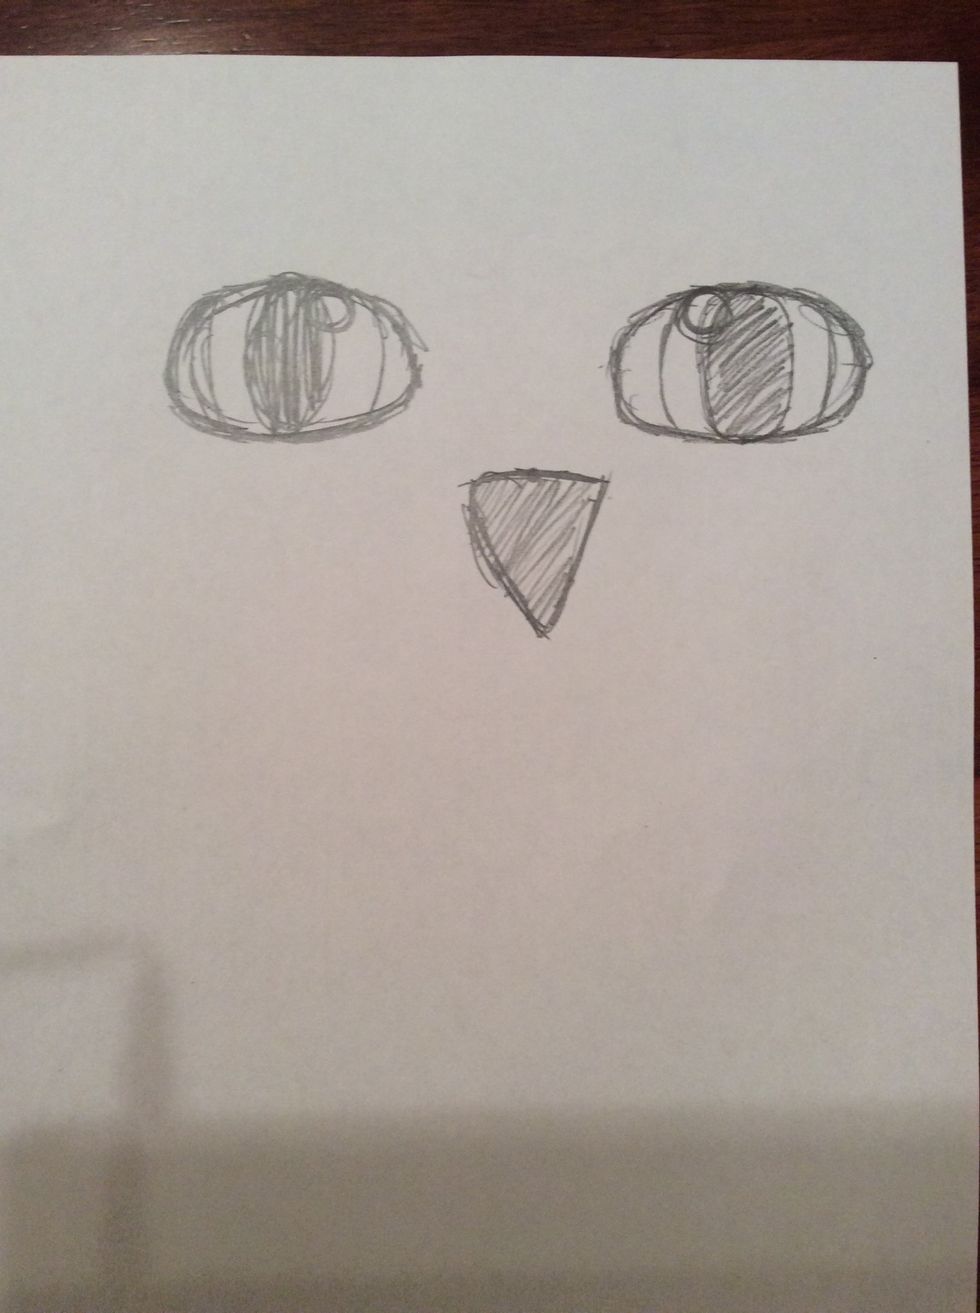
11. Using the marking draw a straight line for the bottom of a triangle, then complete the triangle and shade it lightly with lead pencil.
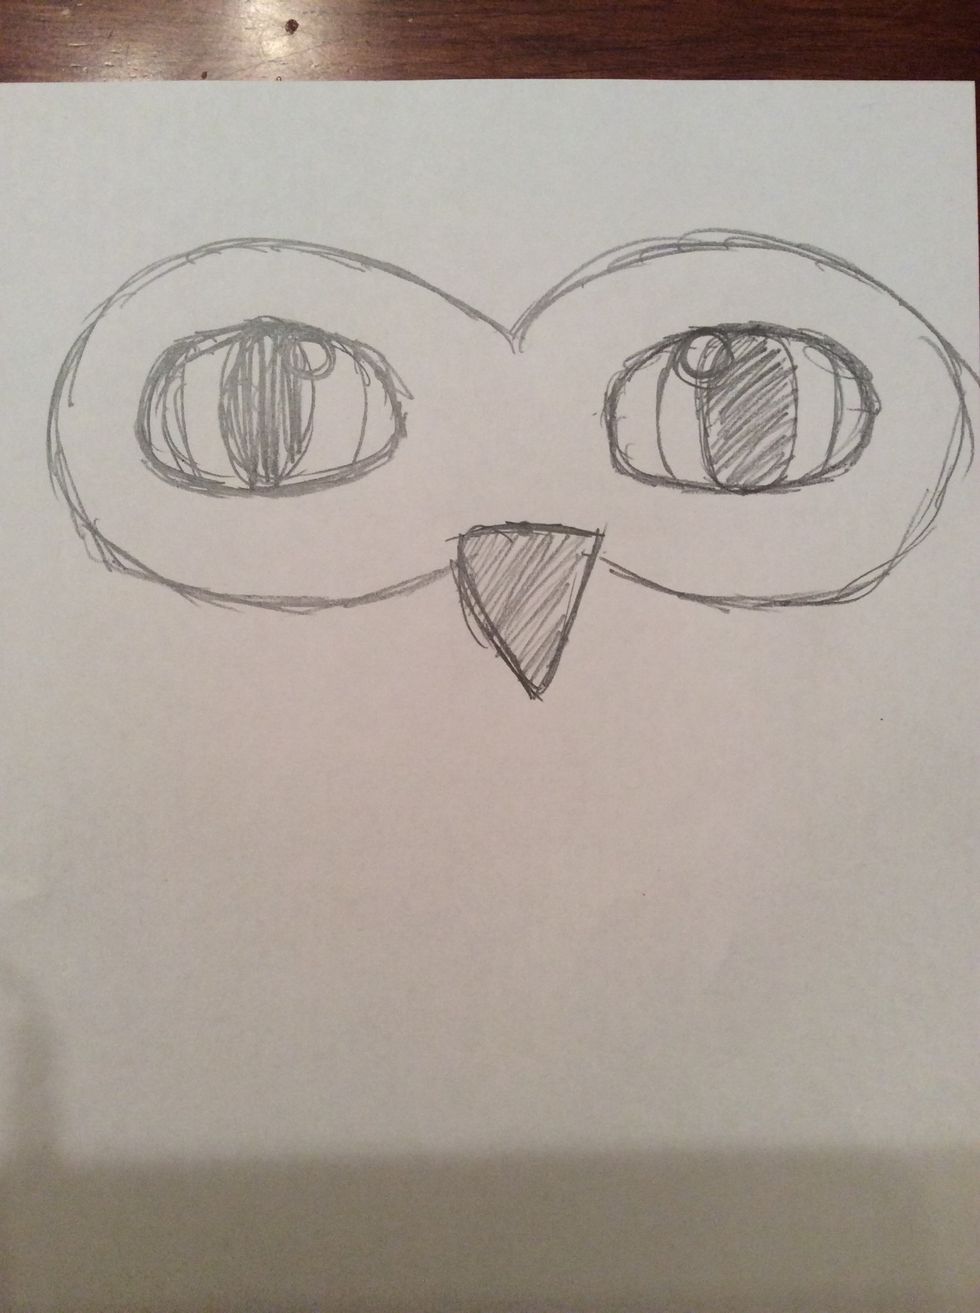
12. Draw a mask shape around the eyes, the bottom of the mask connecting to the middle of the beak. Refer to the picture above.
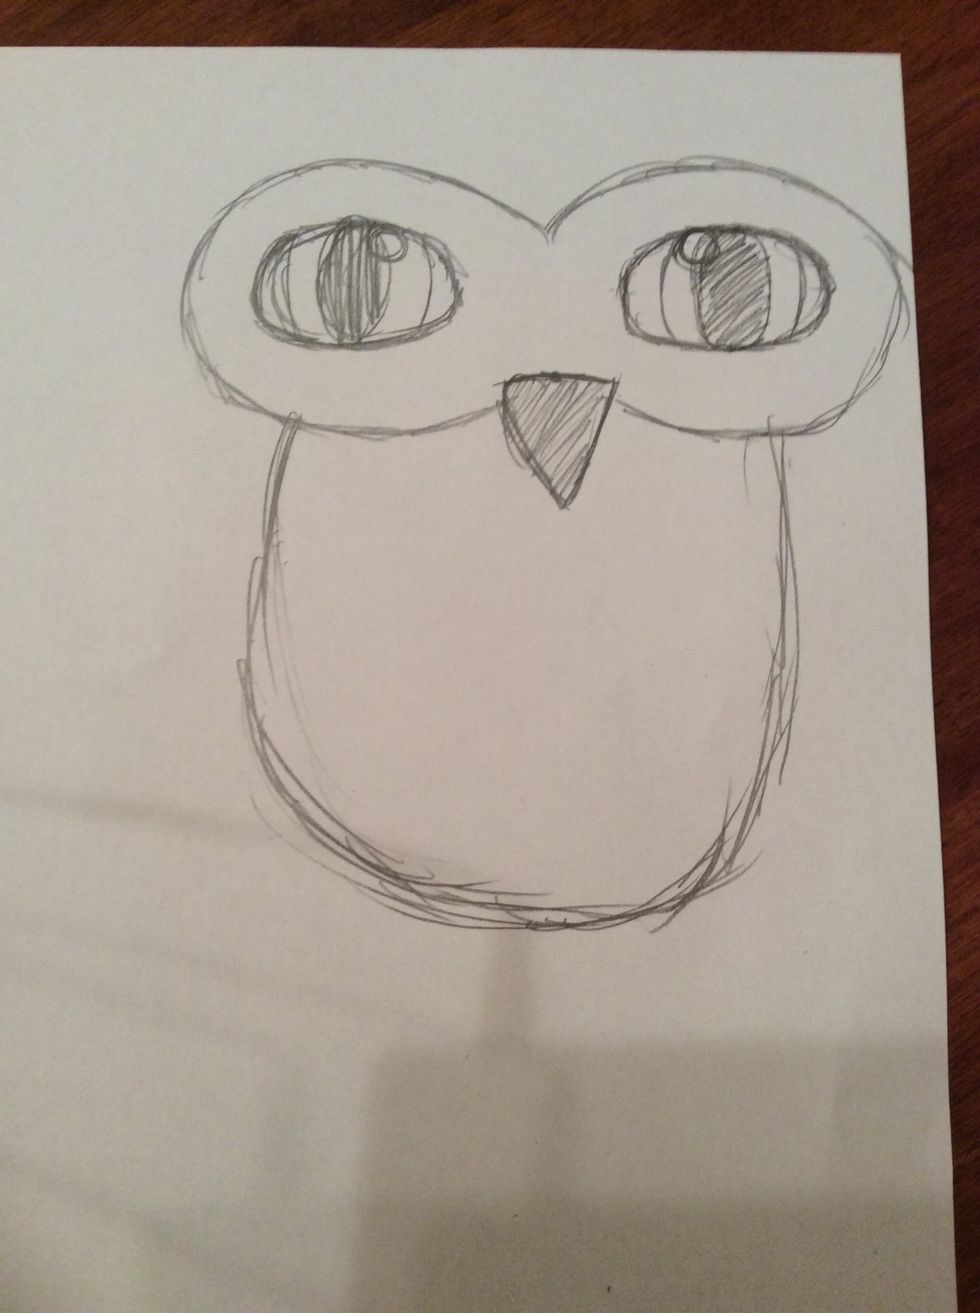
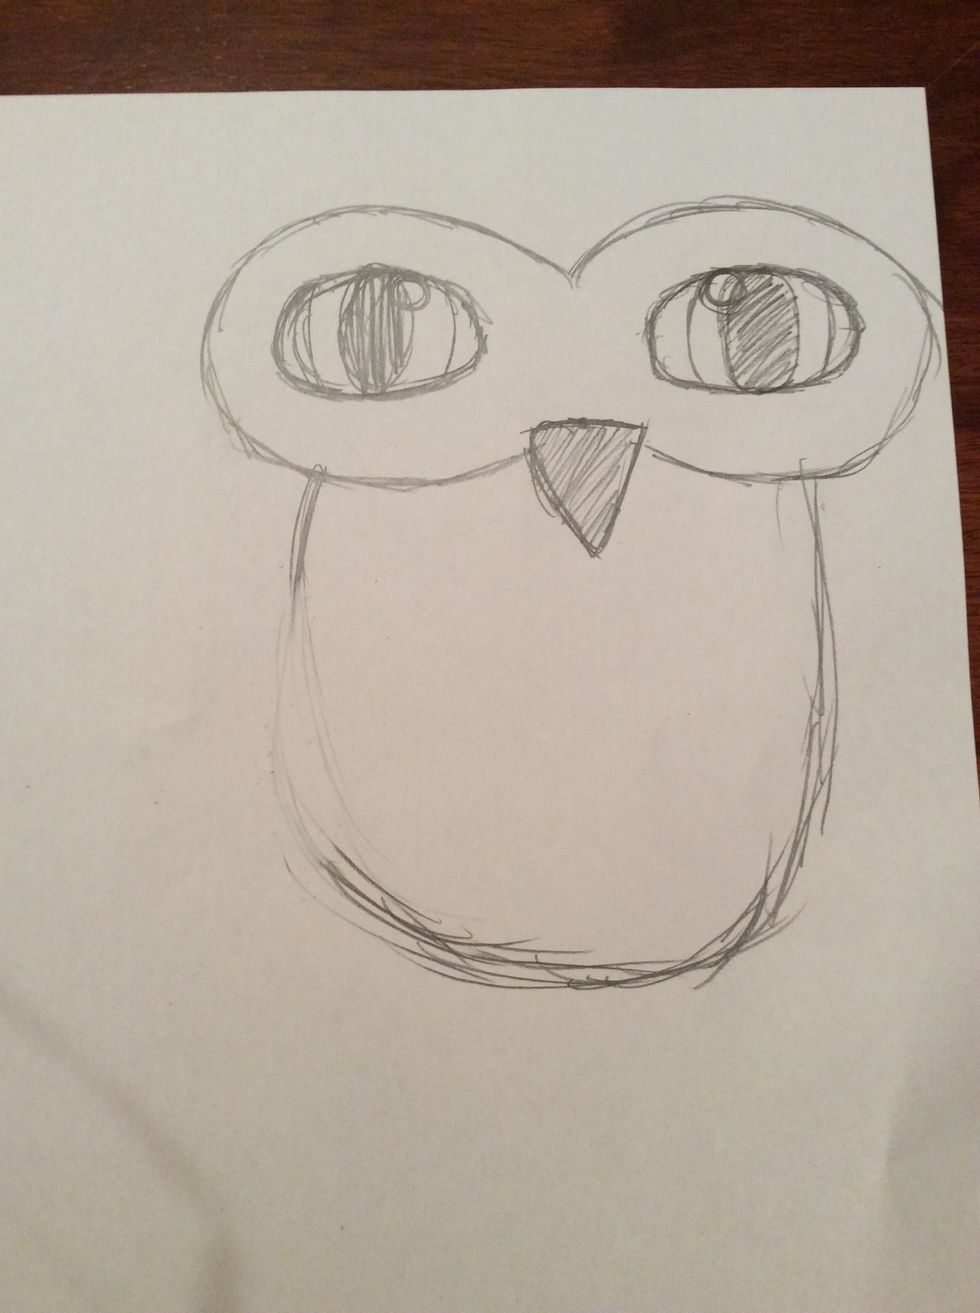
13. Draw a curved line starting from 5cm right of the beak and ending 3.5cm to the left of the beak.
14. On the left side of the curved line that you have drawn pick a spot for the wing and rub out a part of the line. Refer to the picture above.
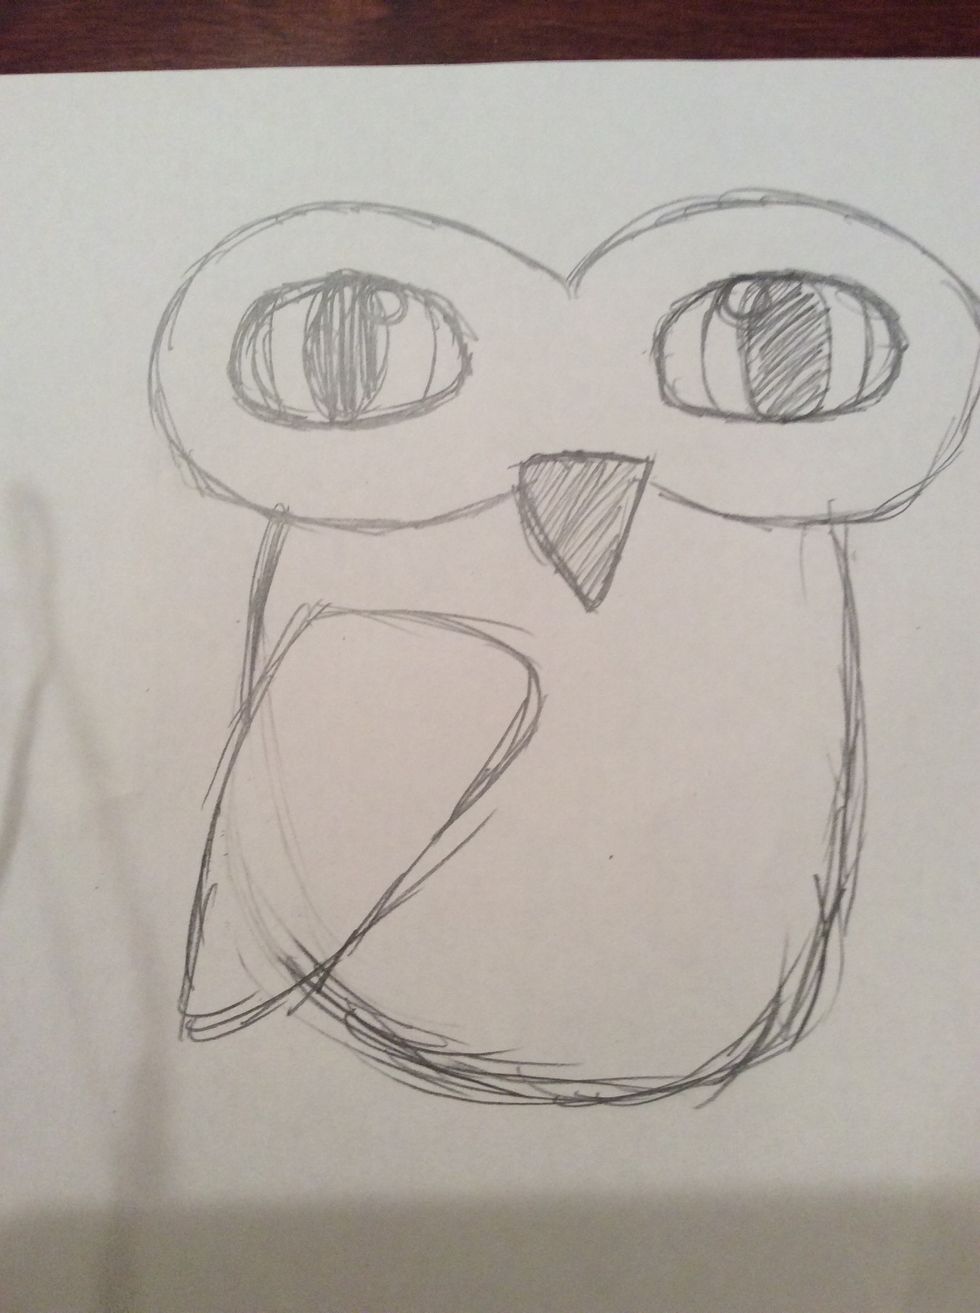
15. Now draw a medium sized triangle, with rounded vertices, with the top point of the triangle leading out of the curved line. Look at the picture above for help.
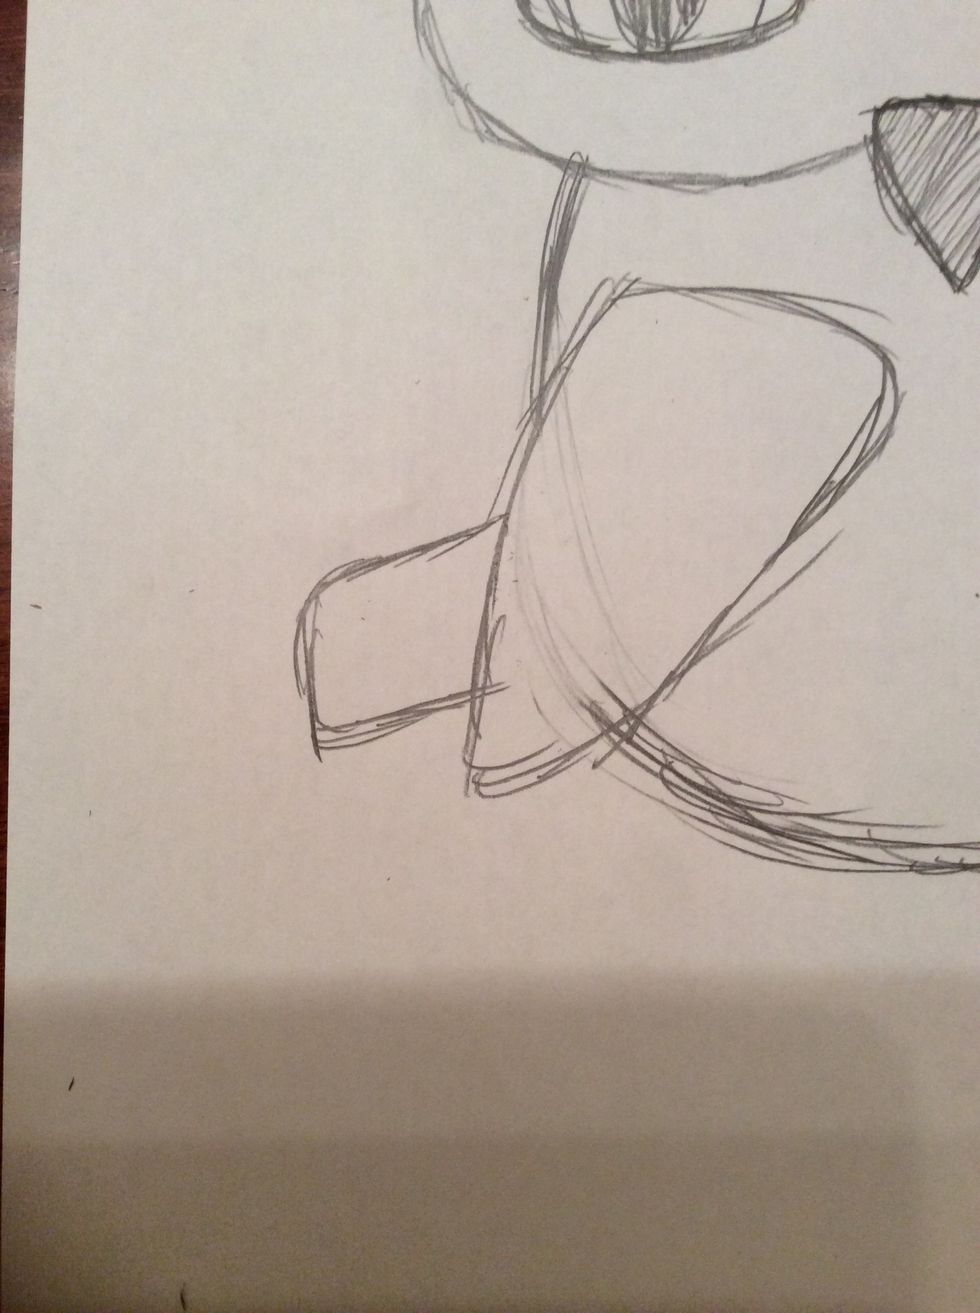
16. For the tail, draw a small rectangle with rounded vertices to the left of the wing and connected to it. Refer to the picture for help.
17. To draw the talons draw a three pointed shape to the right of the curved line, near to the bottom.
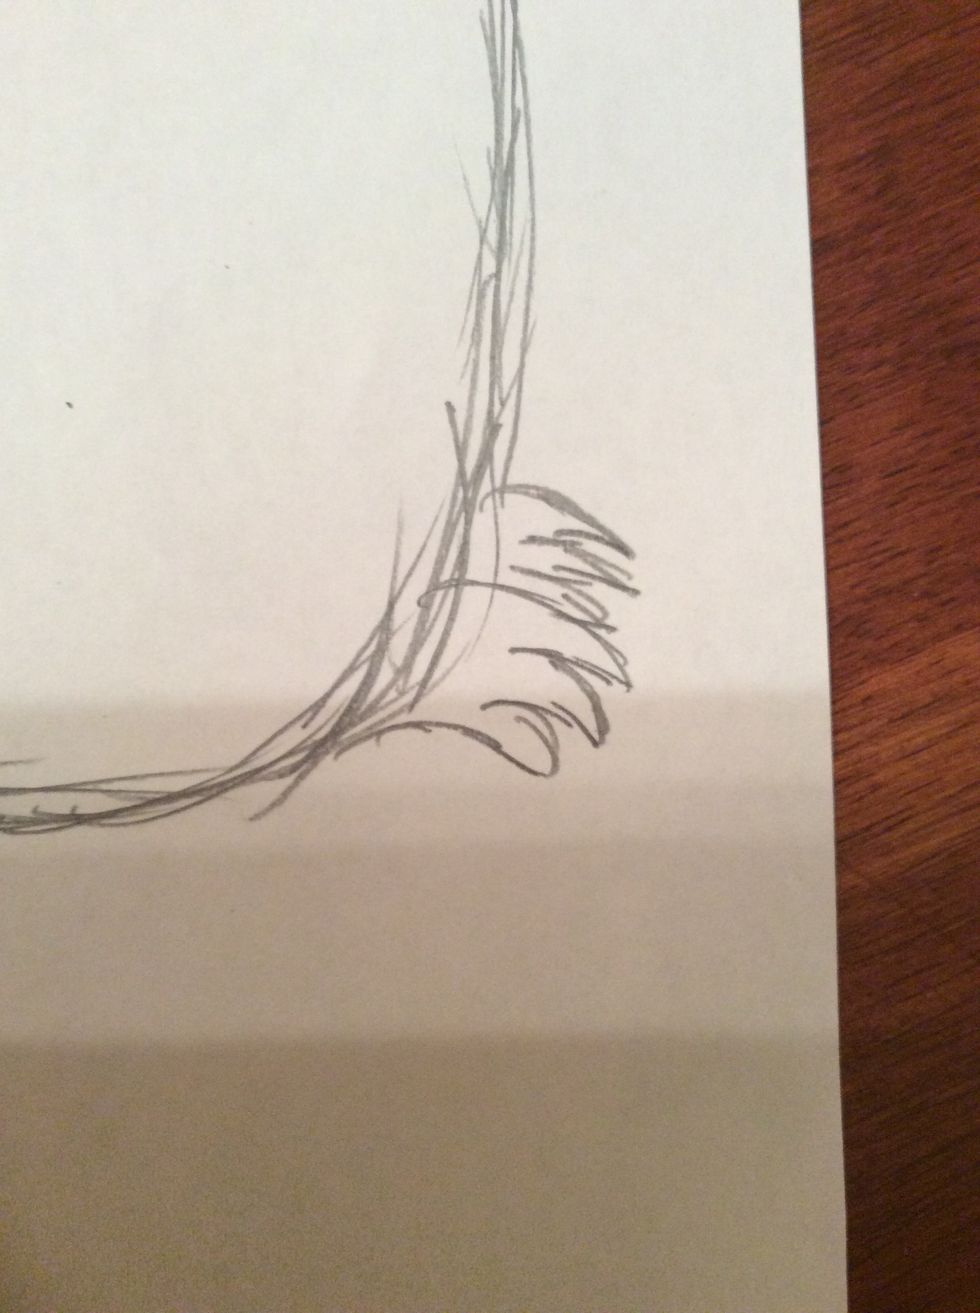
Then on top of the first line connecting to the first point of the shape you have drawn, draw another three pointed shape. Refer to the picture.
18. Shade in the talons lightly with lead pencil.
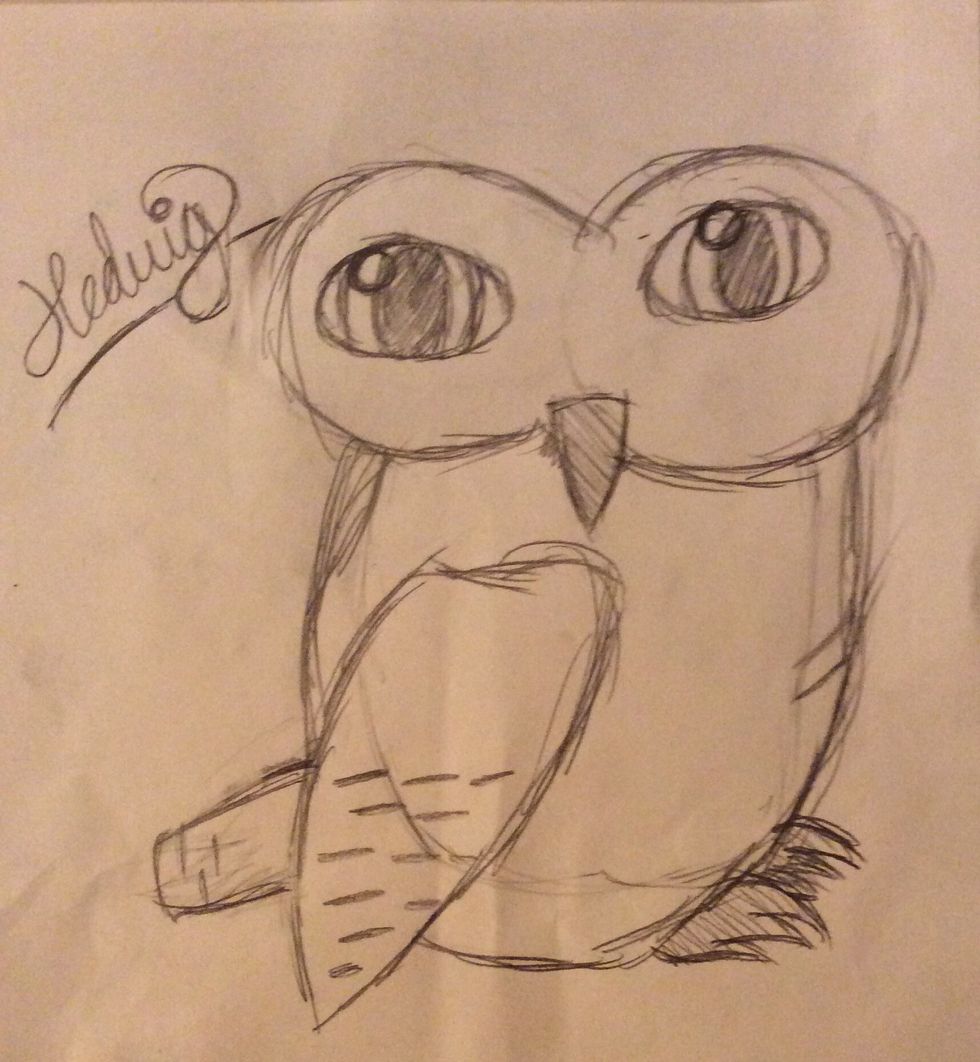
19. Well done you have now accomplished in drawing Hedwig from Harry Potter! This is what it should look like. Hopefully it looks better than mine!