The Conversation (0)
Sign Up
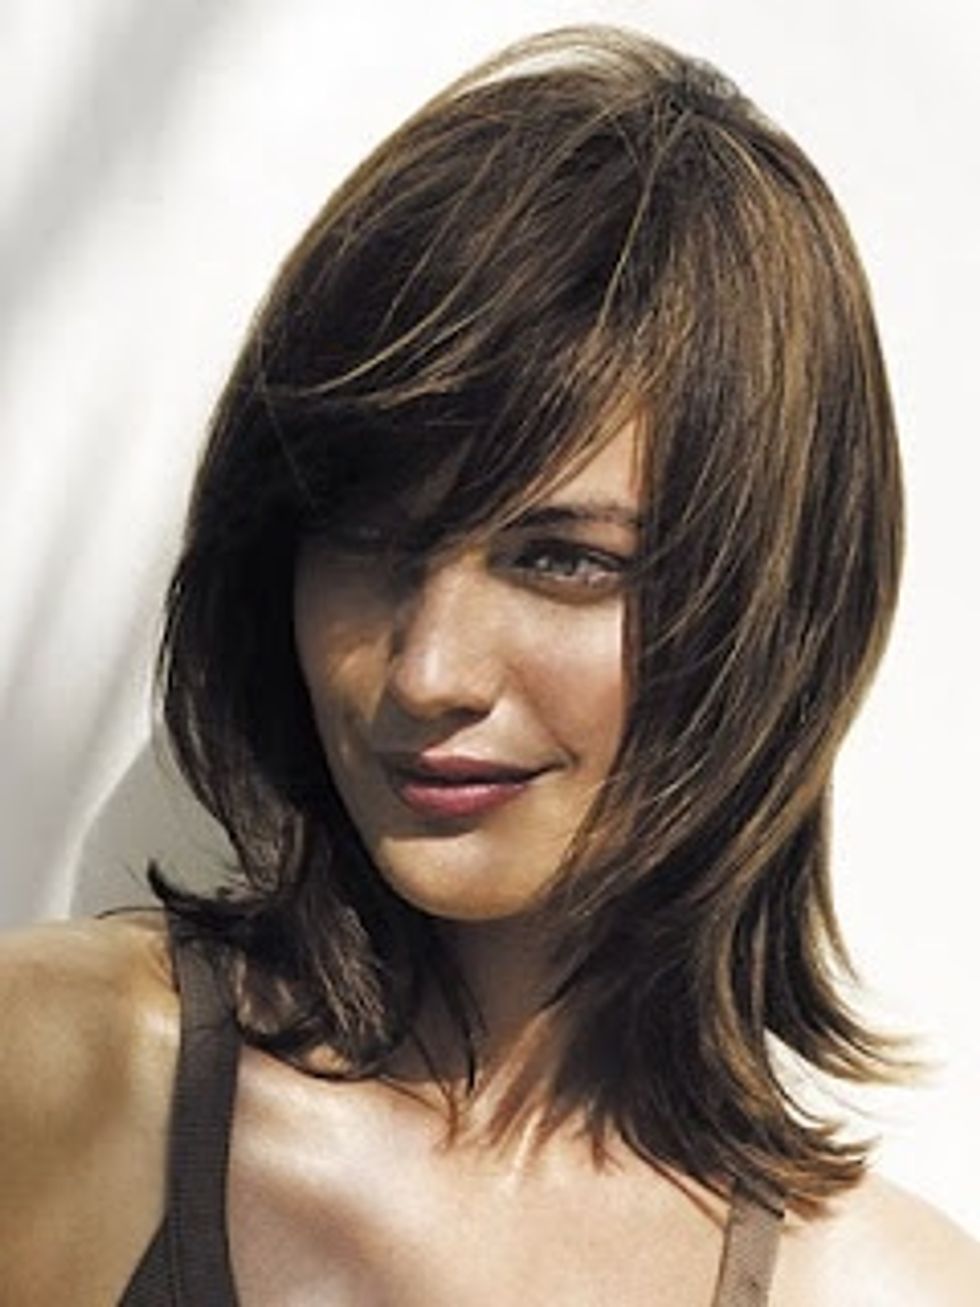
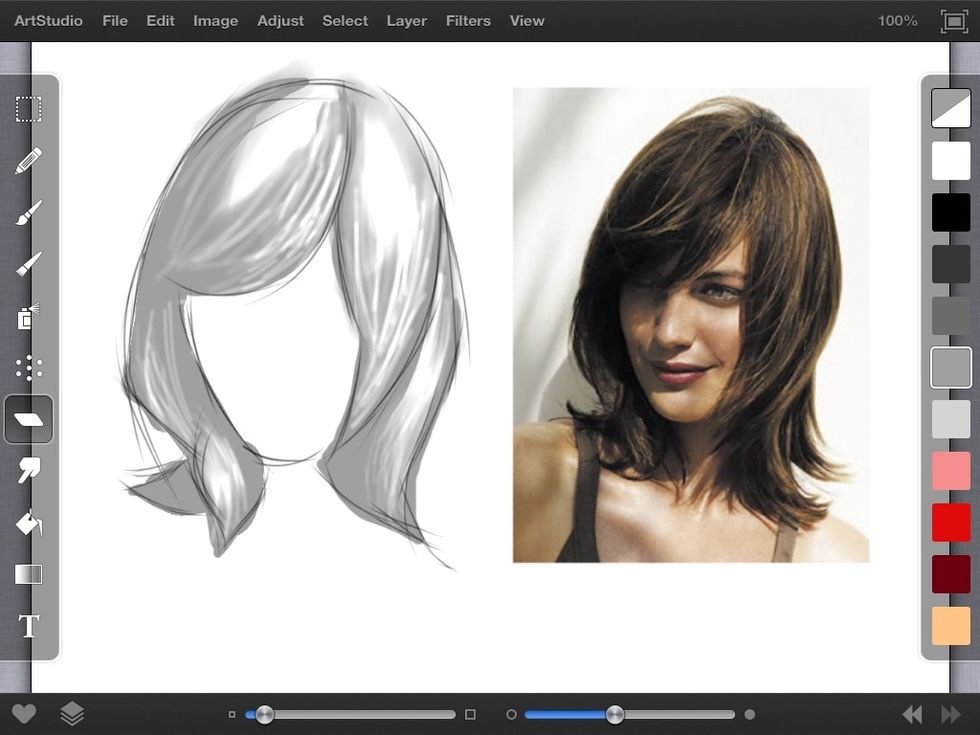
Here's the hair style we're going to draw
Lets start the illustration by breaking the hair due into shapes thus making small objects to work on, instead drawing all the individual hairs. ( that would take forever!)
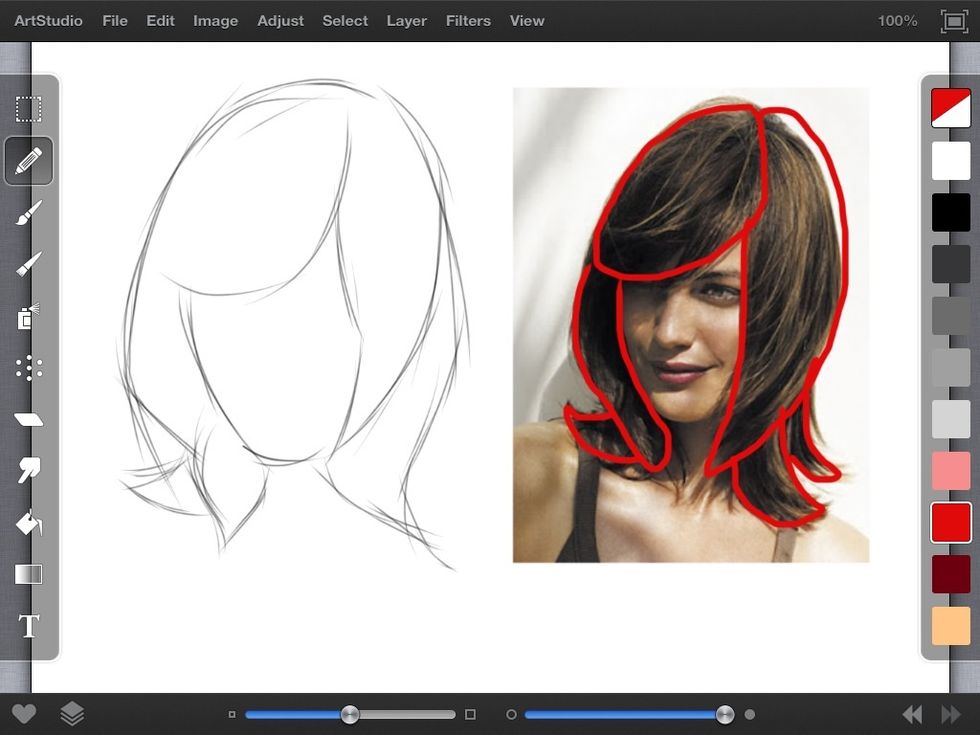
Notice the shapes I created out of the hairstyle. This breaks up the work and allows you to focus on style instead of the individual hairs themselves.
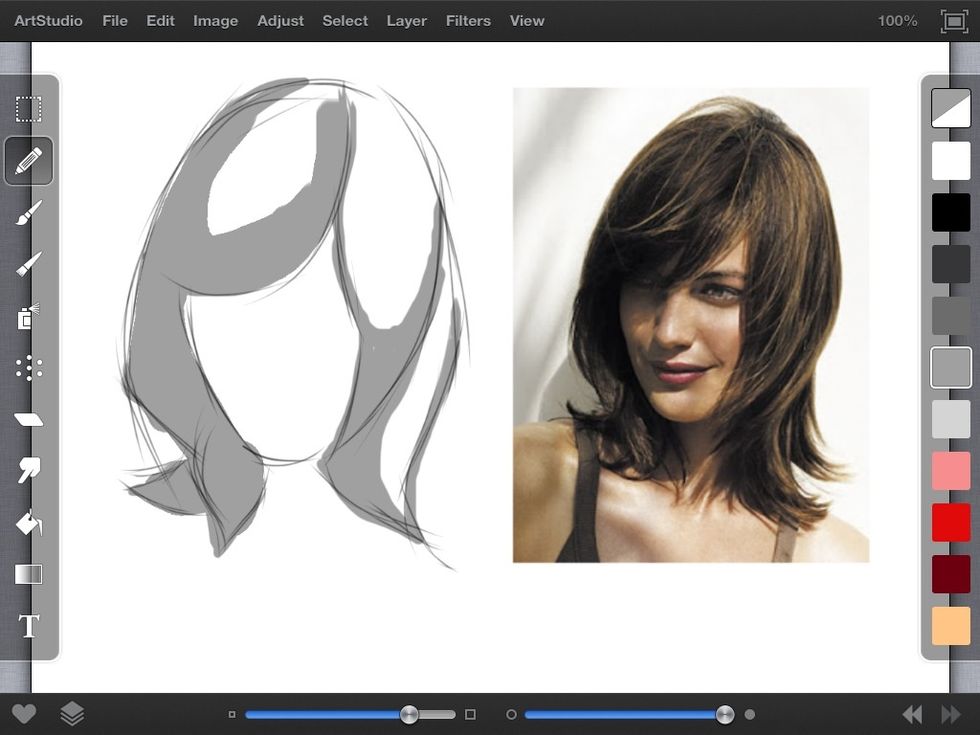
Next we want to think about the lighting. Using the shapes method, we will block in shapes of shadow that will represent the shadows in the reference picture.
Don't worry if your drawing doesn't match mine. The idea is to draw what you see! Also, we are still in the construction stage meaning we're not trying to draw perfectly. Be lose in your drawing!
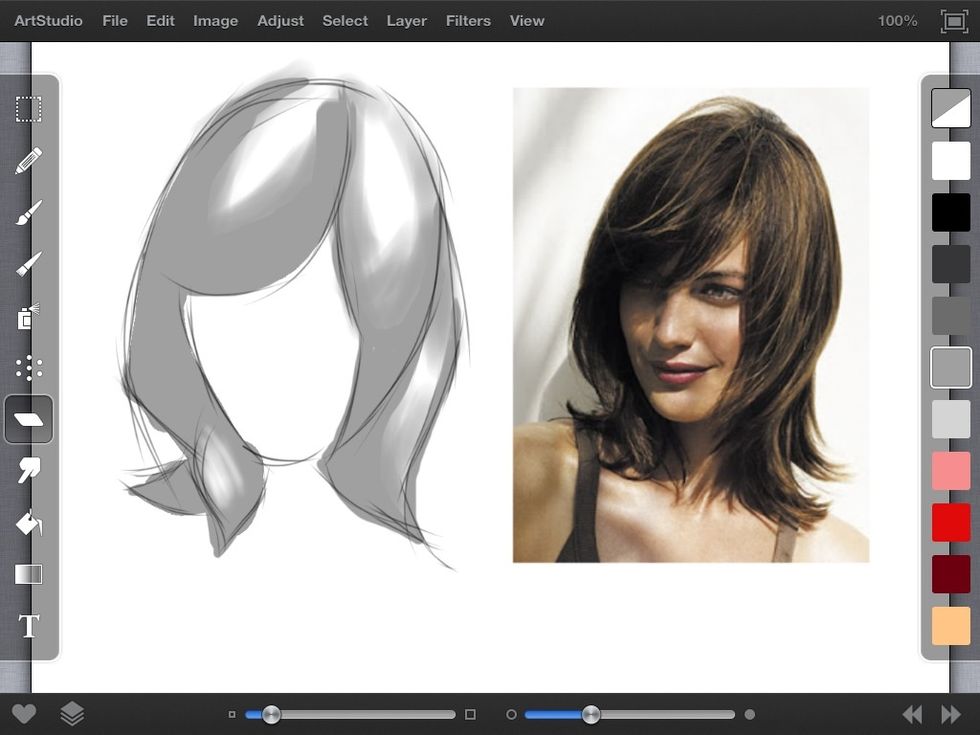
Next we want start shading into the light areas with a soft brush or light strokes with the pencil depending on what medium you chose.
Notice how the hard edges of the shadow blocking stage ( previous step) have now disappeared and turned into softer edges.
Now we can go in with an thin edged eraser and start removing thin lines of "light hair". This gives the illusion of highlights in the hair. Try to keep them near the areas of light in the drawing.
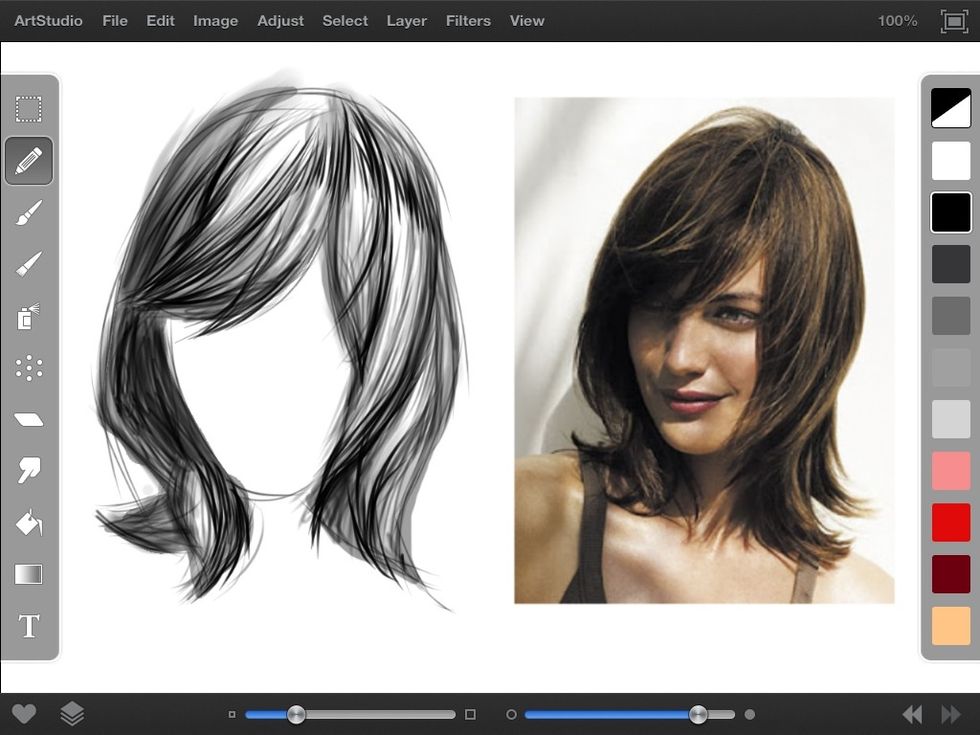
We can now move onto adding darker strokes of hair. Strokes will be much closer together in the darkest areas and not so close and few in the areas of light.
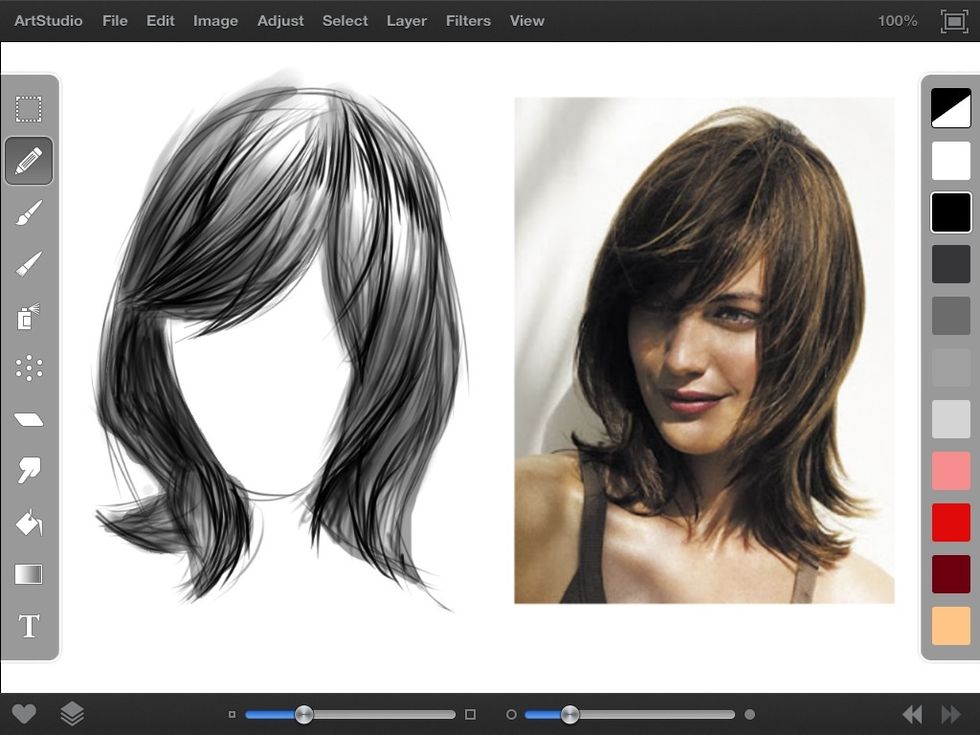
The final stage is to go in with a soft edge brush or light strokes with the pencil and block in extra shadows to help add contrast to the drawing making it pop! And that's it! You have drawn hair!
Process: 1.observe reference 2. Break into shapes 3. Block in shadows (using shapes) 4. Erase to add lighting 5. Add darker shadows. 6. Touch up work and Finished! Have fun! :) @thesullyman