The Conversation (0)
Sign Up
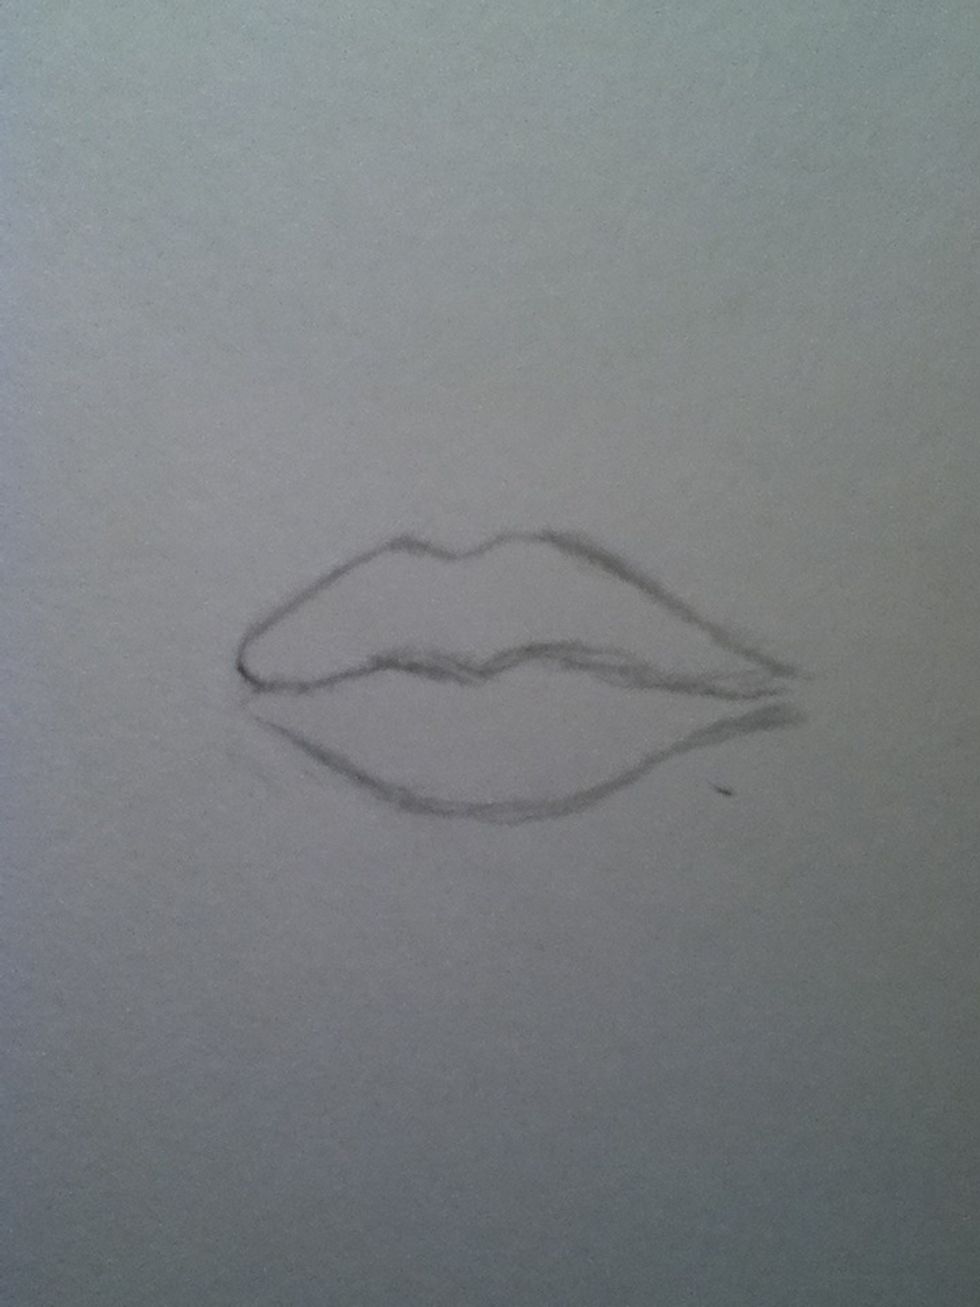
Start with your outline...
Add extra features such as the creases on either side of the mouth and the creases above the lip.
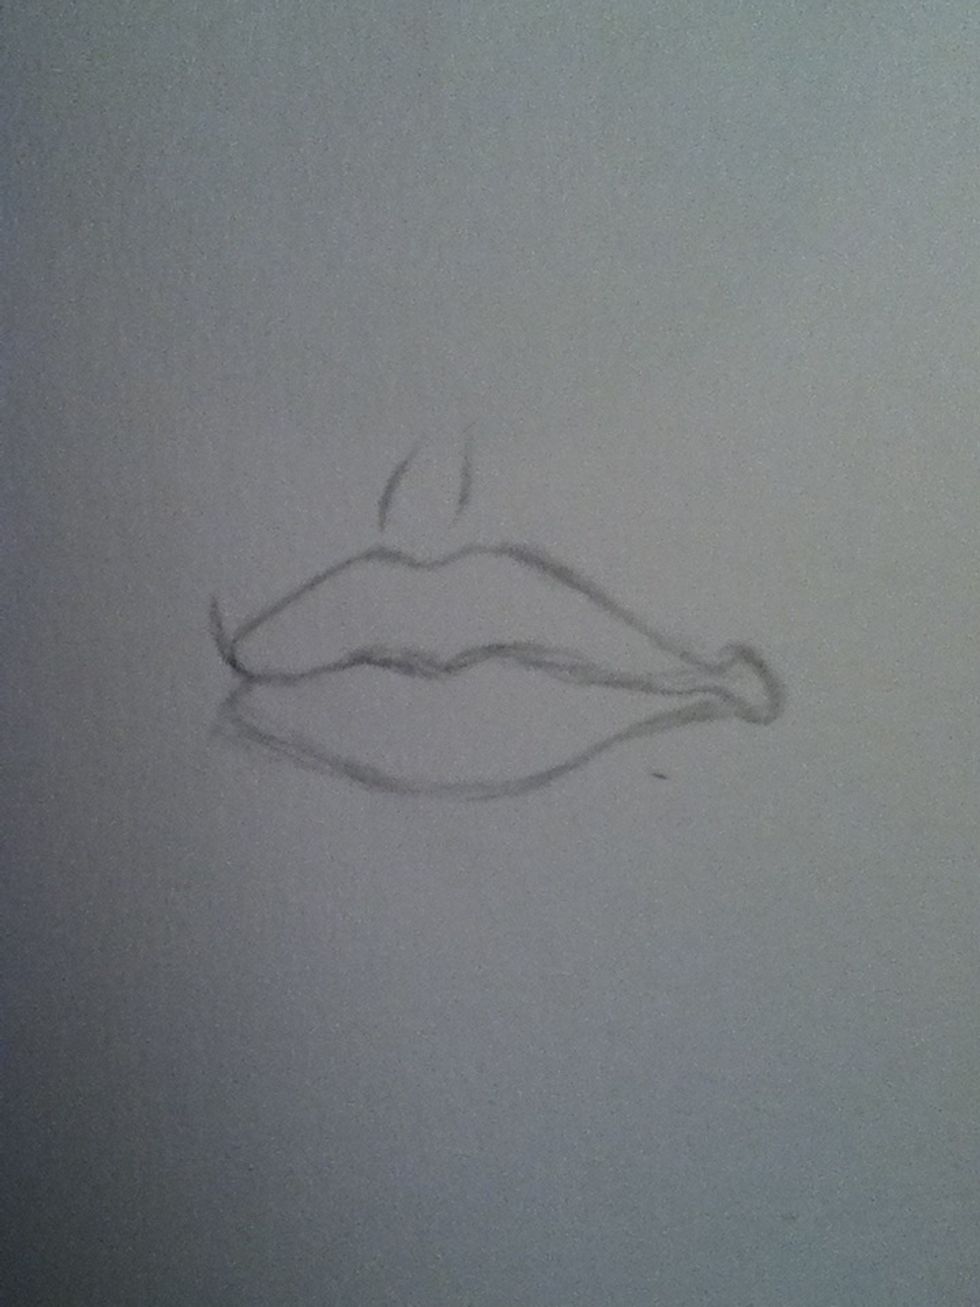
Now shade a base all around the lips. For these lips I decided to combine slinky and smooth shading (reference my shading guides) all around the lips.
Now here I smoothed done if the lines and kept others slinky looking. The creases should be darker since they don't have light in them do make those parts the darkest.
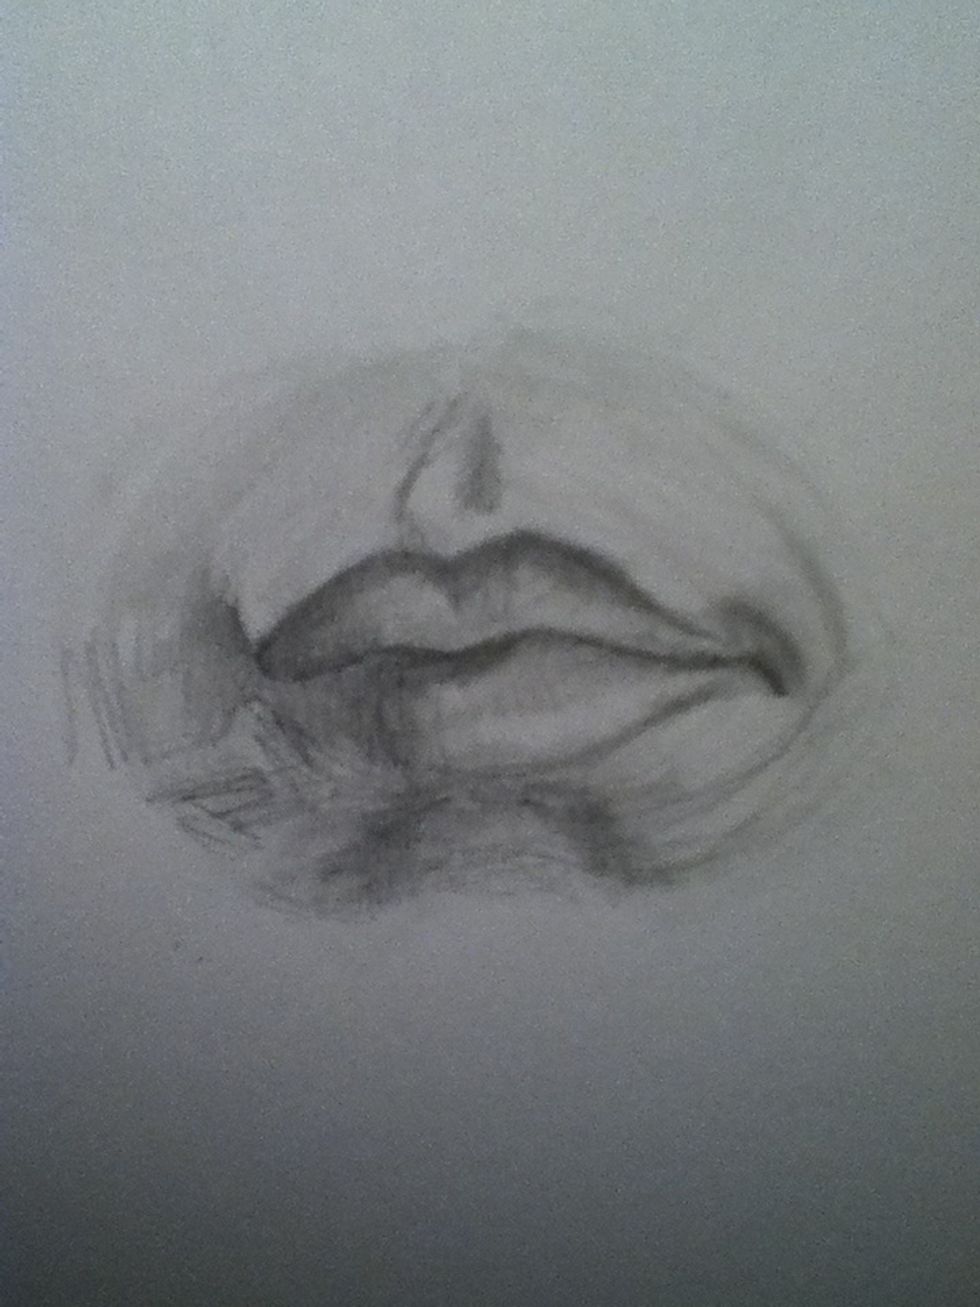
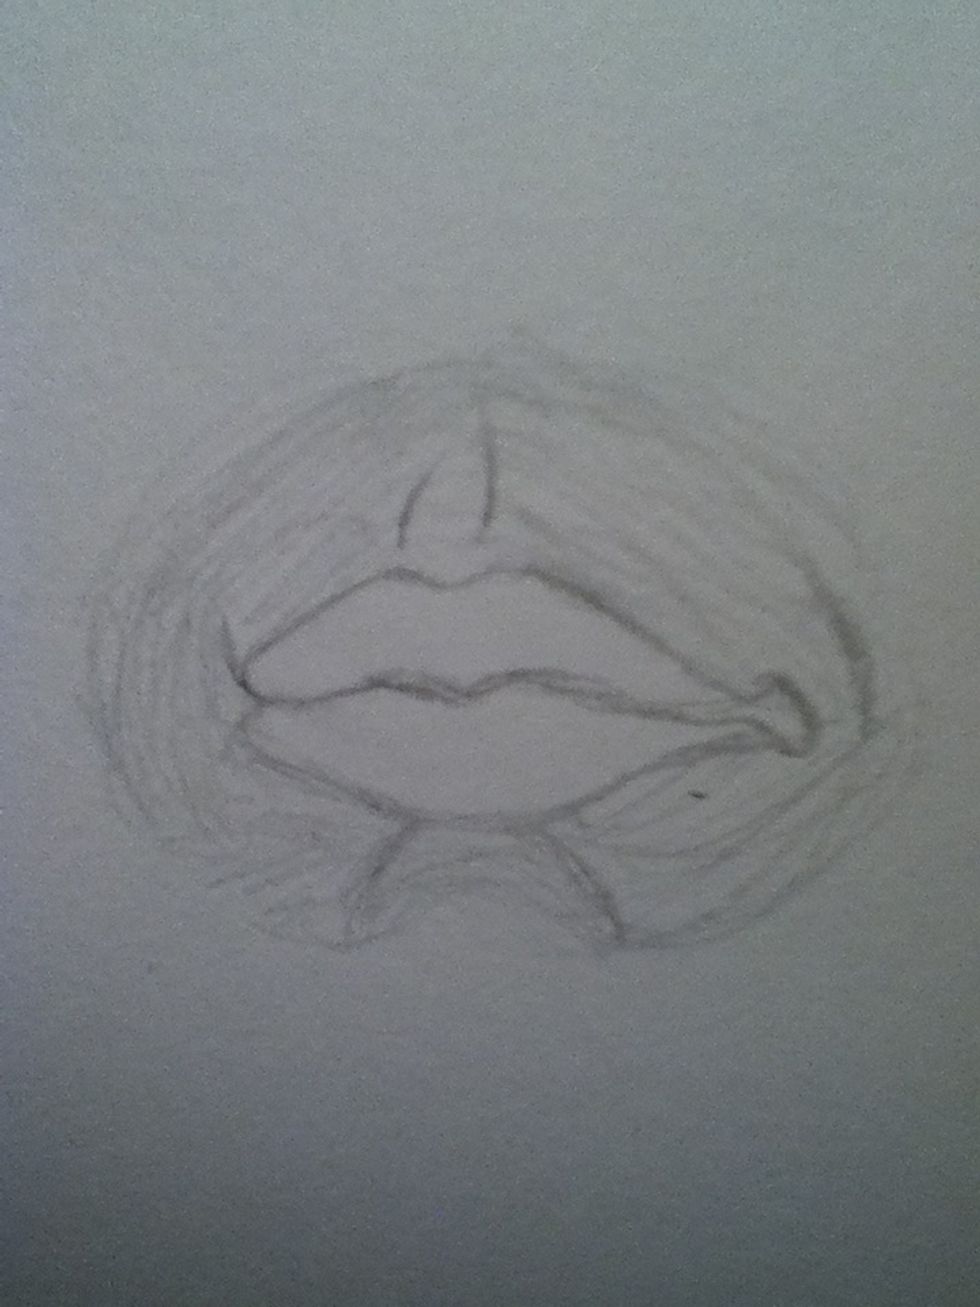
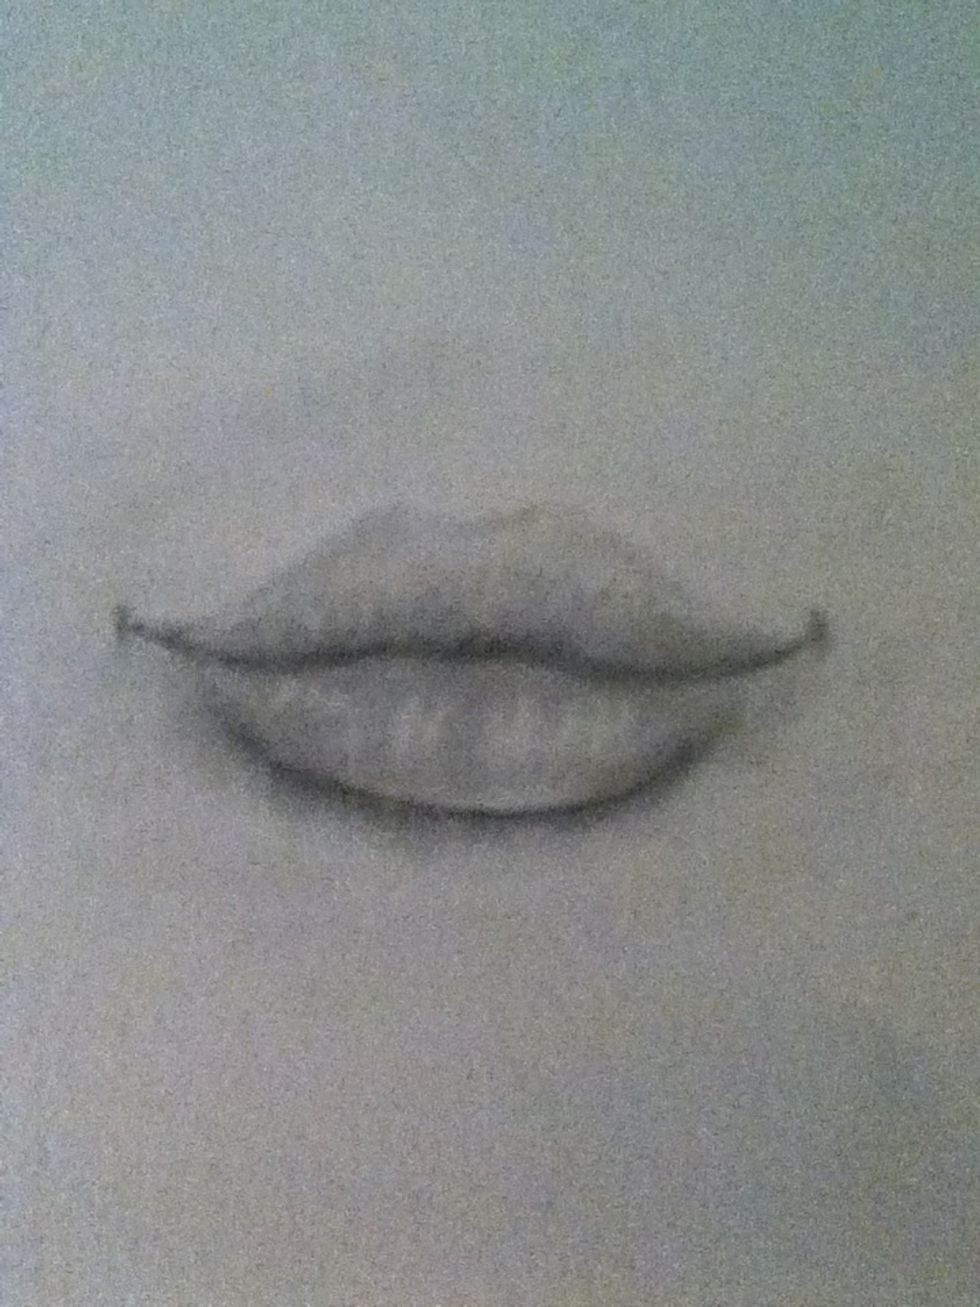
Now shade the lips. To create the illusion of them being 3D I make a shading line that looks like a sideways "T" from the middle of the mouth to the bottom of the lower lip.
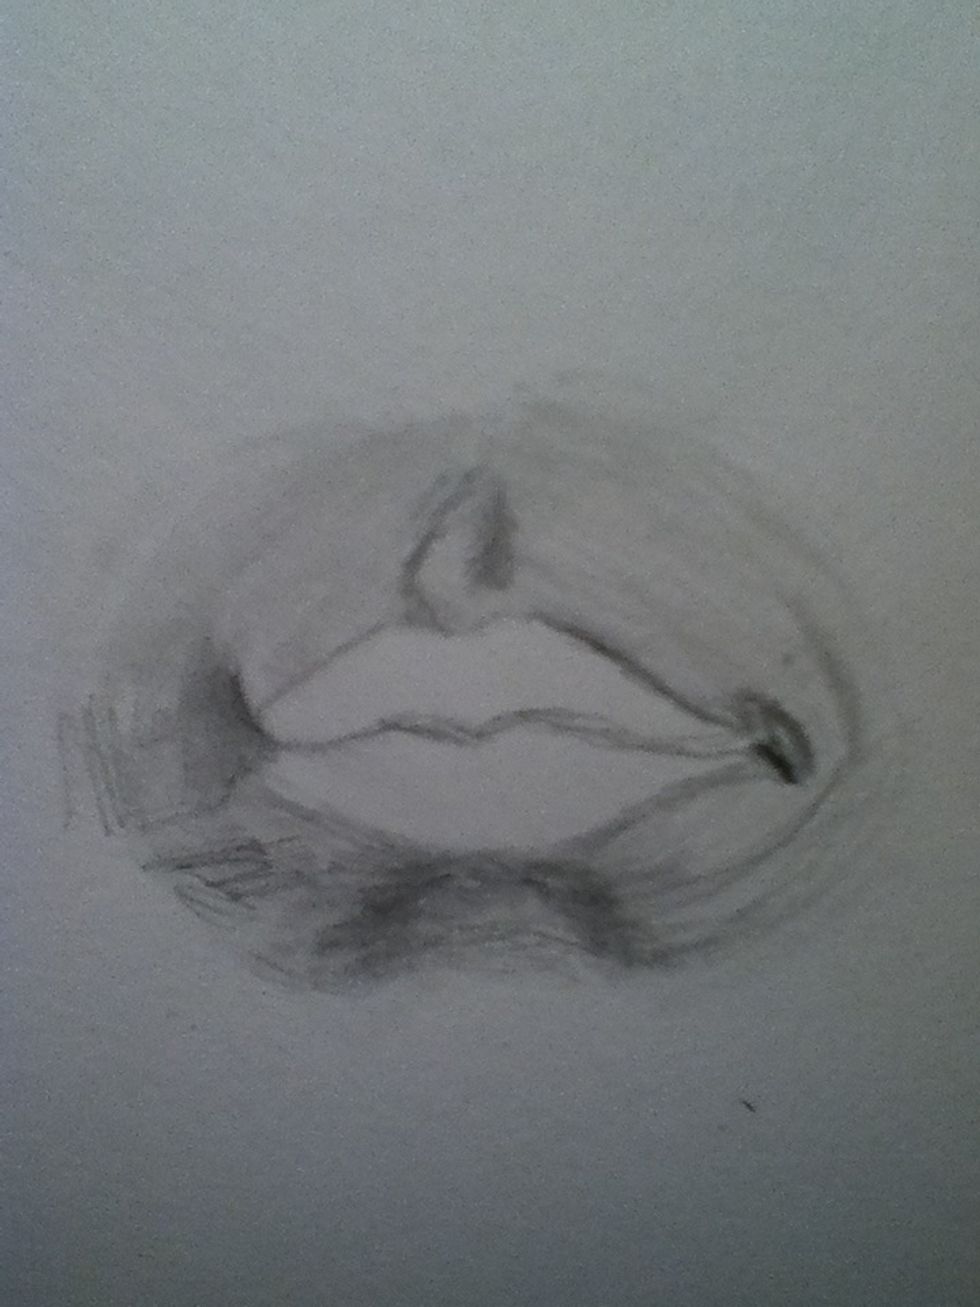
Now erase the area on the lower lip in a Nike shape thinly to make the illusion. Also darken the upper lip and darker areas. Ta Da!!! One way to draw lips!!!
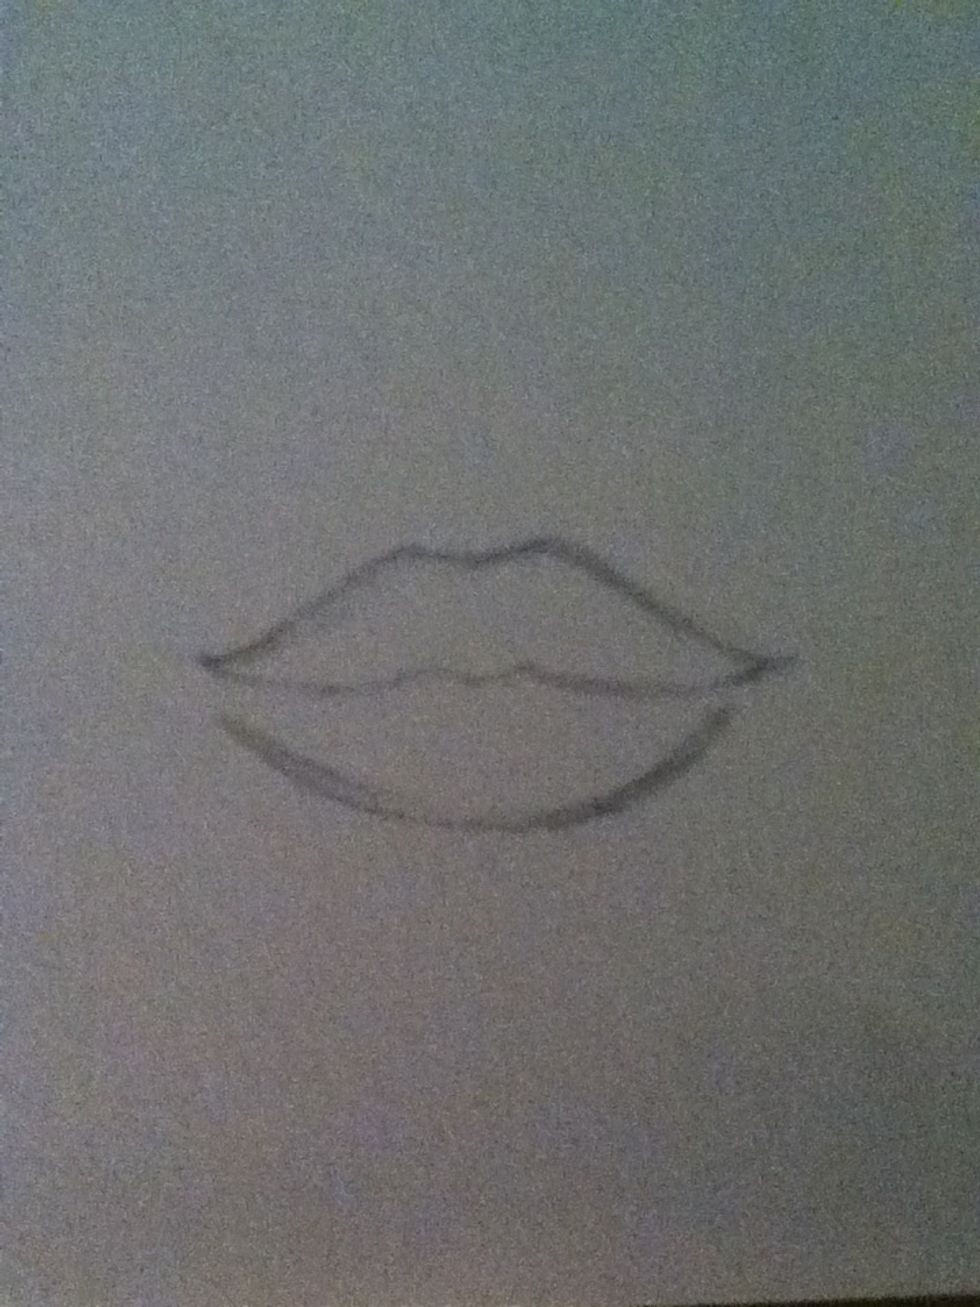
Now for these lips, they are completely straight forward. Start with the outline,...

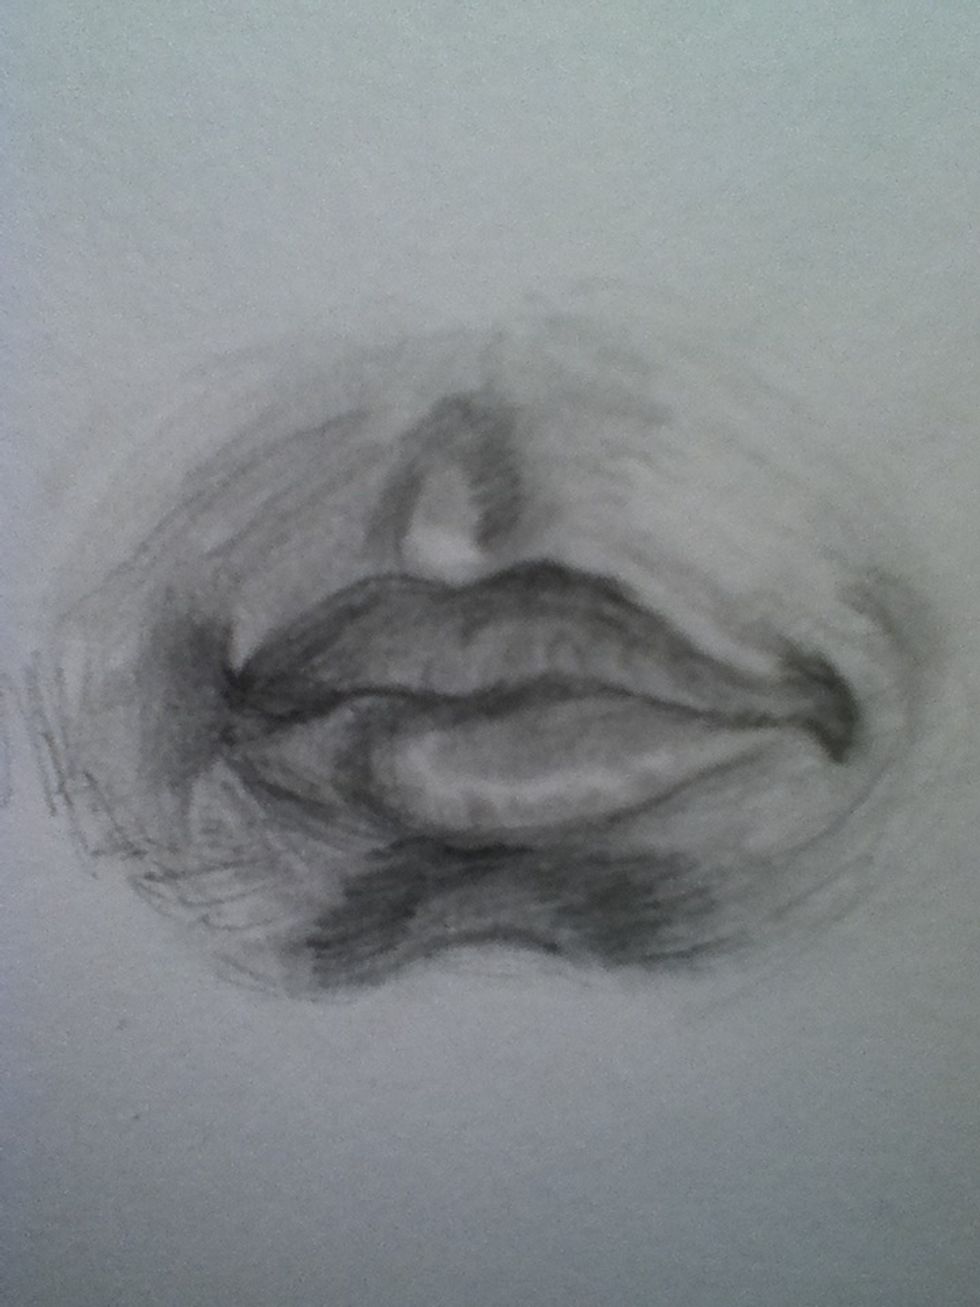
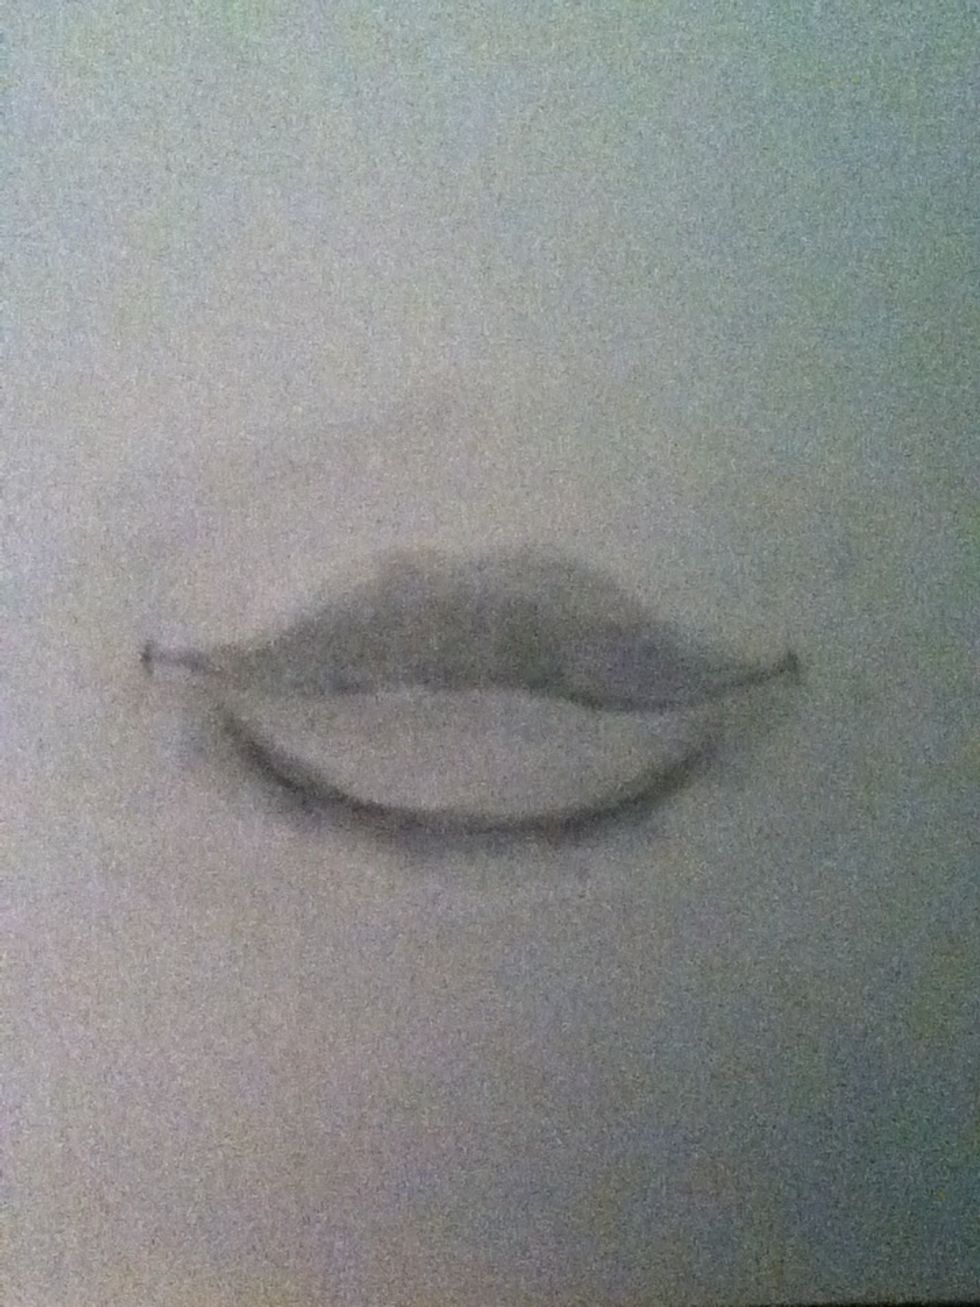
Now make a make shade around the lips....
Shade the lips, upper lips are darker than the lower lips due to light since the lower comes out more and is larger. Now shade dark because erasing comes later. Shade underneath as well.
Now shade the middle crease between the lips dark and make a few wave looking patterns on the upper lip. You now can also erase in the pattern of the wrinkles on all lips but do this sparingly!
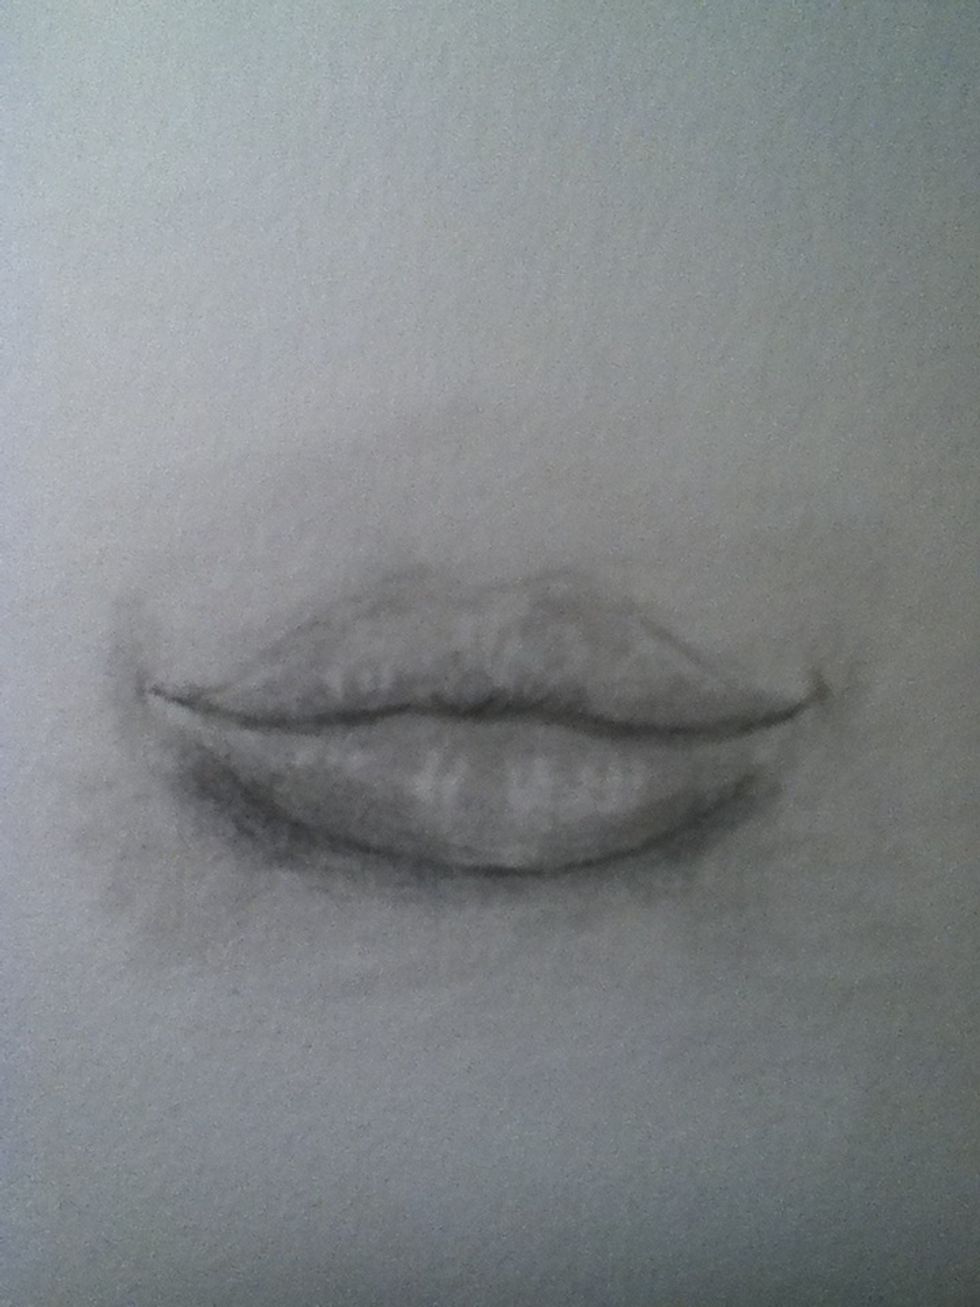
Now add patches of shading on the top and shade the outside creases and Ta da!!!! Lips!!!
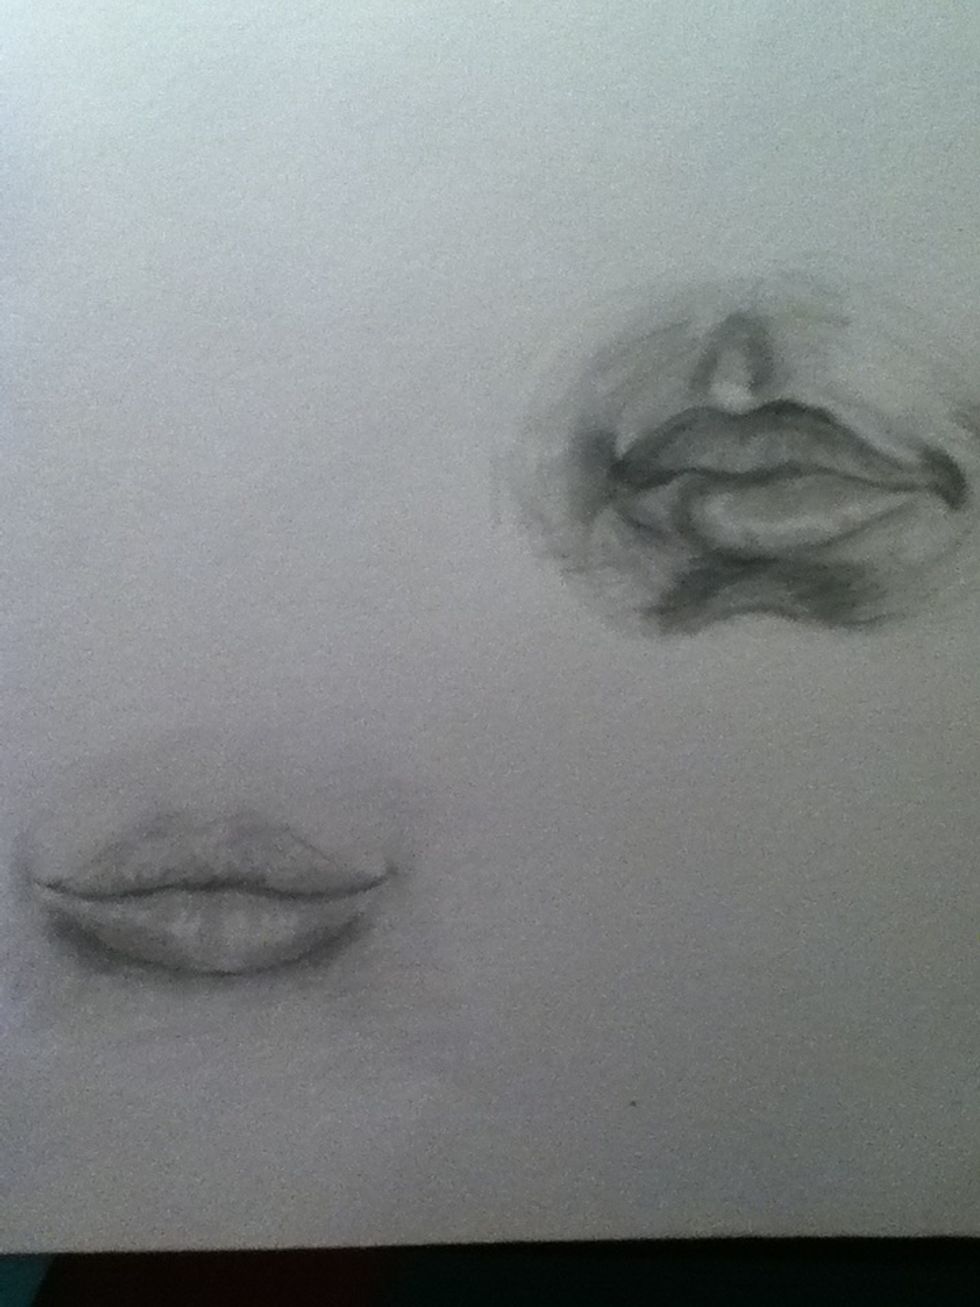
These are the two ways together to show the different angles. The top pair if lips have harder shading than the lower for the sake of a good comparison.
Thank you guys and check out my 22 other drawing guides and how to draw lips w/teeth!!! Please comment with ideas, concerns, or just to comment :)!!!