The Conversation (0)
Sign Up
Let's start with something basic. Something you see everyday in nature.
Remember that nature isn't PERFECT. Not every leaf and petal look the same so don't be afraid to vary your shapes.
A daisy is one of the simplest flowers so that's where we'll start.
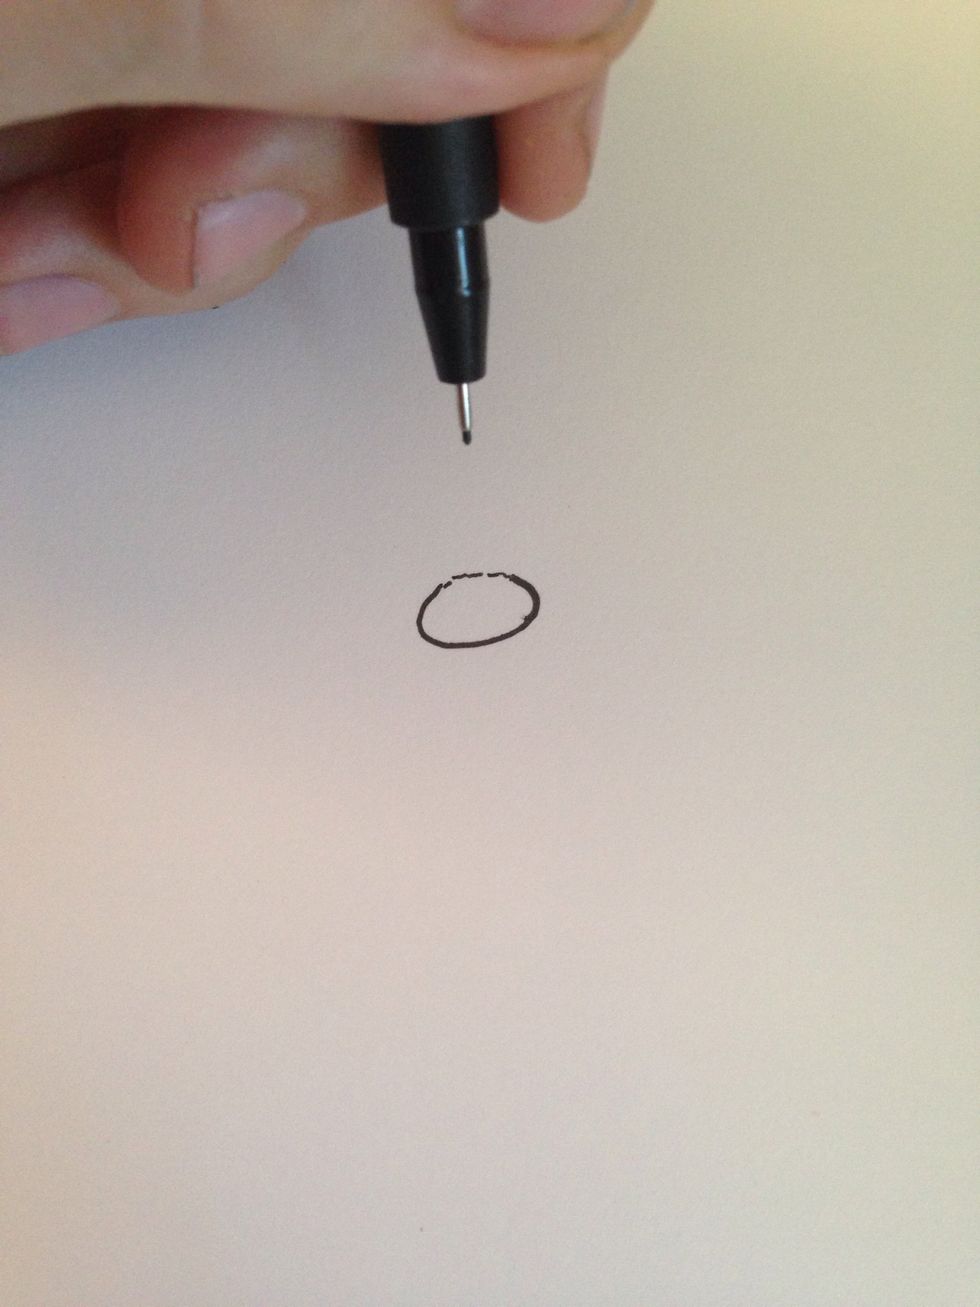
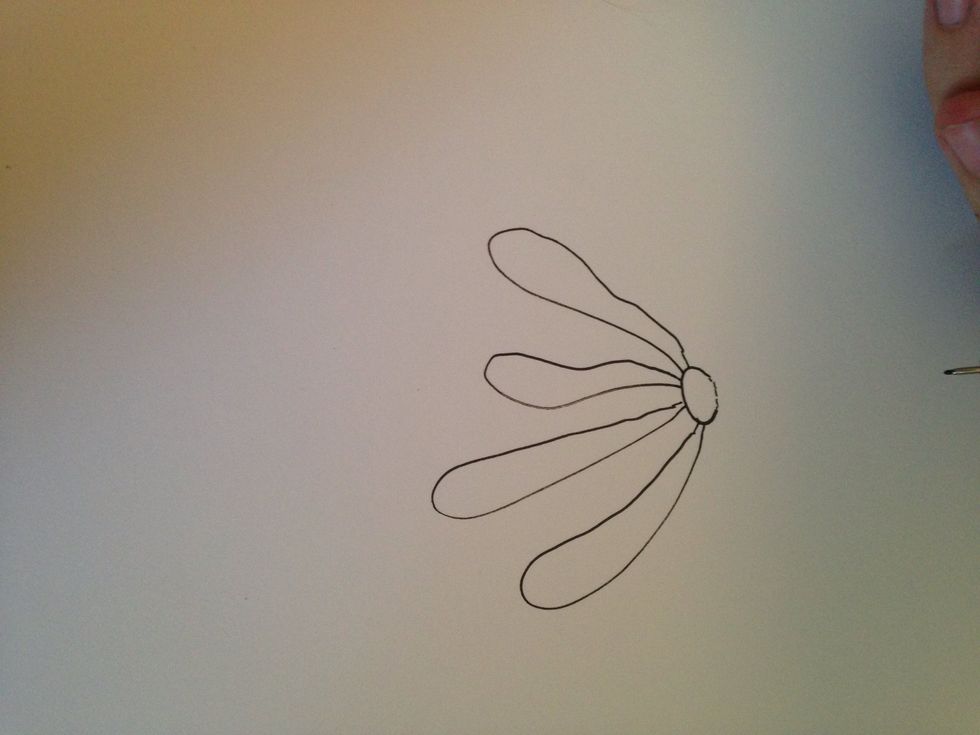
Start by drawing an oval. This is the center of the daisy.
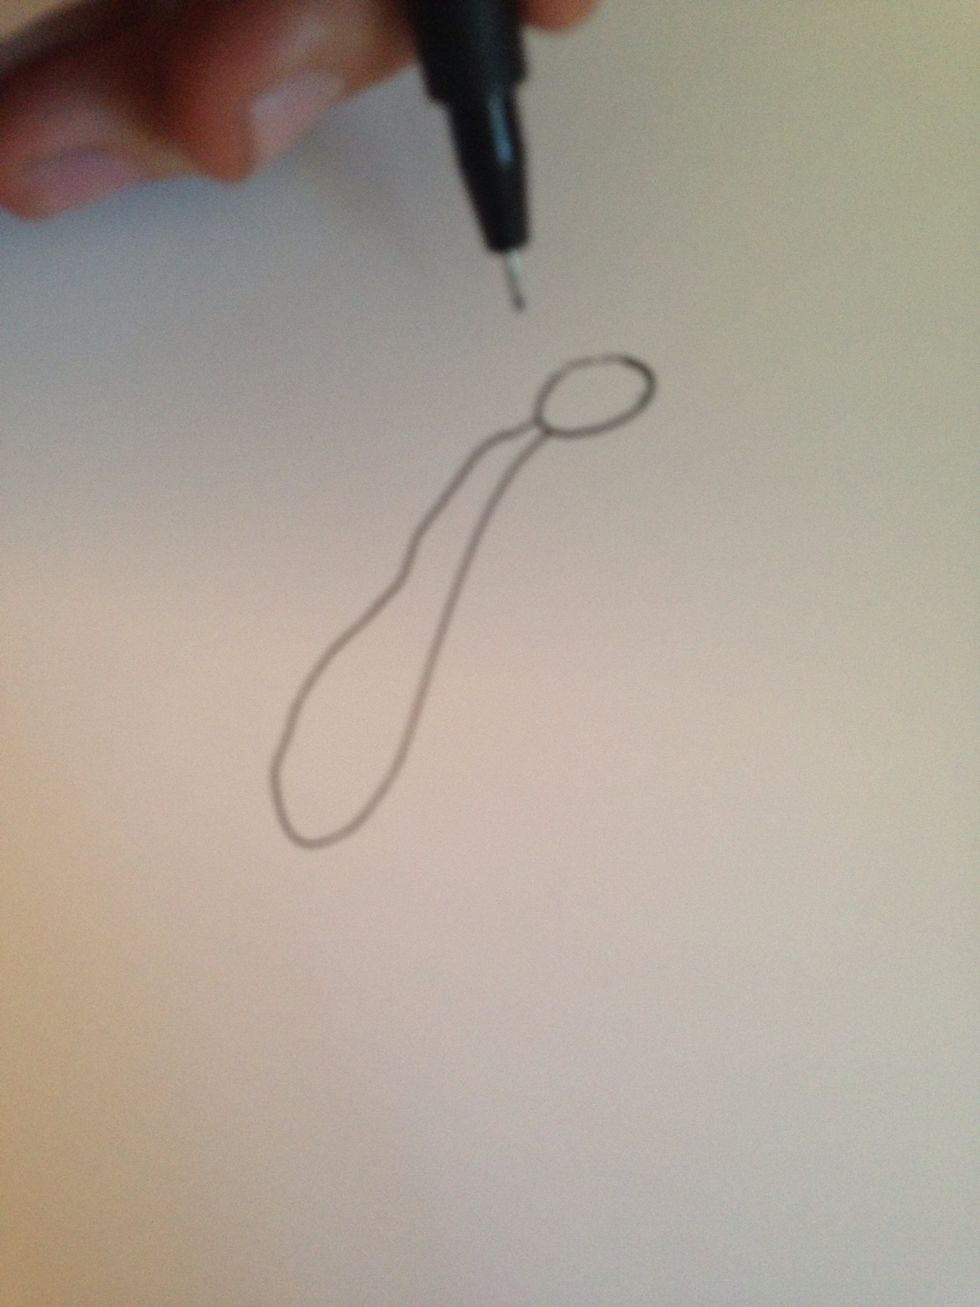
Draw eight petals. Remember that not every petal looks the same.
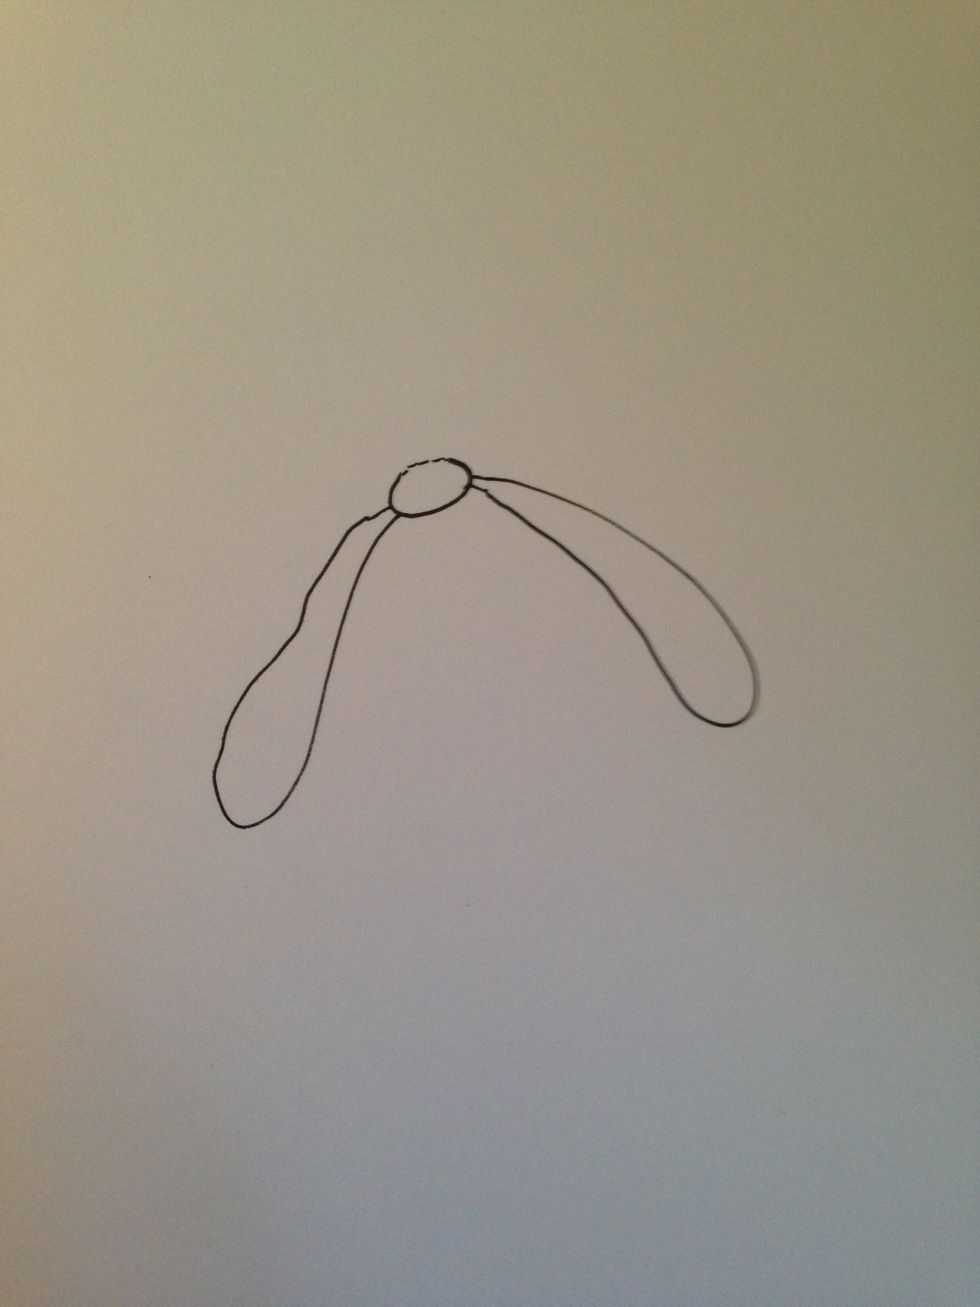
Be aware of the direction of each petal. Obviously a petal on the left of the daisy would be pointing left.
Don't worry about shading just yet . Focus on making each petal DIFFERENT.
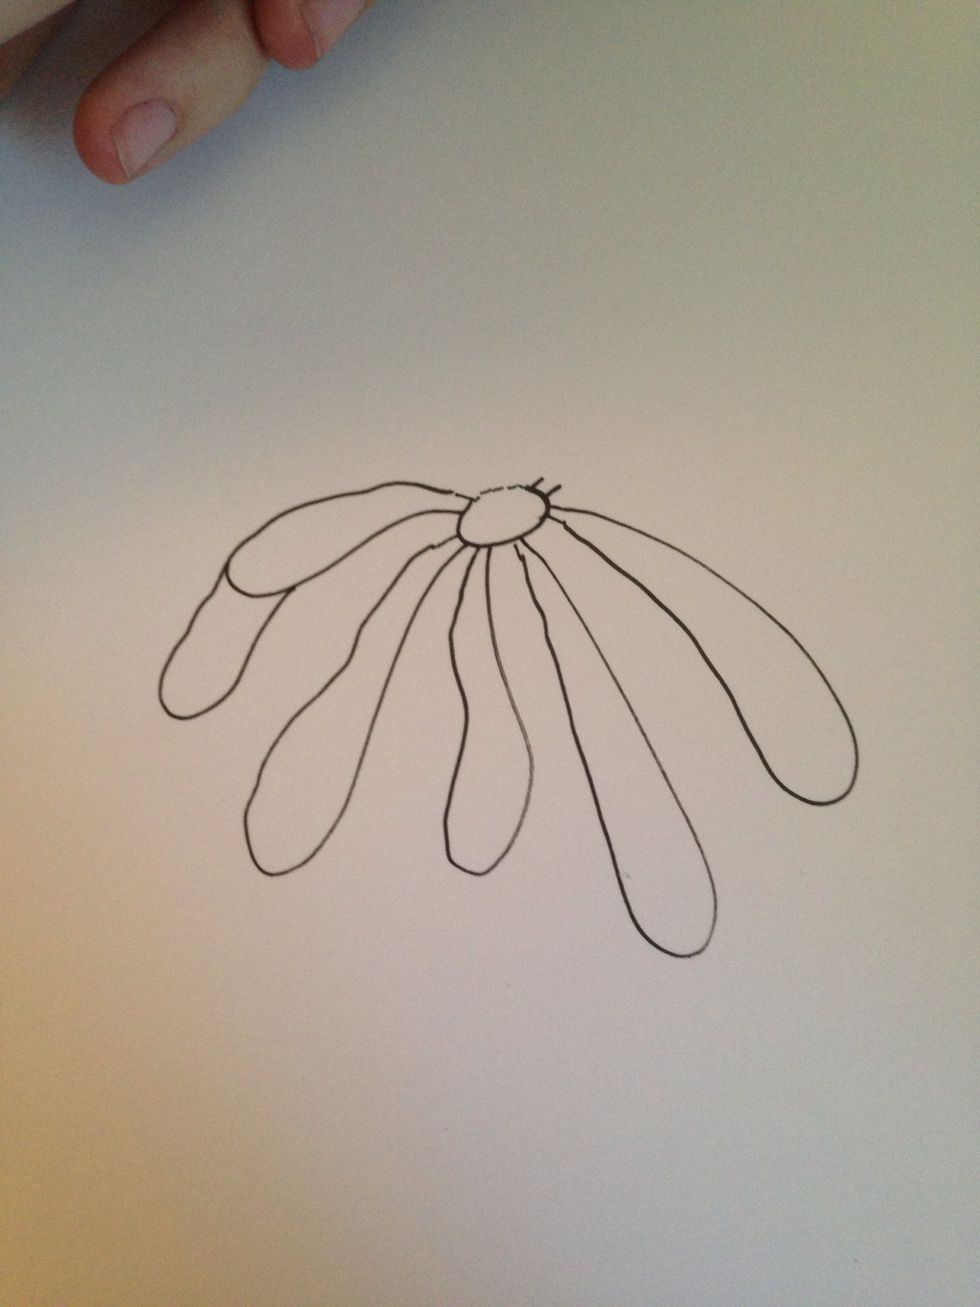
When starting on the back petals know that they would slightly bend downward because of the angle of our drawing.
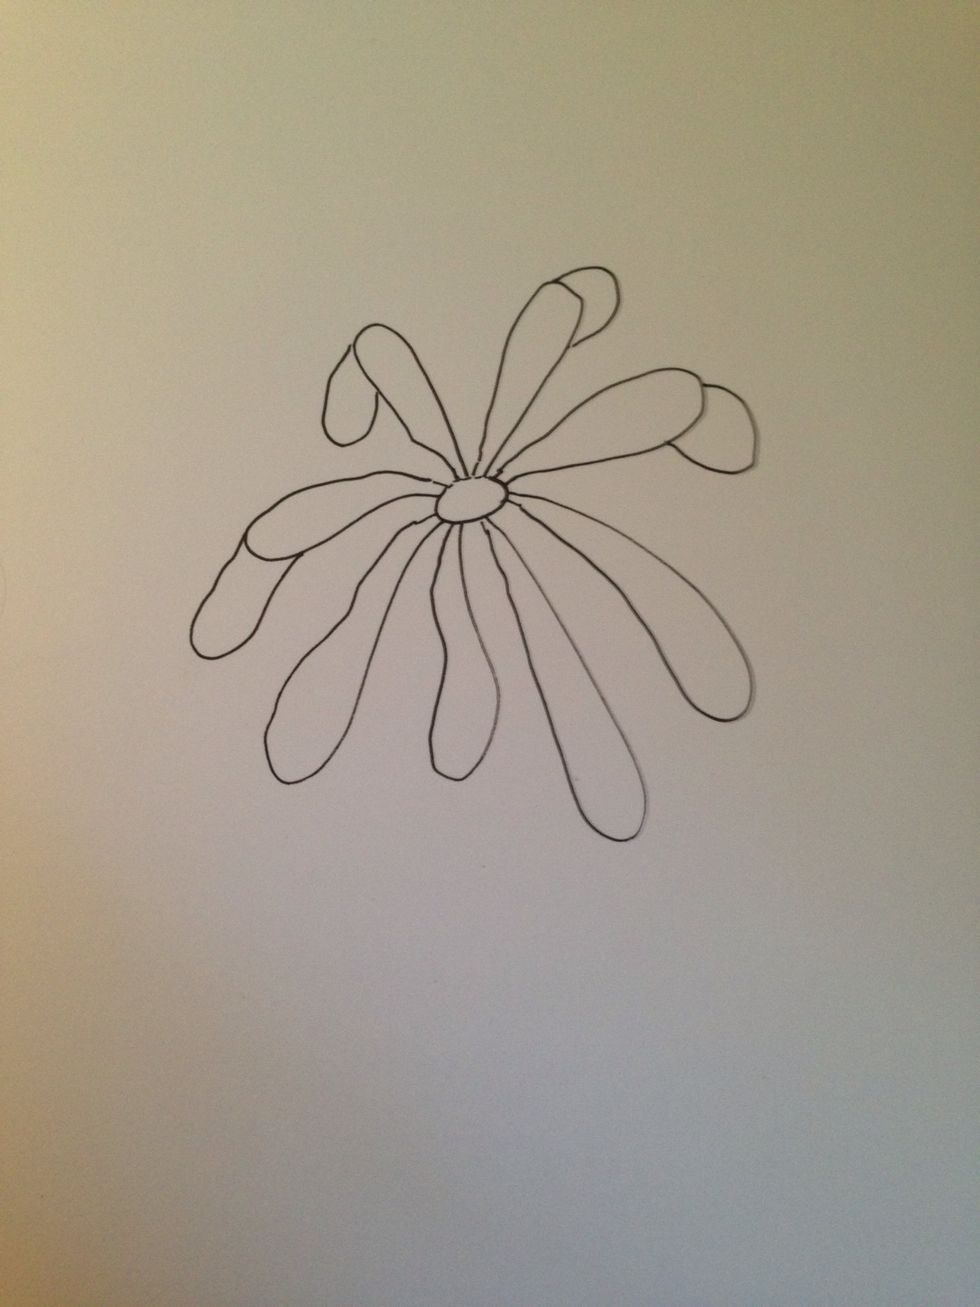
Continue until you've drawn 8 petals
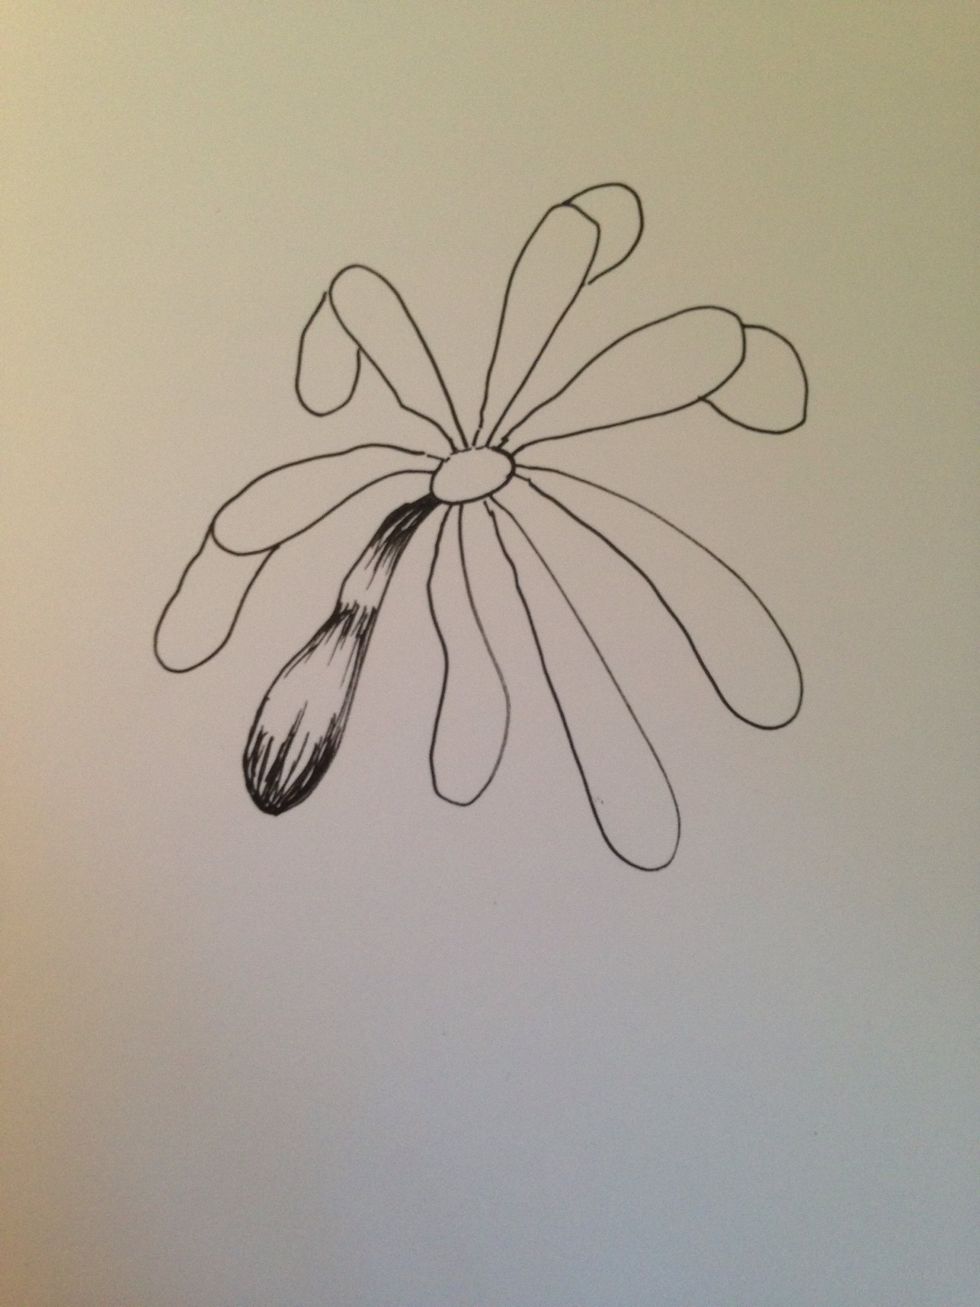
Begin shading. It is key to remember, any drawing not to be afraid of black! Your drawing will be more realistic if you use a large scale of black to white.
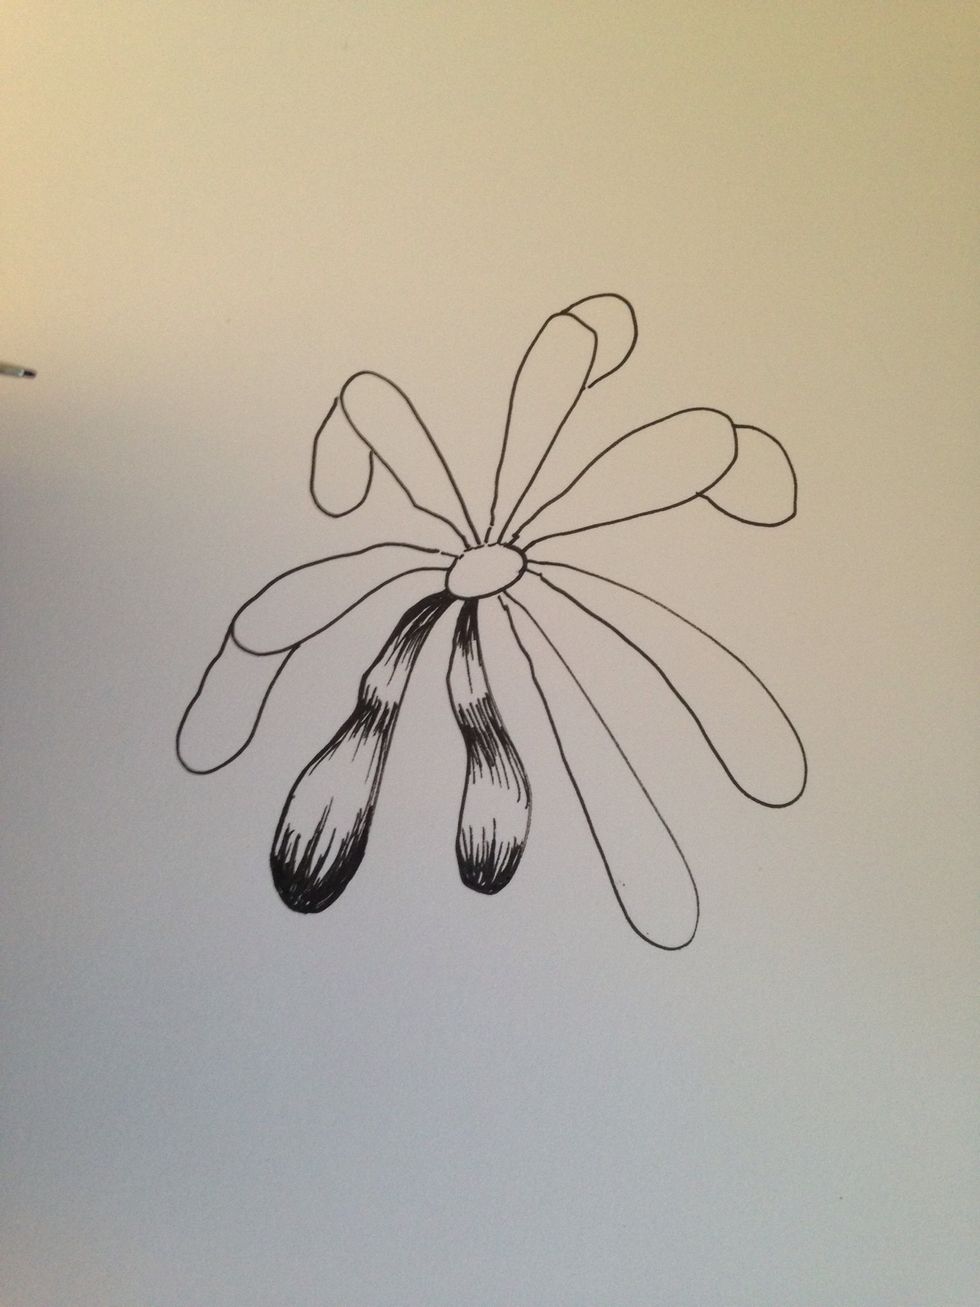
Low points in the petal will be darker then high points. Point lines in the same direction to achieve shape.
Continue shading. Don't be afraid if you mess up this part. It takes more practice to know when to darken areas.
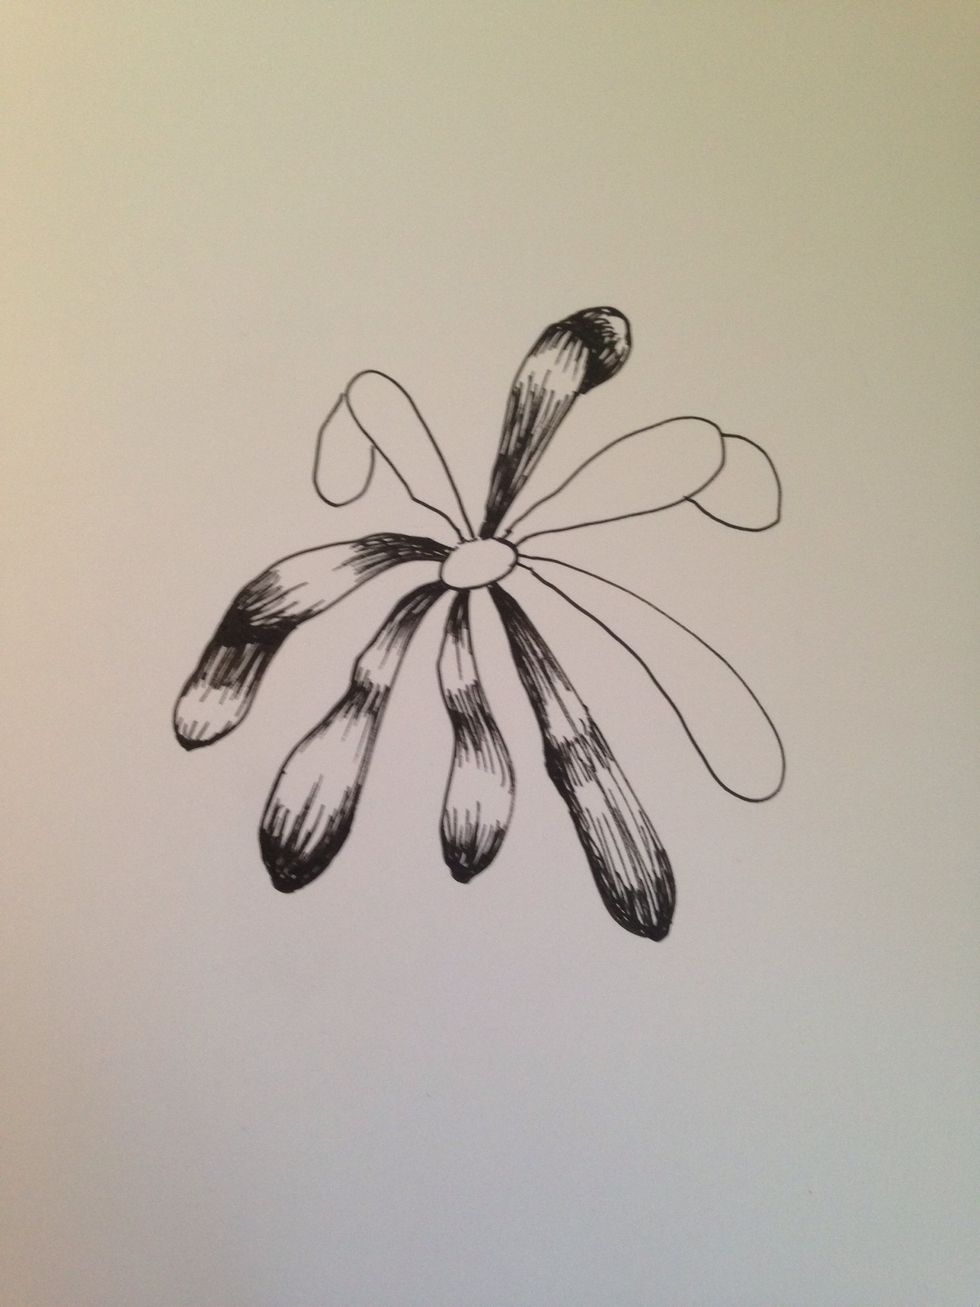
The backs of the petals will obviously be dark.
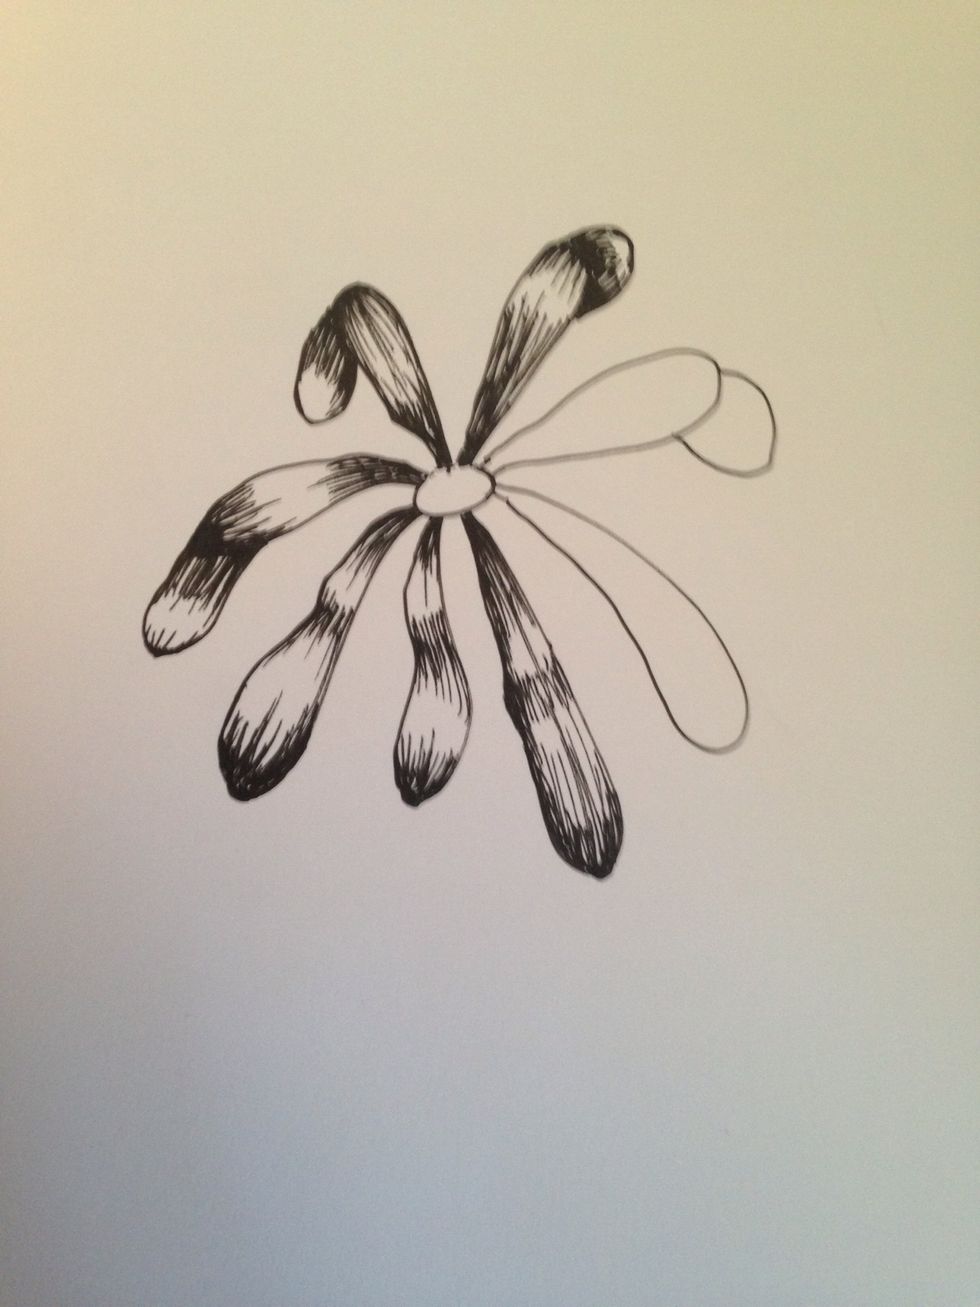
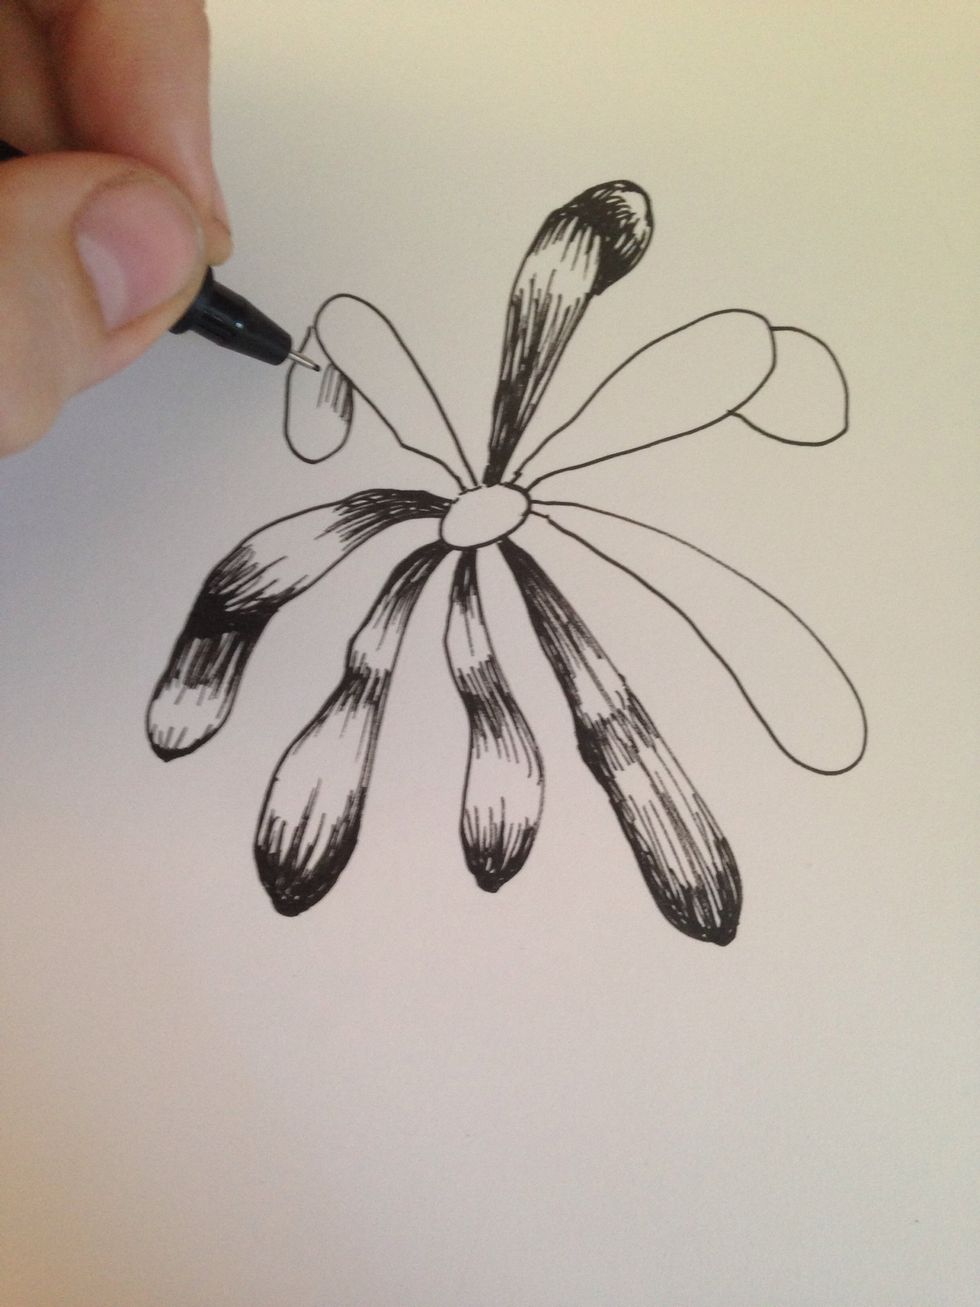
Continue shading each petal. Remember they're all different!
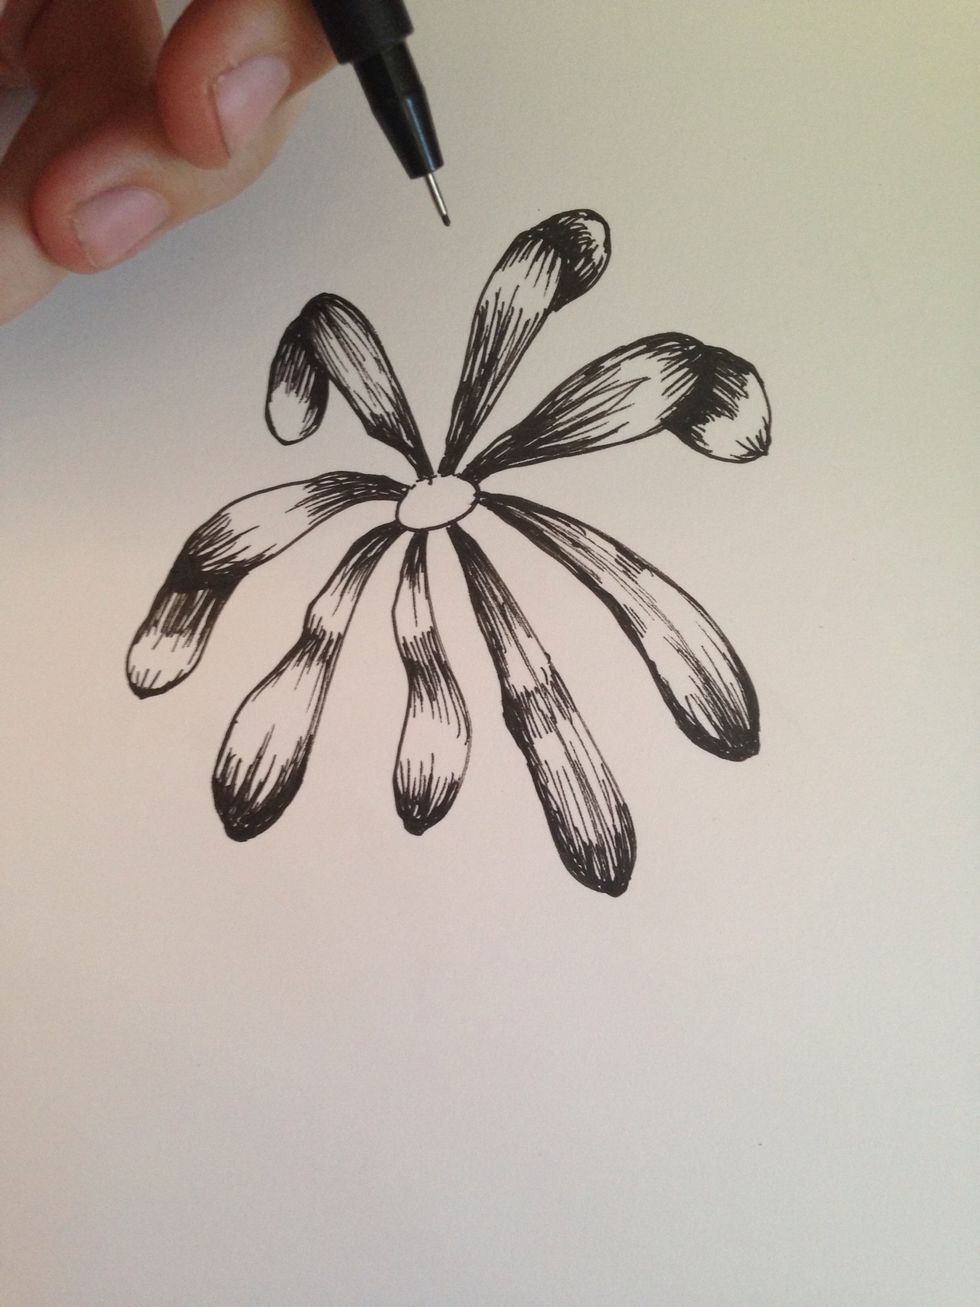

Fill in the center of the flower. Darker on the sides and lighter in the middle.
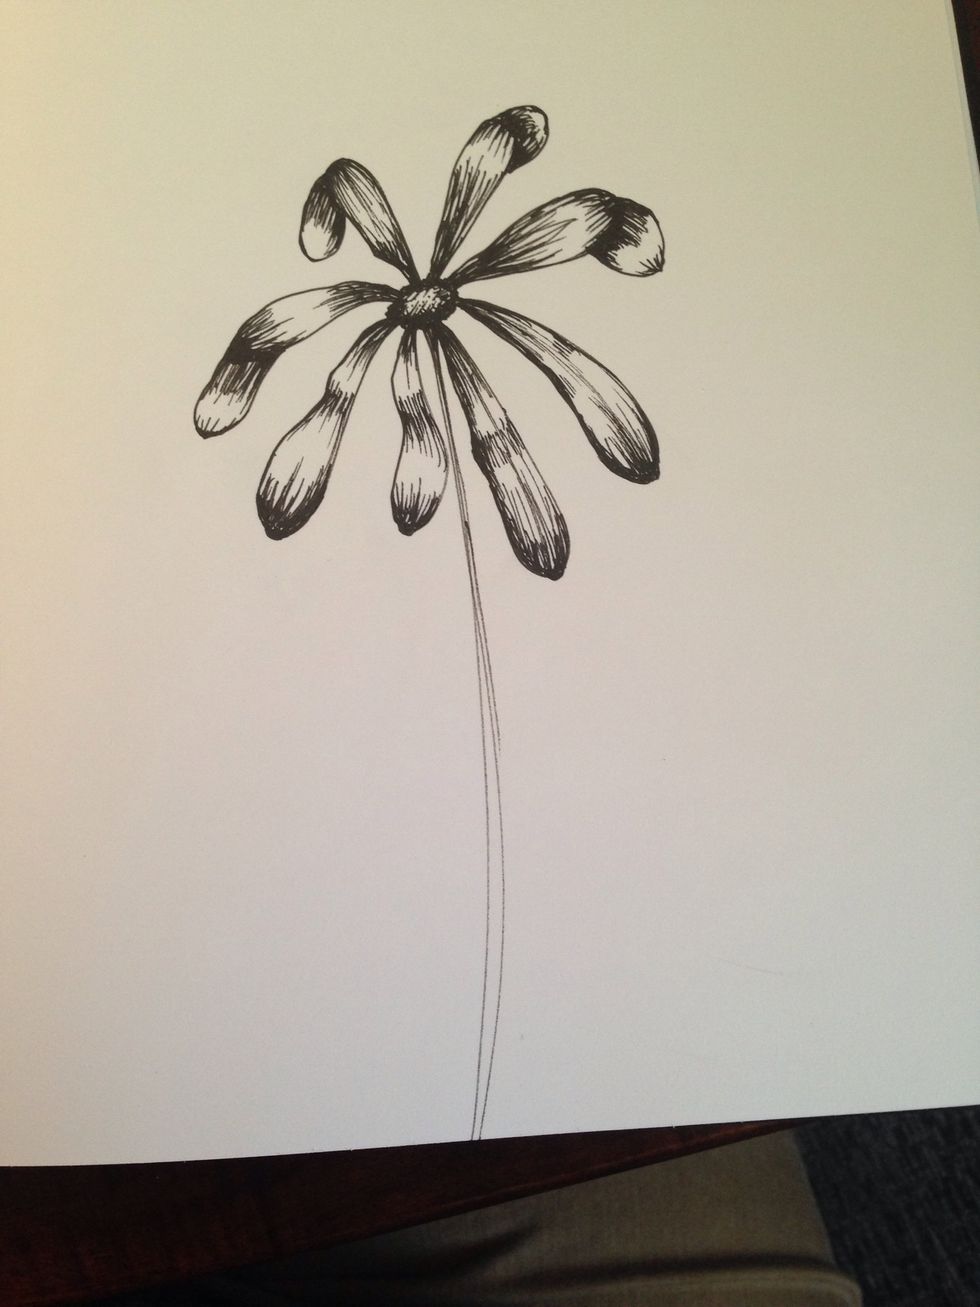
A long skinny stem.
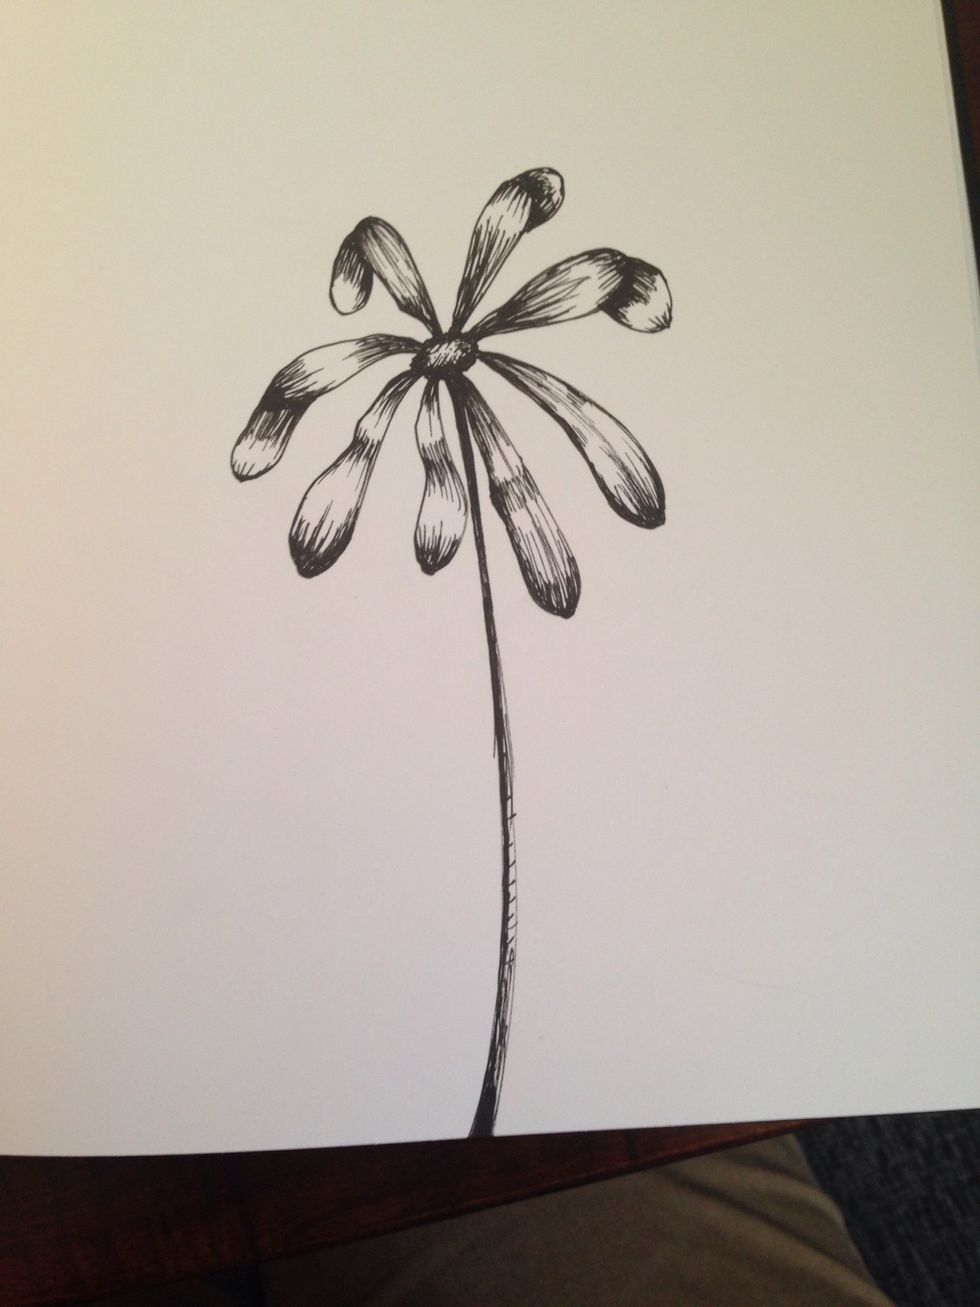
Darken the stem. Darker closer to the flower.
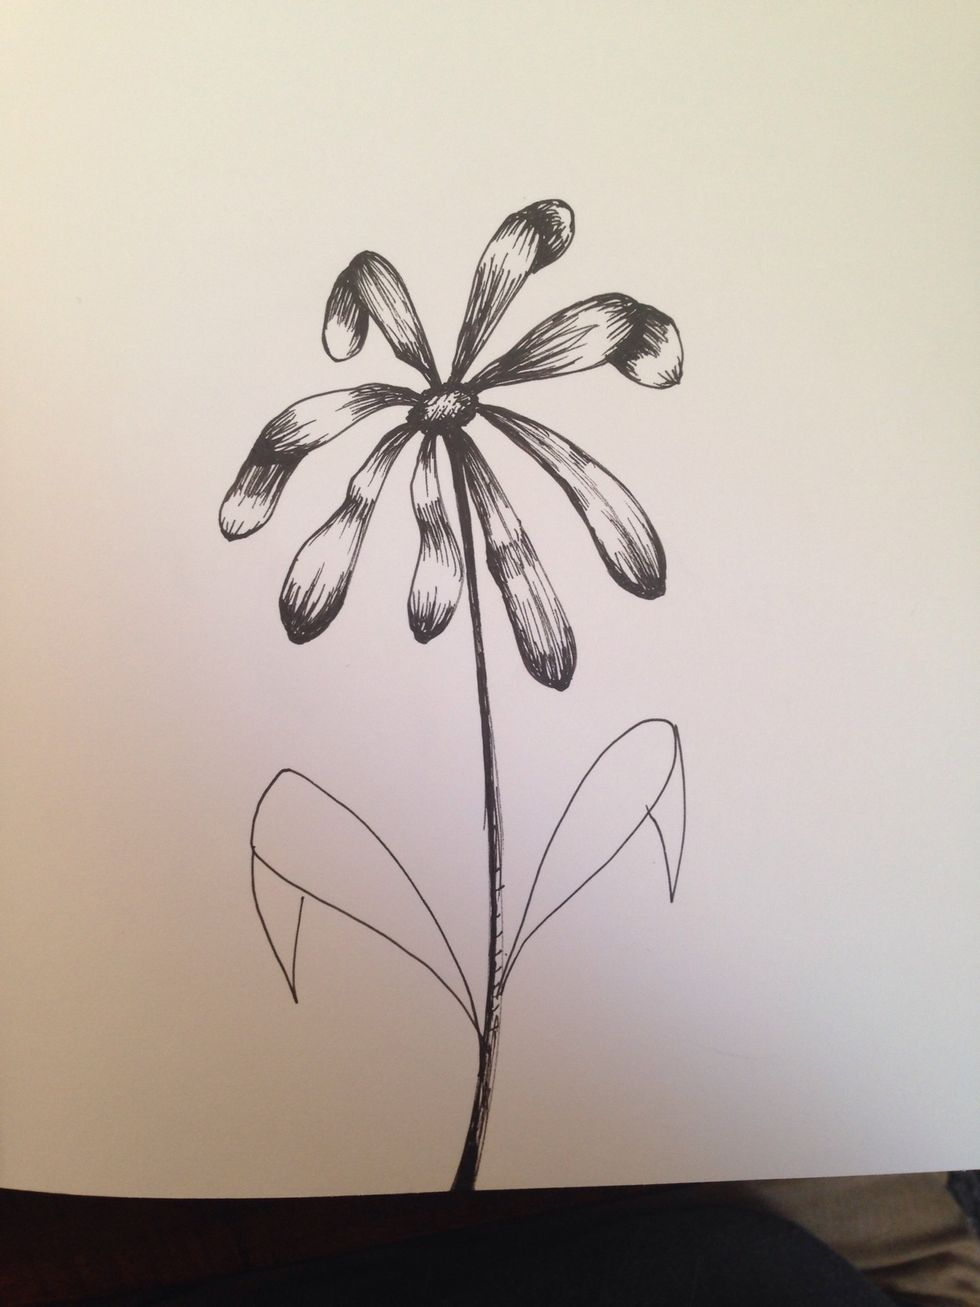
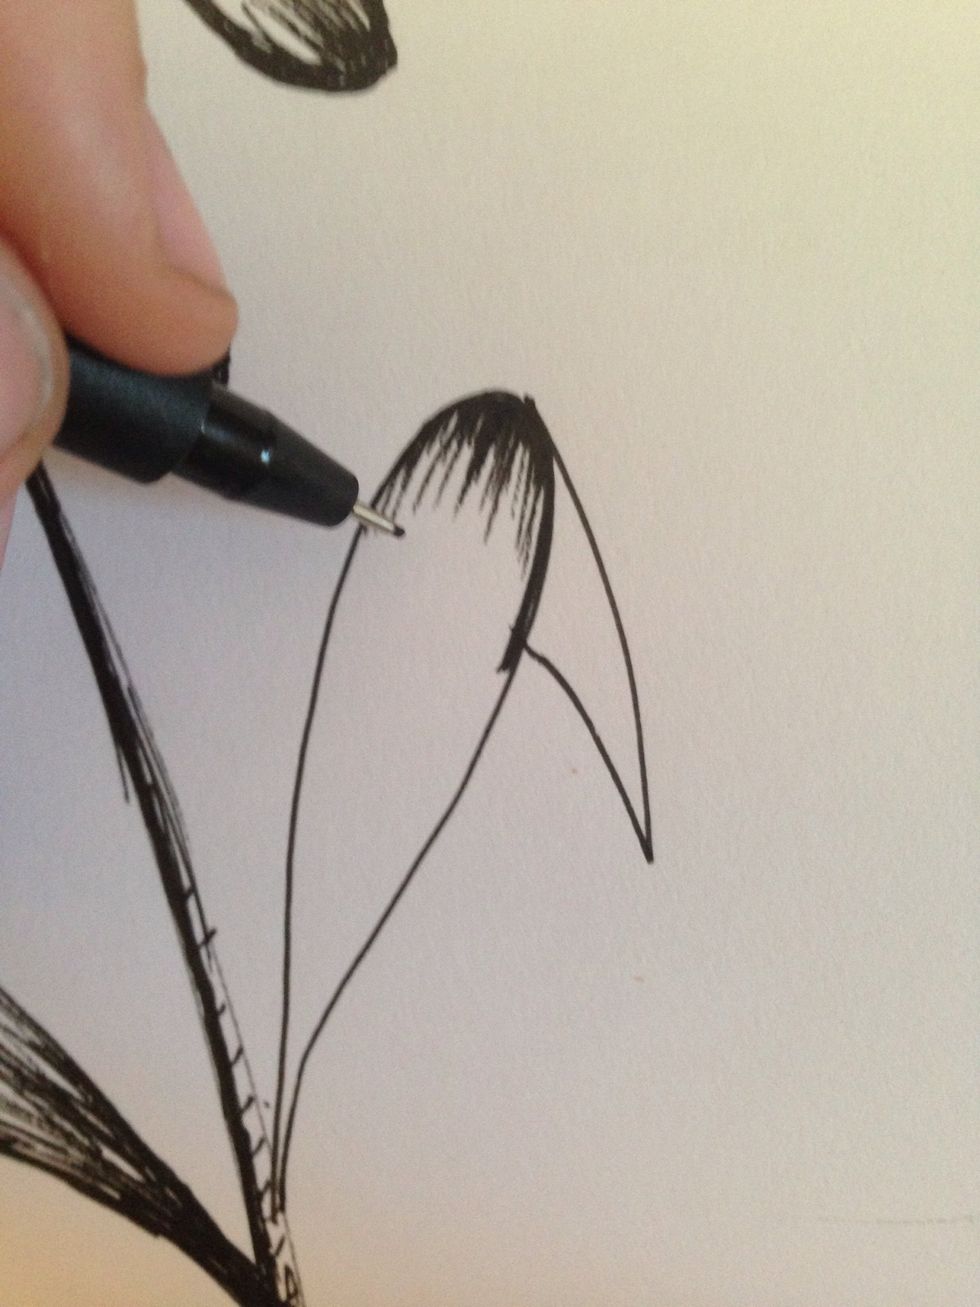
Leaves should be sharp. Don't be afraid to create some dimension and fold the leaves over on themselves.
Shading very similar to petals.
Pay attention to detail. The tip of this leave is darker because it is slightly curved down.
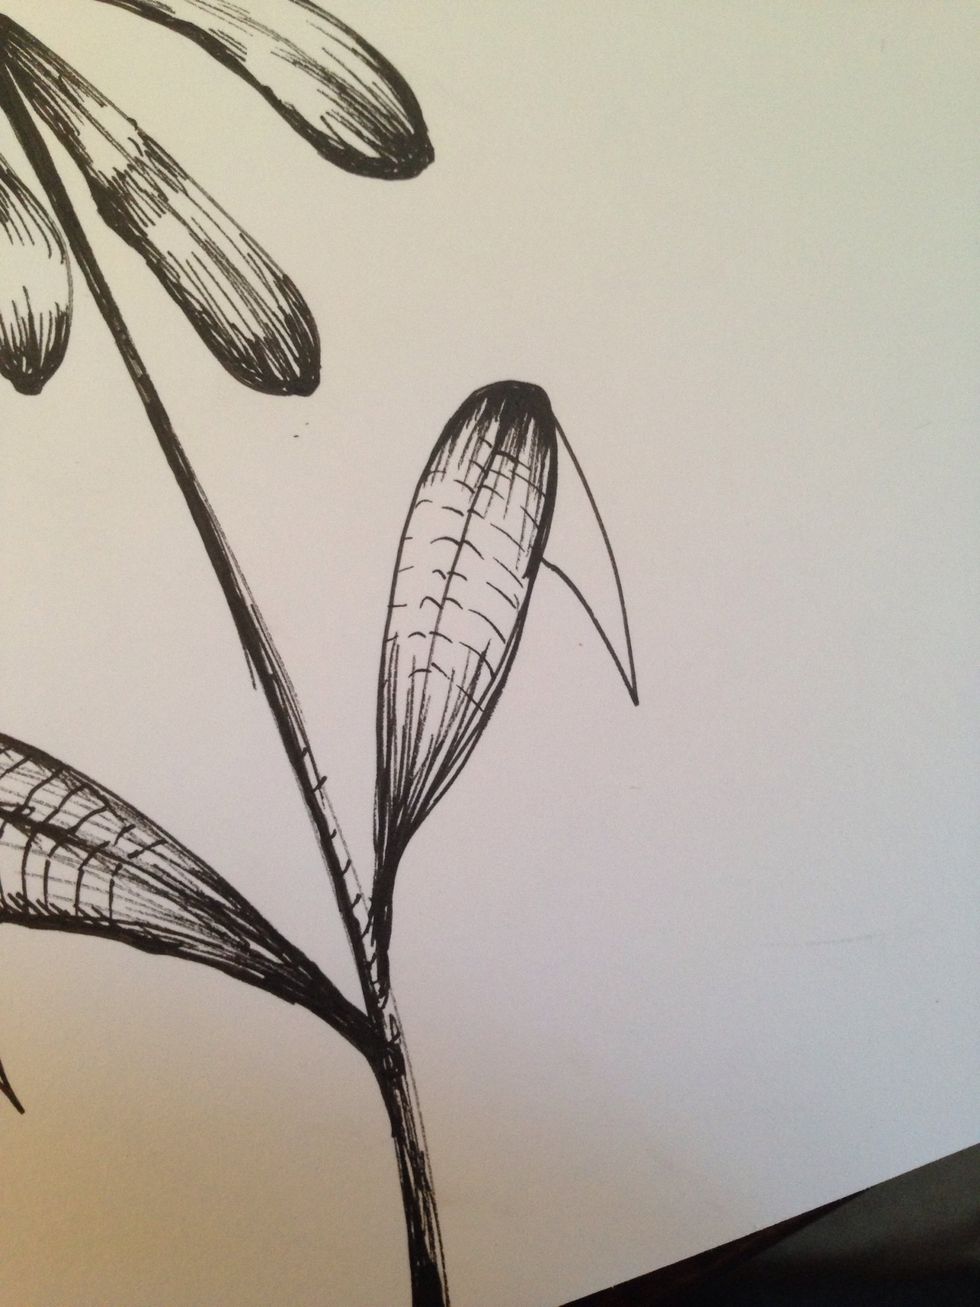
Some lines to represent the veins in the leaf
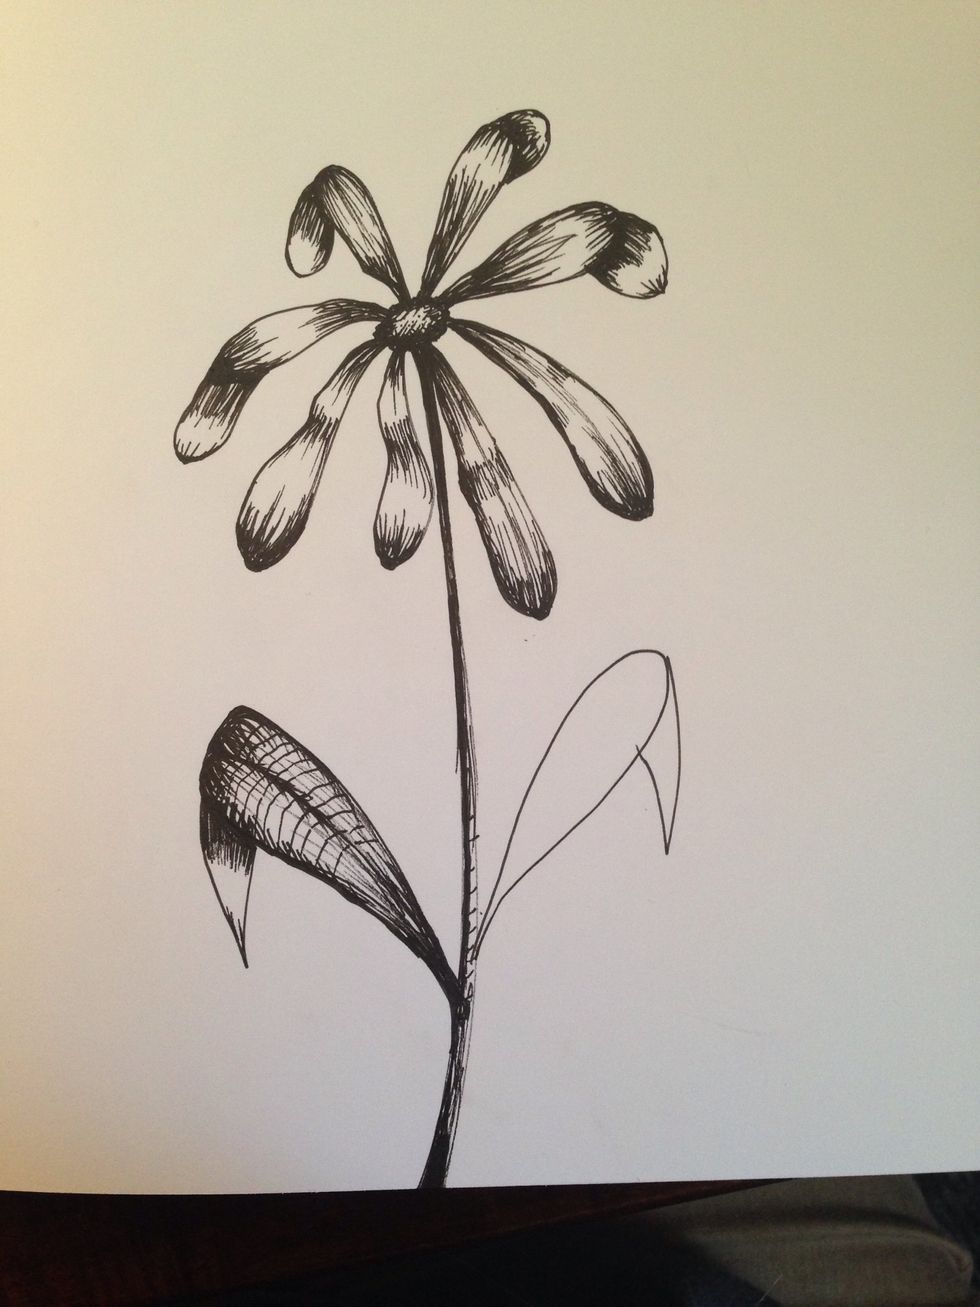
And your almost there!
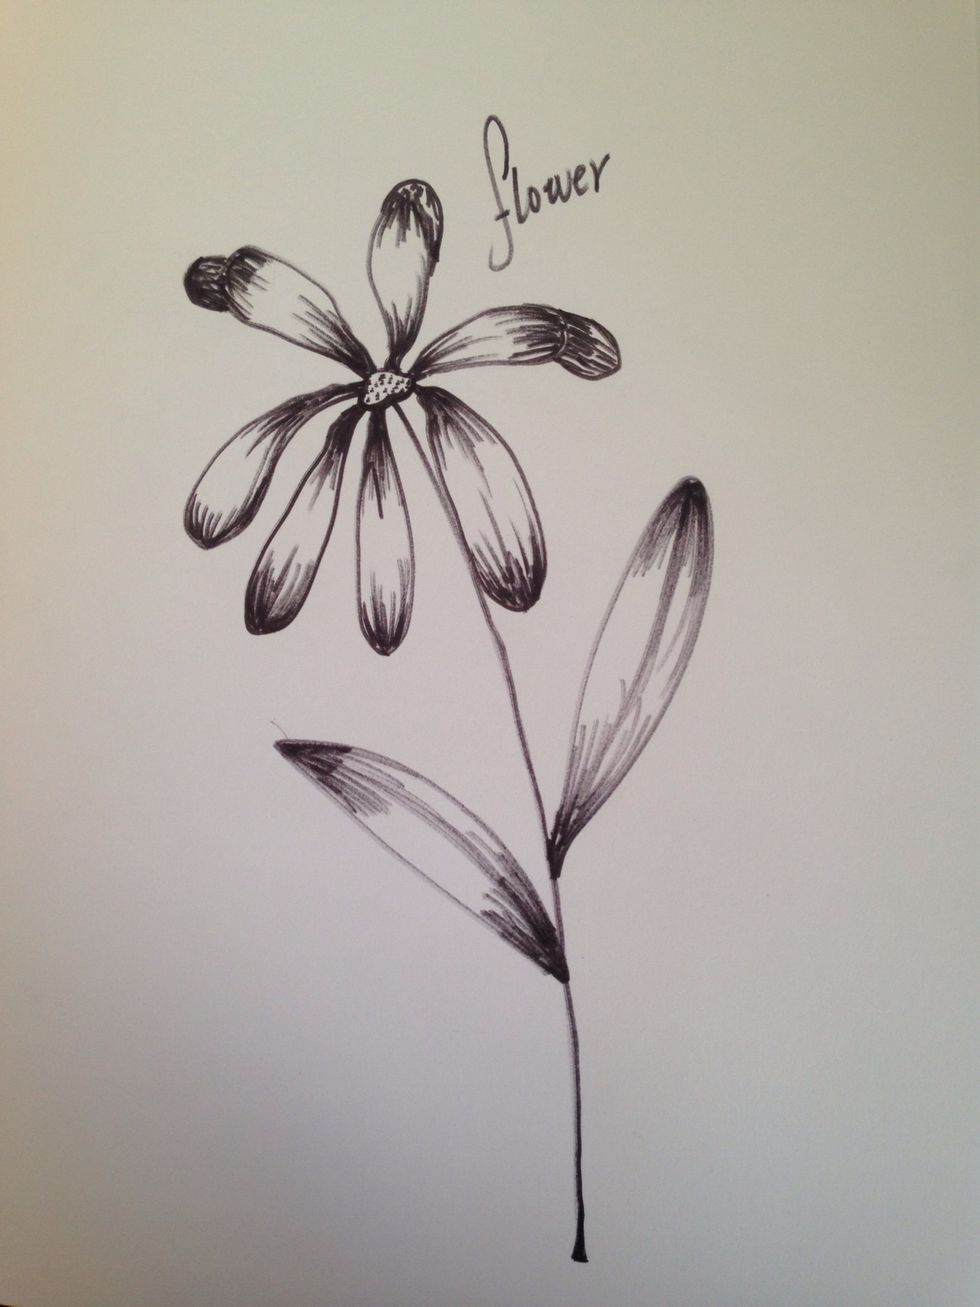
Now add a few finishing touches. Extend the gradation of the drawing by darkening shadowed areas. Don't be afraid of dark: it will increase how realistic the drawing is.
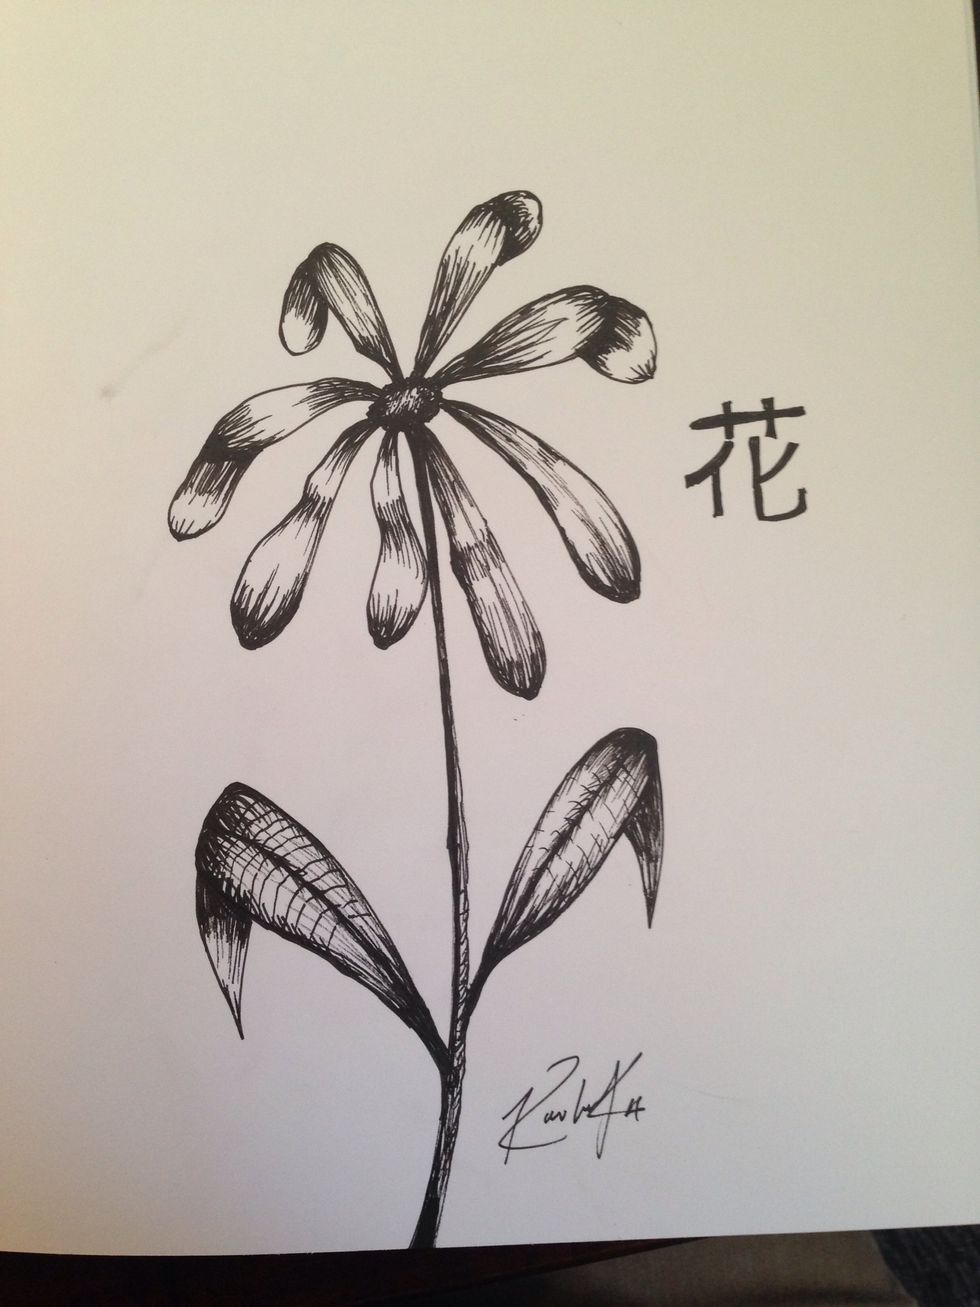
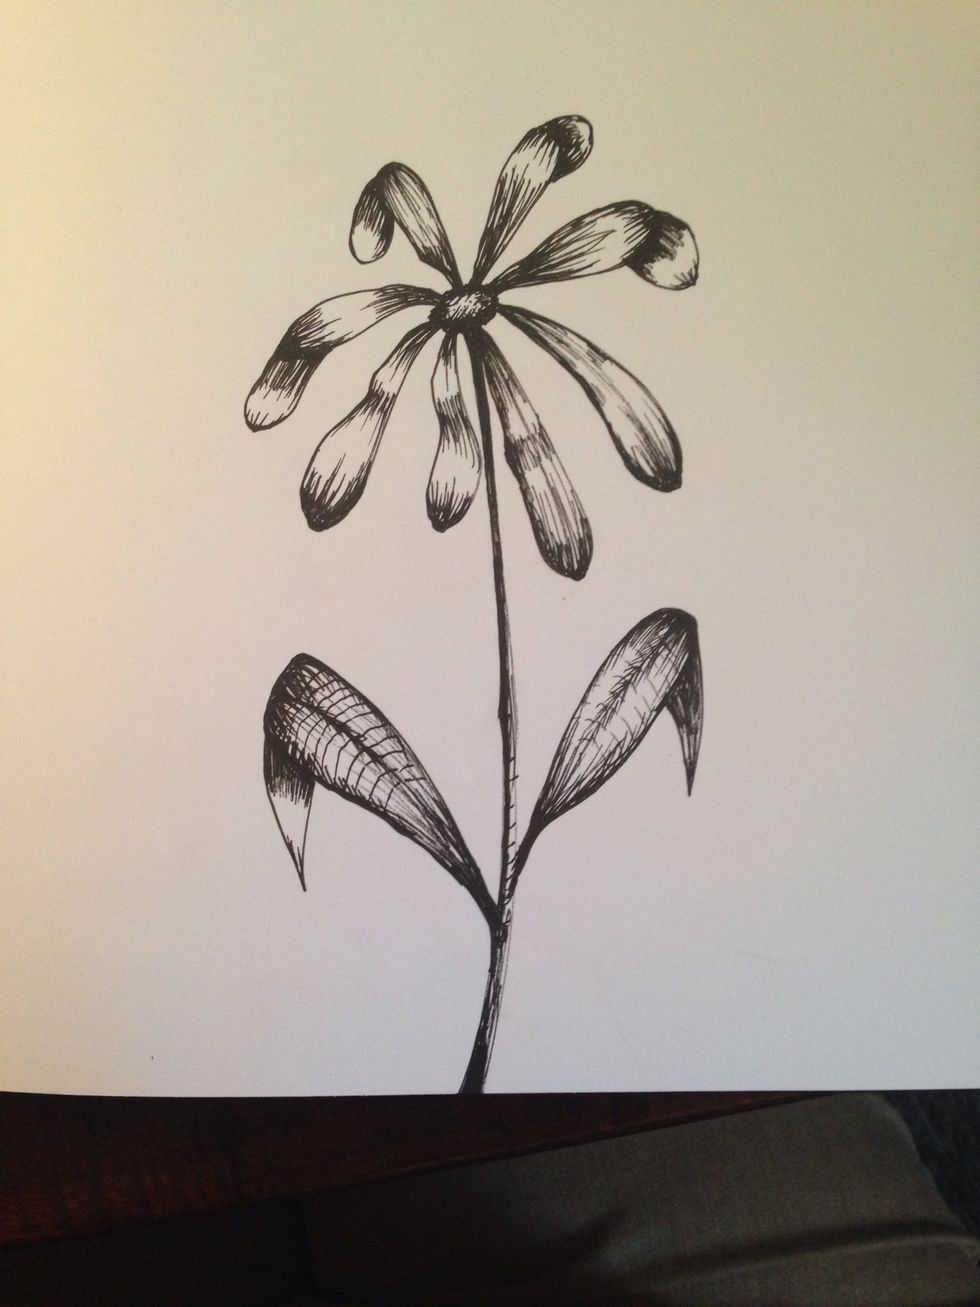
You should always sign your art. Who knows maybe you'll be famous one day.
Enjoy your creation. Continue to apply these shading and shape techniques to pretty much any other type of drawing.