The Conversation (0)
Sign Up
Hello! In this guide, I will show you how to draw and shade hair. Its's actually not that difficult. Oh, and sorry for the bad lighting! I will explain each slide. Let's get started! ------->
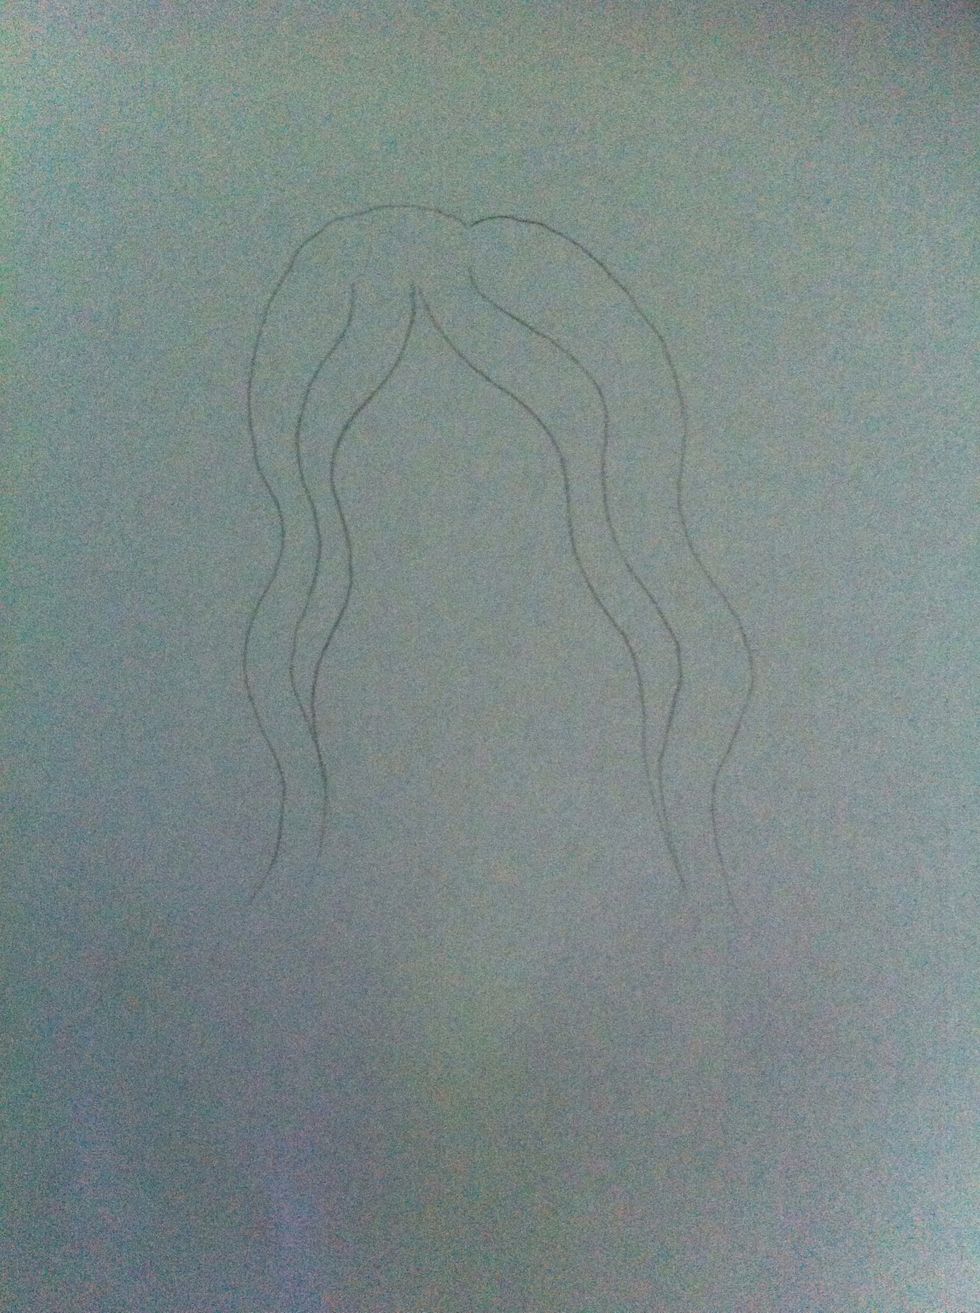
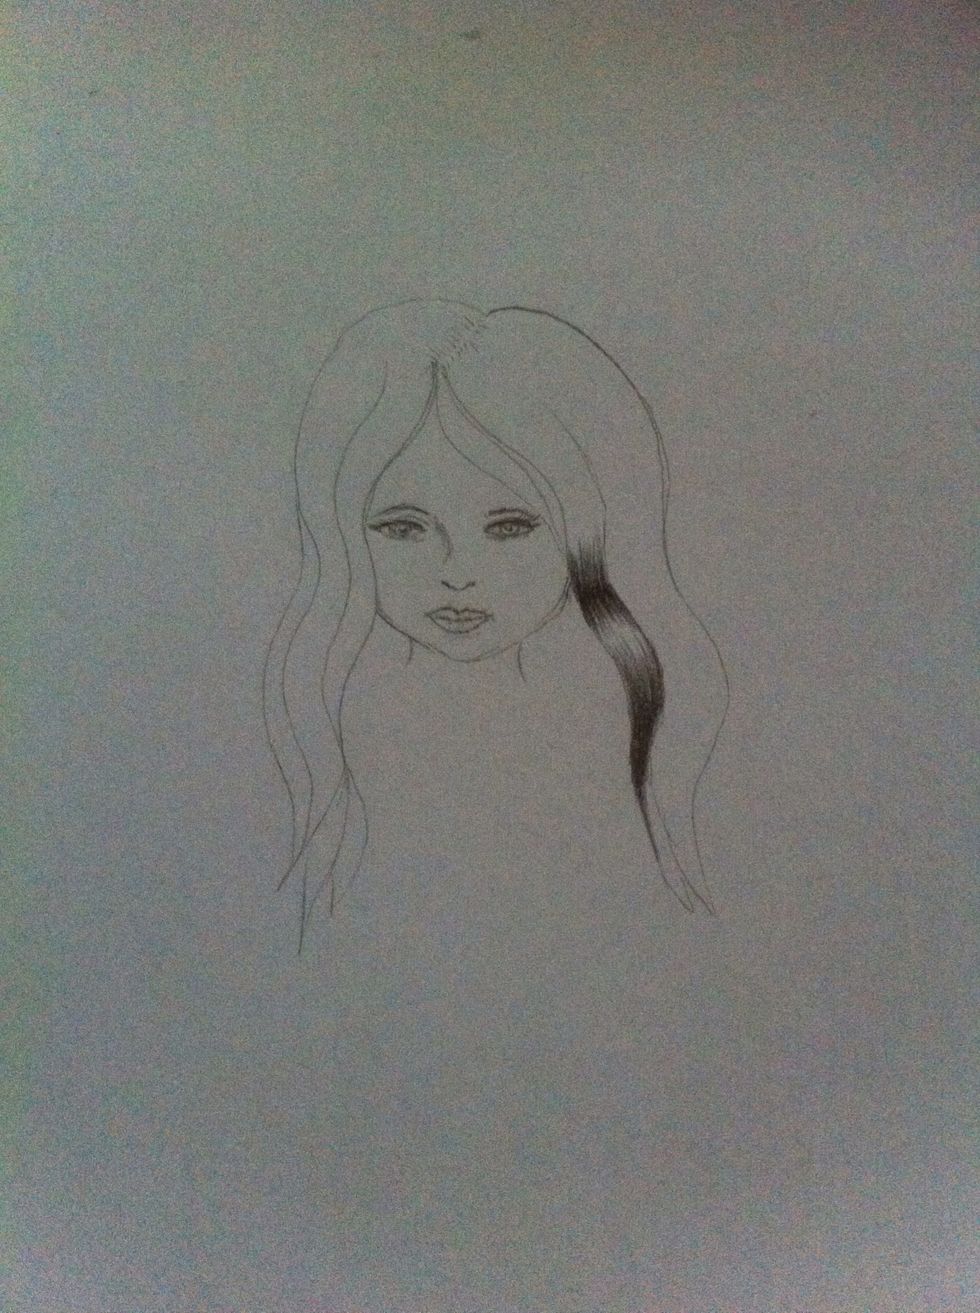
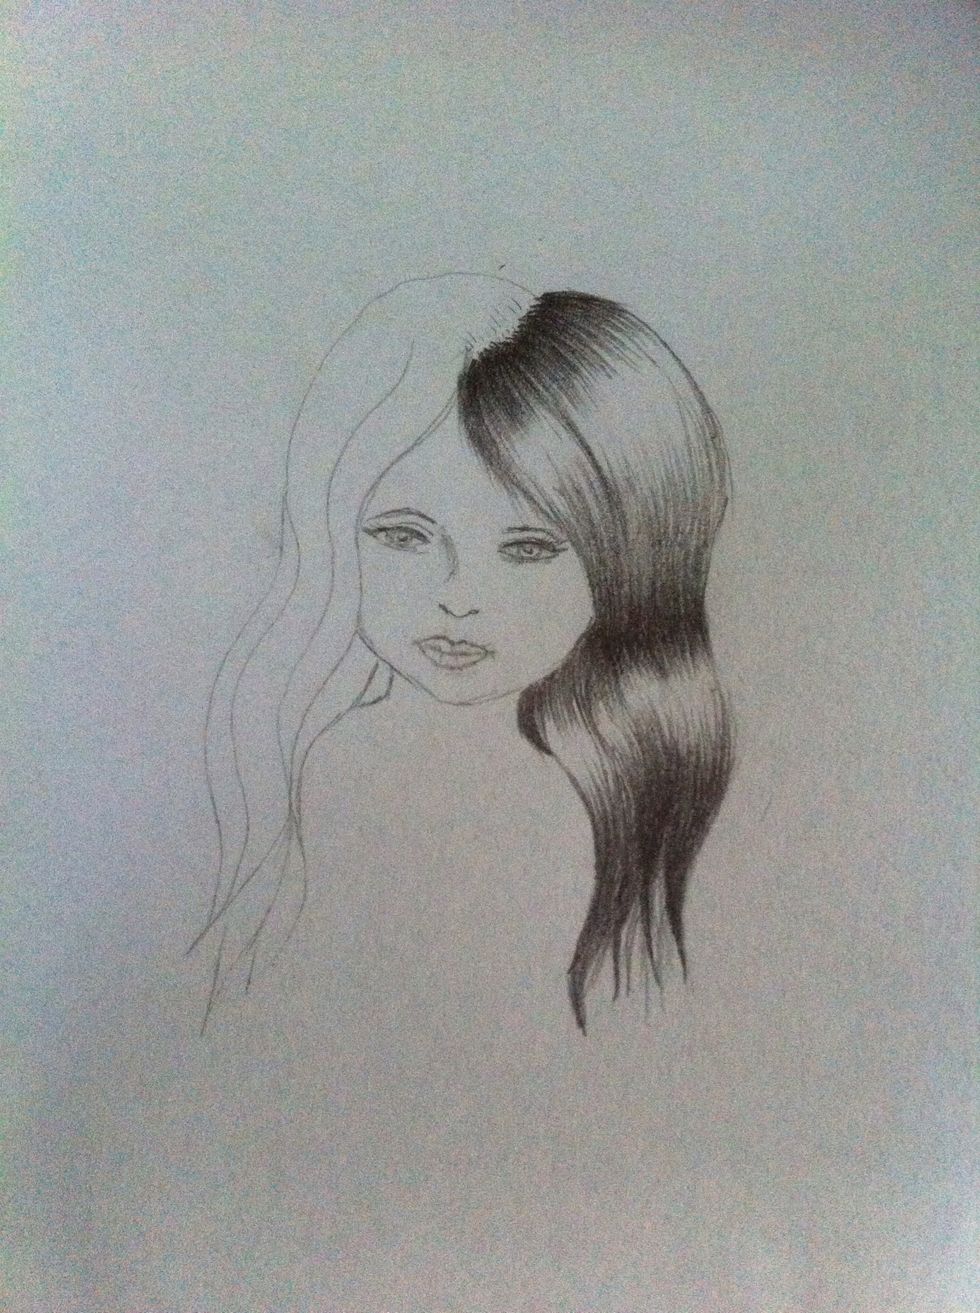
First, draw the hair. If you don't know how, look in hair magazines, on Google or Instagram for inspiration. Sketch a basic shape of the hair. Doesn't have to be perfect. You can alter it later.
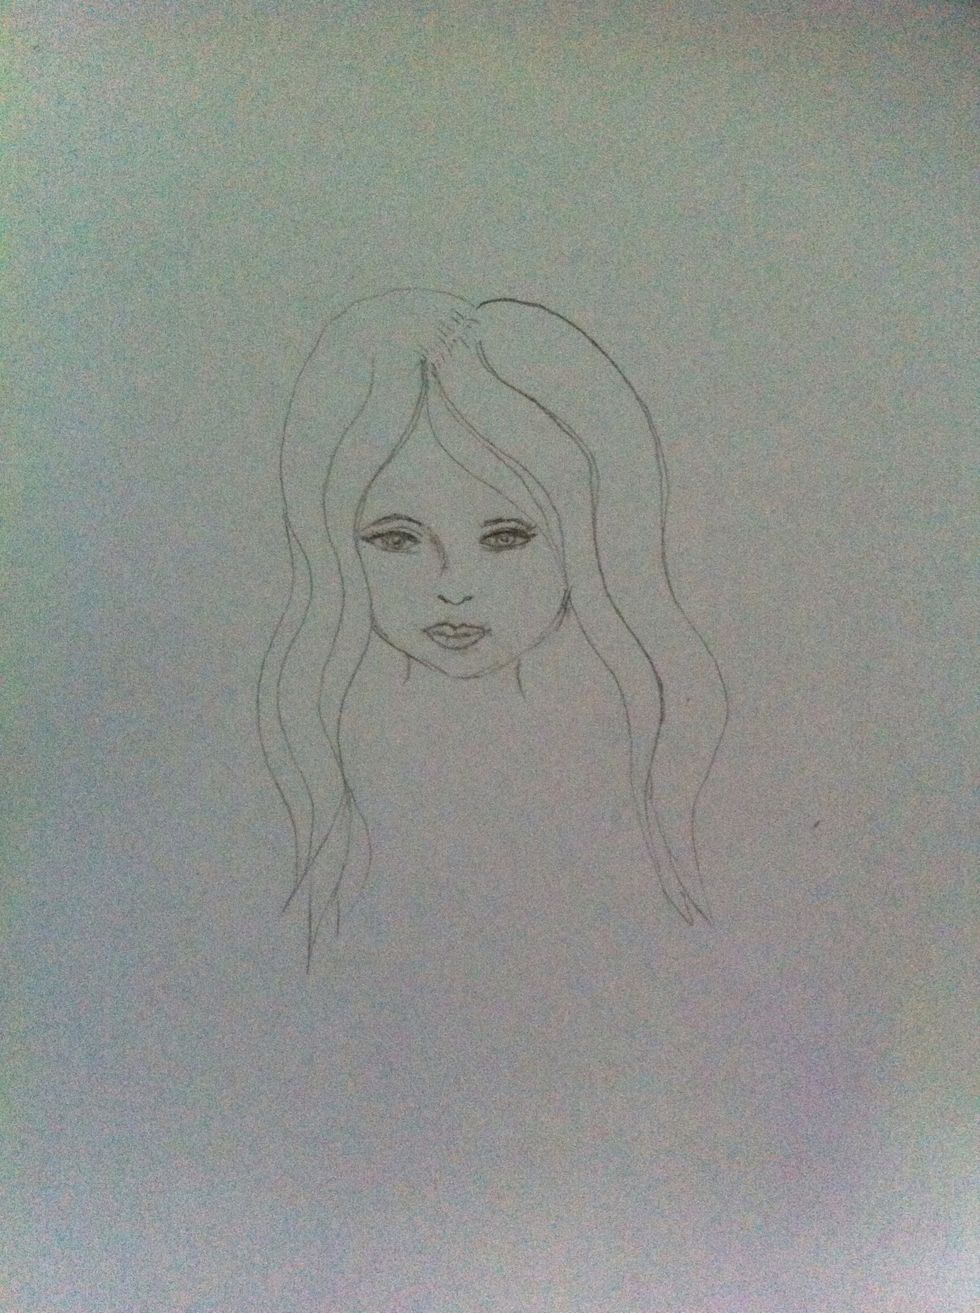
Add the hair parting, leaving a thin space between the lines. Add a face and a neck, if you want to see how it would look on a person. As you can see, my face drawing needs work.
And now... the shading!
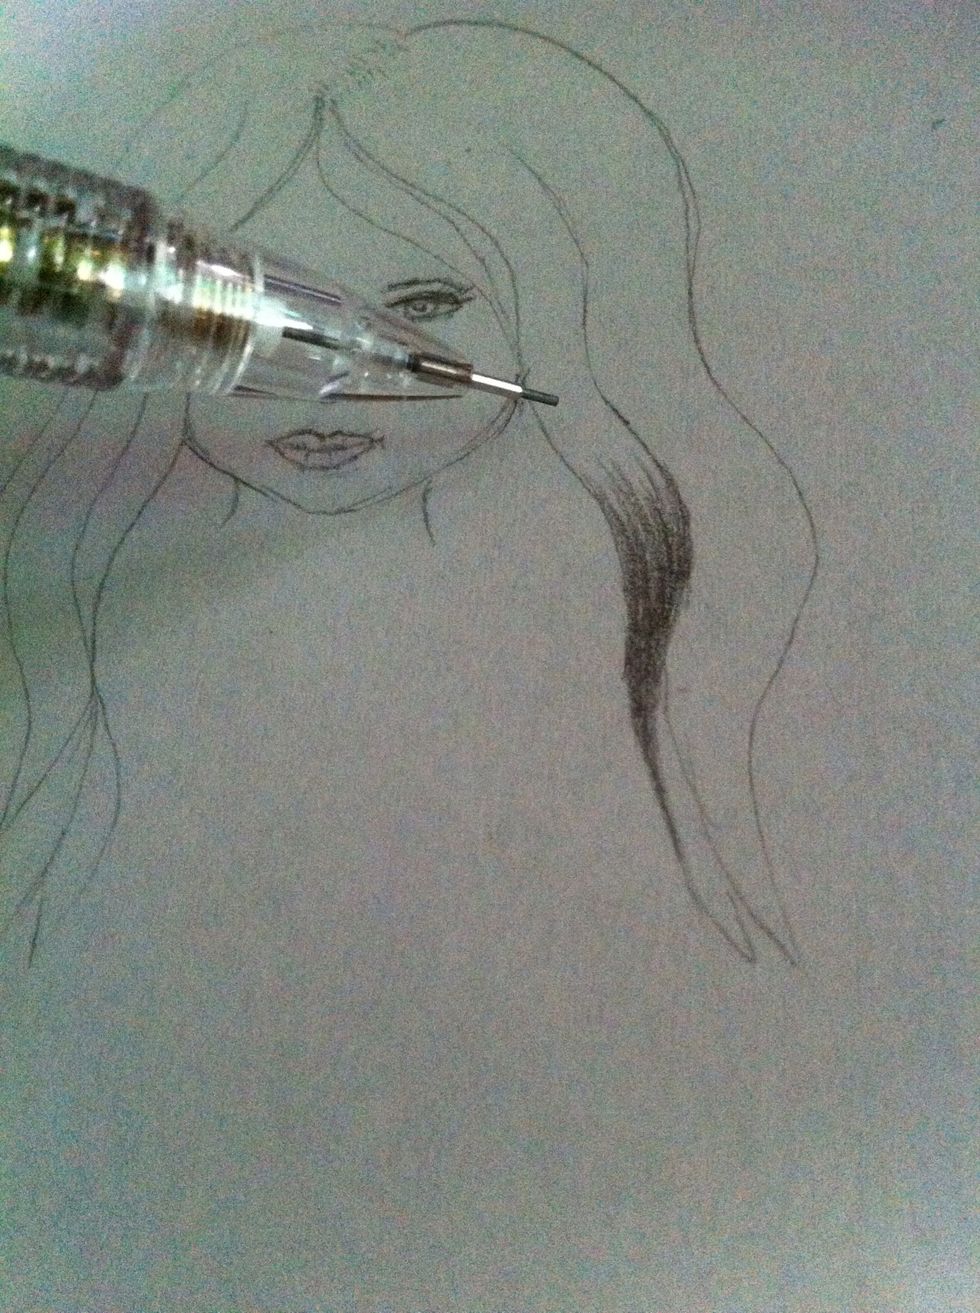
To shade a curve/wave, just do the same thing: shade in a flicking motion, BUT on both sides. TIP: Flick with the flow. Follow the curve/wave of the hair.
Like so. See the white area on the hair section? That's the highlight. You can leave a big white area like this if you want the hair to be shiny/reflective.
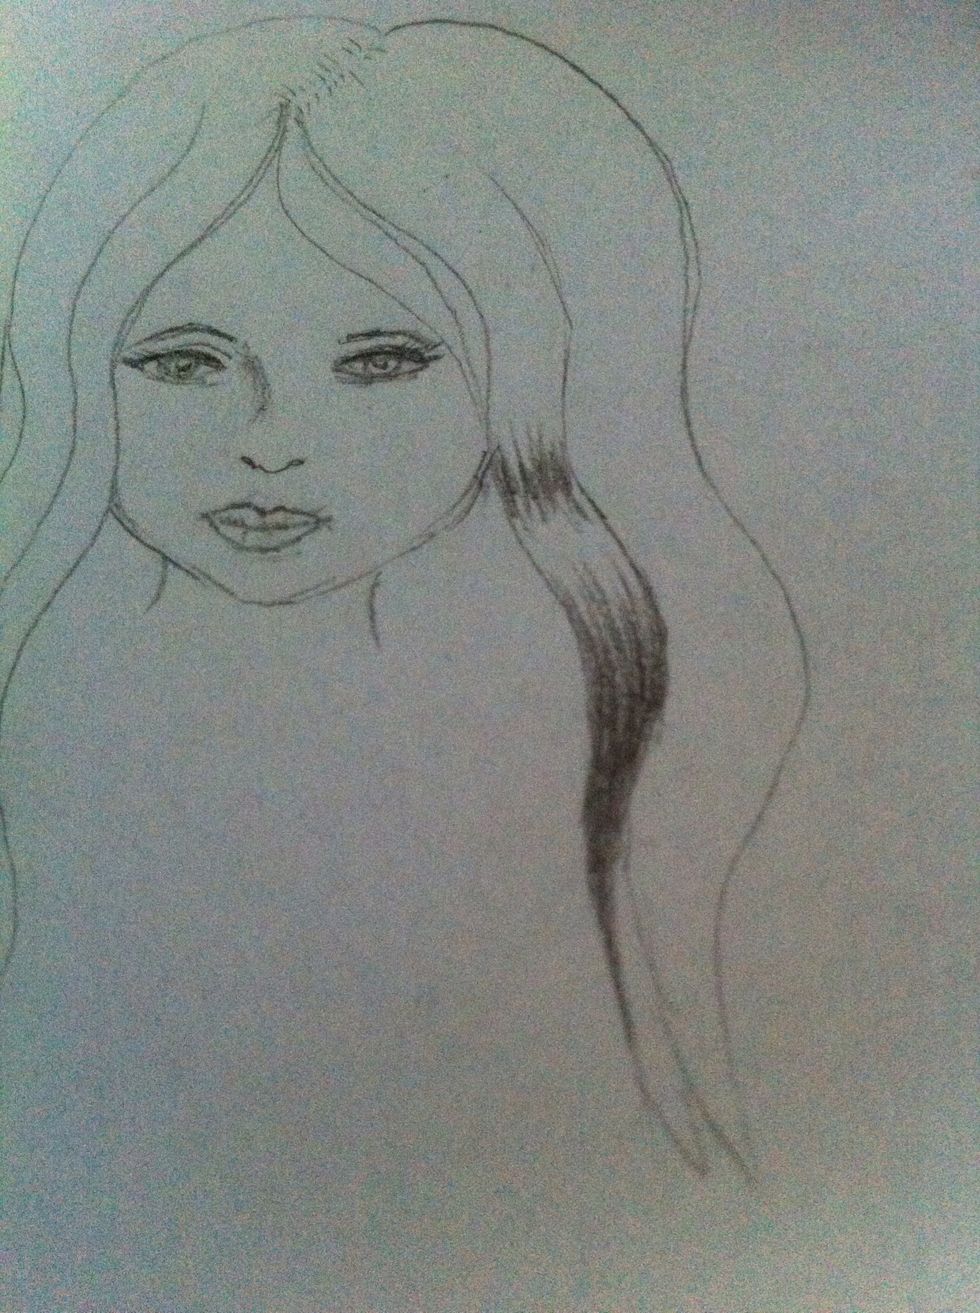
For me, I wanted it to look natural so I shaded some more. I just made the dark parts even darker.
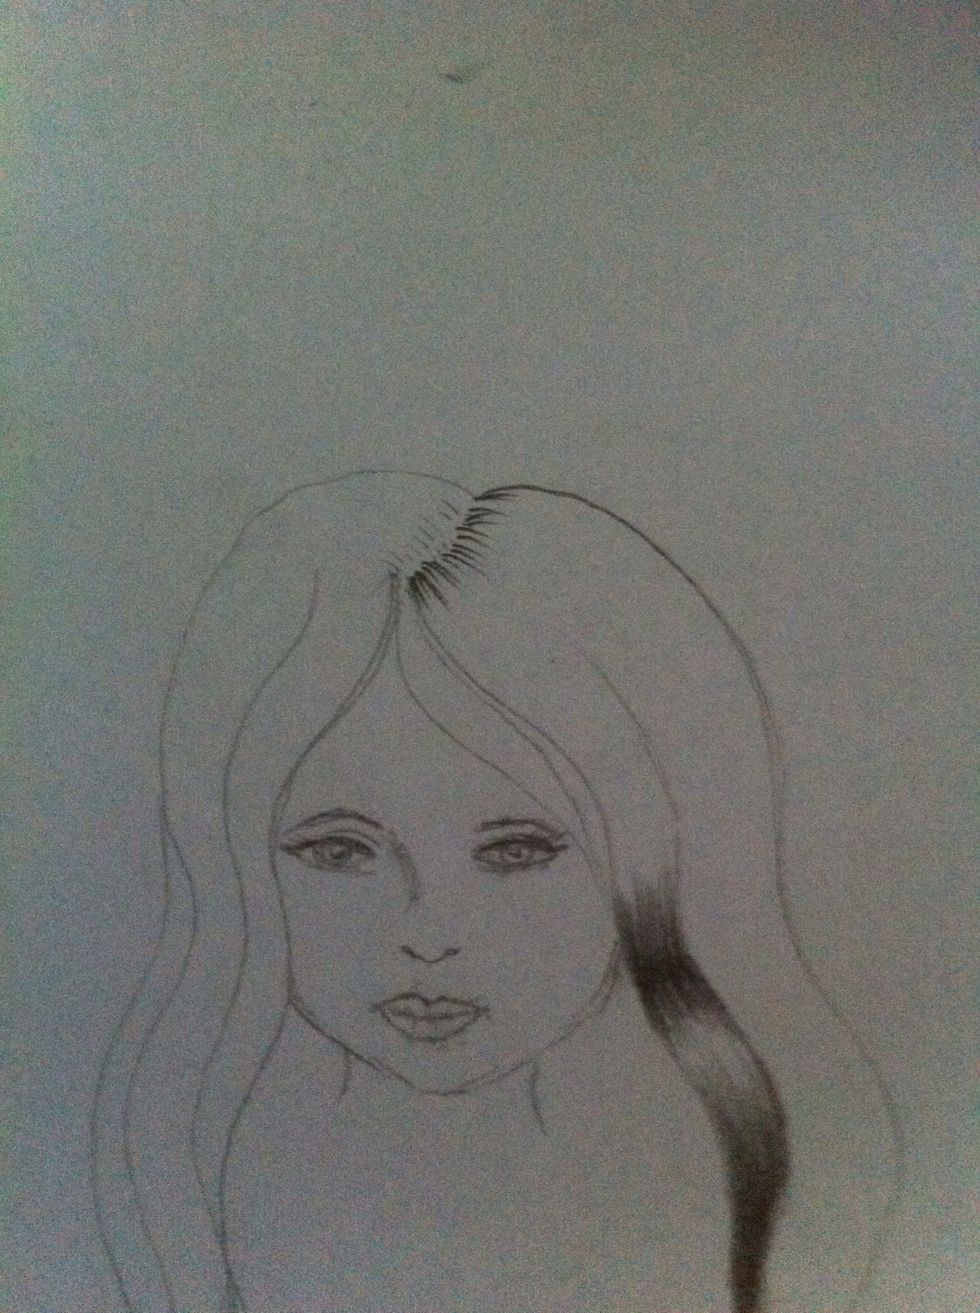
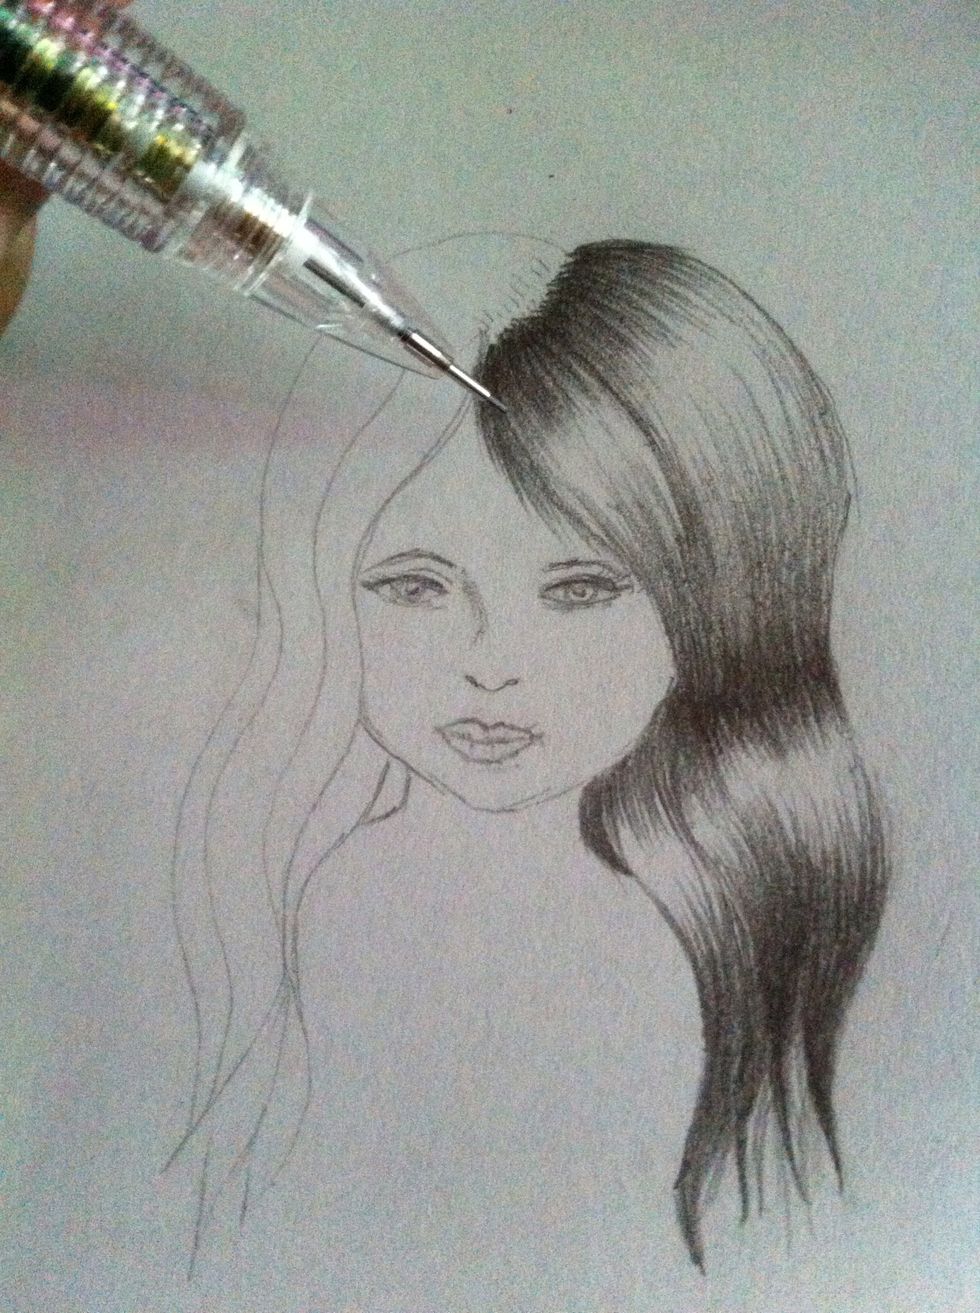
"Emphasise" the hair parting.
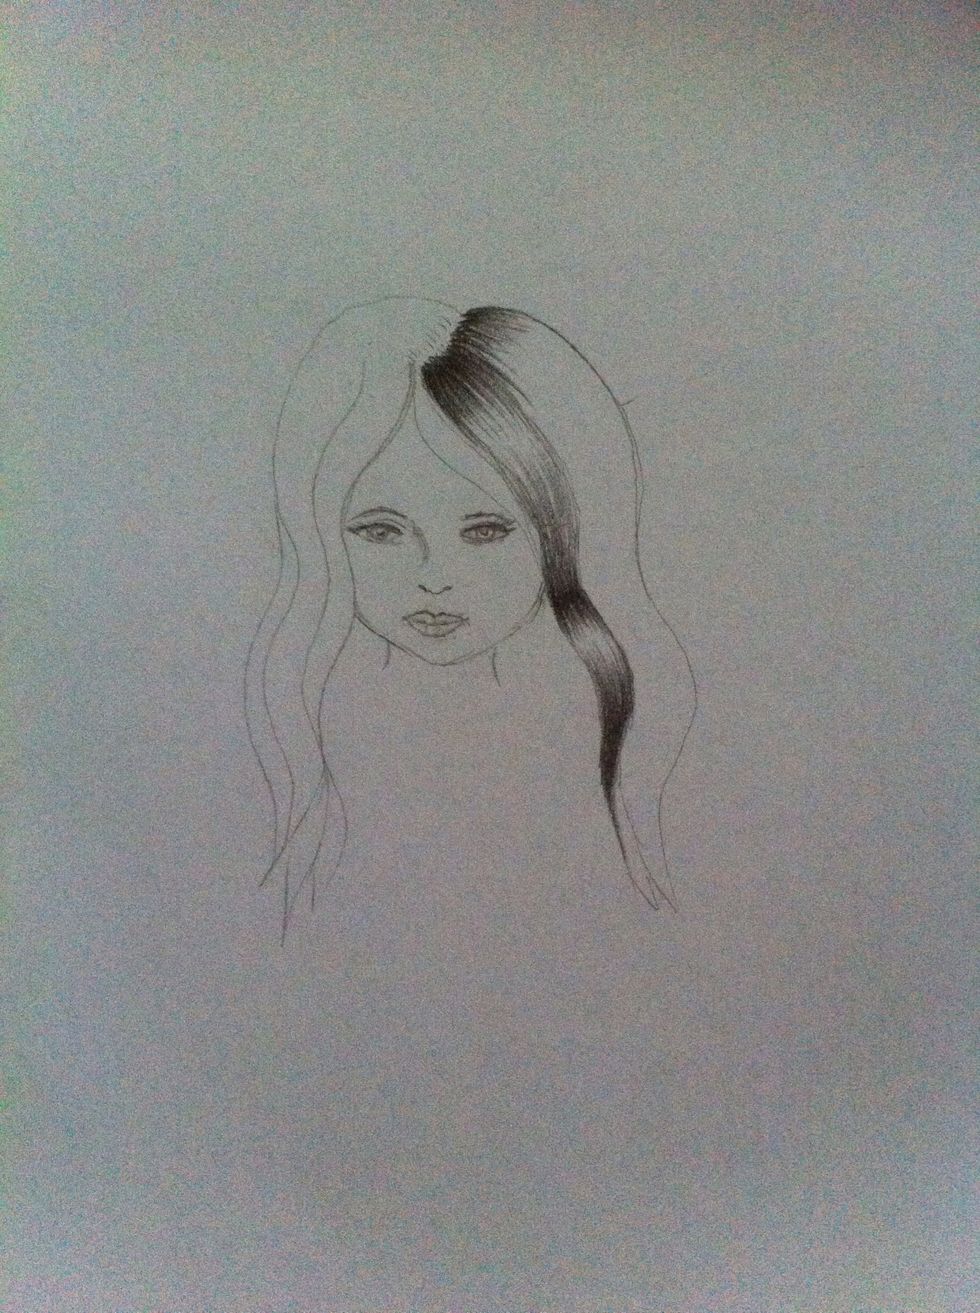
Shade the rest of the front section, again leaving some white for the highlight.
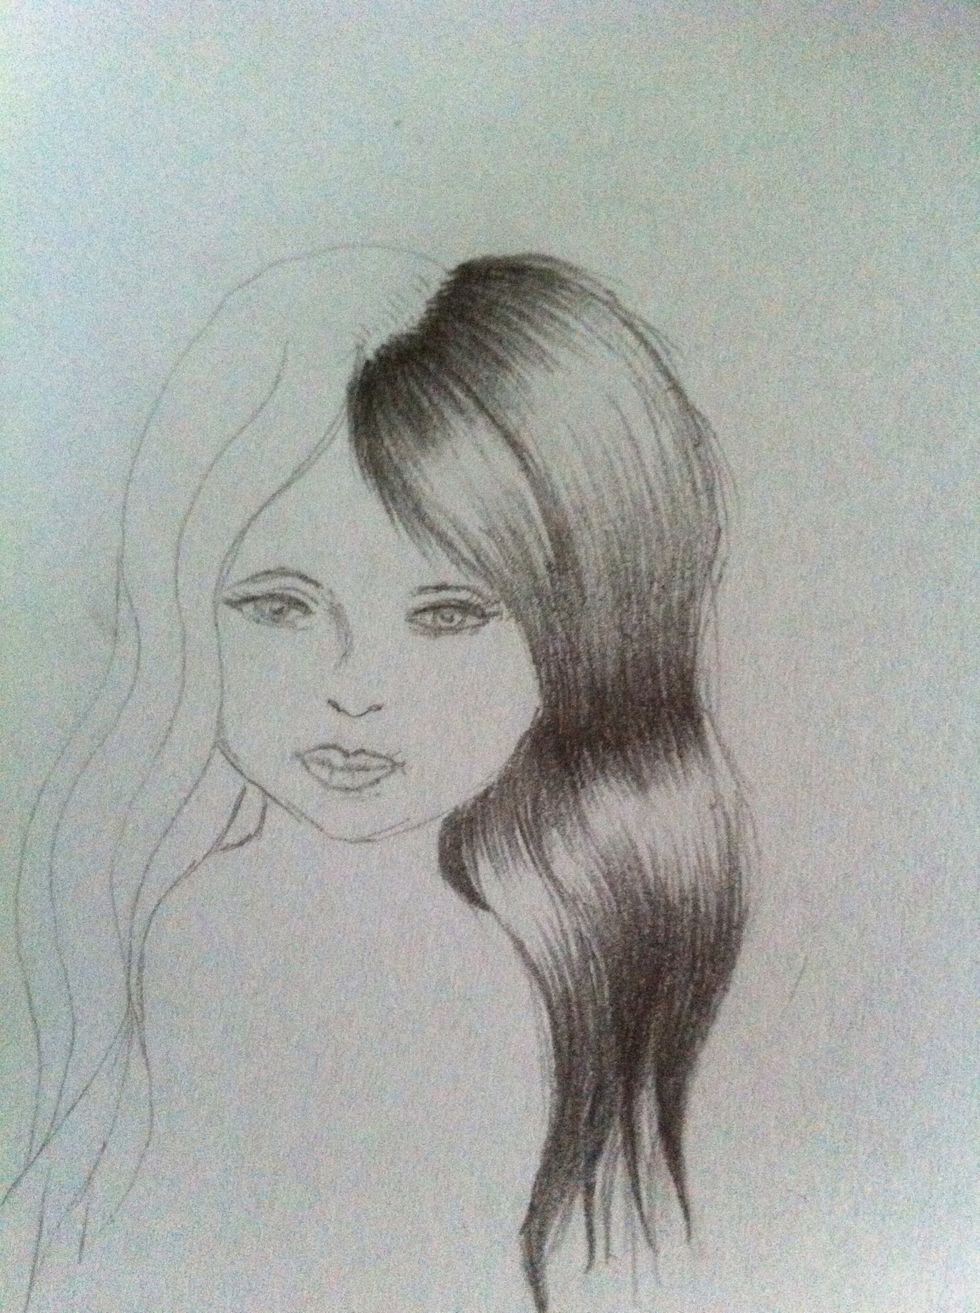
Decide if you want to erase the middle line that separates the hair.
I chose to separate it.
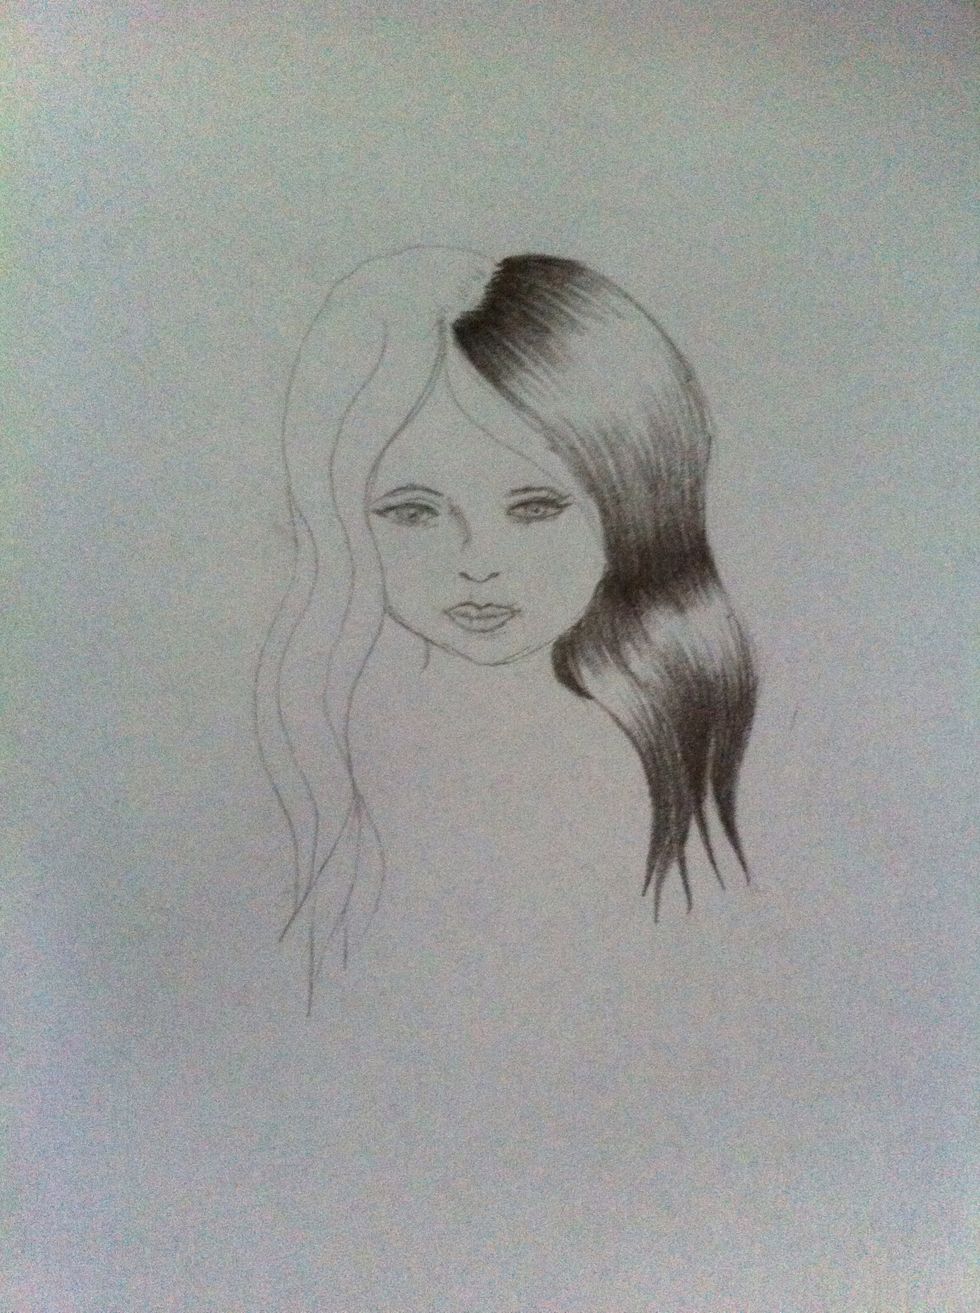
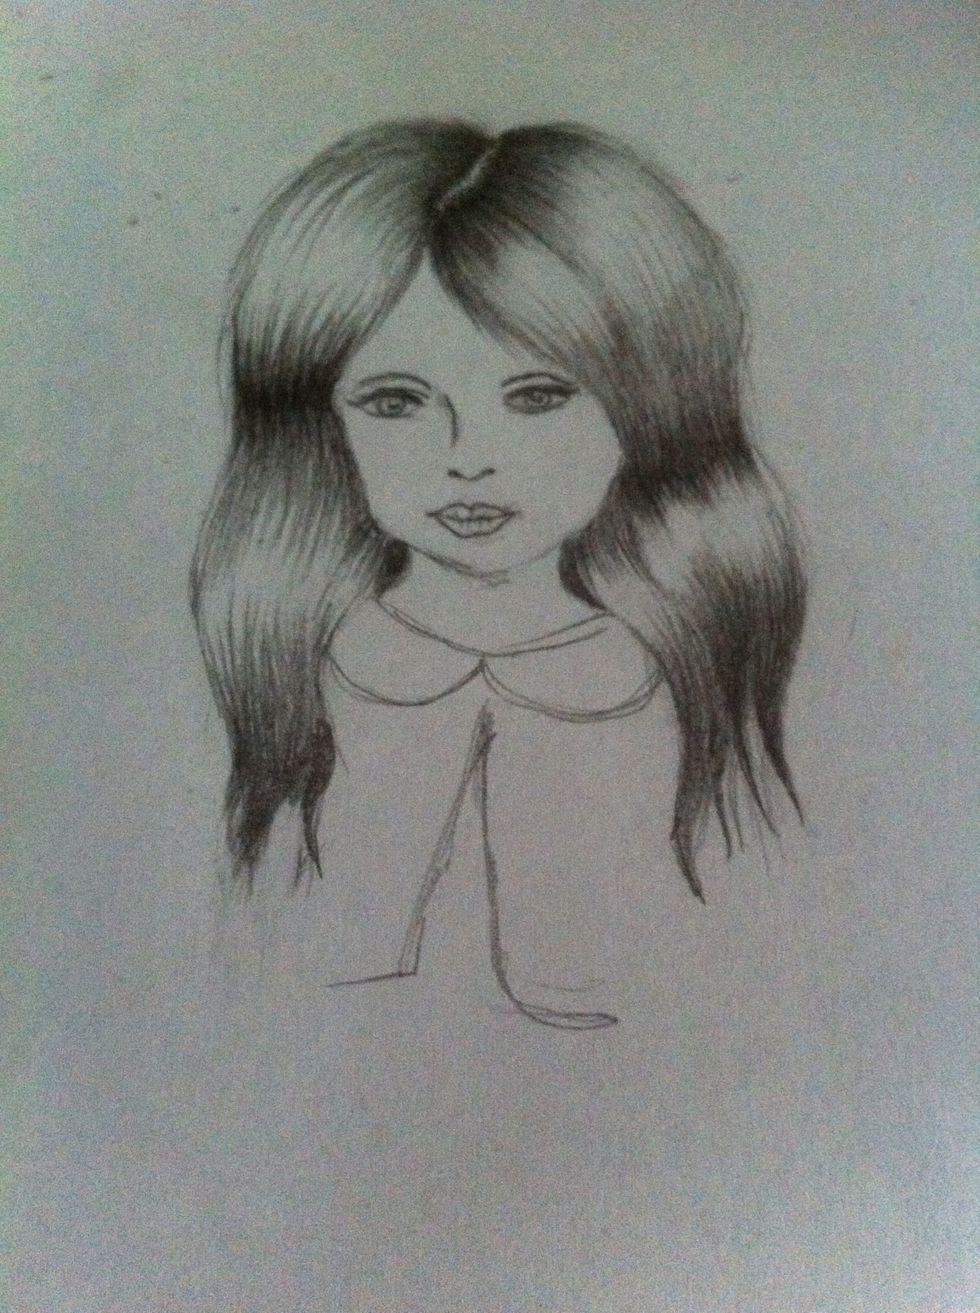
No hair is perfect! Add some fly-aways to make it a bit realistic.
More wispies on the back. Also, erase some unnecessary lines if needed.
(Tap on pic) I forgot to take a picture of the other side, but you just apply the same technique. See the parting? I left a very thin space between. You can also draw a top if you want.

Here's what mine looks like from a distance. She kinda looks like a doll. :)

I added some details to her top.
And that's how you draw and shade hair! Oh, and this technique doesn't have to be used on just hair...
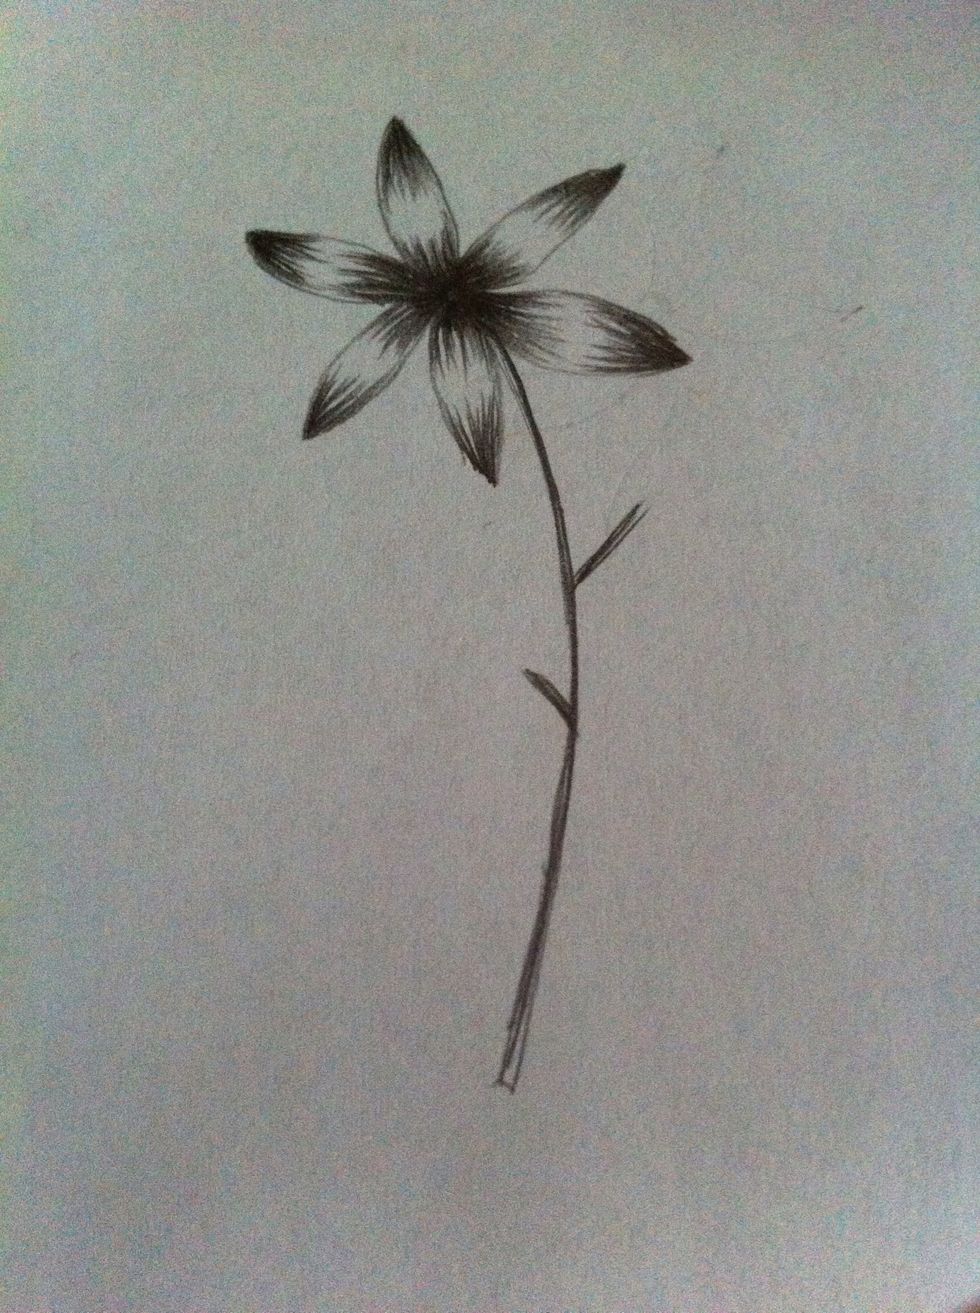
You can use it on flowers/plants...
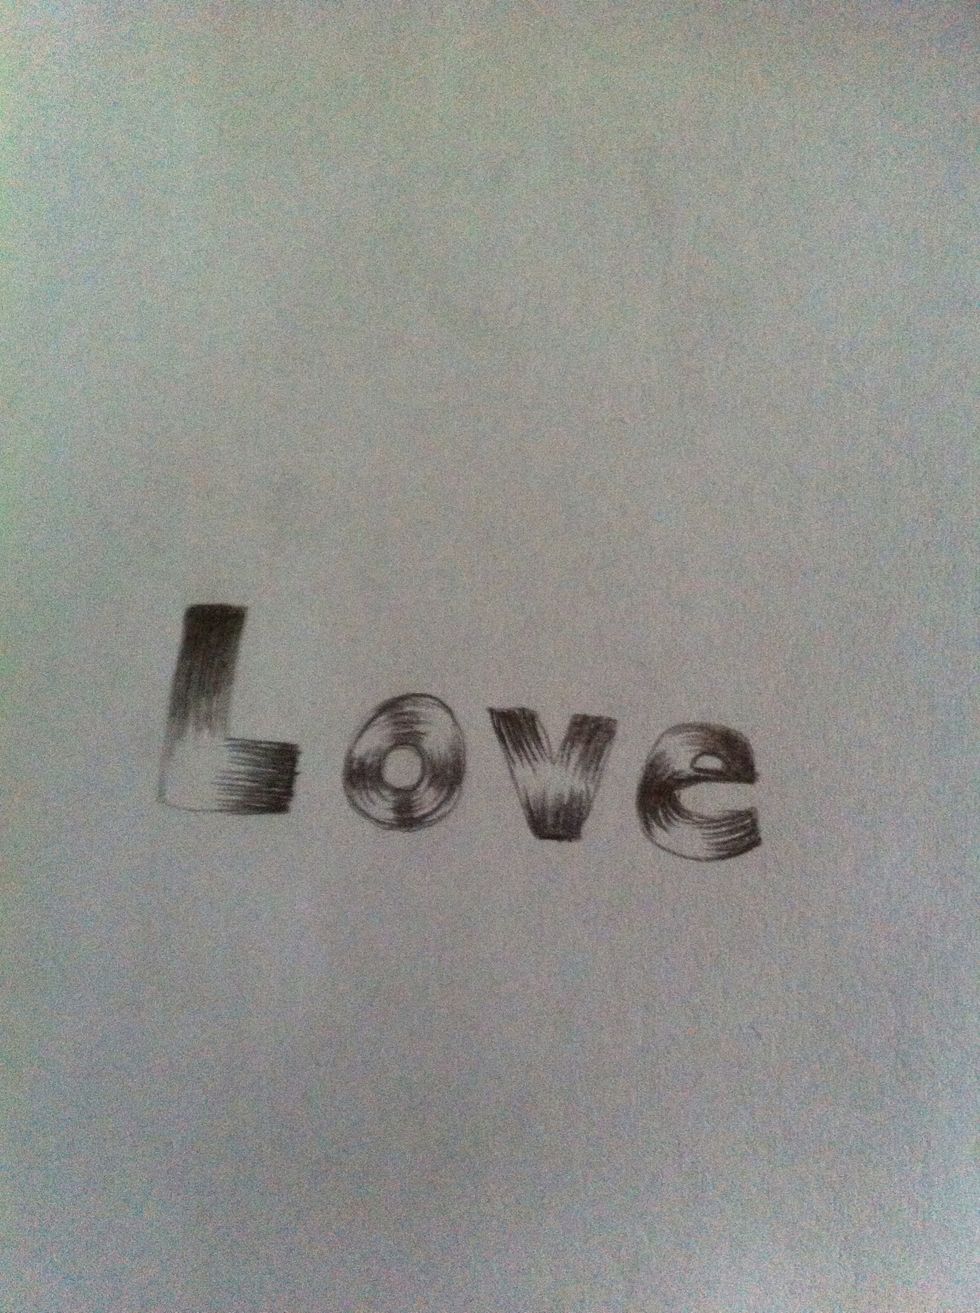
Or even letters!
I hope this helps. :D
One more thing: This is just a guide on how to shade hair. Remember to follow where the light hits for a realistic look.