The Conversation (0)
Sign Up
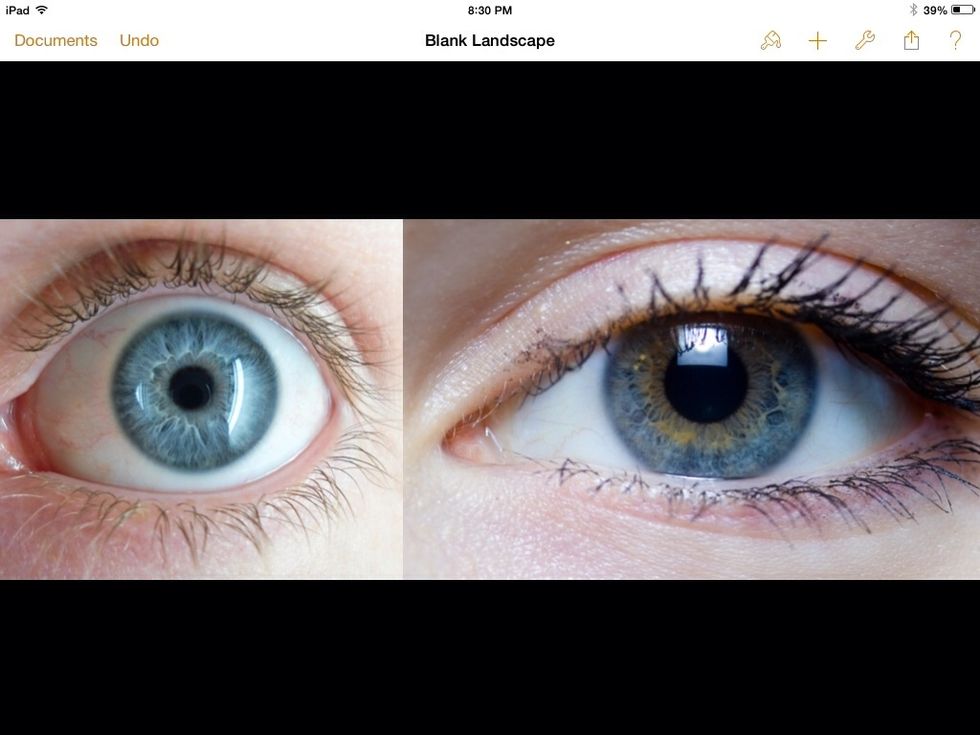
The first thing to consider when drawing an eye is that all eyes are different. Before you begin drawing, make sure you have an idea of what your eye will look like.
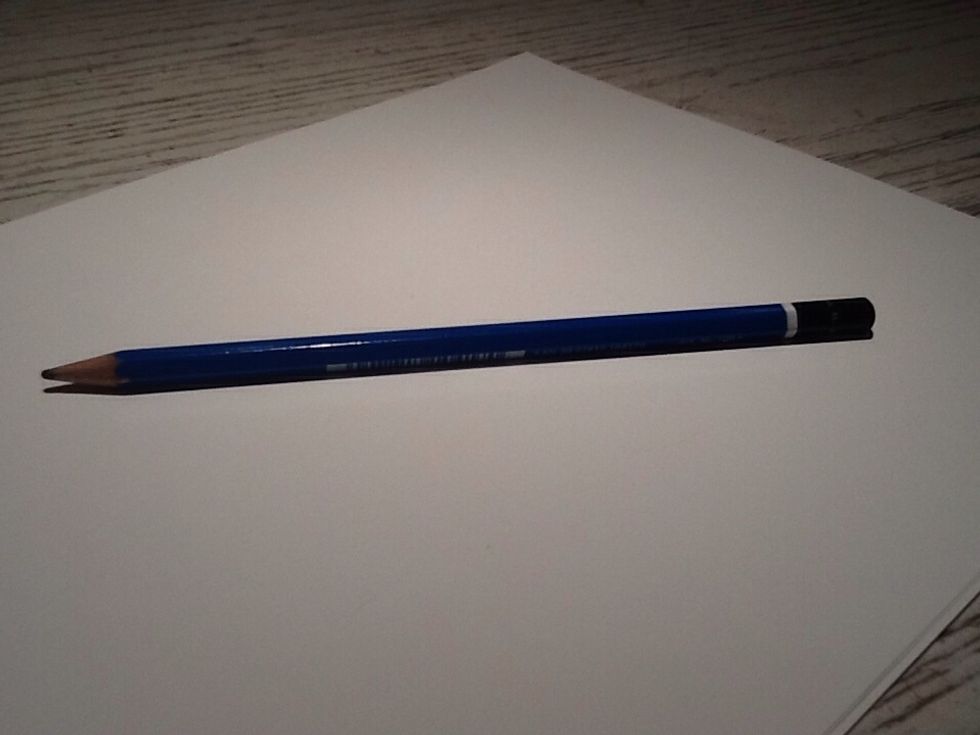
Let's get started! Make sure you have a writing/drawing utensil, paper, and a plat surface to work on.
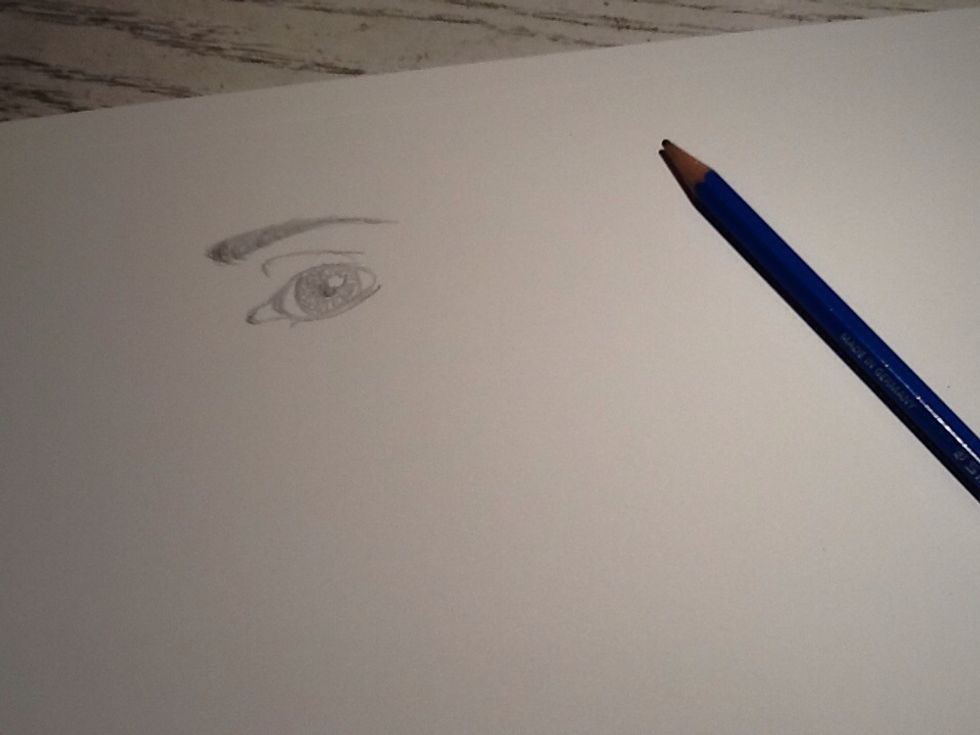
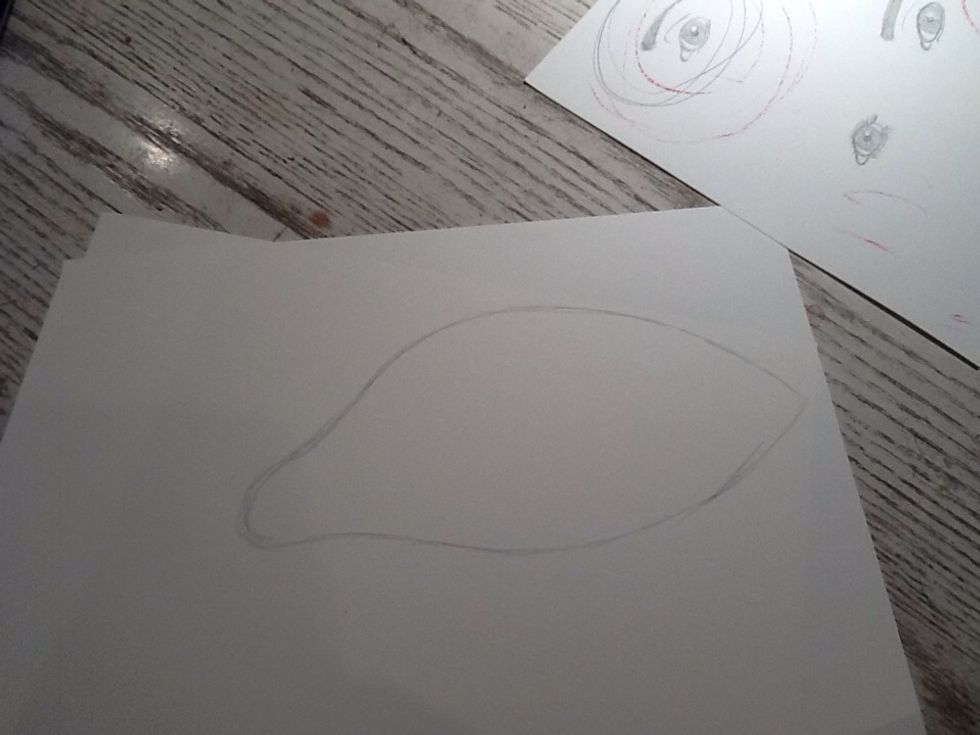
I always like to draw a quick sketch first – this took about a minute. Draw the basic shape of you're eye and perhaps decide on the position of the pupil and the iris.
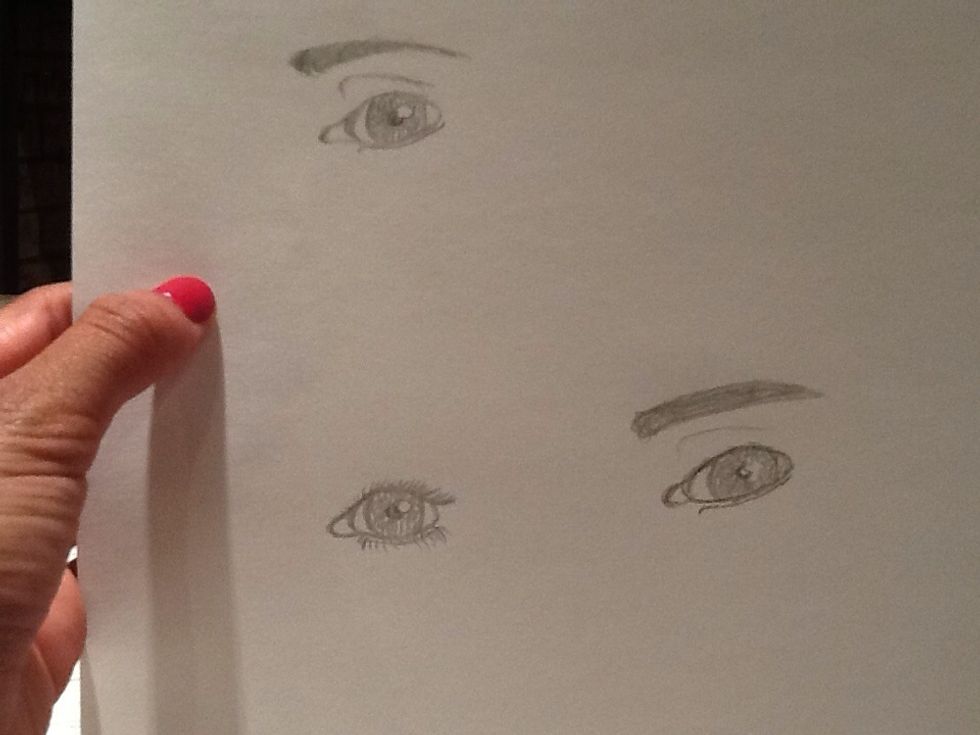
In fact, maybe sketch a couple of eyes, just to practice. After all, practice makes perfect.
On a new piece of paper, draw the outline of the eye. Don't forget the little pink part! Draw this lightly, as you may have to go back and tweak it here and there.
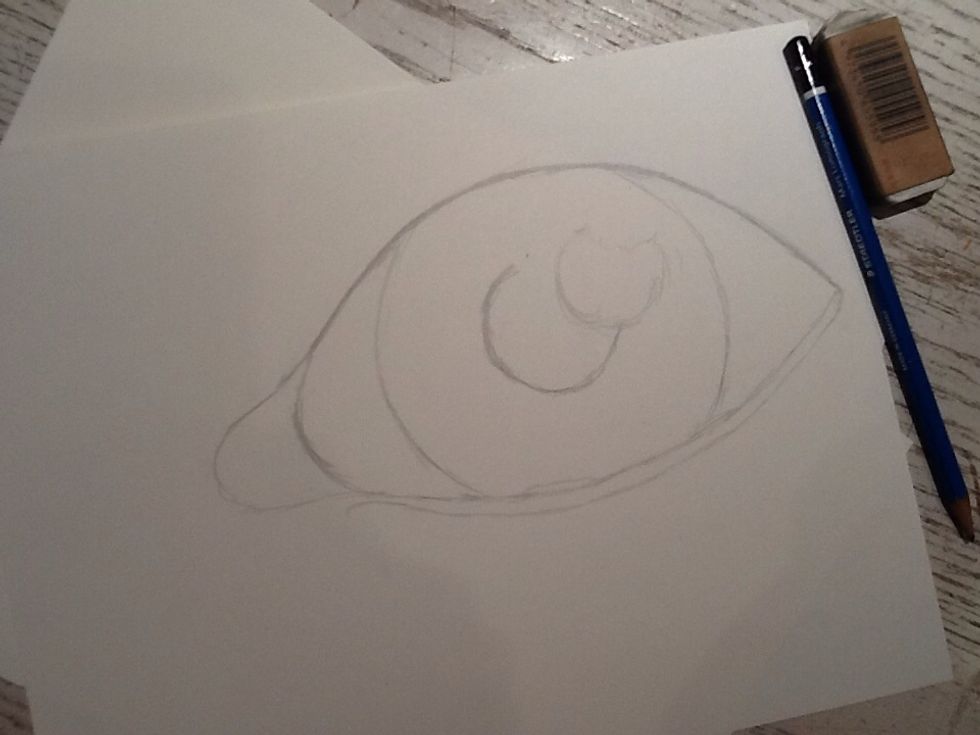
Add some more major lines: the outline of the iris and the pupil, the area where there will be a light reflection, and the tear duct.
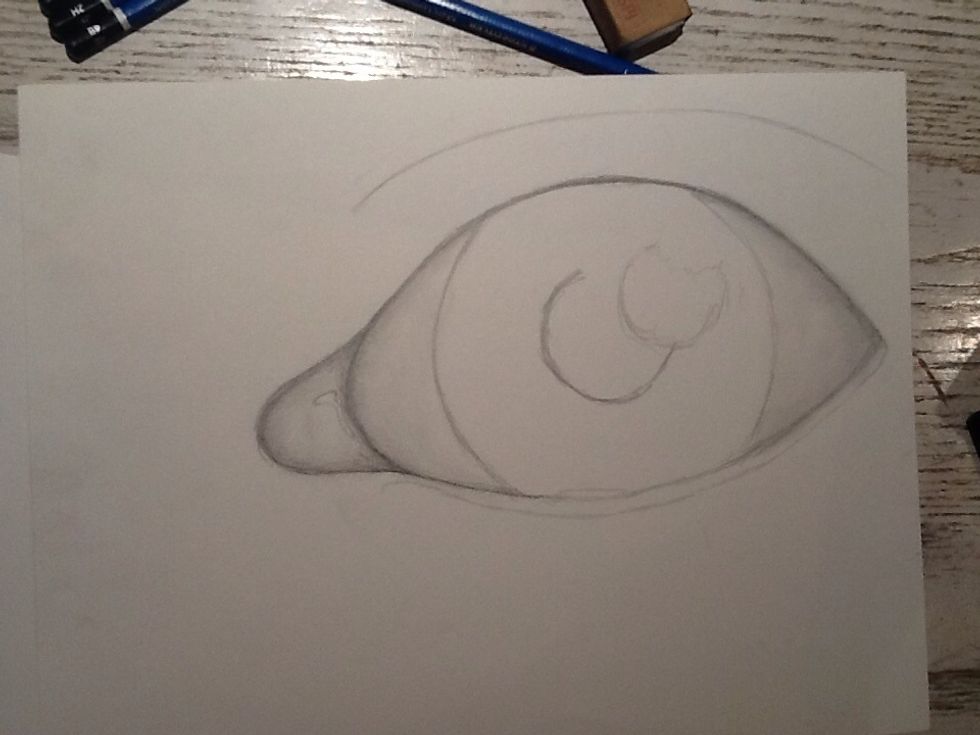
Next, add some shading in the little pink part and the eyeball. This will just make things a bit easier later.
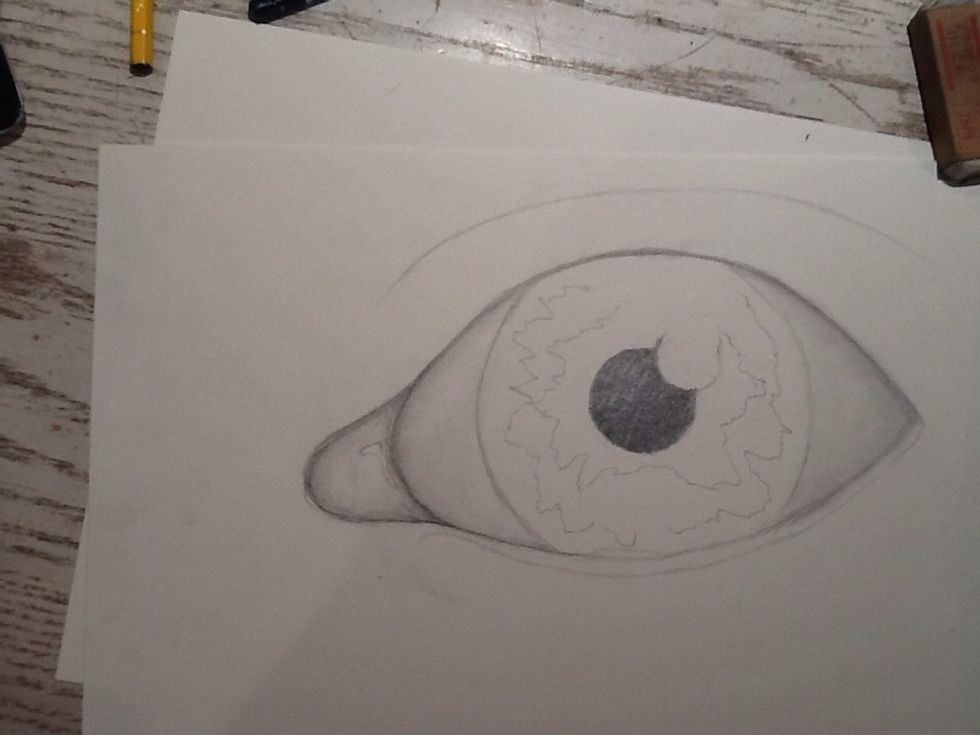
Next, I drew an outline for the different shadings in the iris and also filled in the pupil. Please note that I have been making adjustments to different parts of the eye along the way.
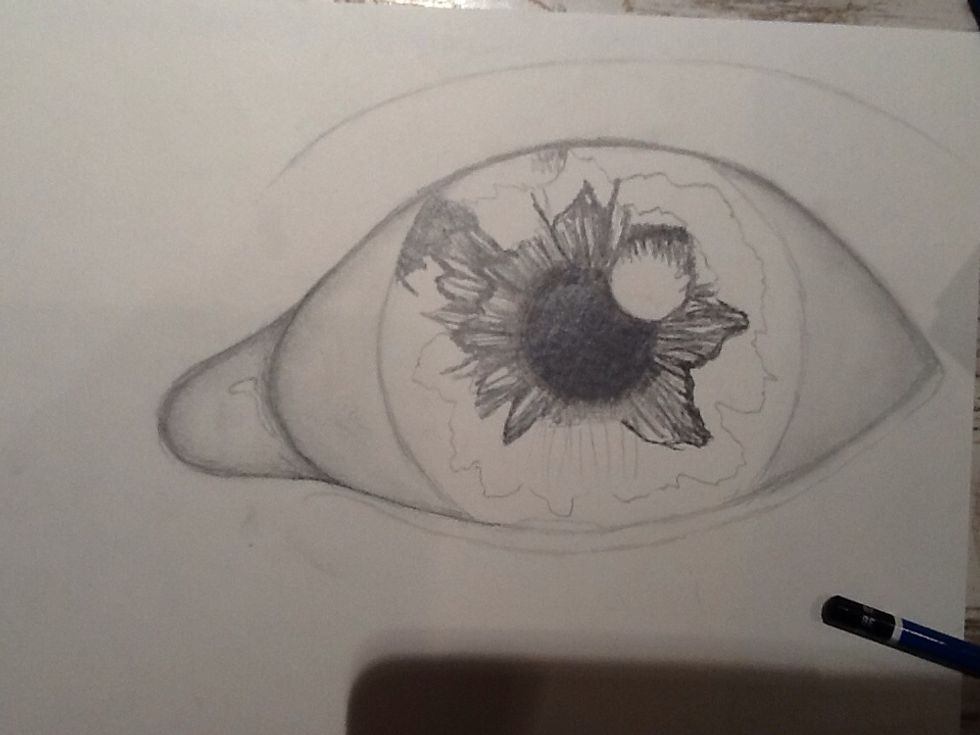
Fill in the iris. The lines that you use to do this should vary in darkness and all point outward from the pupil. Be sure to leave some room for light reflections.
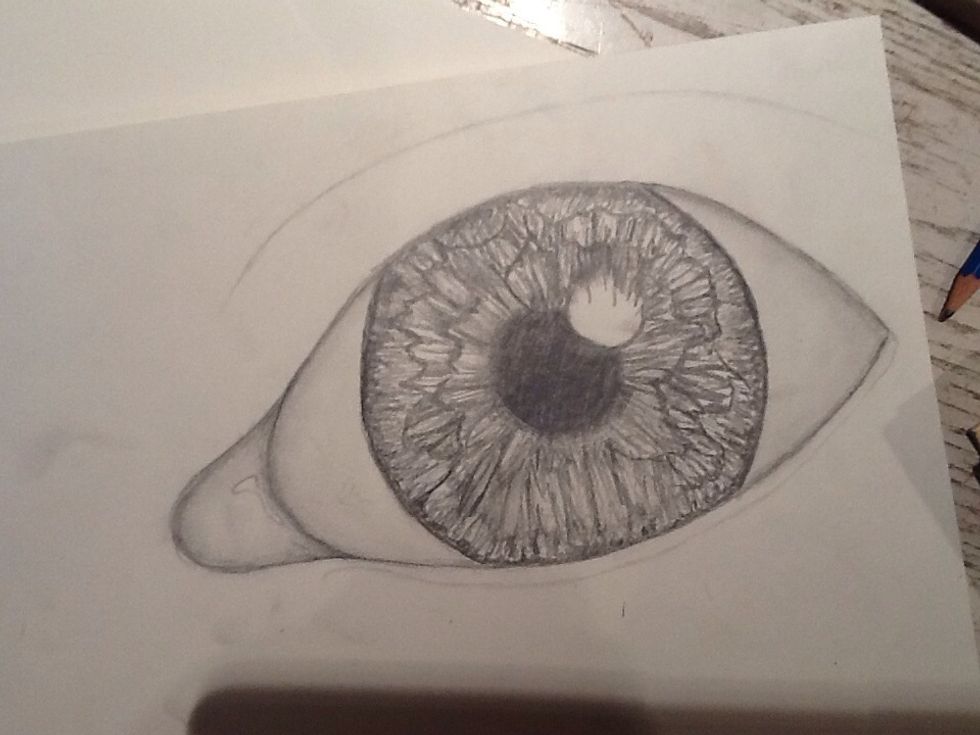
Now that the iris is about done, it's time to work on the tear duct and eyelashes.
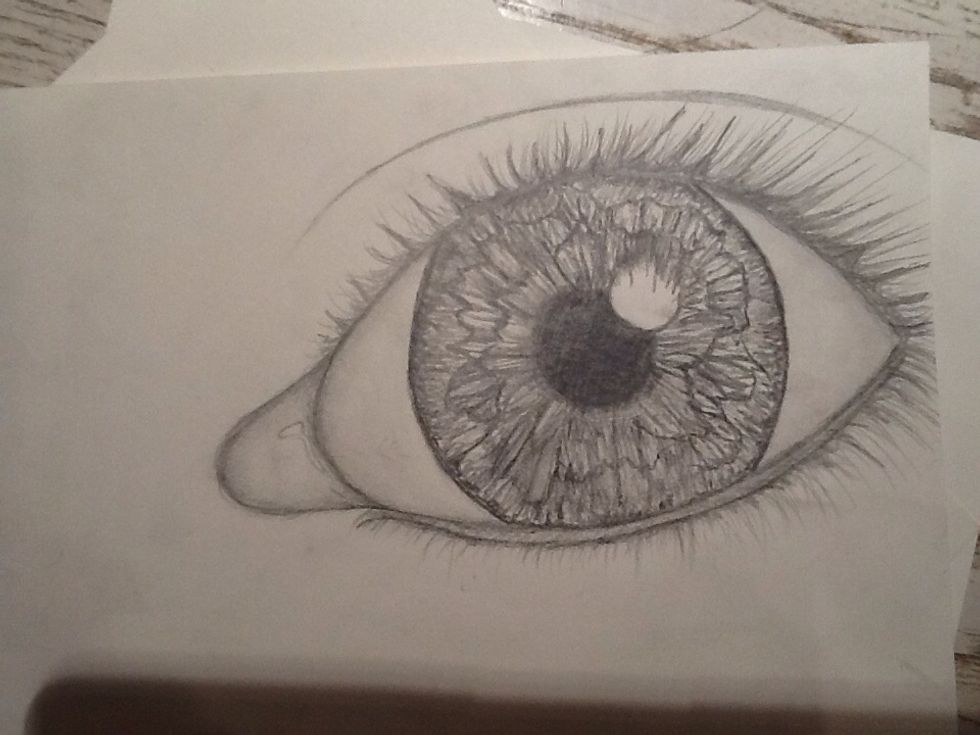
Add in your lashes! Most lashes curve, so make sure they're rounded and not just straight lines. Lashes will also get smaller as you near the inner corner of the eye.
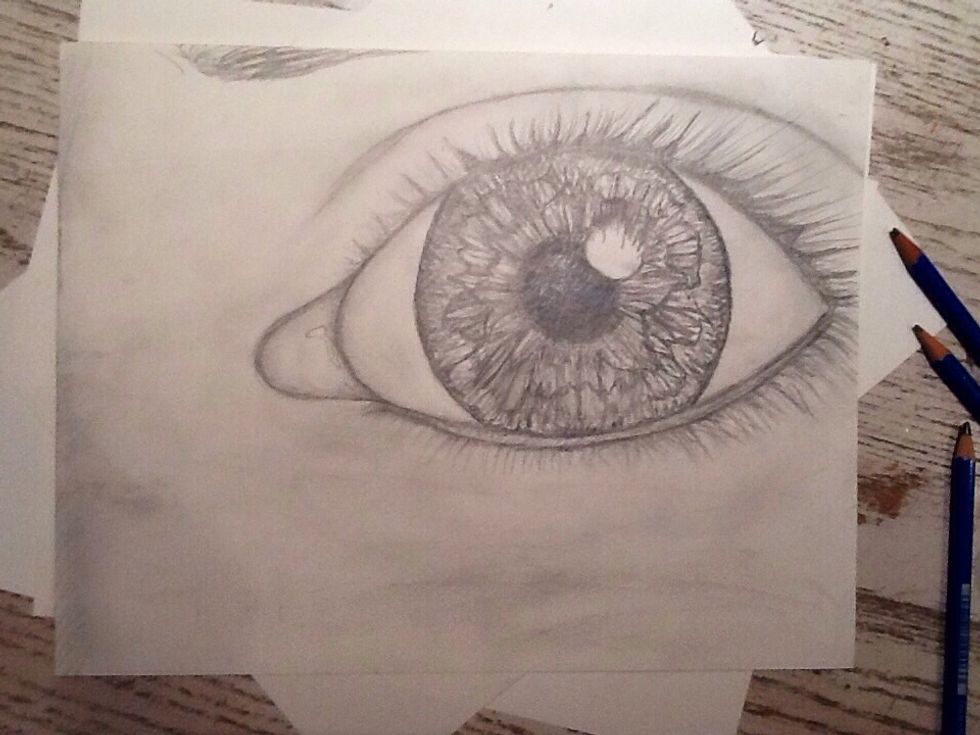
After adding some shading around the eye and going back over the eyelashes a few times, take a step back from your piece and make any adjustment that you feel are necessary.
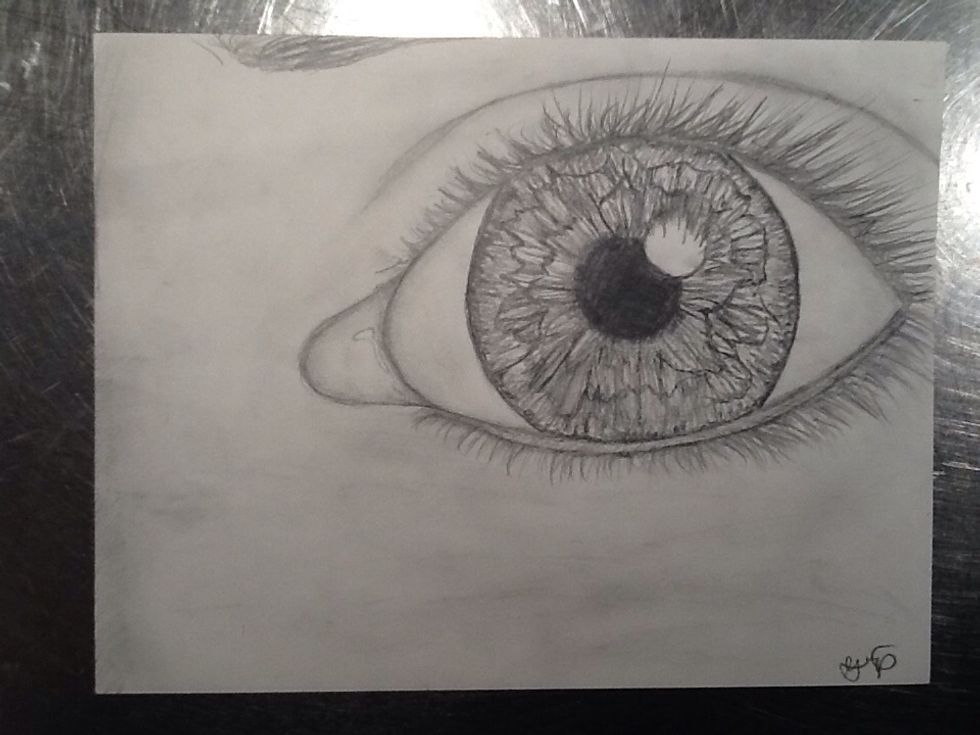
Sign your work! You're done!
Some Tips: • Play music while you work! It can help to keep you in the artistic mood. • Use different hardnesses: I used F, B, 3B and 6B pencils. This will help add depth to the picture.
And last but not least, ENJOY YOURSELF while drawing, or at least put some emotion into your art. Your art will be more interesting if you put yourself into it.