The Conversation (0)
Sign Up
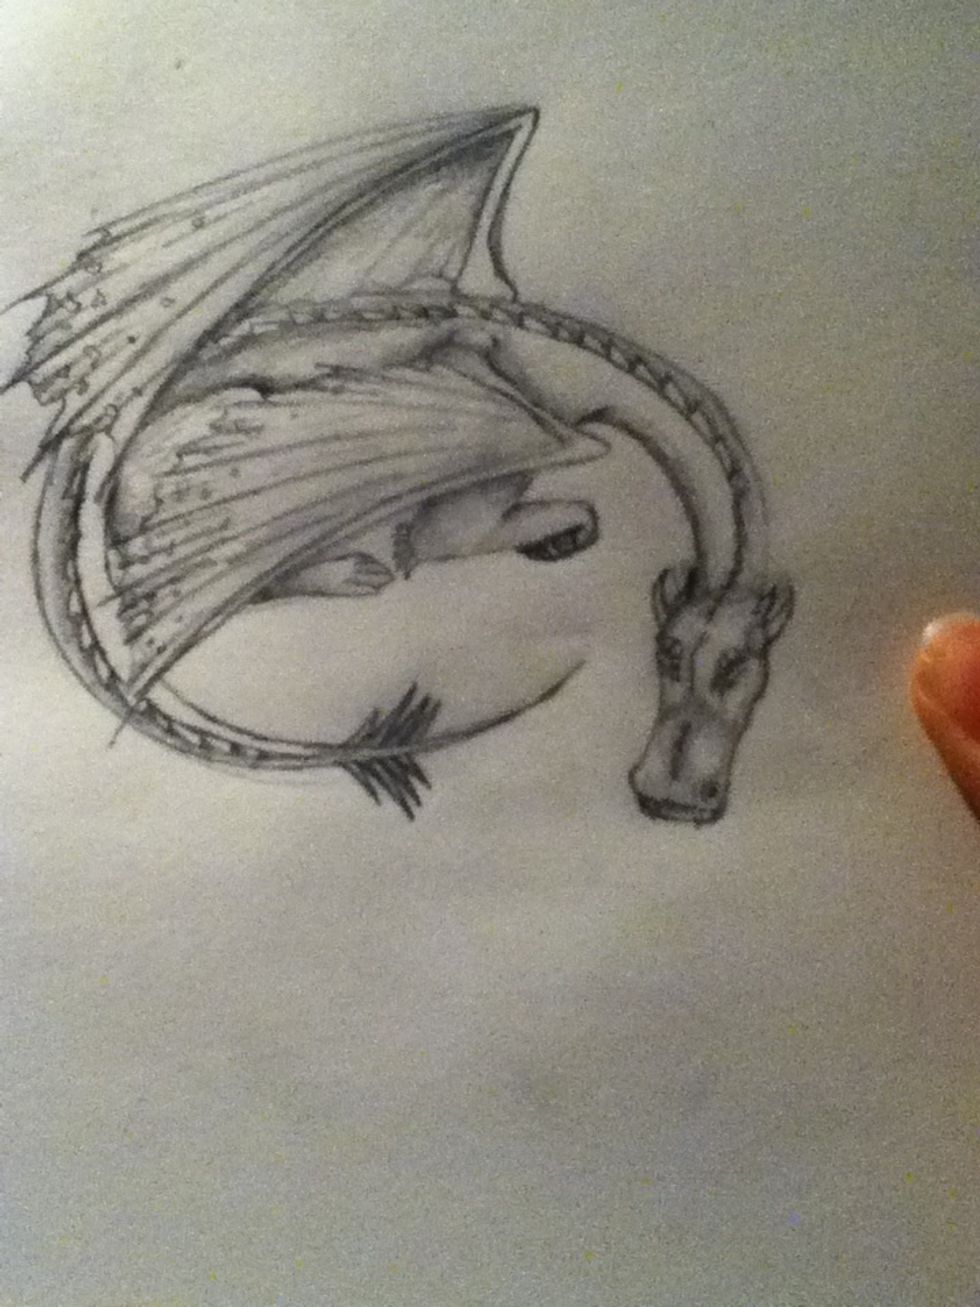
These are some ideas of what yours could end up like, they are all my own.
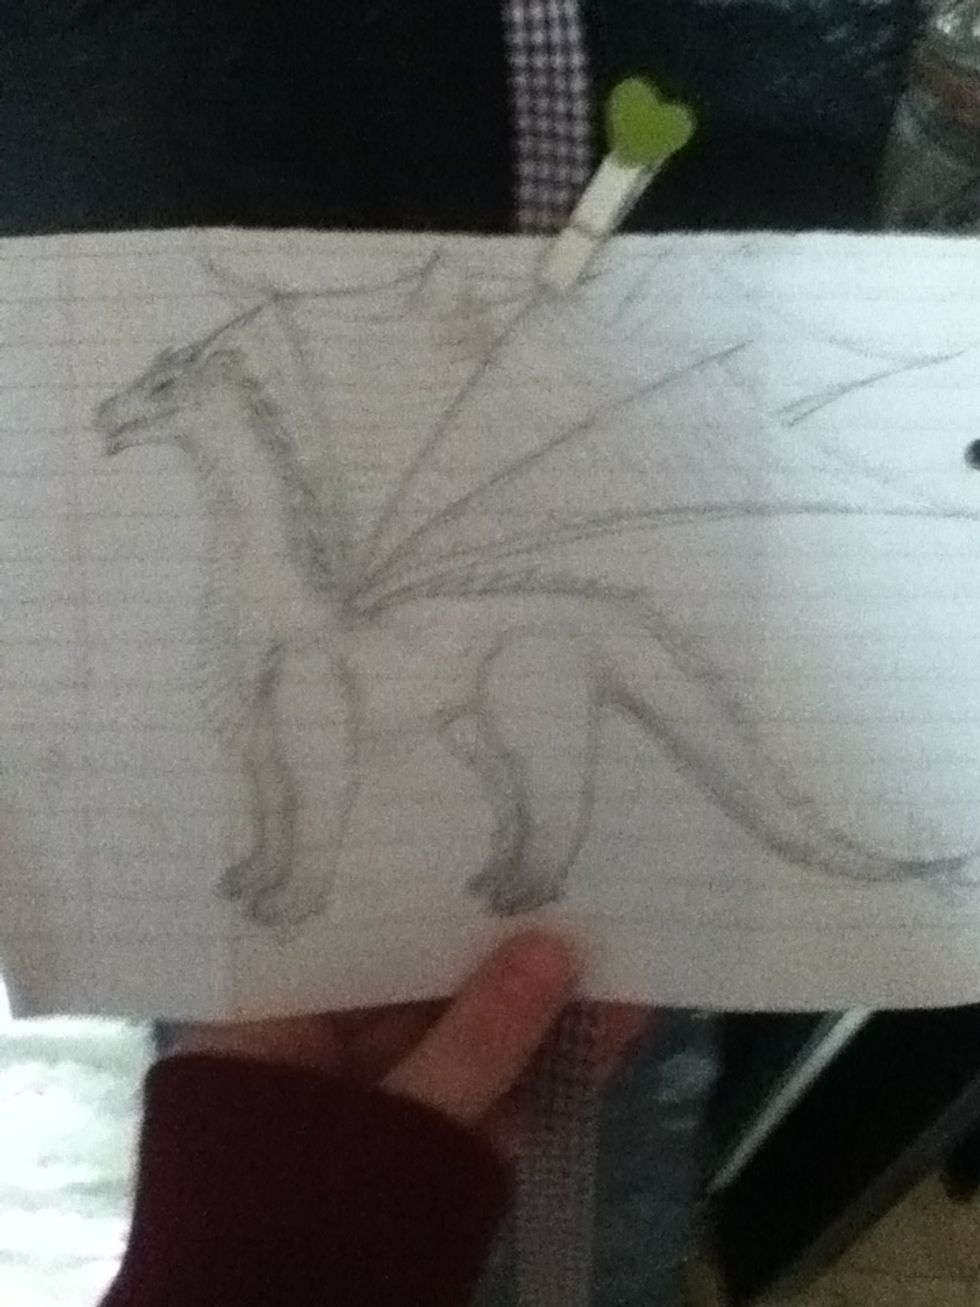
Quick sketch drawn in class...
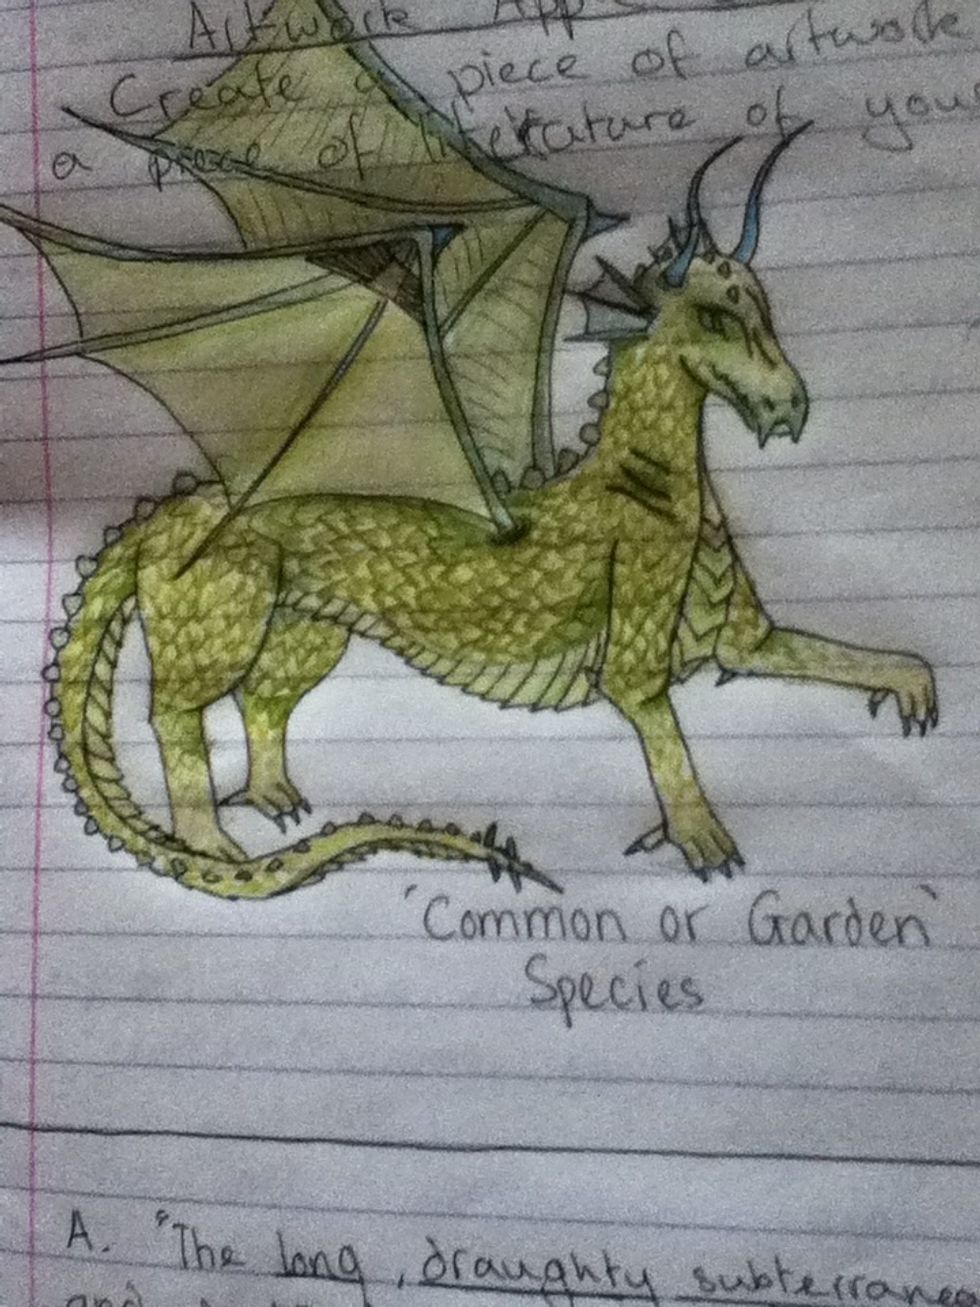
Drawn for a homework assignment.
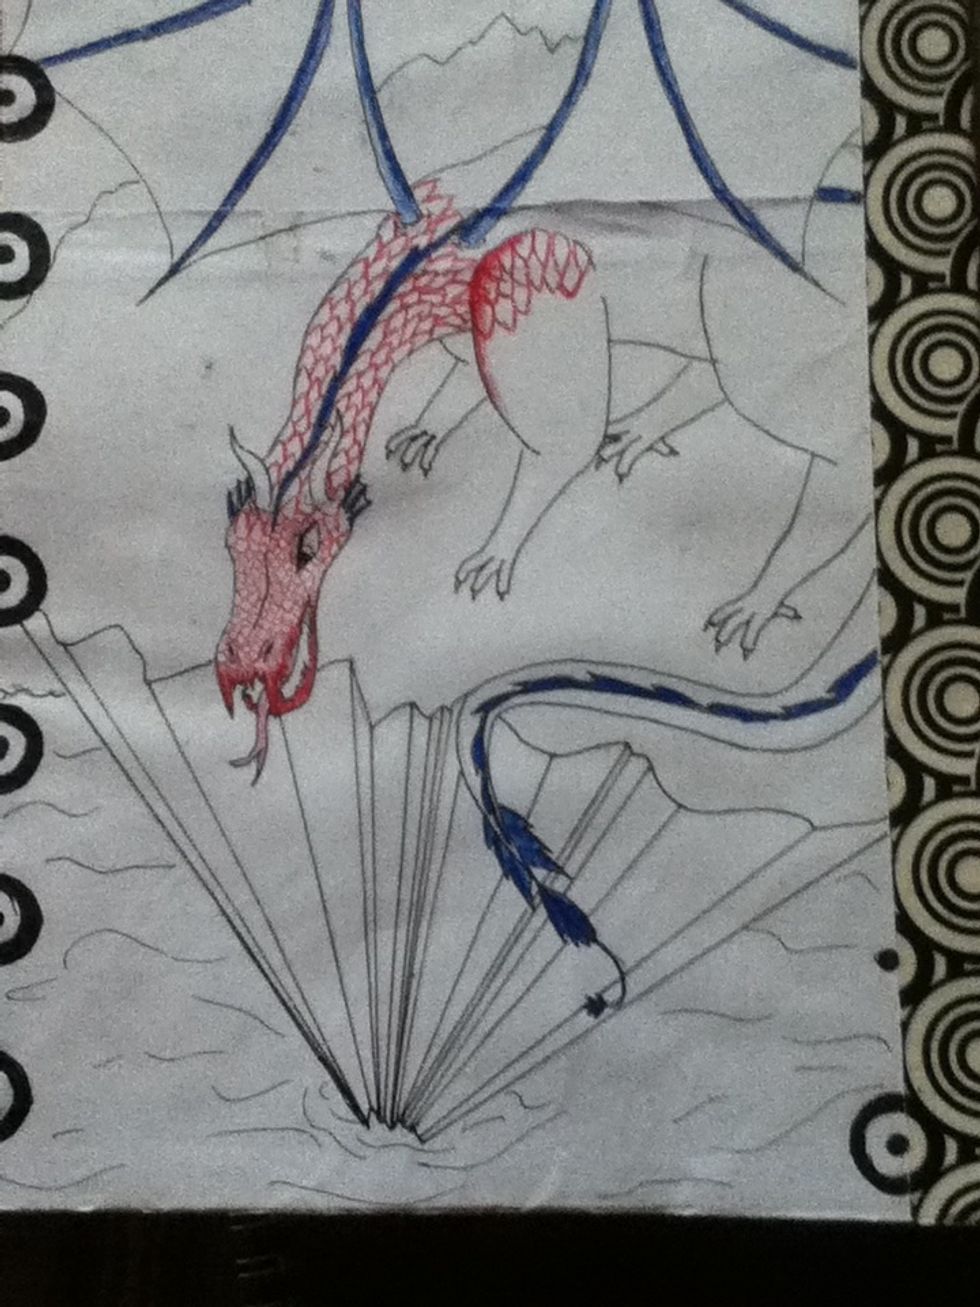
Front of a school book.
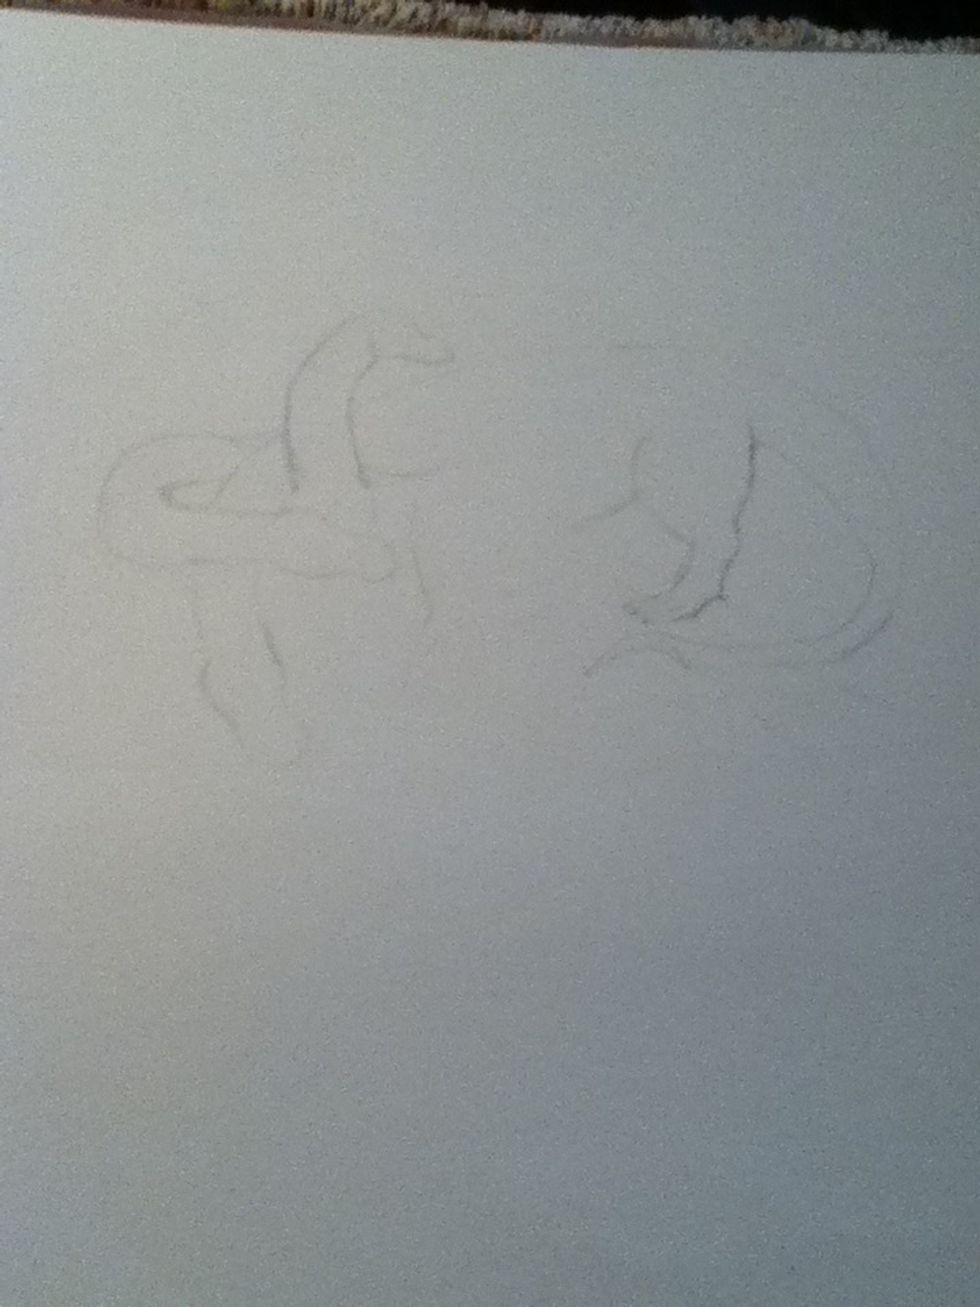
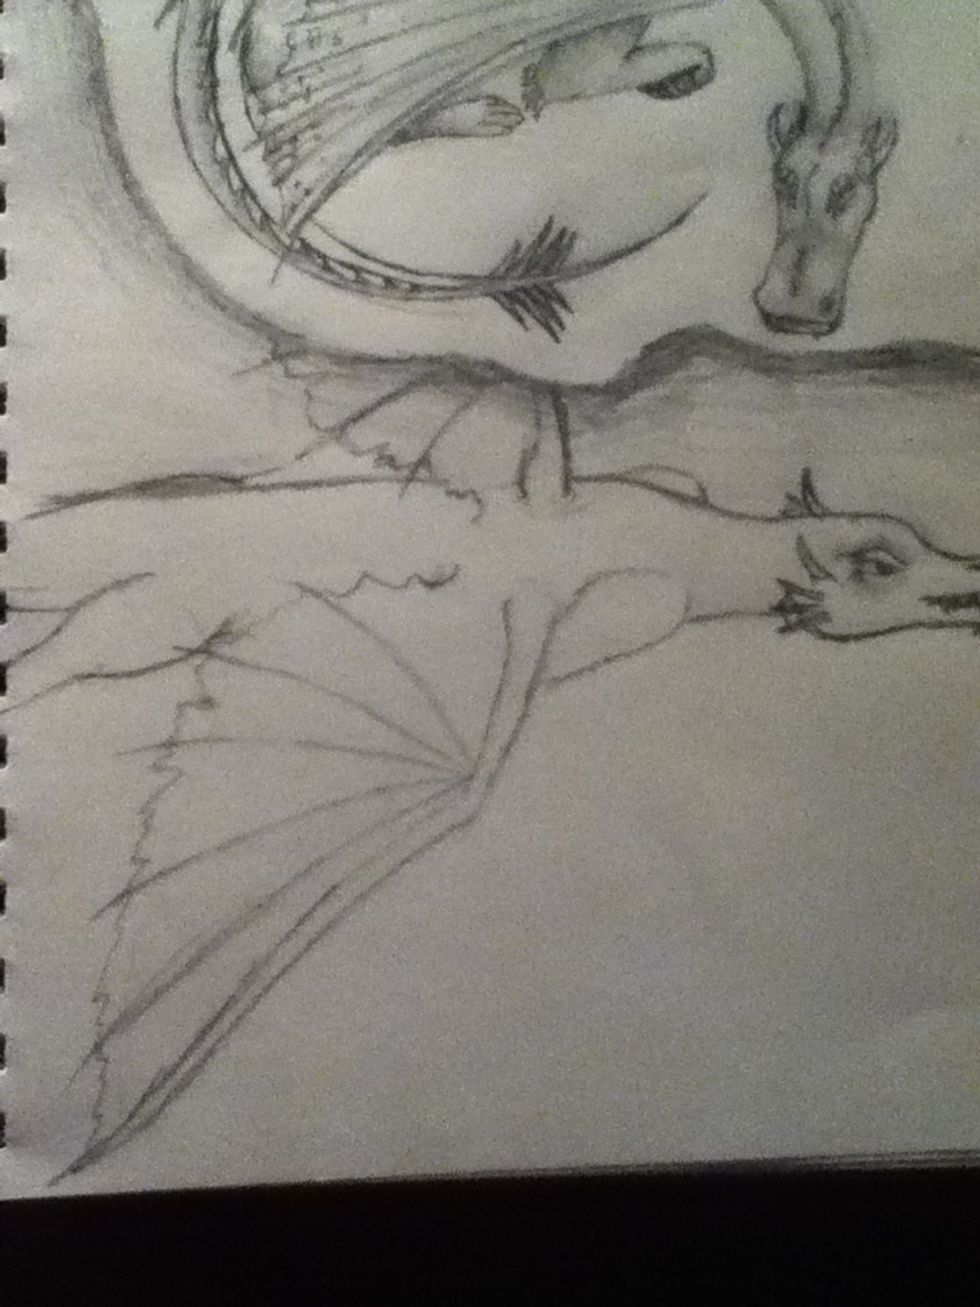
A faint, three-headed dragon, it is proving rather challenging…😖😆
So, dragons can be drawn in loads of styles. Spiky, smooth, lots of limbs, snake-like. Its up to you. You can also draw them in different poses. Lets get started!
Get your pencil, rubber, sharpener and some paper/sketchbook.
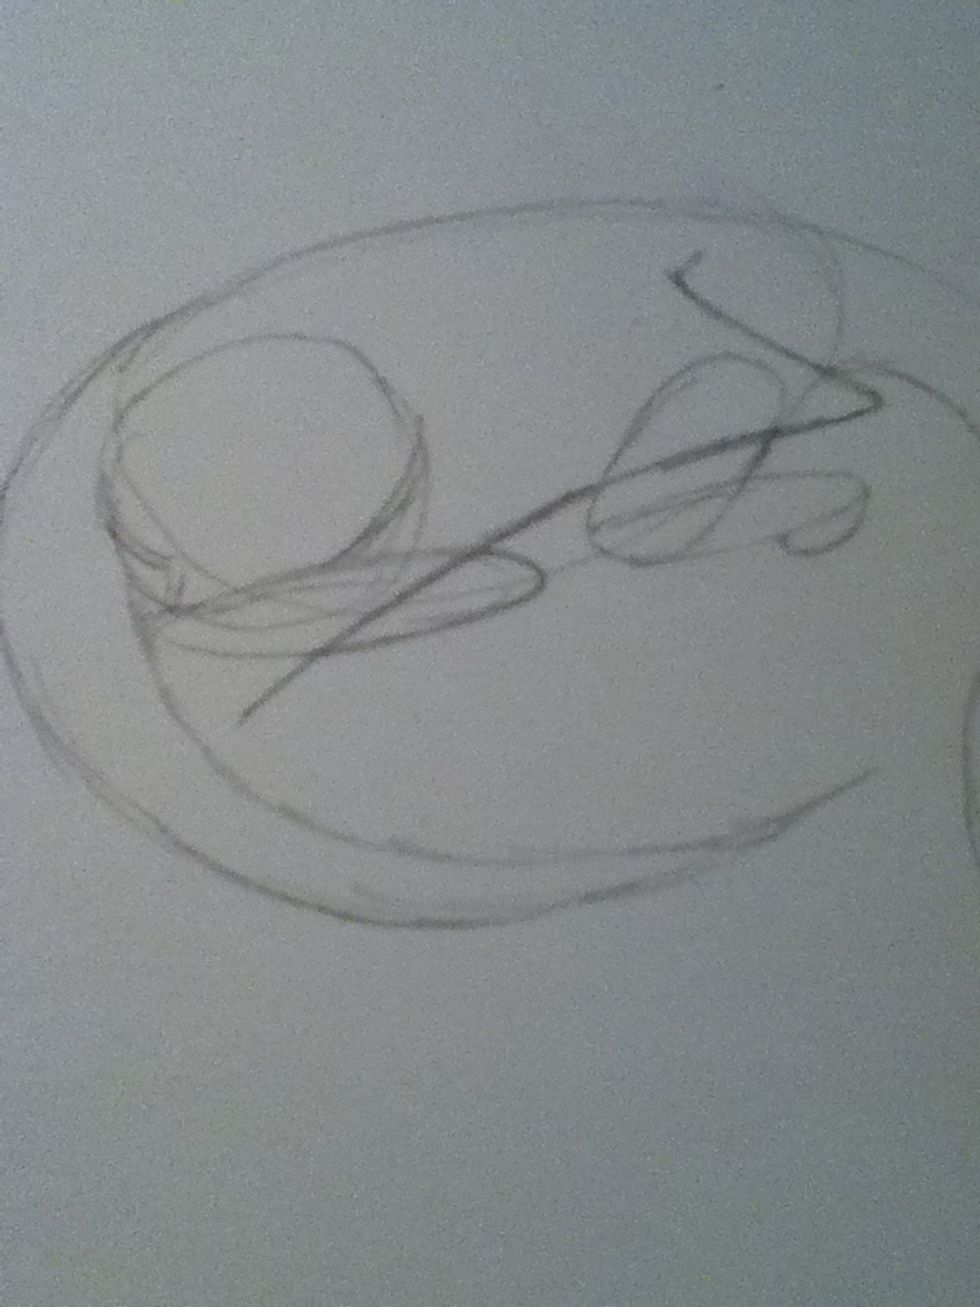
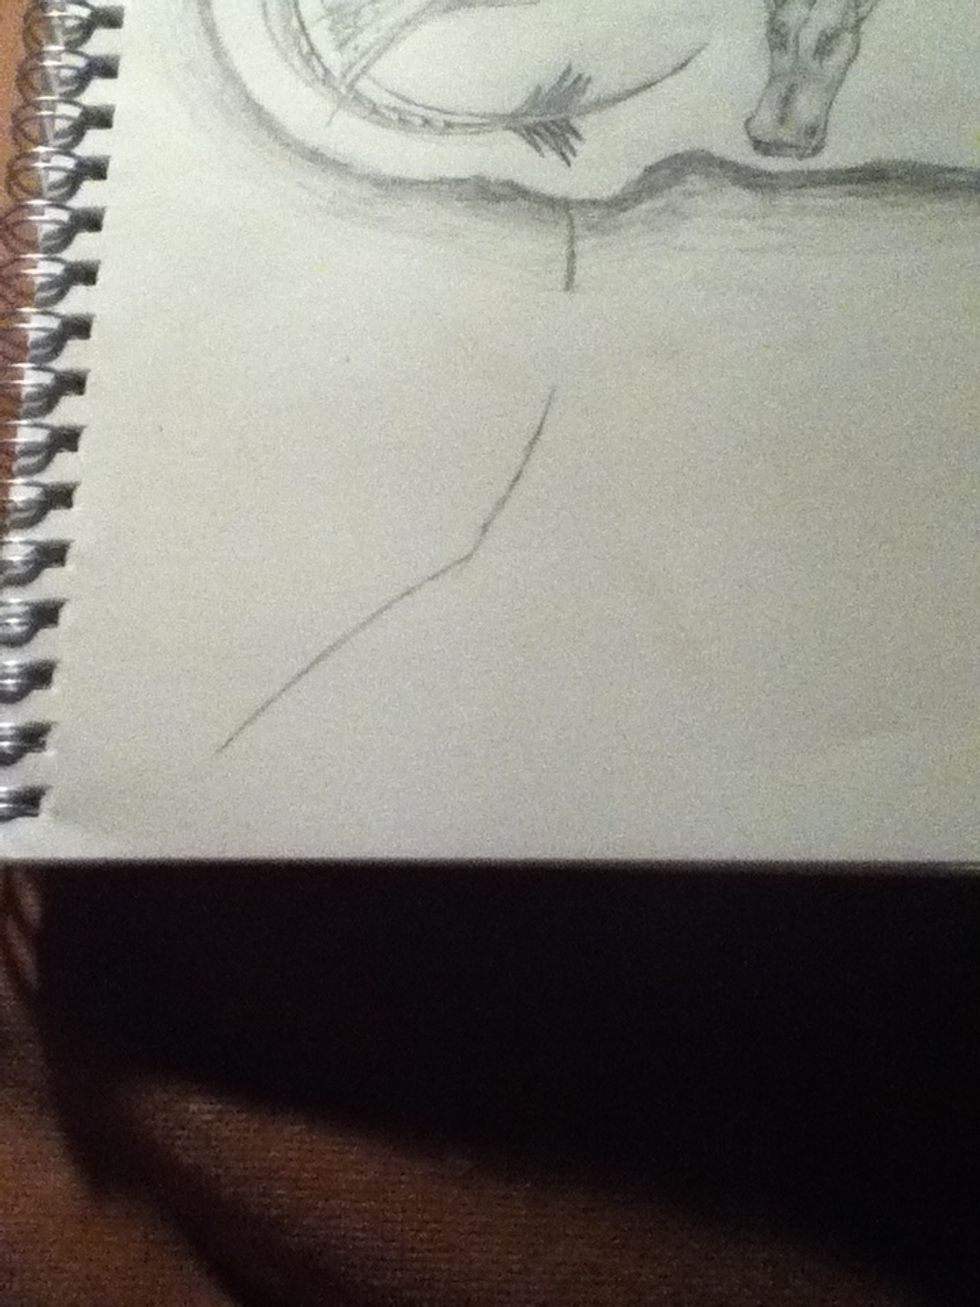
Draw a line, this will be the spine, from neck to tail-tip. It can be in any position - sat up, flying etc. Mine is lying down.
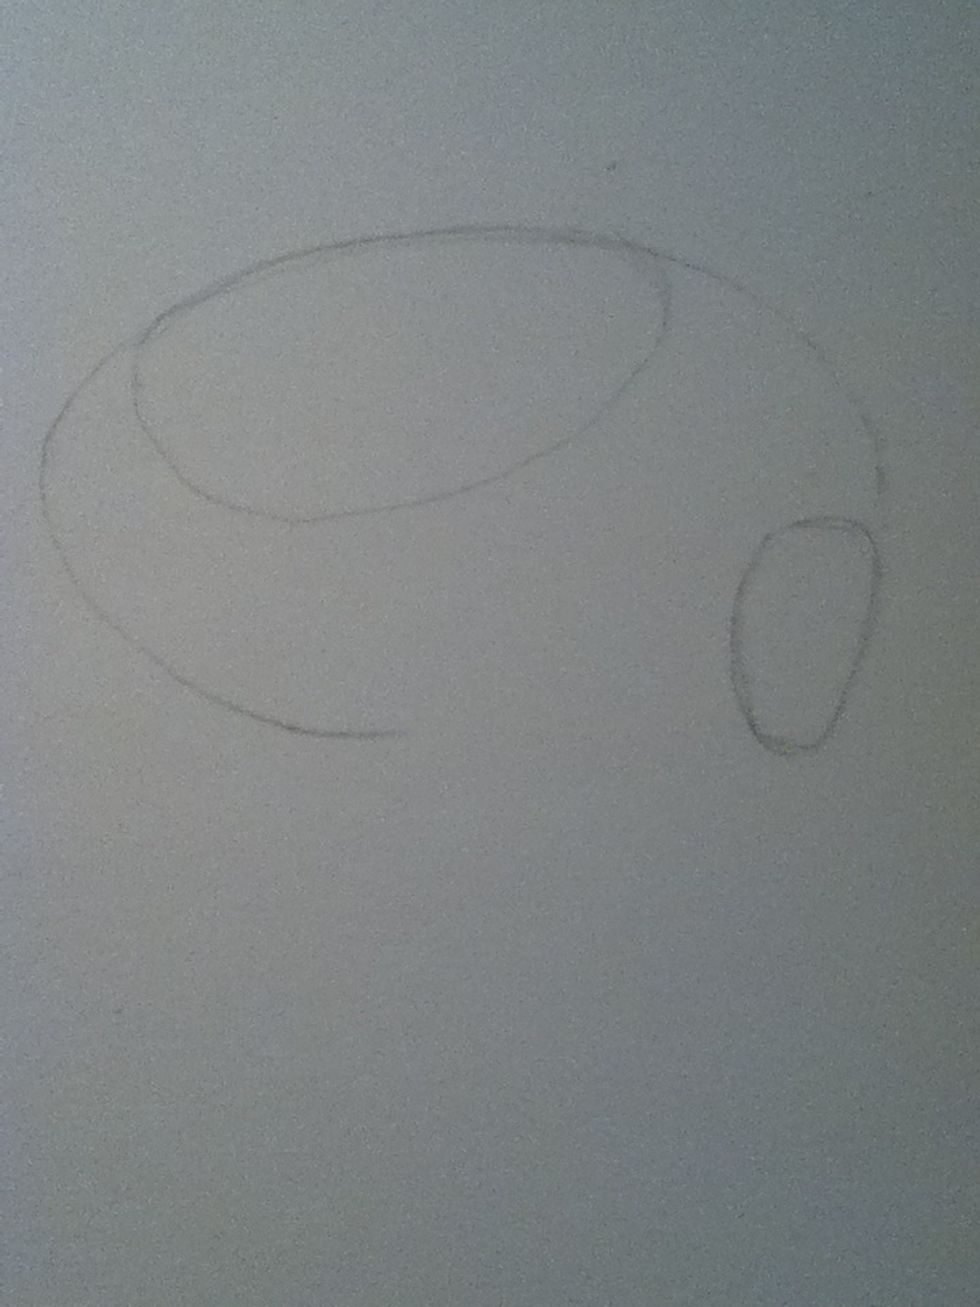
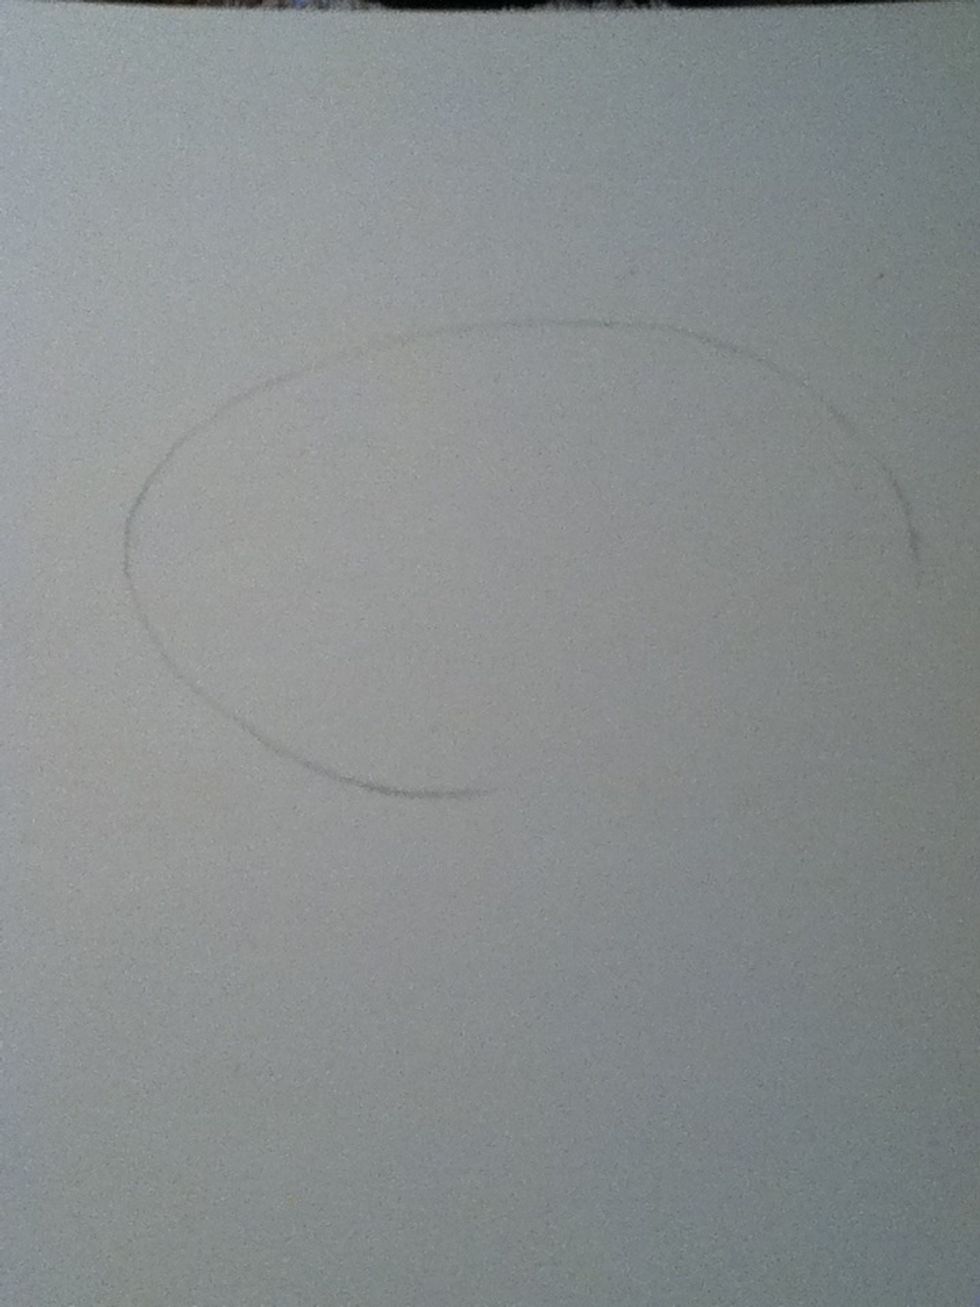
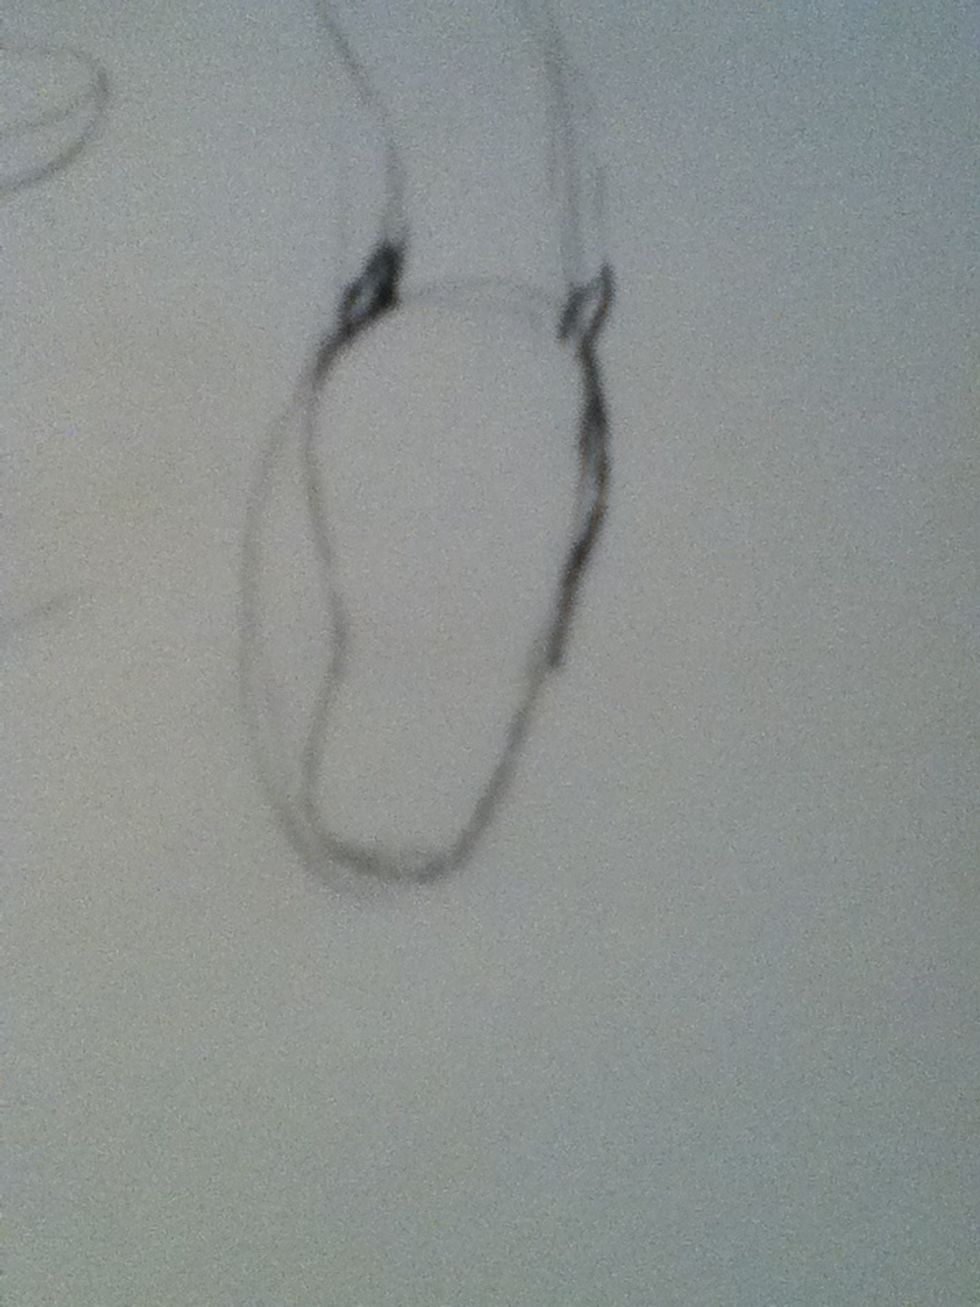
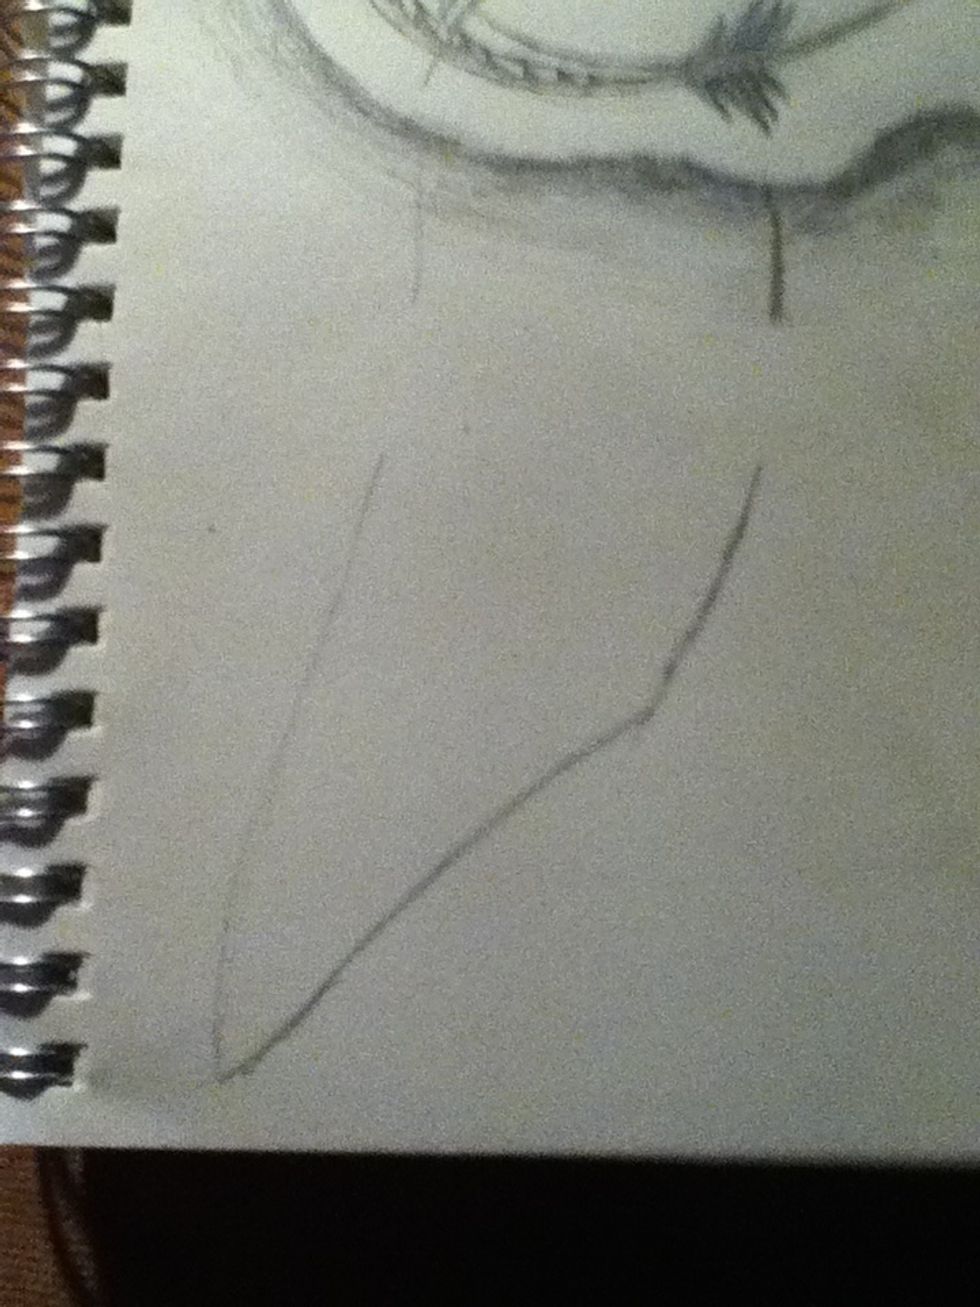
Draw two circles, a body and a basic head shape.
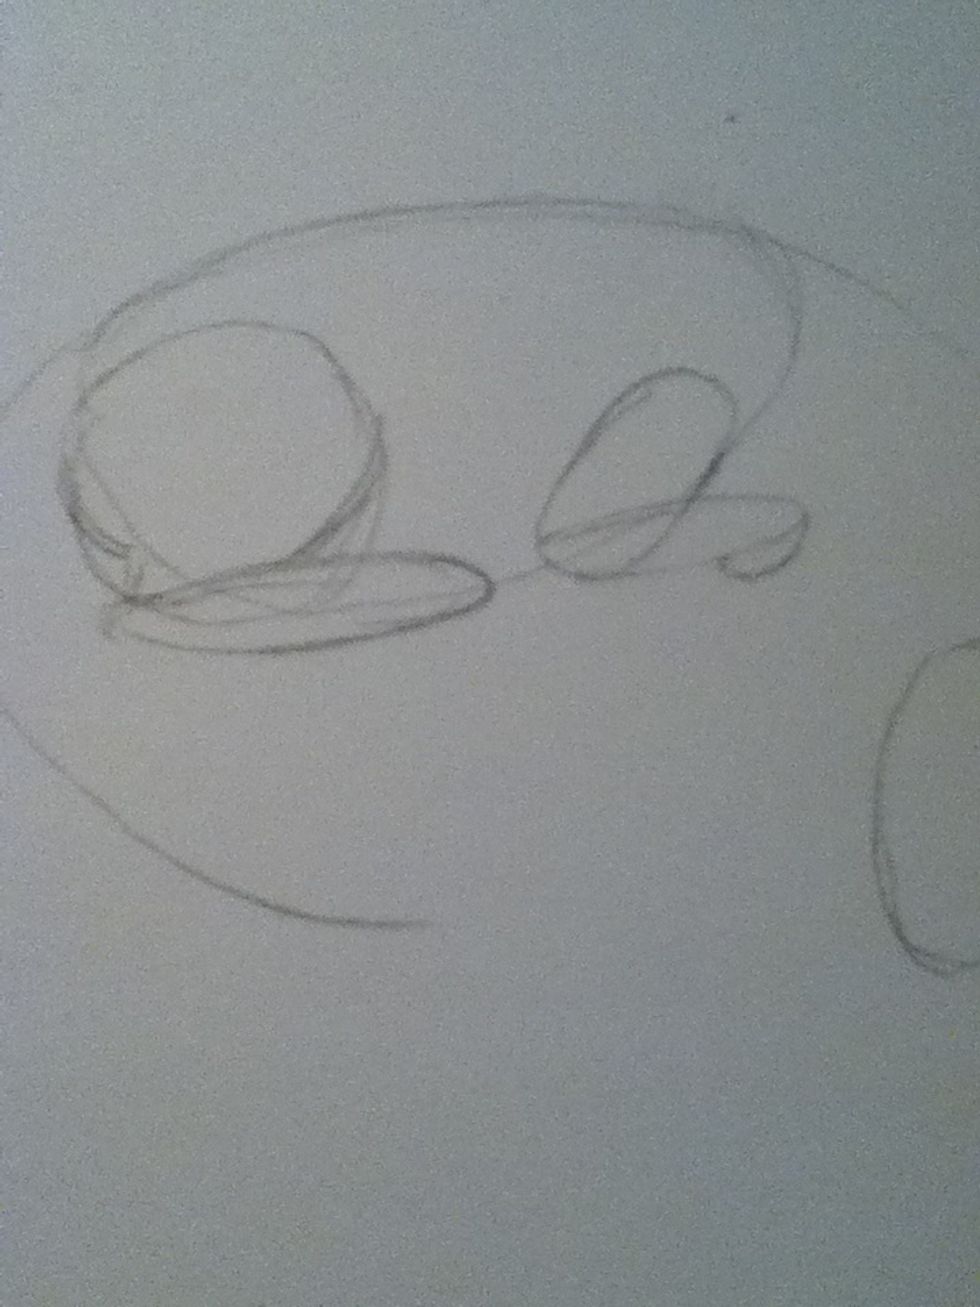
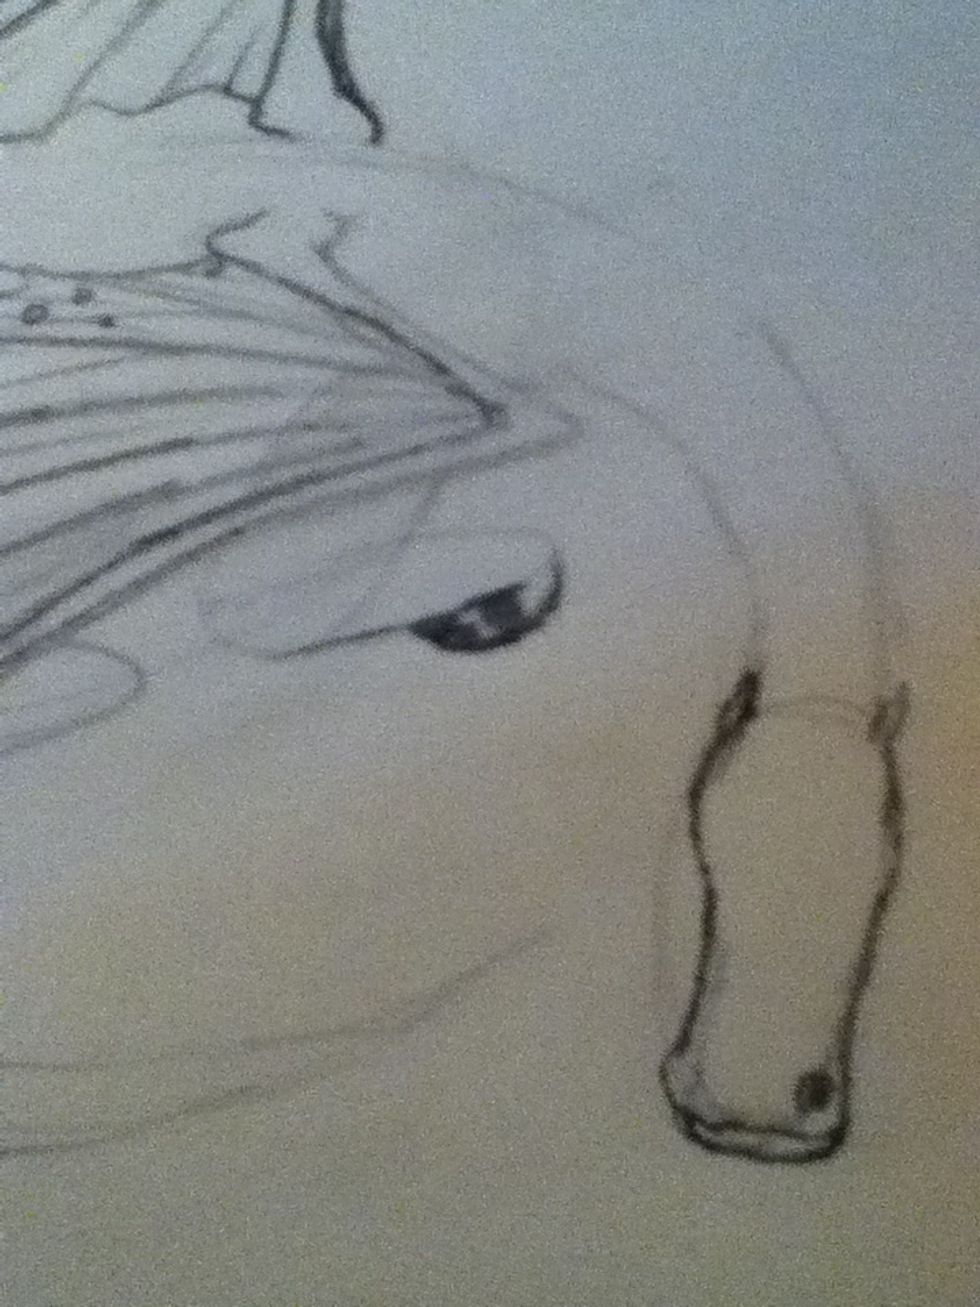
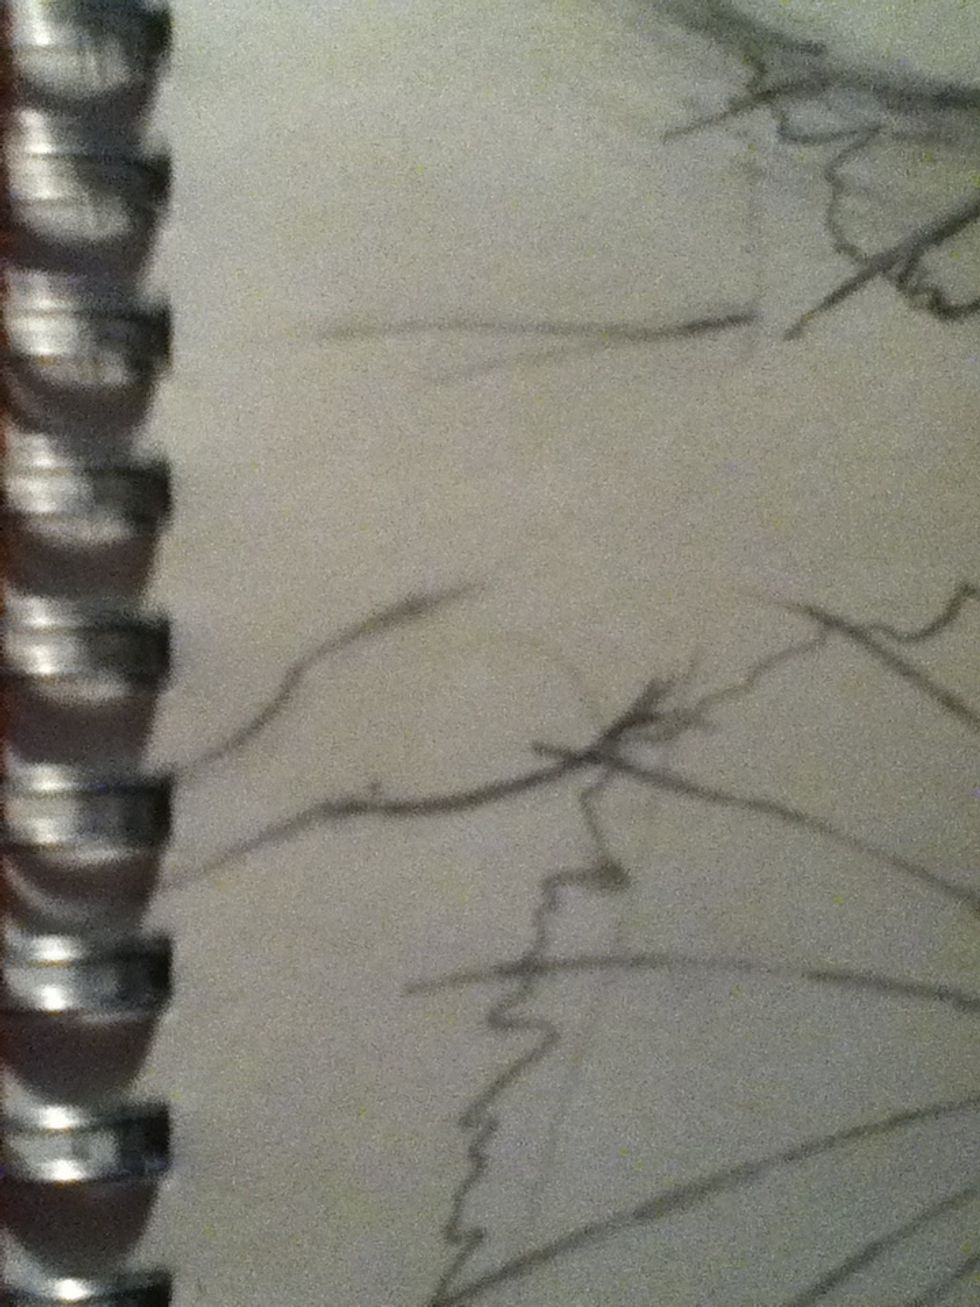
Add the shoulder, foreleg, thigh and back foot.

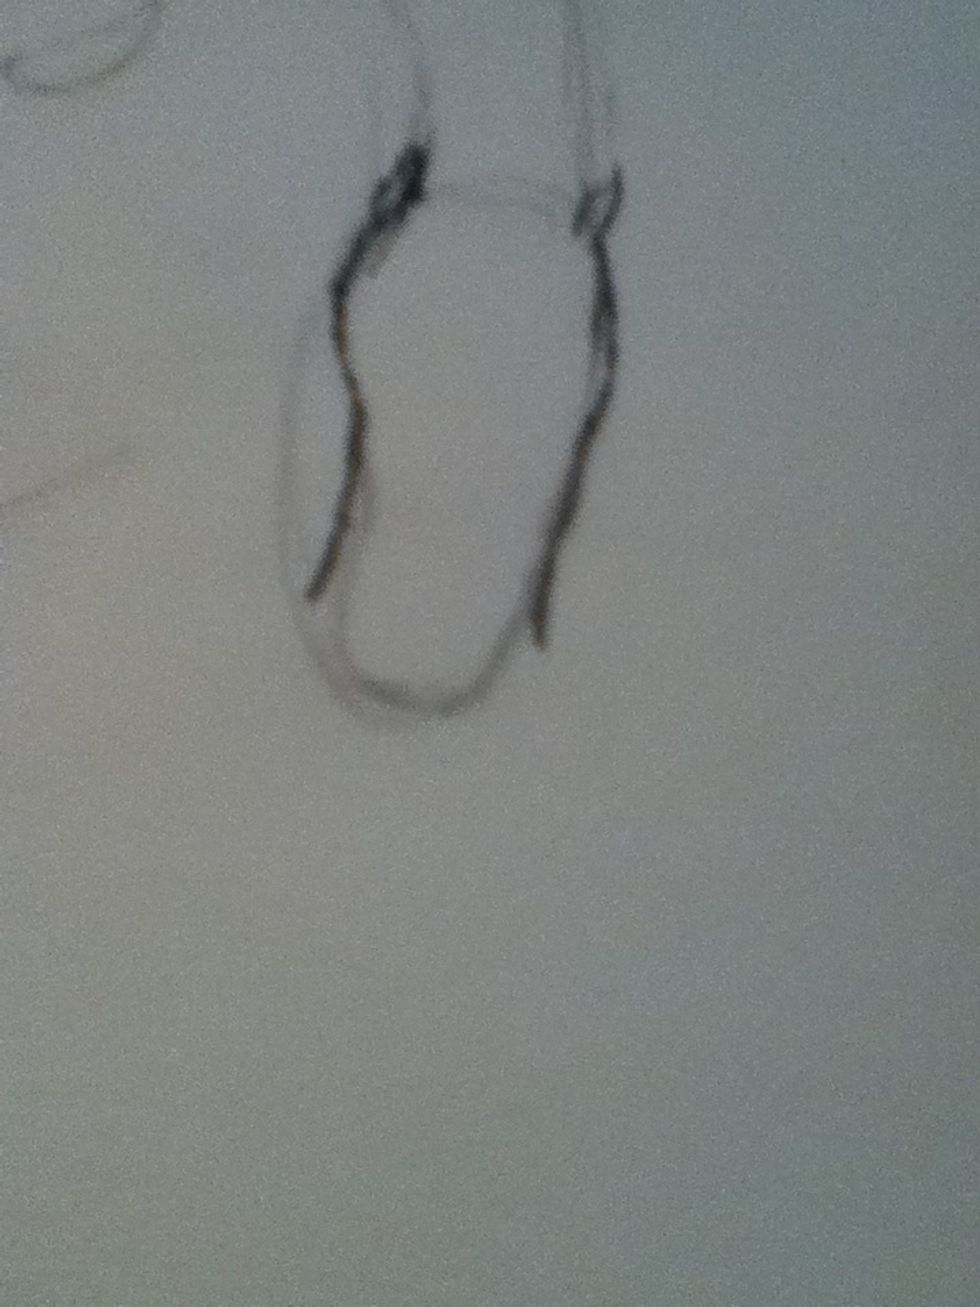
Add more definition to the head shape.

Draw in the tail.
Add the outer edge of the wing.

Make the wing base thicker.
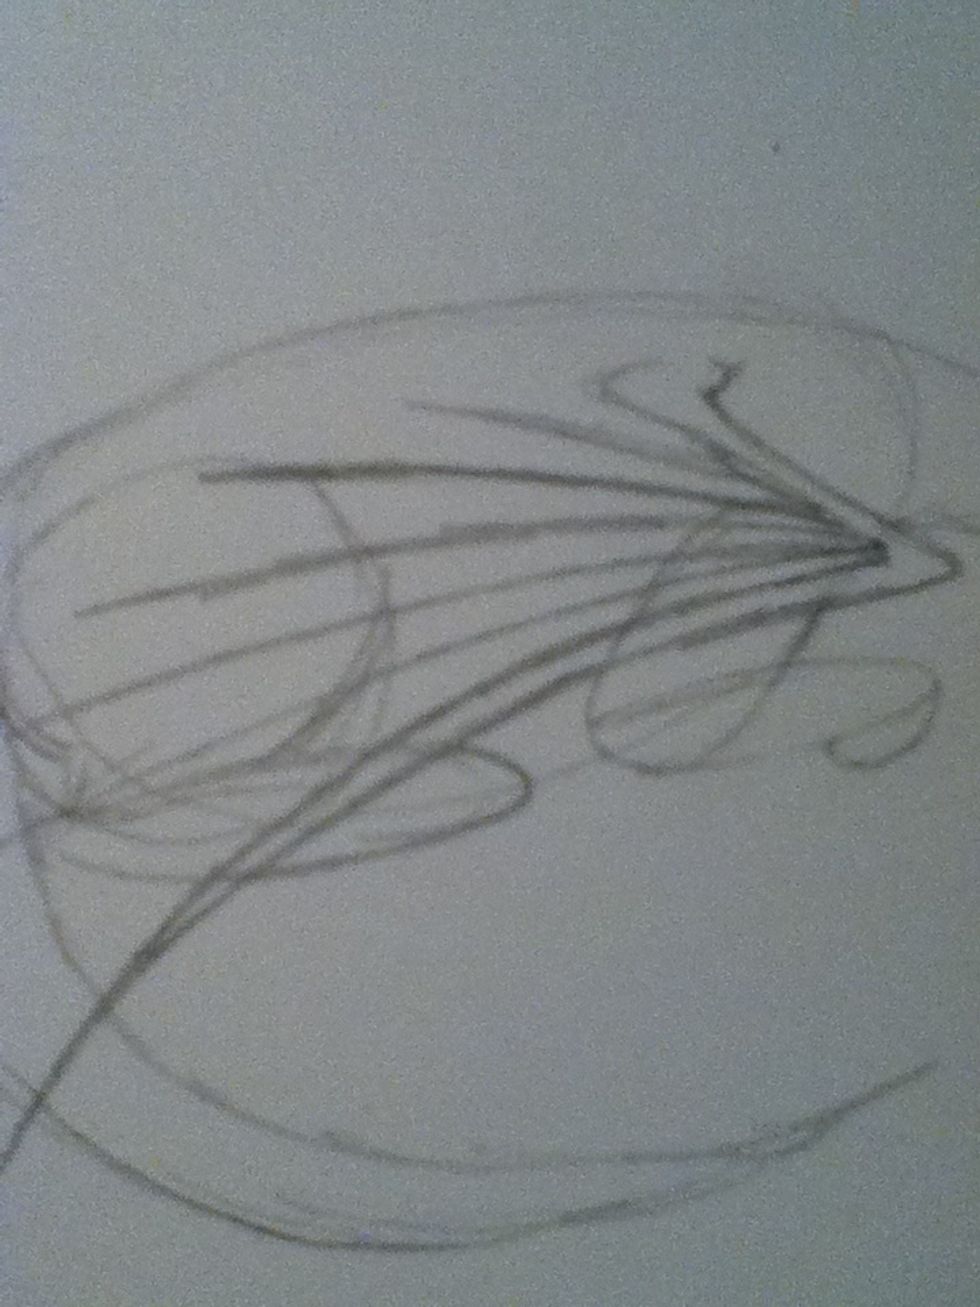
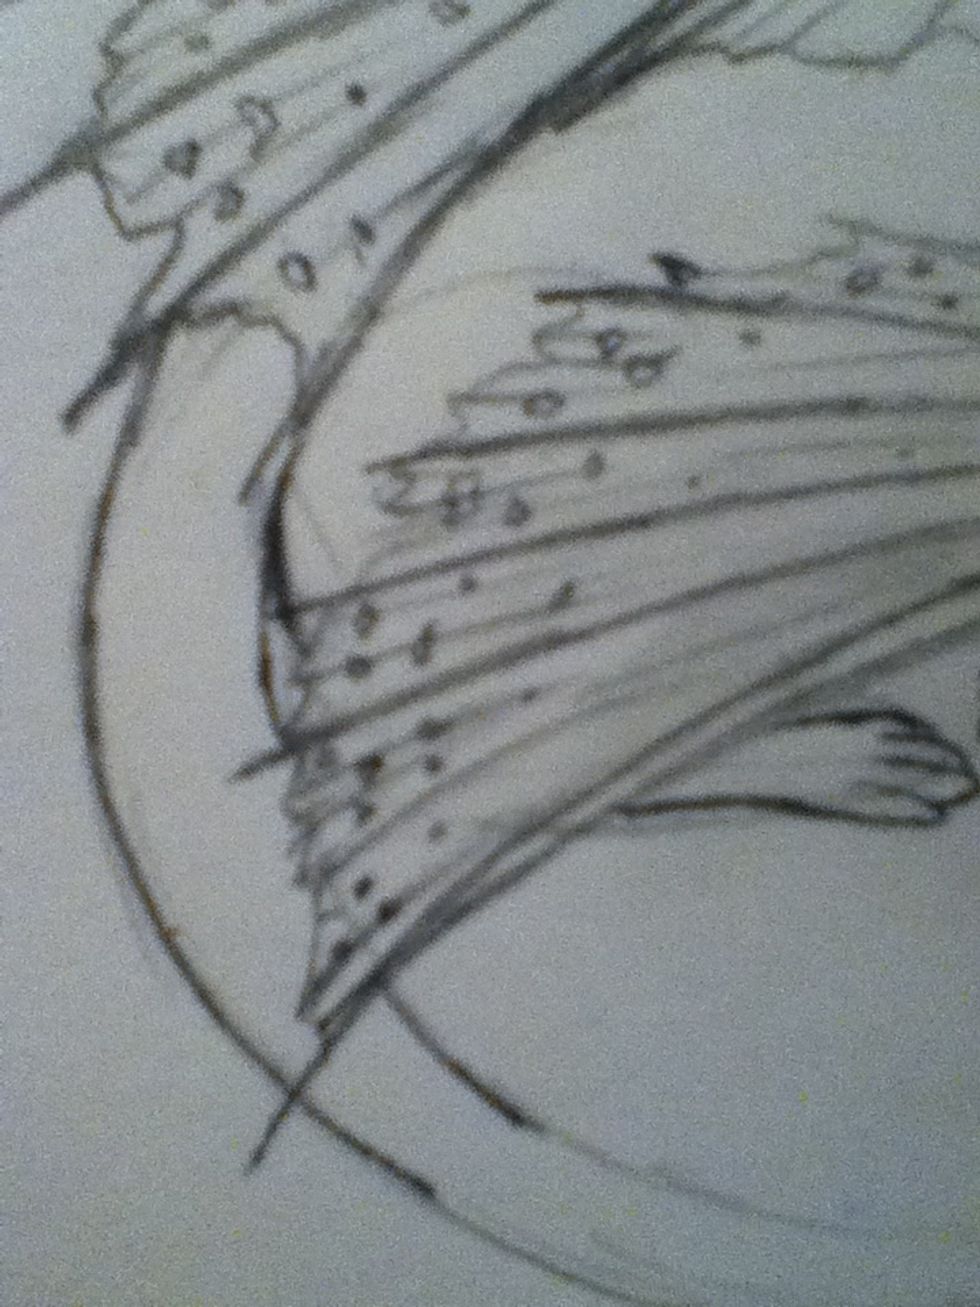
Add wing spines, close together because the wing is closed.
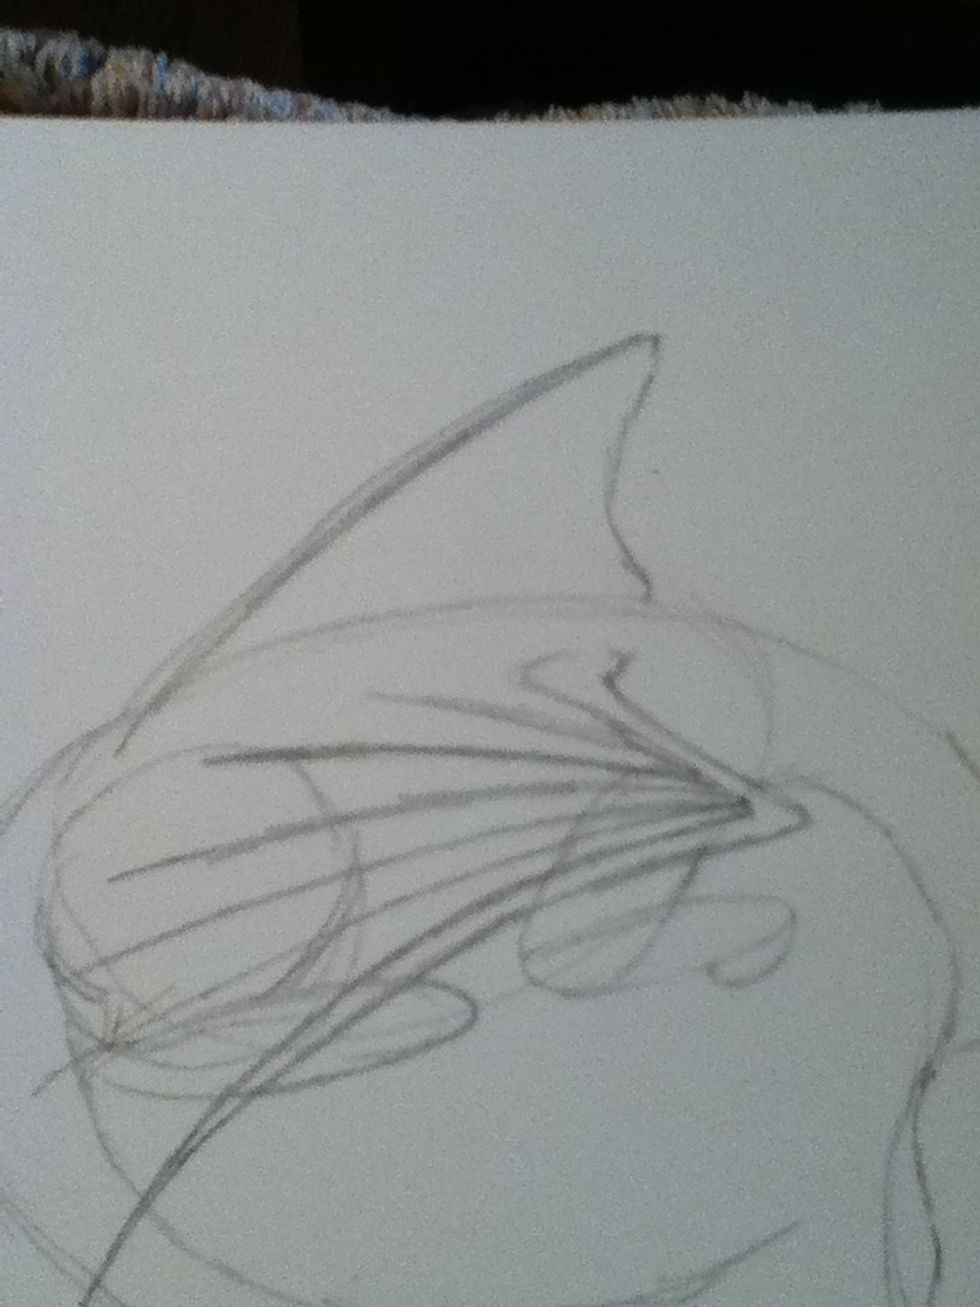
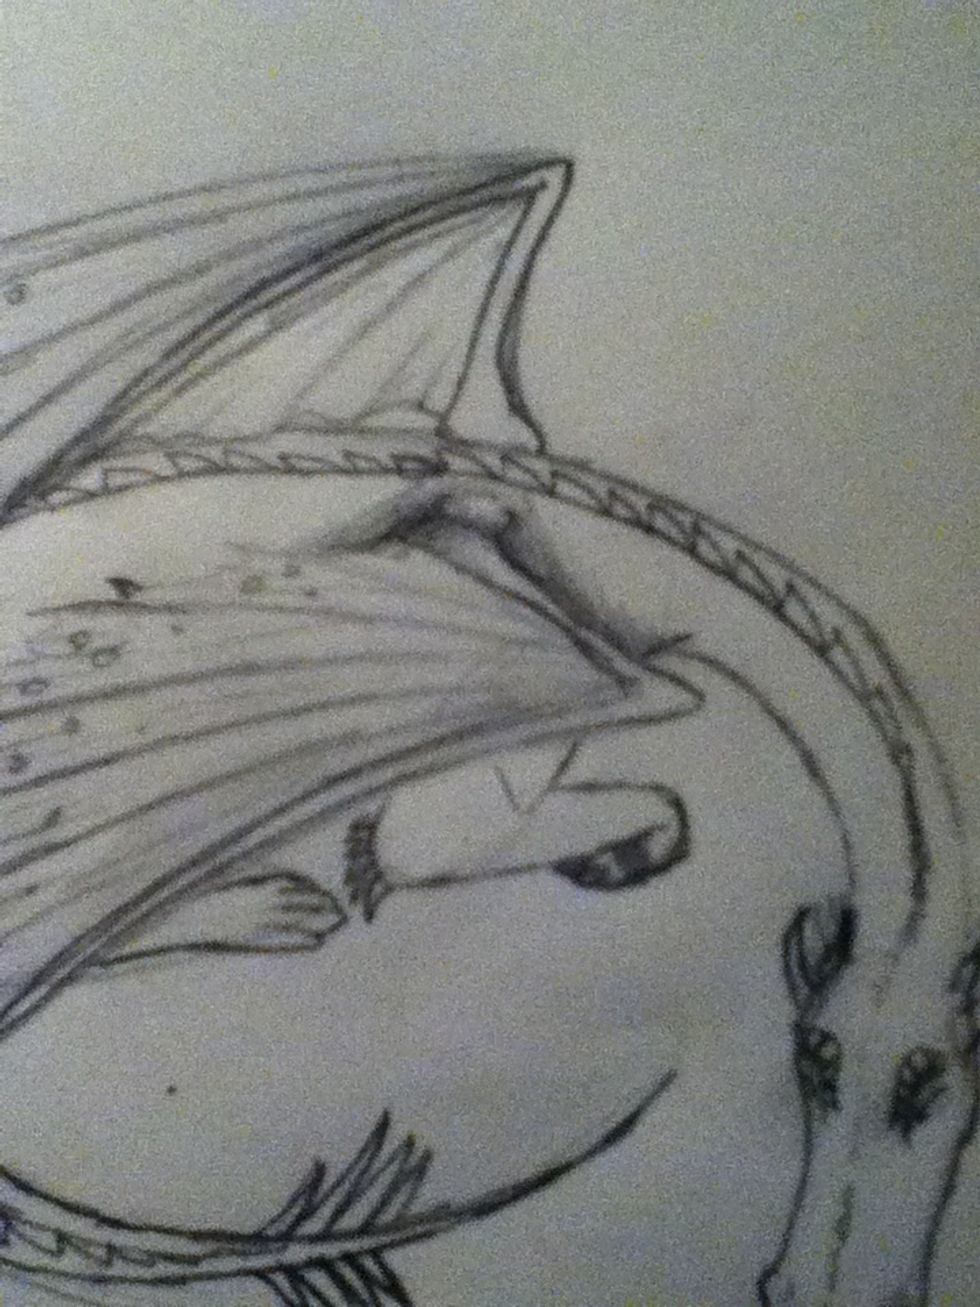
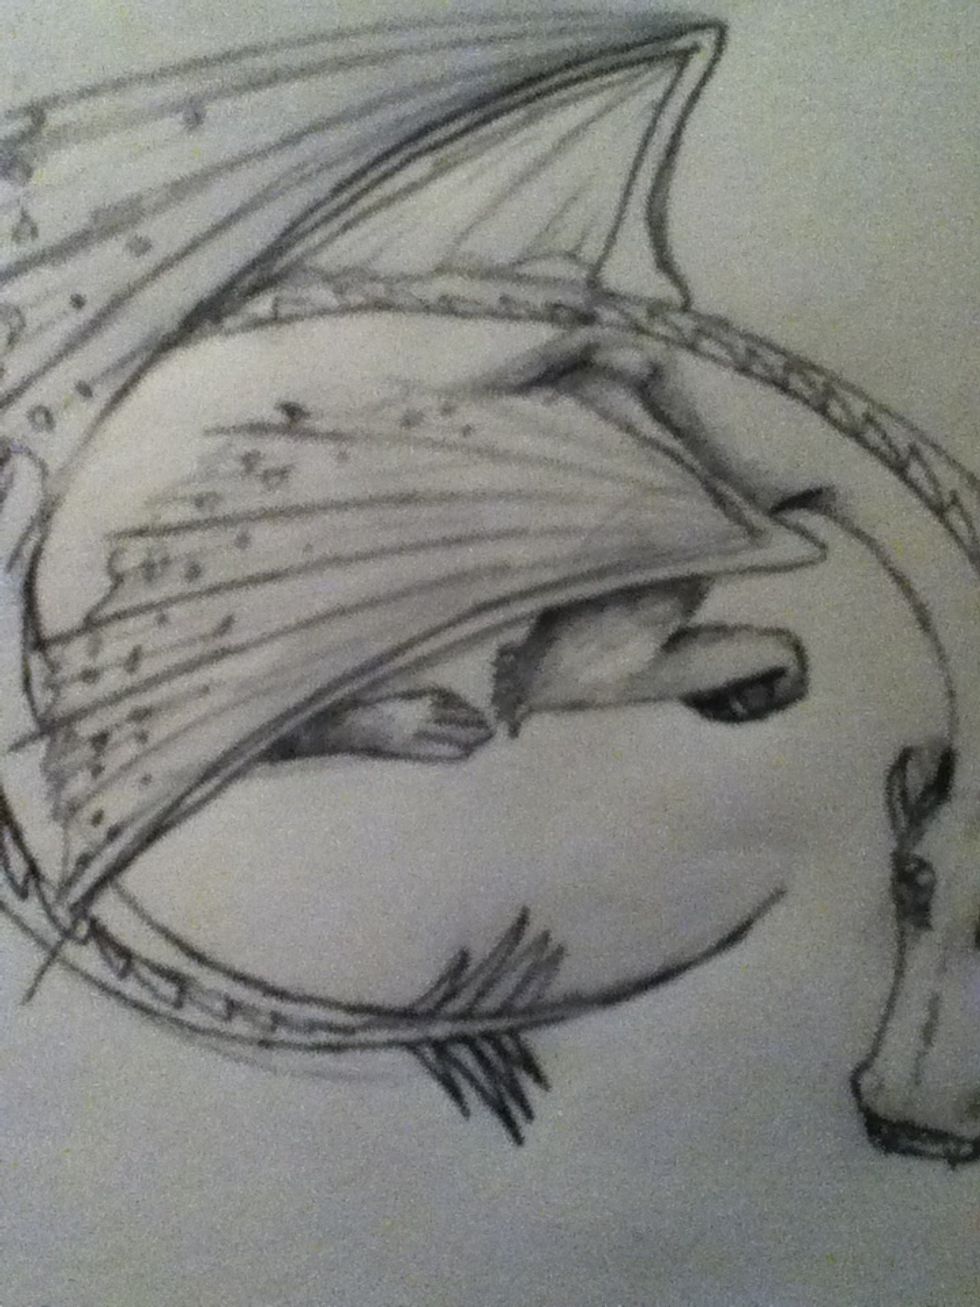
I decided the second wing would be raised over the dragon, as an umbrella-type thing.

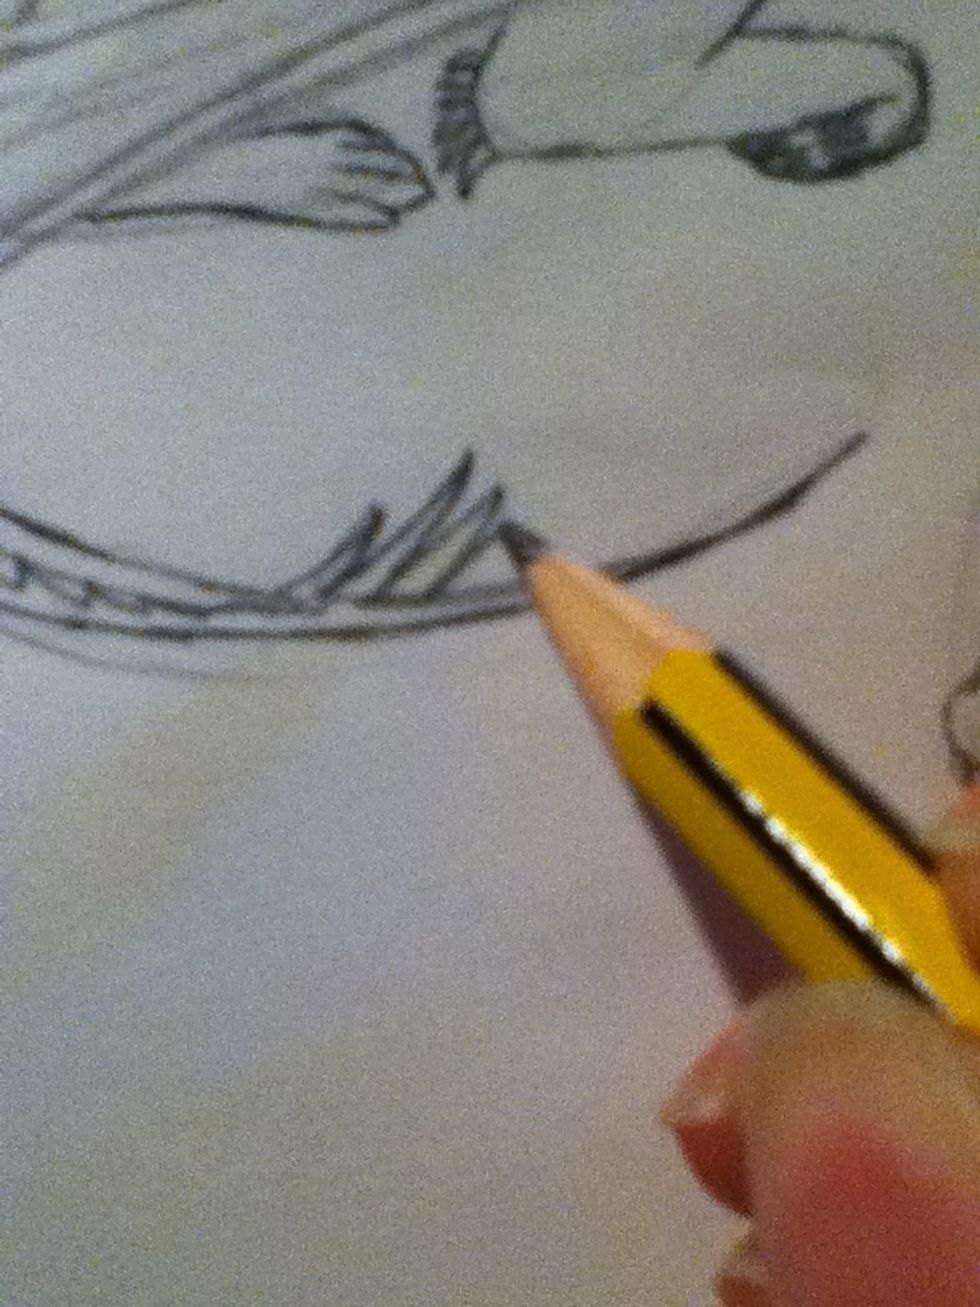
Add spines to the second wing.
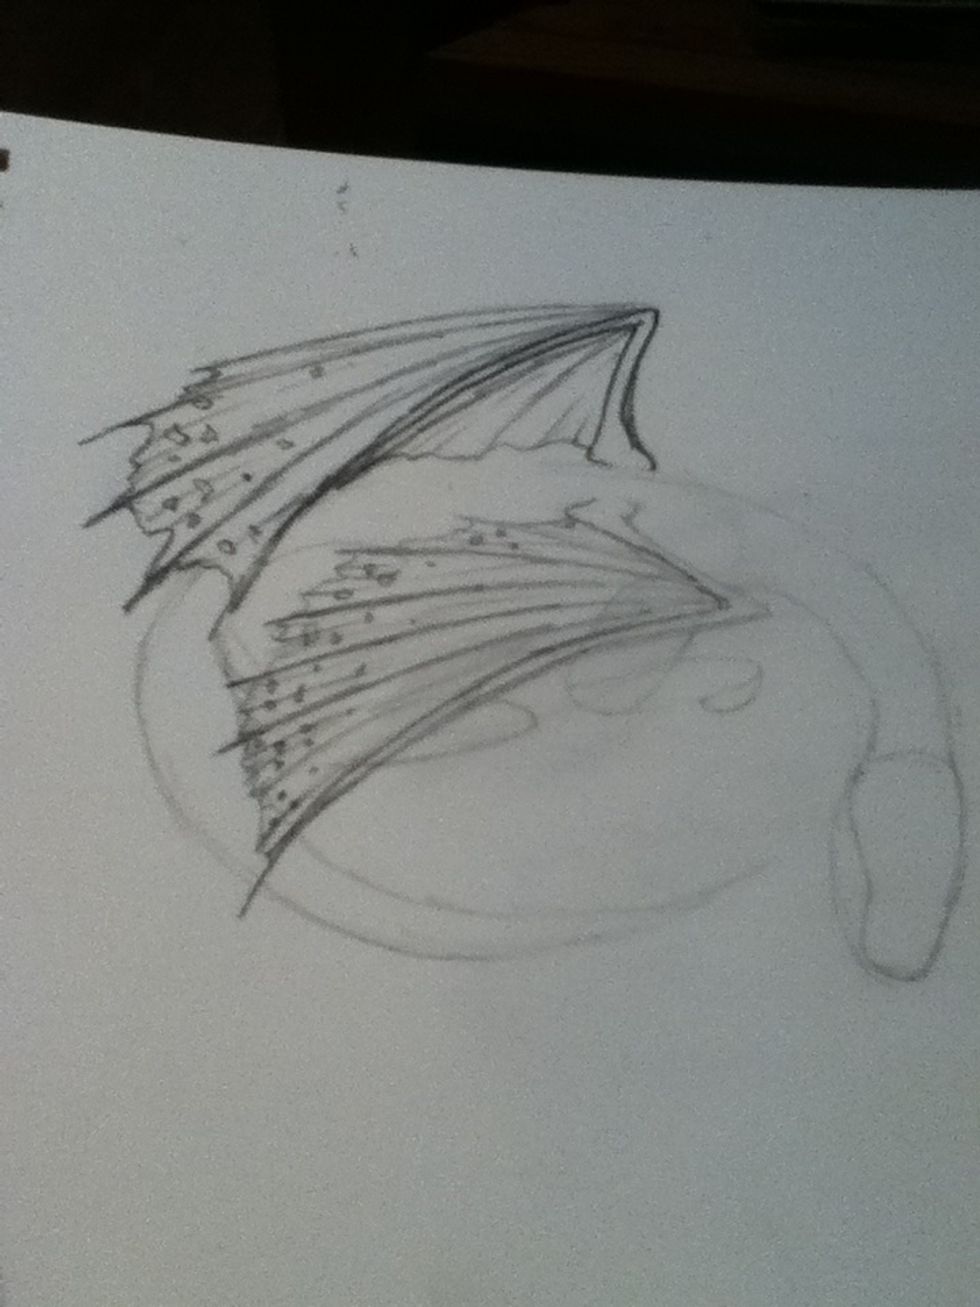
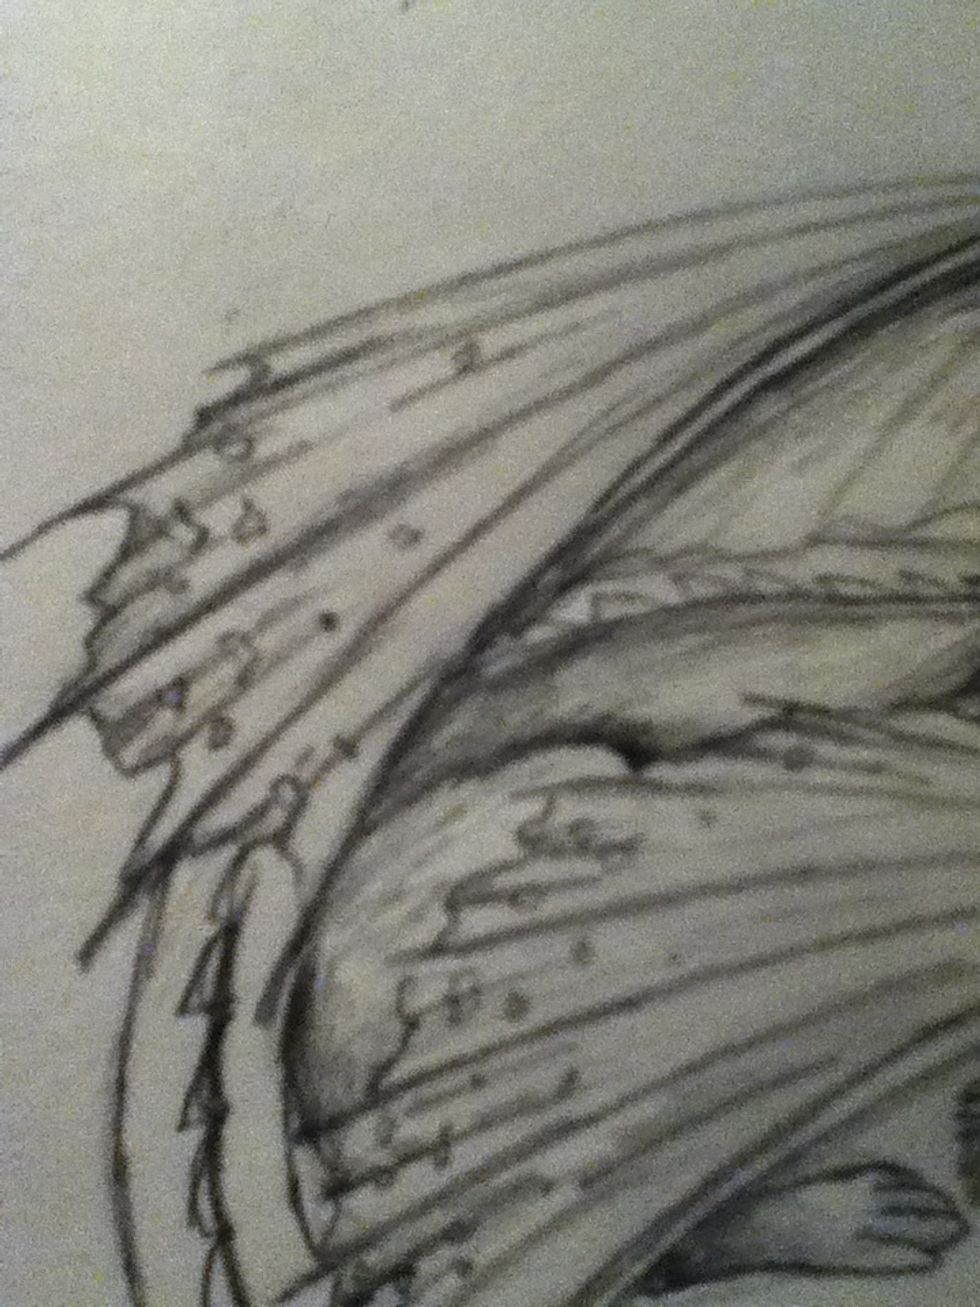
Add wing skin, overlaps where it is scrunched up and any other details.
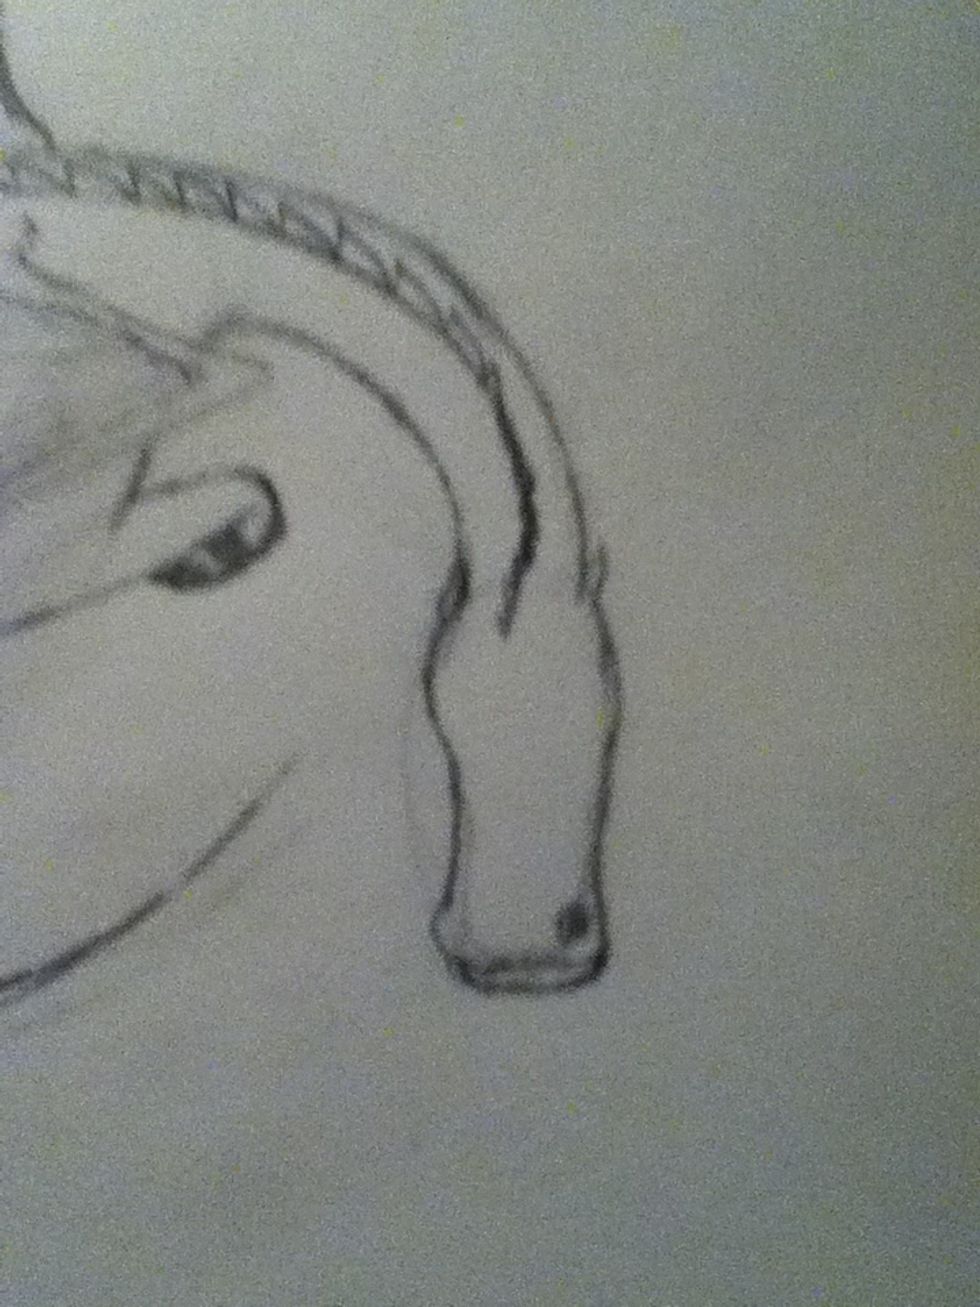
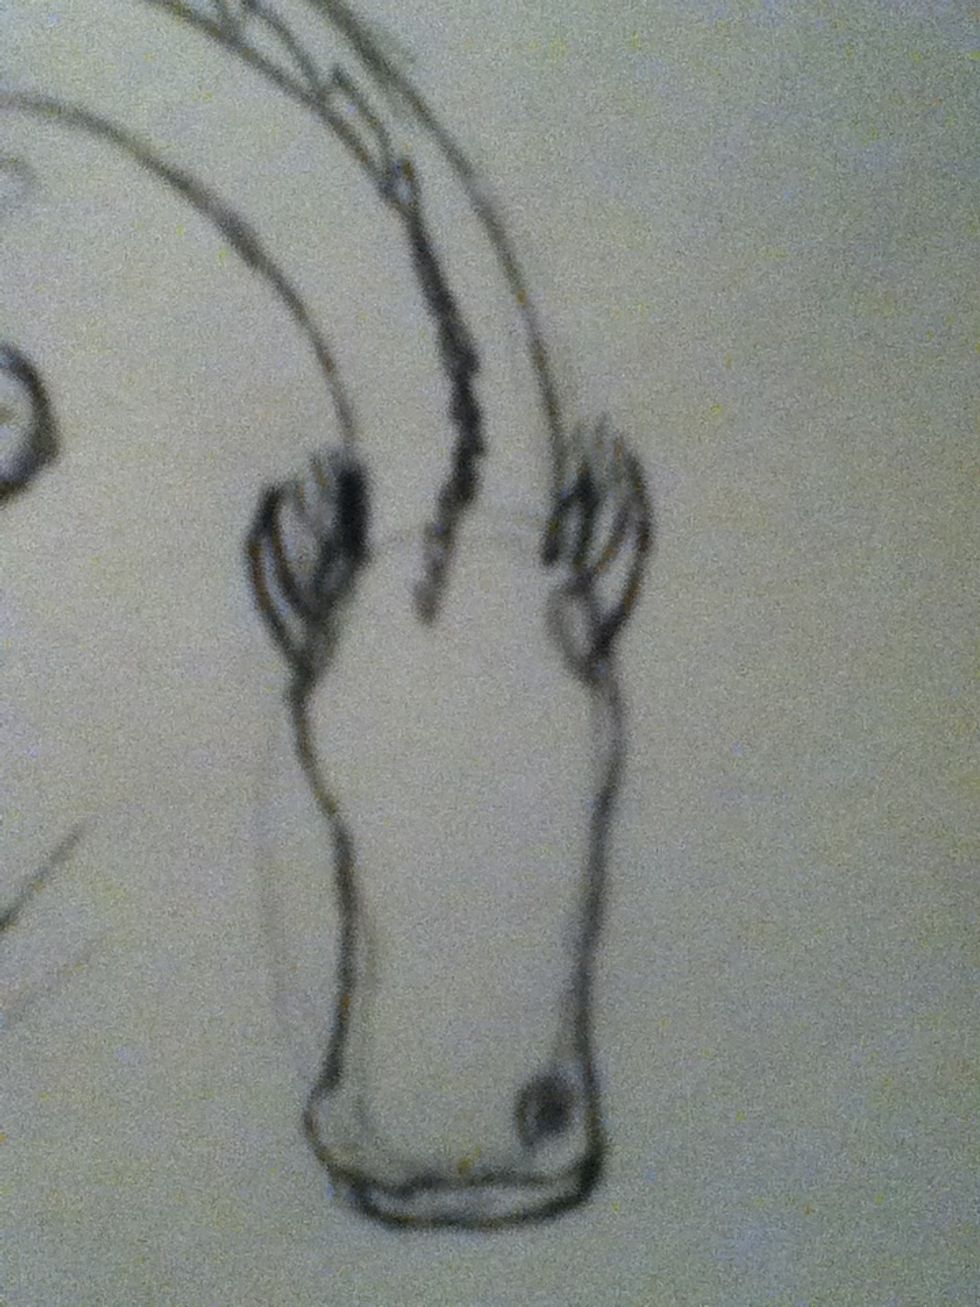
Add ears and more definition to the head.
Add nostril shapes.

And nostrils.

Add a mouthline. Sorry for the sideways photo. 😁😳😖
Add paw/claws.
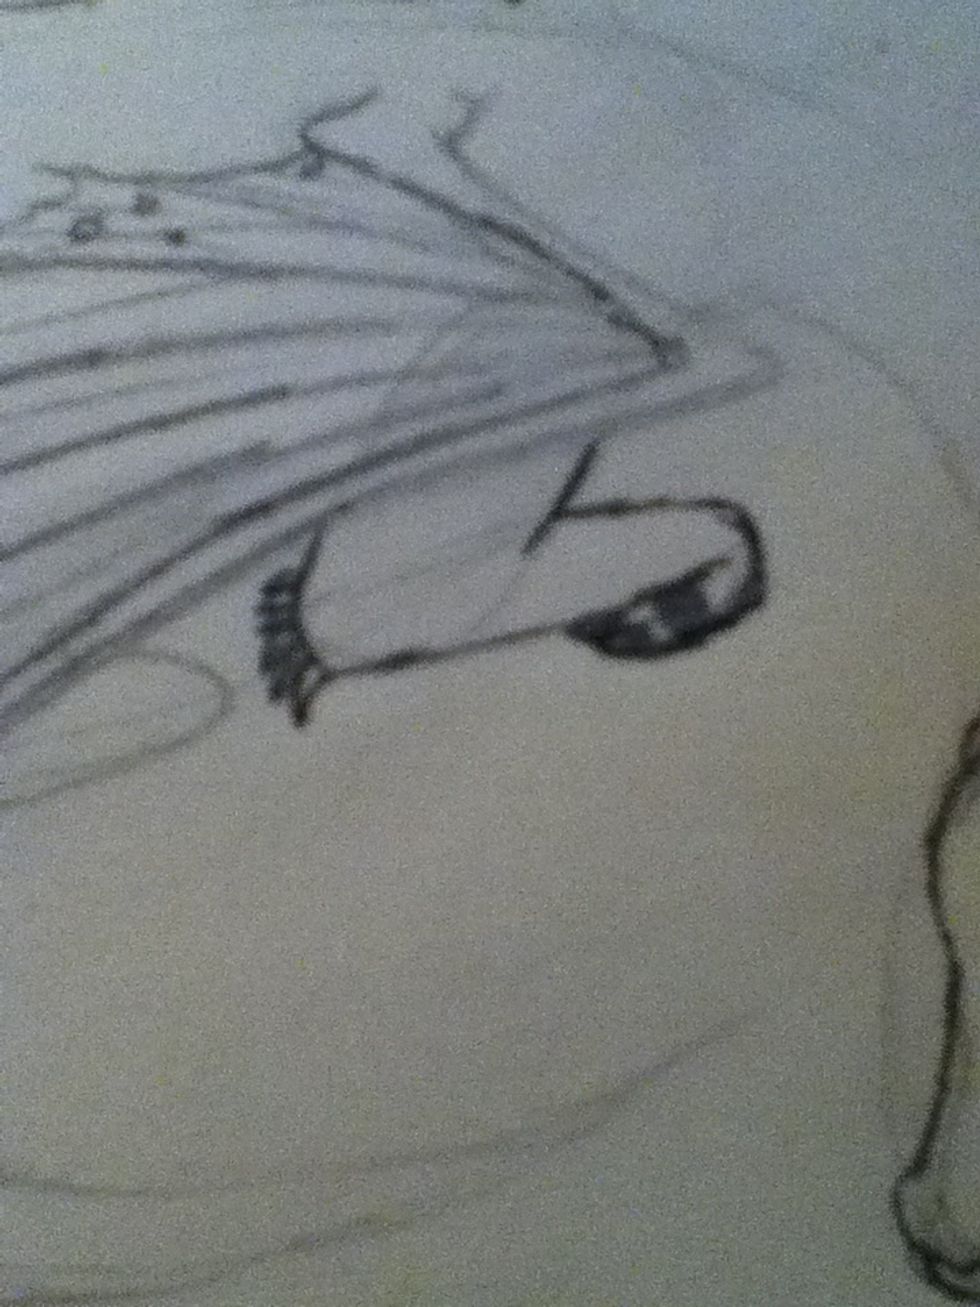
Add the rest of forearm and little hooks on the arm.

Add back foot.
Add thigh lines, they're difficult to see but they're at the edge of the wing.
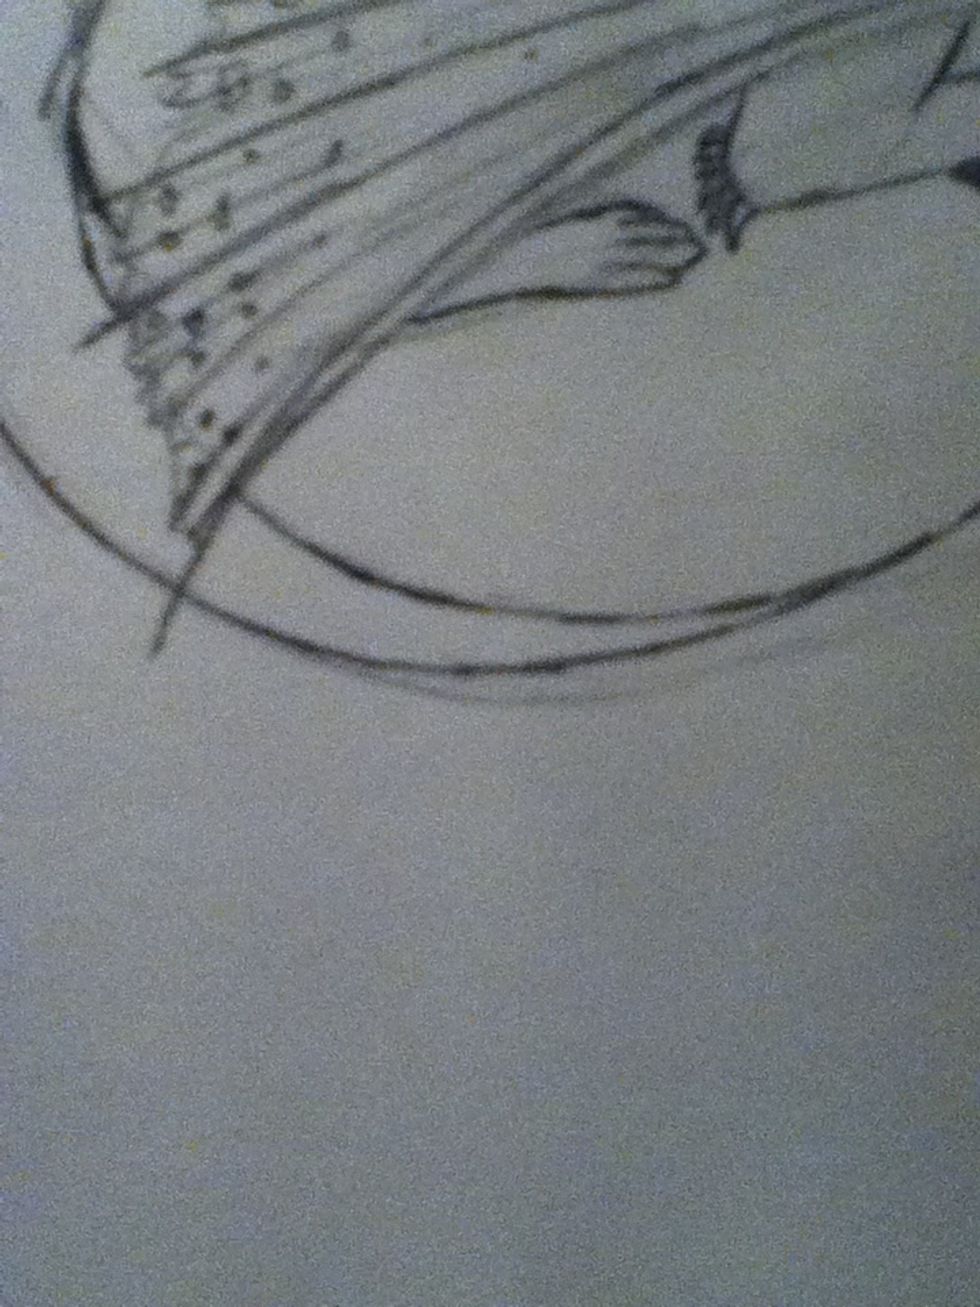
Refine the tail.

Add little spikes on the middle of the back.
And on the neck, getting smaller towards the head.
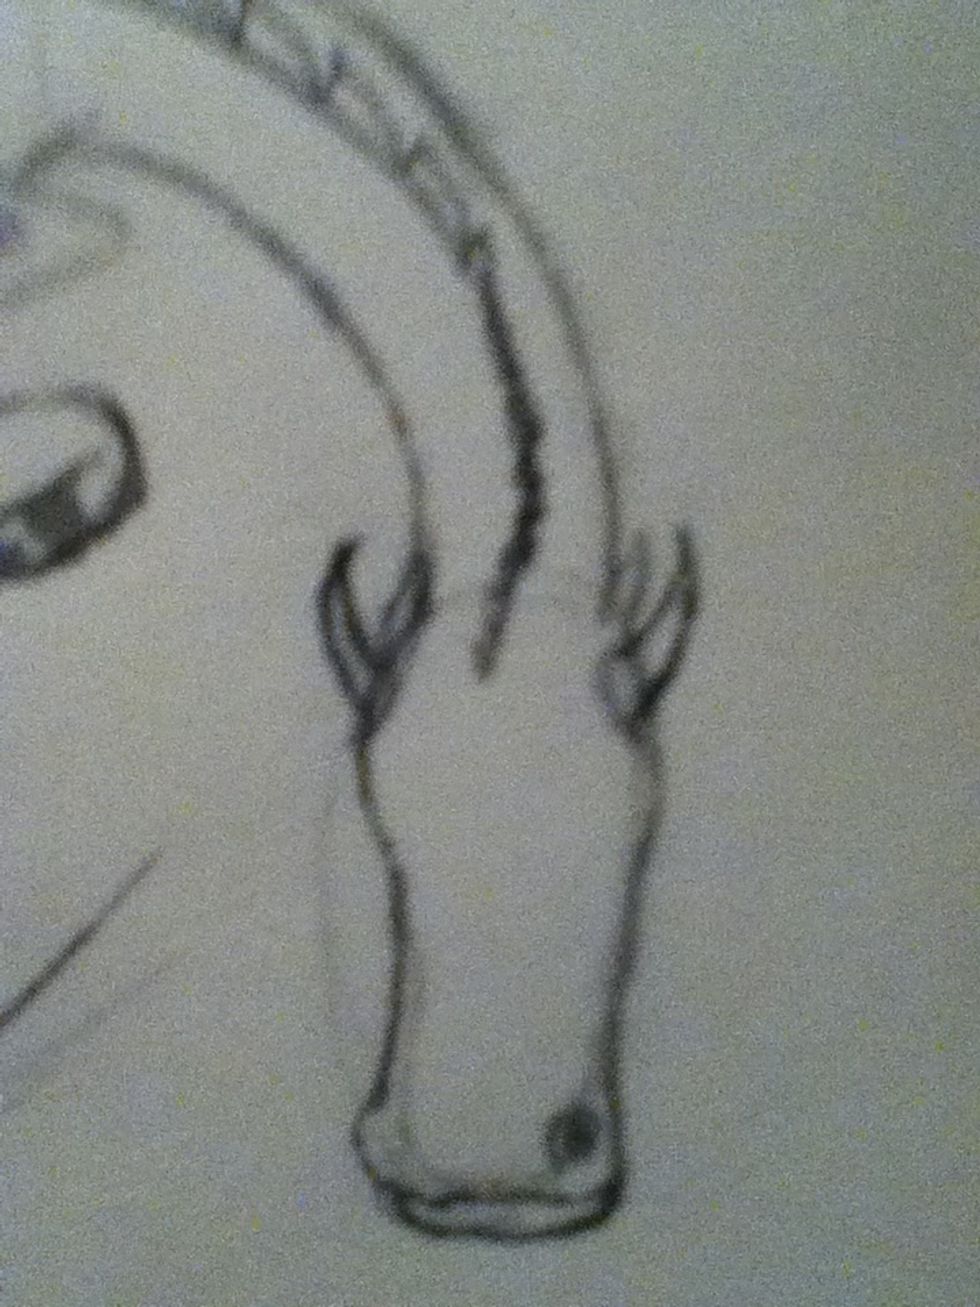
Add horns.
And more tiny ones behind main horn.
Add spikes near the tip of the tail.
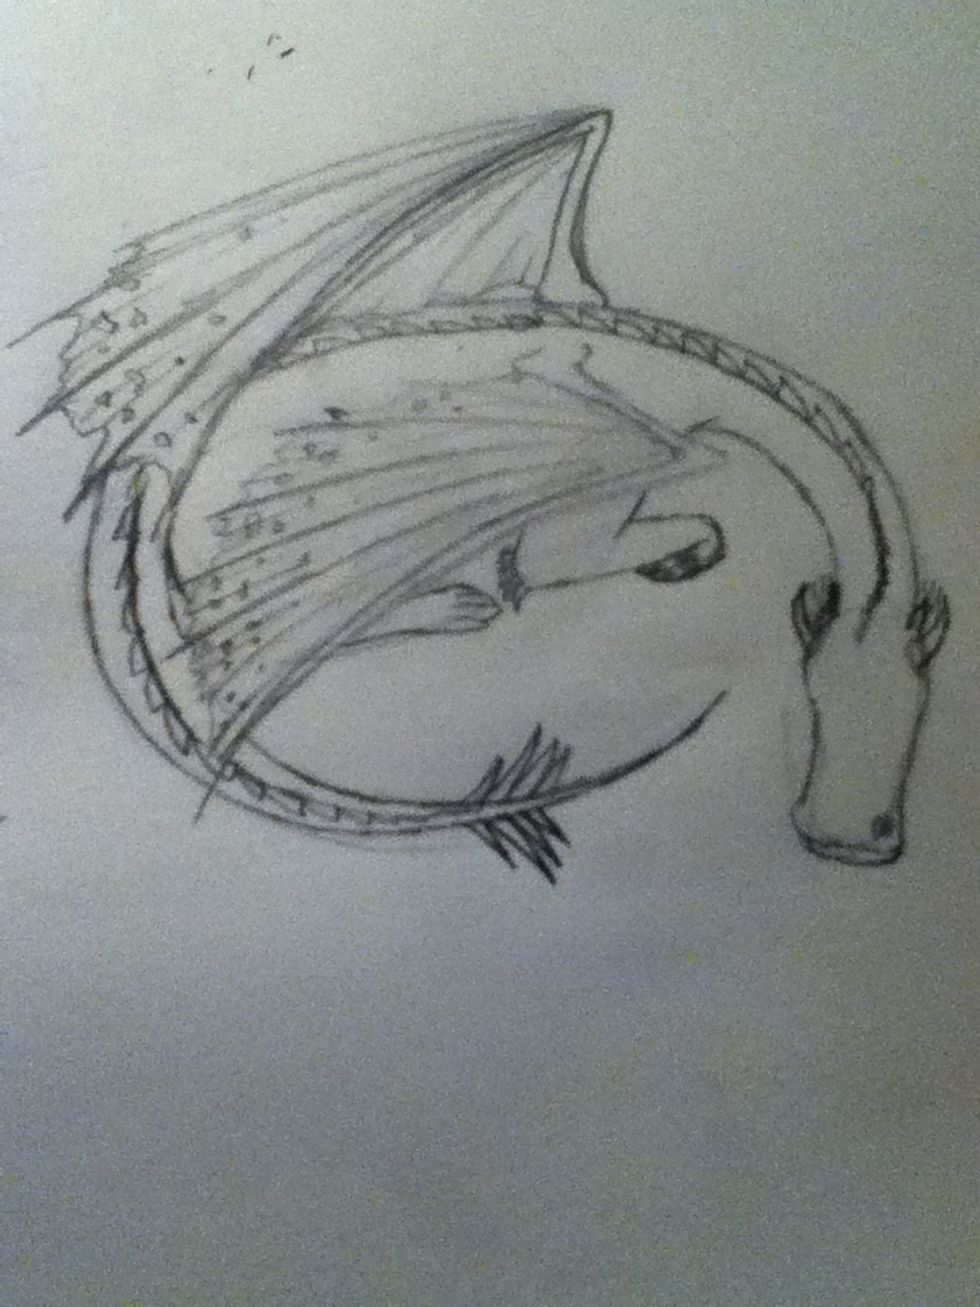
On both sides of the tail. Take a break here. You can do different things like rounder wings, smooth spines/scales, or bigger proportions! Have fun and admire your work so far! 👏👏👏
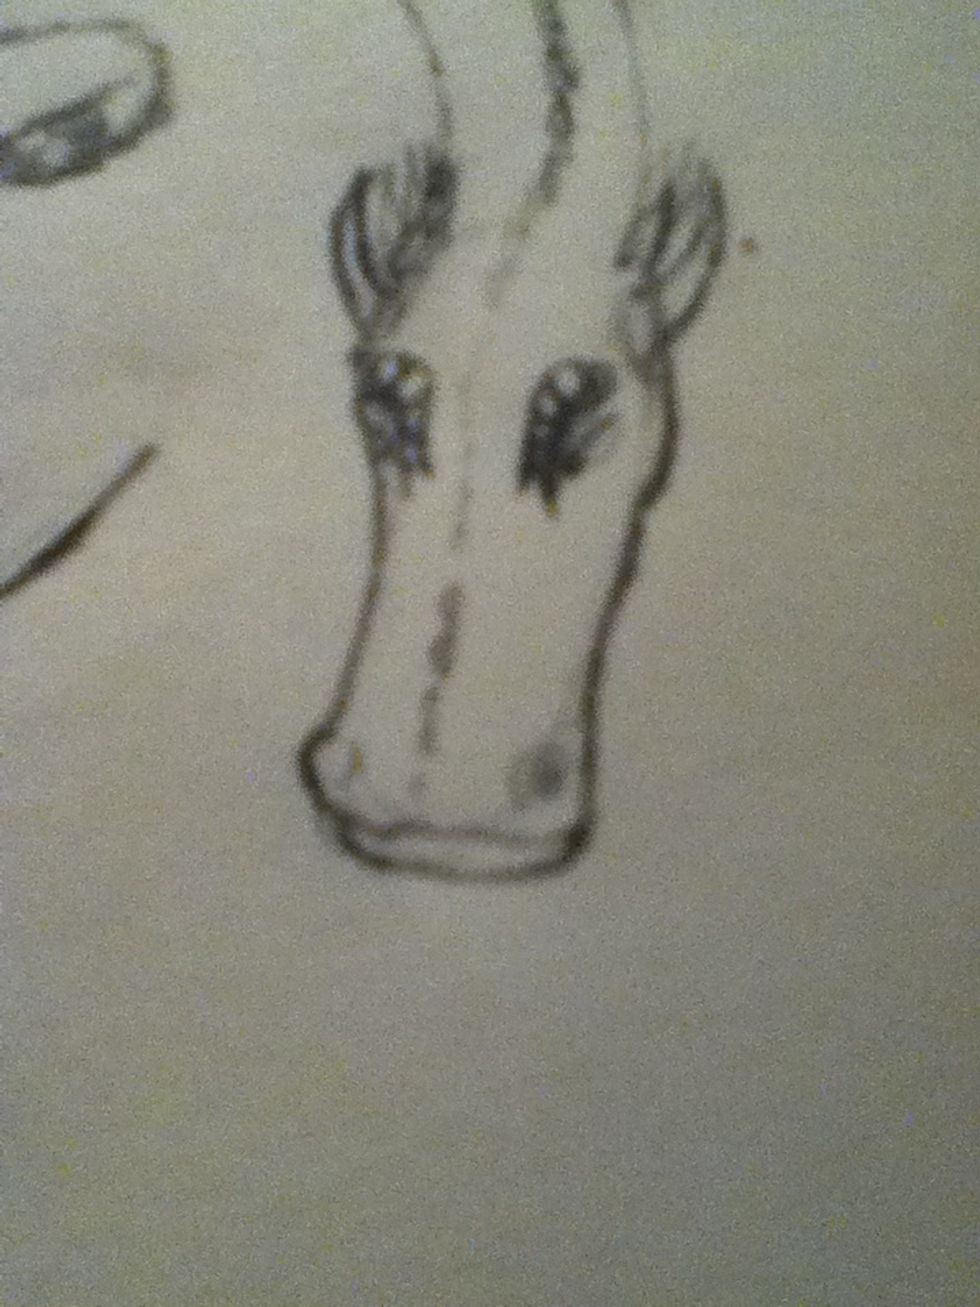
Add eyes, brow scales and other details. The brows on mine are too big, also the eyes are closed if you cant see. My camera isn't very good. 😖
Add little teeth. Or big ones!😱
Start to add shading, darker around joints and behind limbs.
On the legs and creases.
In the wing folds and on the back.
Round the head and tail. And your done! Colour it with pencils for best effect. Keep looking for a flying dragon or stop here. Thanks for looking, like and comment!
Steps for a flying dragon: Add wing edges.
Add basic wing shape, lightly.

Add basic head and shoulders shape.

Start the back, back legs and tail base.

Add wing spines more spread out.

Add shoulders.

Add horns, gill-type things, for gathering air while flying fast or at high altitudes.
Add back thigh and ankle.
Basic shape.

This is a better view of the whole back legs.
Start shading wings and legs.

More shading and stomach scales. And done! Have fun creating your own art!

Both photos outlined, how cute! Have fun!😄
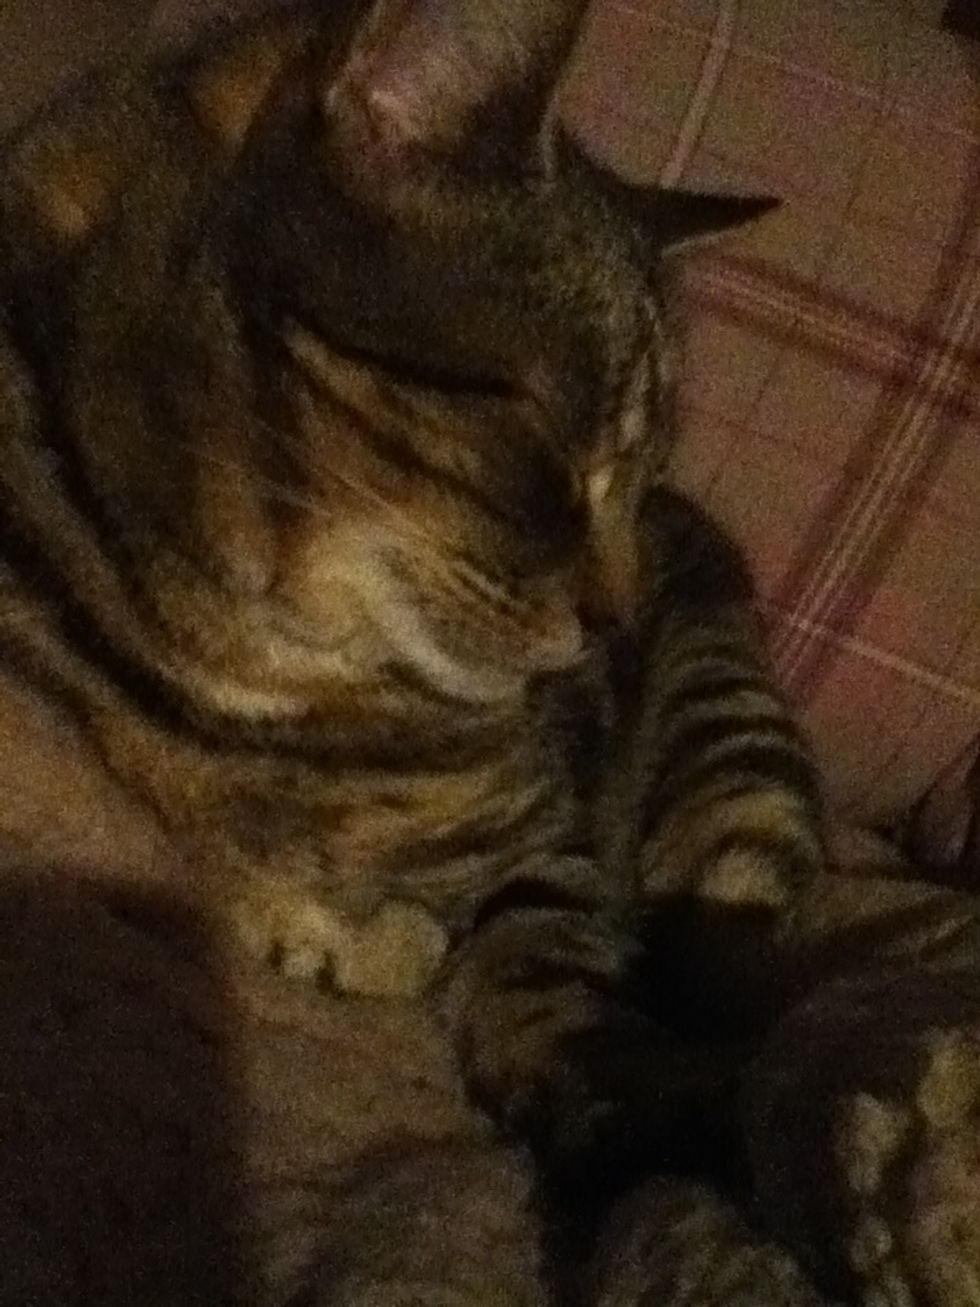
This is my inspiration, yep my cat, dragons have very cat-like characters and movements, try to use cat-like shapes and postures. Hope this helped. It reminds me of Toothless when Hiccup trains him.😄