The Conversation (0)
Sign Up
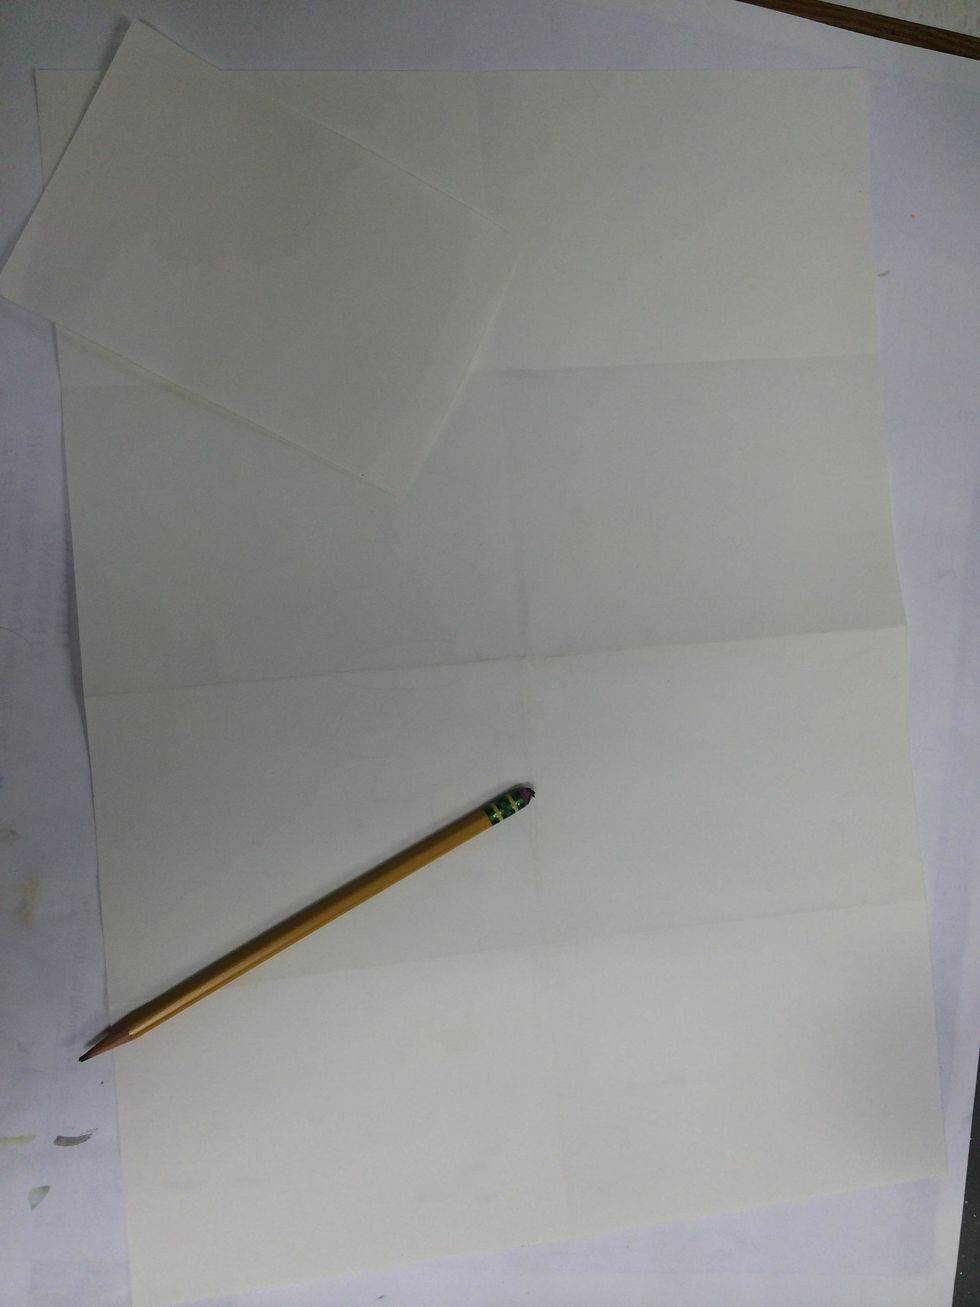
You will need: pencil, 12x18 white paper, small 6x4 1/8 paper, ruler, sharpie.
Fold the large paper into 8 equal sections. I fold it in half twice vertically and once horizontally.
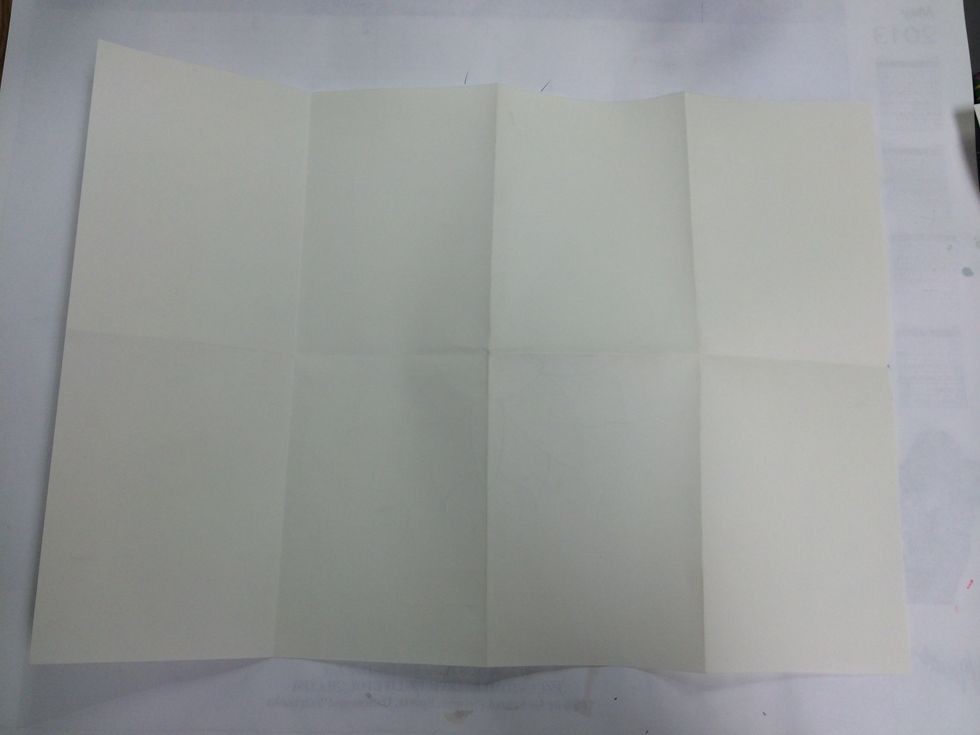
8 equal sections.
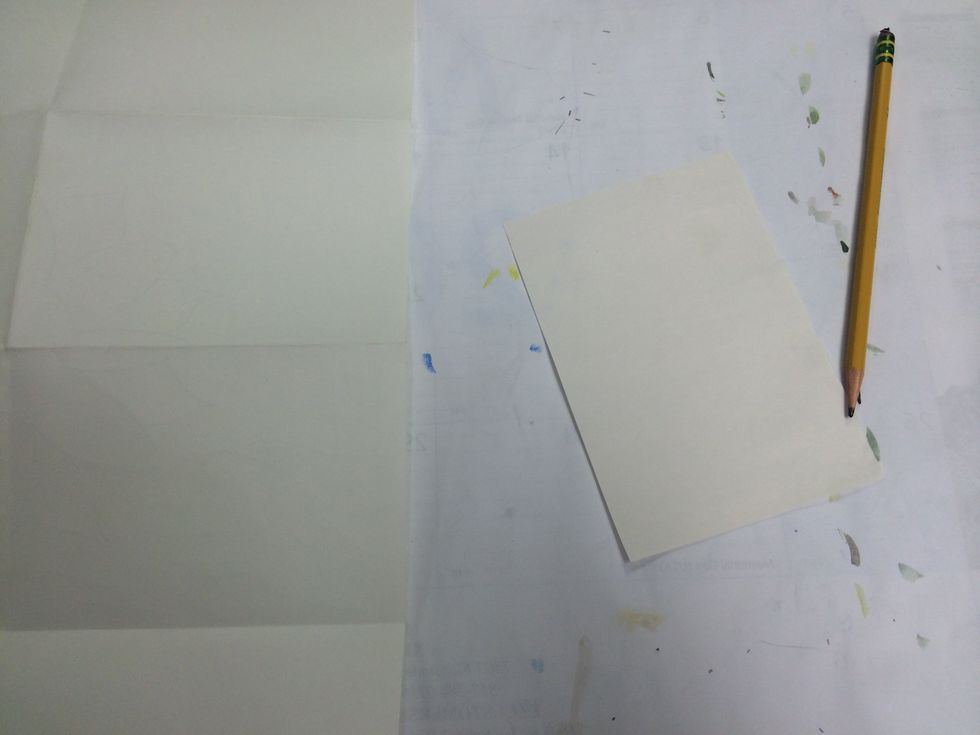
Now get the small paper, it is the size on one section on your paper.
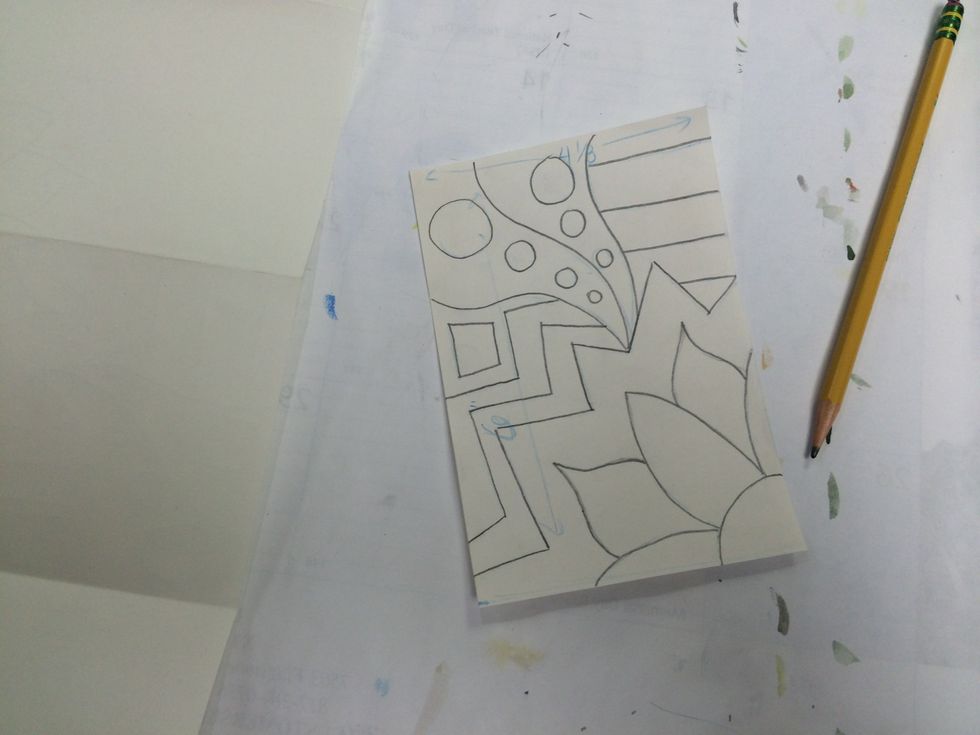
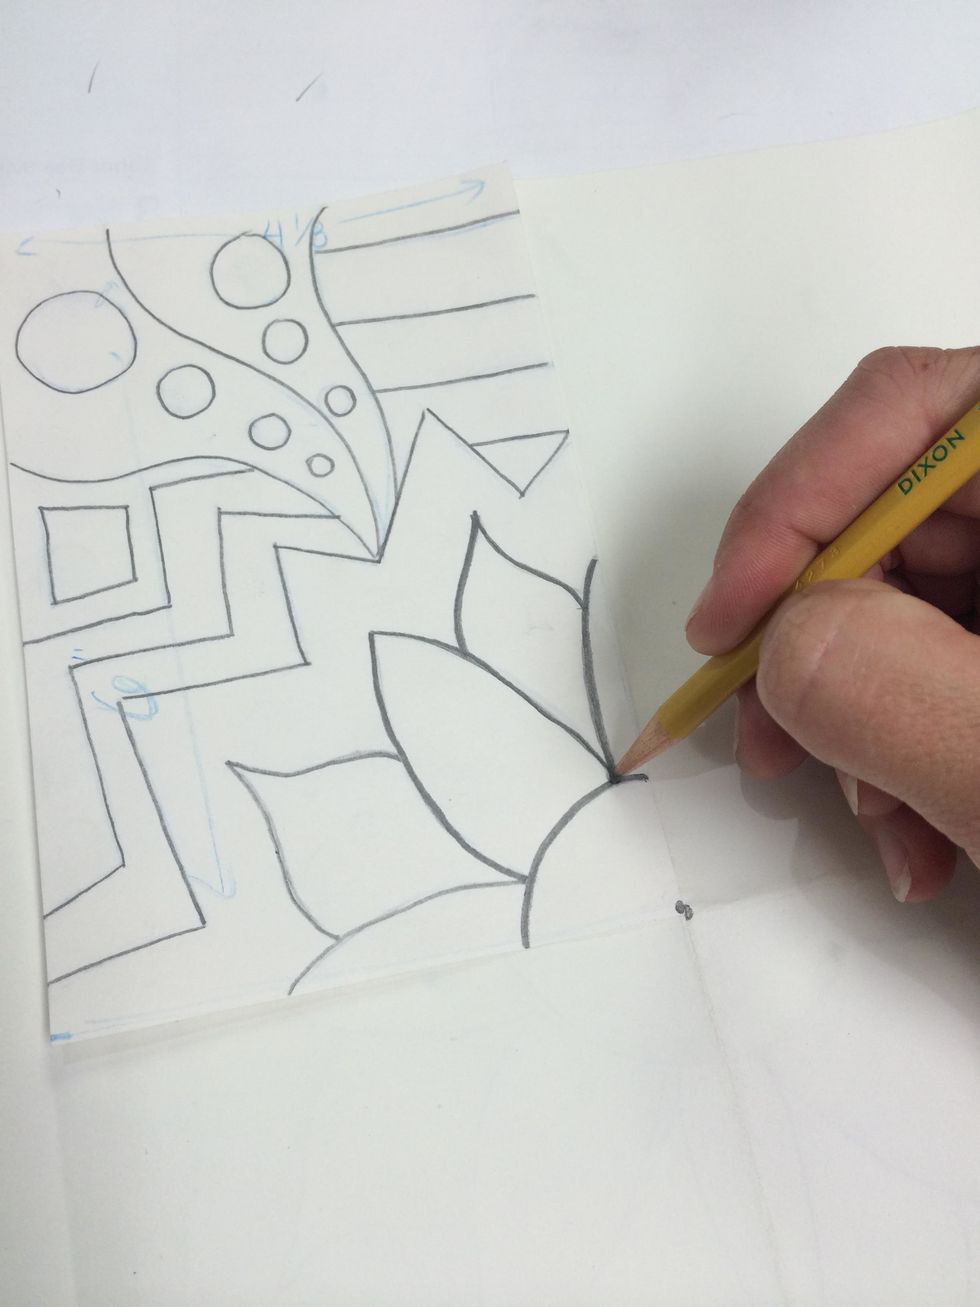
Use lines to draw a simple design beginning in the corner. An open composition is recommended.
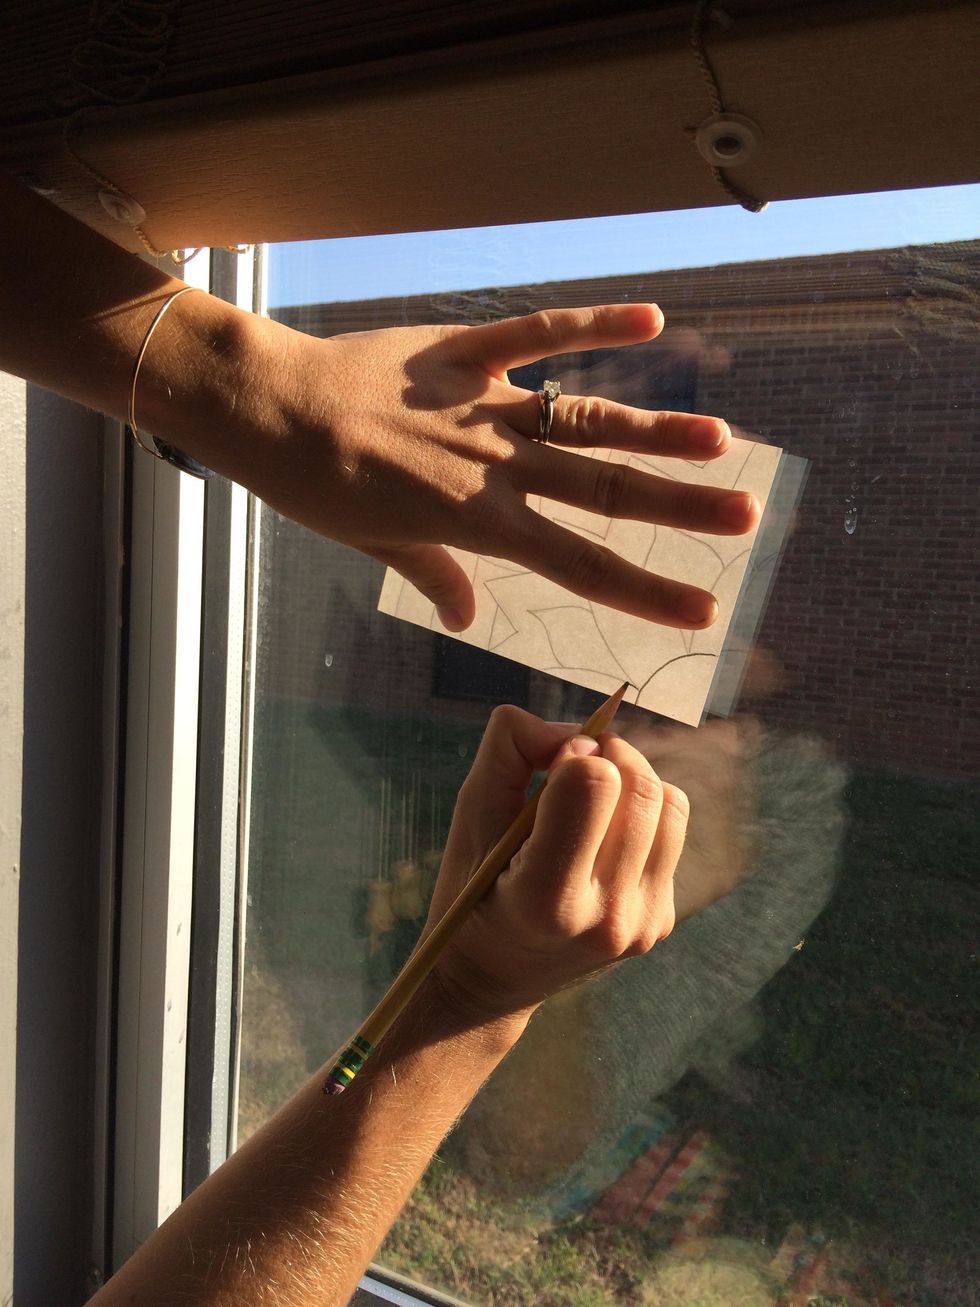
Hold the design up to a window and trace the design on the other side with your pencil
Now the design is on both sides.
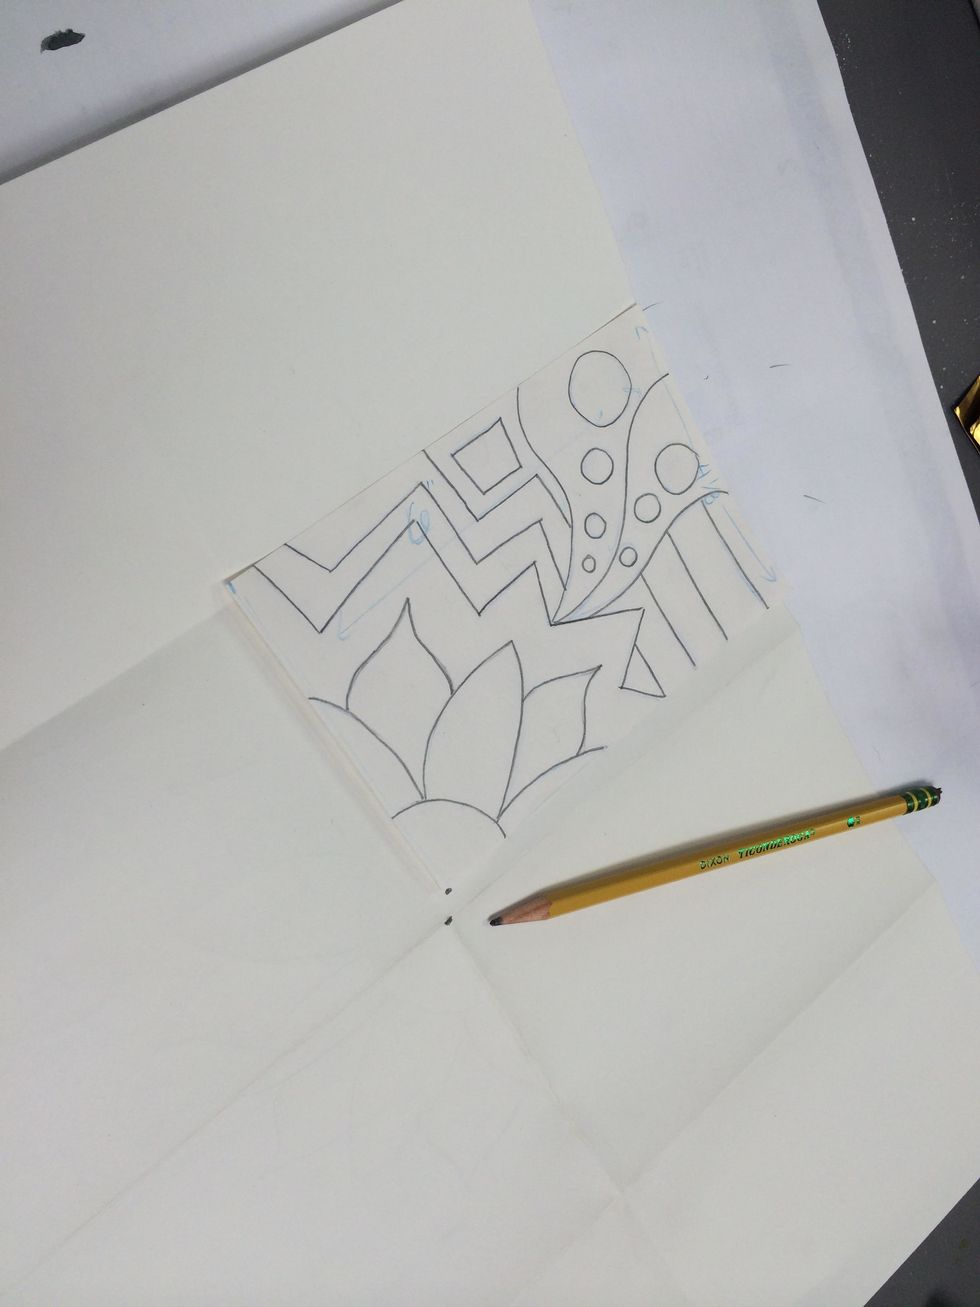
Find the central intersection on your large paper and fit the designed paper in a section so the corner where you began drawing lines up to the intersection.
Trace design, pressing down as you go. The graphite on the other side of the paper will transfer the design.
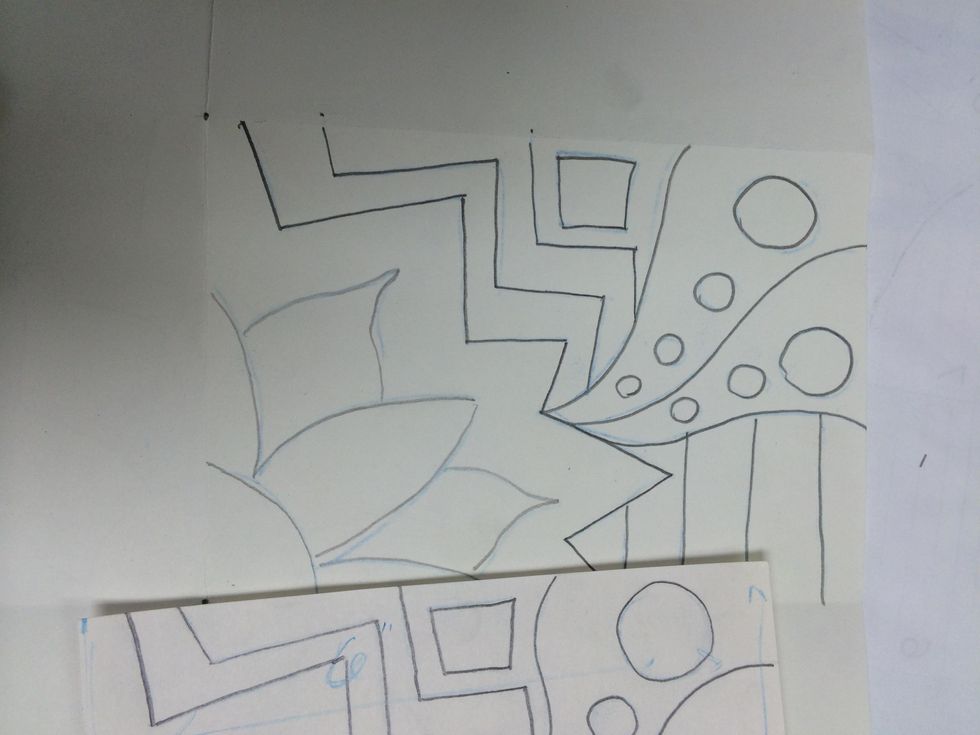

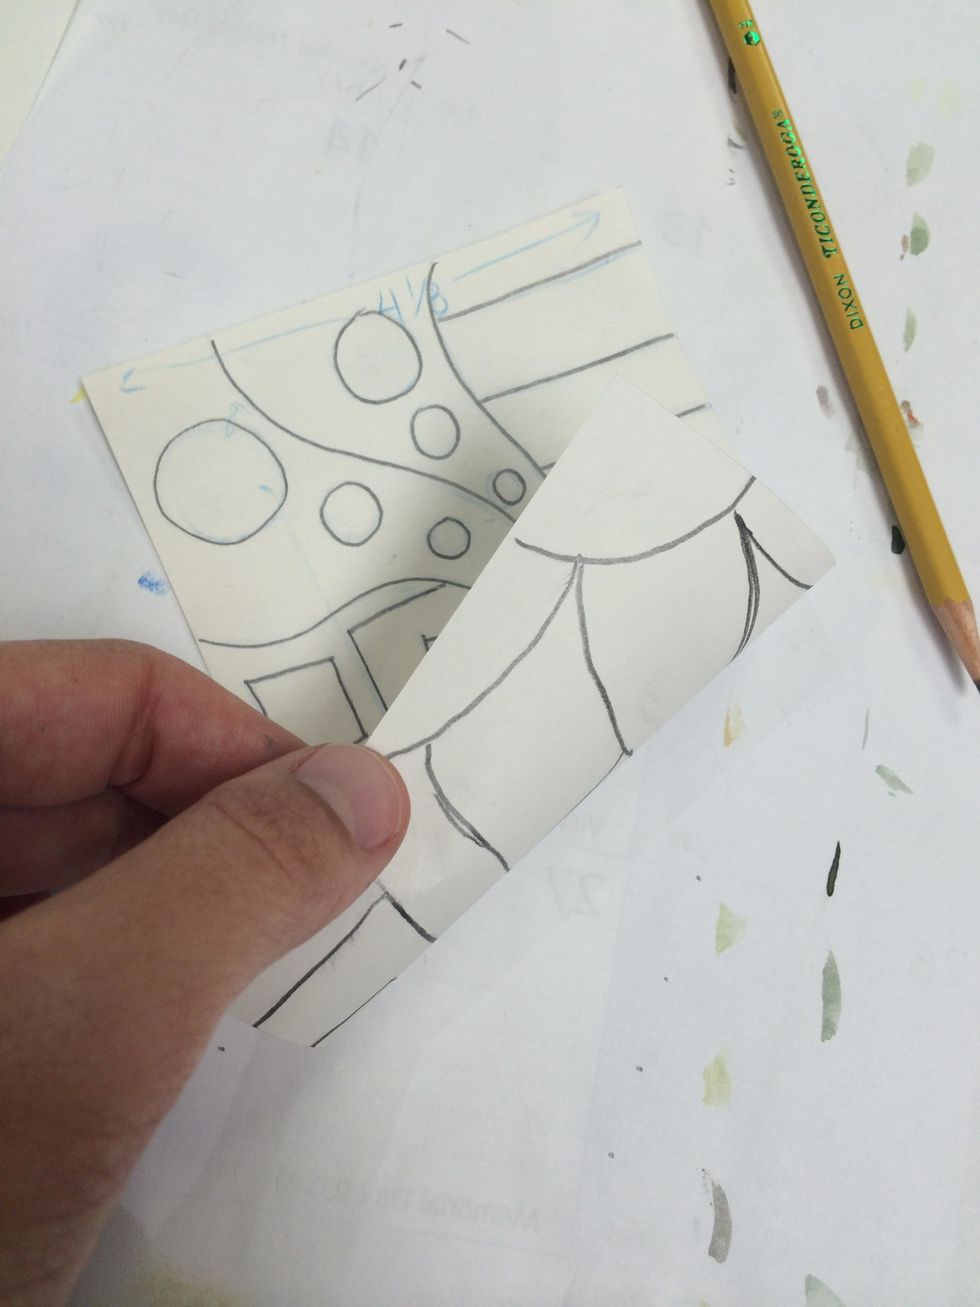
Now flip the design and trace in the adjacent section of the paper. Line up the edges of the design so it has symmetry.
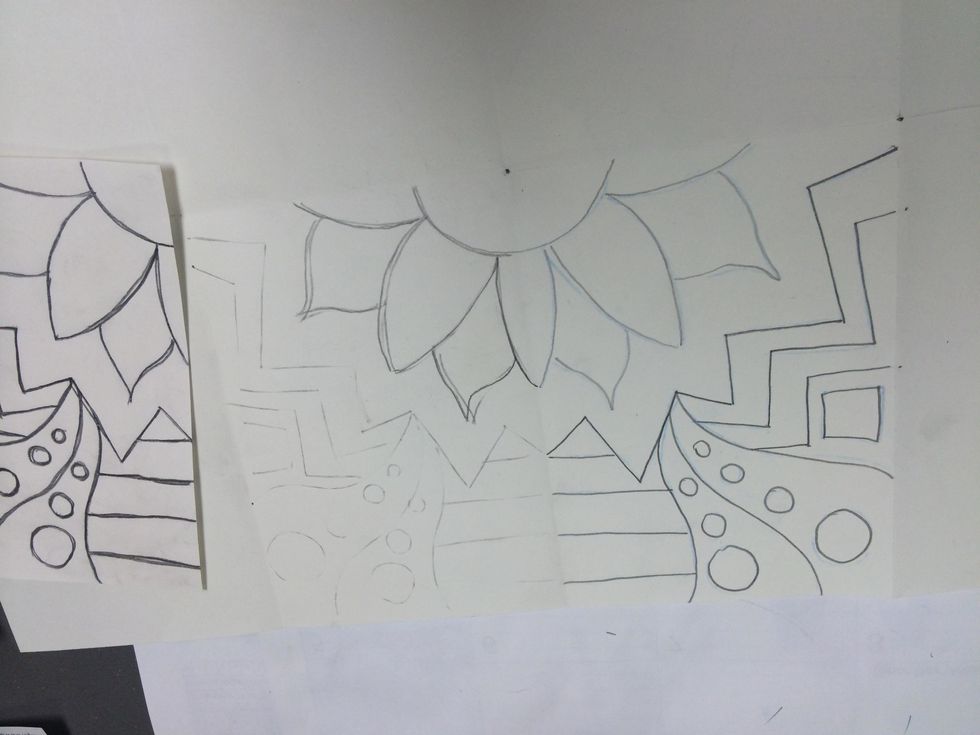
The transfer will not be perfect and that is Okay! you get to go over it again later.
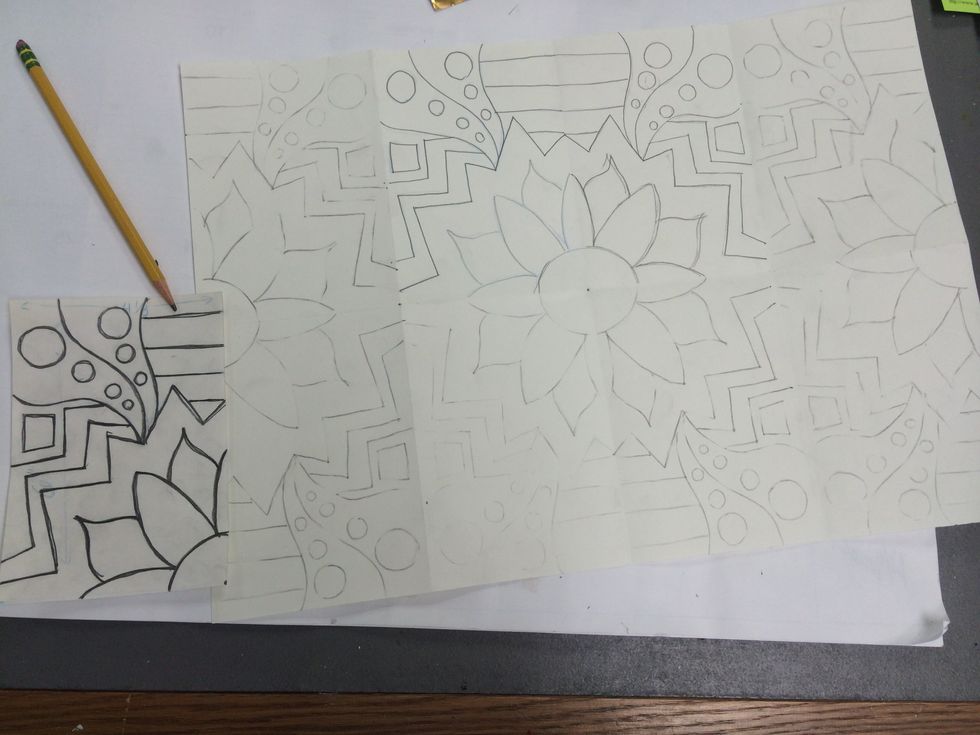
Repeat flipping and tracing until every section has the design and symmetry.
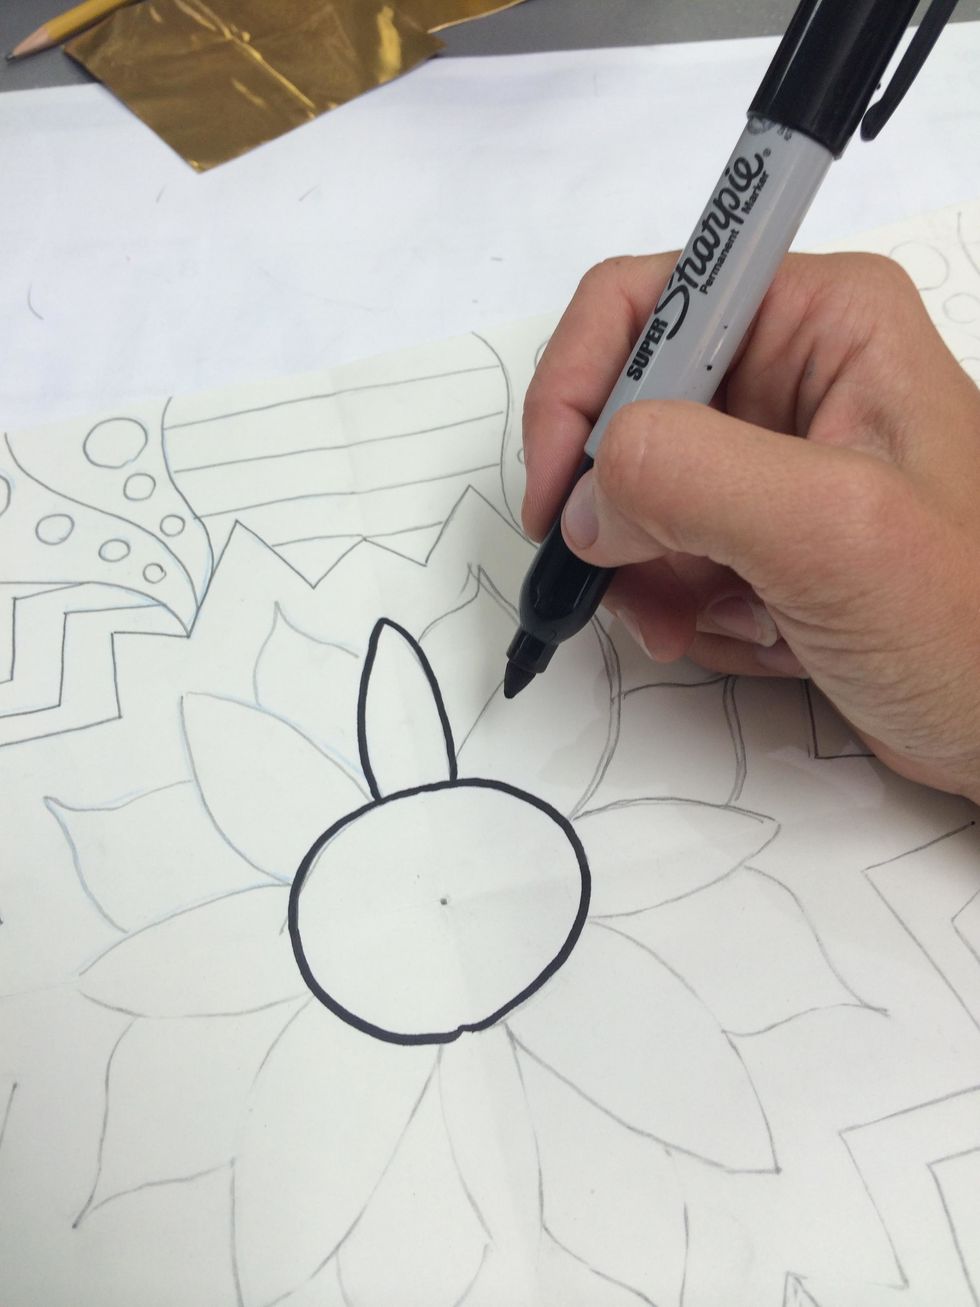
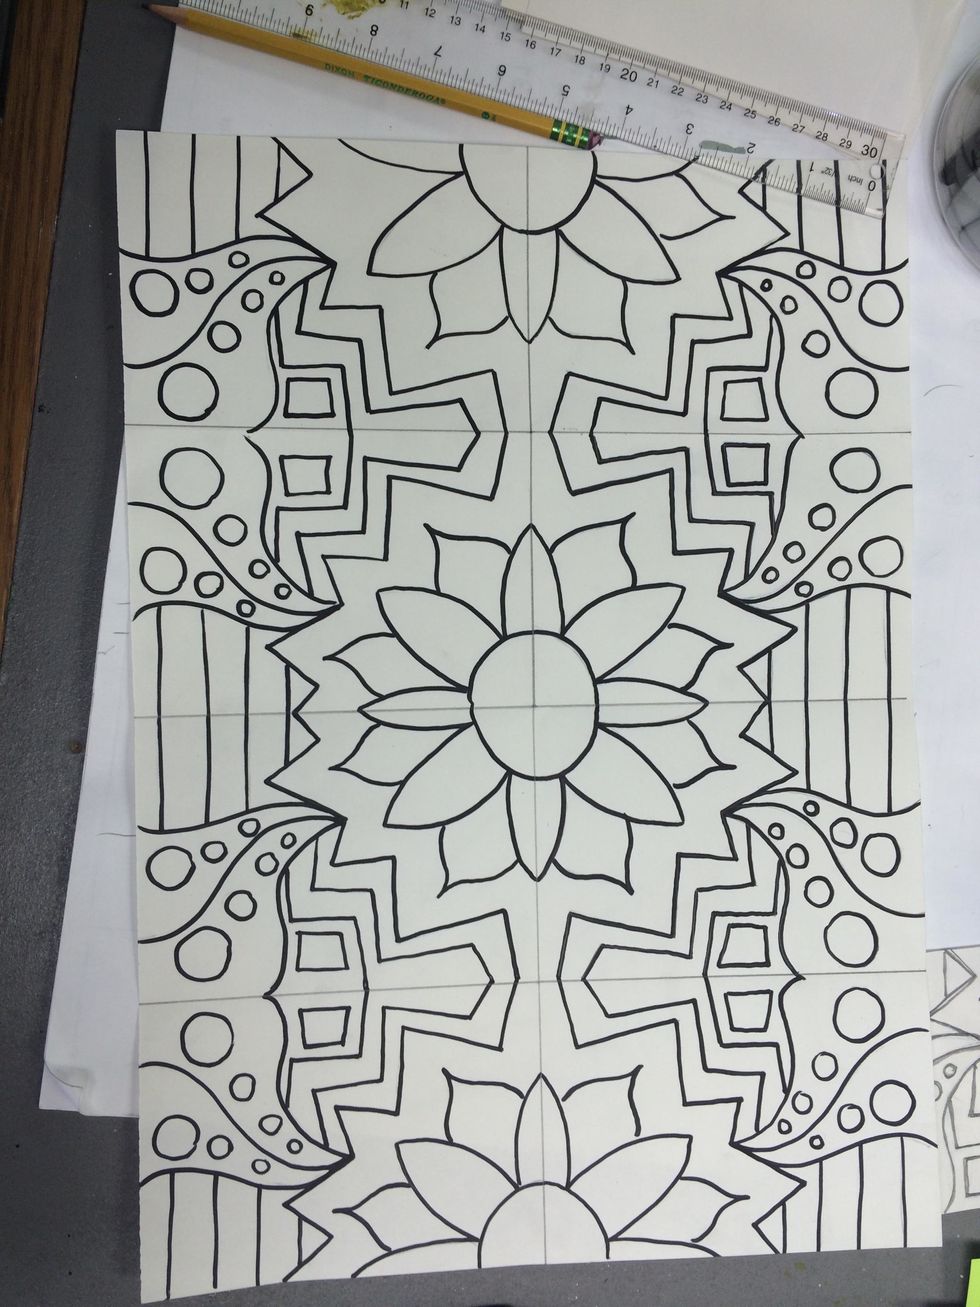
Use a sharpie to trace the design.
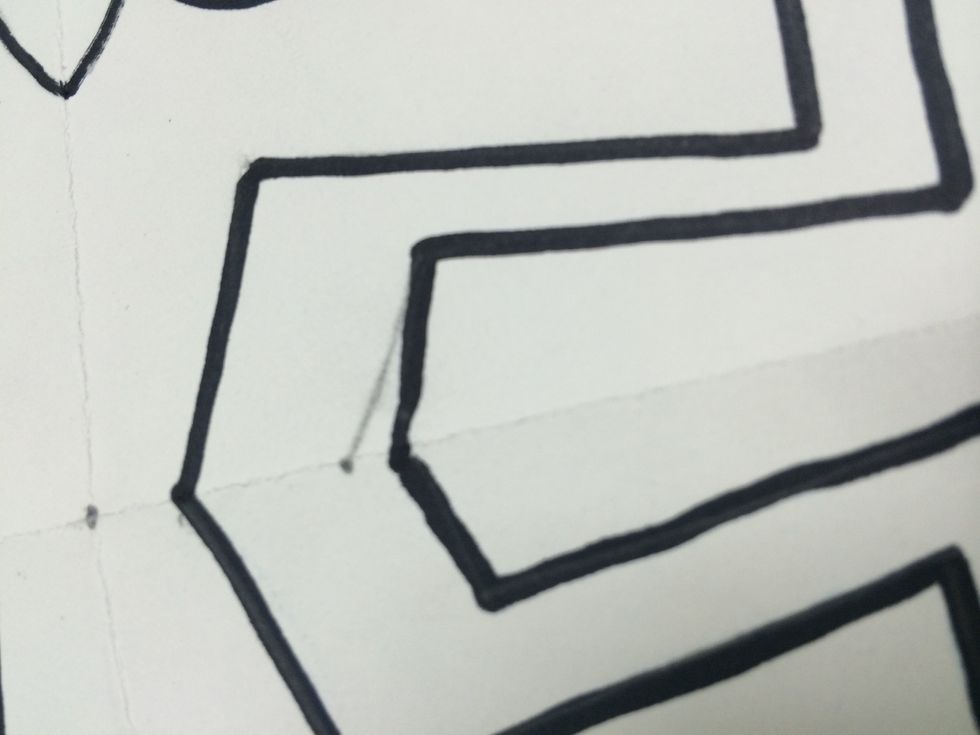
Correct areas that may not have lined up perfectly.
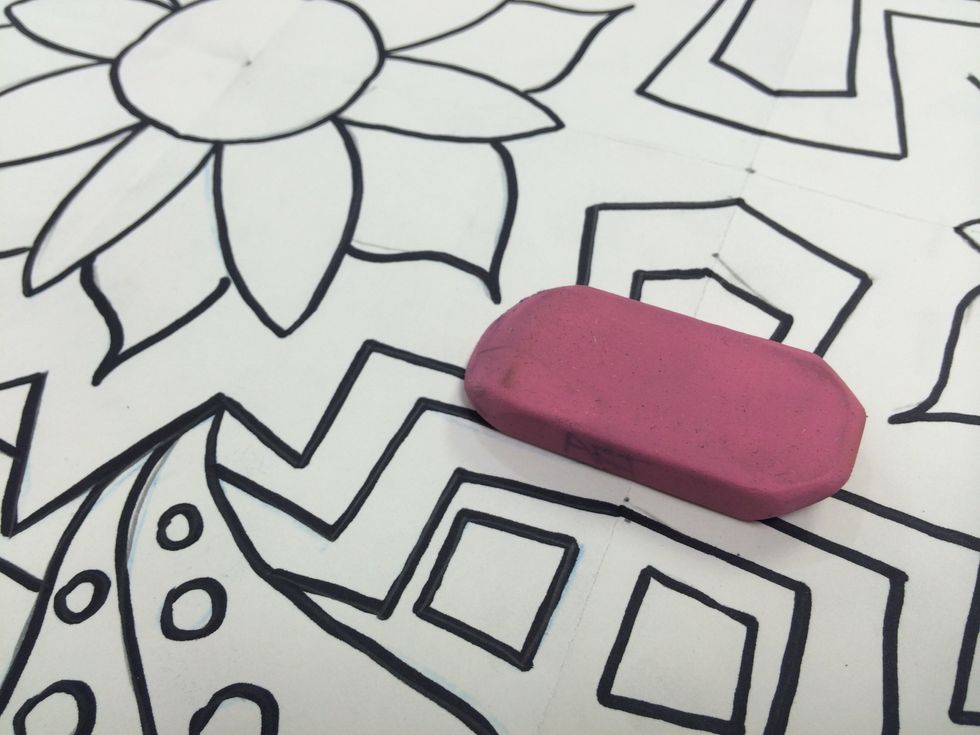
When done, use an eraser to clean up the stray pencil marks.
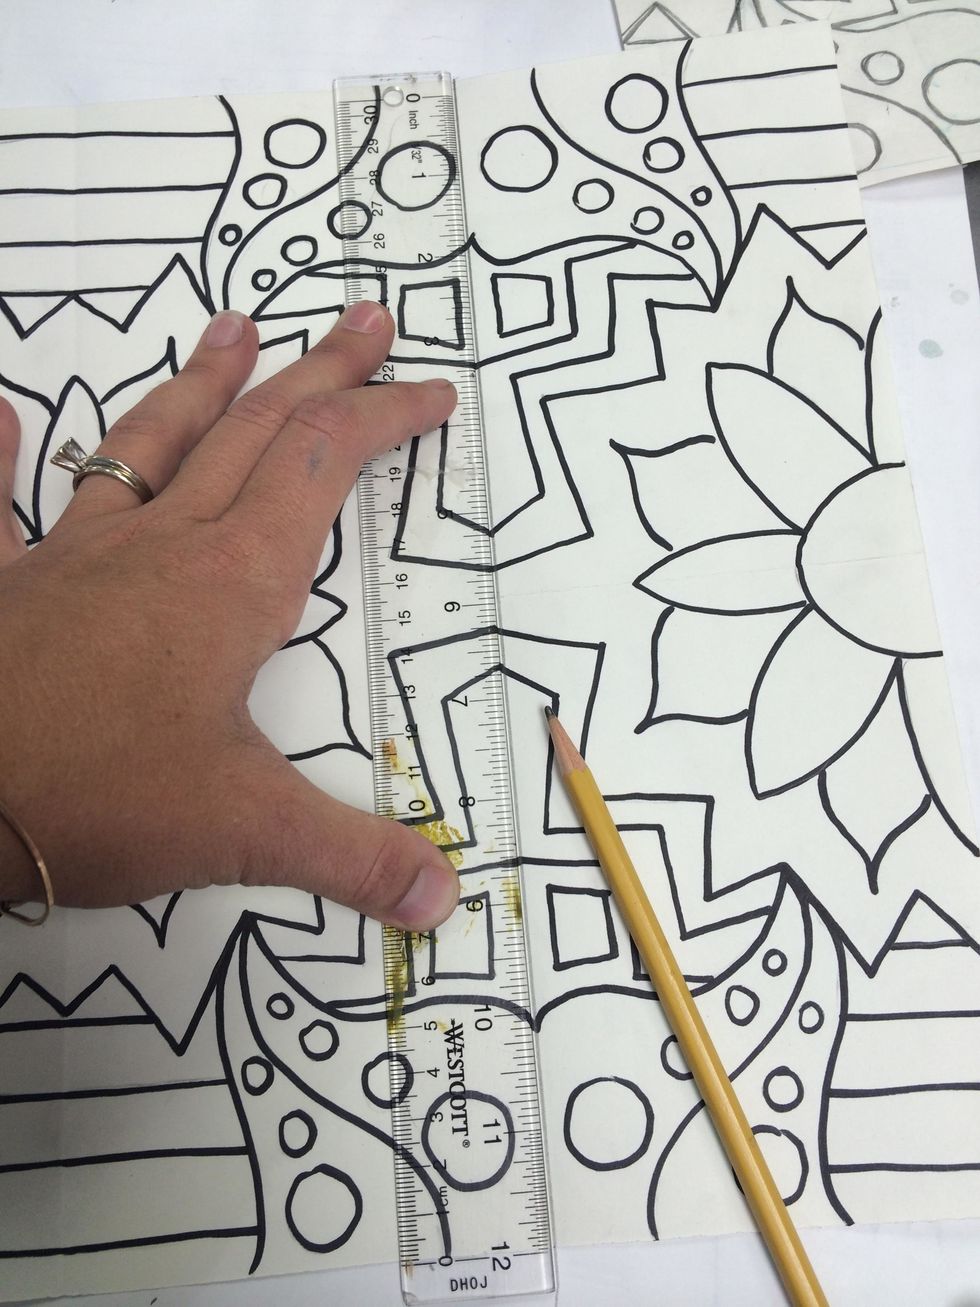
Next use a ruler and pencil to draw a line on the original folds in the paper. This will help us later when we add COLOR to our design.
End of phase one.