The Conversation (0)
Sign Up
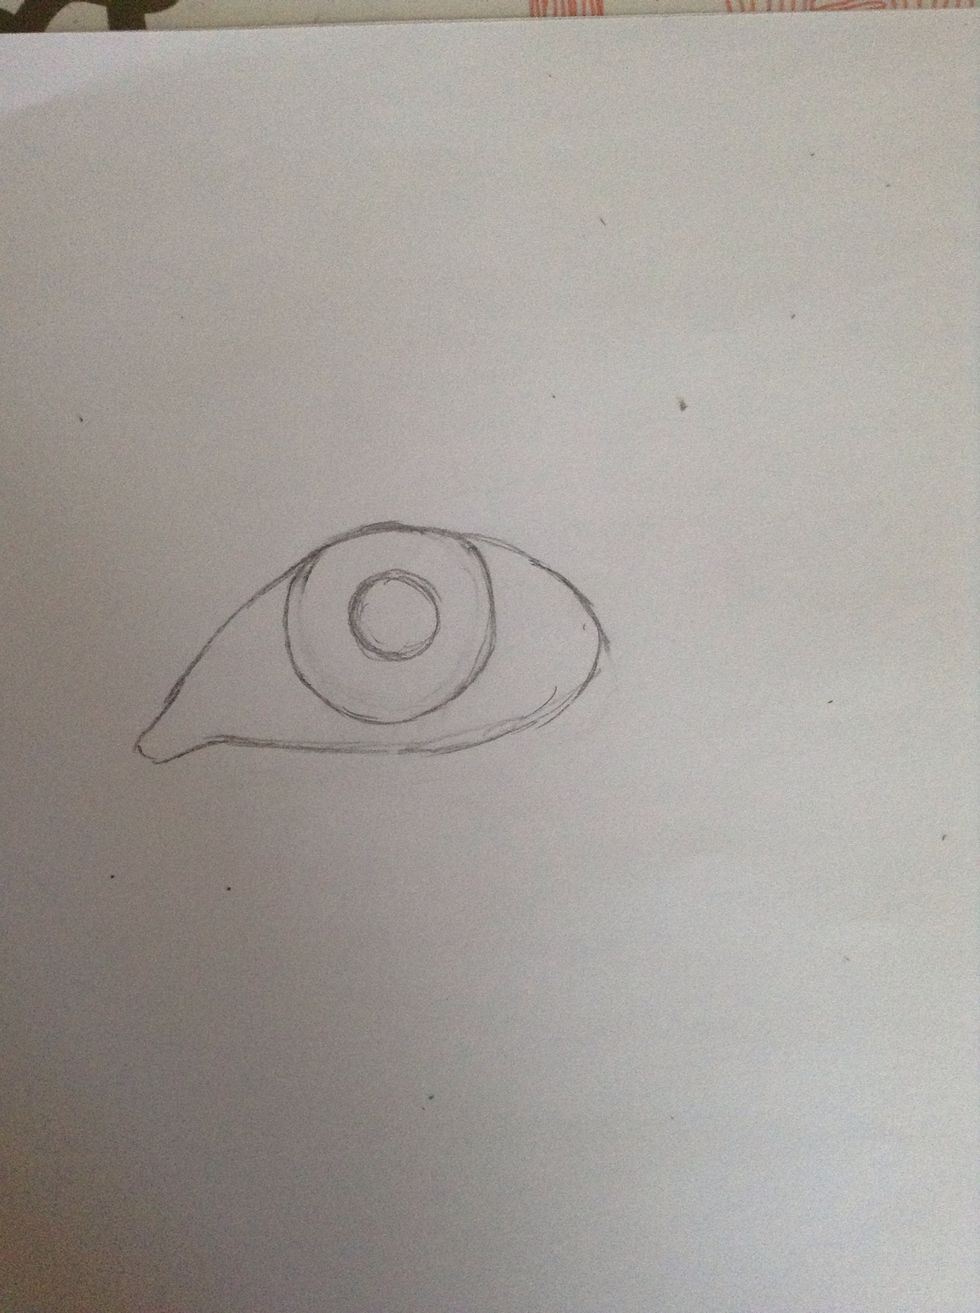
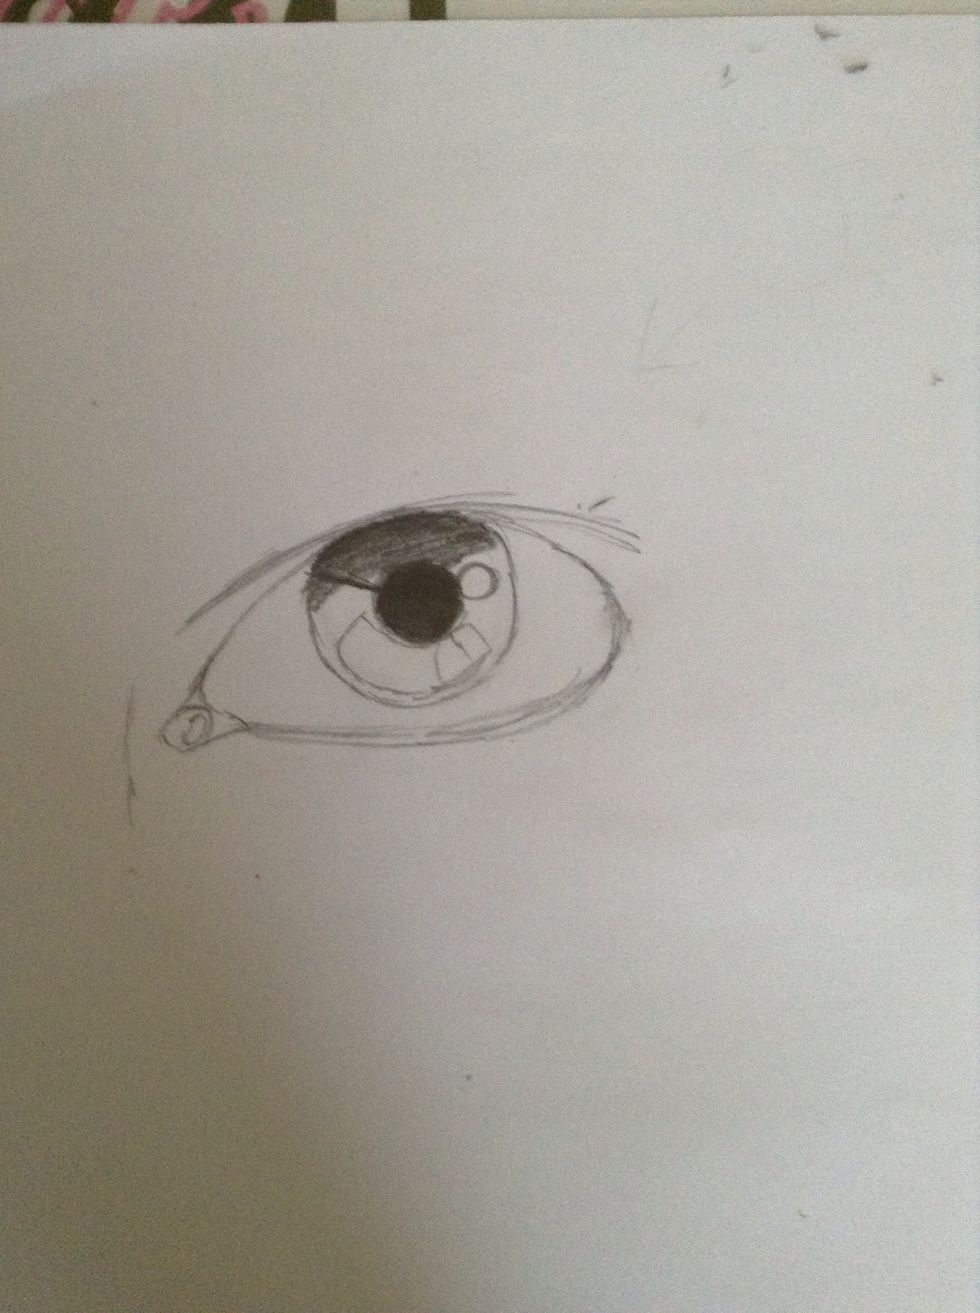
First draw a circle for the iris (you can use a stencil if you want) The draw in the pupil and a oval like shape with a tear duct.
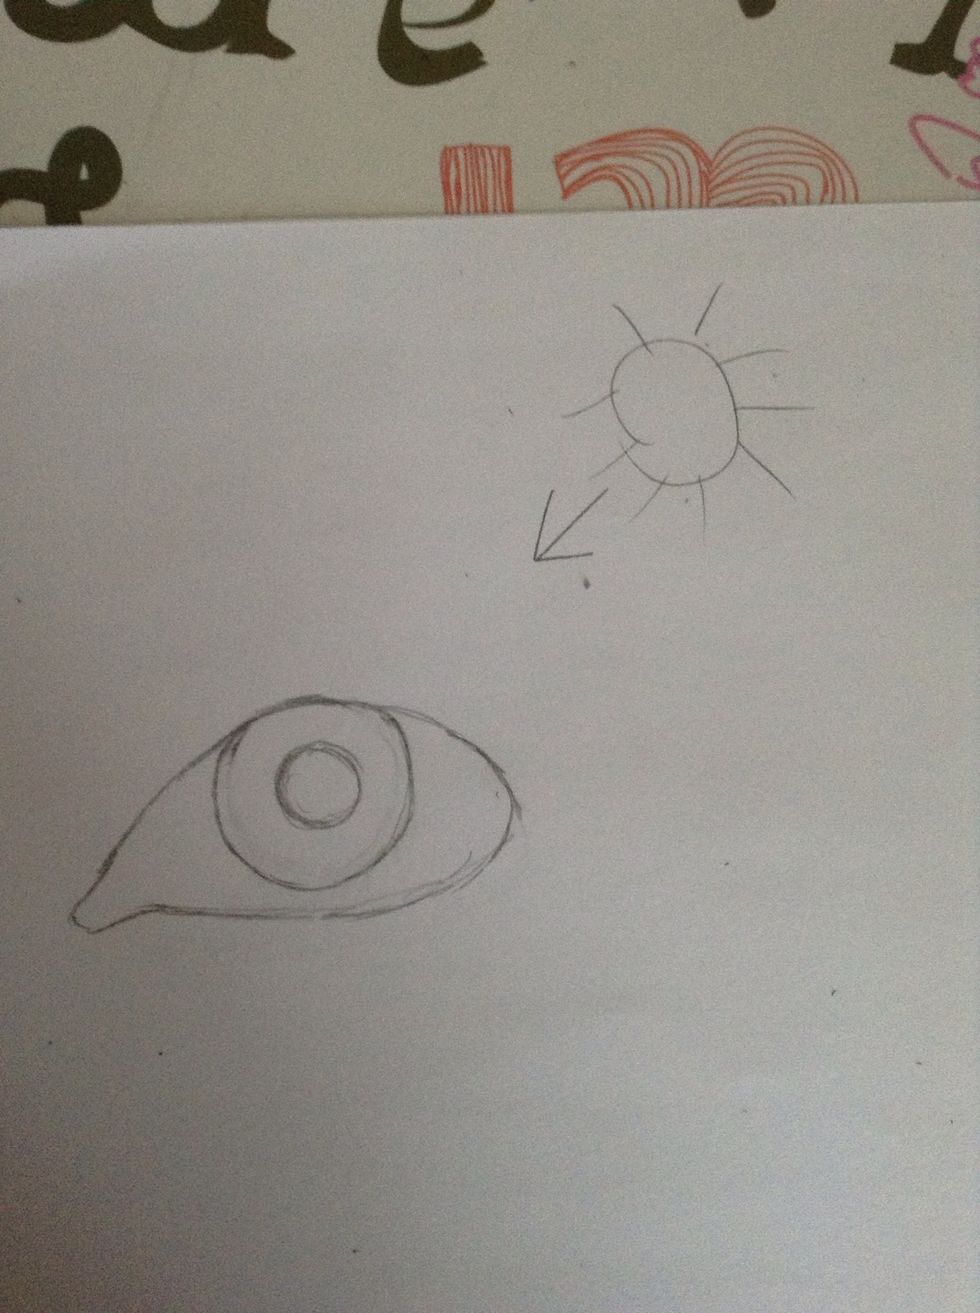
Decide where the light is coming from. This will be the side where the reflection is going to be.
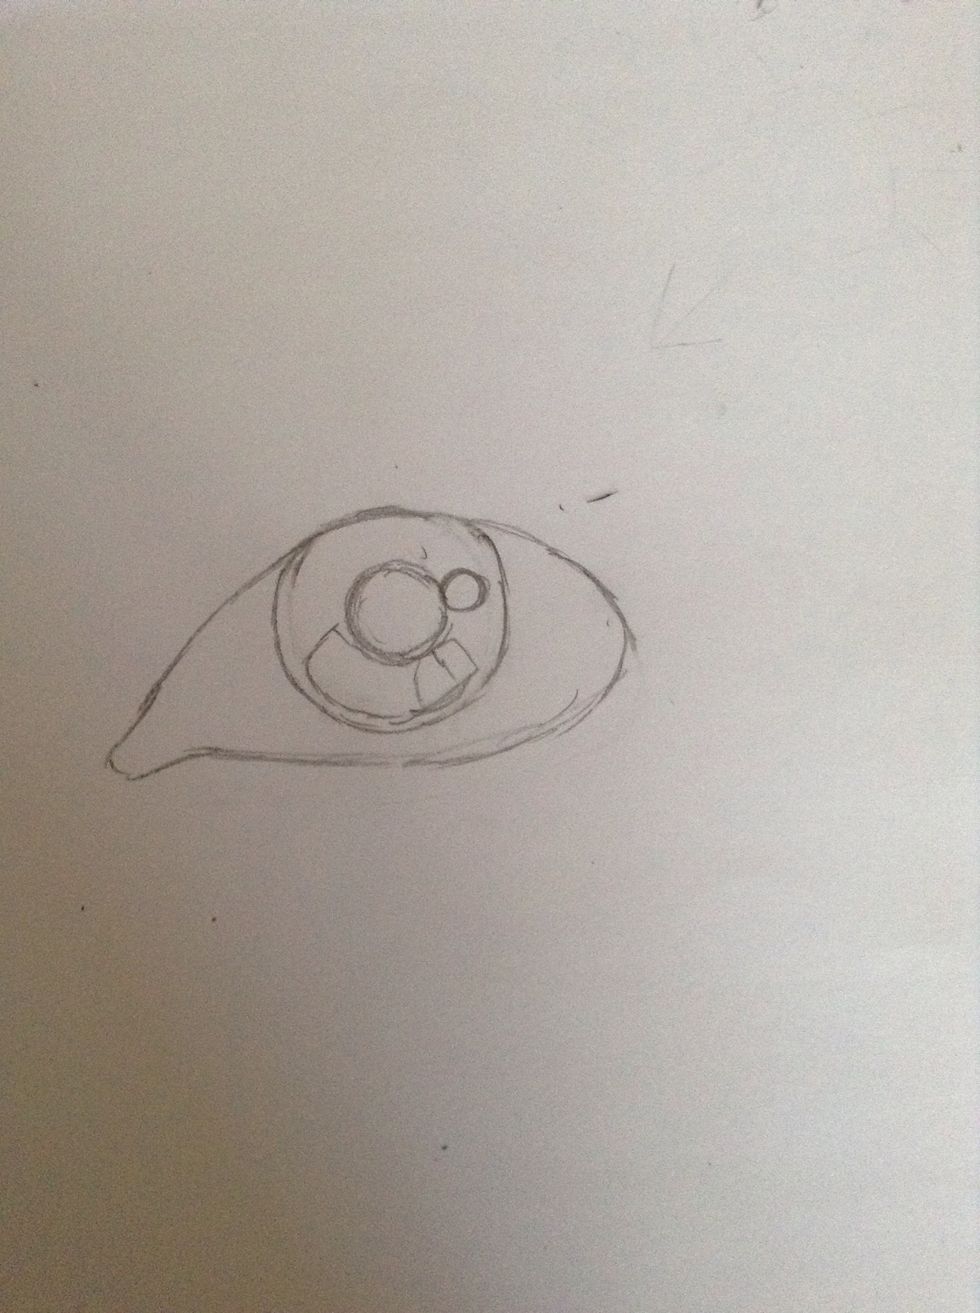
Draw in the light zones. Usually there is one pure white spot, and then just a zone where the iris is lighter in colour.
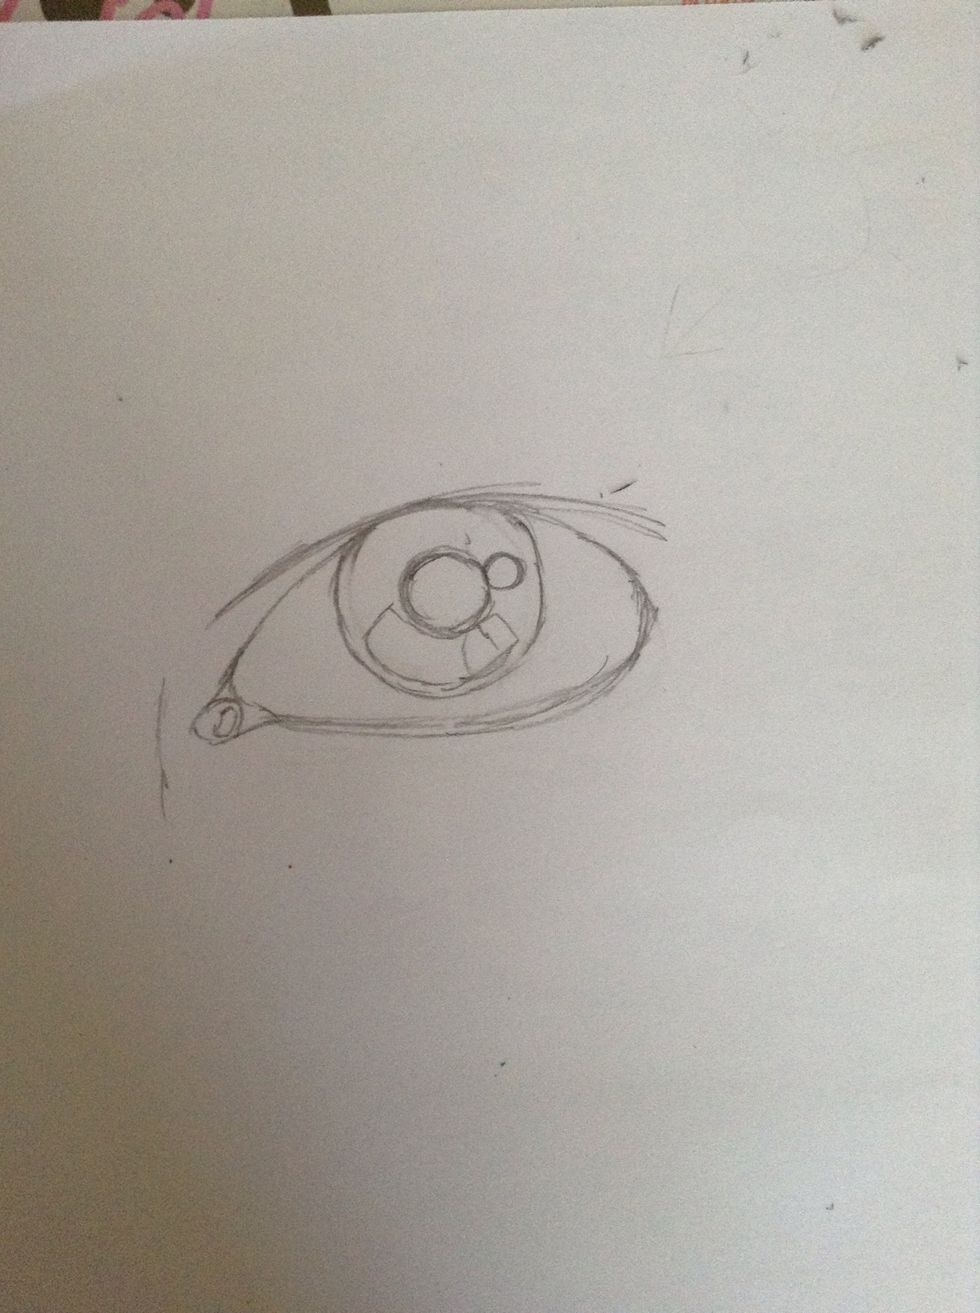
Put an eye lid above the eye. All eyes have different shaped eye lids, so decide how you want it to look. Draw a circle inside the tear duct and put a light spot.
Begin to shade the iris. The top of the iris will be very dark, because that is where the shadow is. Colour the pupil very darkly, pushing your pencil as dark as it will go.
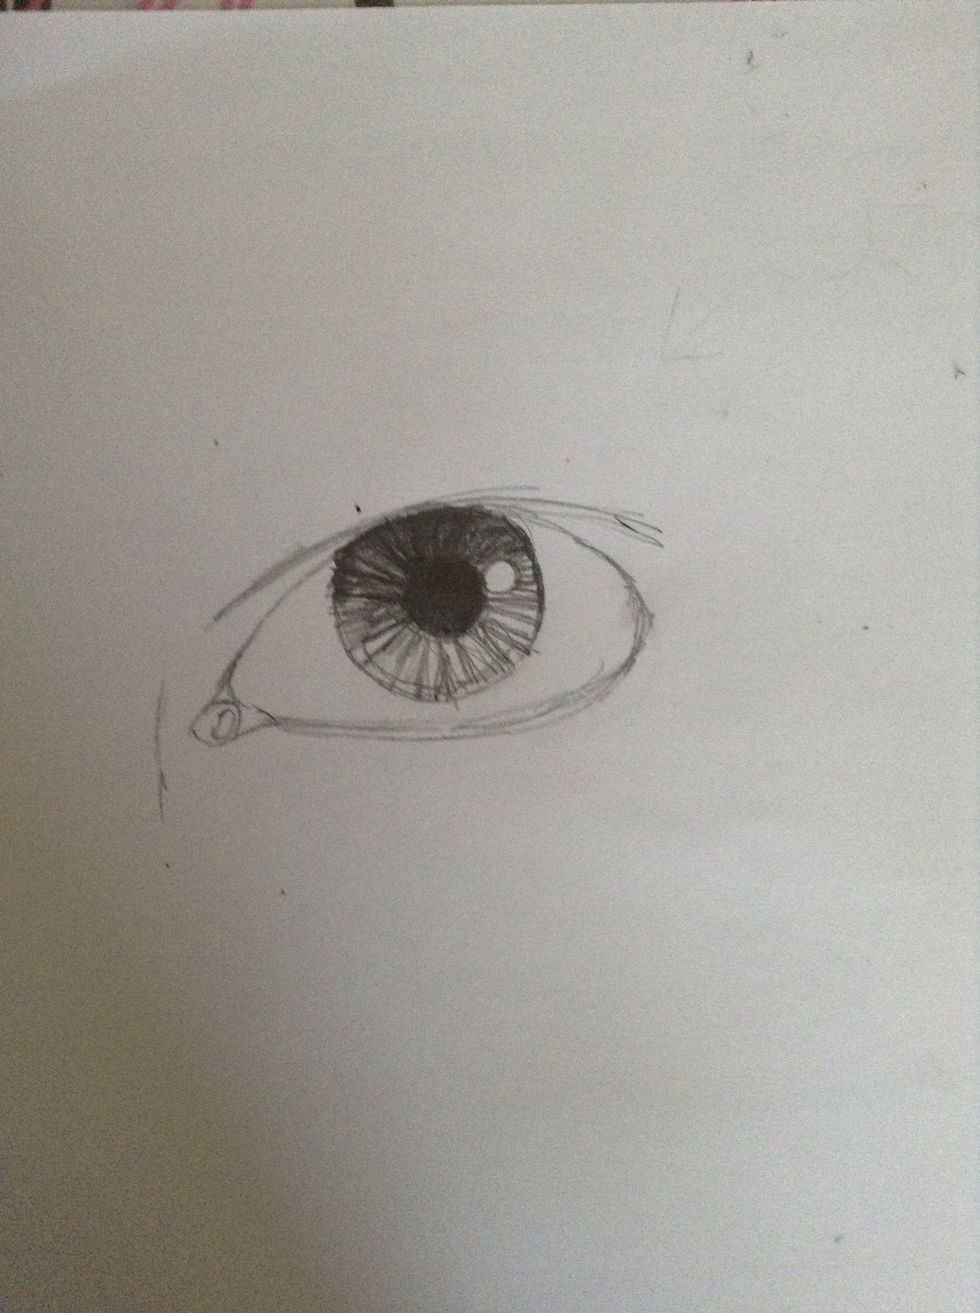
Draw line patterns around the pupil. You can change it up to make the patterns in your eye look more unique. Make sure to keep the white spot completely white. Notice the lighter zone of the iris.

Add some darks around the edges of the iris. Most eyes have this. Shade out or blend with a blending tool.
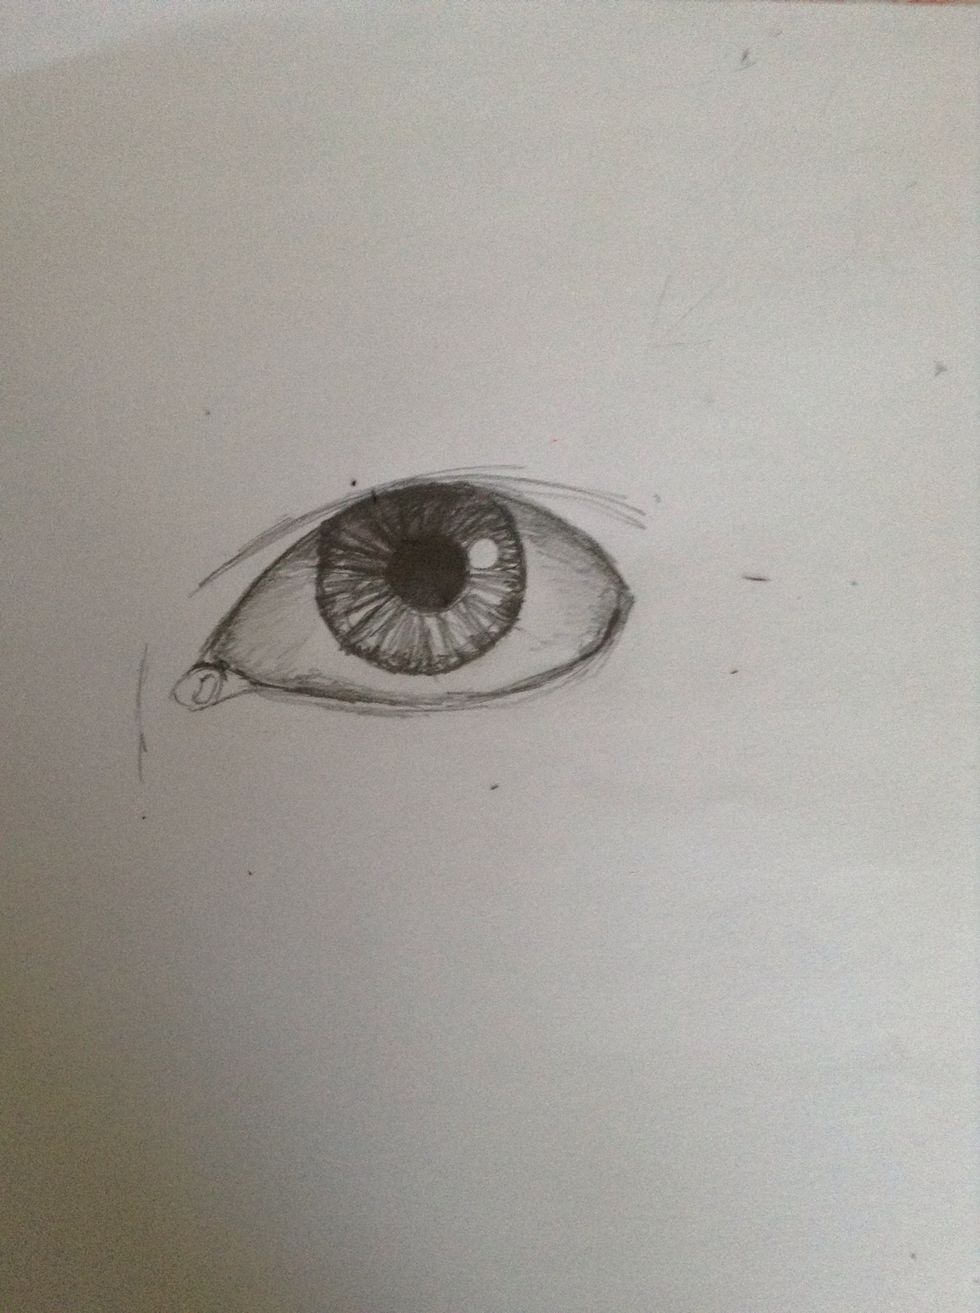
Darken the eye ball. Underneath the skin and eye kids will have a shadow. Make it darkest at the top of the eye and then shade outwards.
Shade behind the circle in the tear duct very darkly, then shade in the rest lightly. Darken beneath the eye lid and made any other changes.
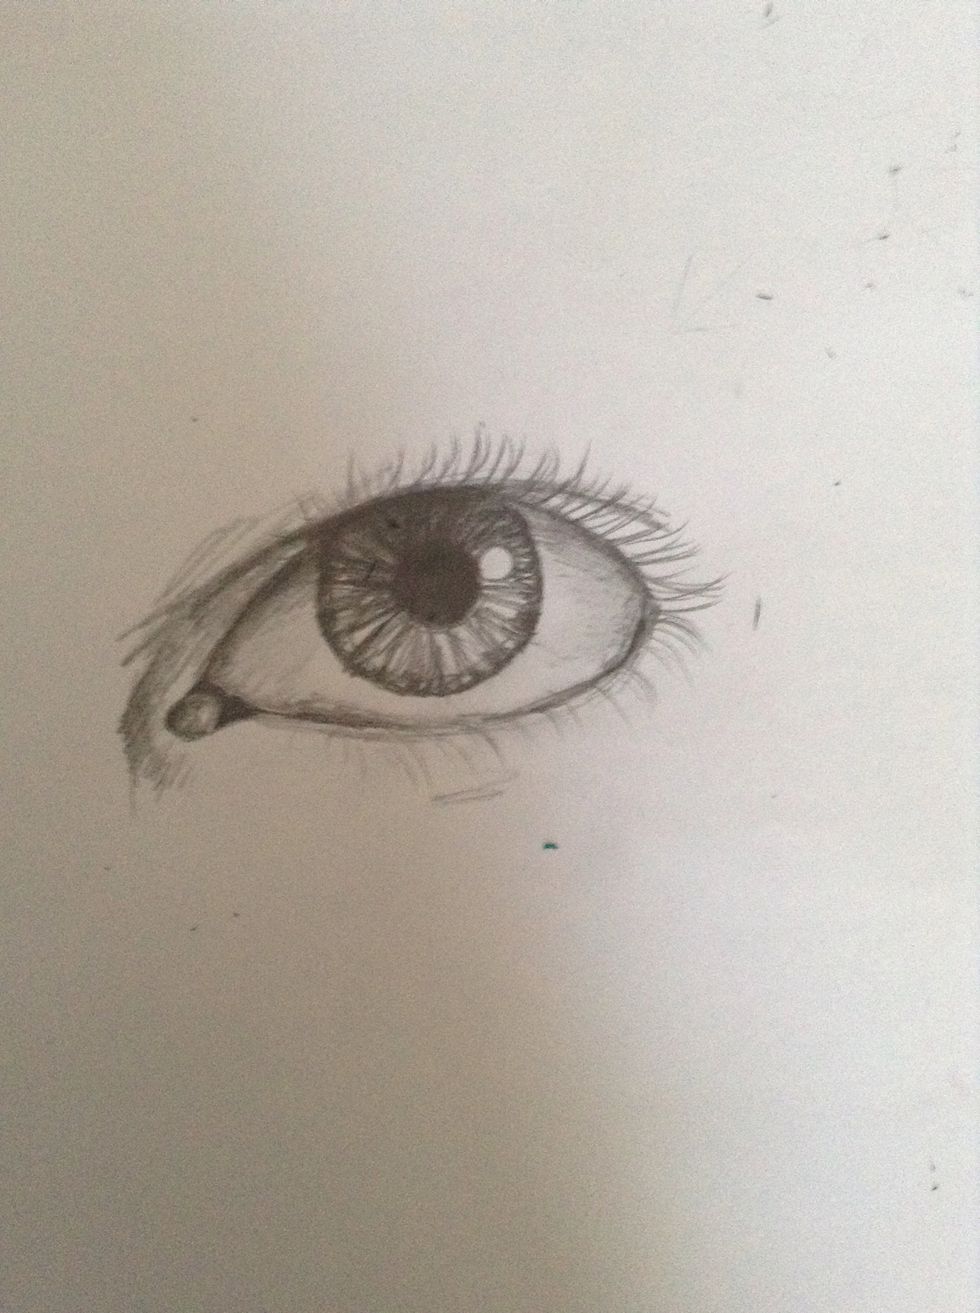
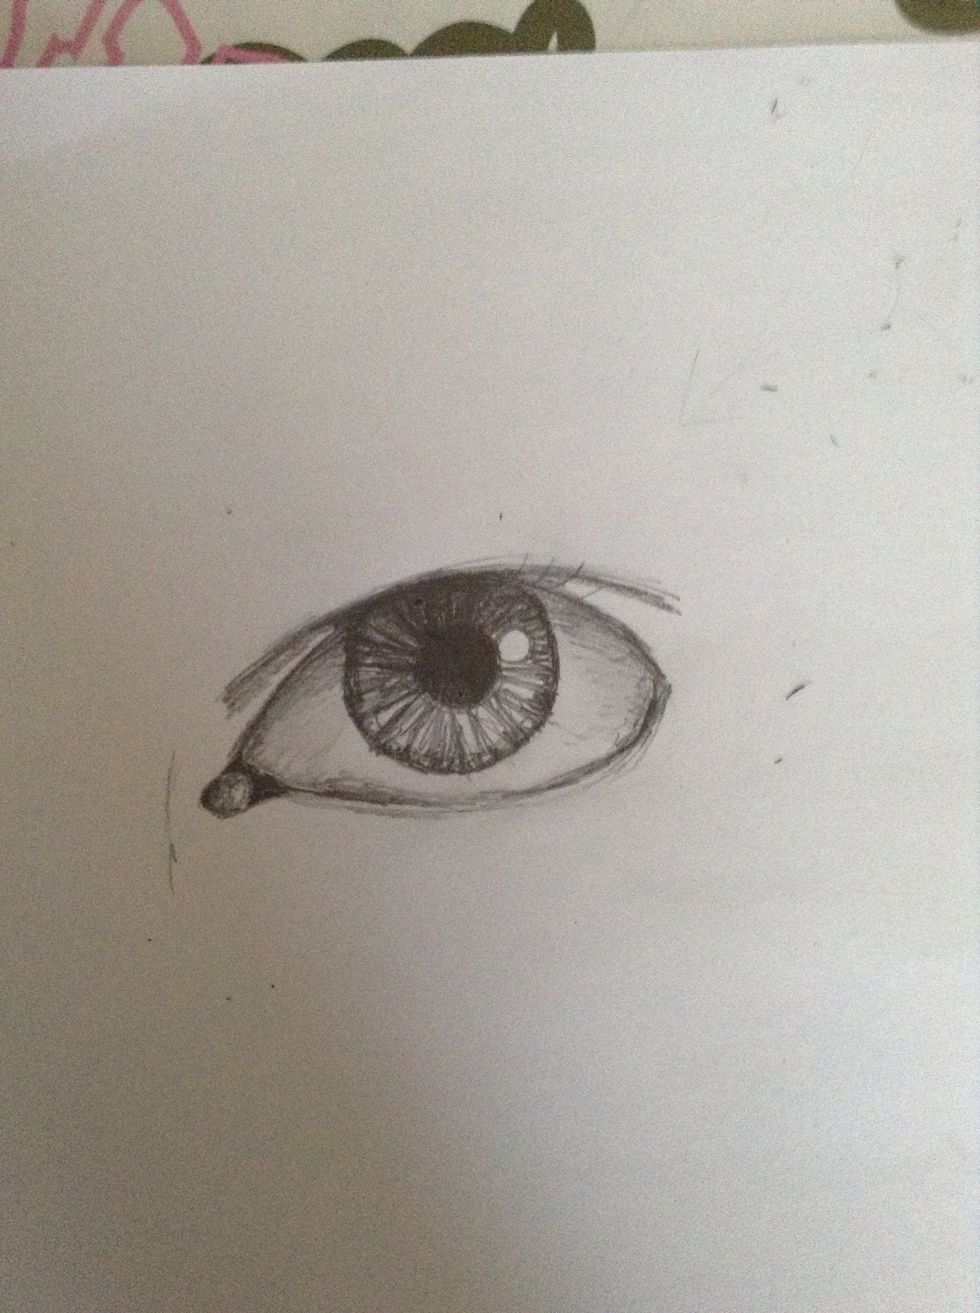
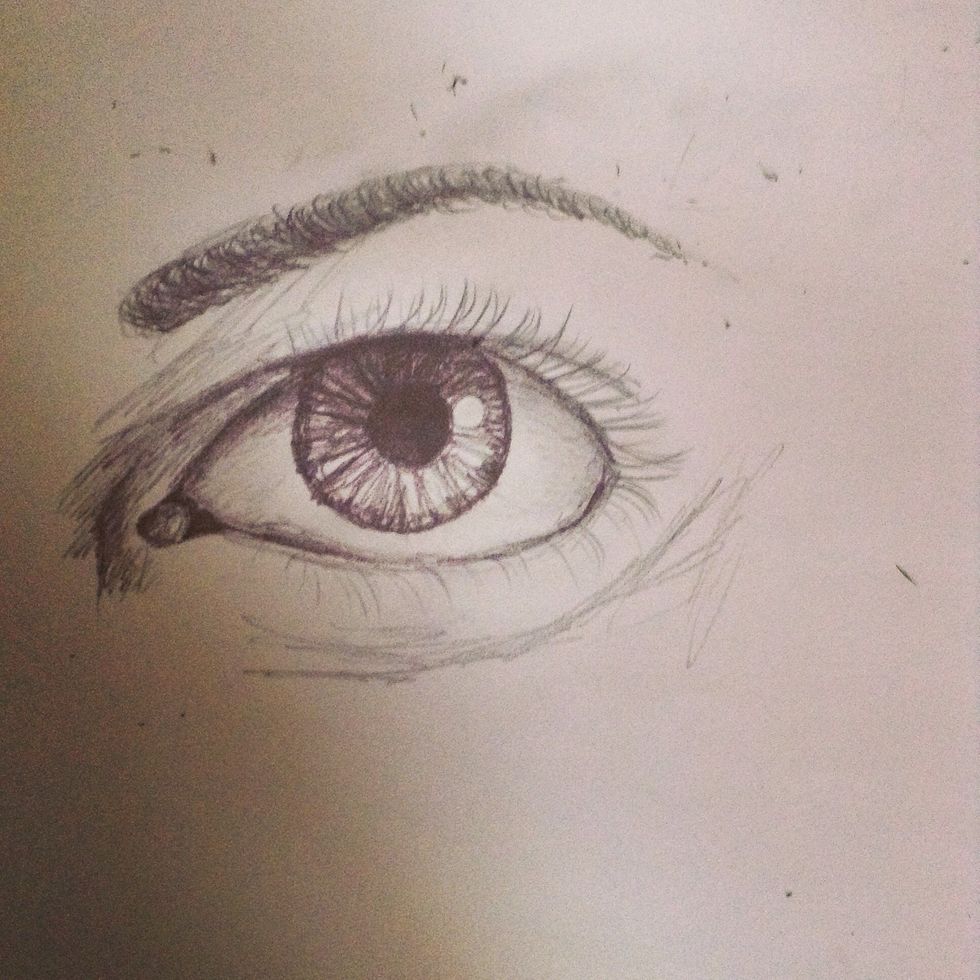
Add eye lashes. Put your pencil down where the eye begins and swoop out. Eye lashes are not perfectly straight! Follow the natural curve. Lower lashes are thinner and less dark. This eye has no makeup
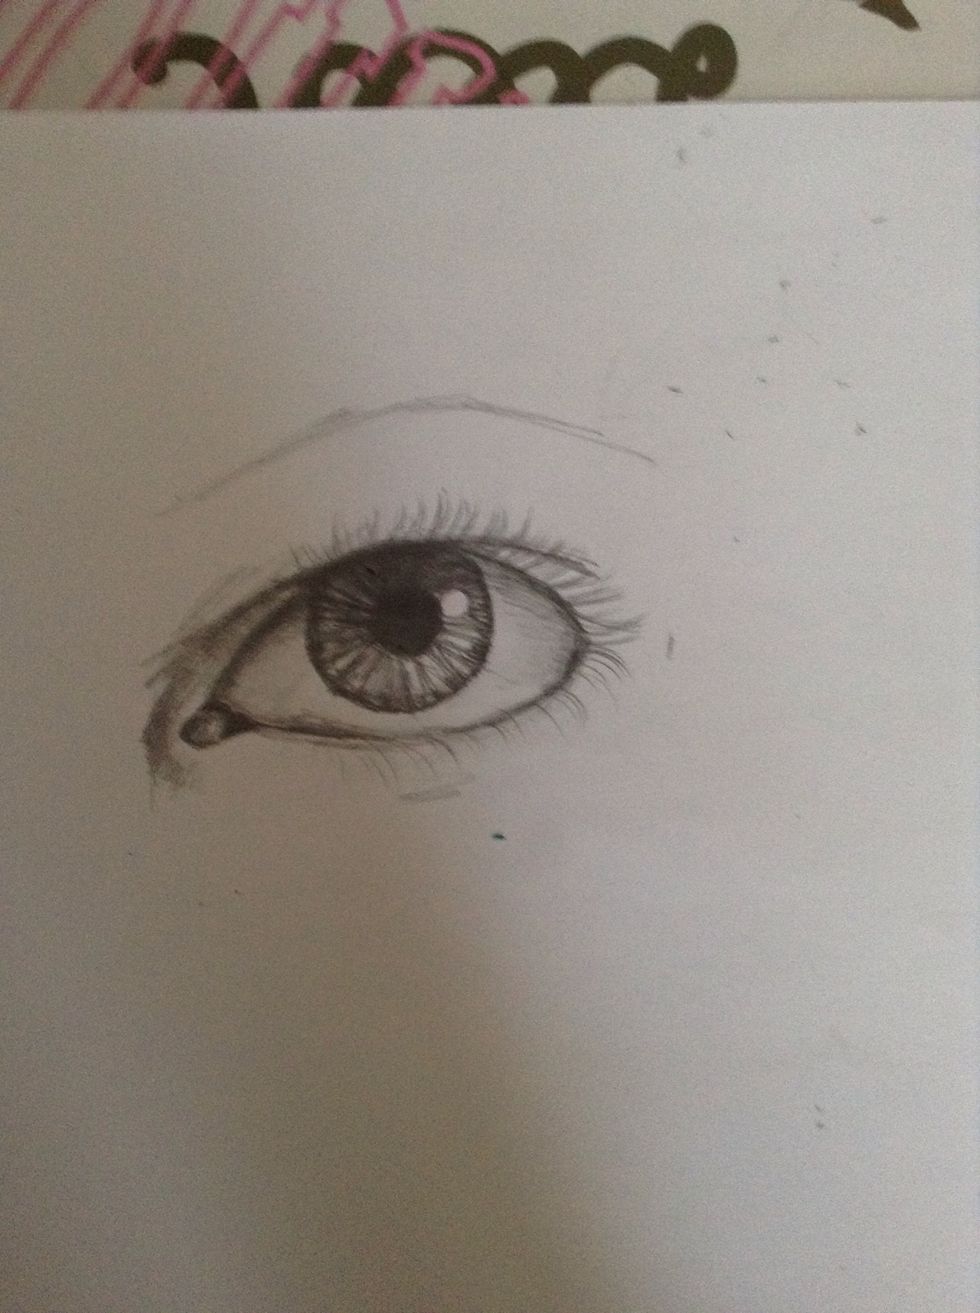
Draw a faint line for an eyebrow. Put a dark spot by the tear duct. This is a small dent where the nose begins.
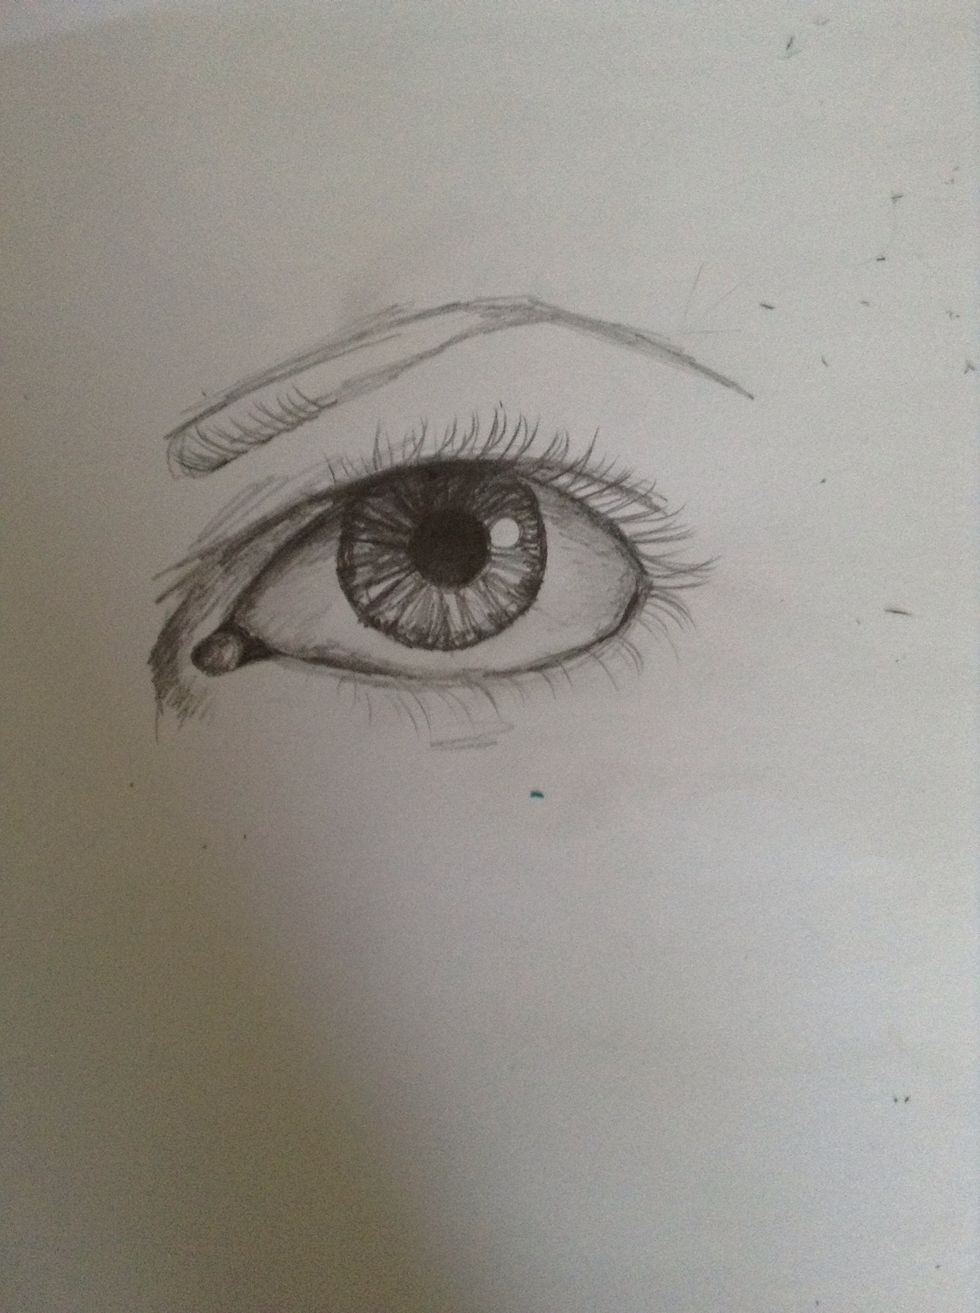
Draw the eye brow. It should begin really large and taper out. Some eye brows are more square, while others are rounder.
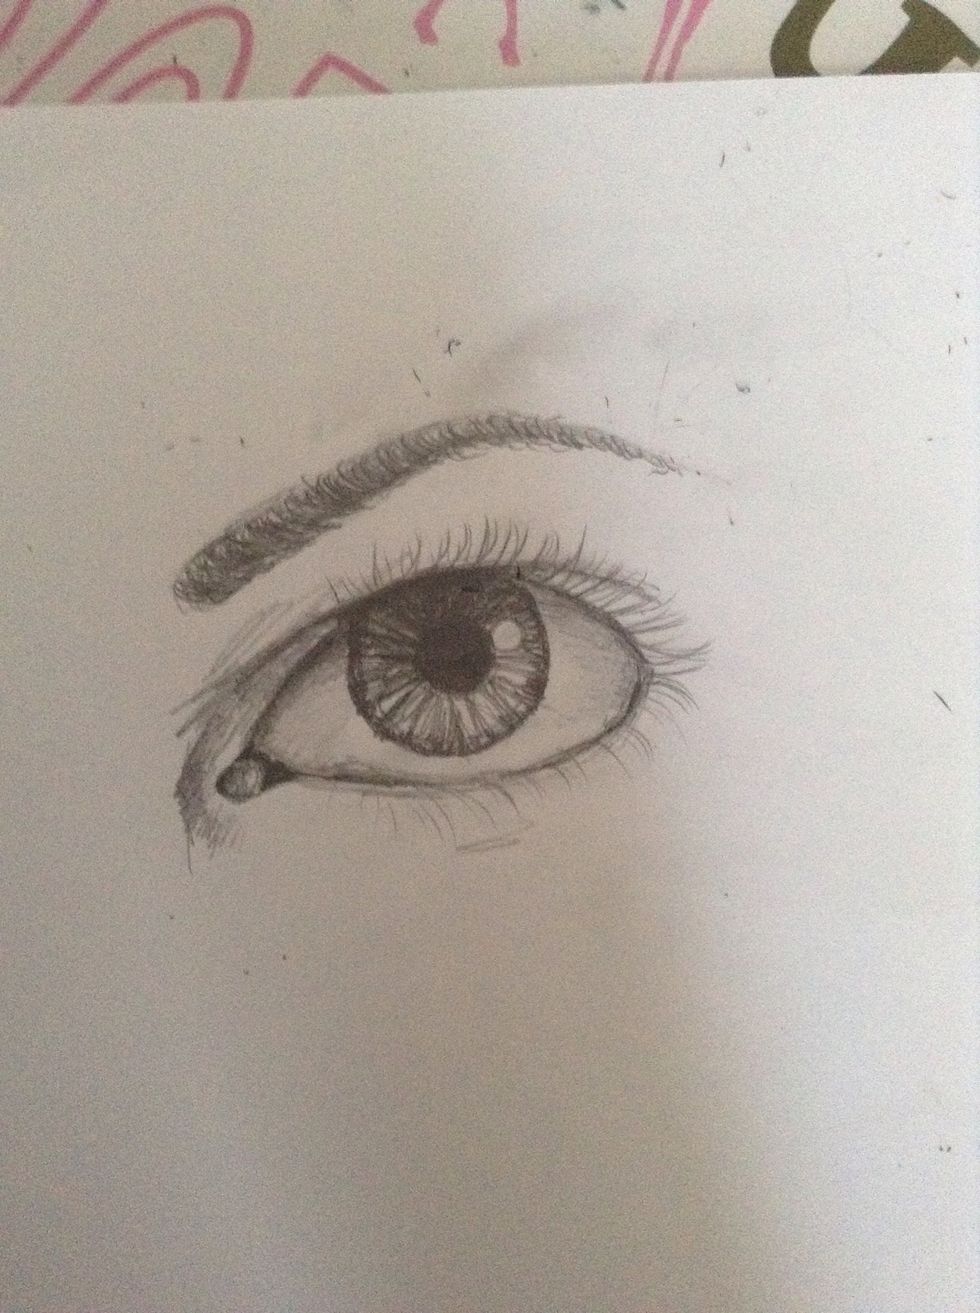
Do not just colour in the eyebrow. Do small hairs just like the eyelashes, starting at the base of the eye brown and going up wards. No blending will be necessary; you want them to look hairy!
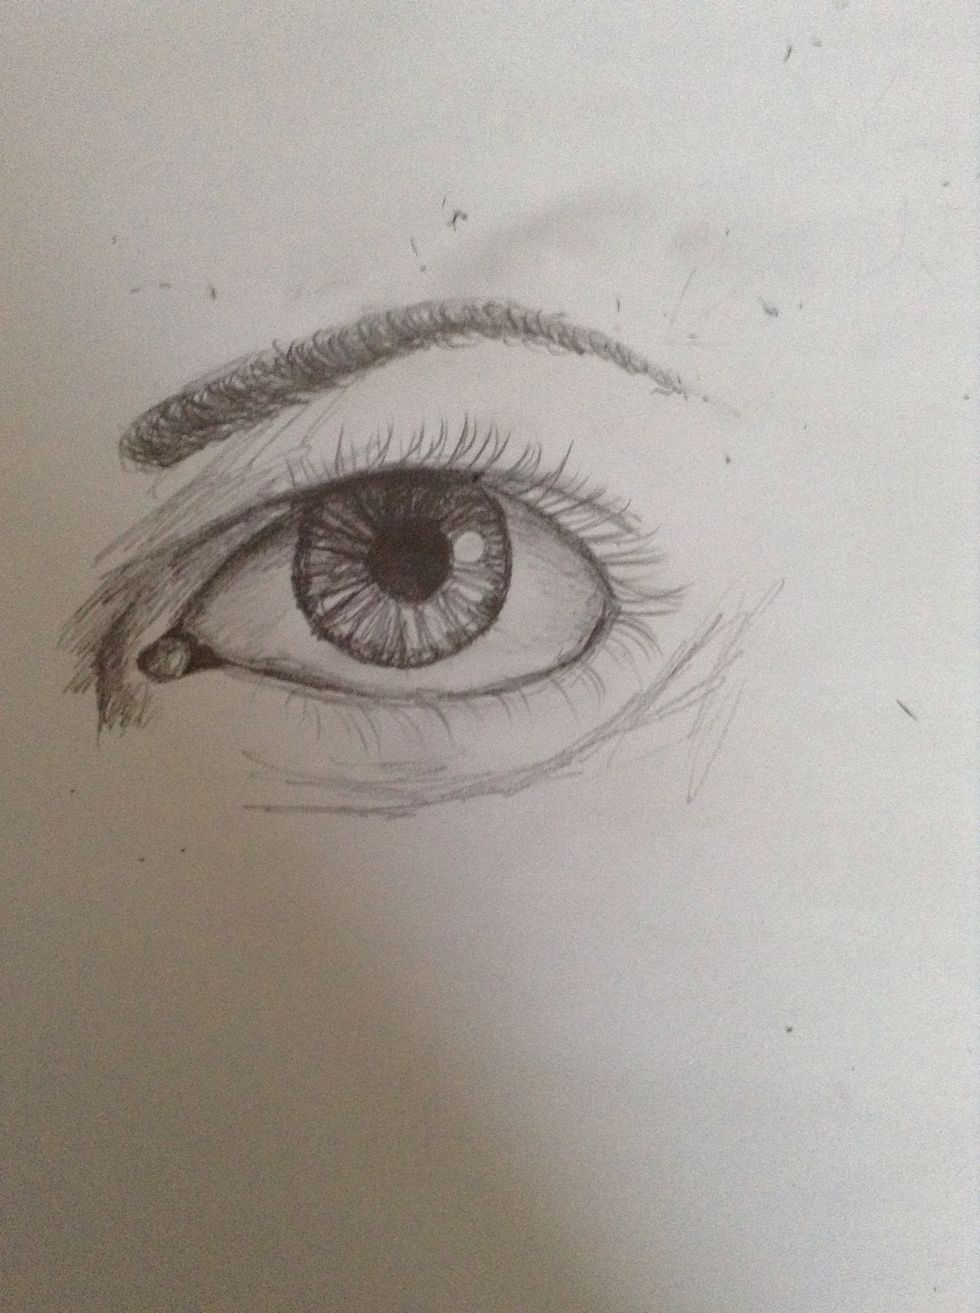
Add any finishing touches. This is semi realistic, for beginners and maybe intermediate drawers.
And Voila!