The Conversation (0)
Sign Up
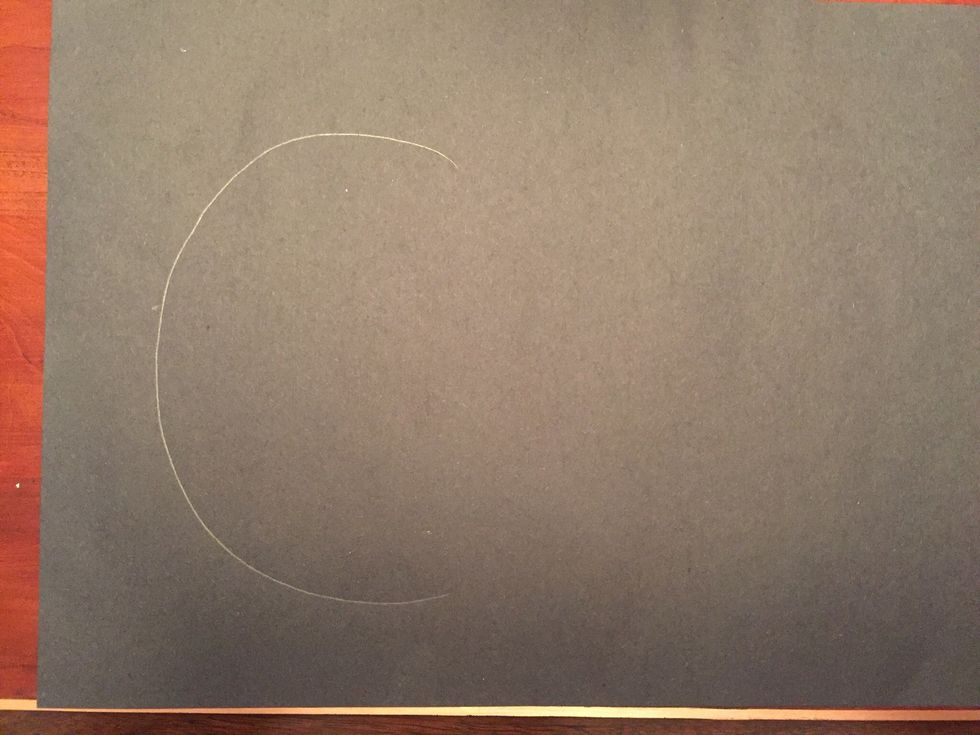
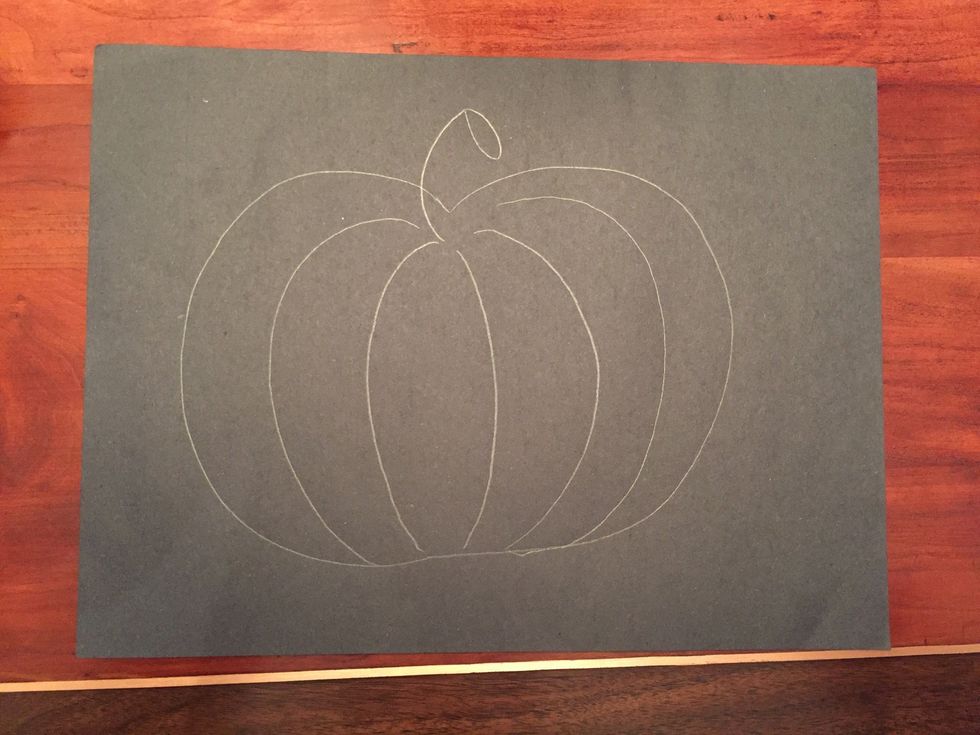
Draw a large C on the left of your paper with pencil.
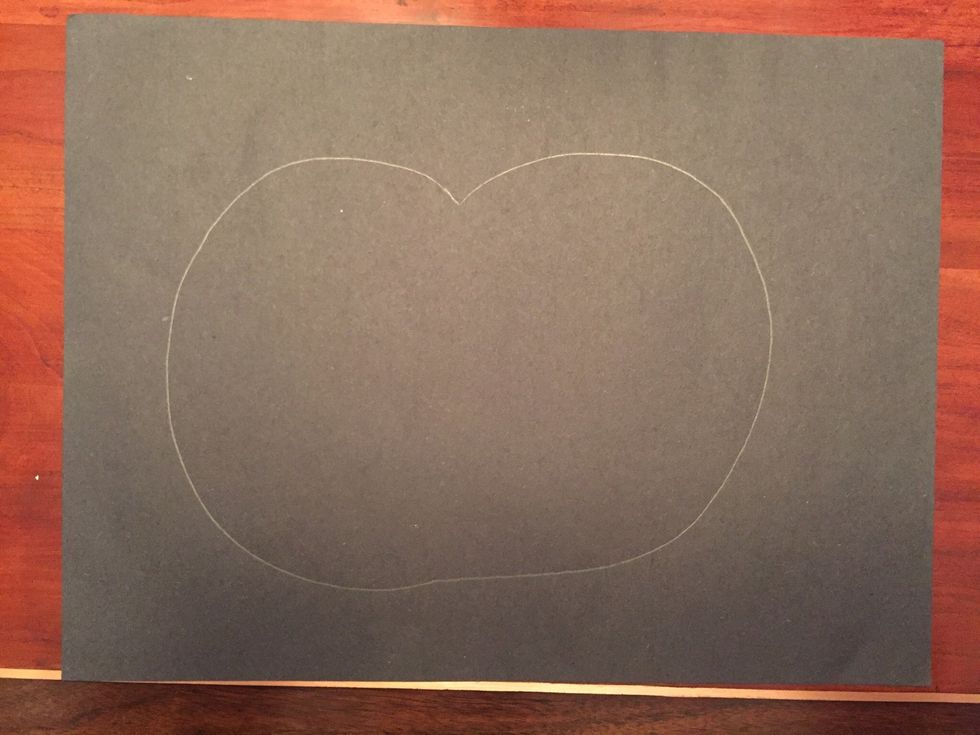
Draw a backwards C on the right with a pencil.
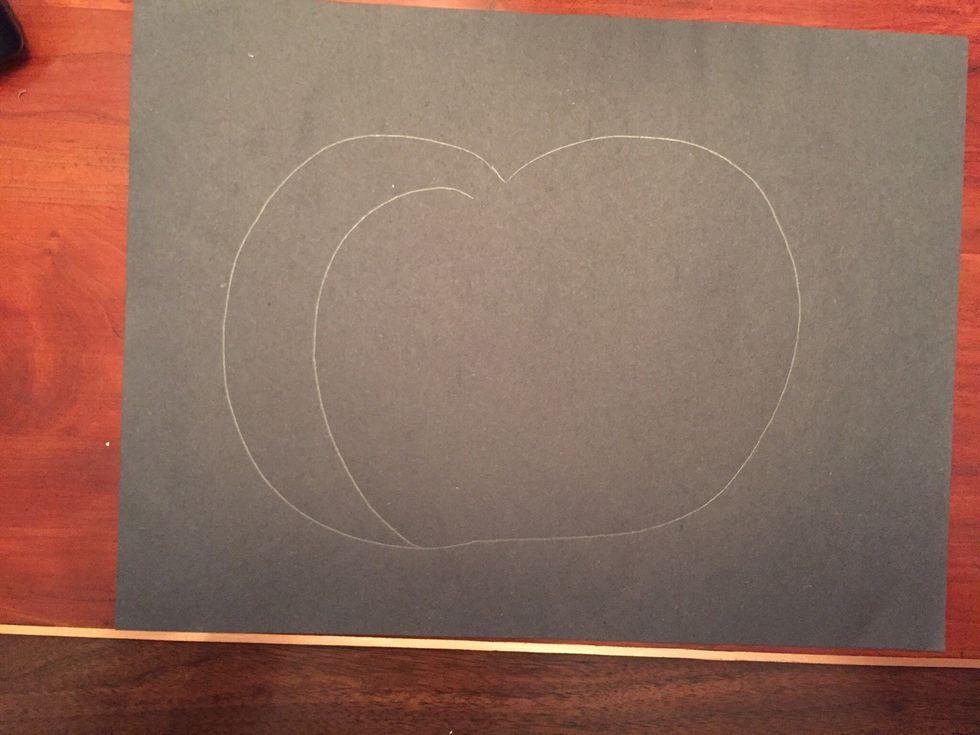
Draw a curved line inside your pumpkin on the left.
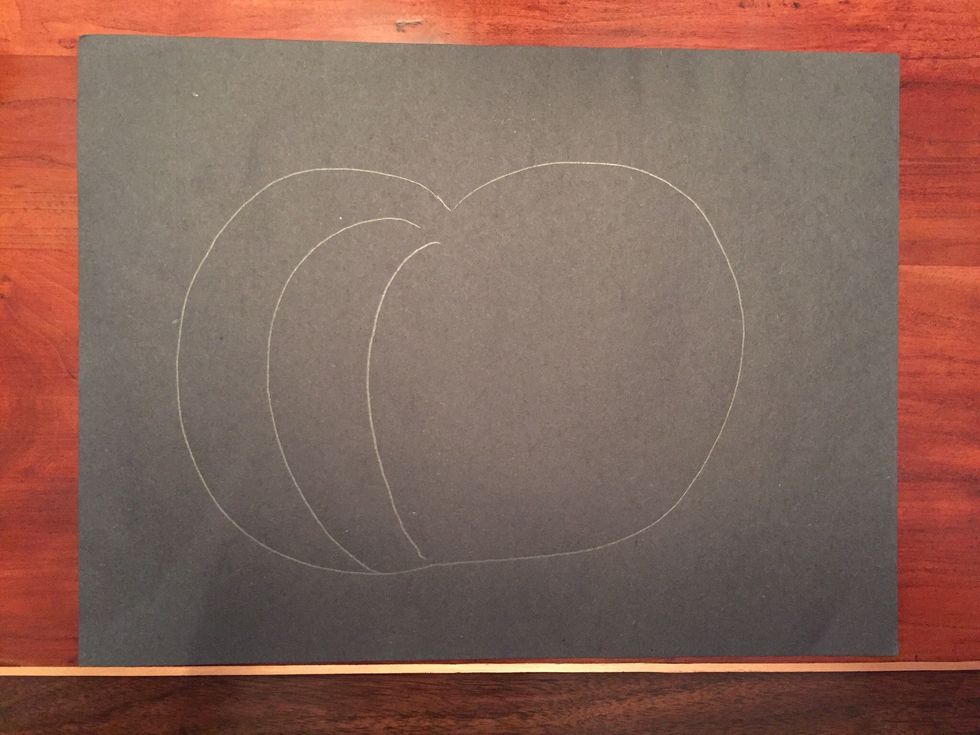
Repeat step 3.
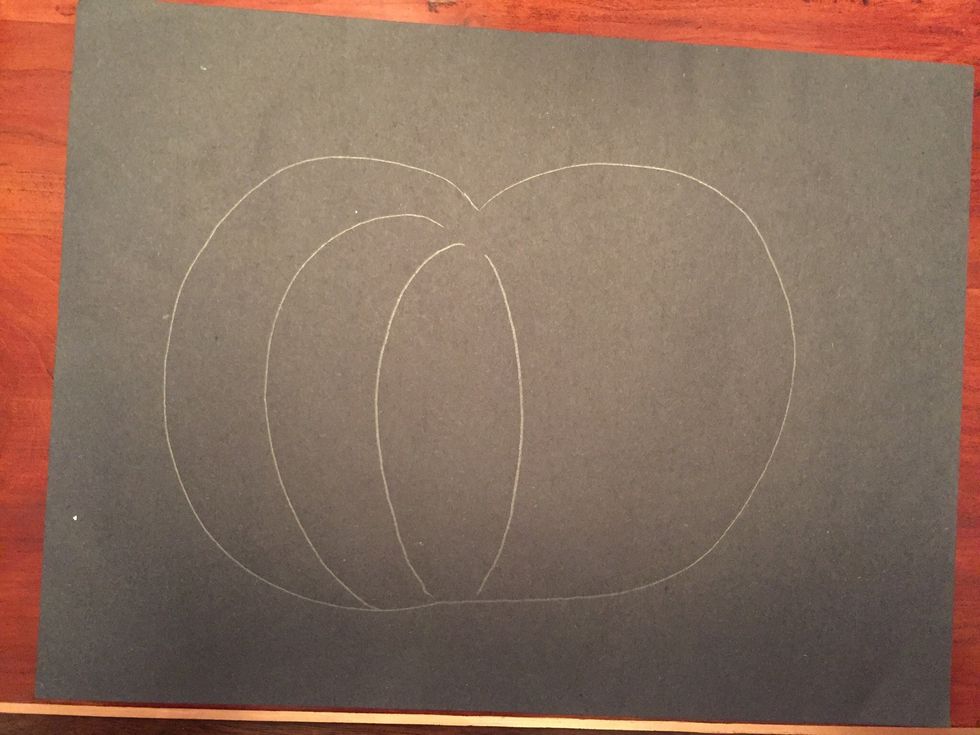
Draw a curved line on the right side of your pumpkin. This line should curve the other way.
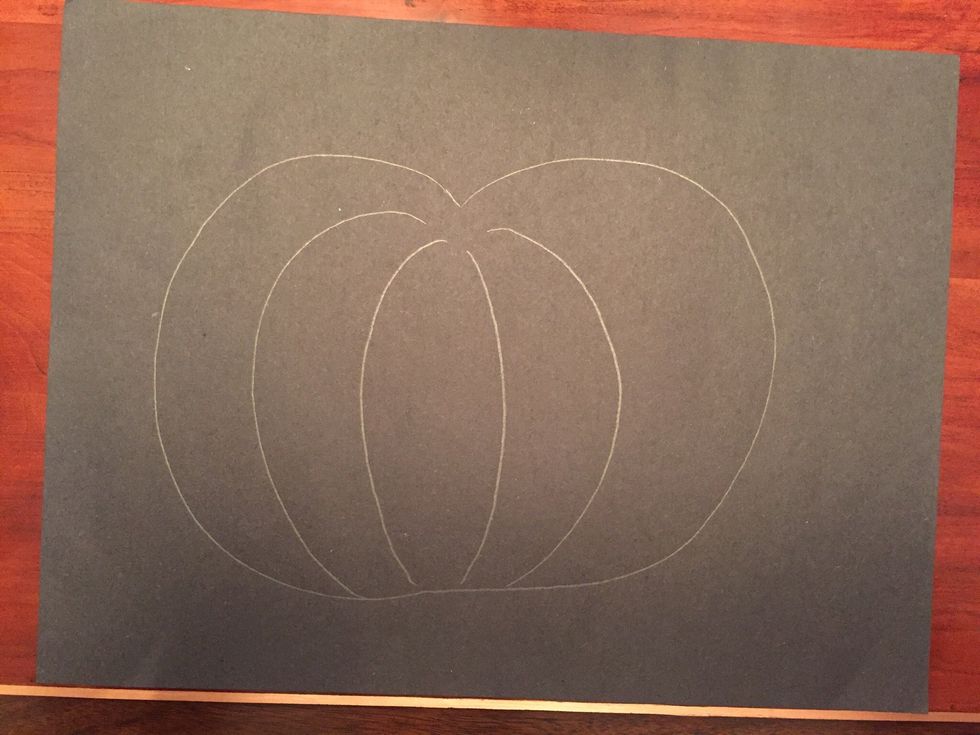
Repeat step 5.
If you have room, add another curved line.
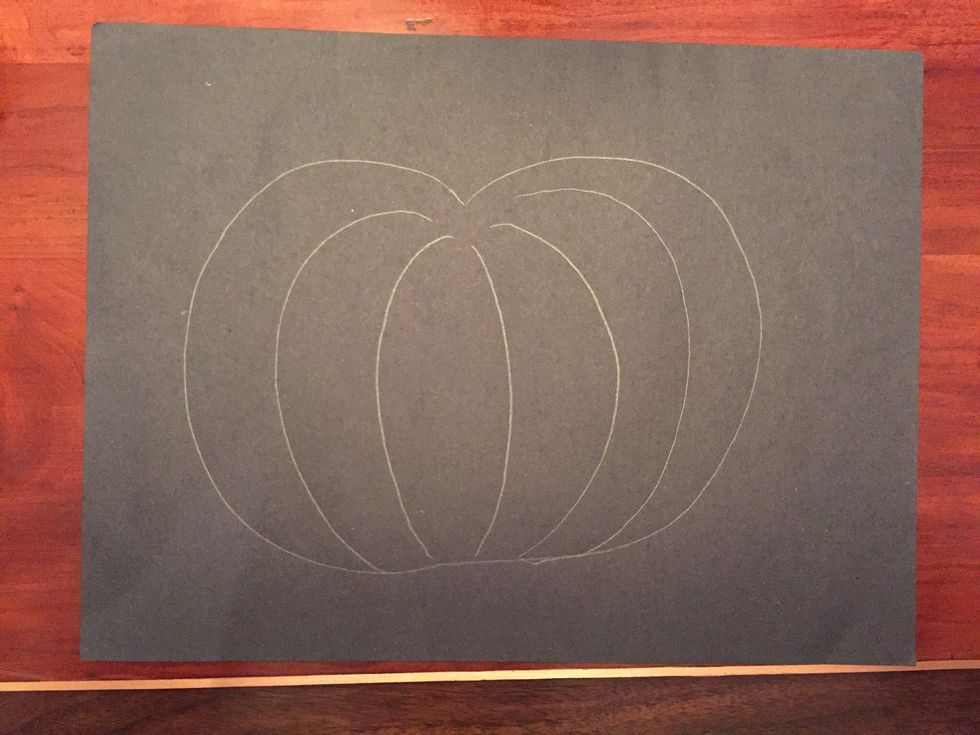
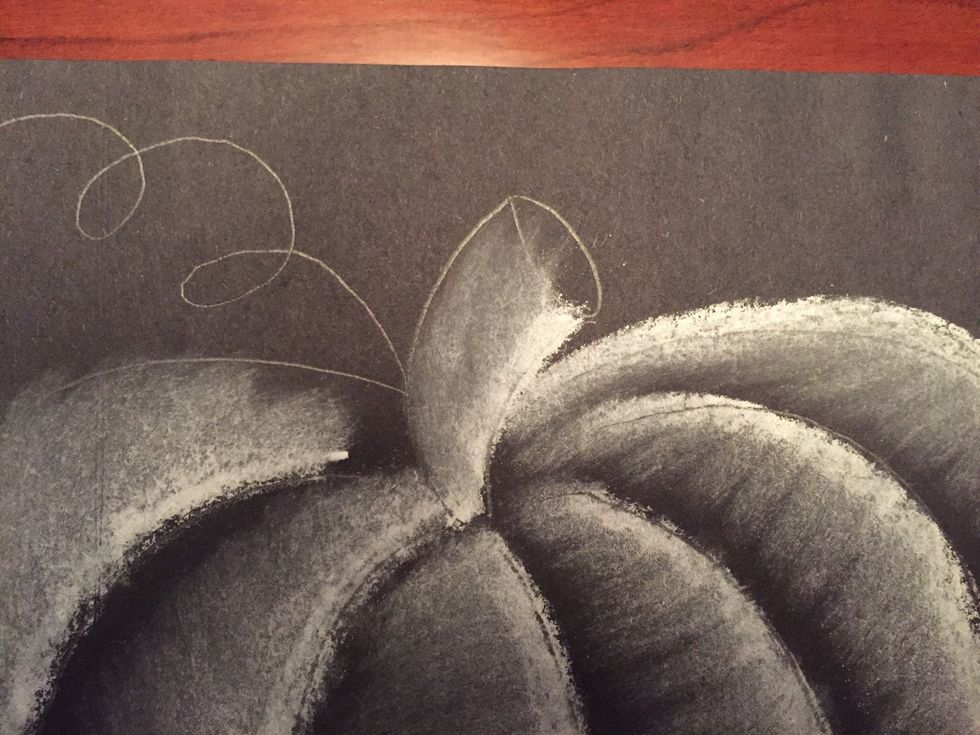
Add a short curved line at the top of your pumpkin.
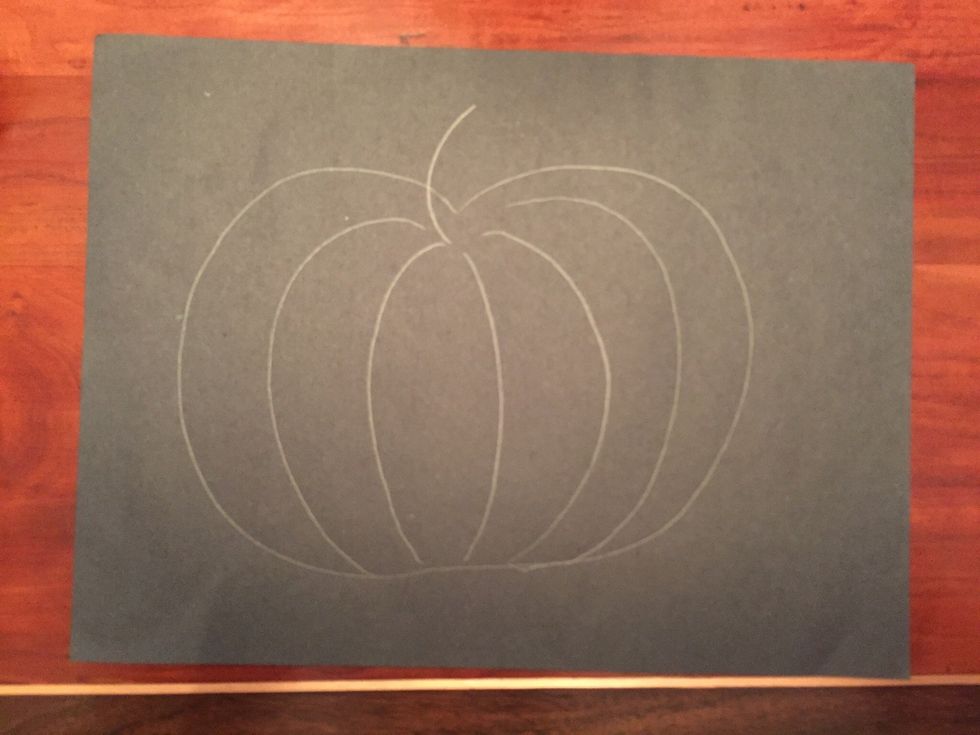
Add an oval to the top of that line.
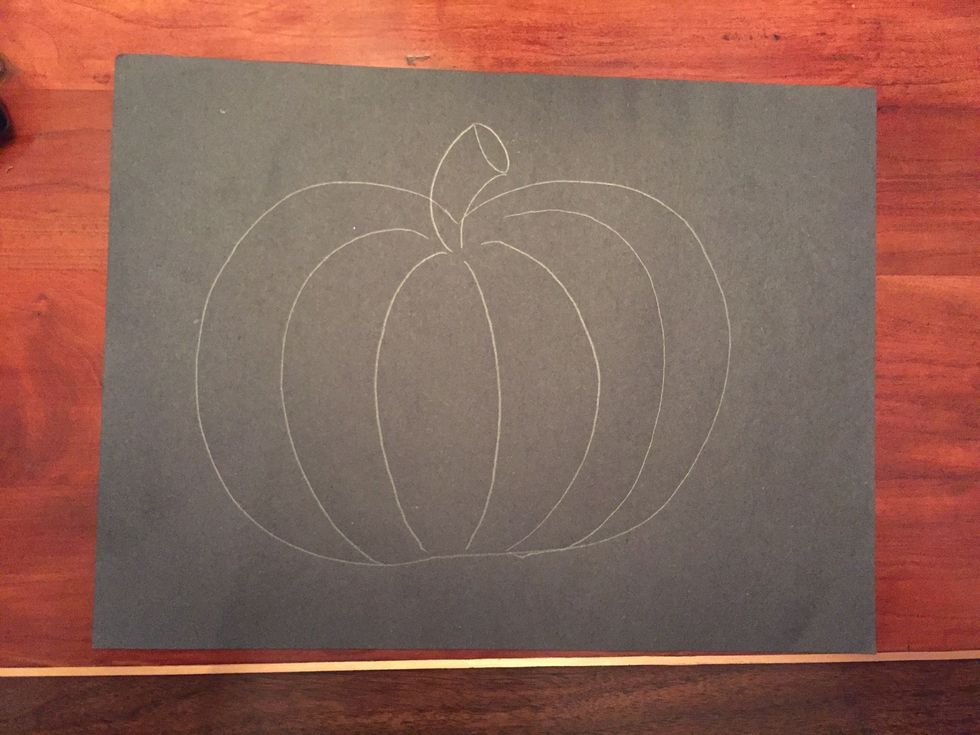
Draw a second curved line on the other side of the oval creating a stem.

Erase the overlap line in your stem.
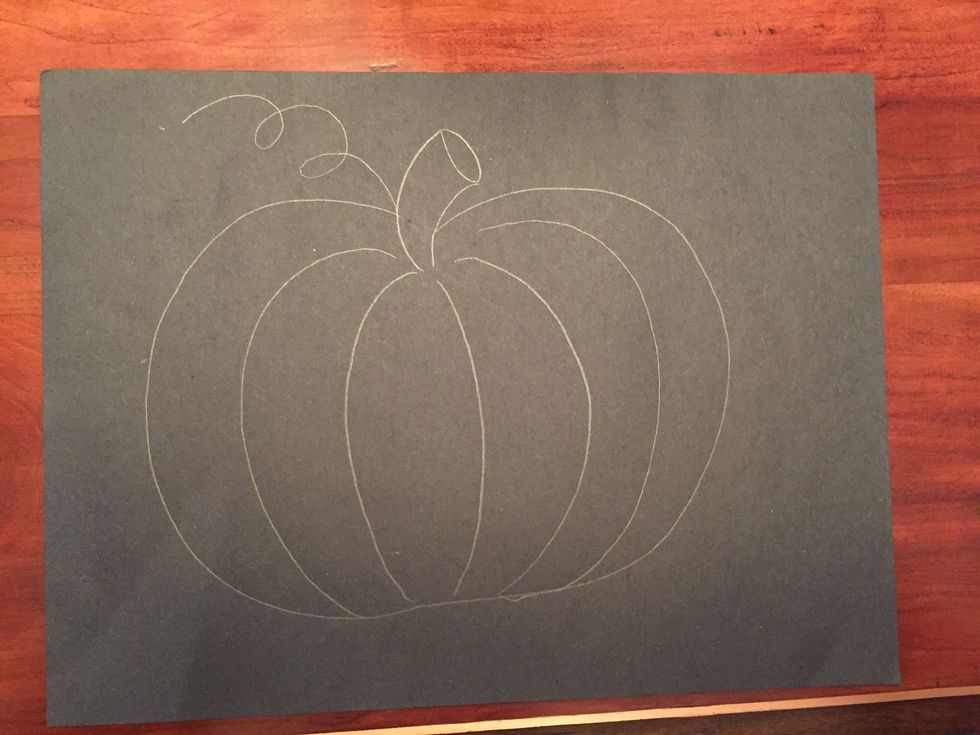
Add a curly vine near your stem.
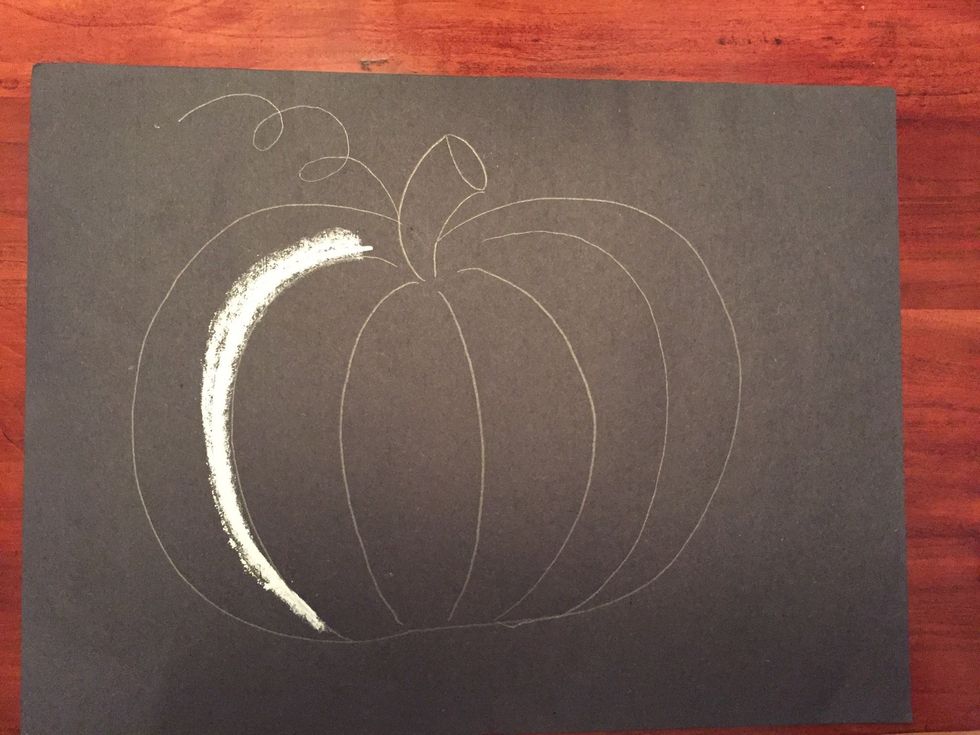
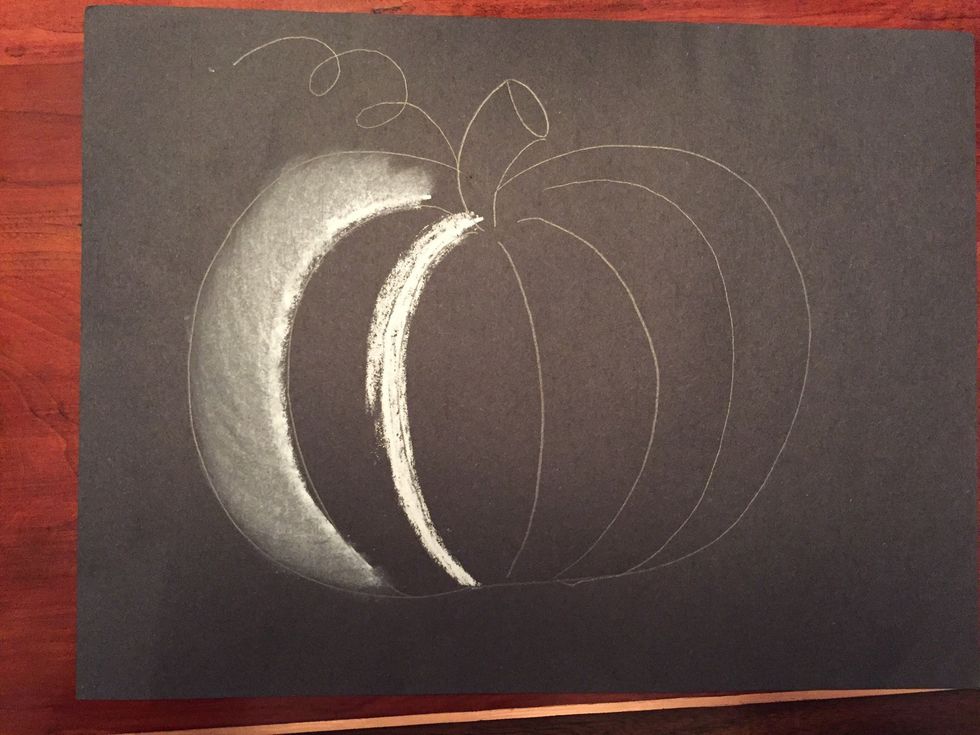
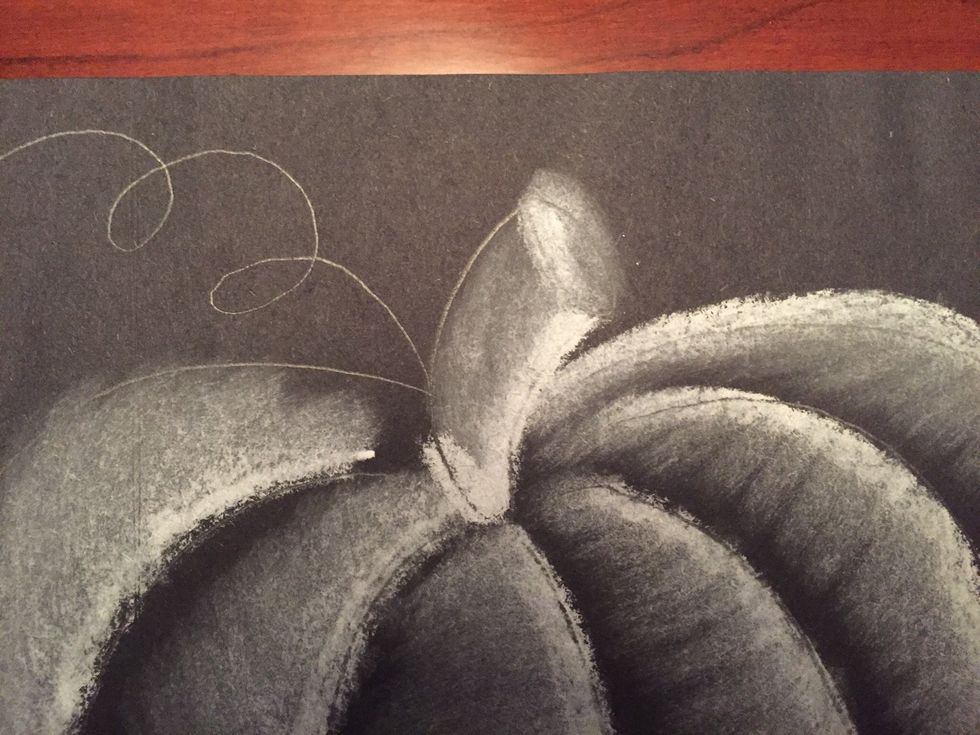
Add white chalk to the first inside curved line.

Use your tissue to blend the white to the left. Leave some black.
Repeat step 13.
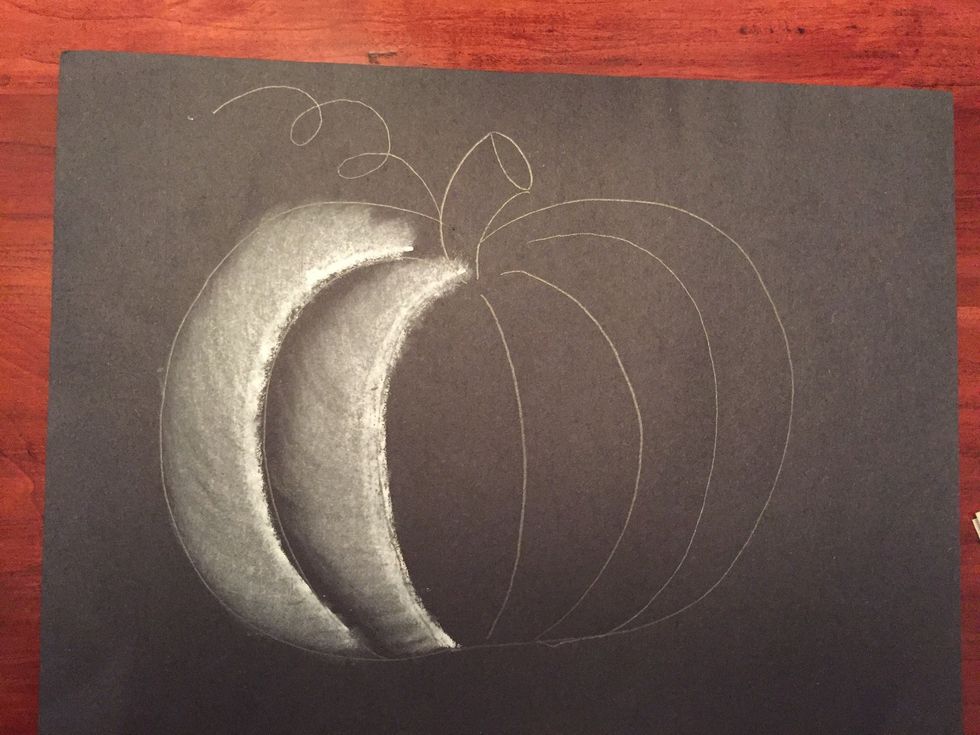
Repeat step 14.
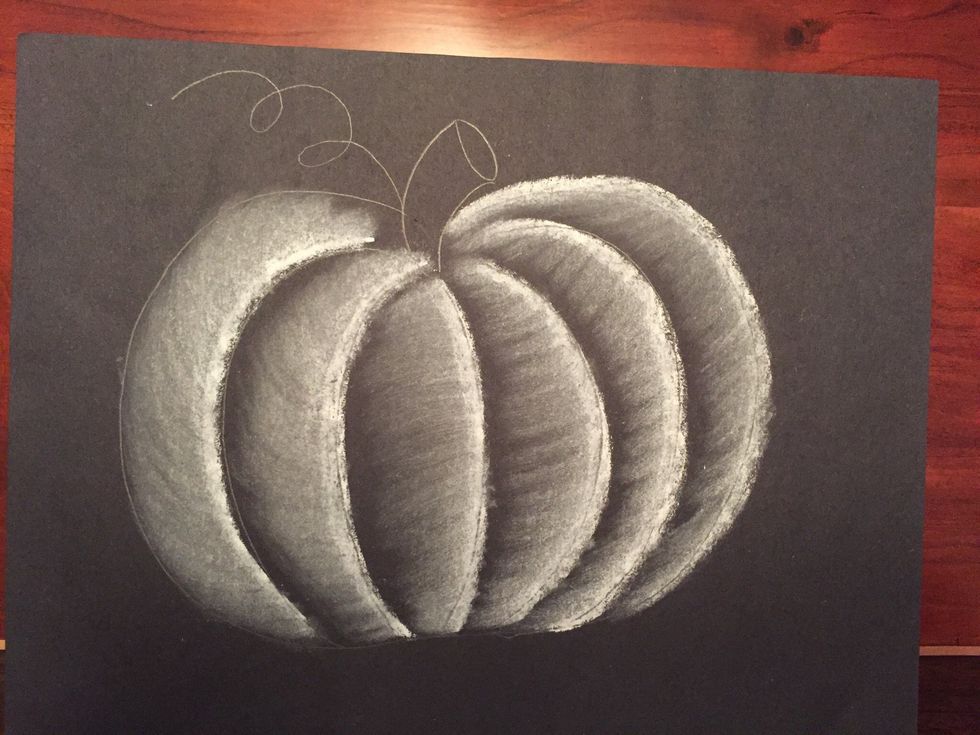
Repeat steps 13 and 14 to fill your pumpkin.
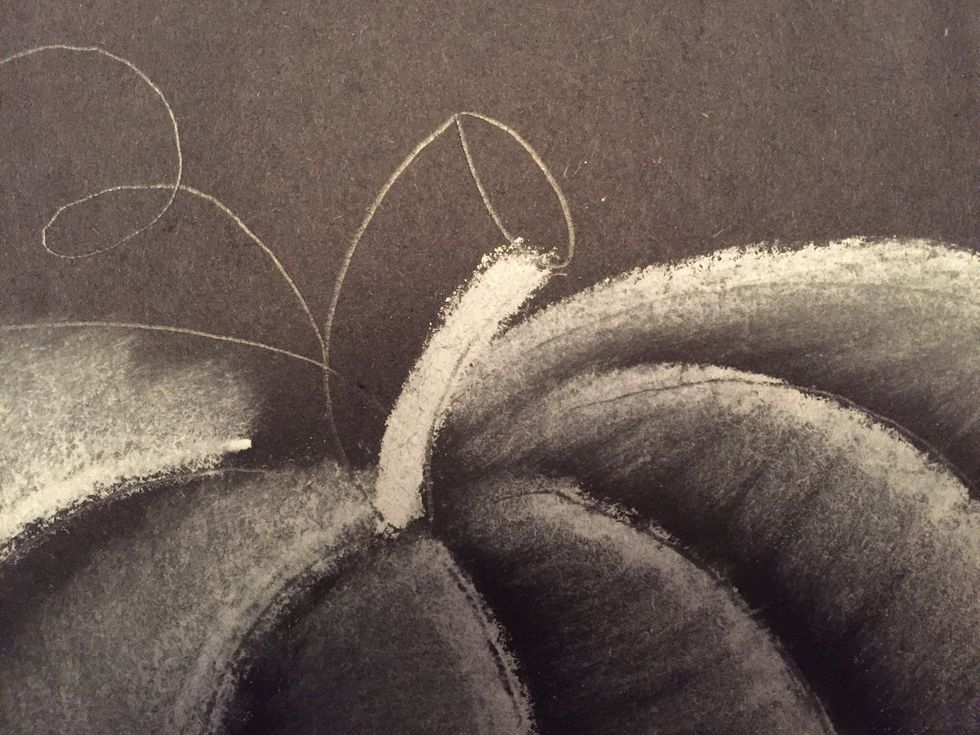
Add white to the right inside your stem.
Blend with tissue.
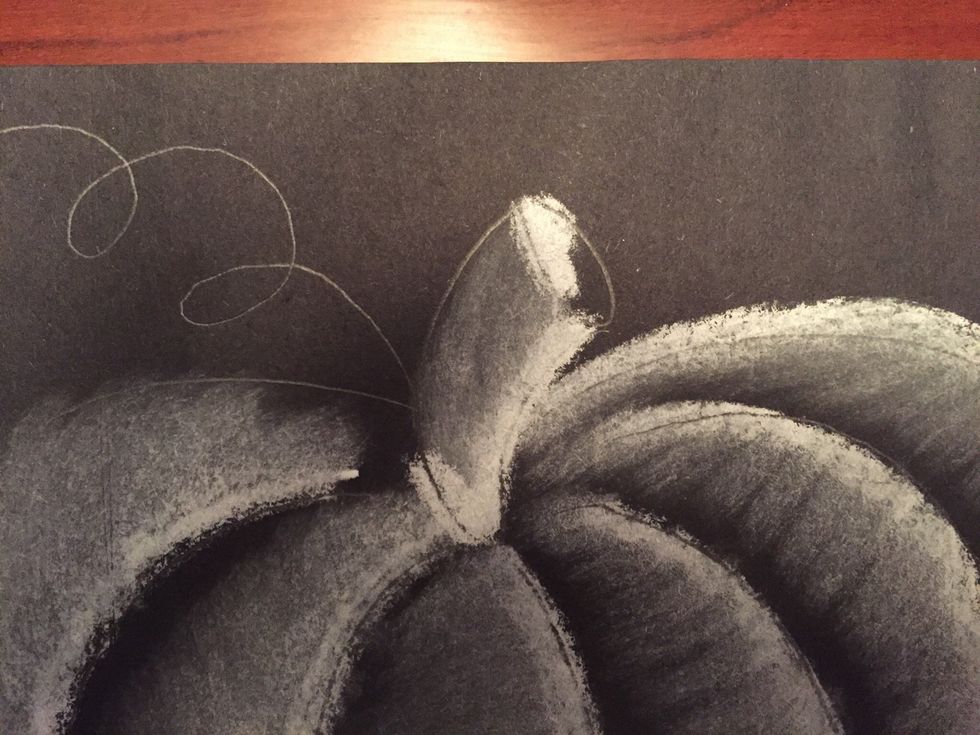
Add white to the top of oval.
Blend with tissue.
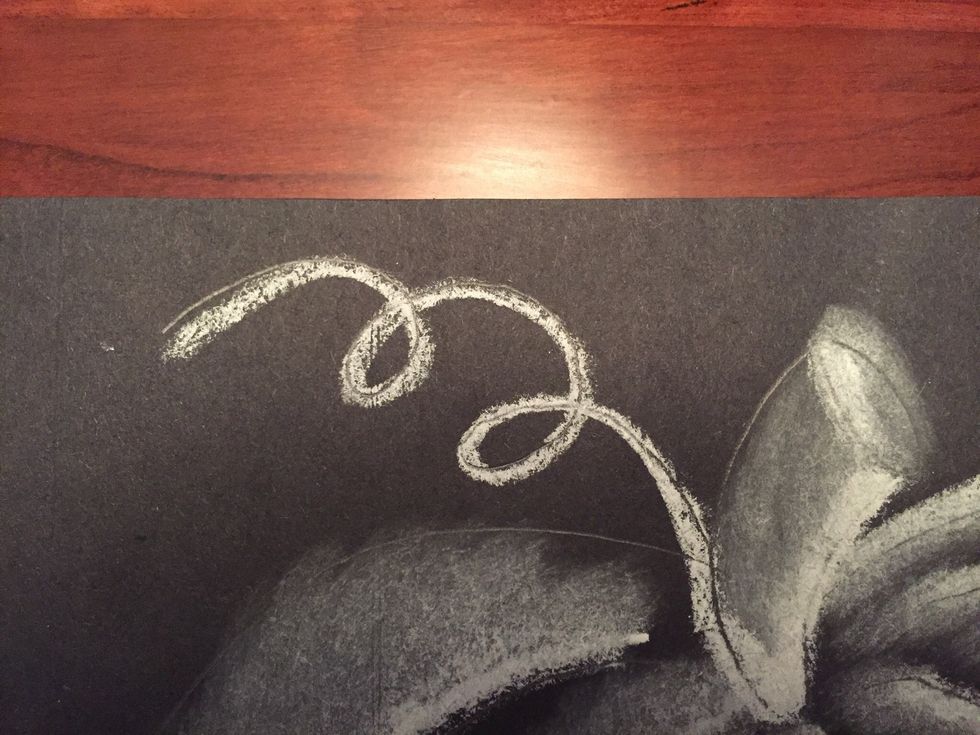
Add white to vine.
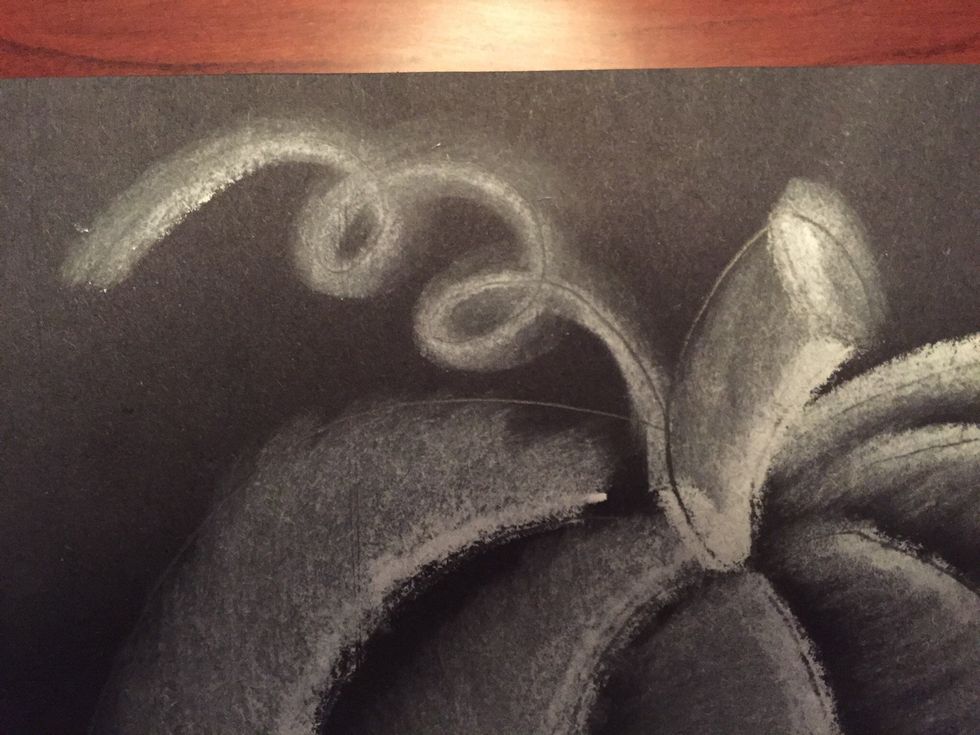
Blend with tissue.
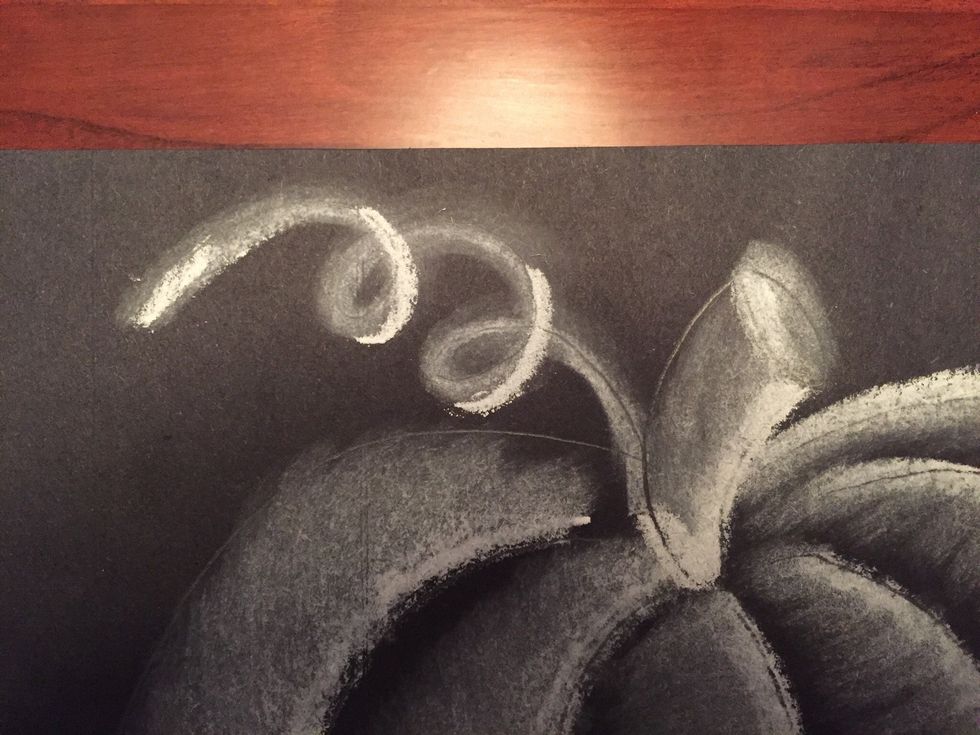
Add bright white highlights to right of loops. Do not blend.
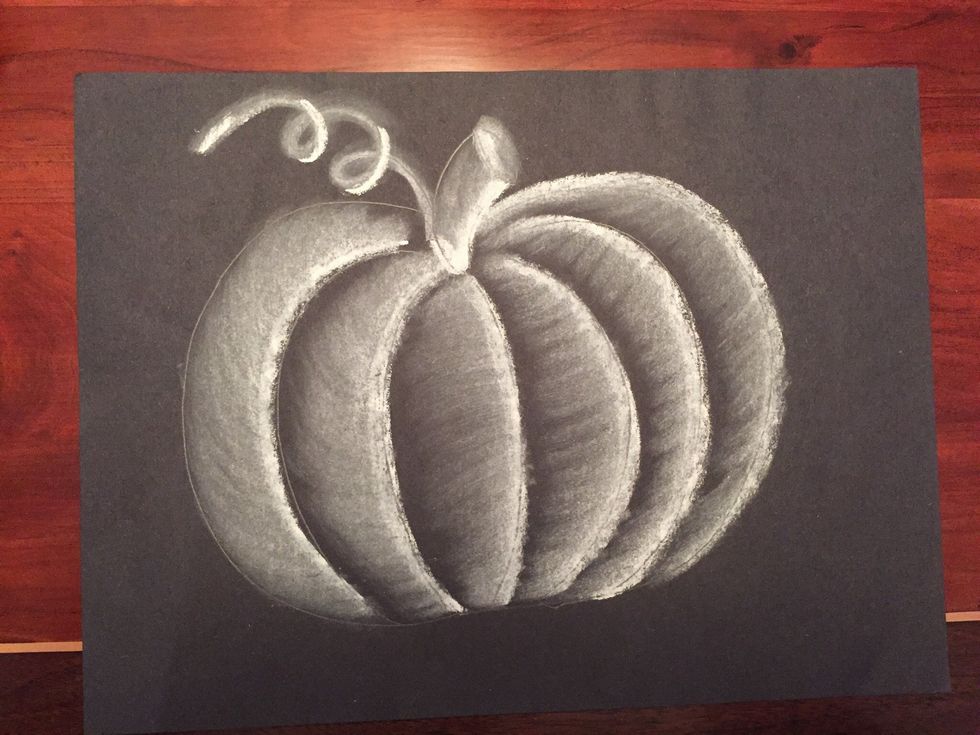
Congratulations! You created a realistic pumpkin with chalk!