The Conversation (0)
Sign Up
This is my second drawing guide to make an eye. Don't look at the first one... That is atrocious. I looked back at it and was petrified on how horrible it was.
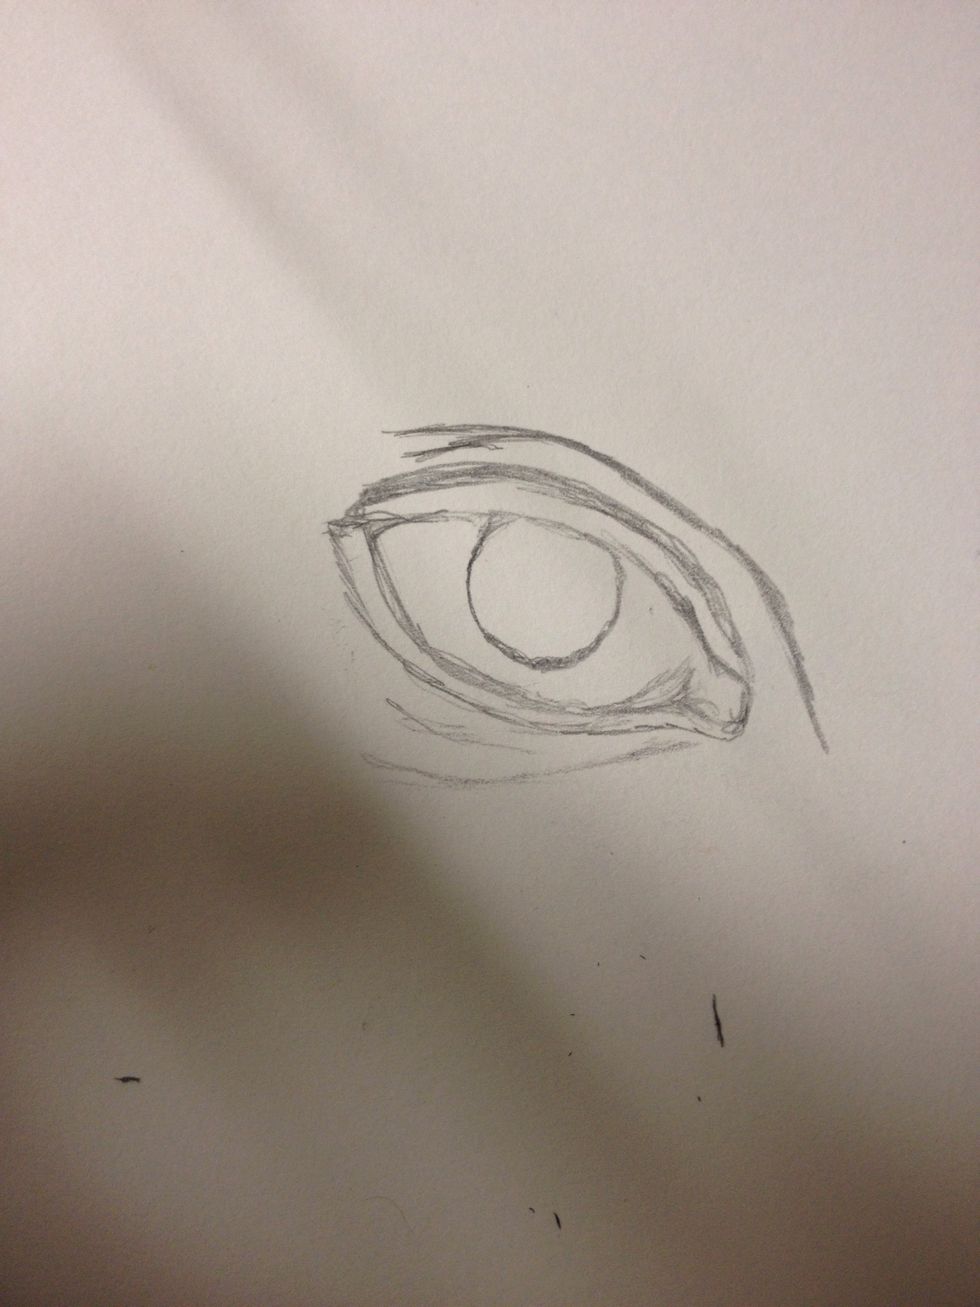
So I forgot to take a picture of the start but it's pretty easy. Make a lemon shaped eye and draw a few crease as an eyelid as shown above.
For the pupil, I planned out where the light "pockets" will be at. The little checks and dashes within the iris is to give more dimension when we shade.
Fill the pupil in avoiding the light pockets. To appear more realistic, do not make the eye pockets random squares.
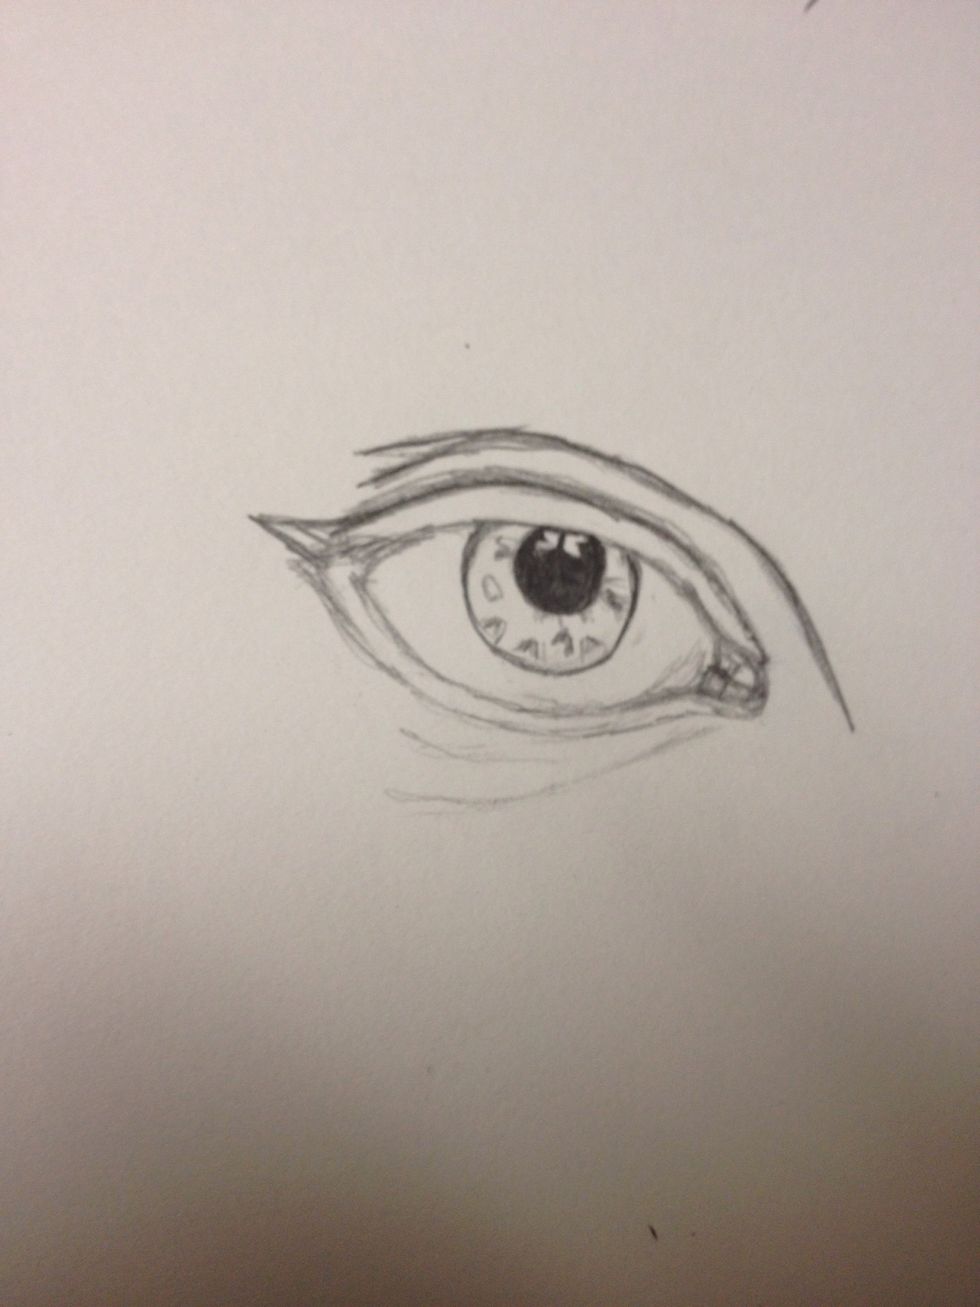
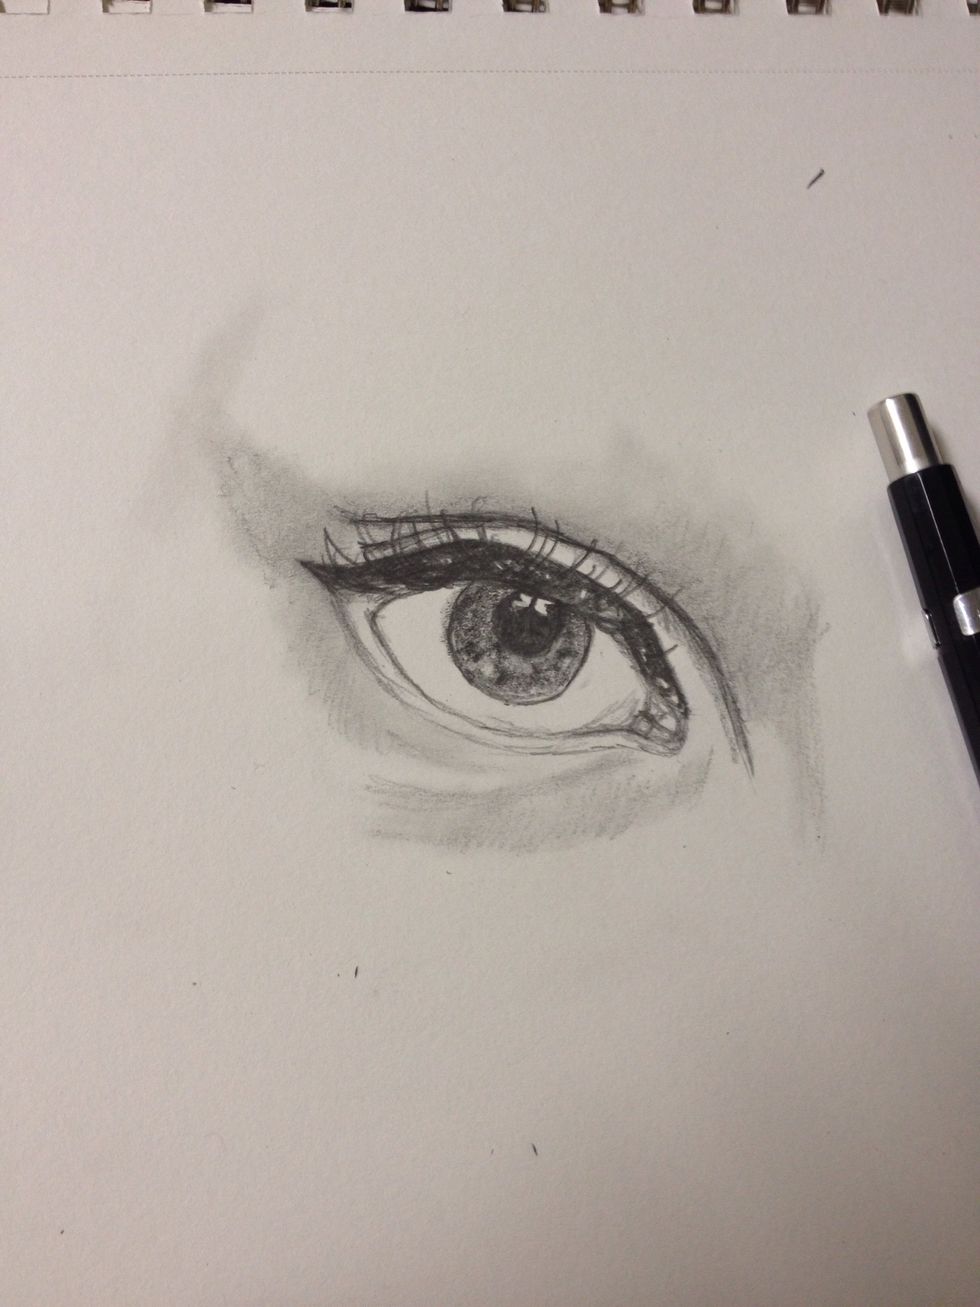
On the first cease above the eye, I added a little Cateye to the top . This will be her eyeliner makeup. I made it dramatic
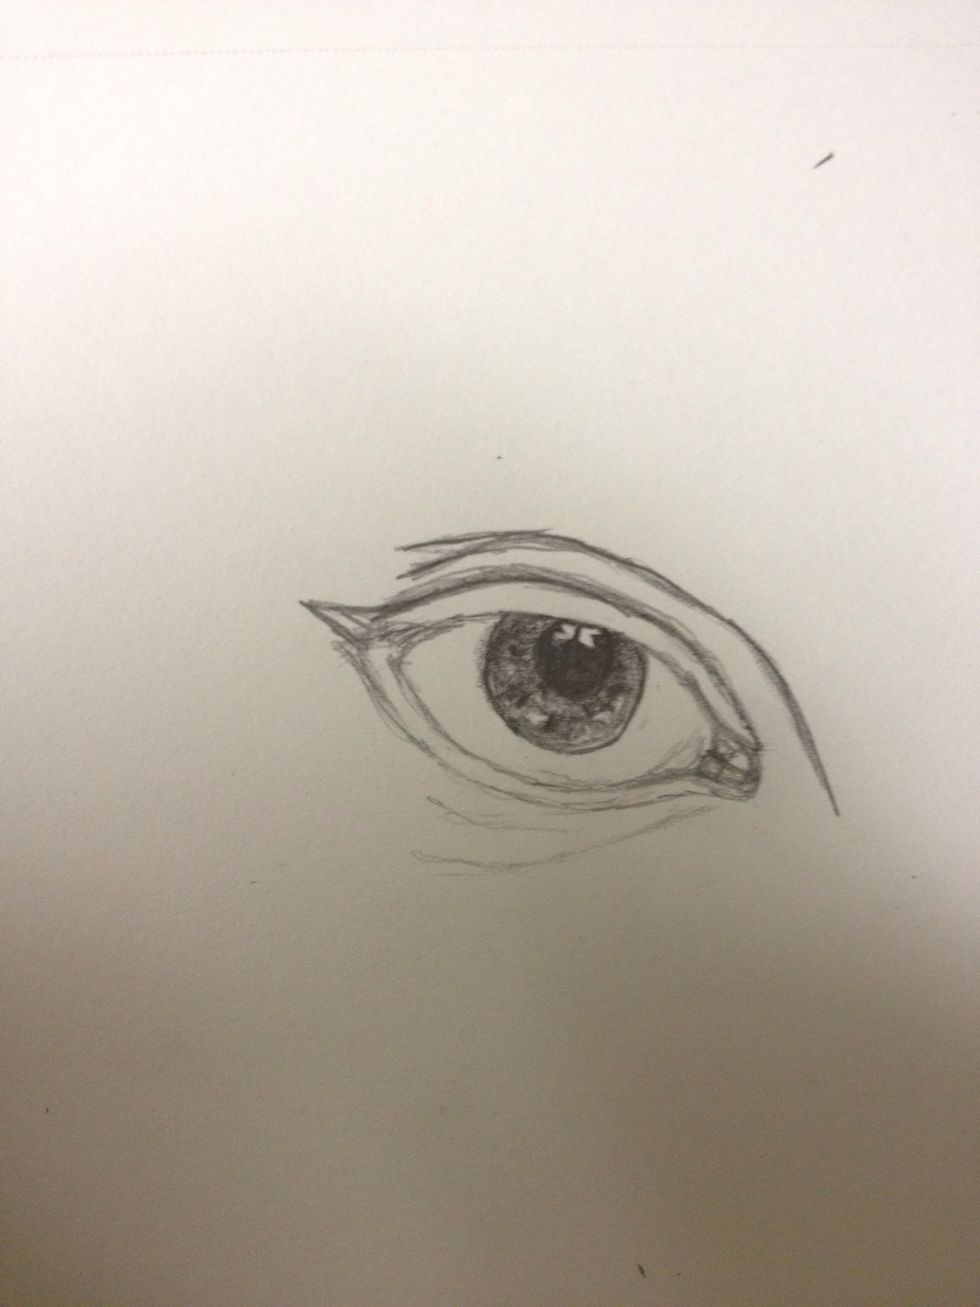
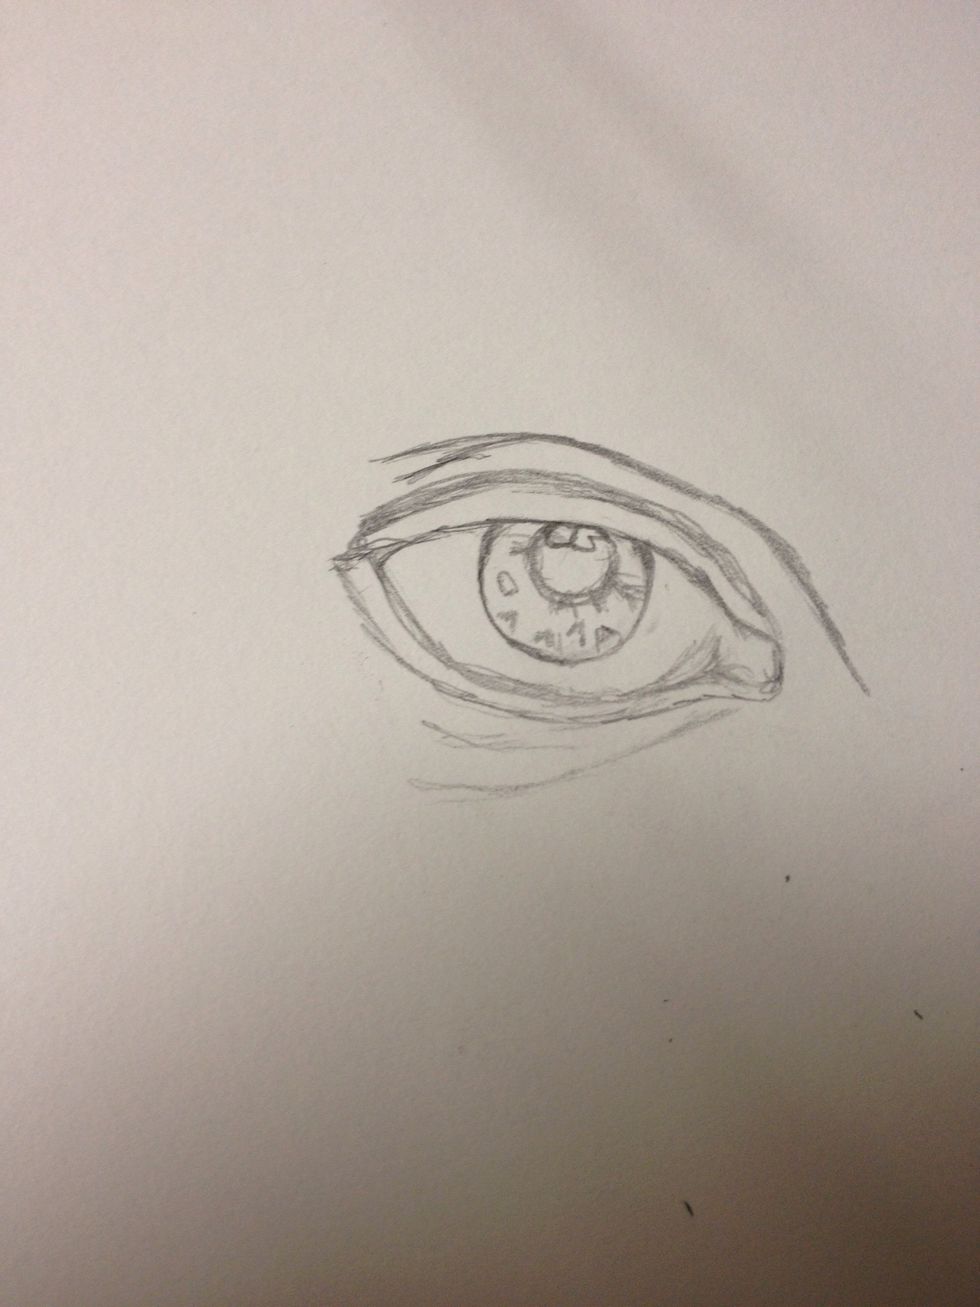
With a 8b or HB pencil, lightly fill/shade the iris
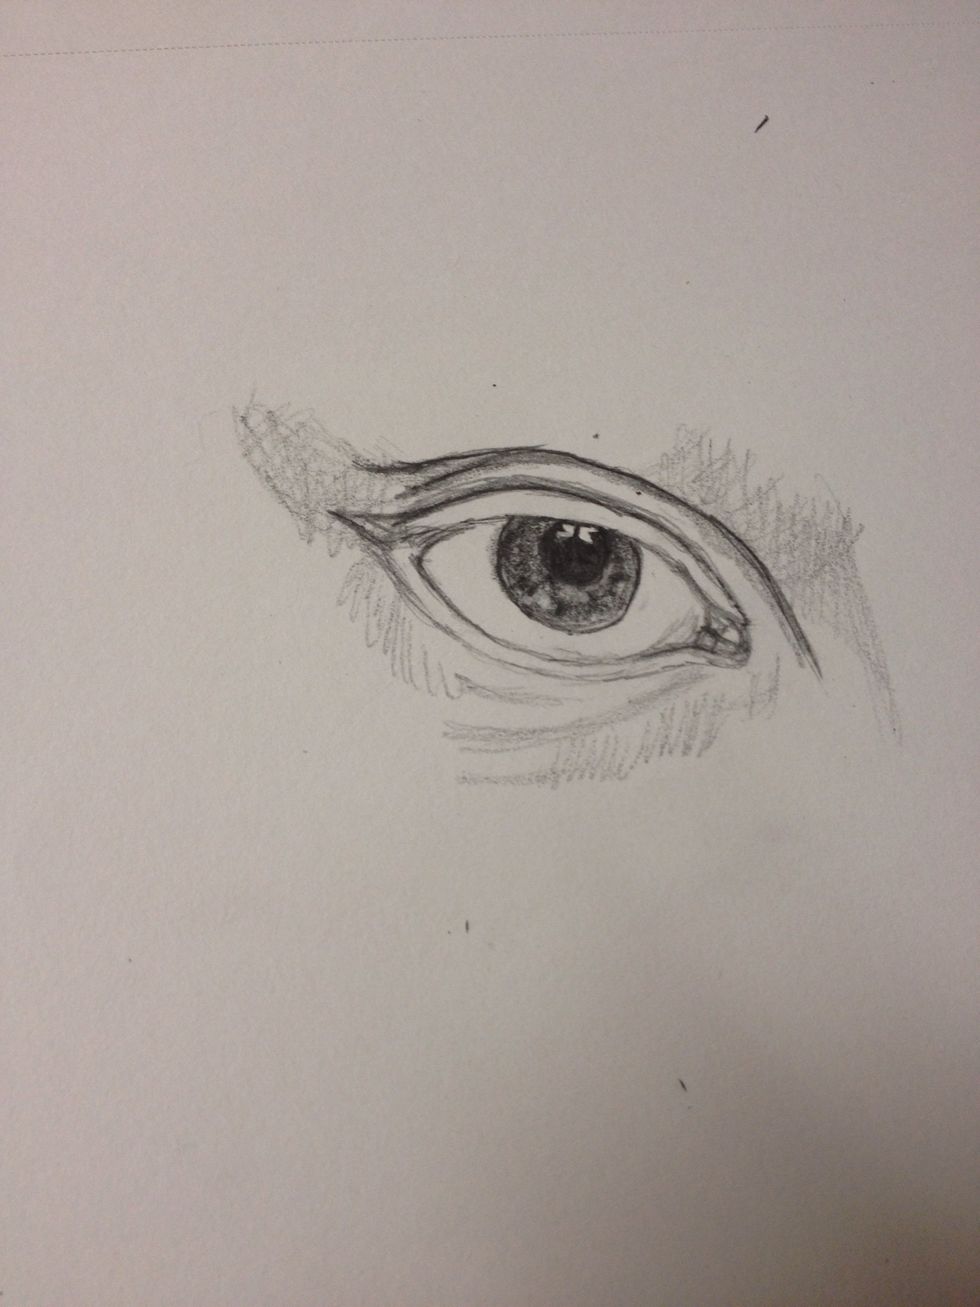
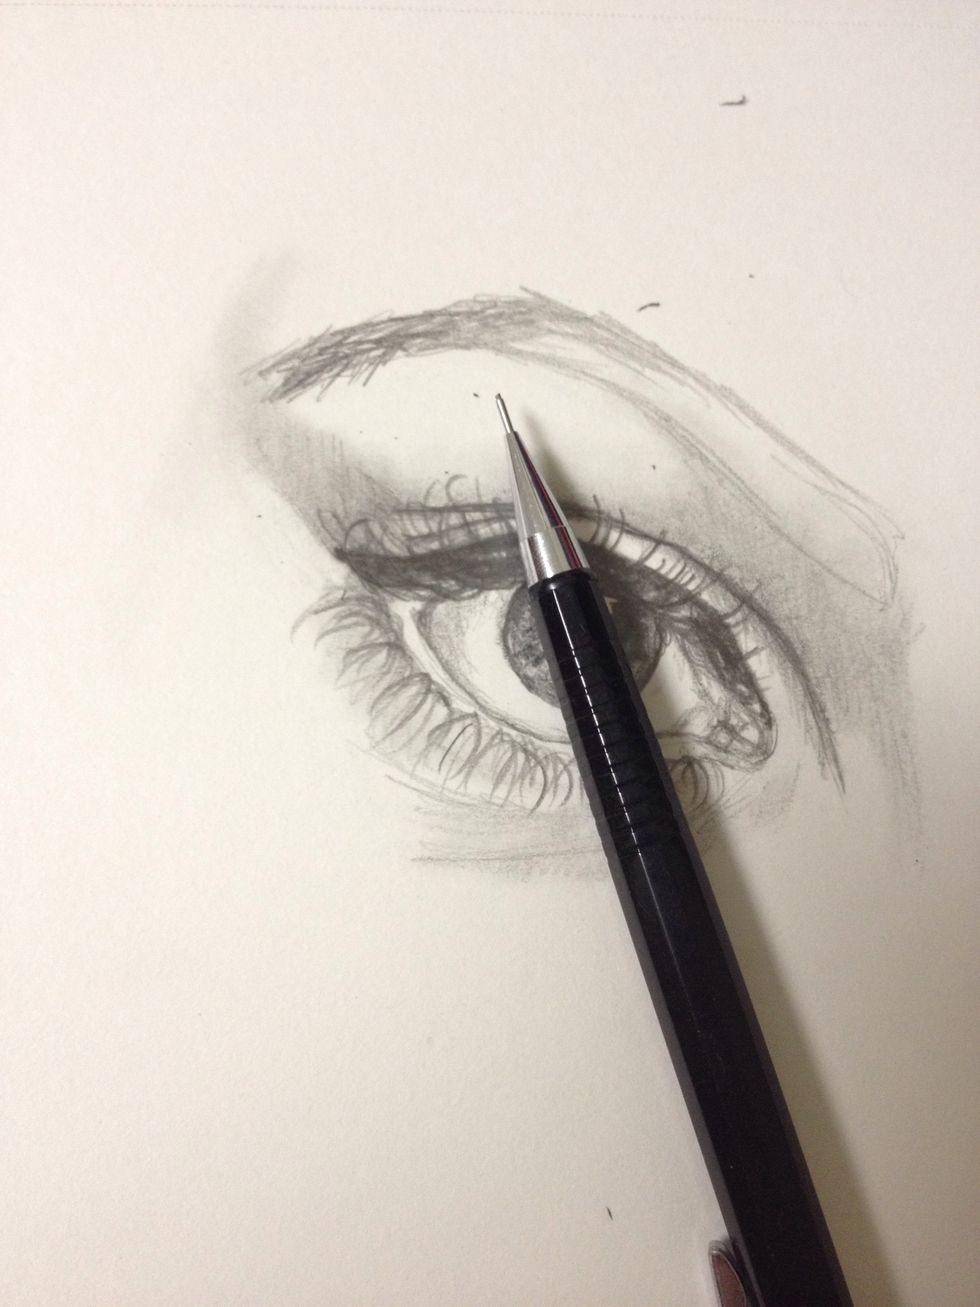
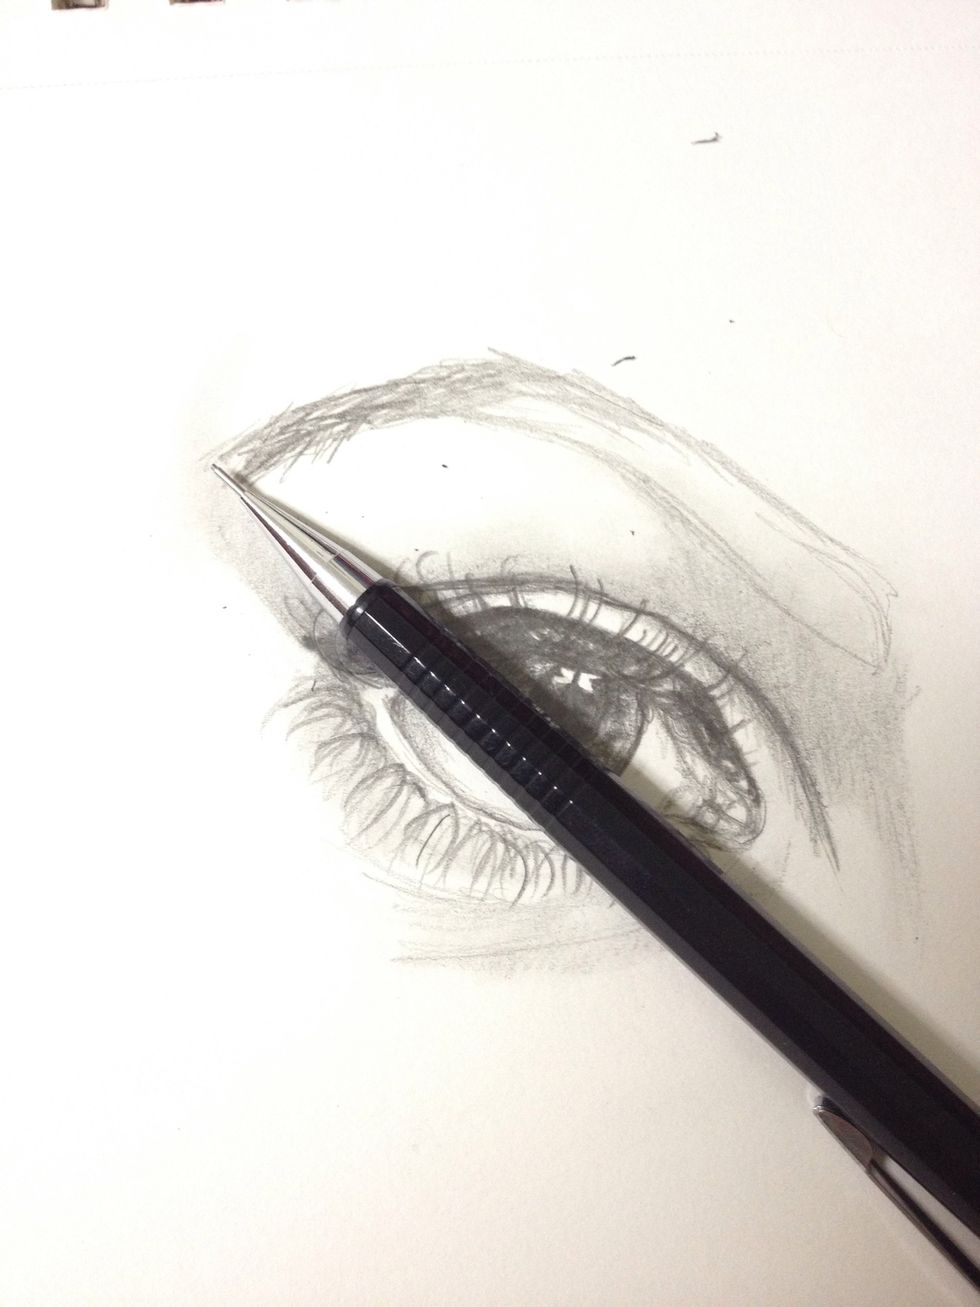
Take a .5 lead pencil and VERY lightly create areas where you will shade. This will be the lids, and brow bone. As well as the bottom eyelid crease.
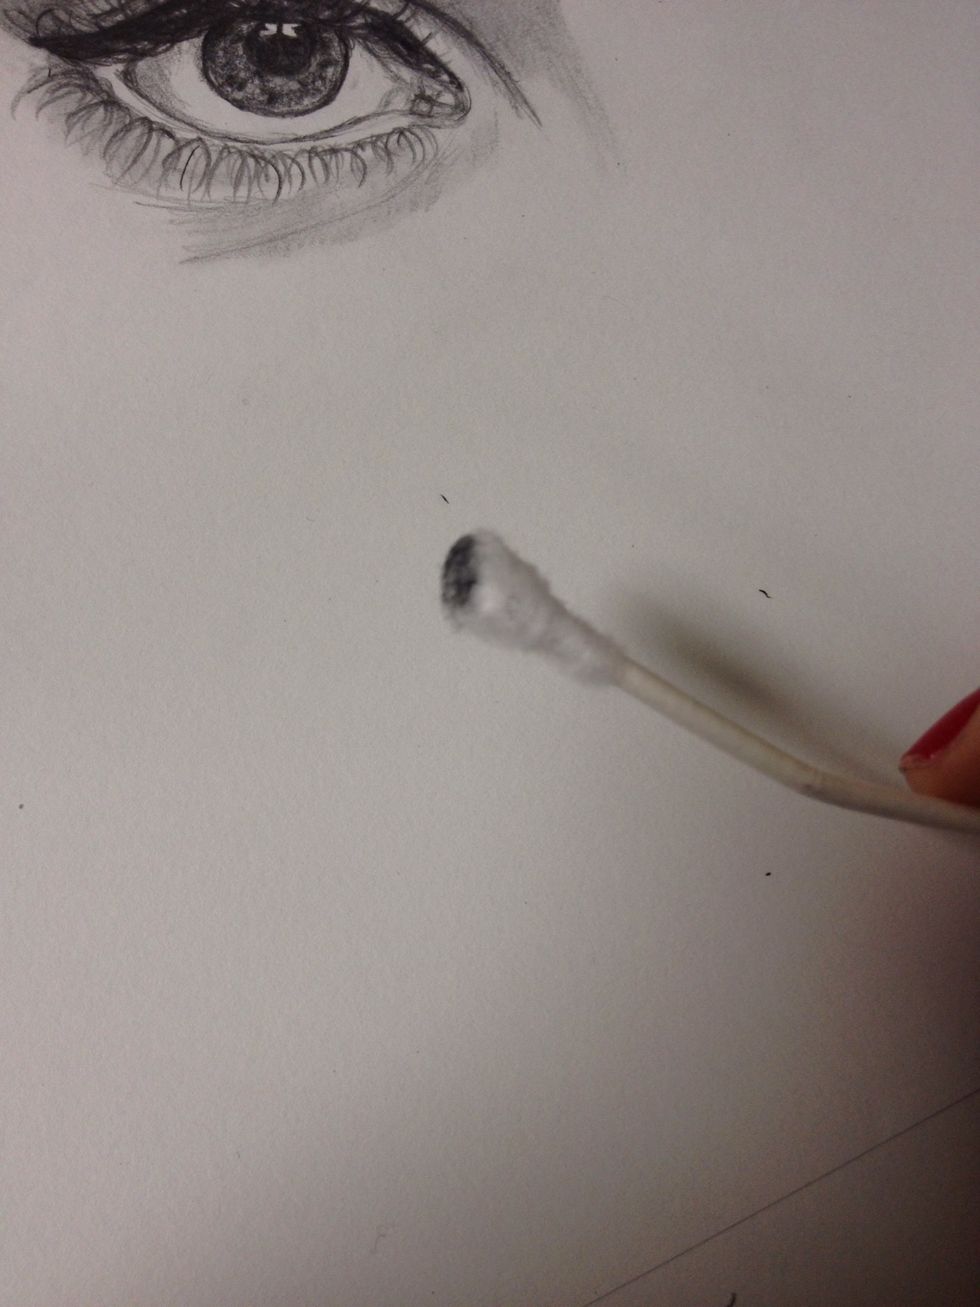
Grab a q-tip/cotton bud and blend the shade marks you created previously.
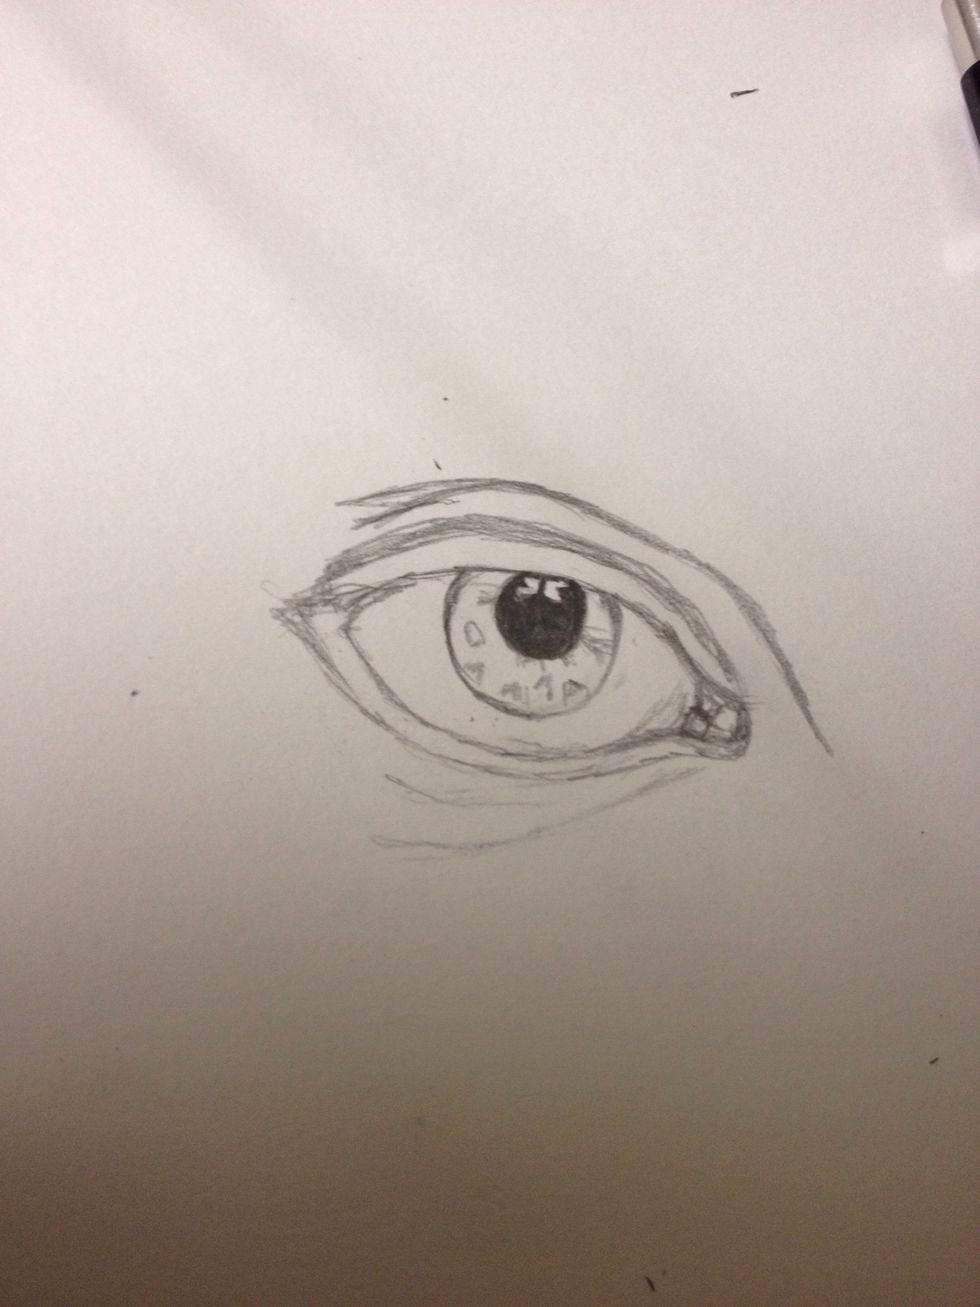
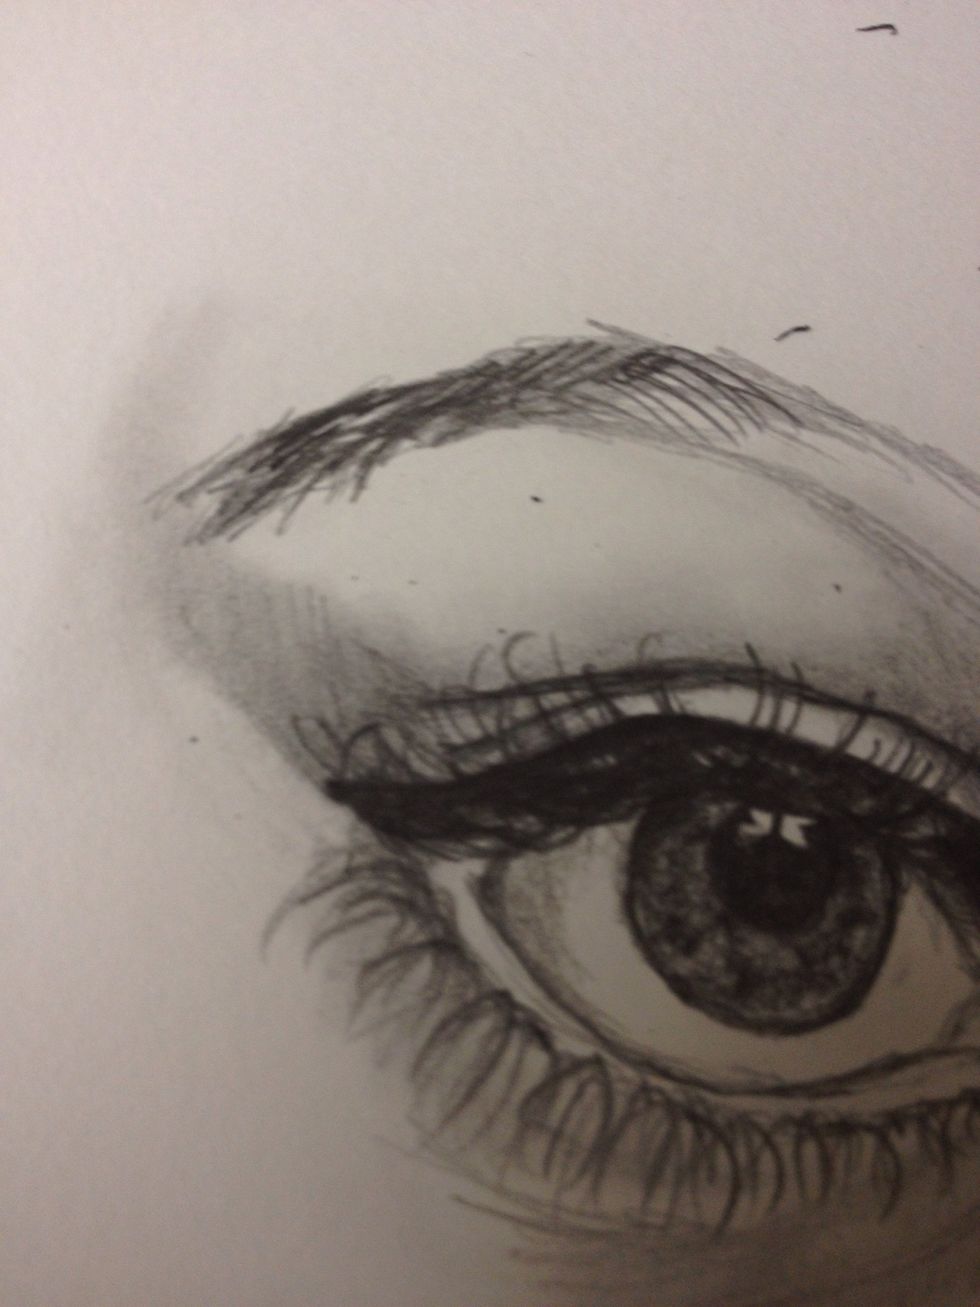
Fill in the eye liner BUT LEAVE WHITE AREAS. Do not completely fill in. This is for light and dimension.
With a .5 lead pencil make lashes. Fast curved flicks that contour around the eye. NO STRAIGHT LINES.
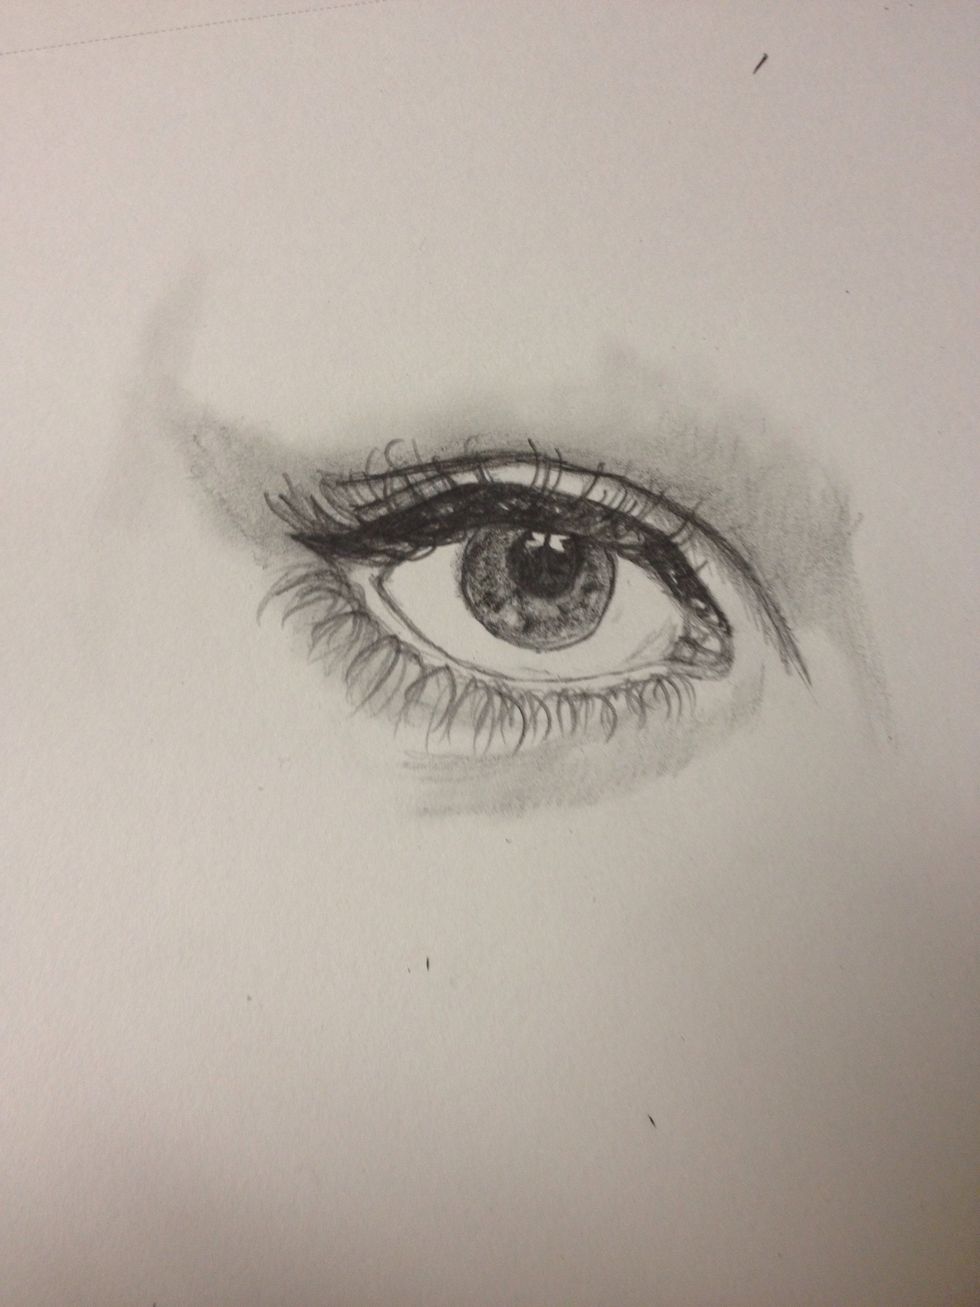
Same thing applies to bottom lashes but remember the lashes are smaller when it reaches the corner of the eye.
Darken any crease line created and run the q-tip to smudge. Shade the eyeball itself by lightly running the q-tip in the corners. I planned out where the eyebrow will be with the q-tip.
--->
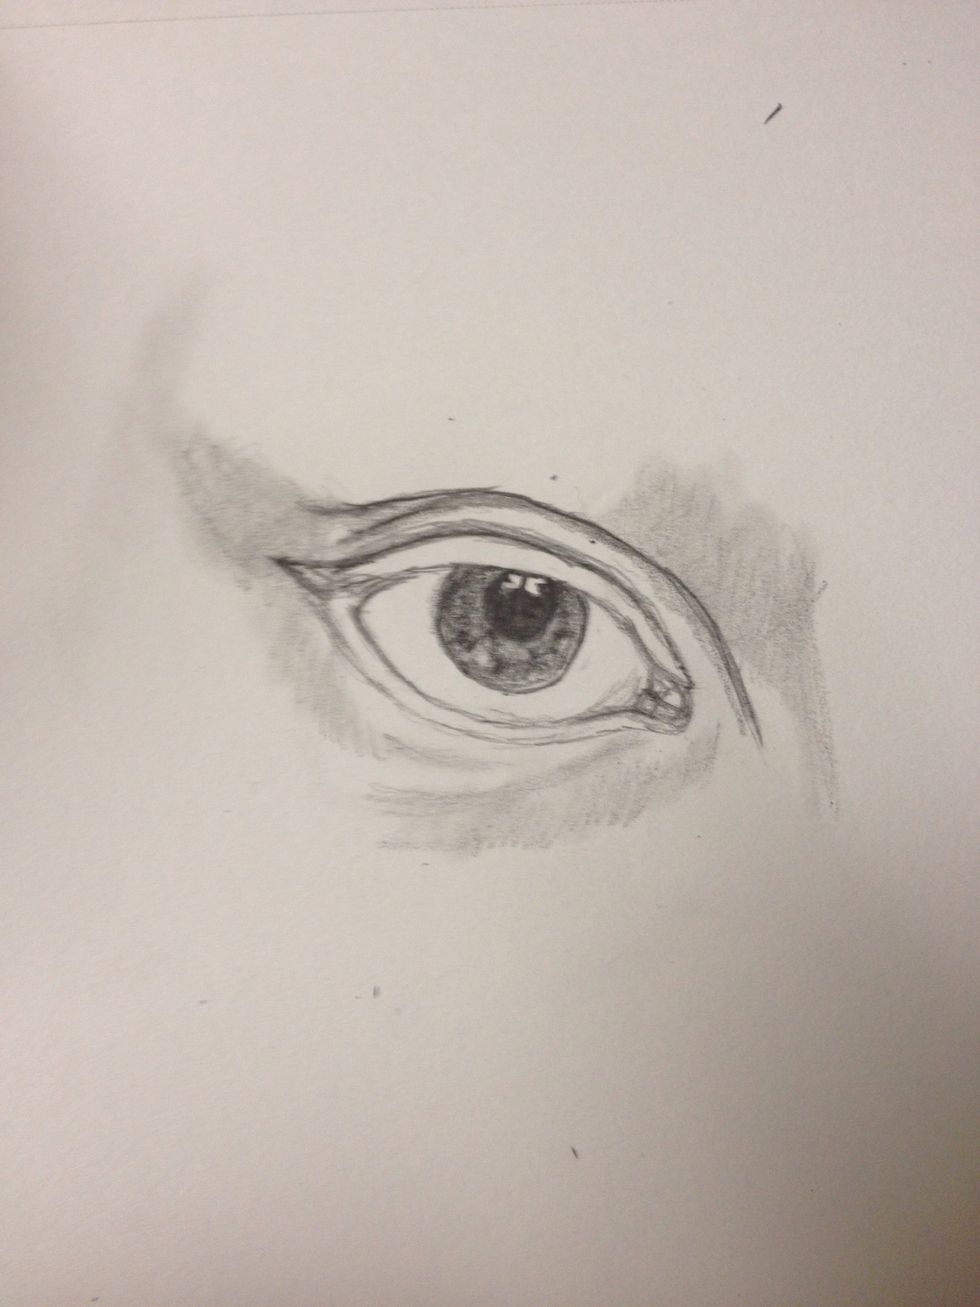
Lightly plan the shape of the eyebrow. --->
The arch should be diagonal to the pupil
The end of the eyeball should be where the eyebrow stops
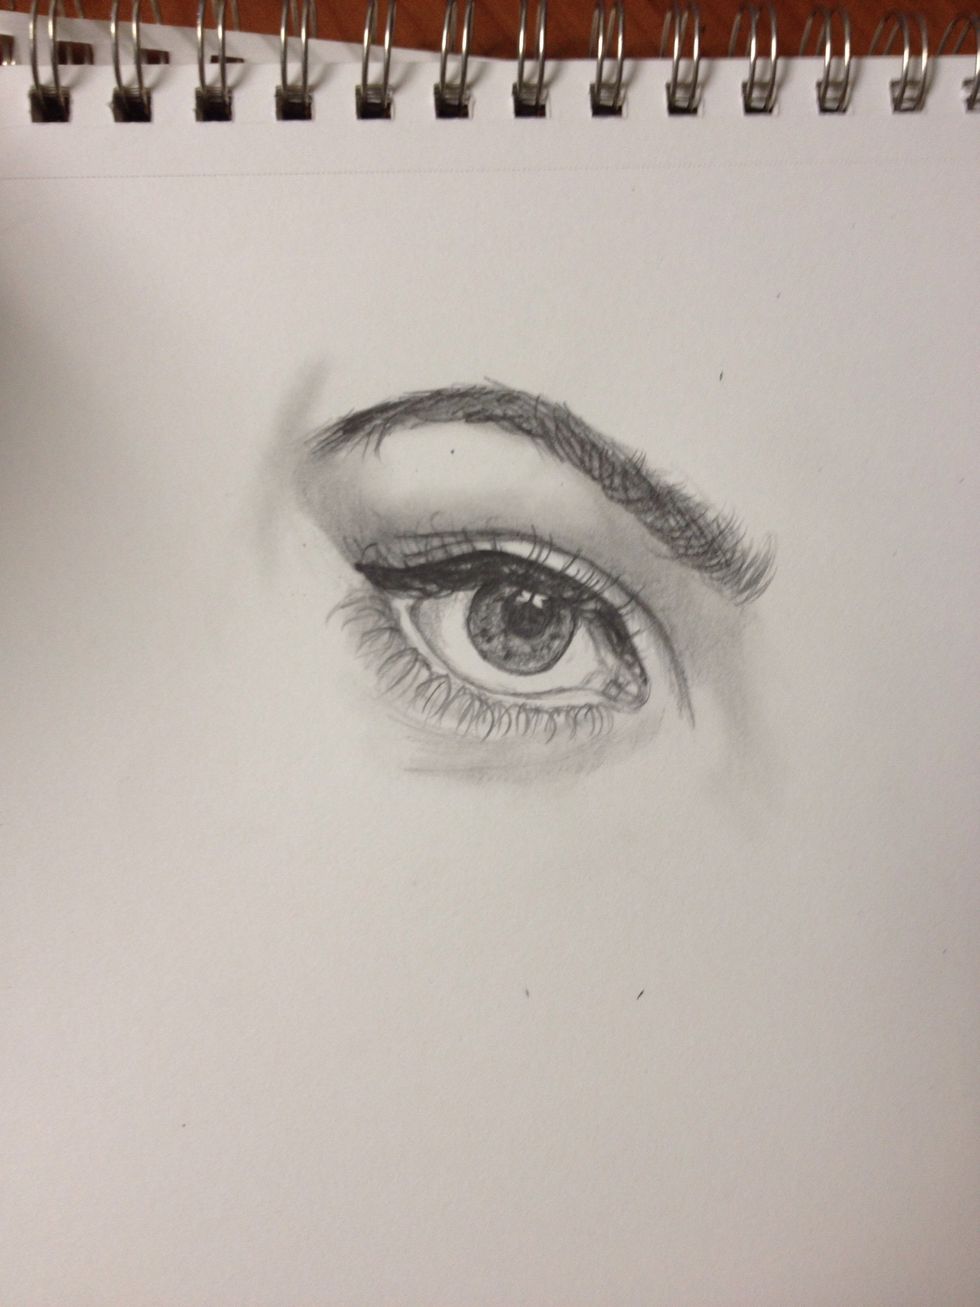
With short flicks start to mimic eyebrow hairs. Since they do not all grow in the same direction, they are relatively easier to make.
At the front of the brow draw slightly larger hairs.
With a dark pencil start to fill the eyebrow. I ended up extending the length of the behind of the brow.
Add more hair!
---->
Take the same q-tip and run it through the eyebrow once.
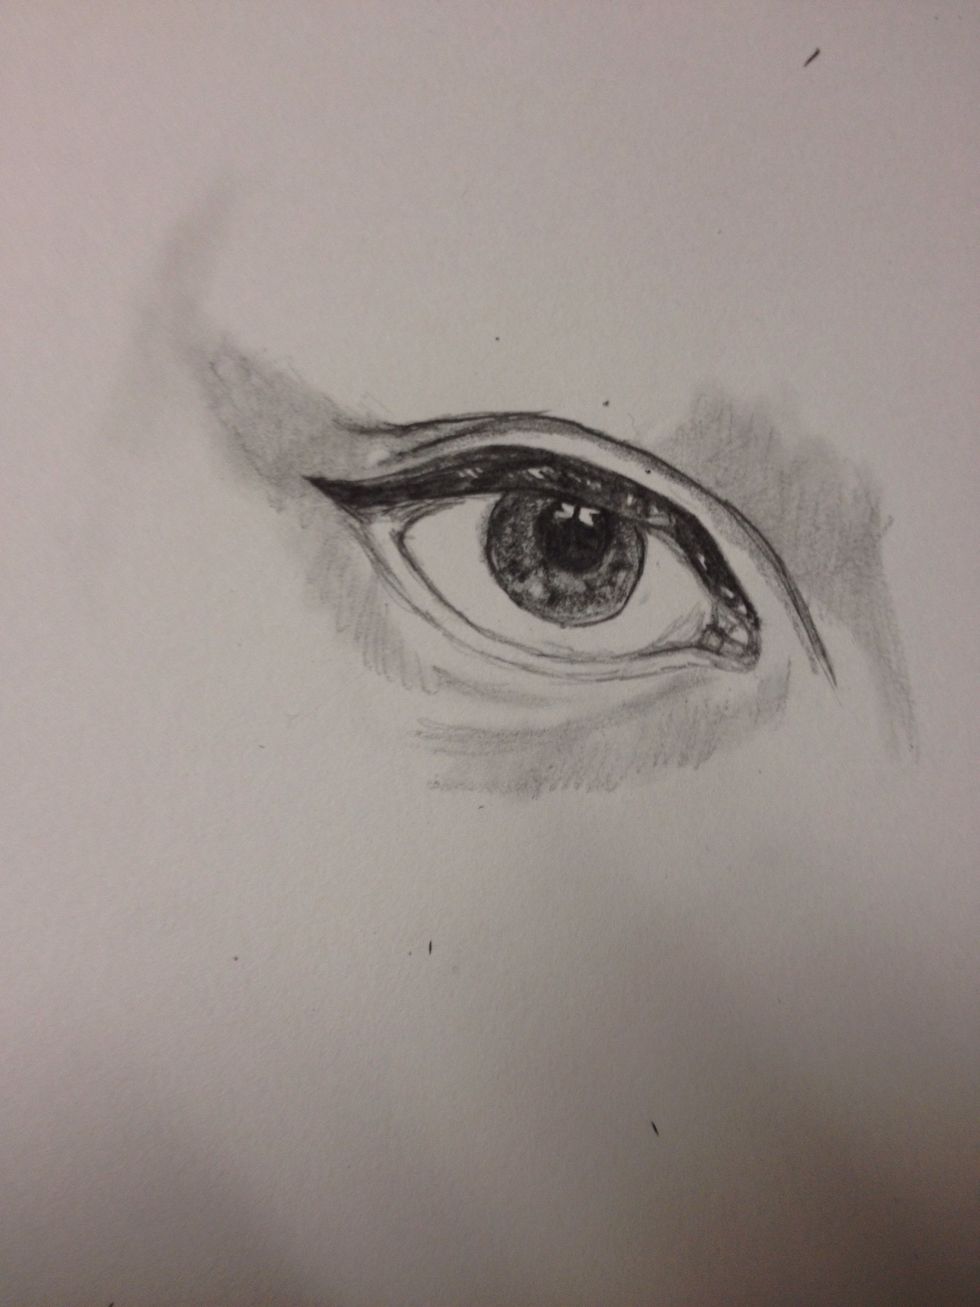
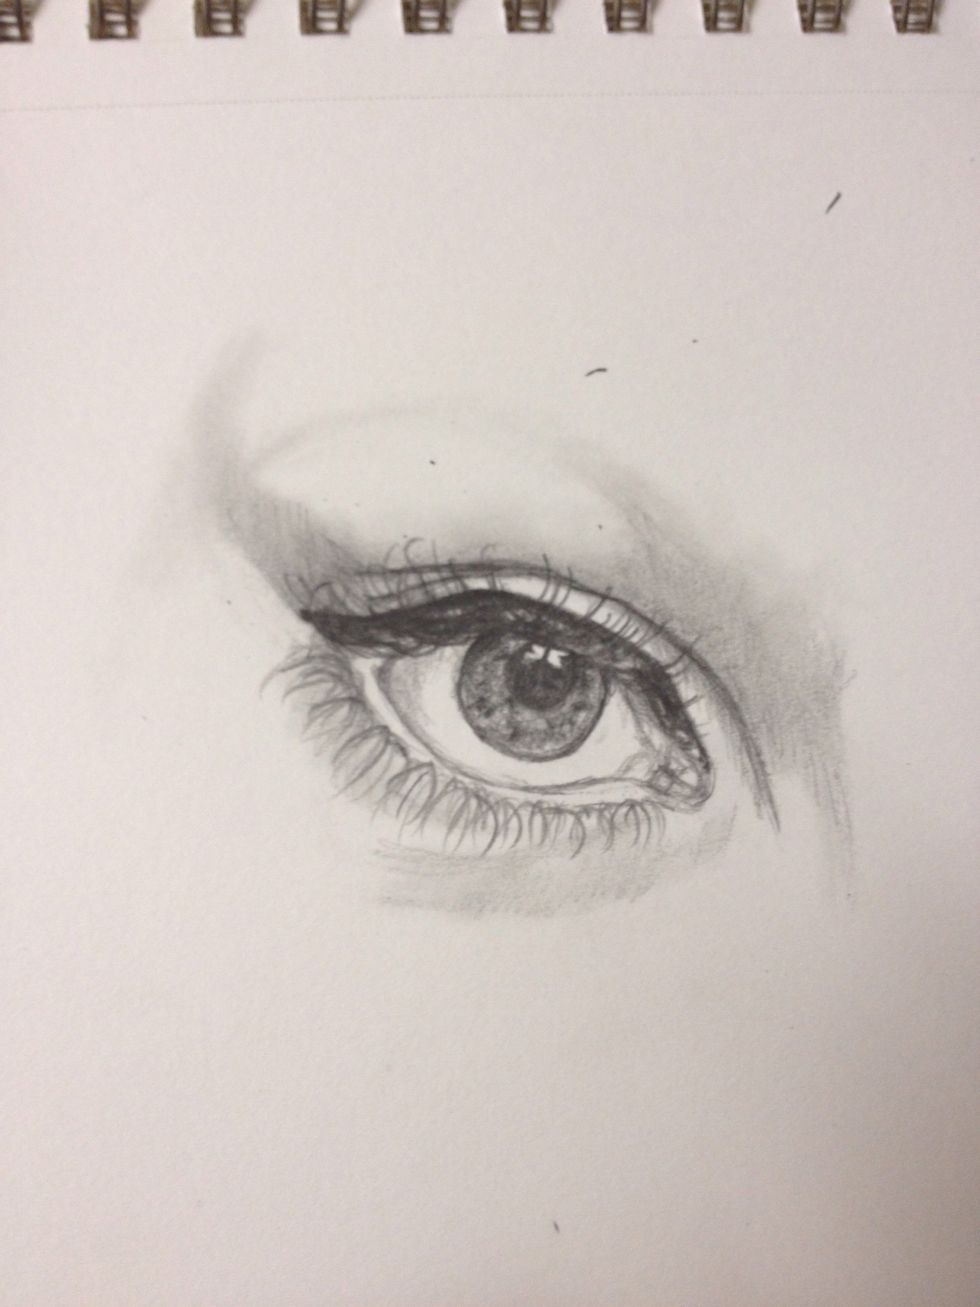
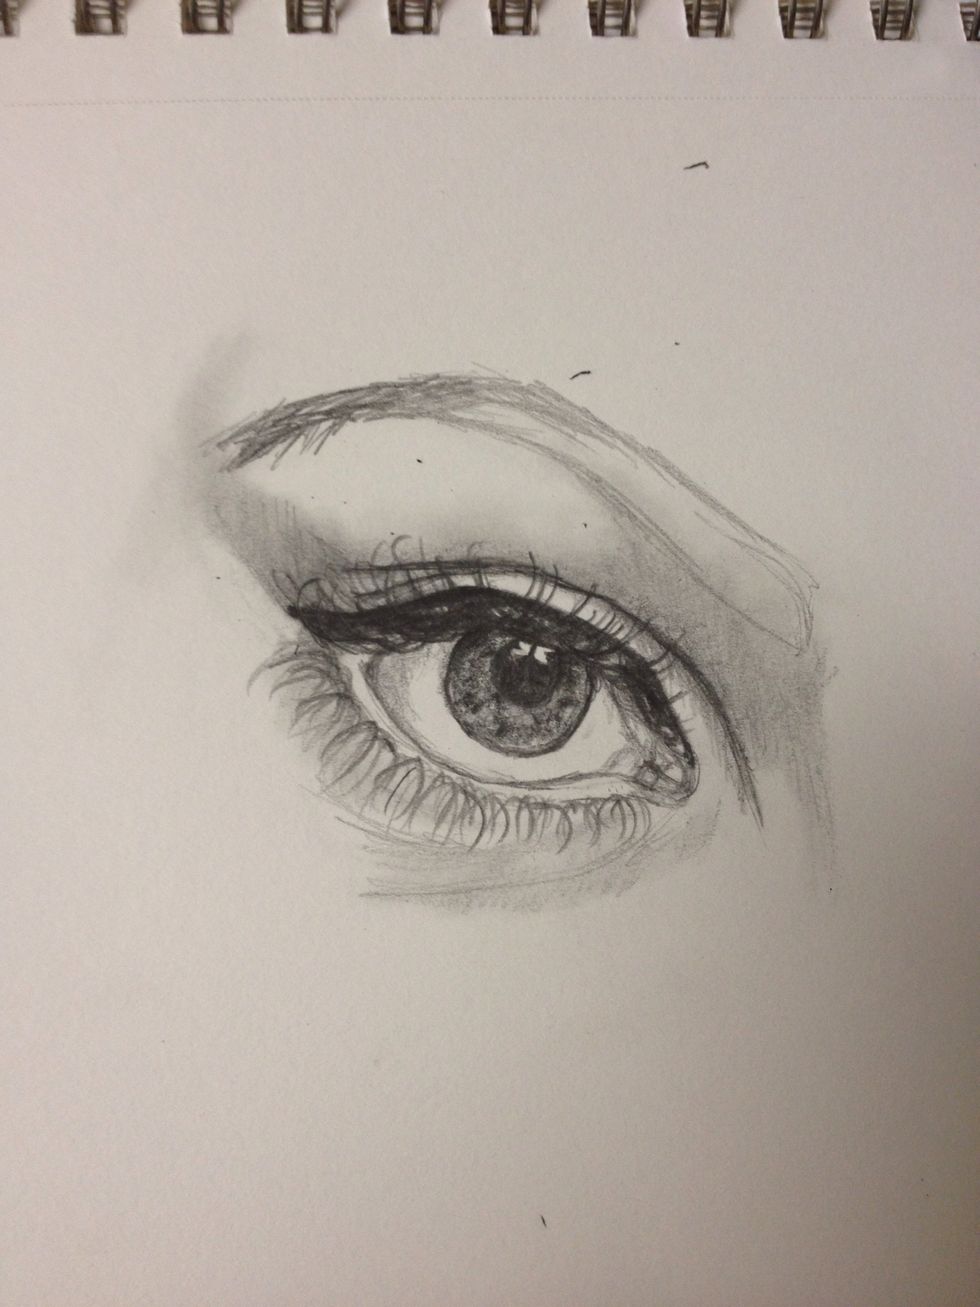
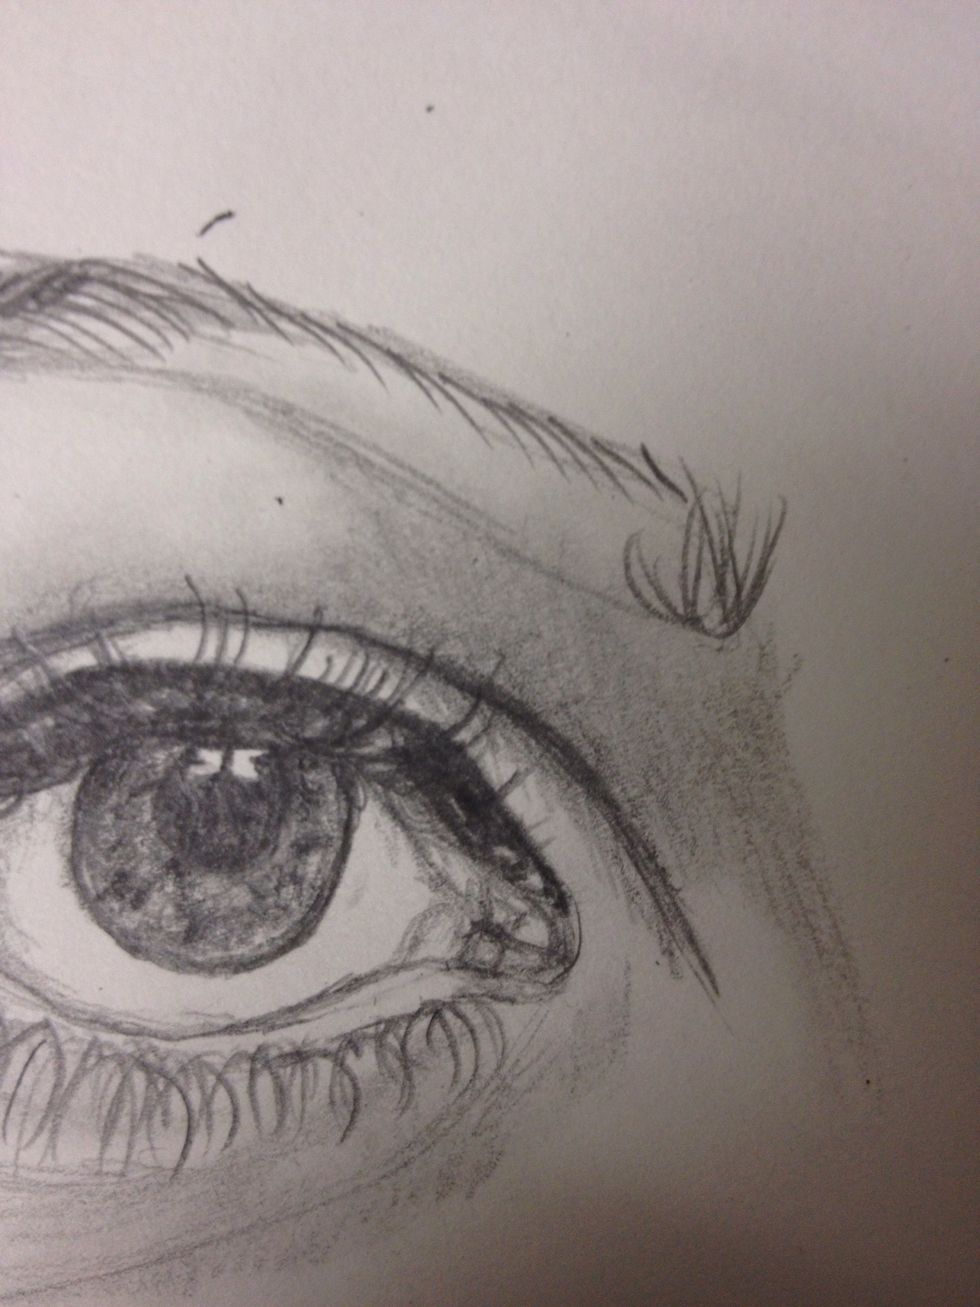
By the way the line that is randomly at the end of the eye is just the shadow of where the face ends in this angle
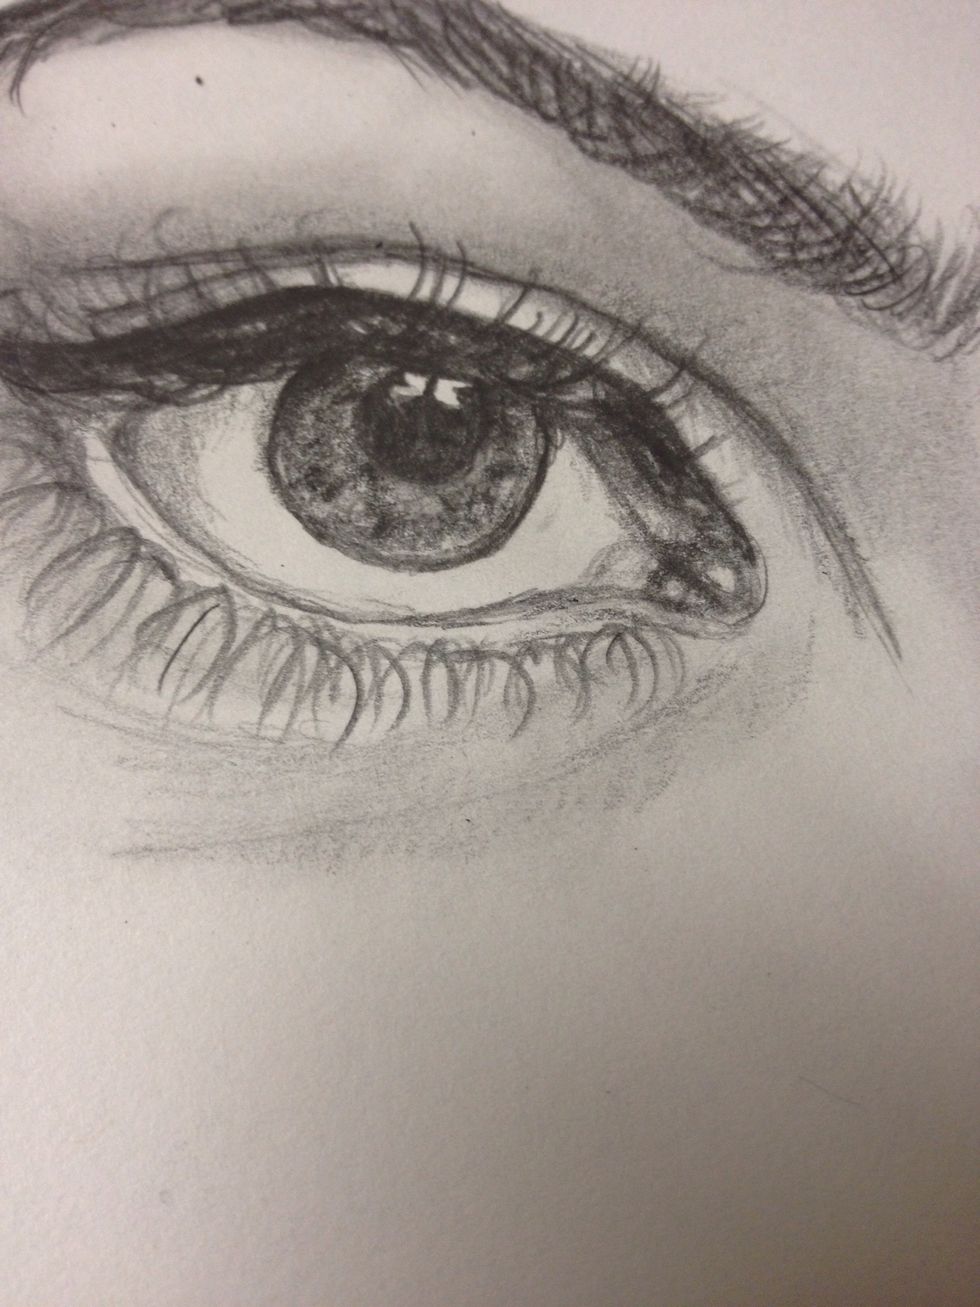
Touch it up a bit by shading the corner of the eye. Leave a little white space there so it can be "glare"
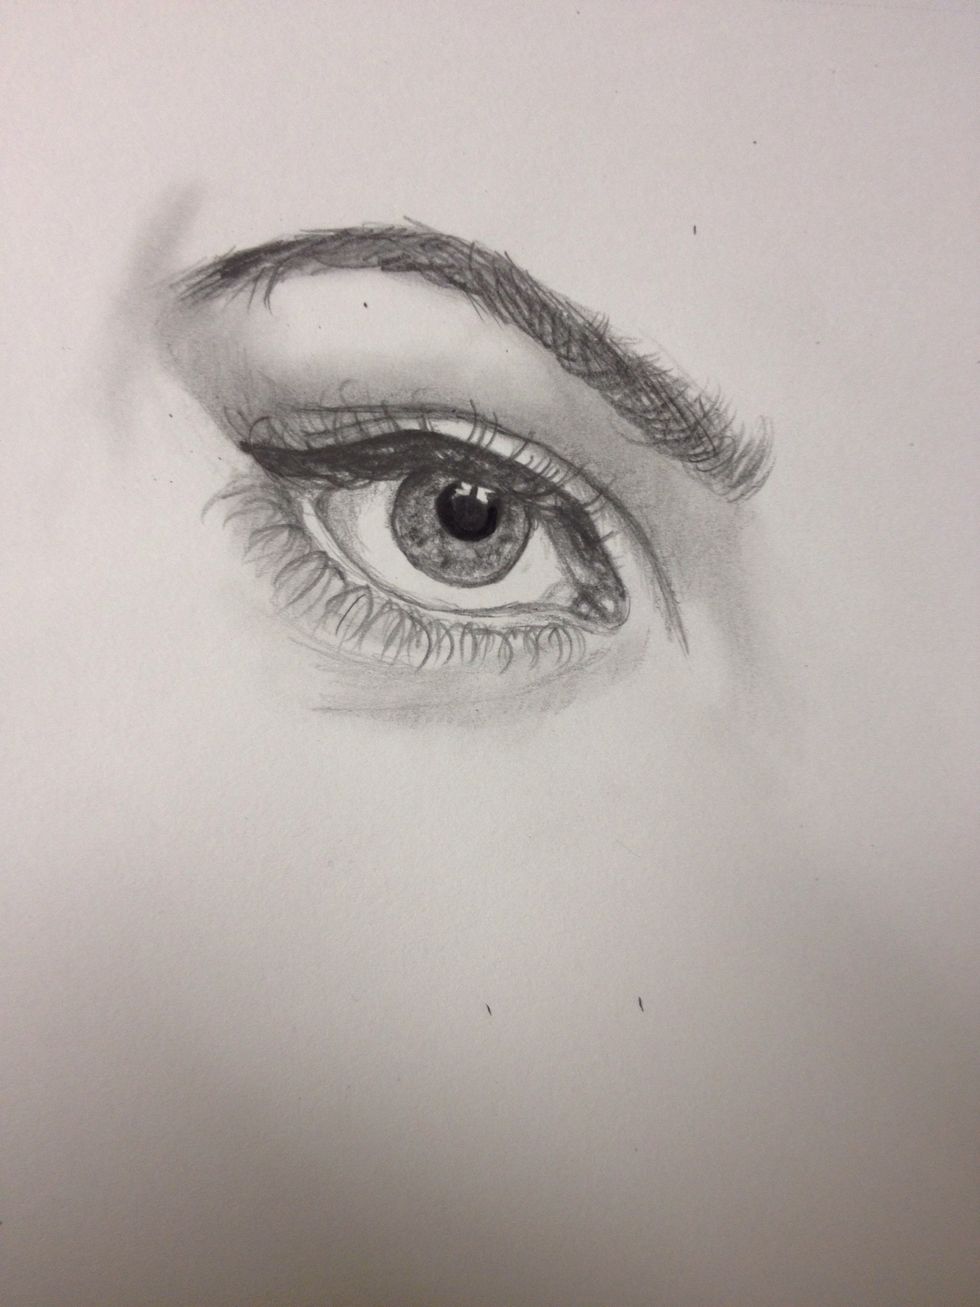
Carefully with a small tipped black marker, fill in the pupil
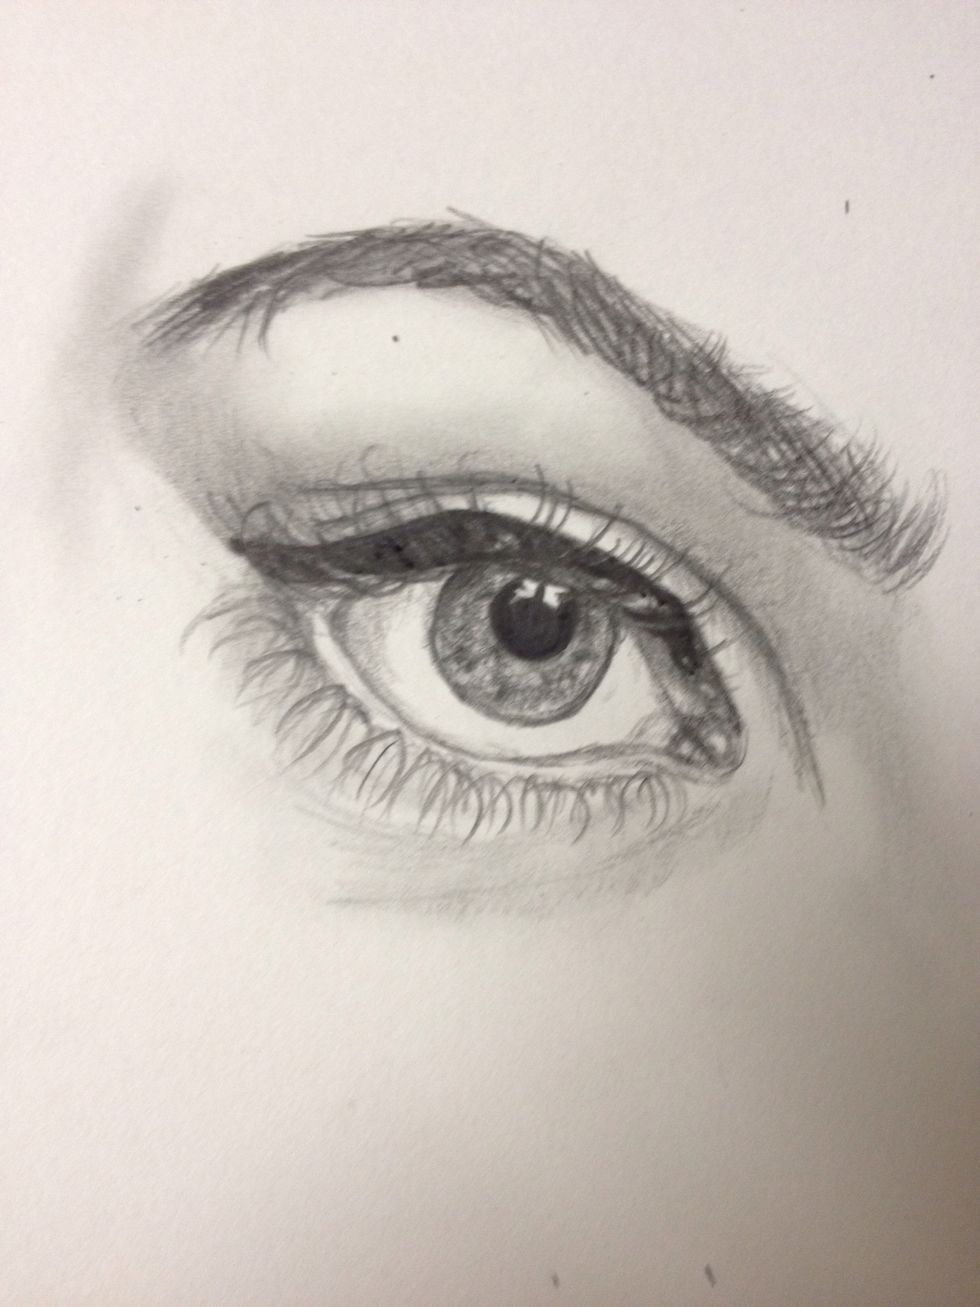
Fill in liner, making sure to not fill in the purposely made white spots
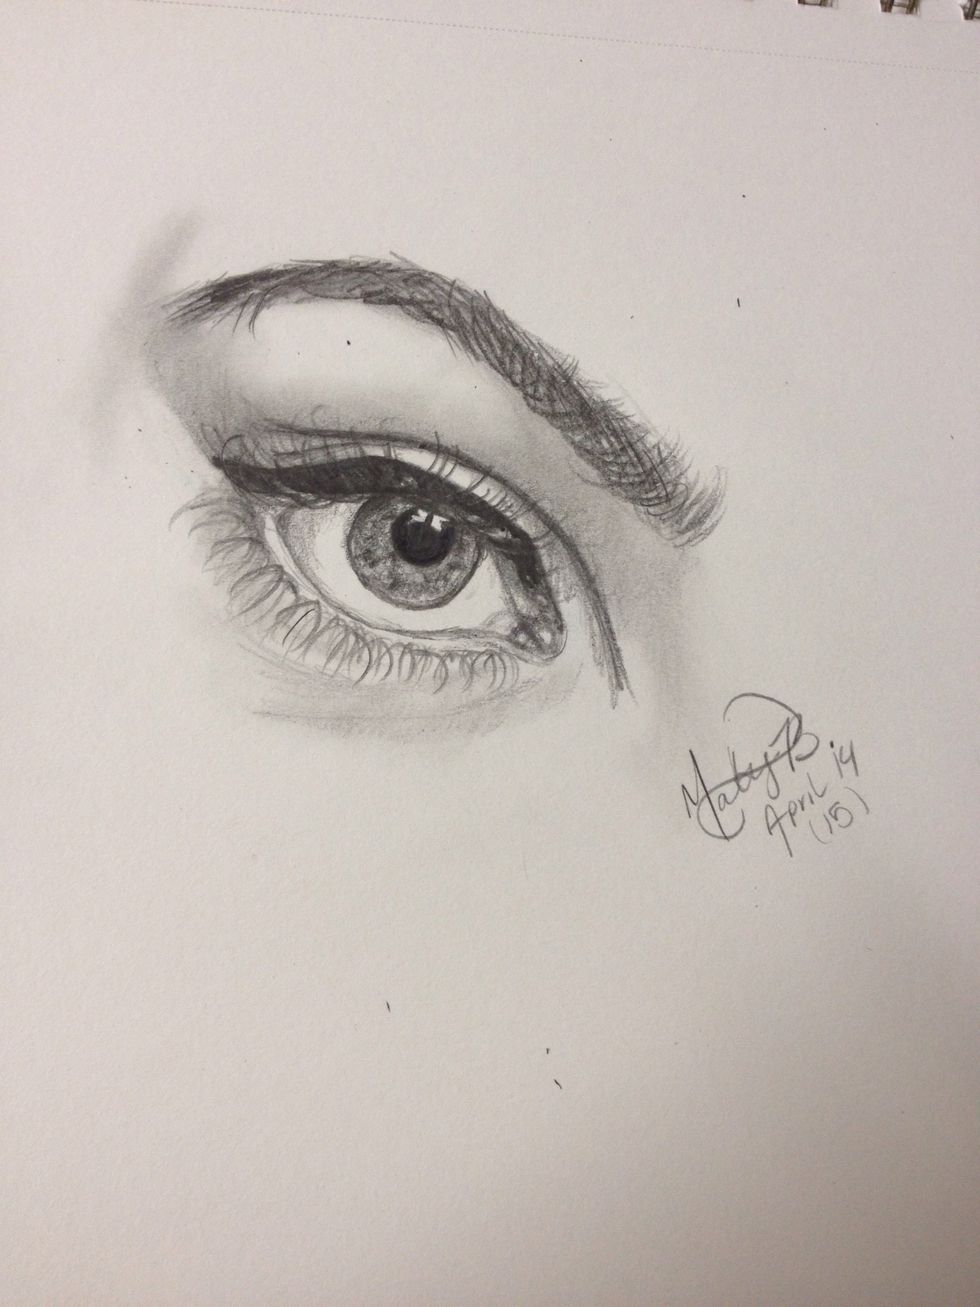
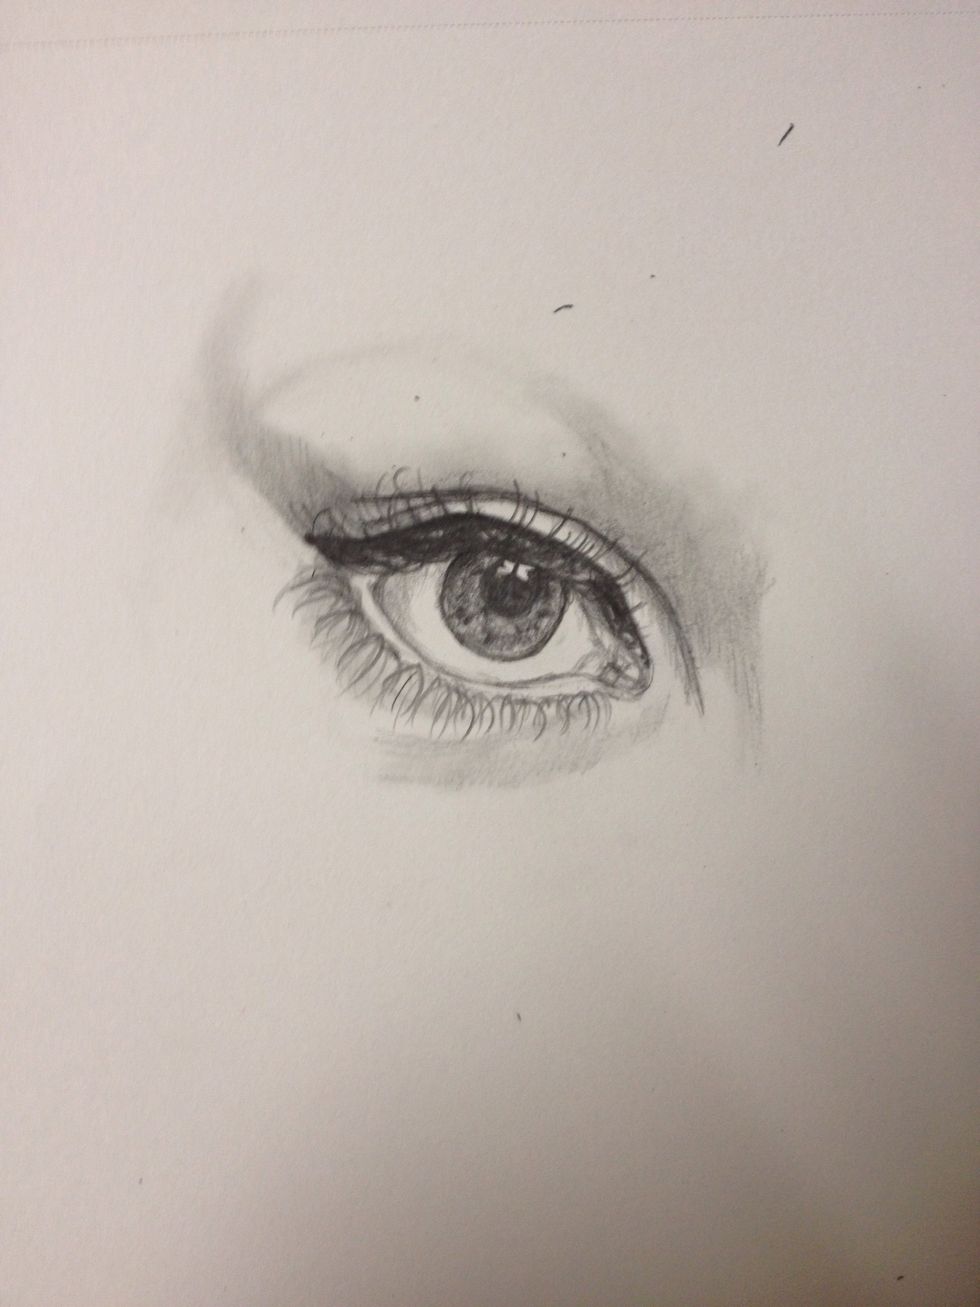
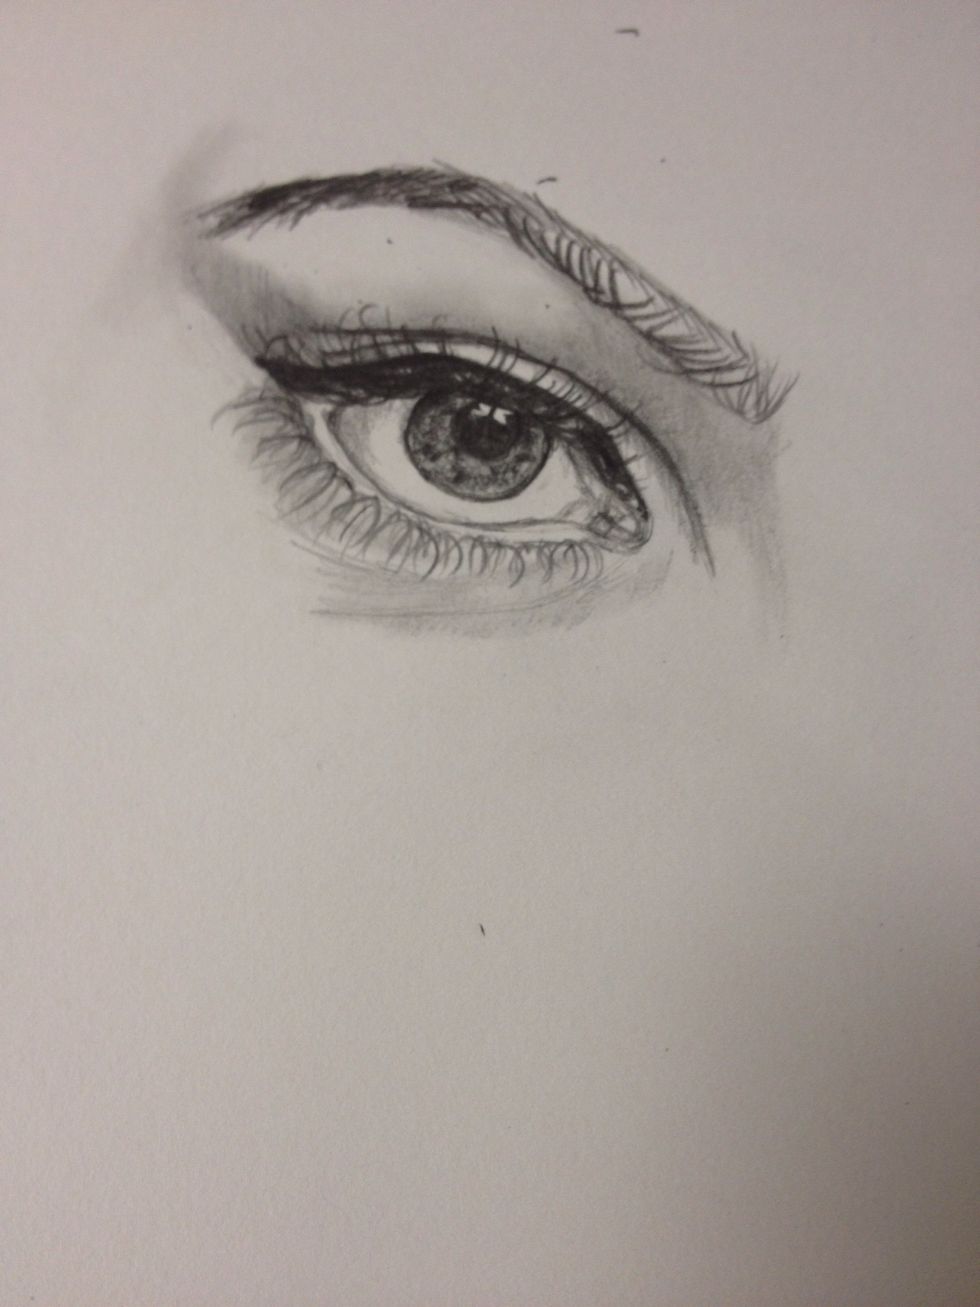
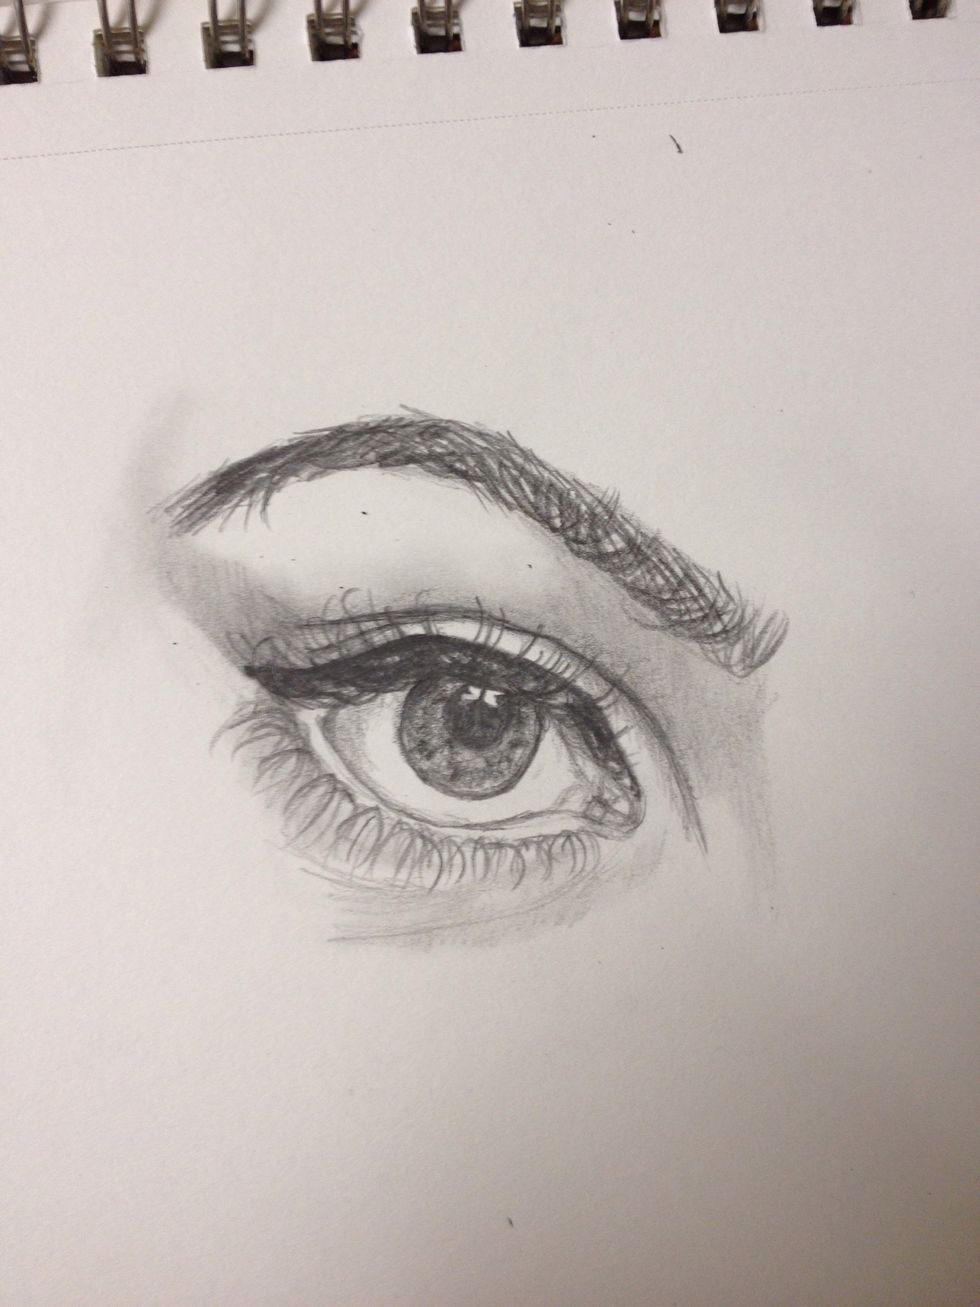
Add signature and date.
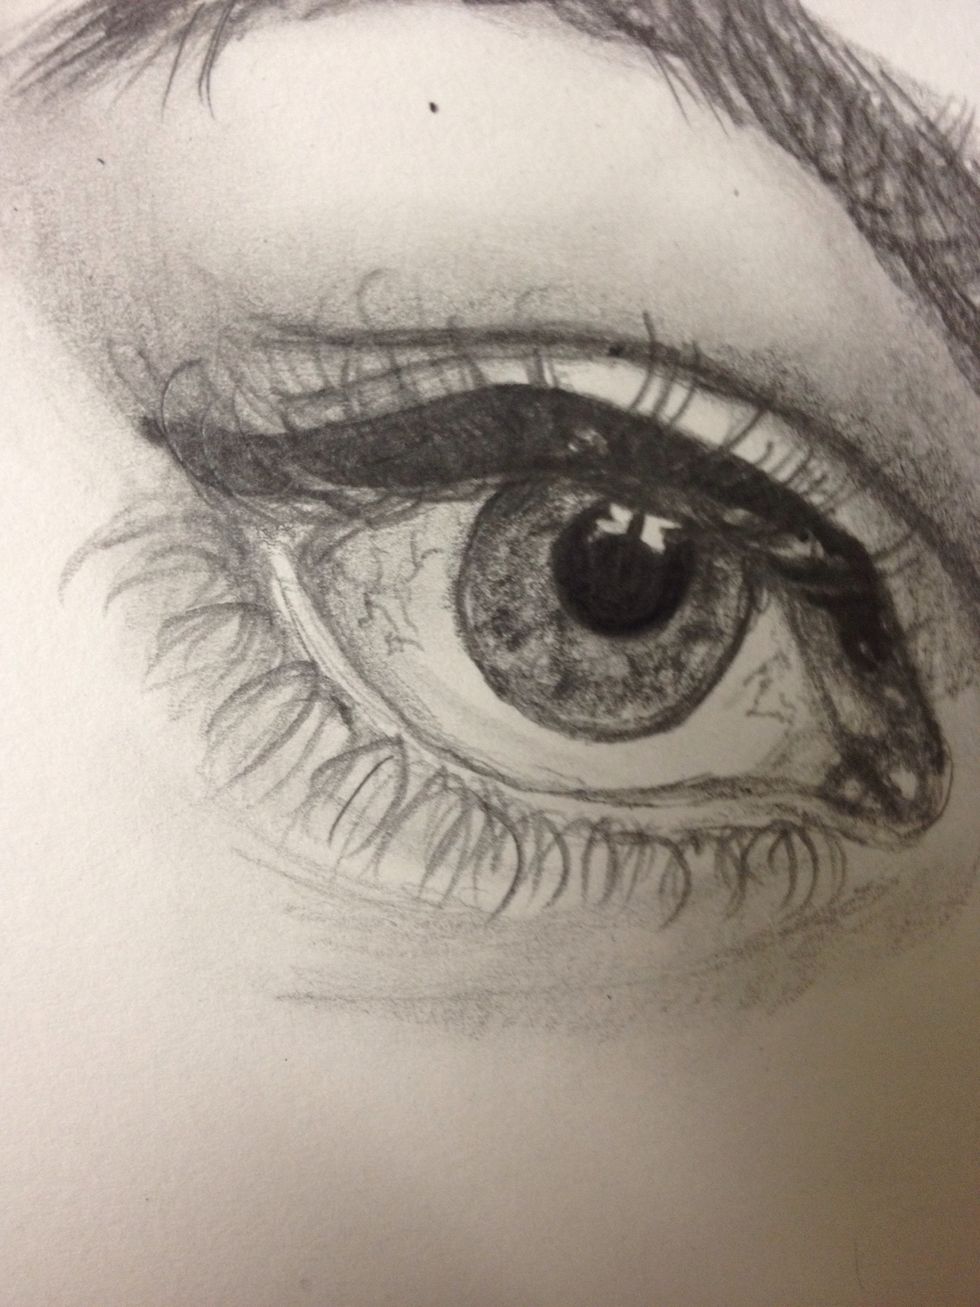
If you want , add squiggly veins to the eye corners.
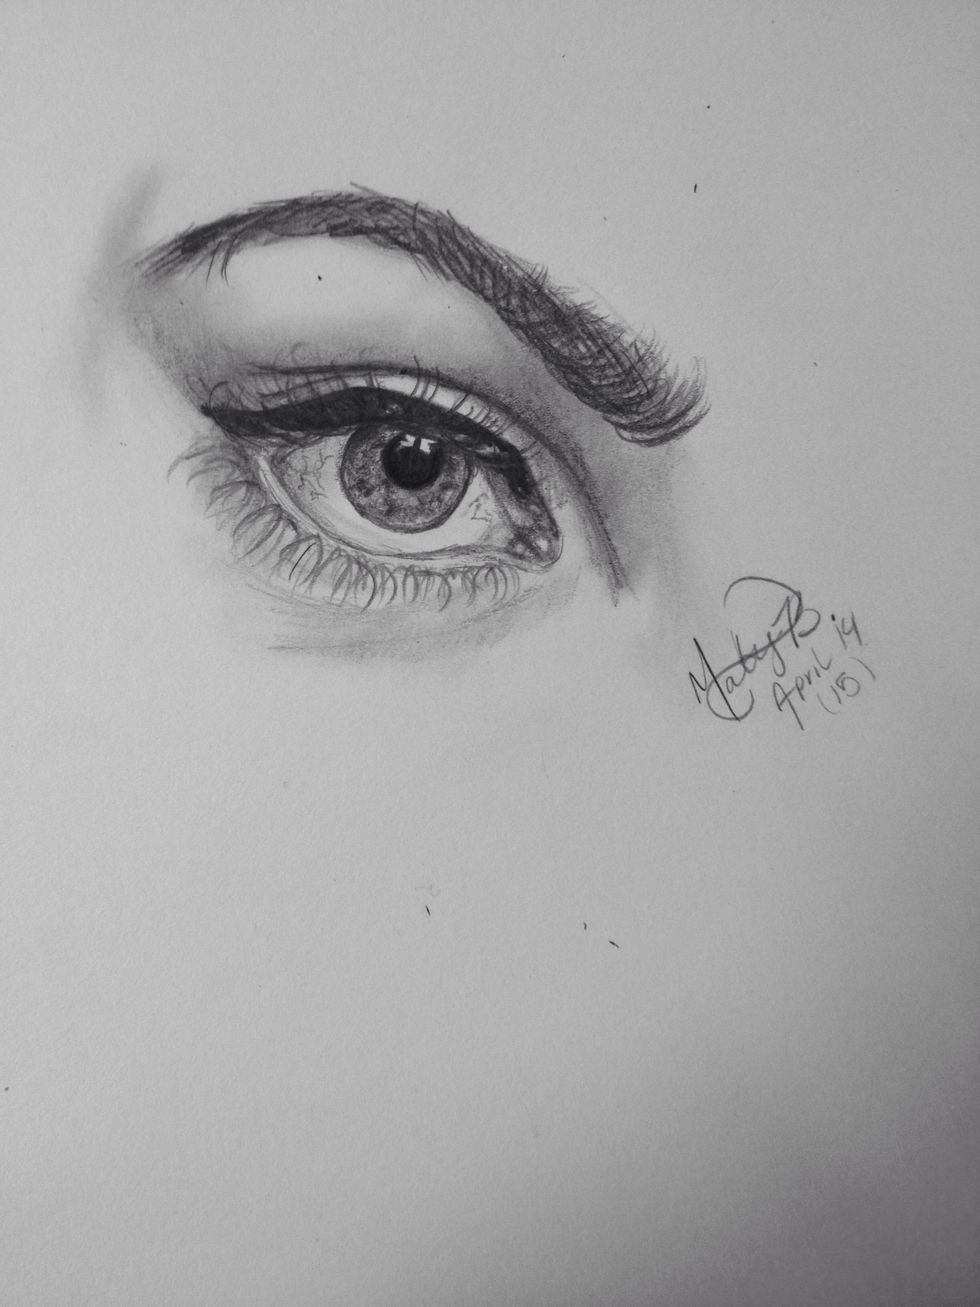
I hope you found this helpful and way more improved then my first eye guide.
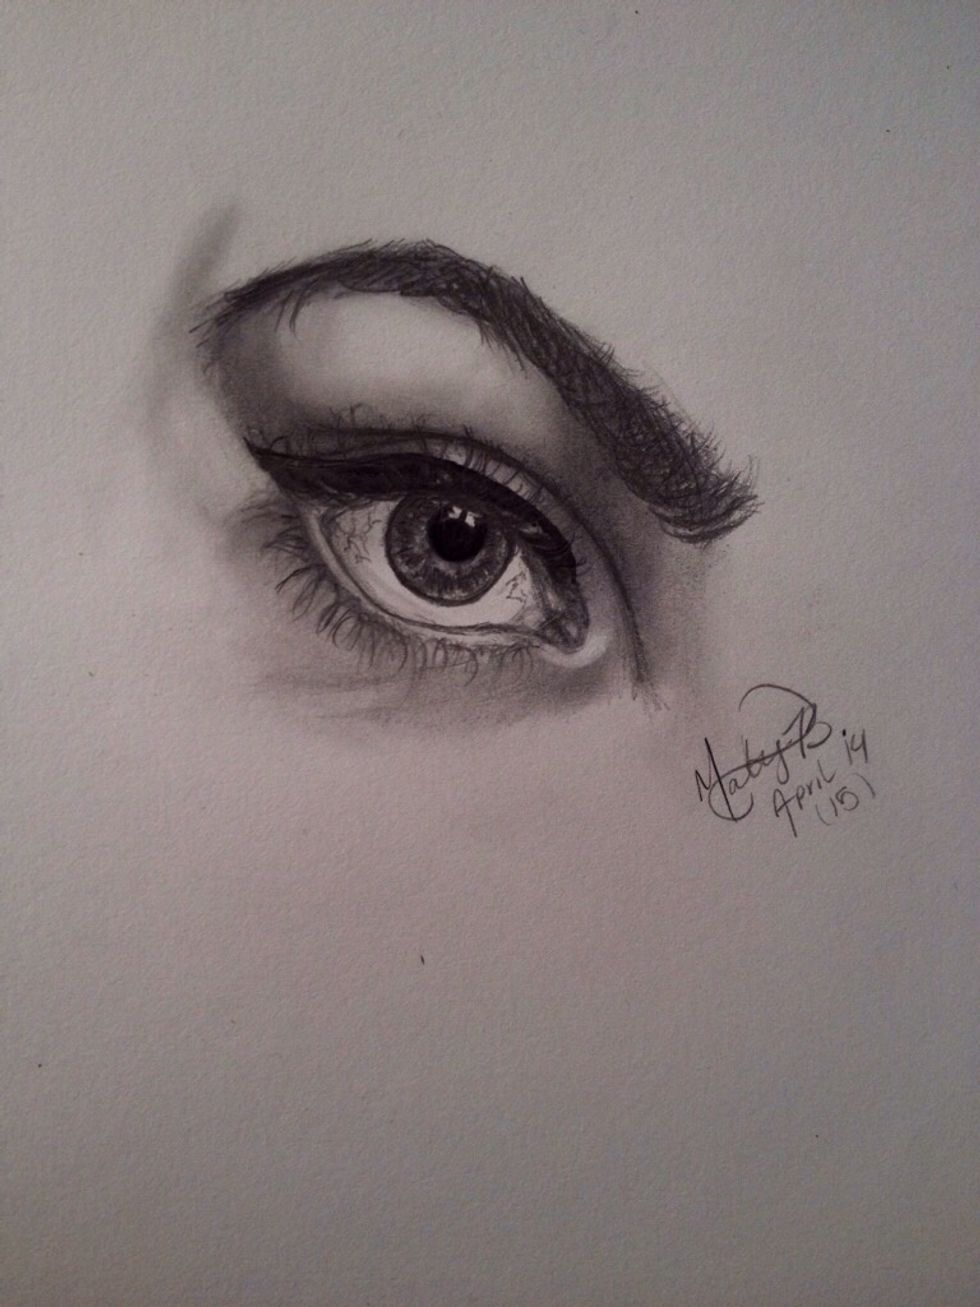
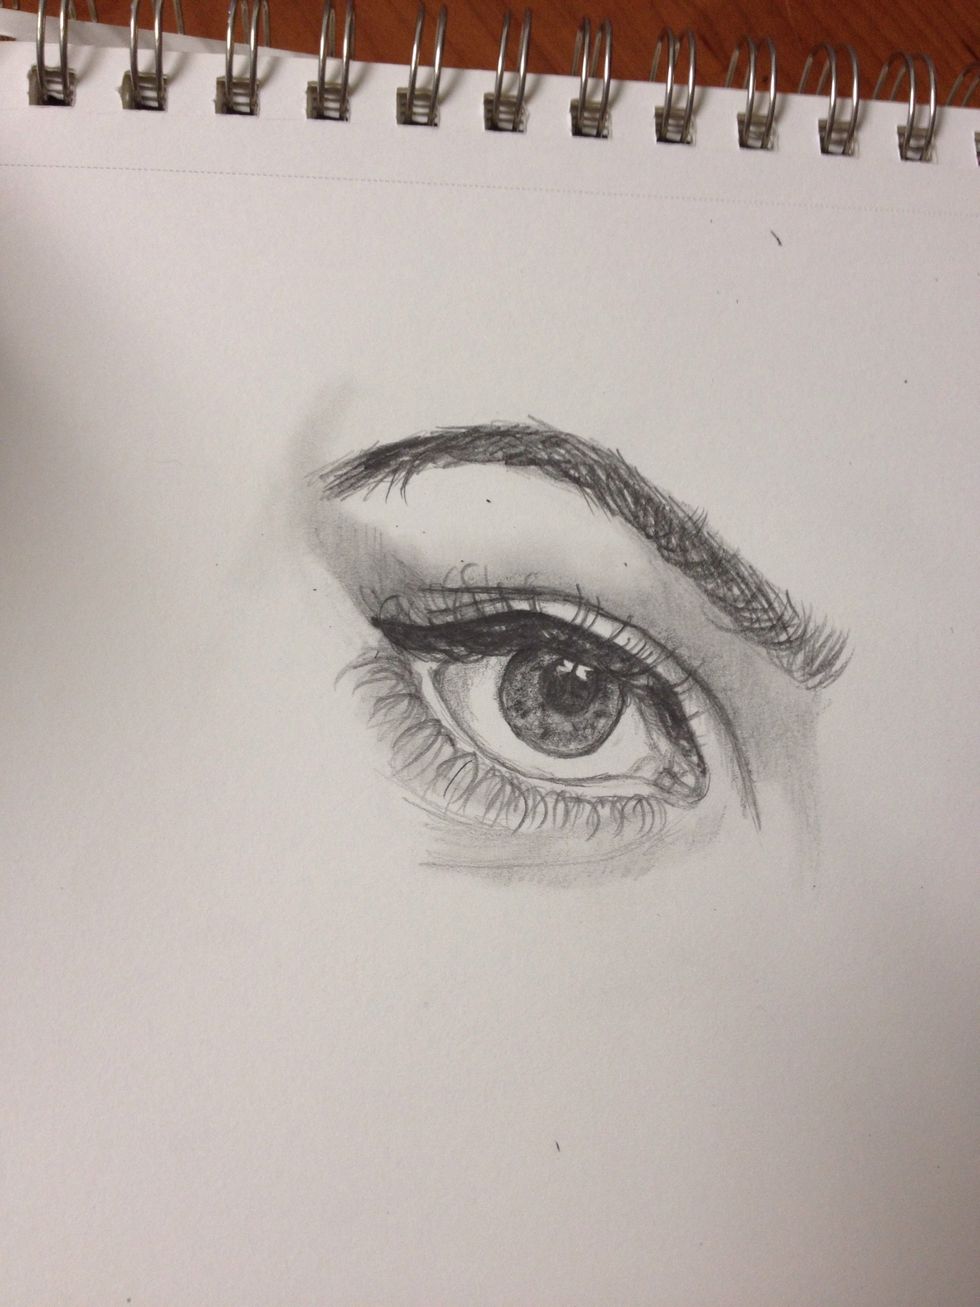
Here is a darkened version. **please comment or ask any questions you have! I LOVE and GREATLY appreciate feedback/constructive criticism! -Gaby