The Conversation (0)
Sign Up
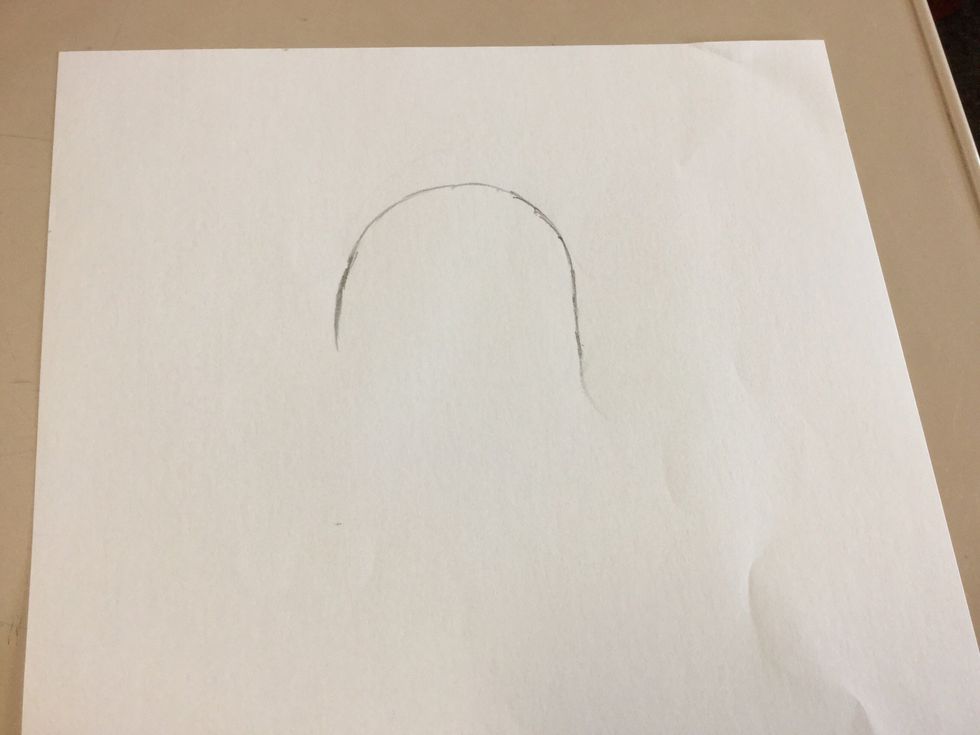
Firstly, draw half a medium sized oval, approximately 4cm away from the top.

Secondly, draw a uncompleted medium sized circle that is a tiny bit bigger that the oval. Draw the uncompleted circle at the bottom of the oval so it connect with the the oval.
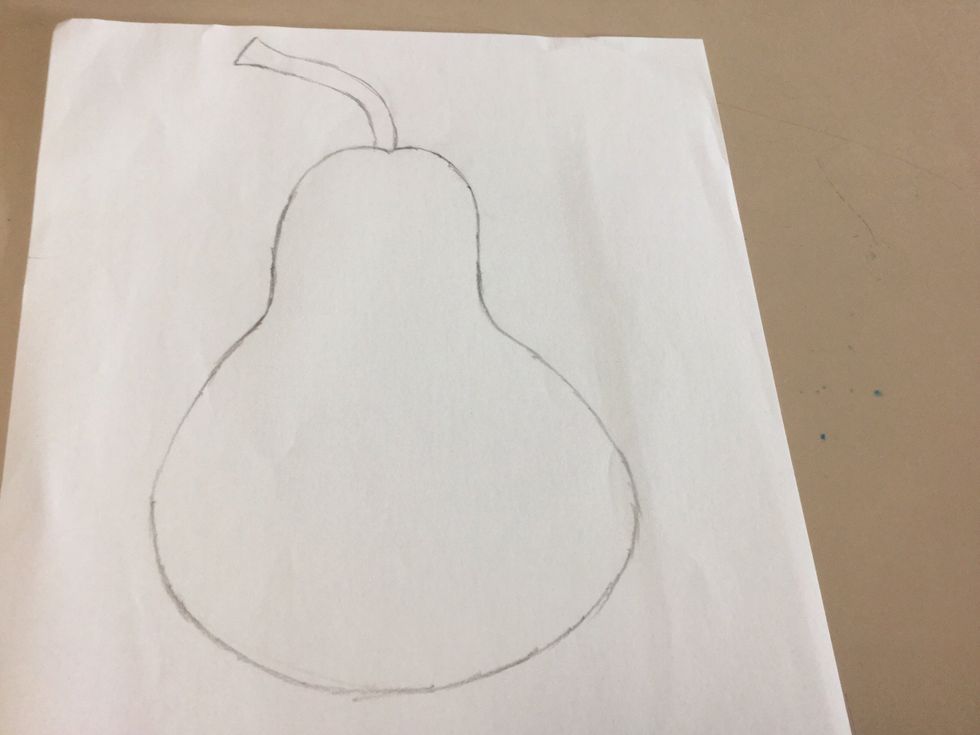
Thirdly, draw a long curled line to the left, then draw another long curled line under it. Draw a line at the end of the two curled line to connect them together.
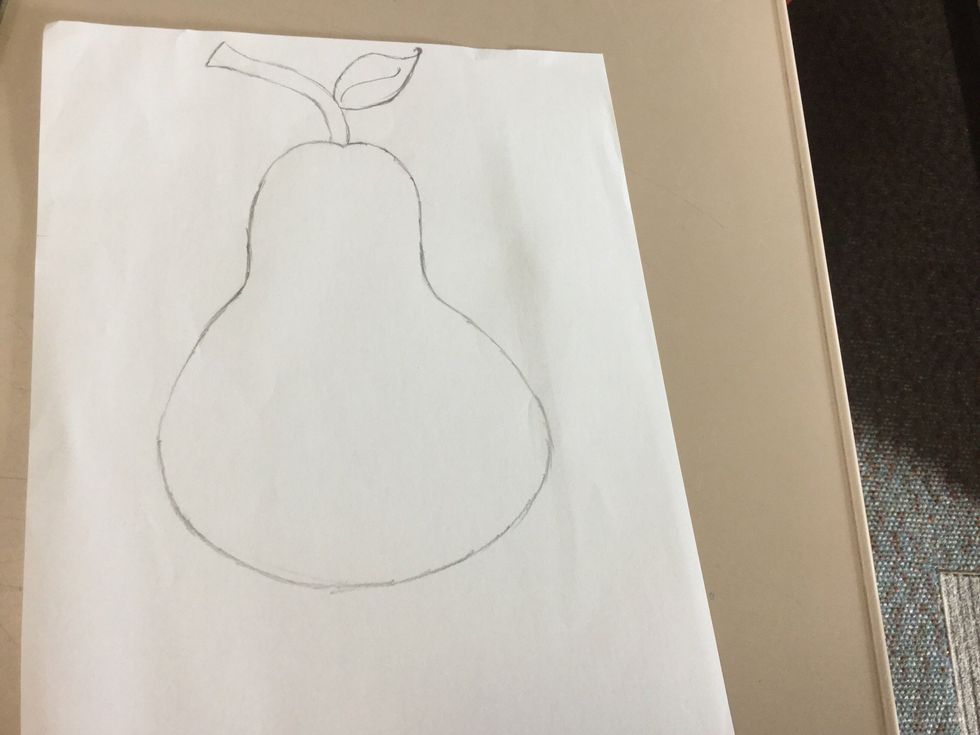
Fourthly, draw a line curled in then draw another line onto of the bottom line that curled in and connect the two lines together to make a leave shape. Draw a curled line in the middle of the leave.

Draw a medium sized semicircle at the bottom left to make a shadow.
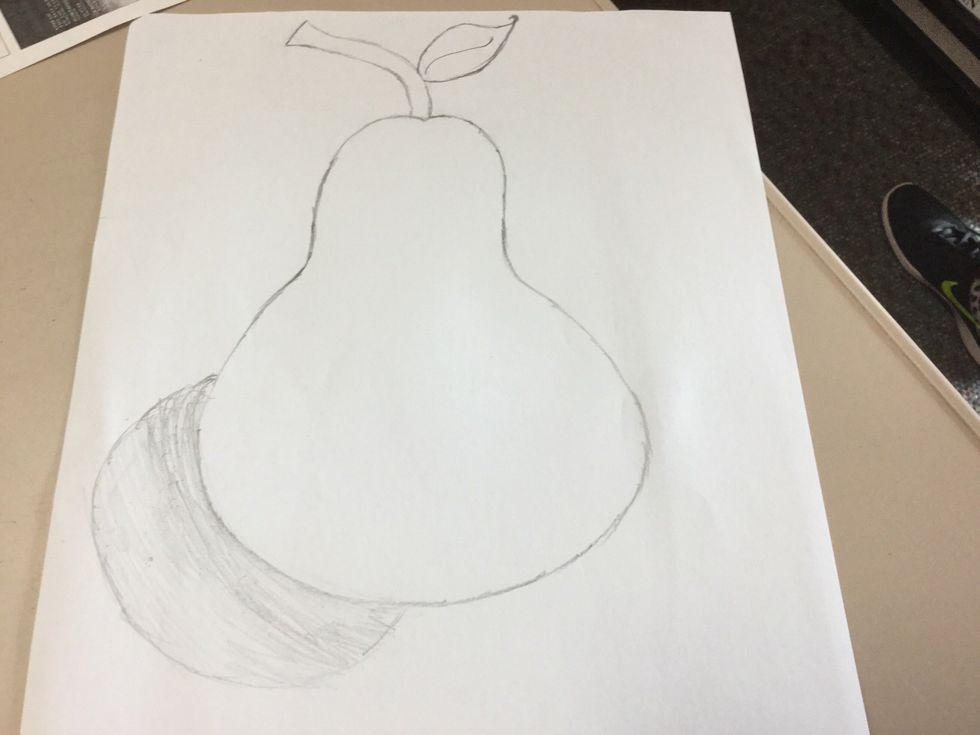
Finally, shade in the semicircle and remember when you draw, press hard when is near the pear and shad lightly when is far away from the pear.
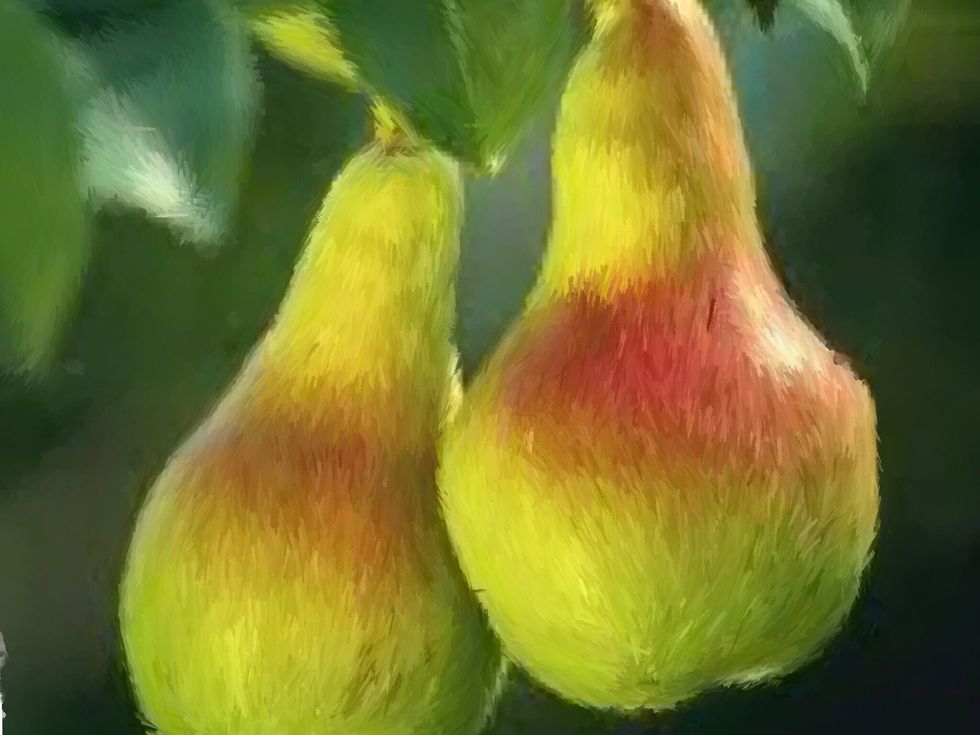
Congratulation, you have finished drawing a magnificent pear. You can also draw a pear in a iPad and I drew this pear in my iPad. You can put the drawing in a frame to display in your house. Have fun!