The Conversation (0)
Sign Up
Gather your supplies. I chose to use 4 different markers.
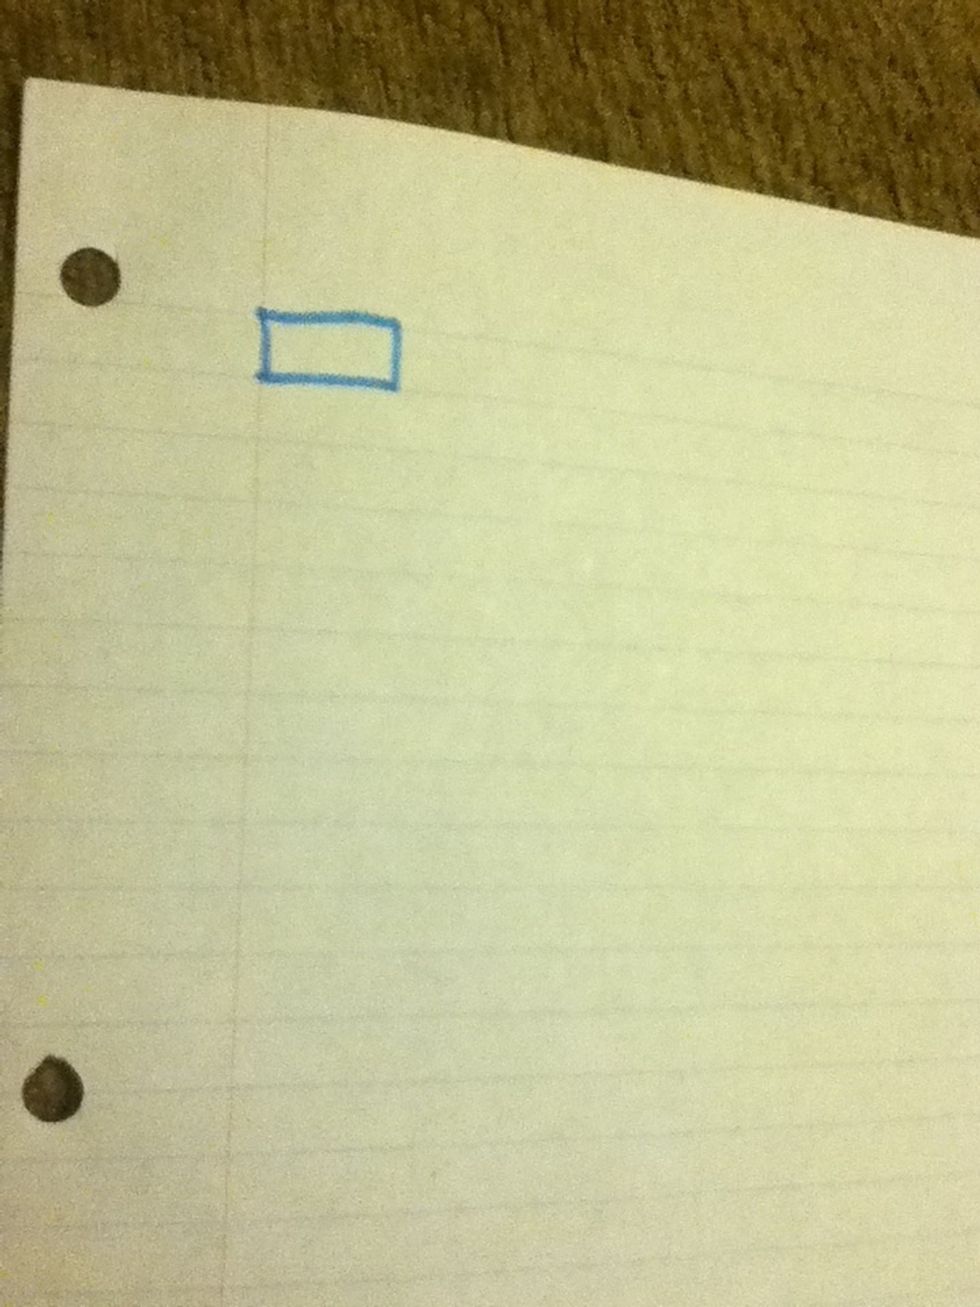
After you choose the first color that you want to use, draw a small rectangle between the first 2 lines in the left corner.
Finish on the side by leaving it open.
The first line is very important.
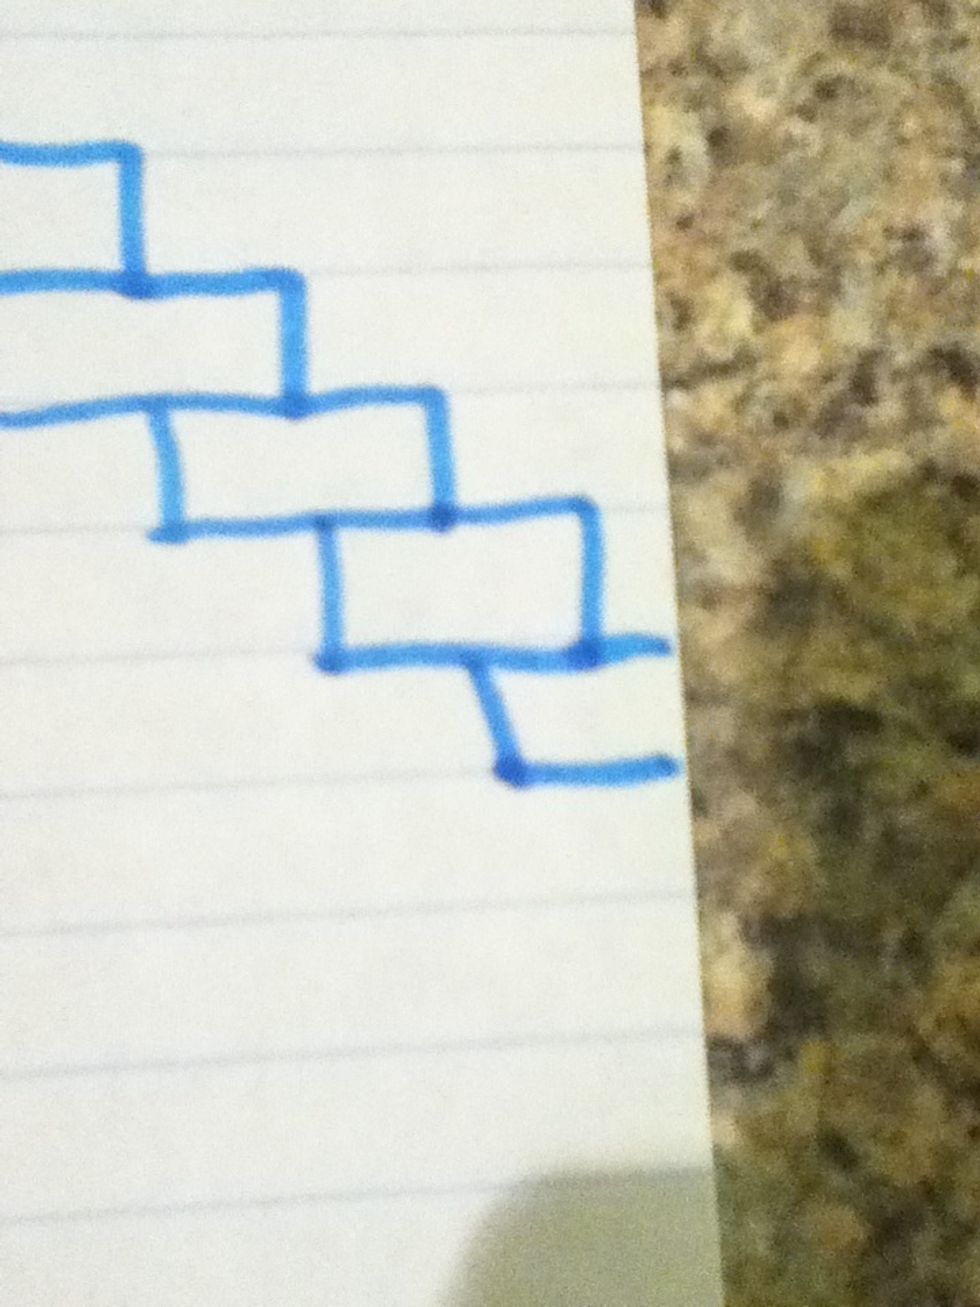
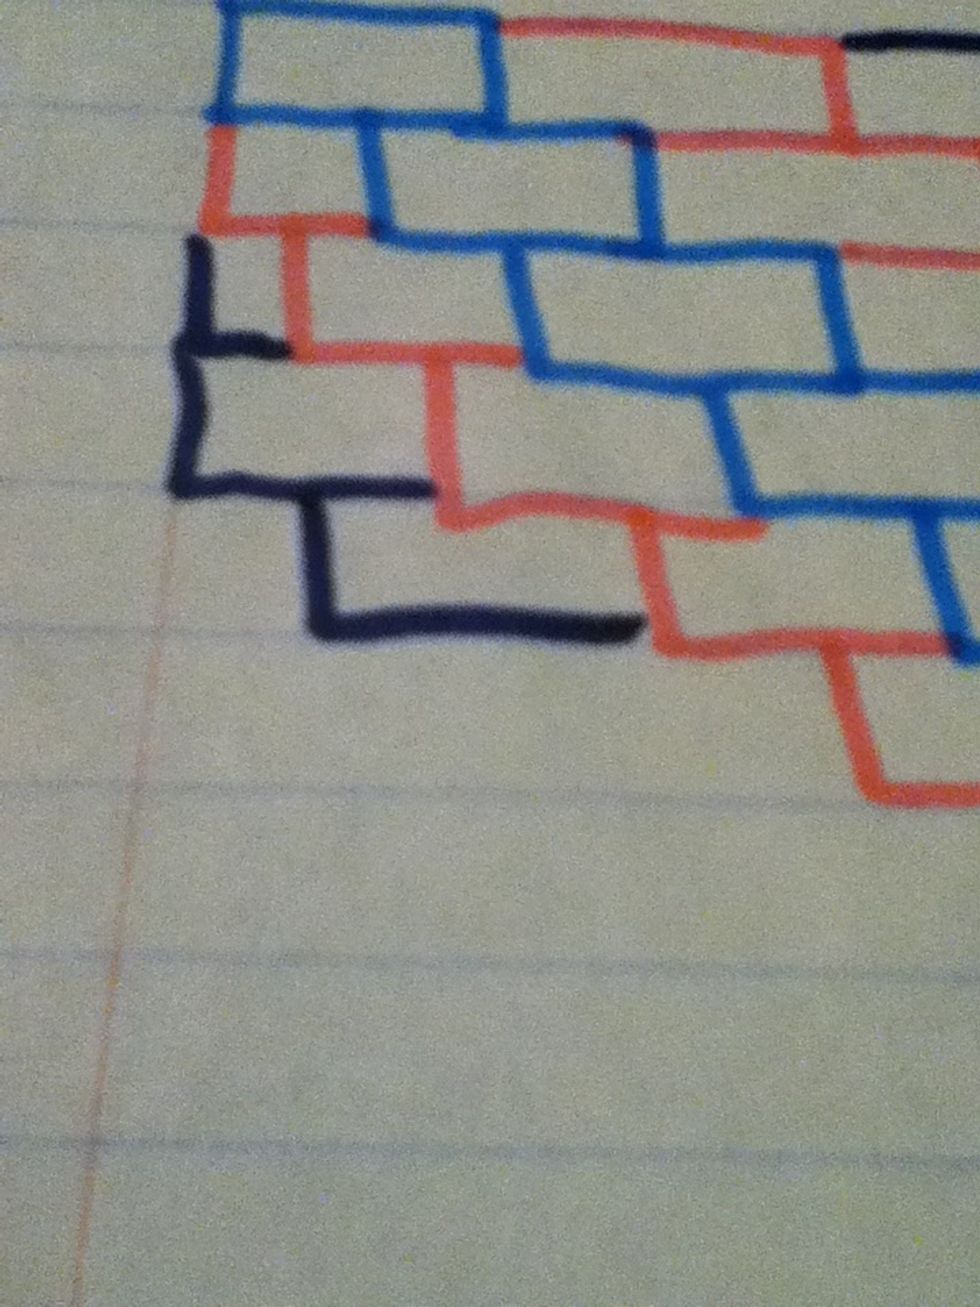
Choose your second color.
Once again, leave the end open.
Do this all the way to the top right corner, where you run out of room. Alternate colors.
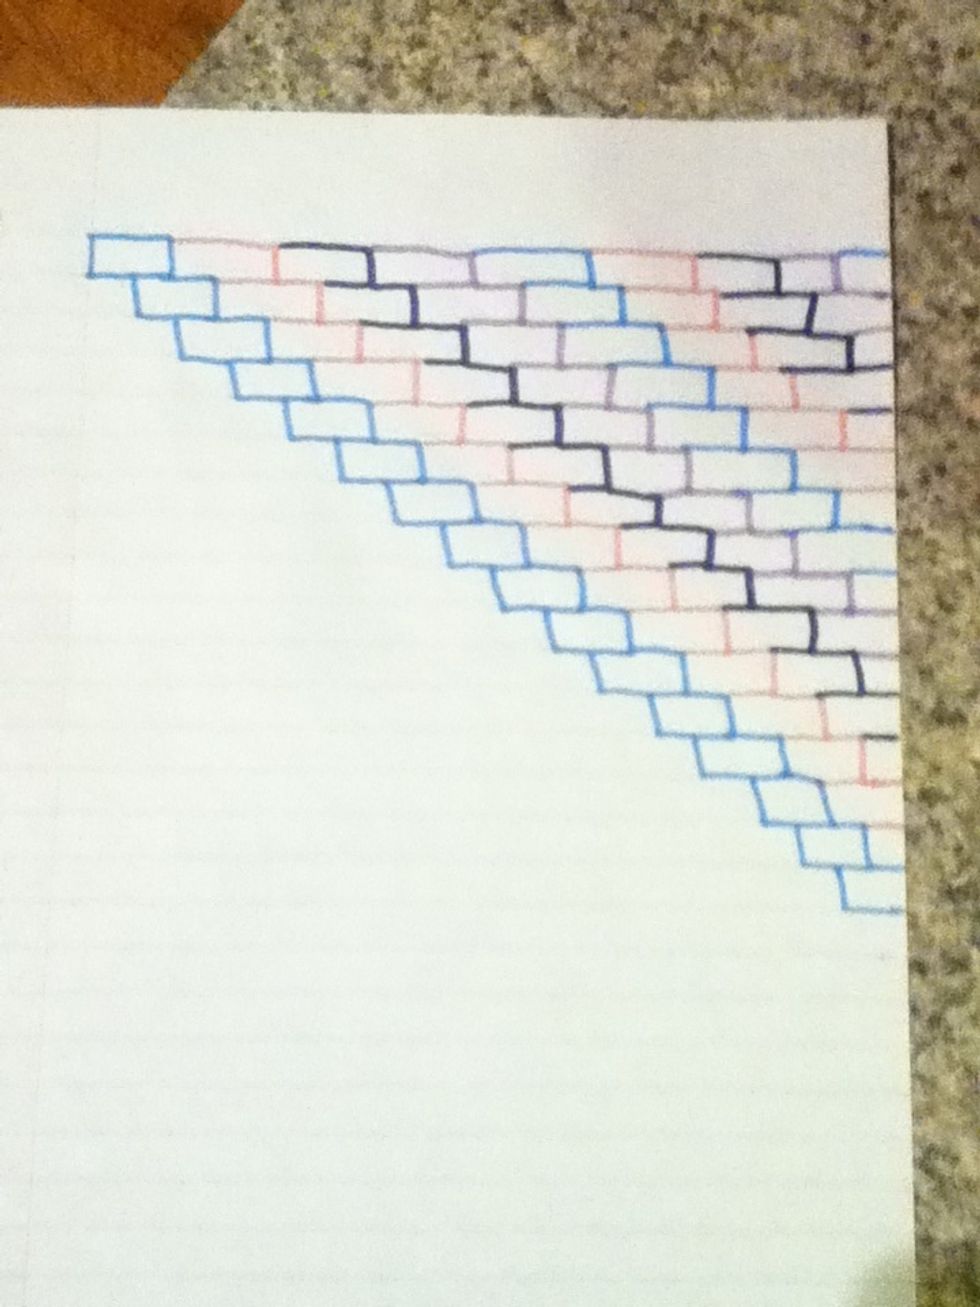
Done going to the right.
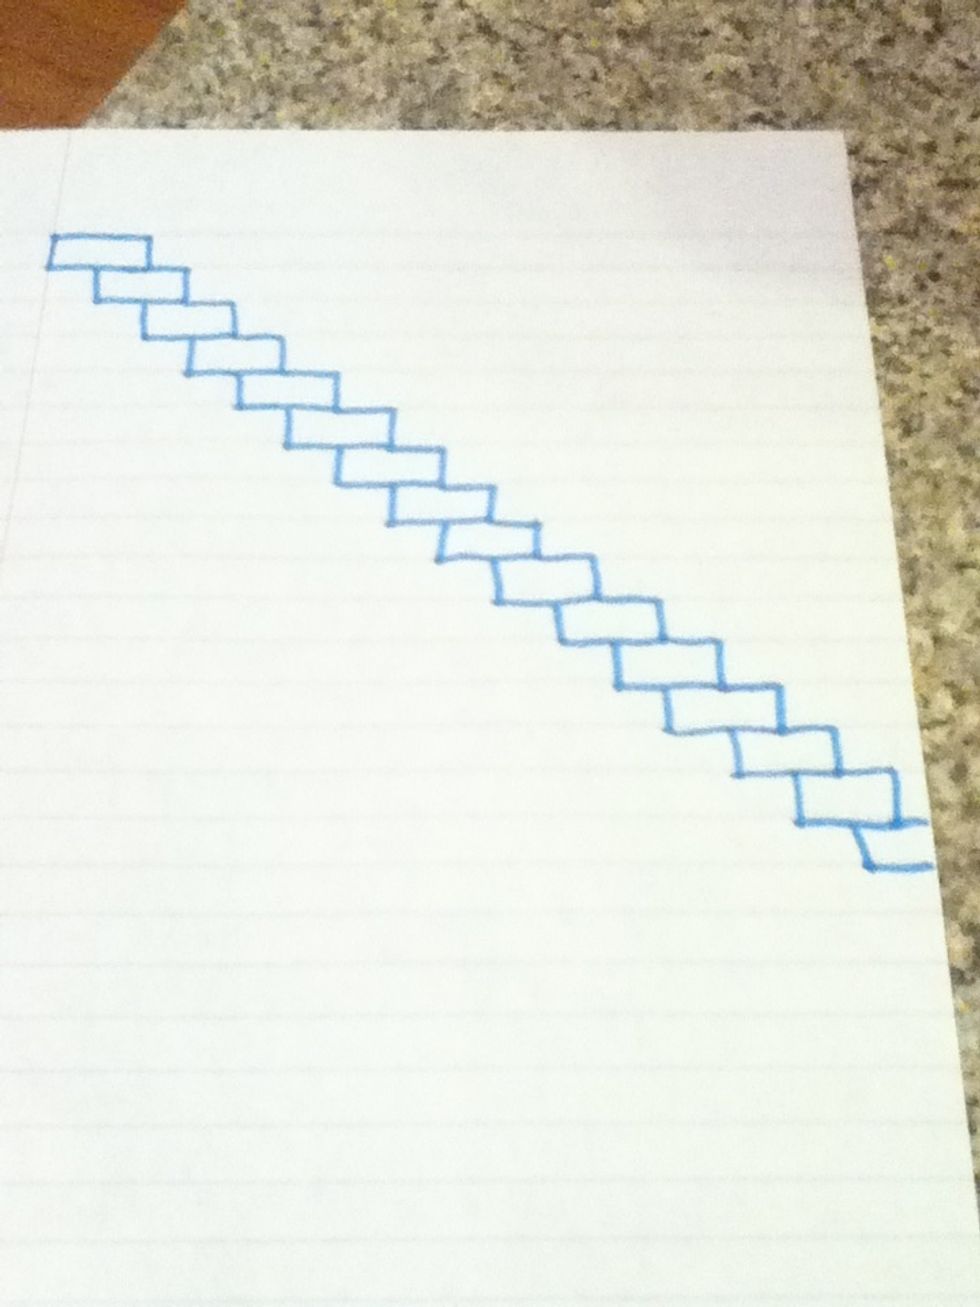
The left is a little bit trickier. Be patient. Rotate the colors backwards.

Just like before, leave it open at the edge. Go as far as you can go down.
Keep going to the left. Continue to rotate colors.
Sometimes you have to make 2 or 3 flat edges before starting at the halfway point. This is normal.
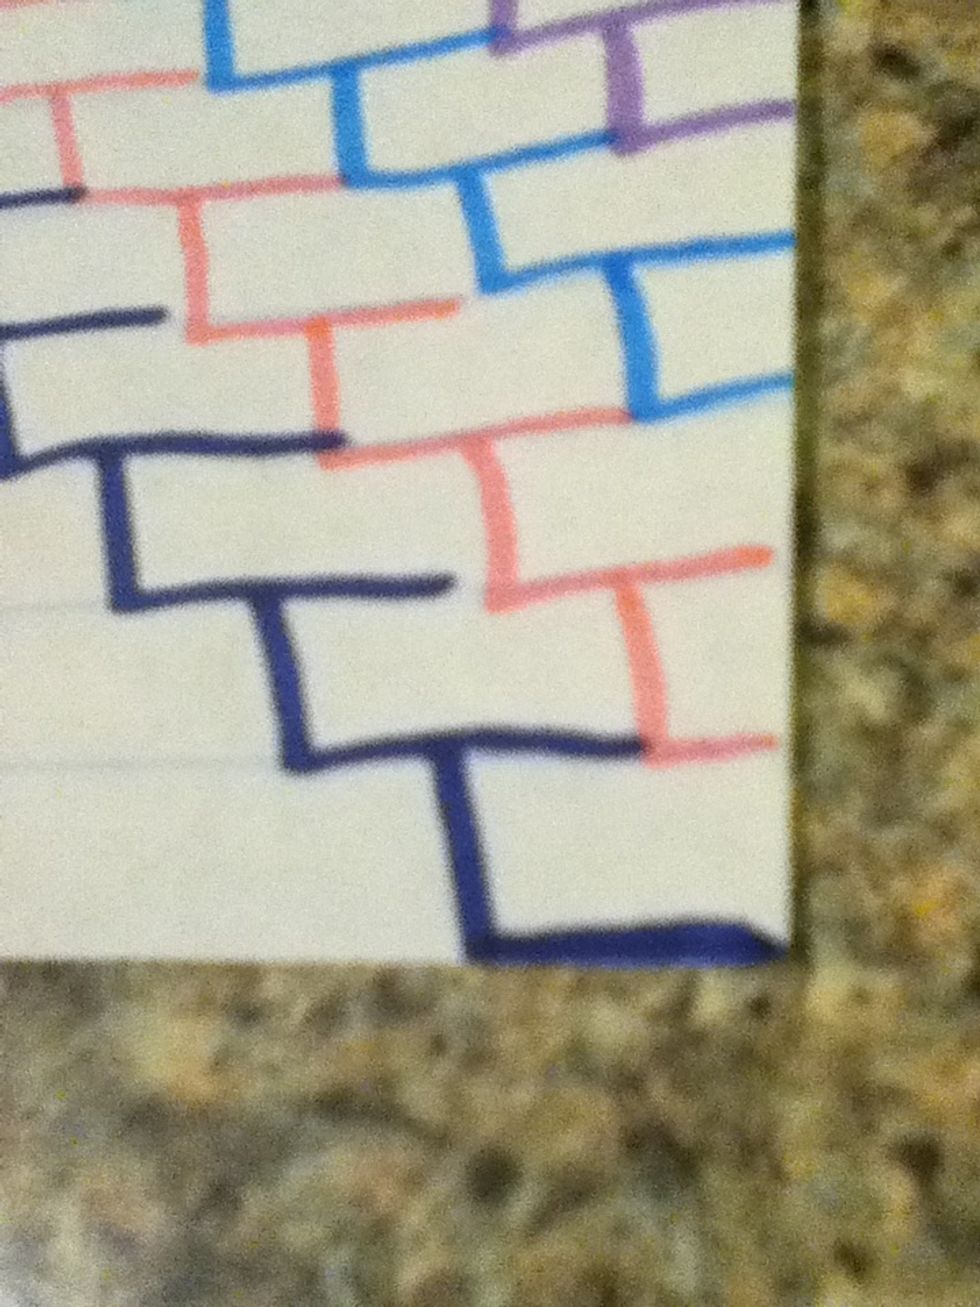
When you get to the bottom of the page, draw a line to close it off. Continue to go down like that now.
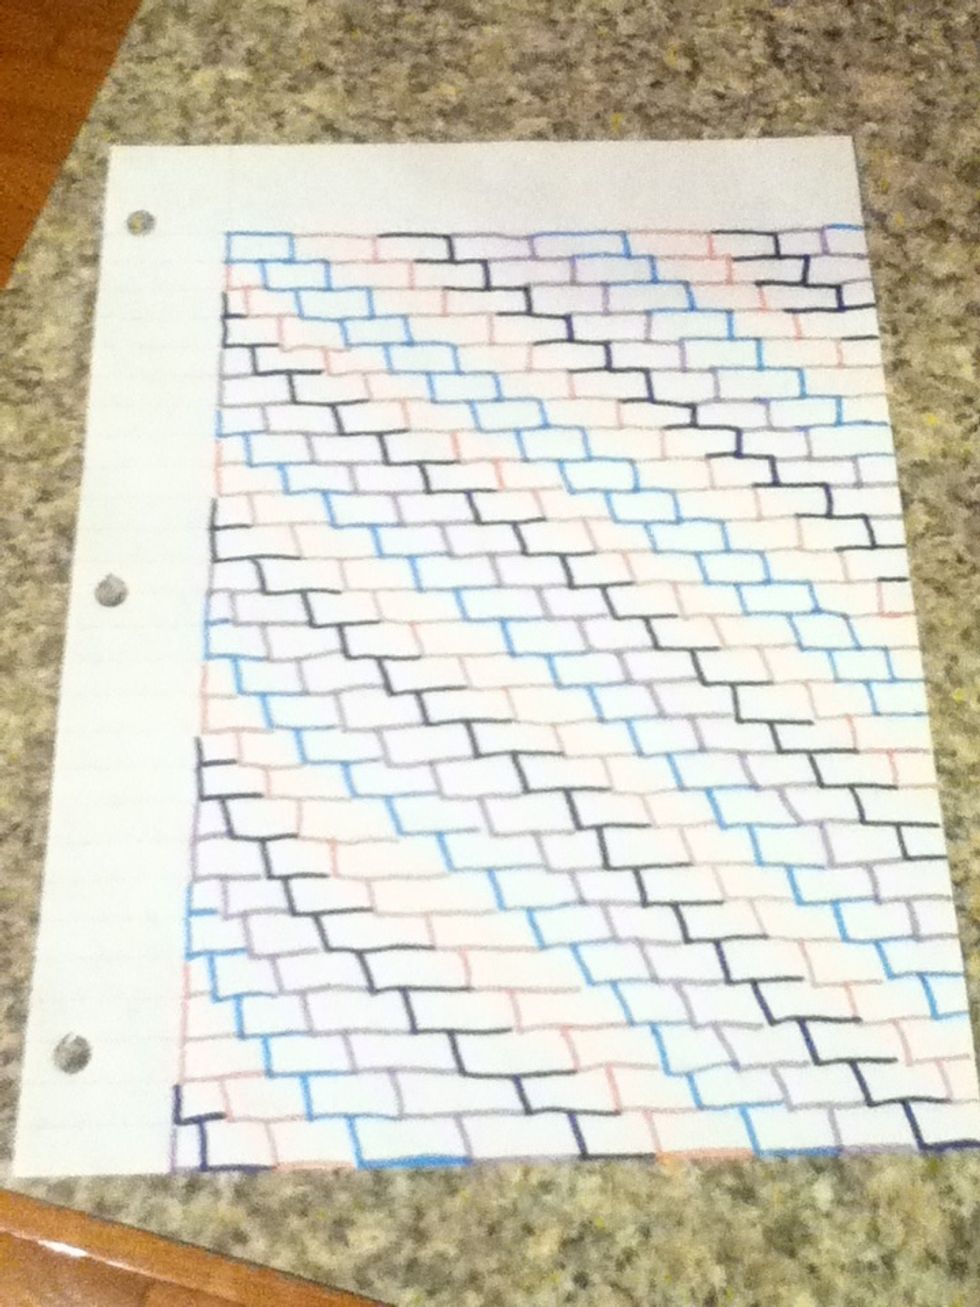
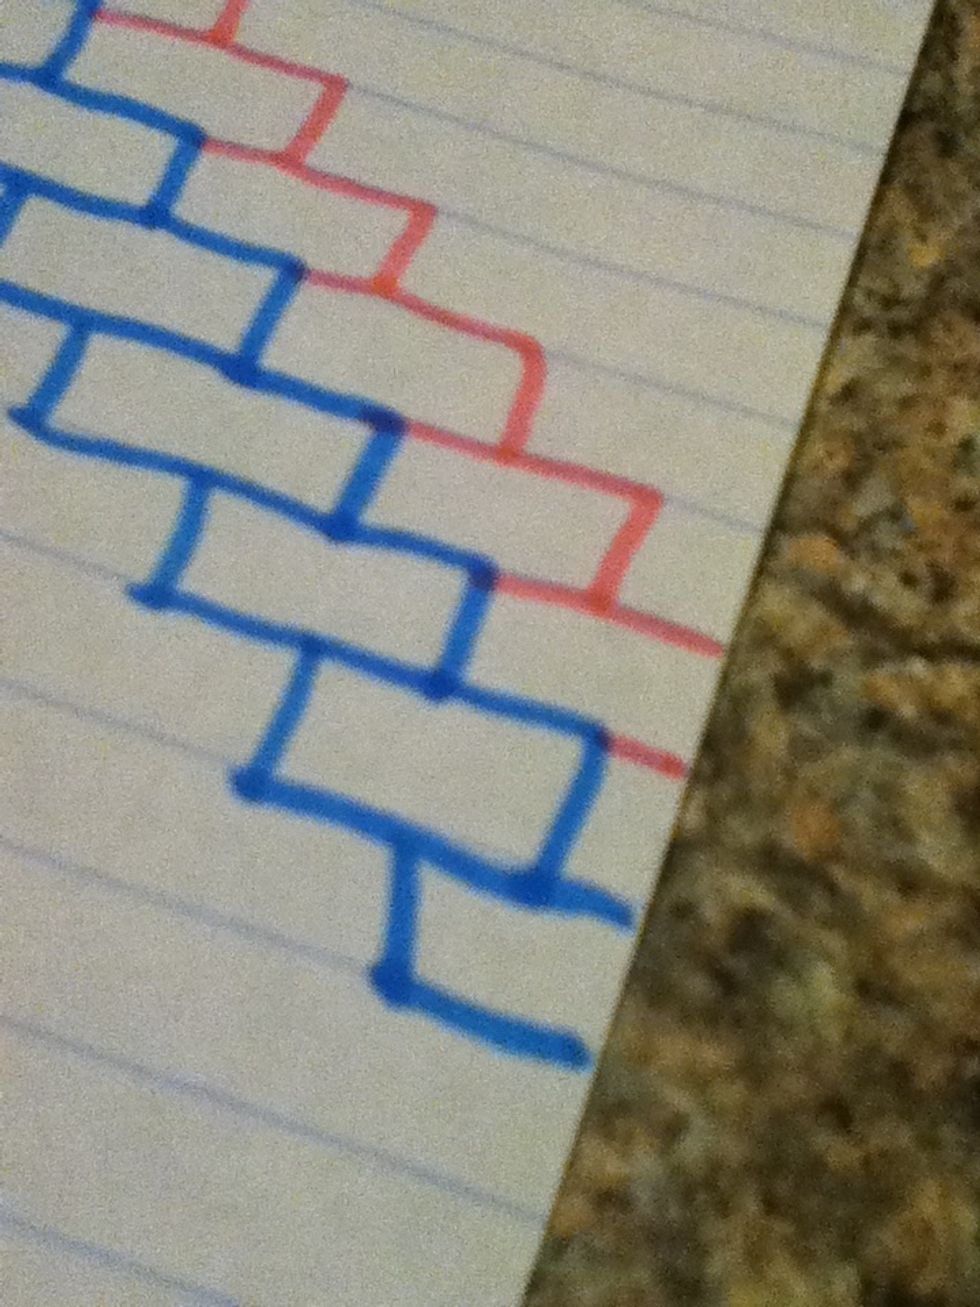
It should look like this. If you are like me, then you should cut off the edges so it looks cleaner.
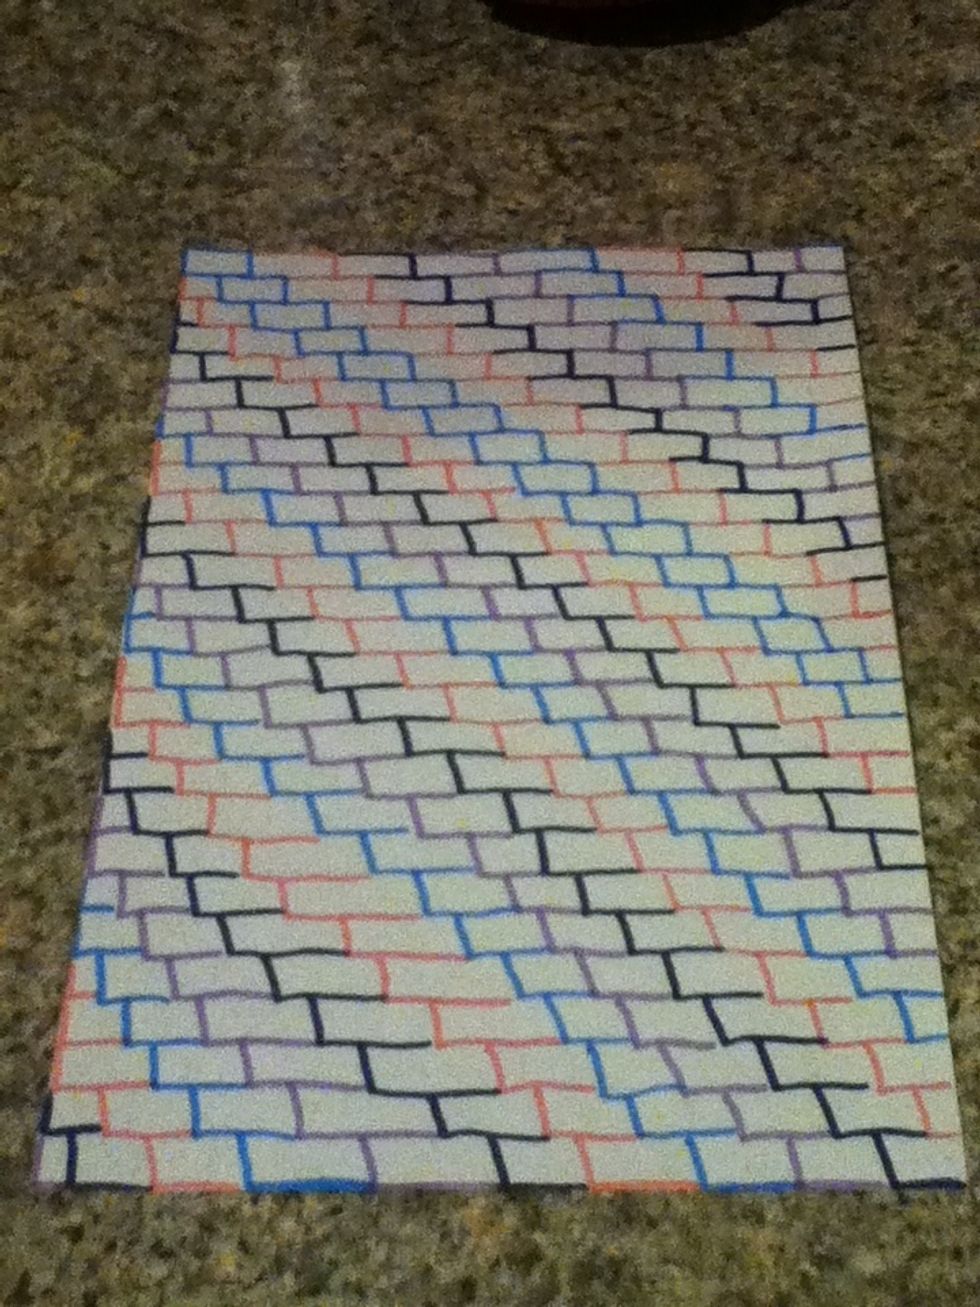
Ta-Da!! Tap to see the full picture!
You can get creative with these! Use different colors! Shade in the boxes with lighter colors! Make a bunch and put together a collage! They get easier every time you make one!
Let me know if you have any suggestions for other guides!