The Conversation (0)
Sign Up
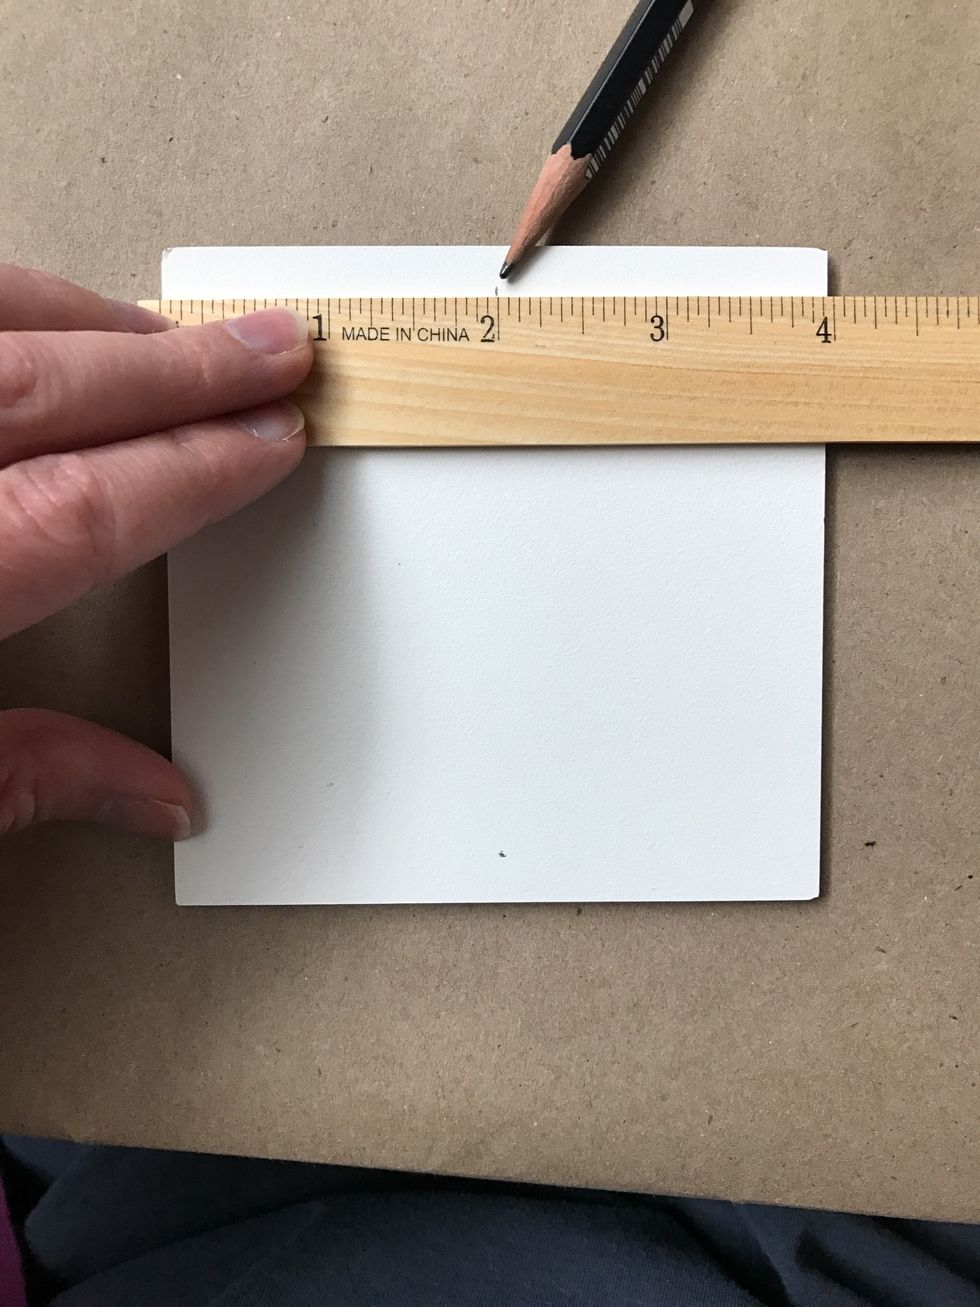
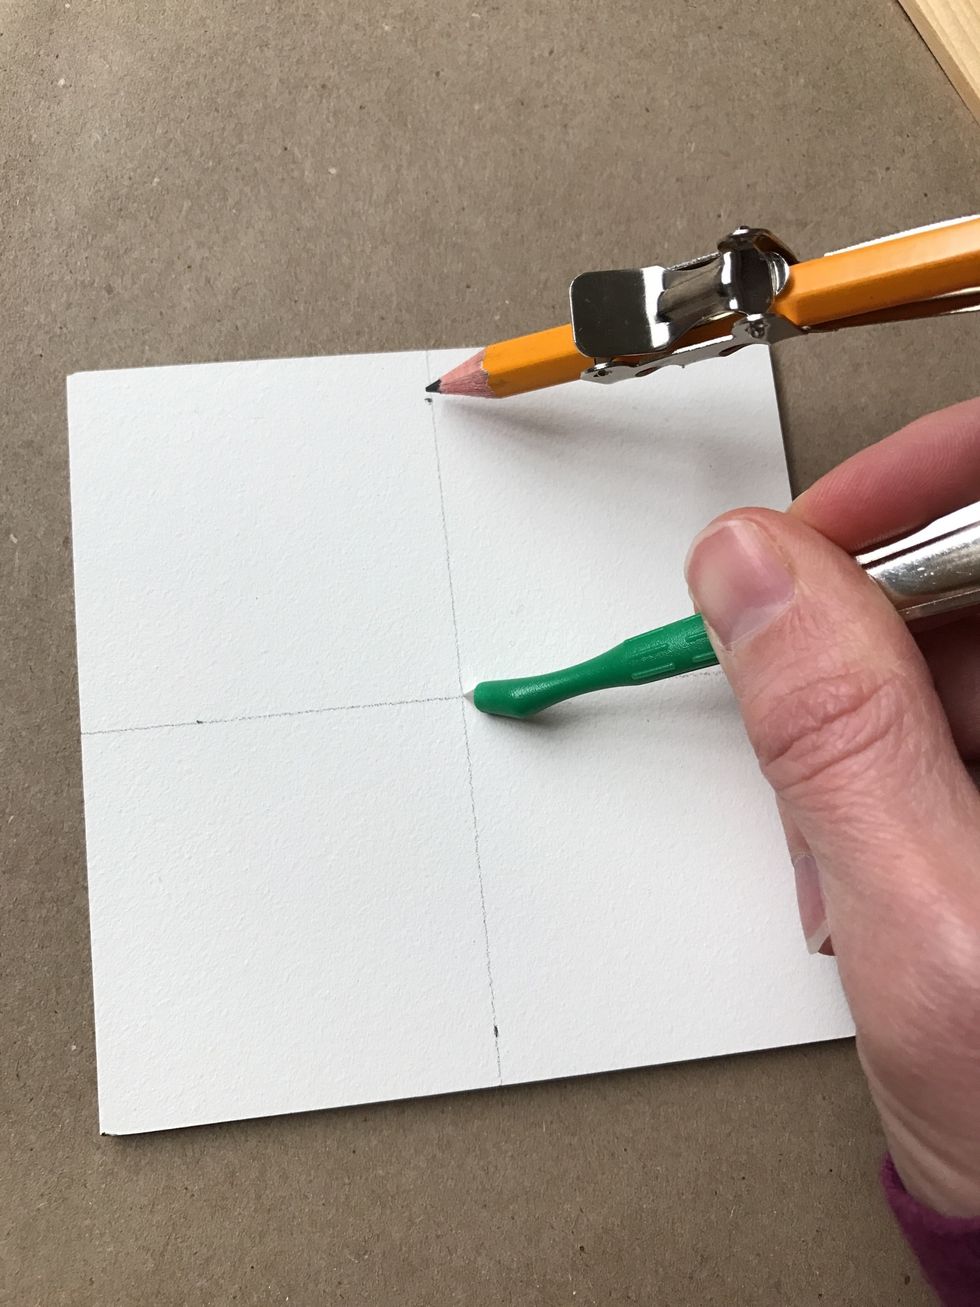
Mark your 4" square at the 2" point.
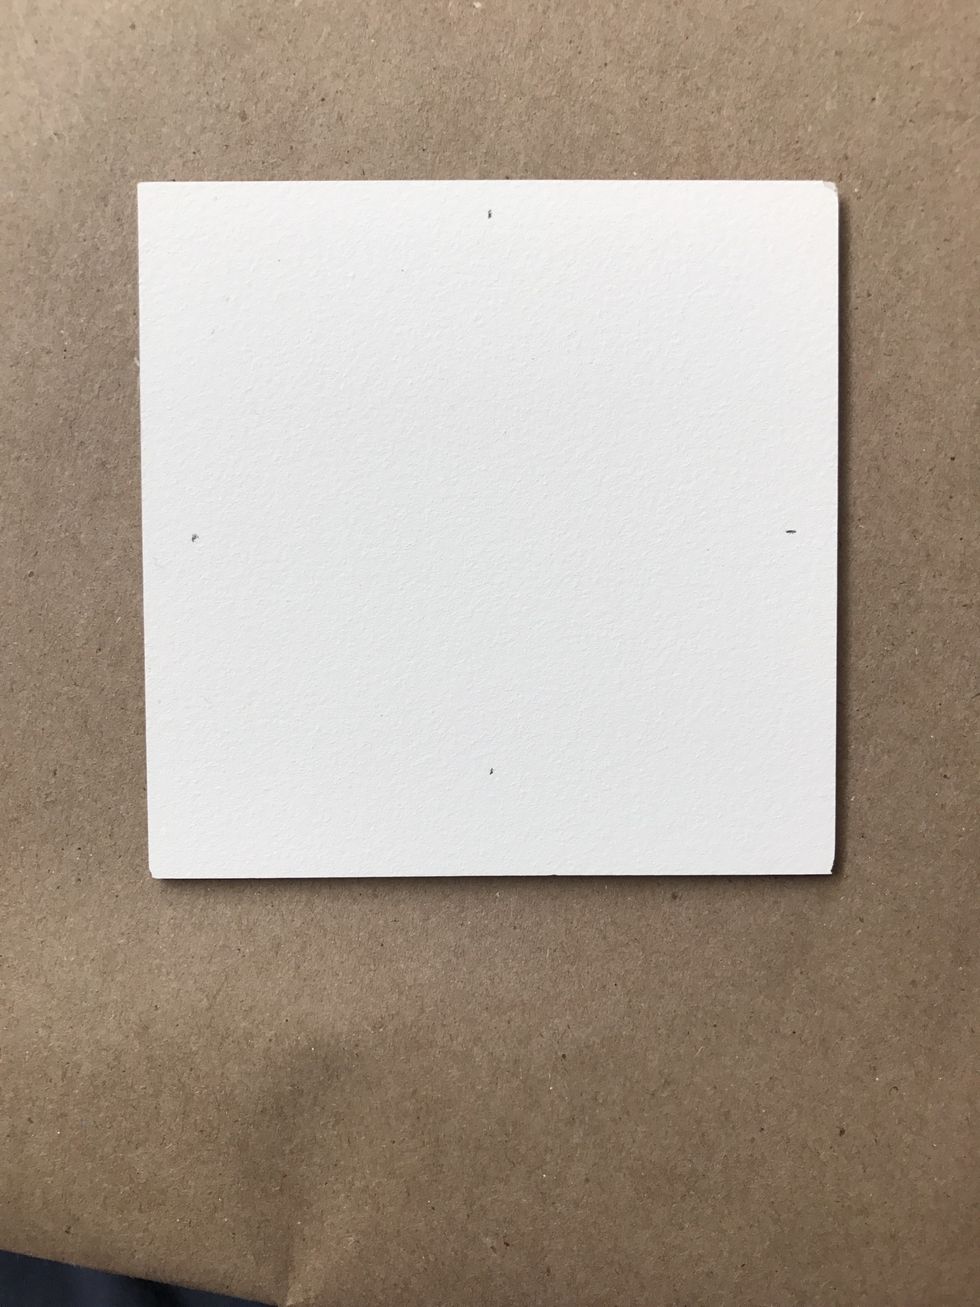
Repeat on all four sides of the paper.
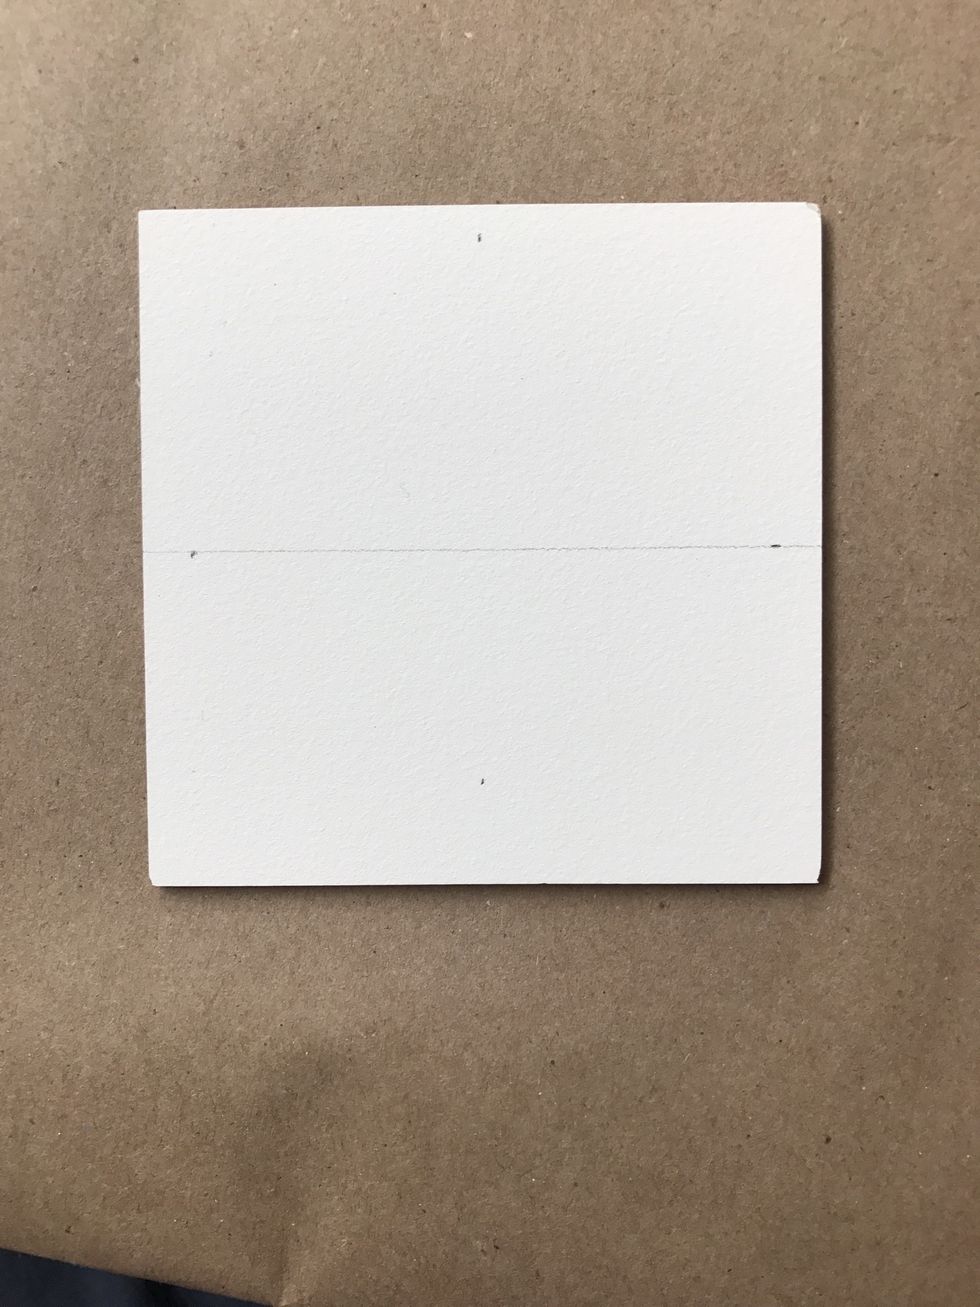
Draw a bi-secting line to connect the opposite points.
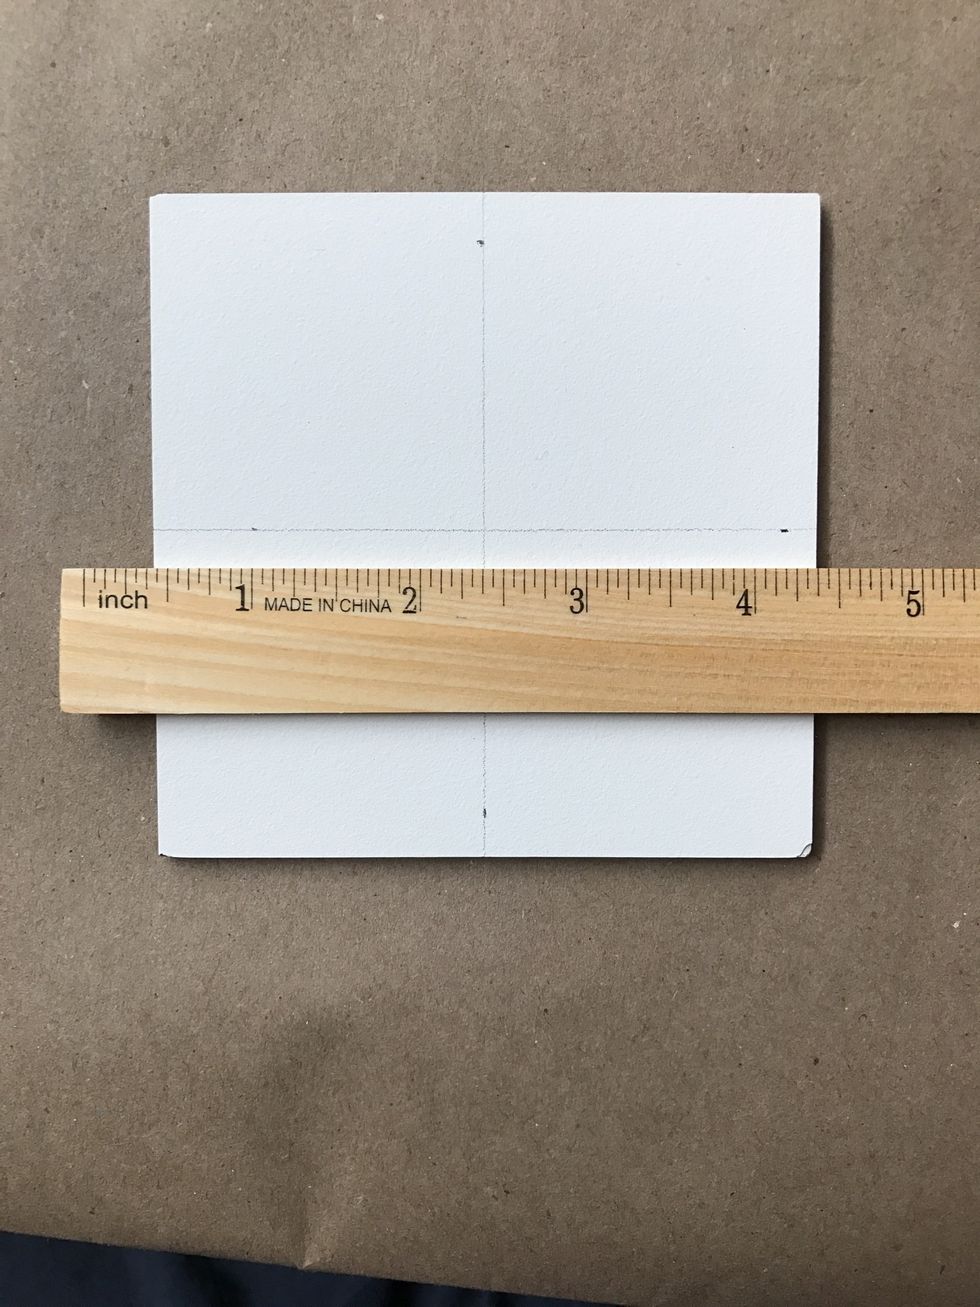
Repeat on the other side.
Using a compass, create a circle to guide your mandala.
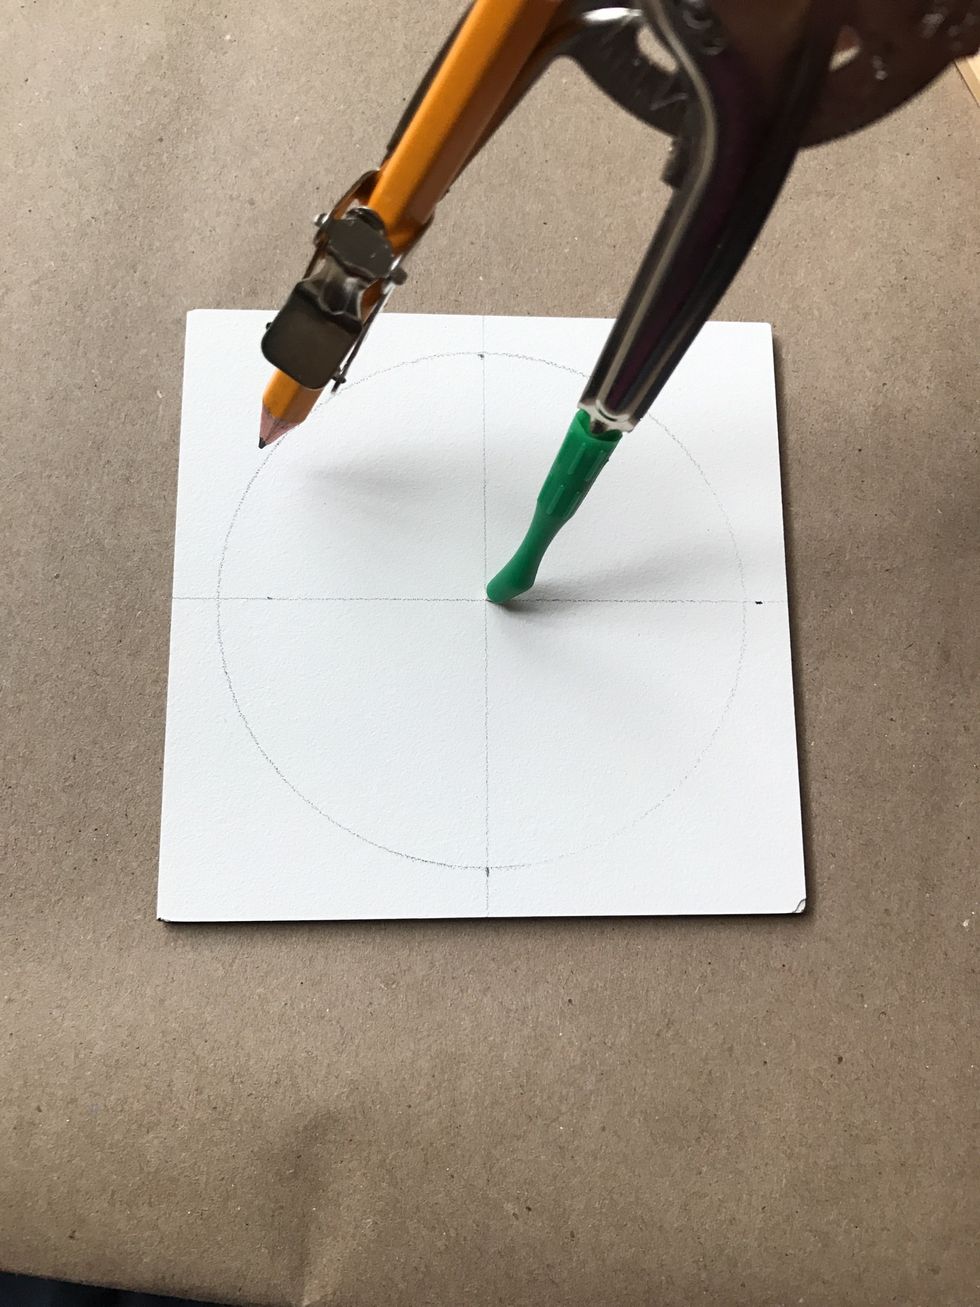
The circle can be as large or as small as you'd like.
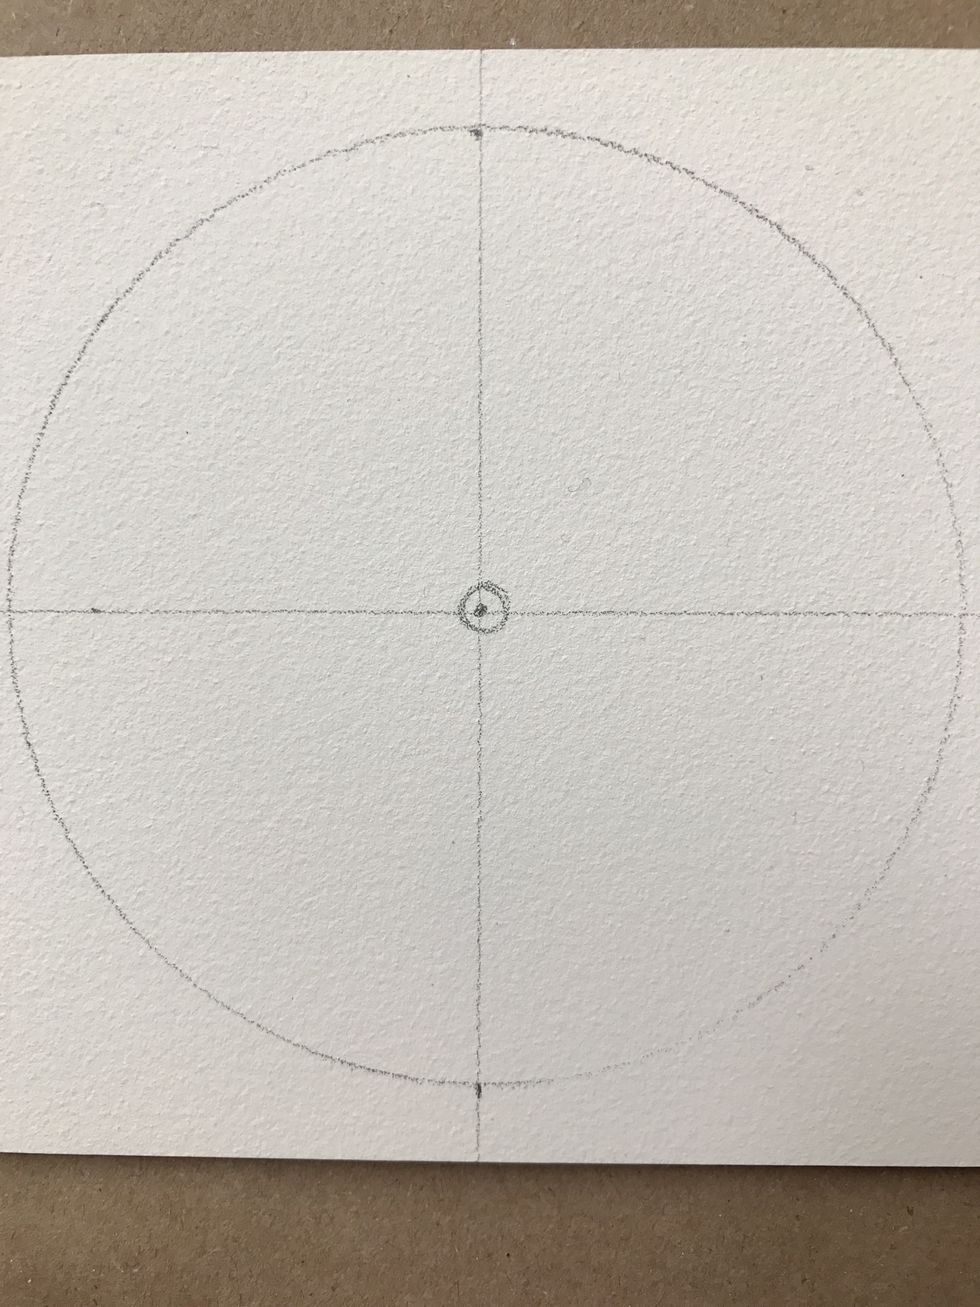
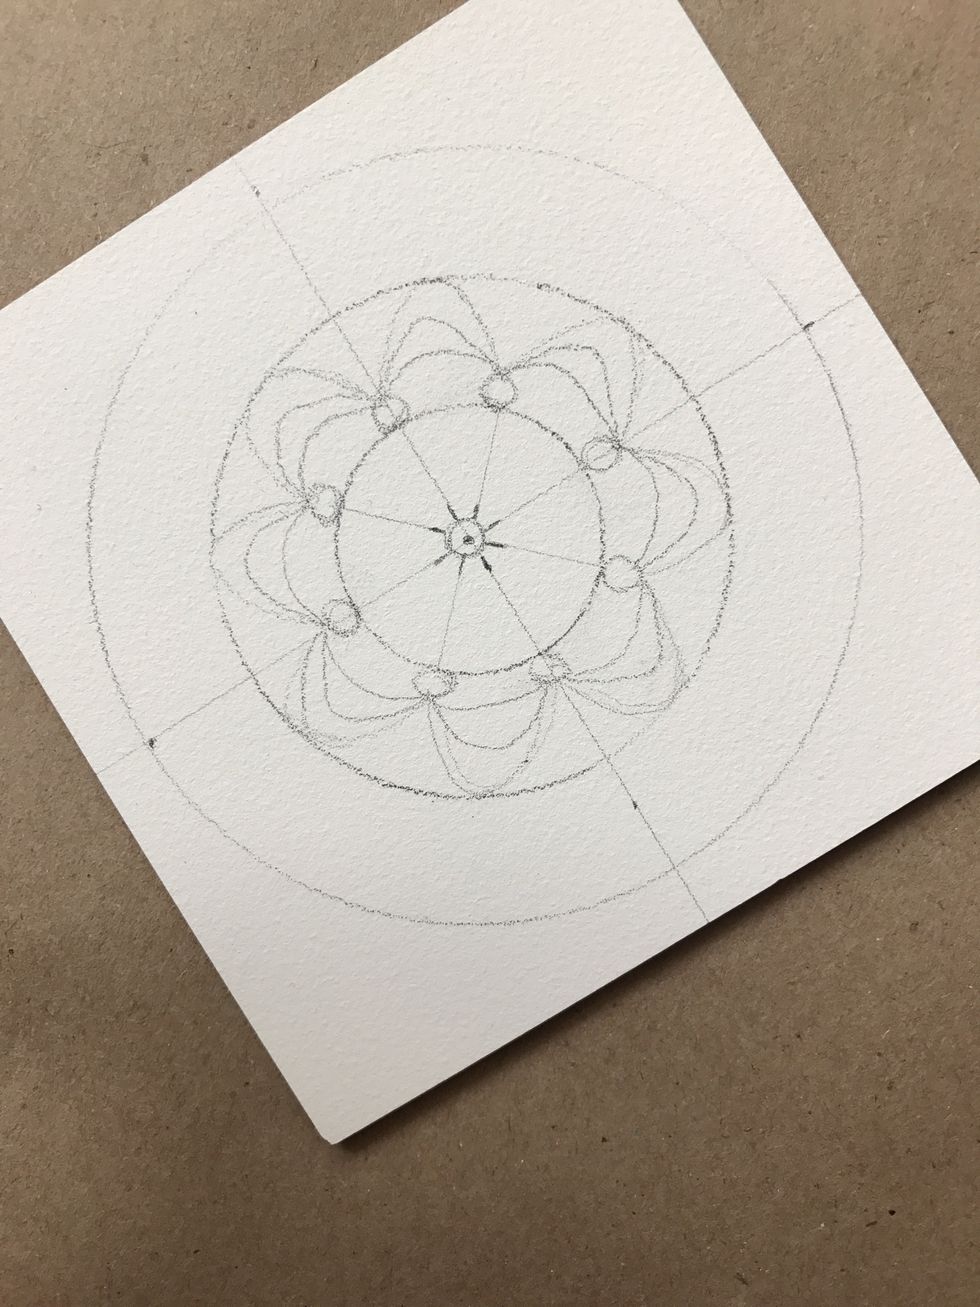
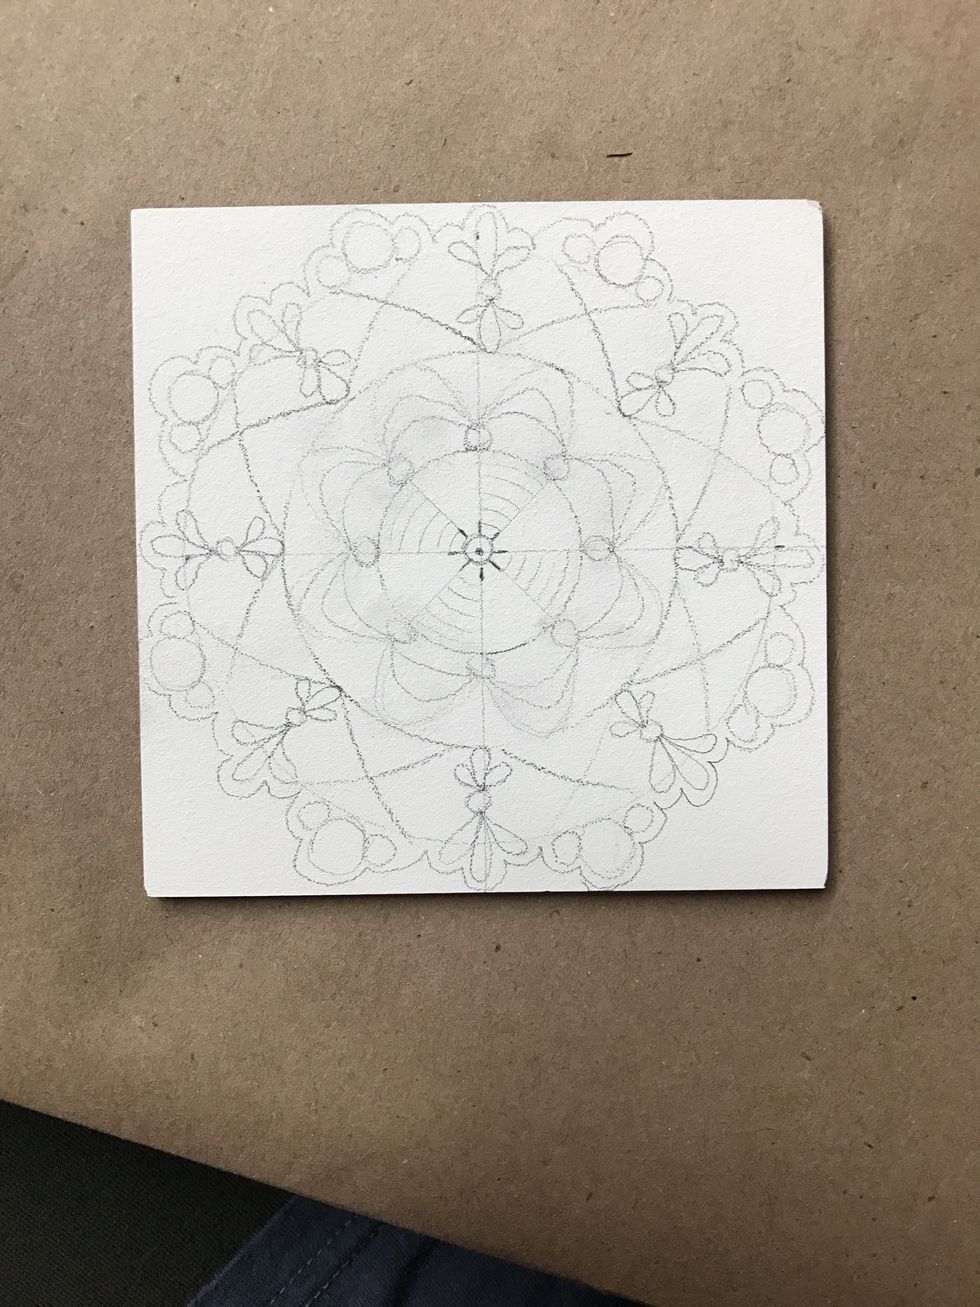
Now you're ready to "grow" your mandala!
Plant a tiny seed in the center and find a line or shape to repeat 8 (EIGHT) times around the circle.

If you need to add another circle to guide you, you may.

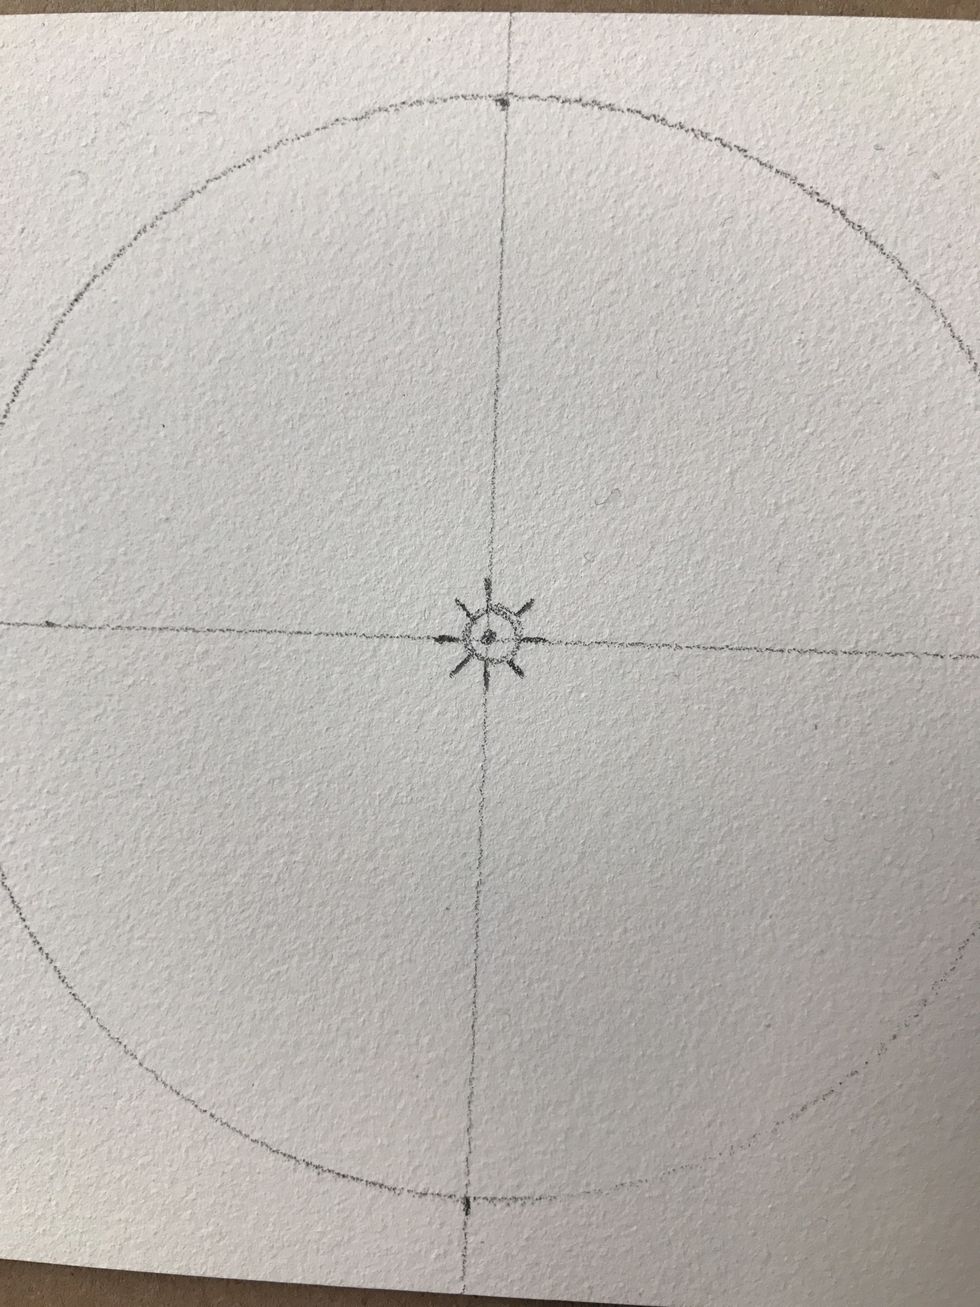
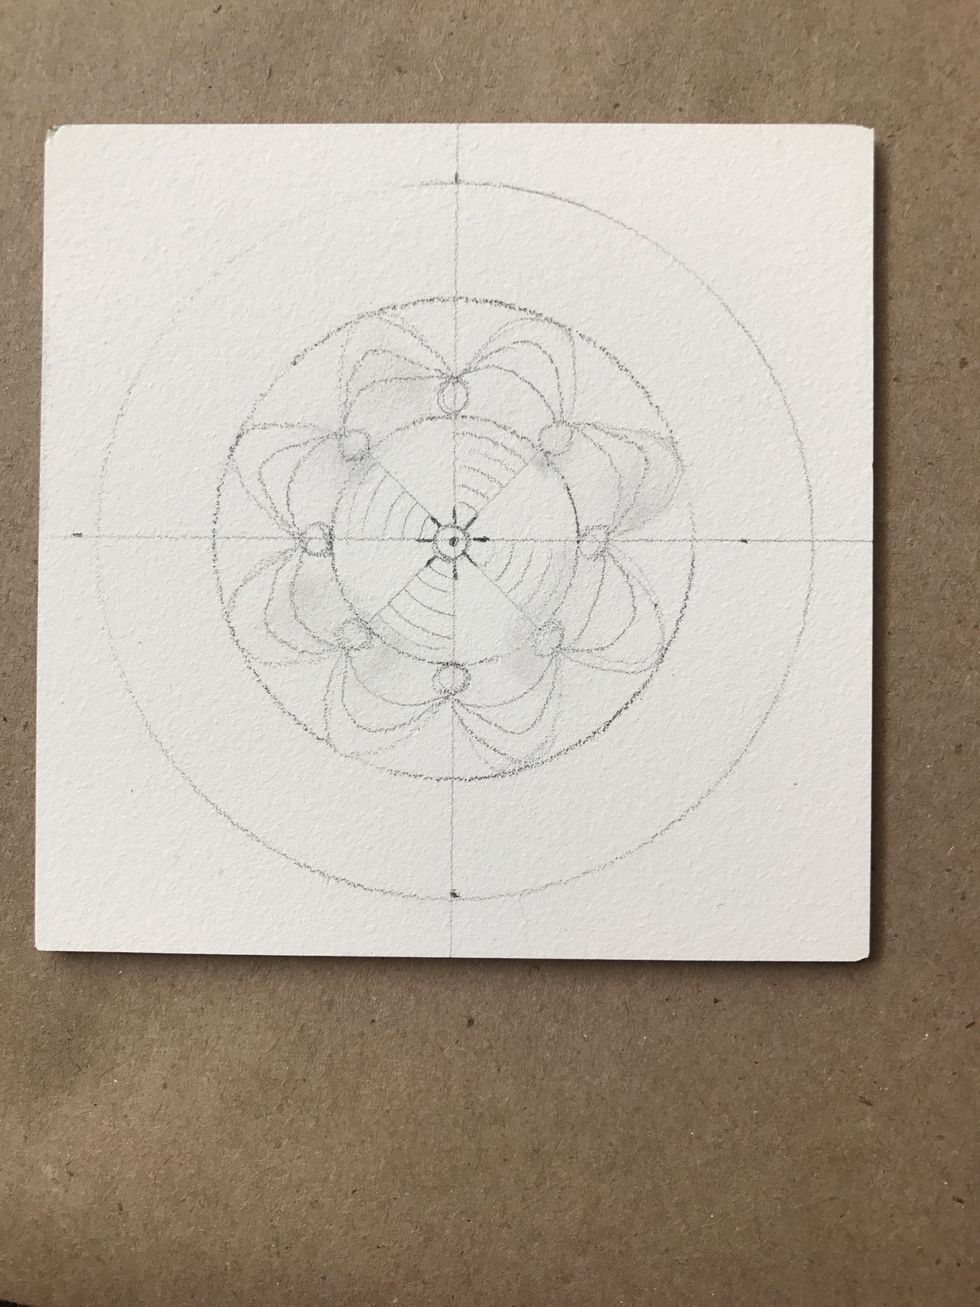
Keep your design balanced and grow out from the center, repeating 8 times.
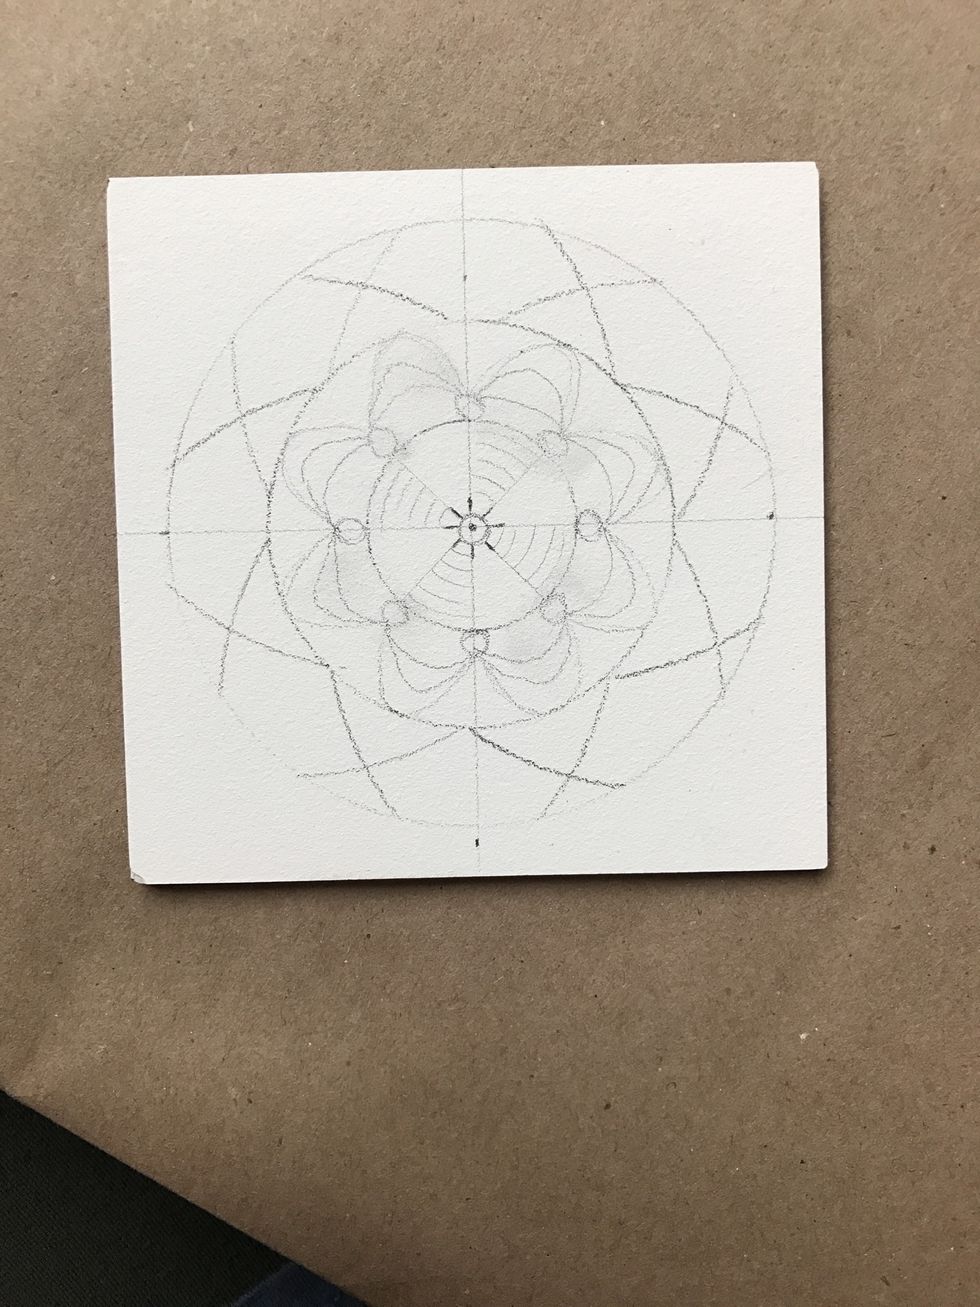
Keep growing....
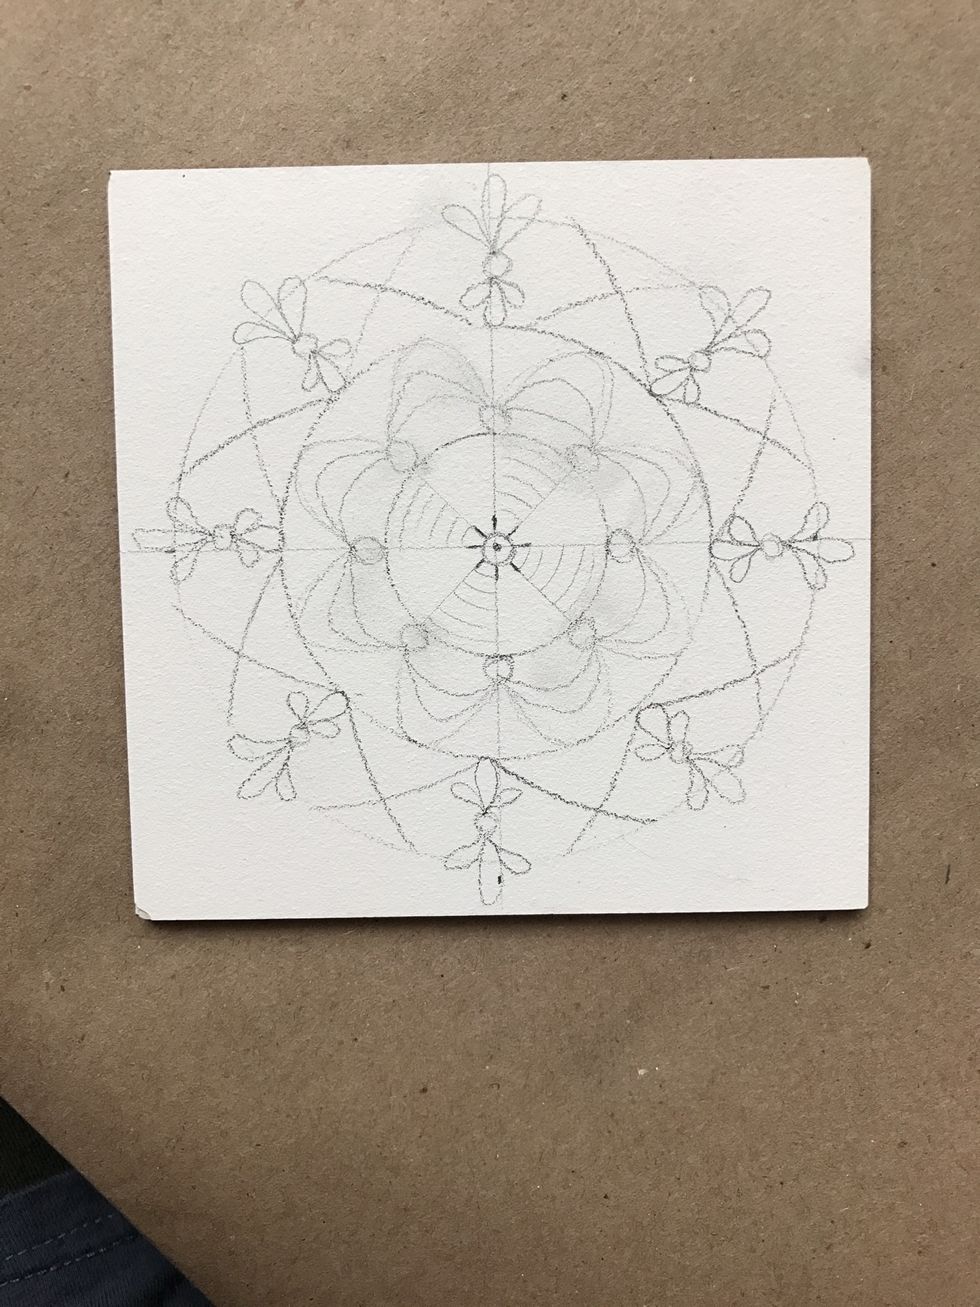
.. and growing...
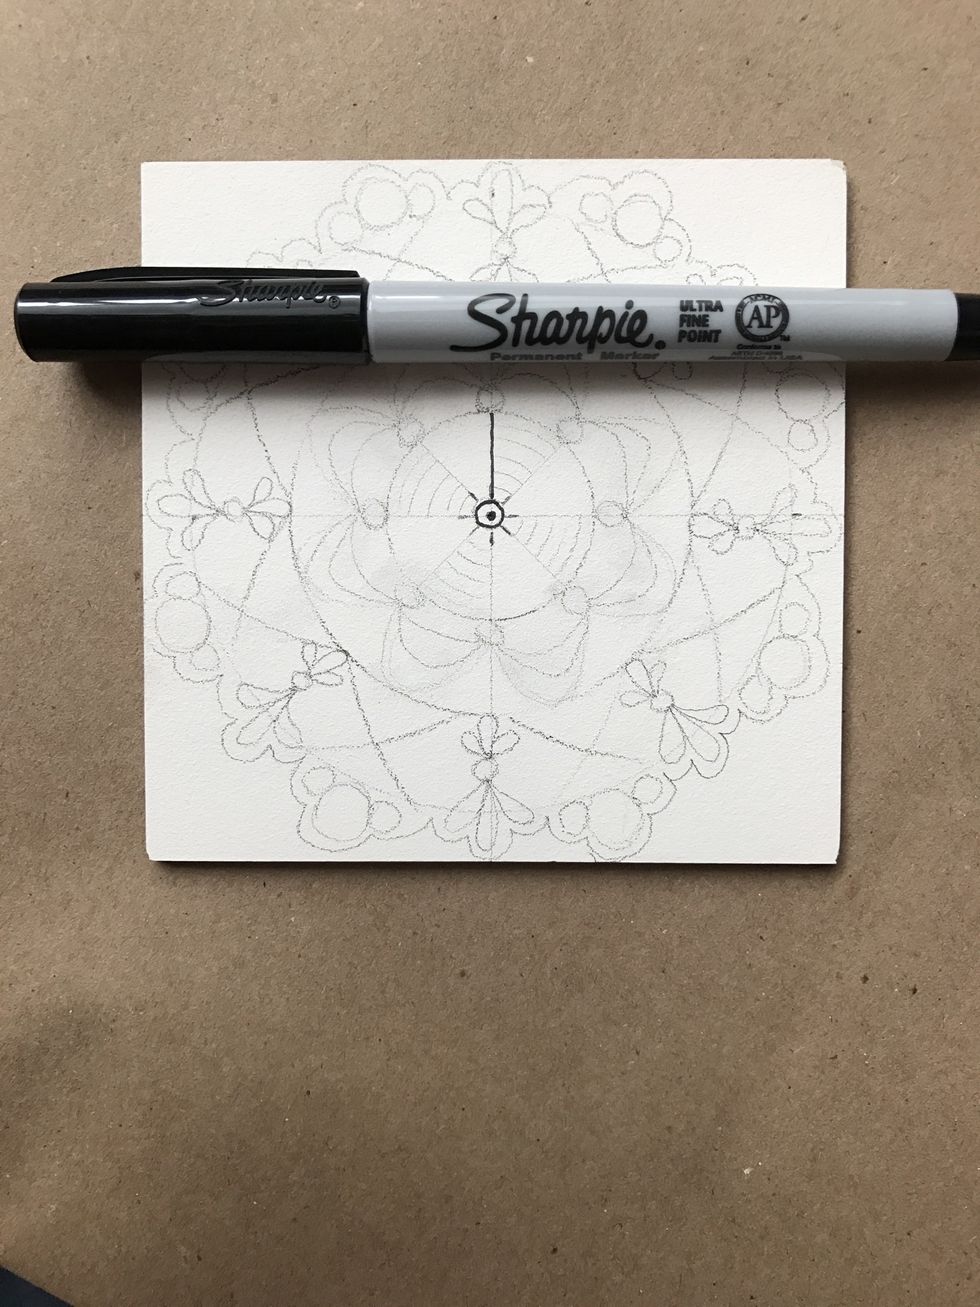
Begin tracing your pencil lines with sharpie fine point marker.
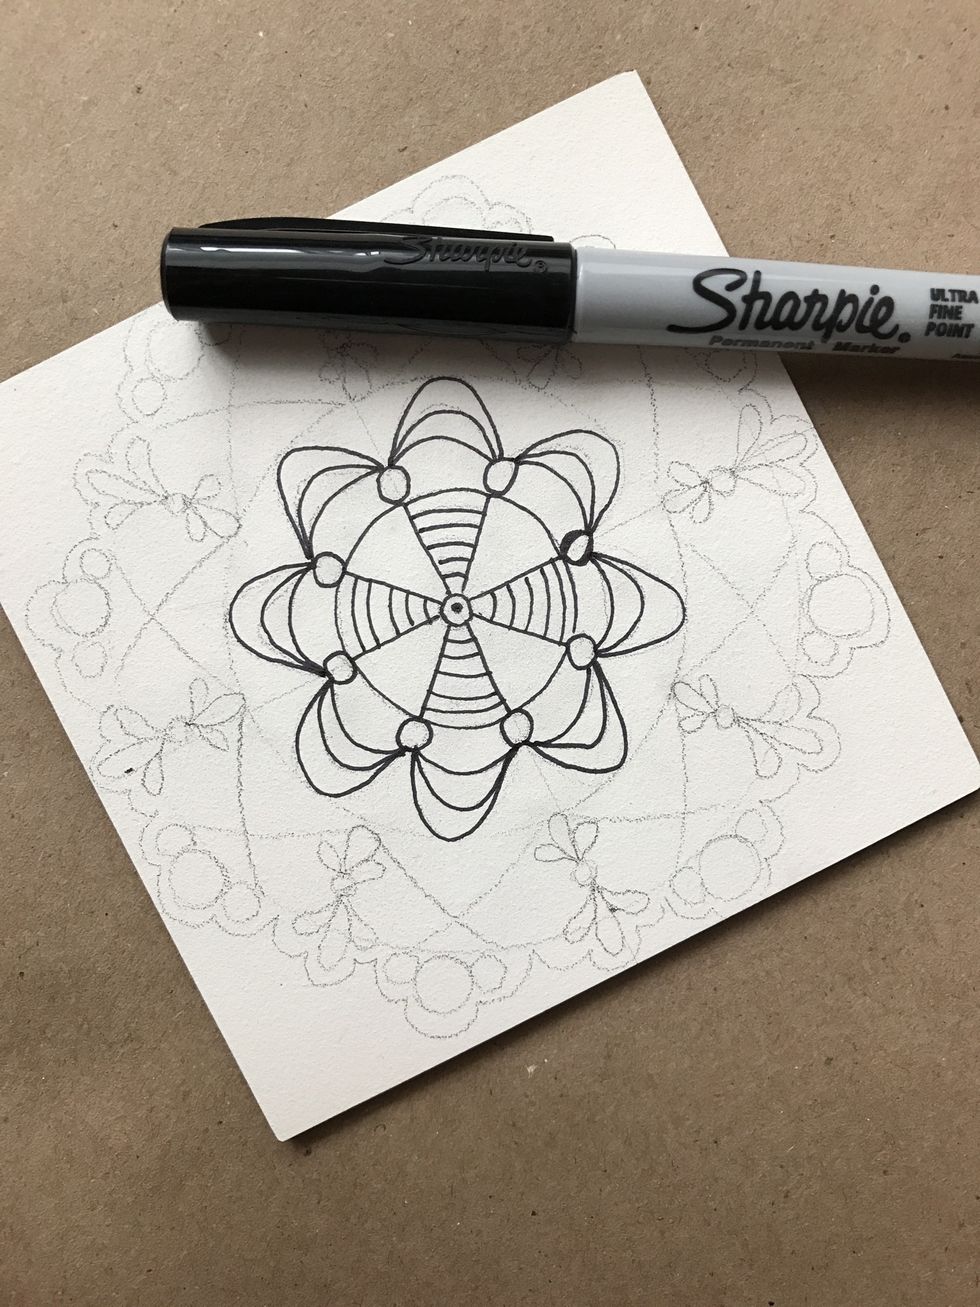

Keep tracing.
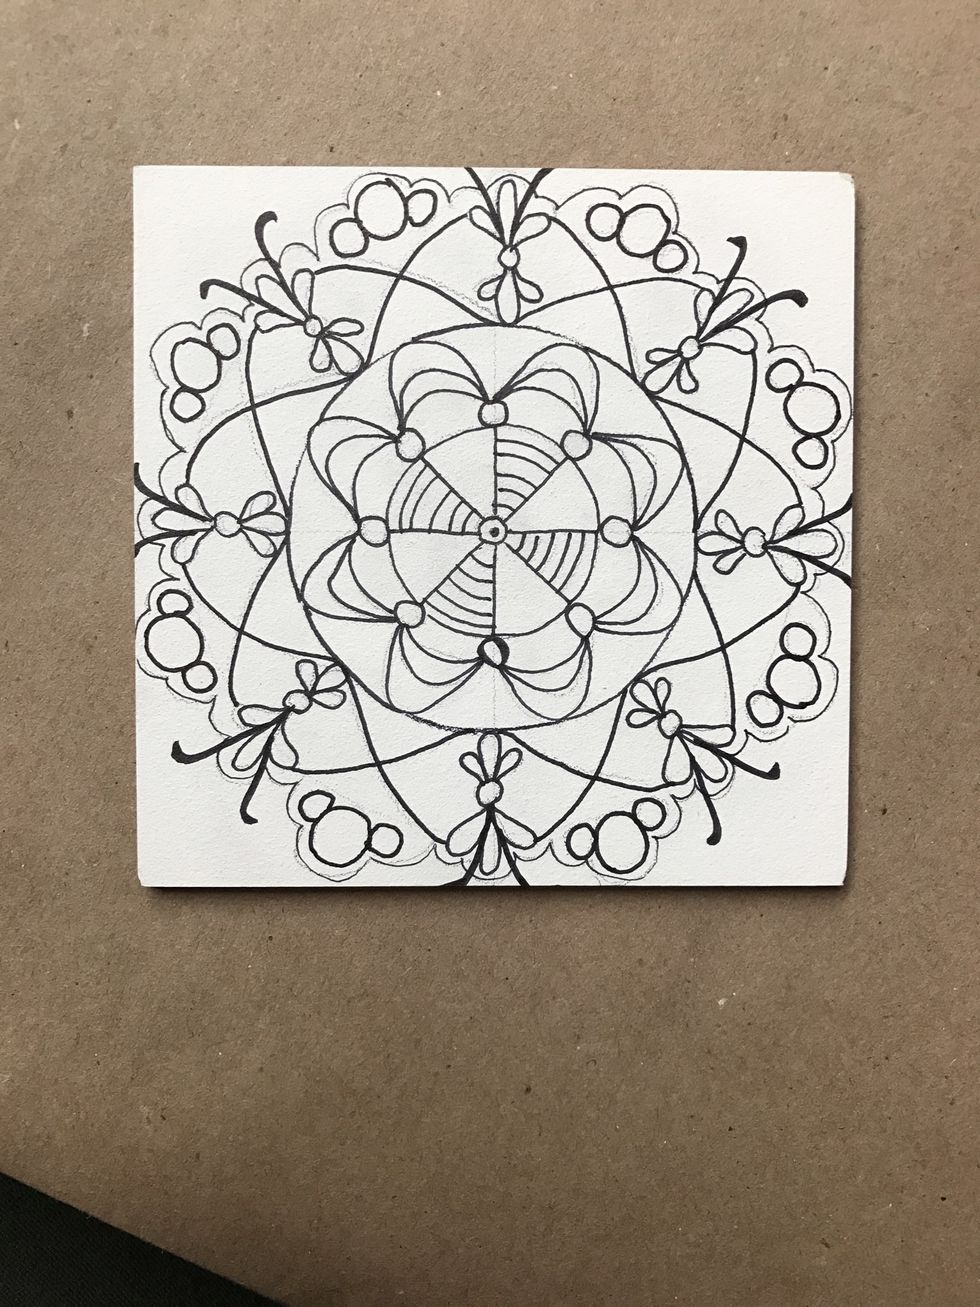
Traced!
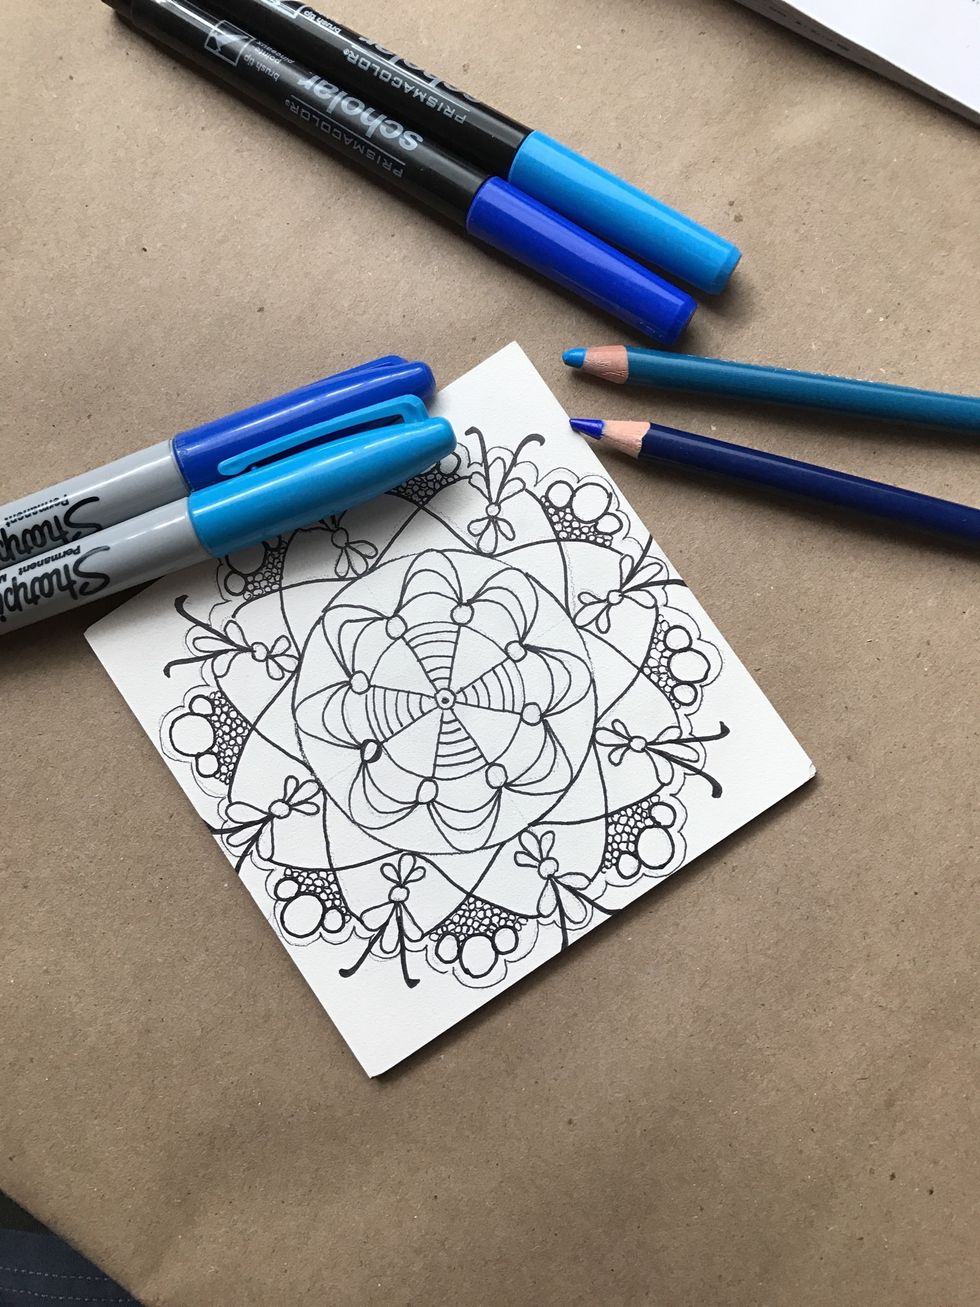
Time to add color. Colors that are near each other on the color wheel always look nice together.
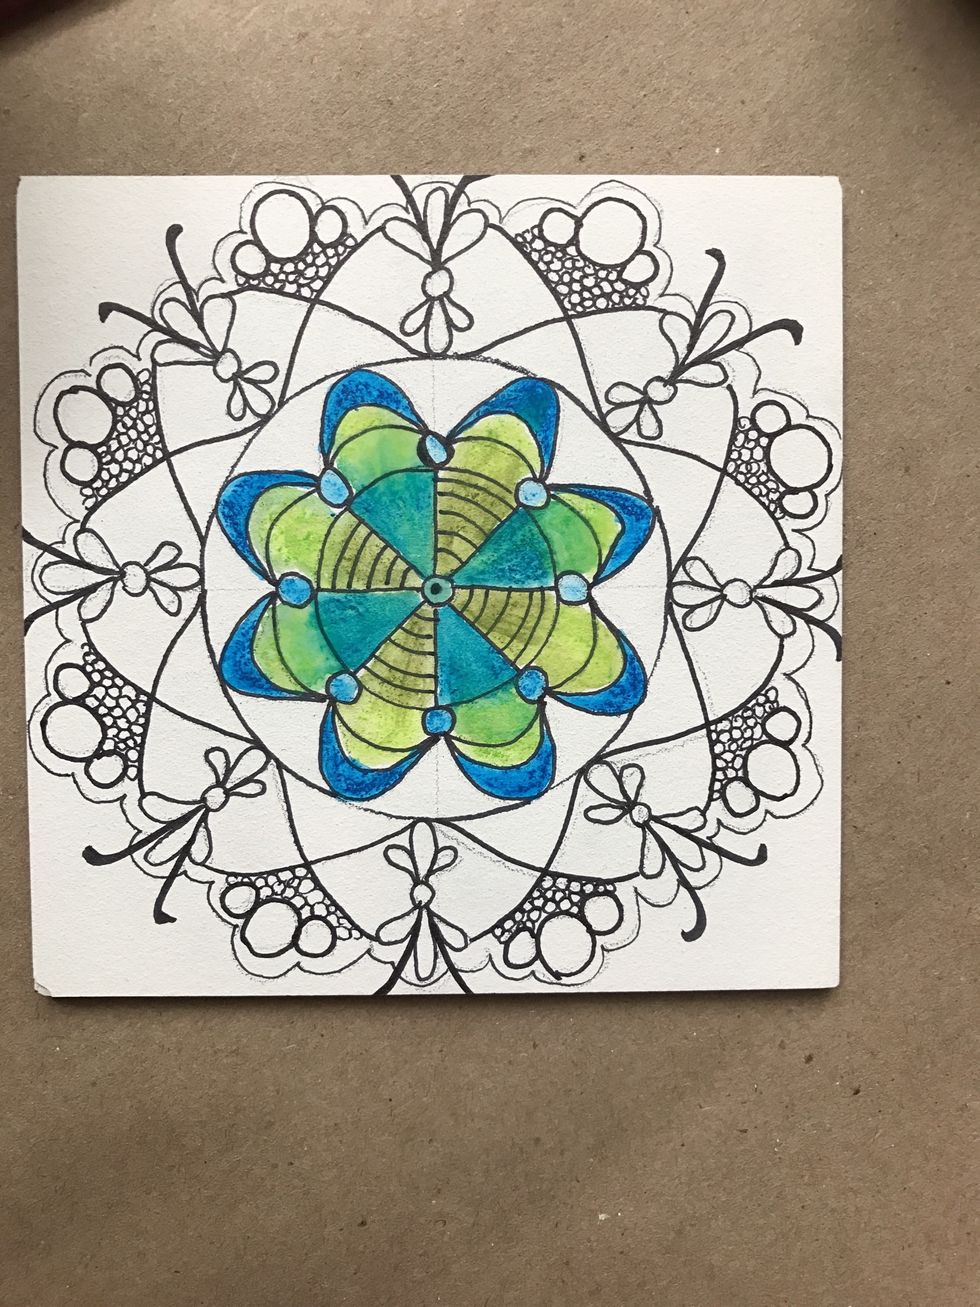
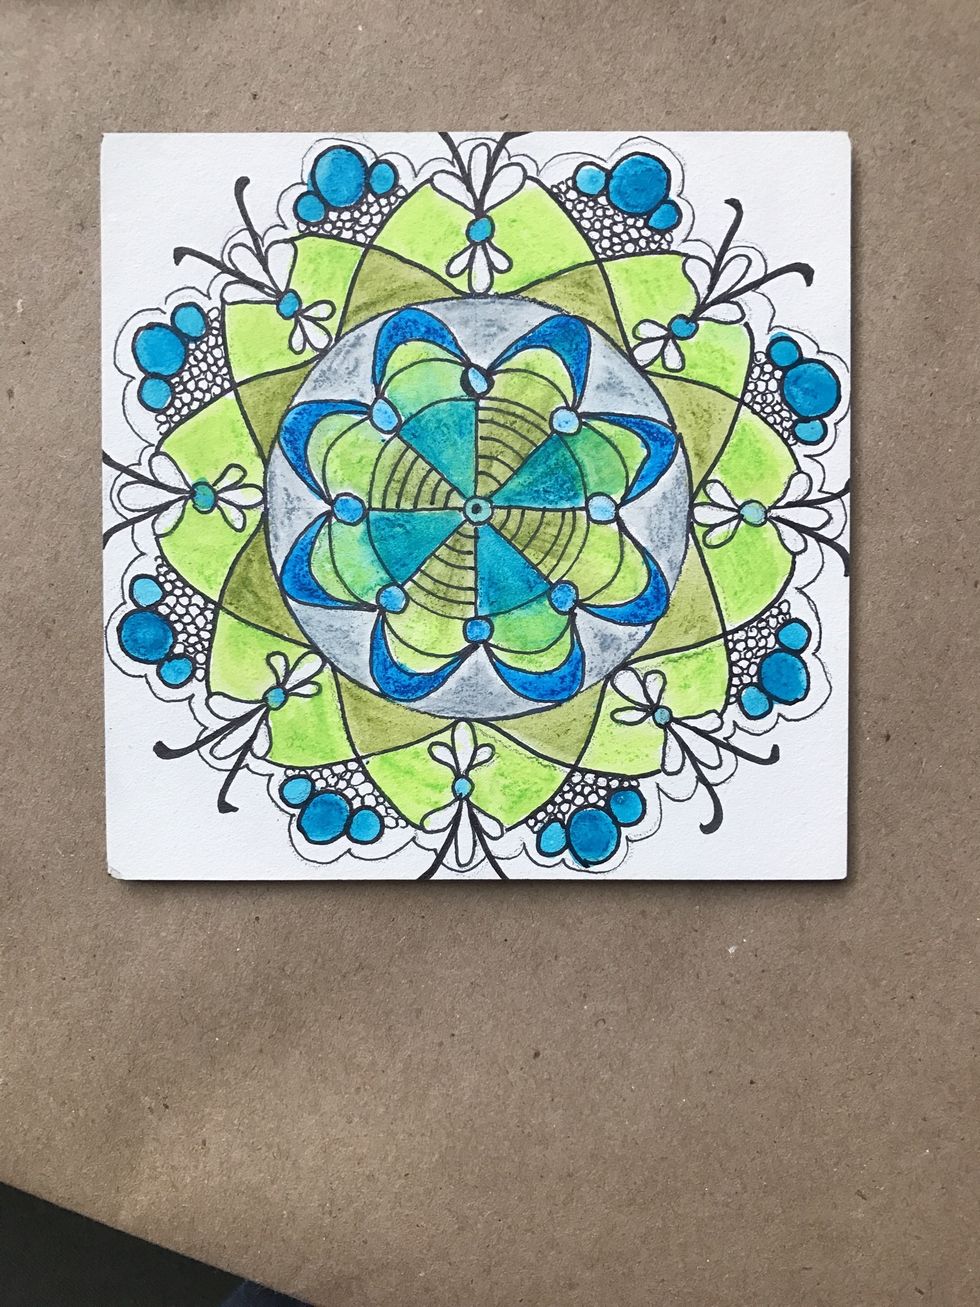
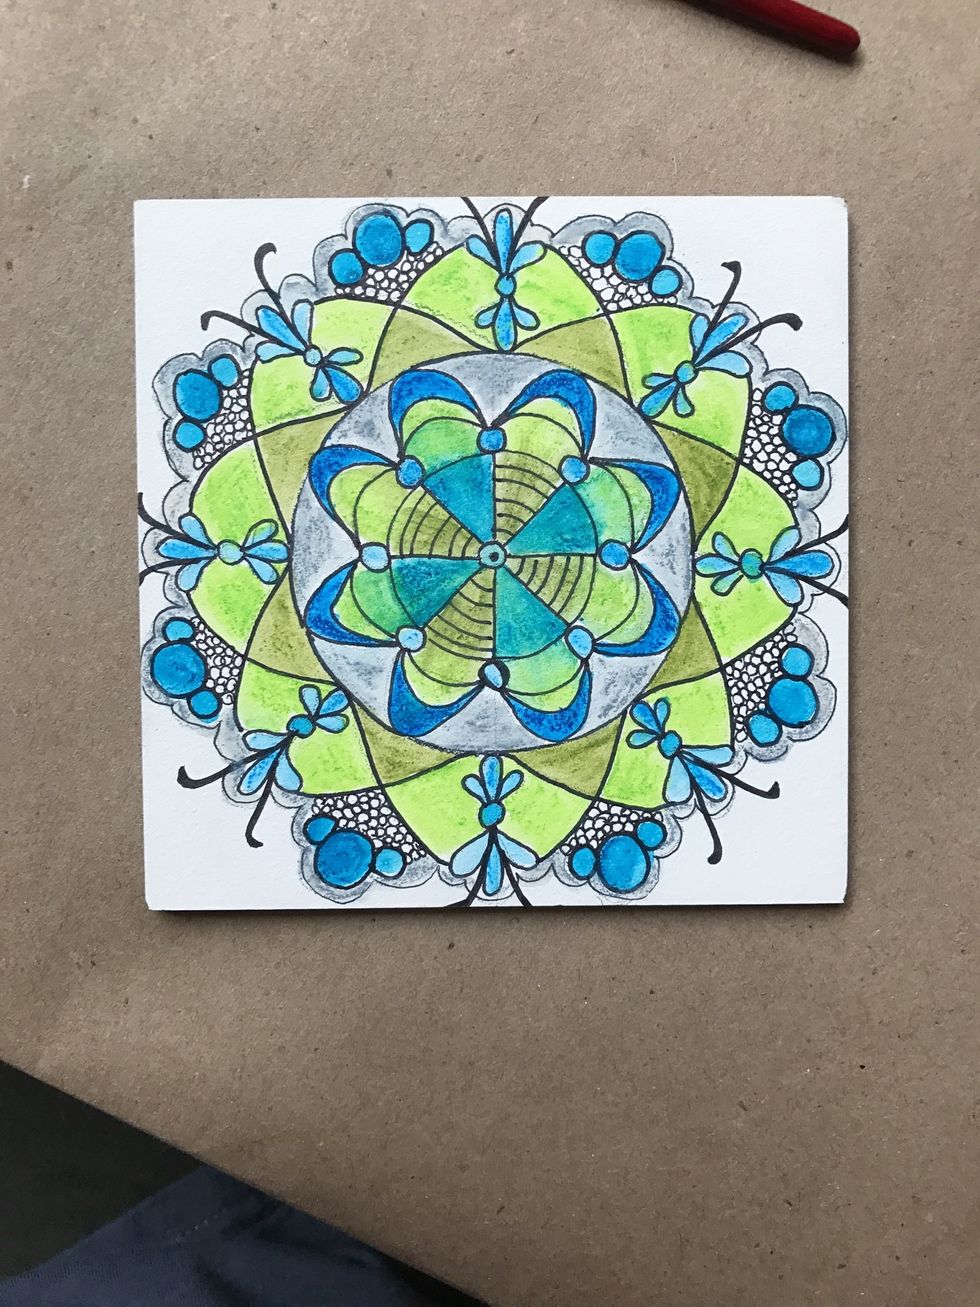
Keep adding color until you are satisfied with the design.