The Conversation (0)
Sign Up
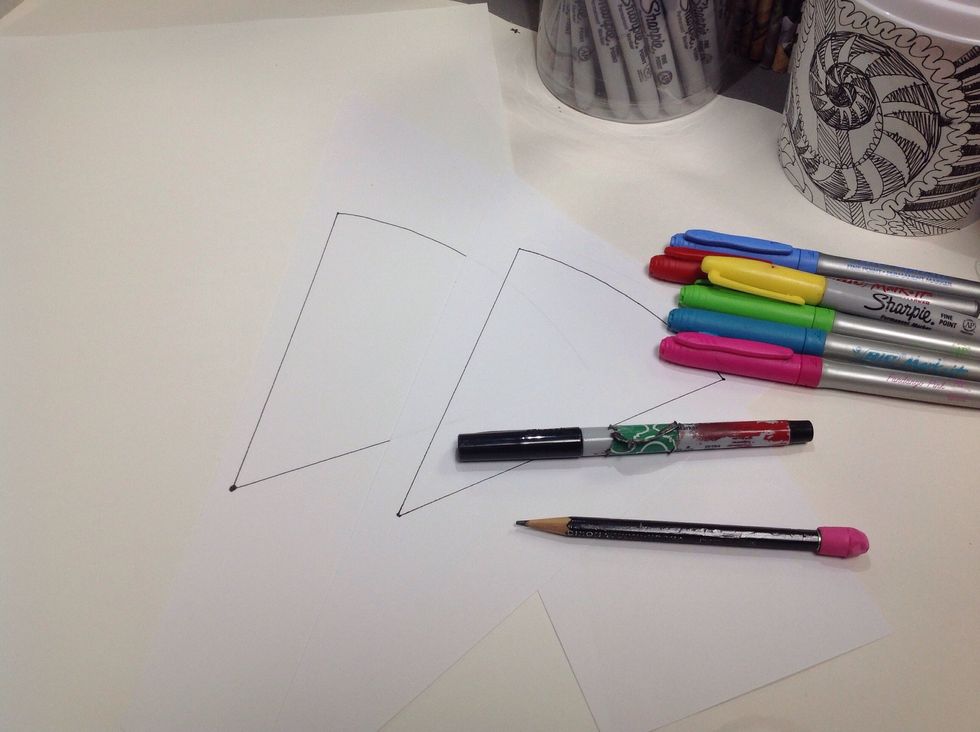
You need a template that represents half the width of the paper that you final design will be on. The template also needs to be 1/8th or 1/6th of a circle. 45* or 60* pie piece.
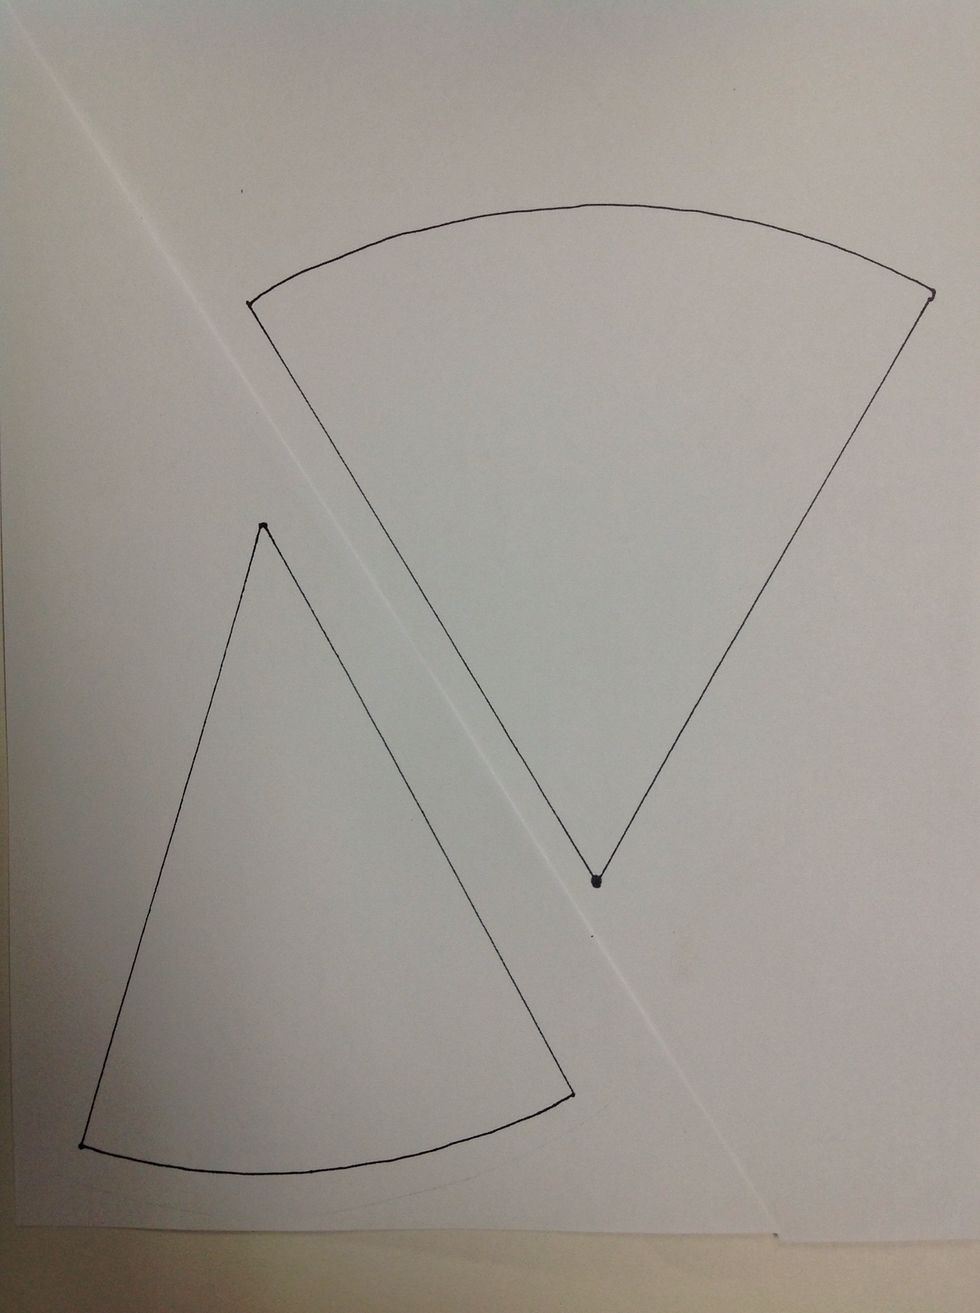
Here is the template I will be using. A 45* and 60* pie shape, each 6" long and will create a 12" diameter.

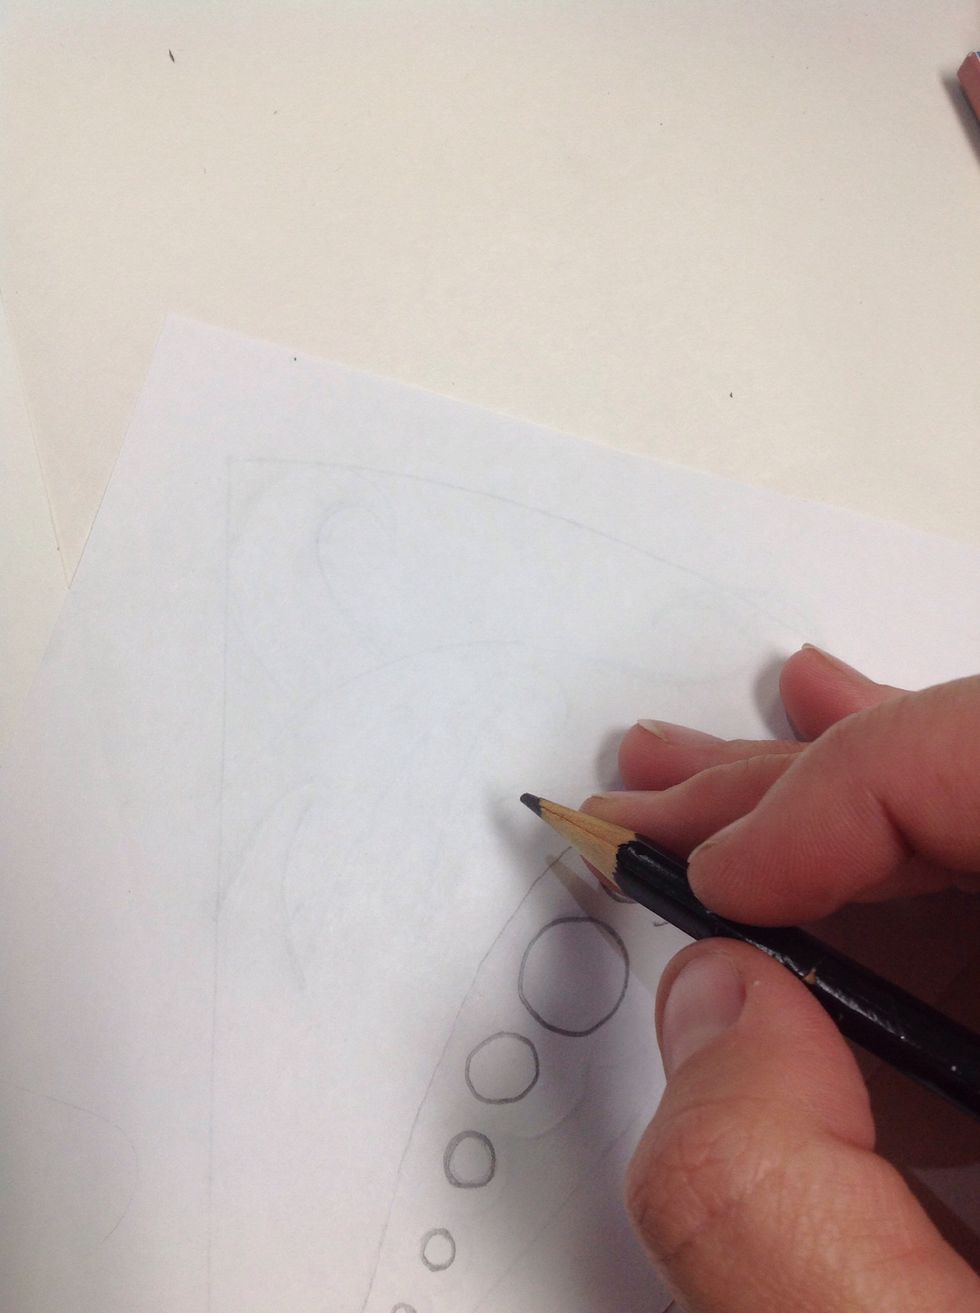
Choose a template size and lightly sketch a design on it. You may draw an object, letters, or an abstract design.
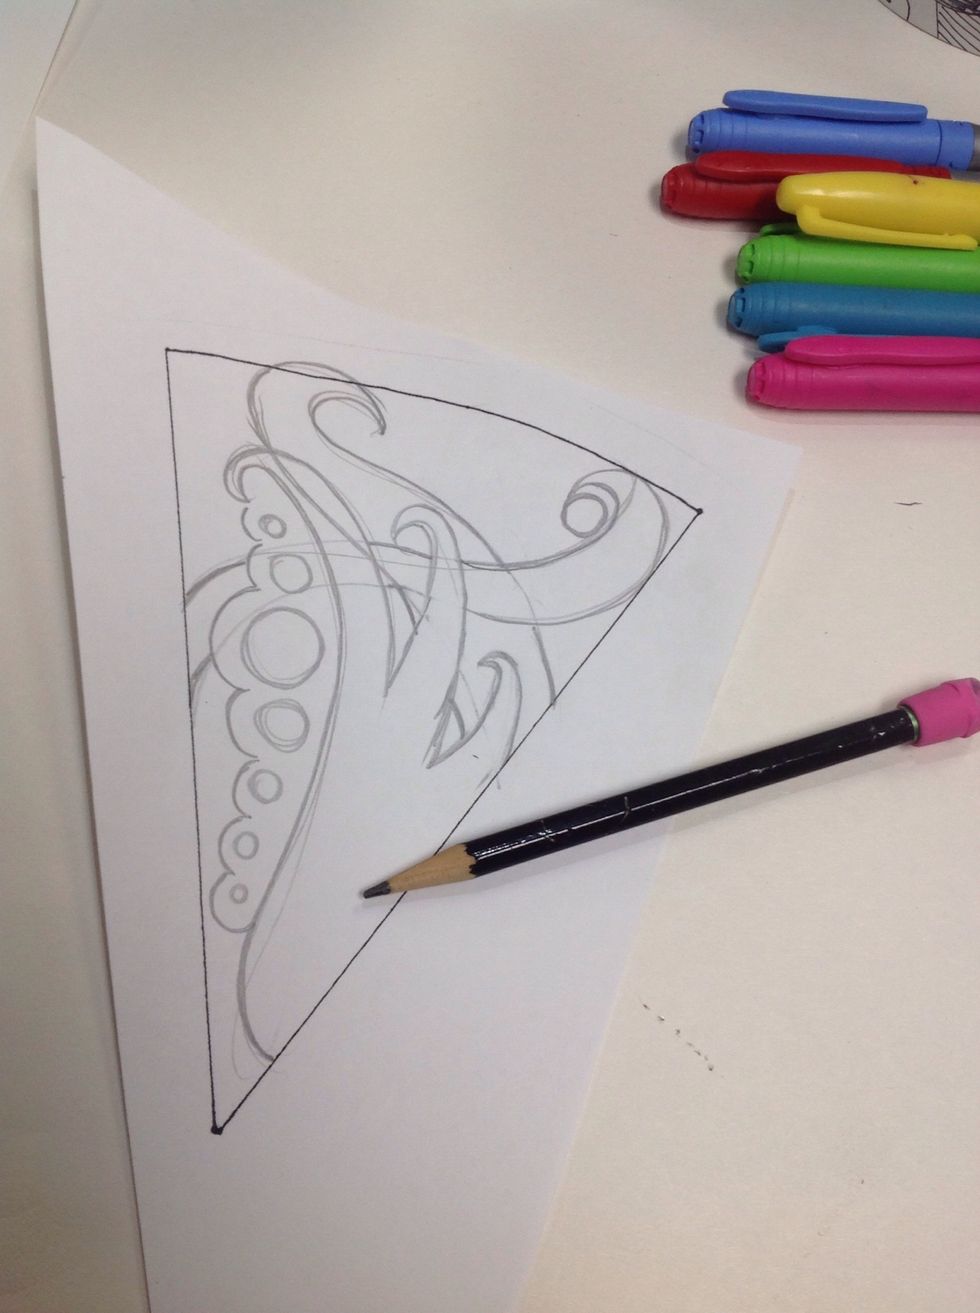
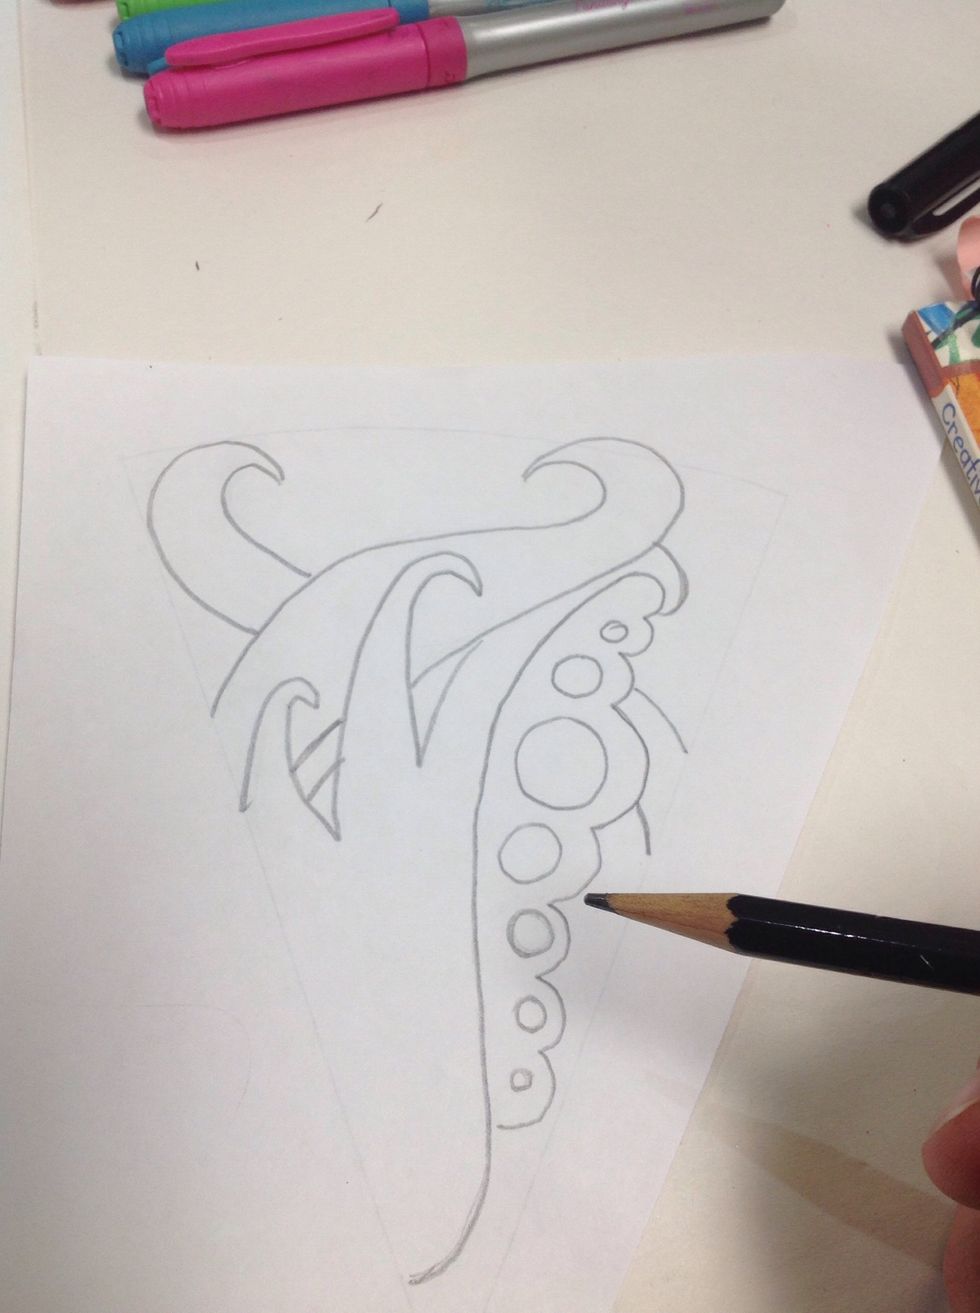
Go over your final design with pencil.
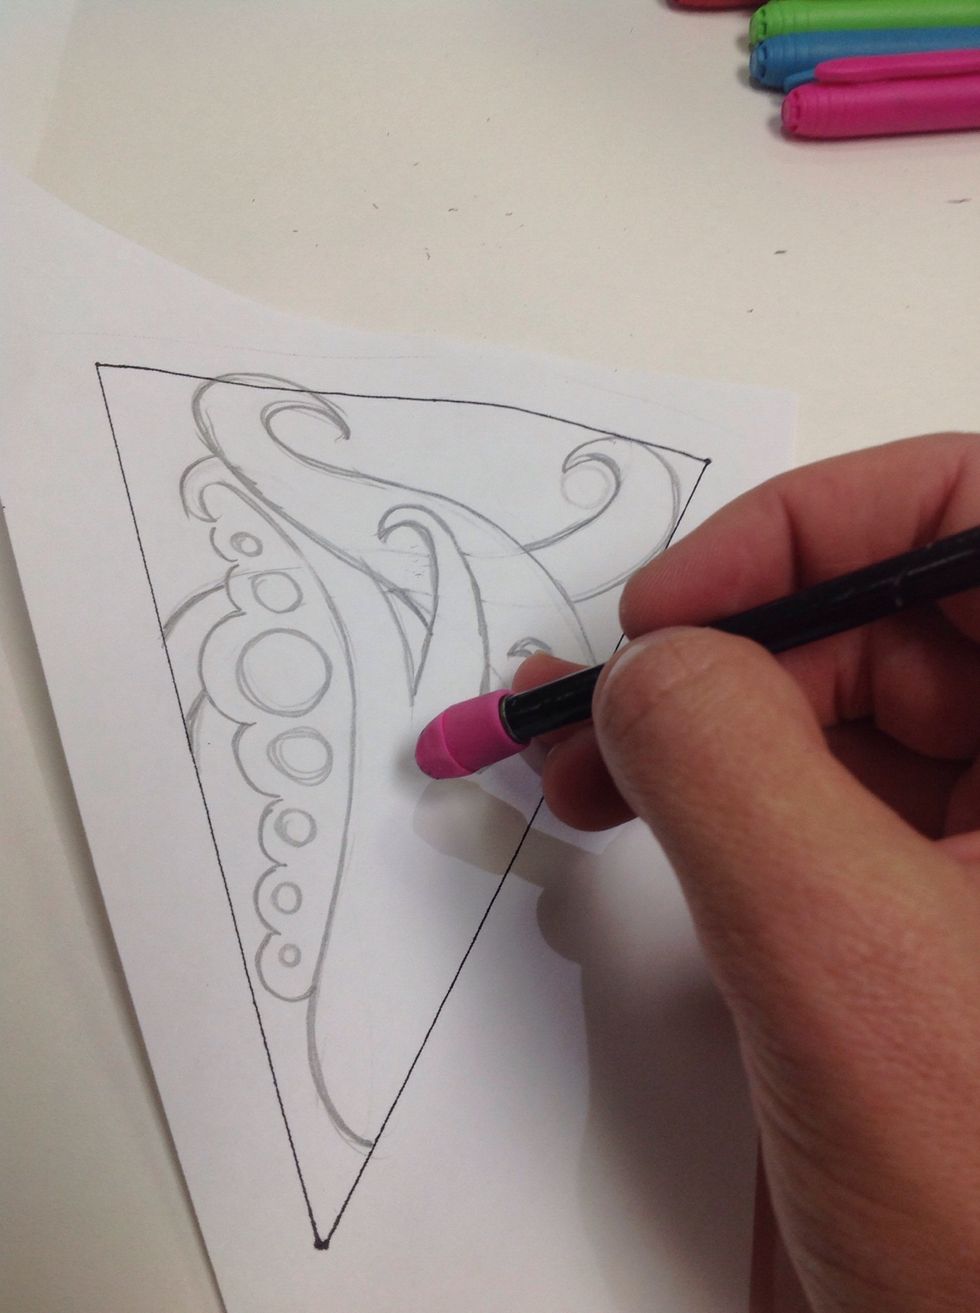
Erase stray marks.
Flip the paper over. You can faintly see the design through the paper. Trace it with your pencil.
Go over it with pencil.
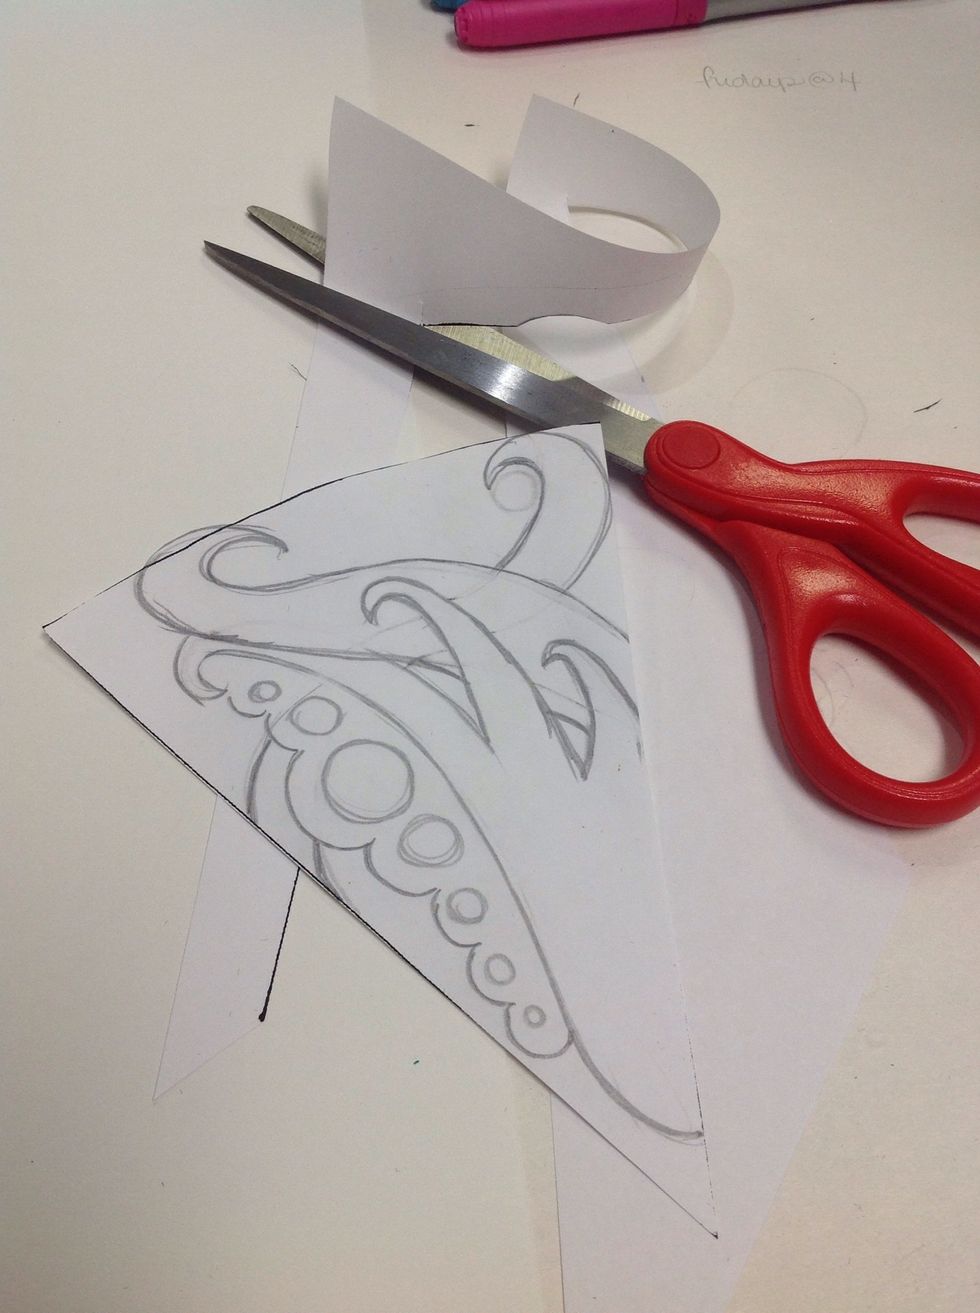
Now cut it out.
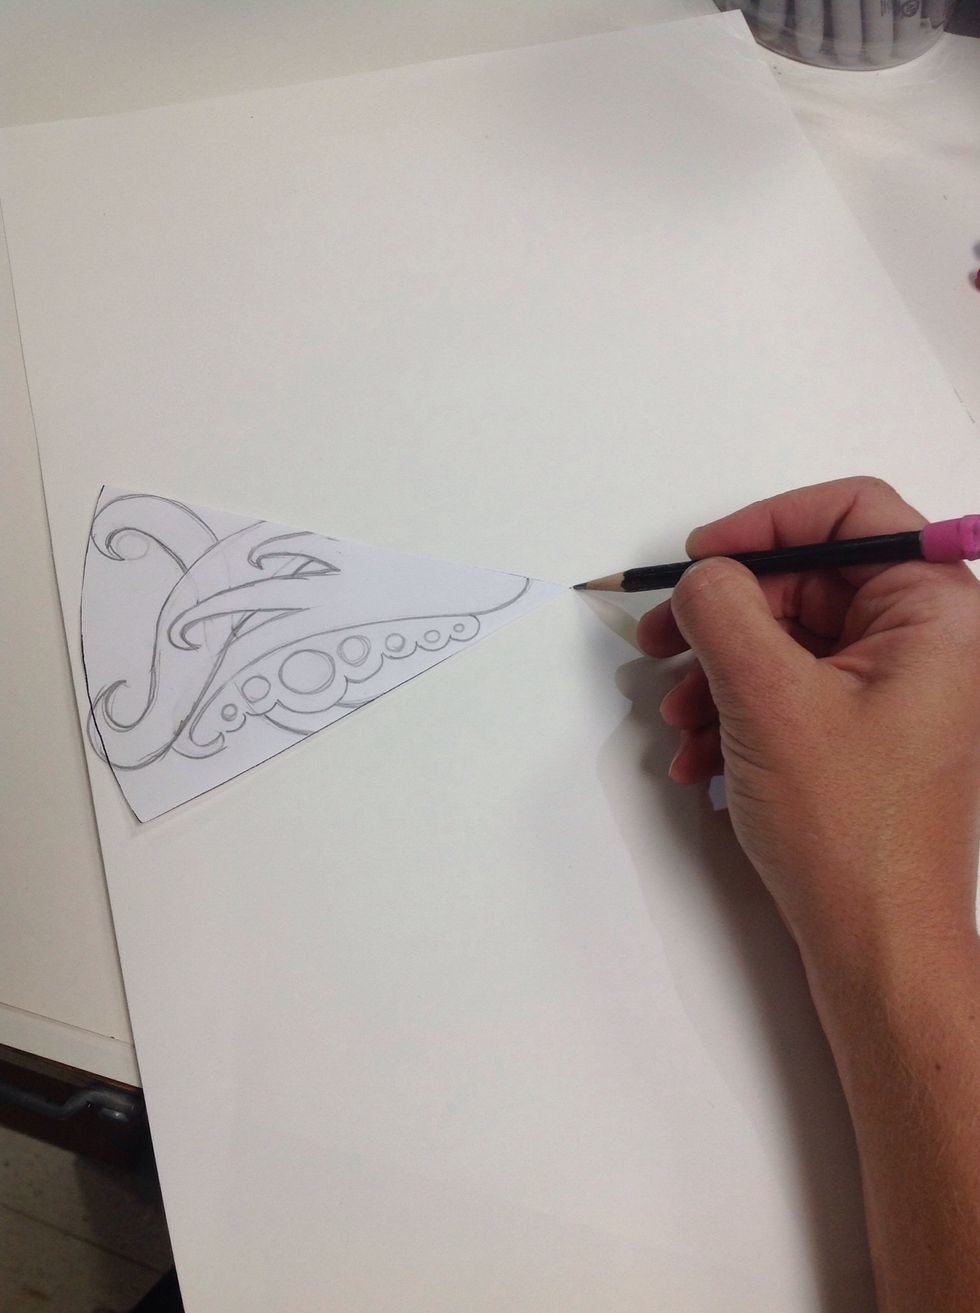
Lay the template piece on the large white paper so the point is in the center of the paper. Draw a dot to mark the center.

Use your pencil to go over the design again. This time it should transfer to the large paper.

It will transfer lightly. Flip the template keeping the center on the dot and the edges aligned. Trace again.
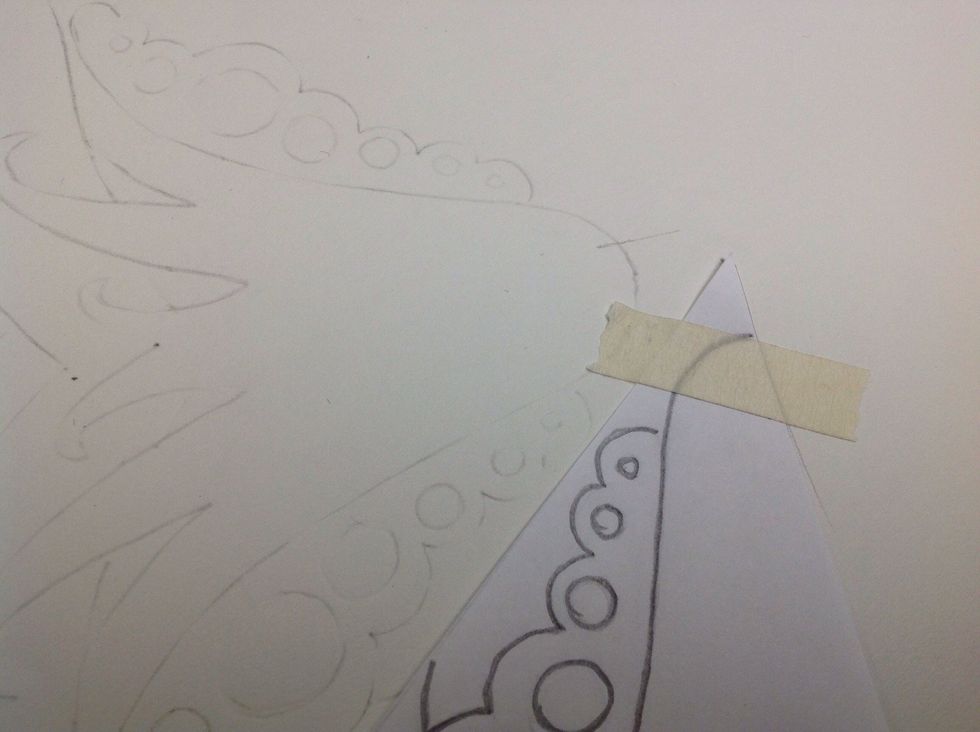
Use tape as needed to hold template in place.
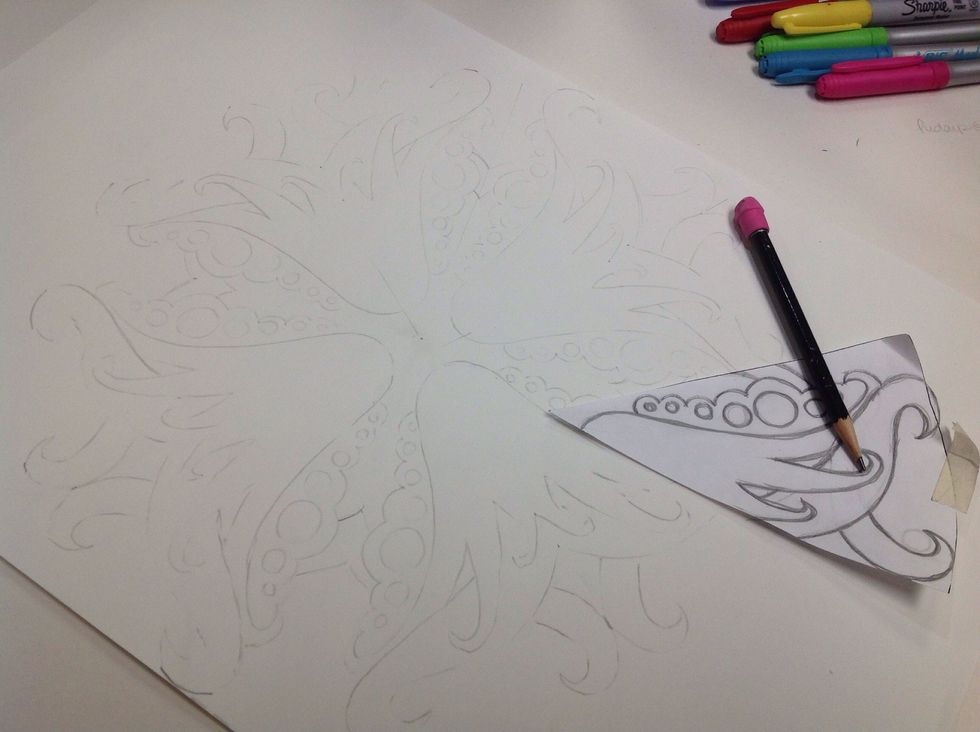
Repeat until design is complete.

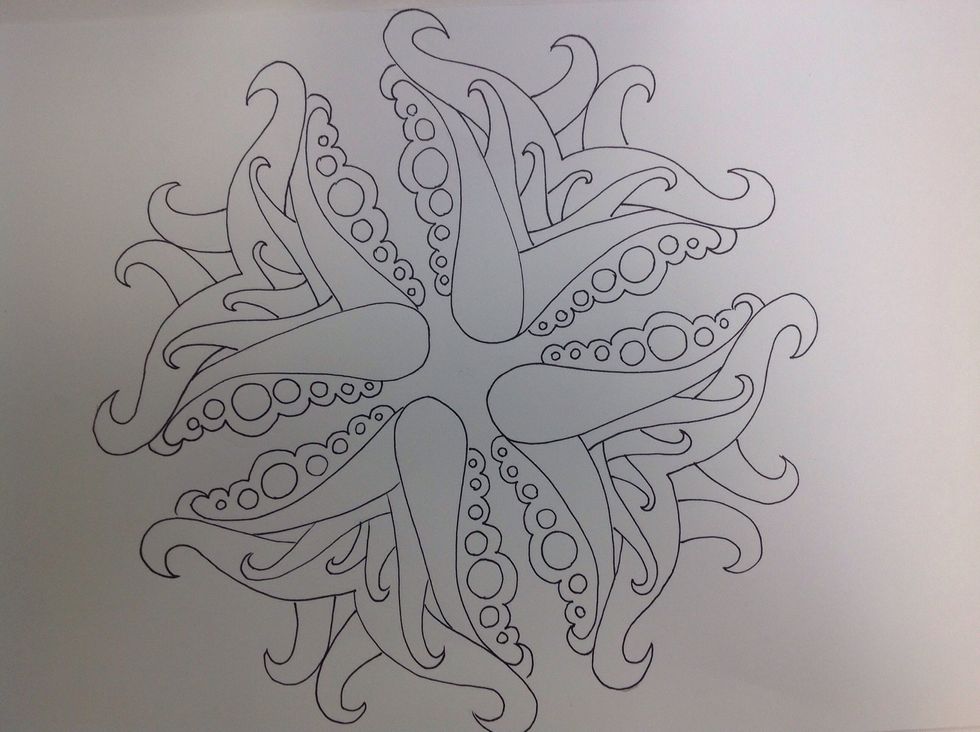
Use a pencil to make any corrections or repairs to your design, then outline with ultra fine tip sharpie.
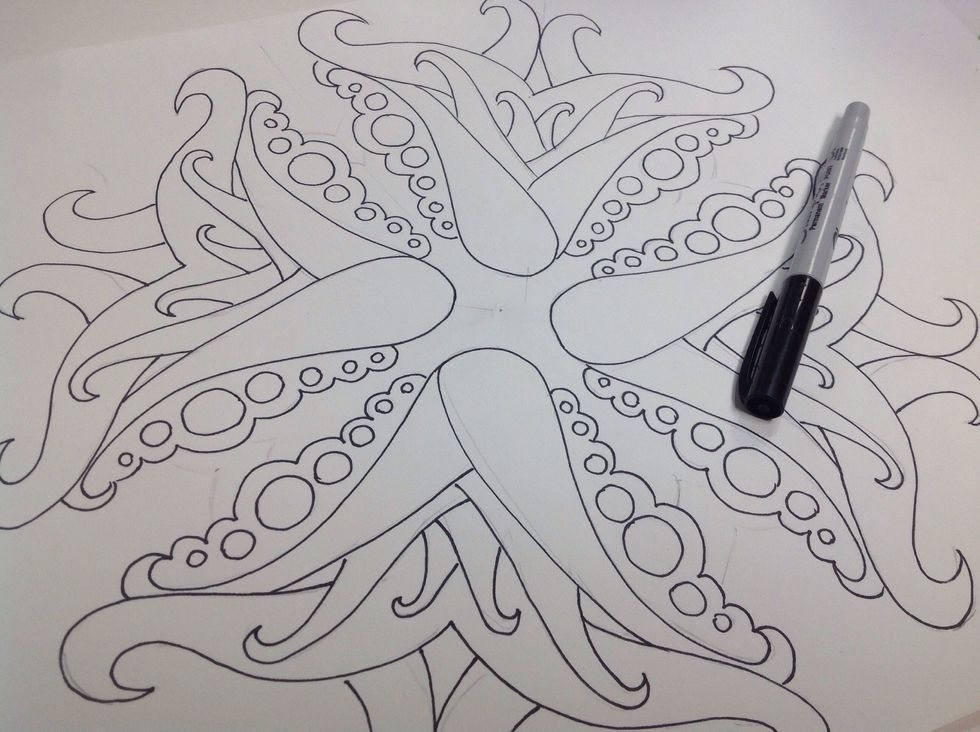
The sharpie adds a lot of contrast!
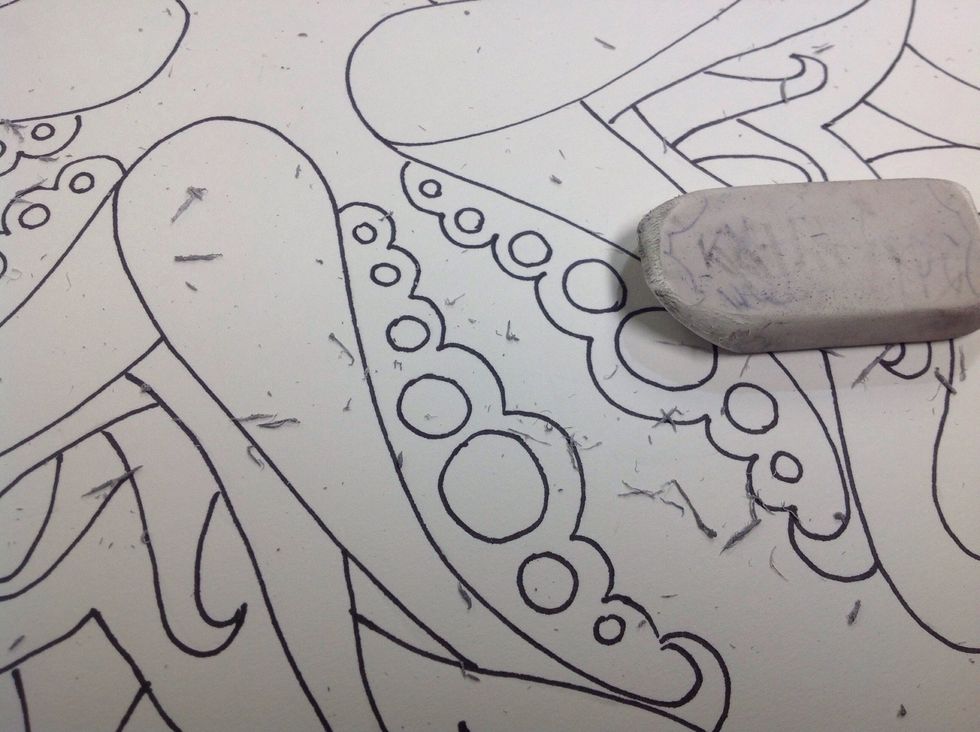
Clean it up by erasing pencil marks.
Now we are ready for color:)

But first I will add some texture.
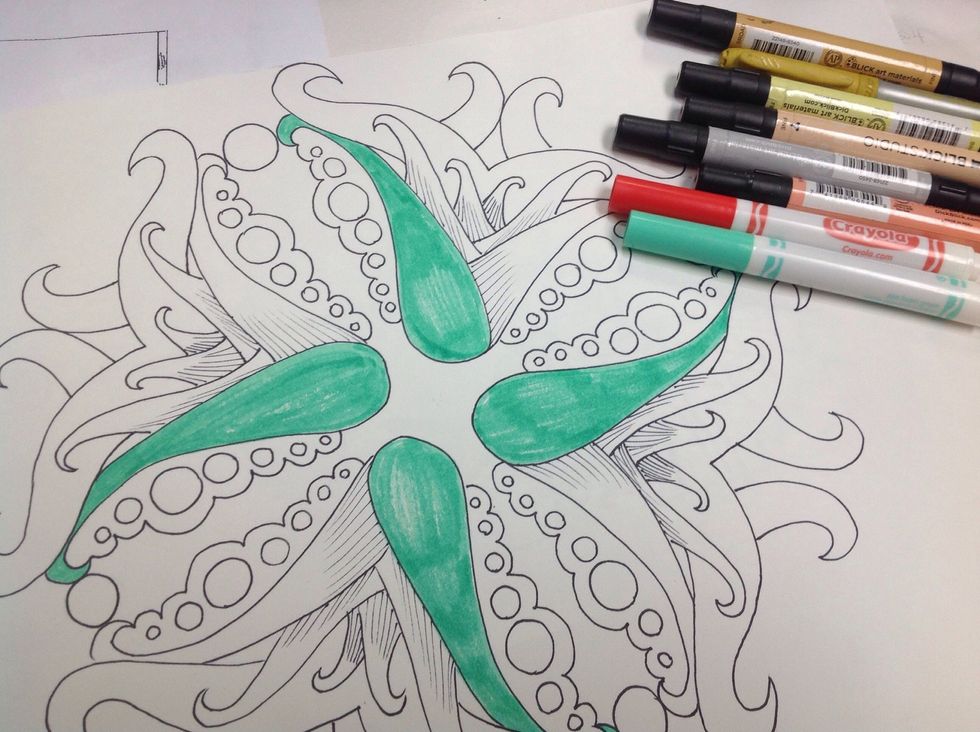
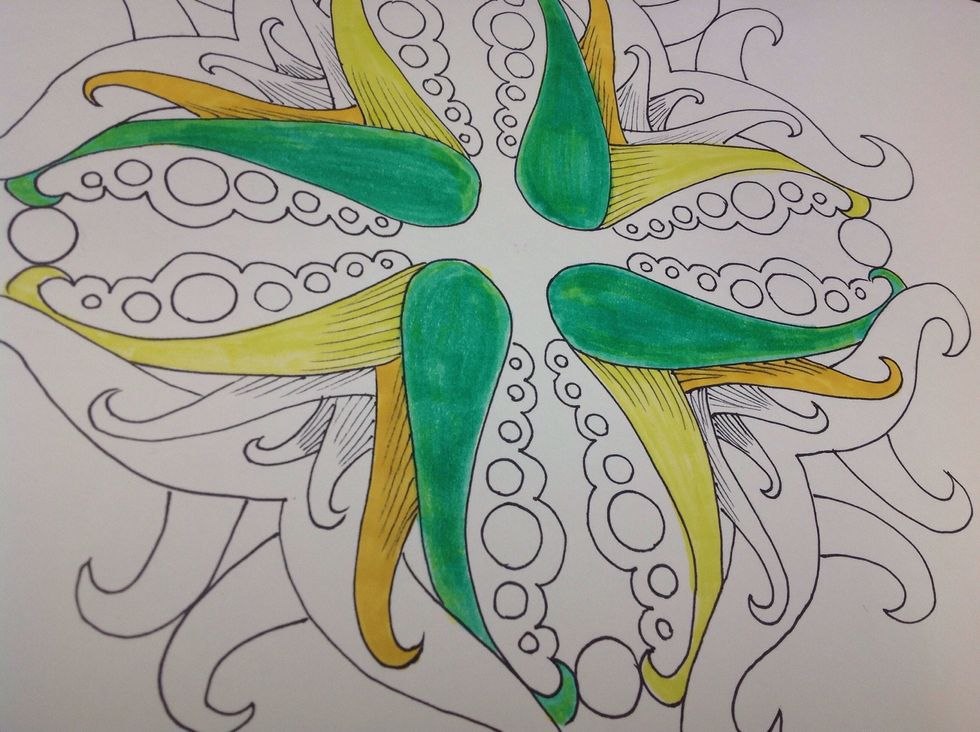
Unless you are going for Rainbow, limit your color pallet. Also, when coloring patterns, it helps to use one color at a time. Example-I colored all green parts first. It helps to avoid mistakes.
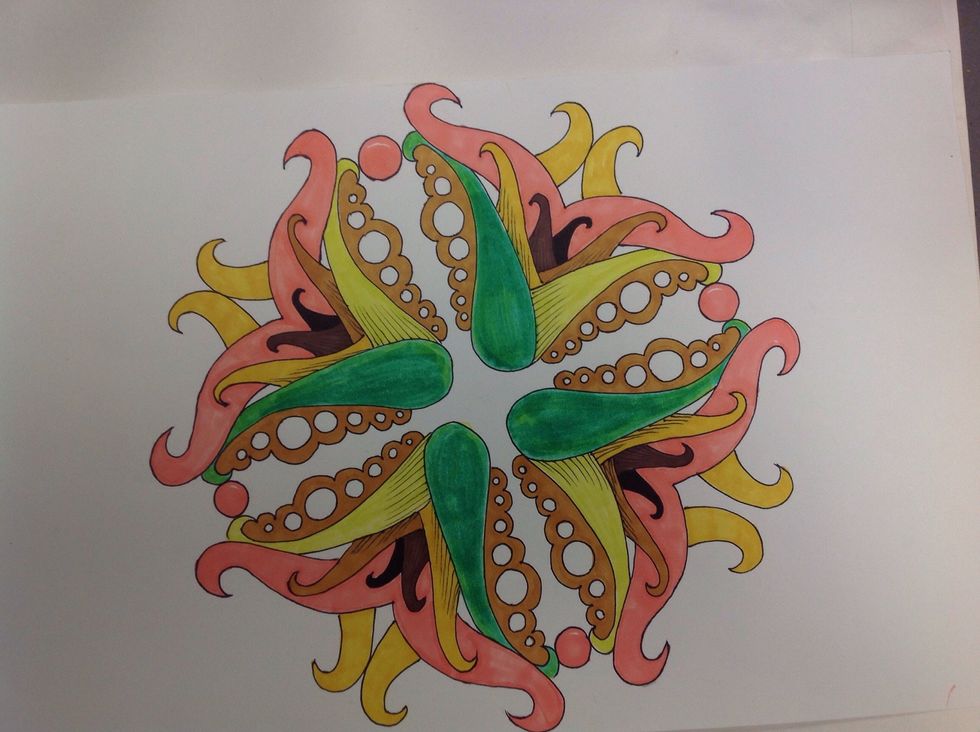
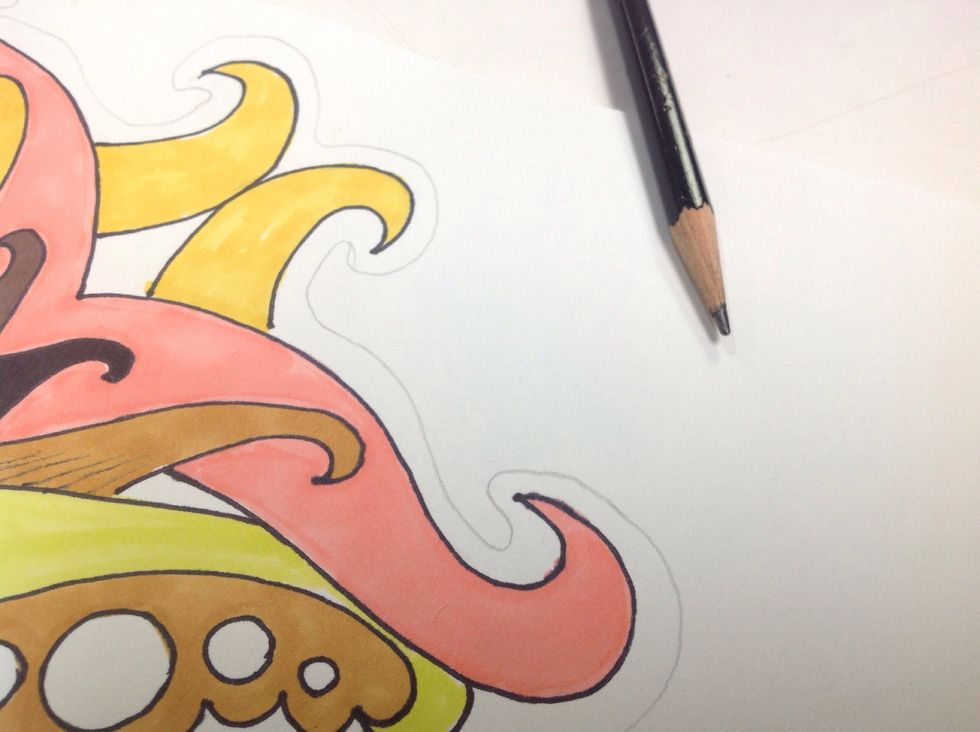
After you are finished coloring, use a pencil to lightly outline the perimeter by about 1/4 inch. This is so you have a line to follow when cutting it out.

When cutting out intricate designs, begin by cutting off the excess paper.
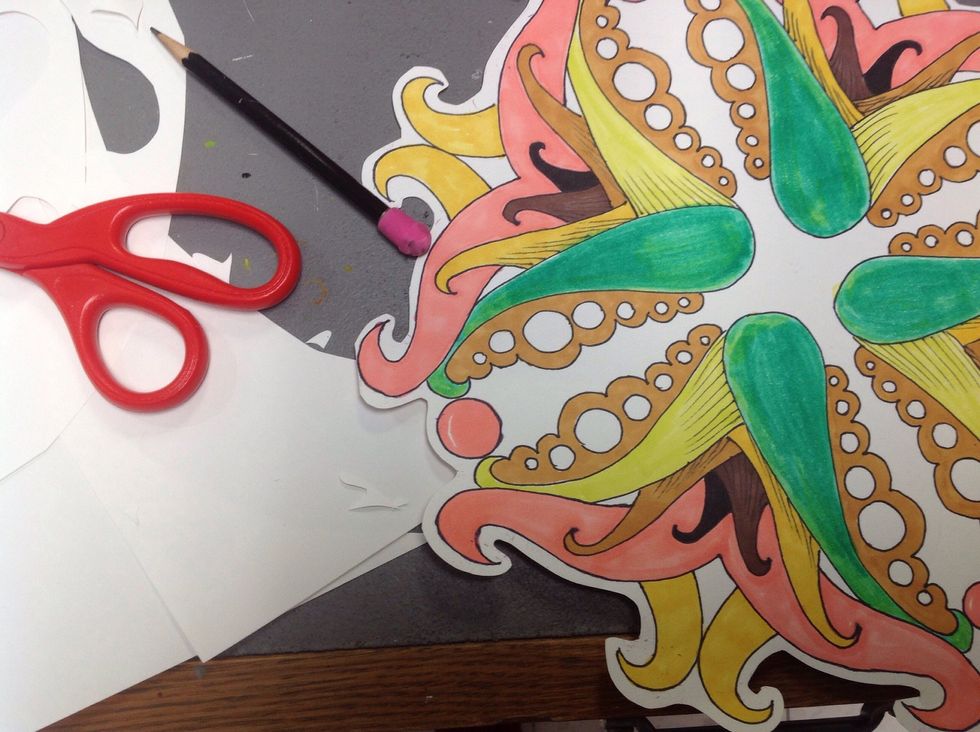
Then cut on the line to cut out your design.
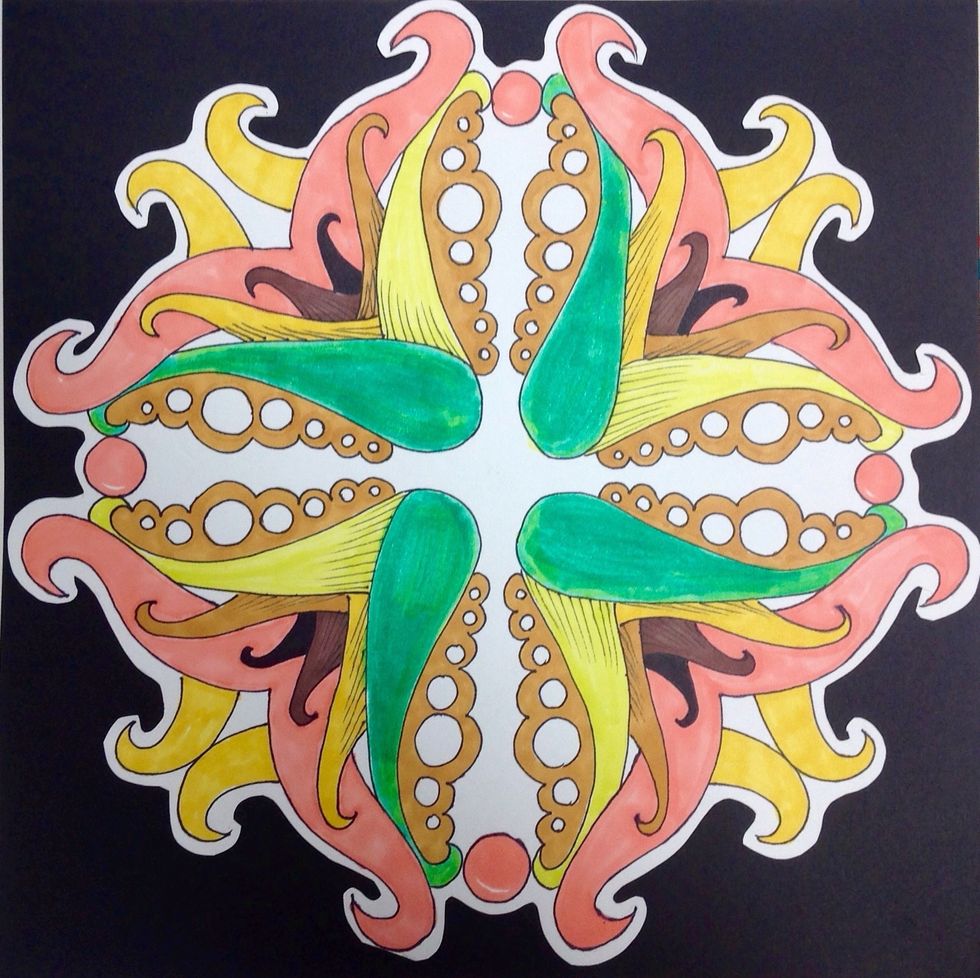
Use a glue stick to glue your kaleidoscope pattern on a contrasting price of construction paper.
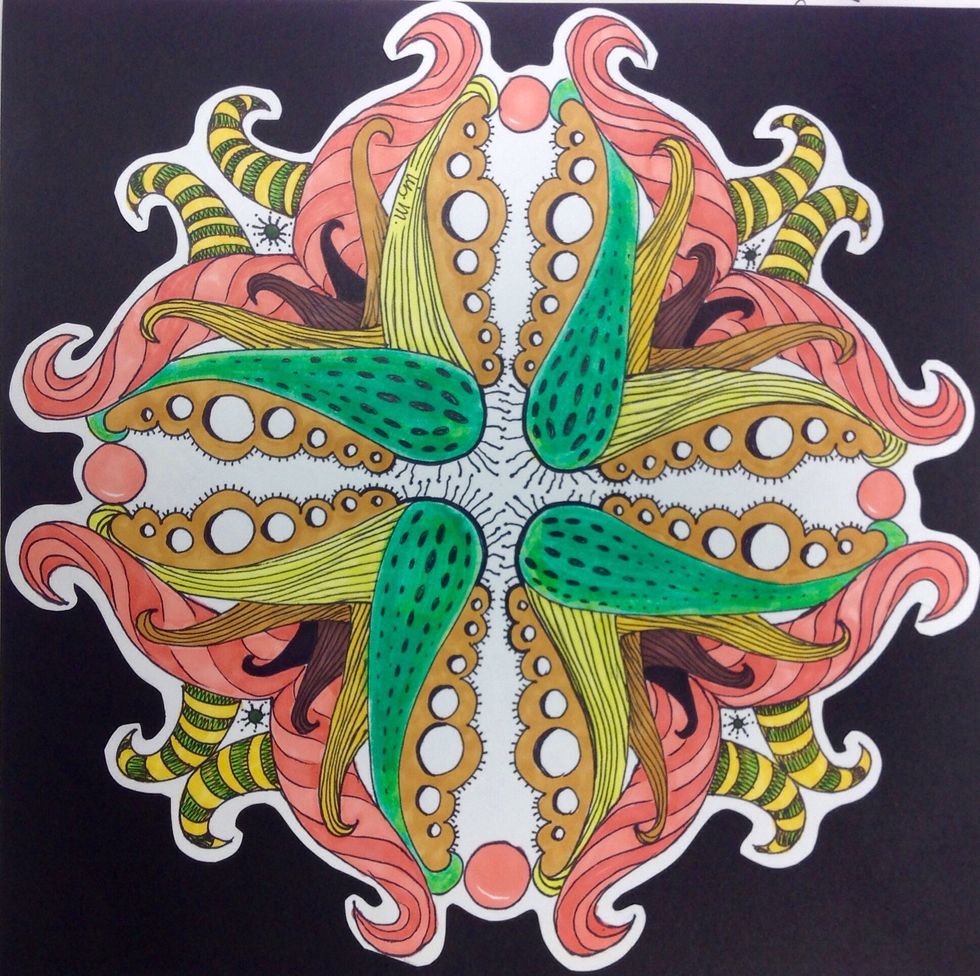
Adding additional details with black ultra fine sharpie makes an impressive difference!