The Conversation (0)
Sign Up
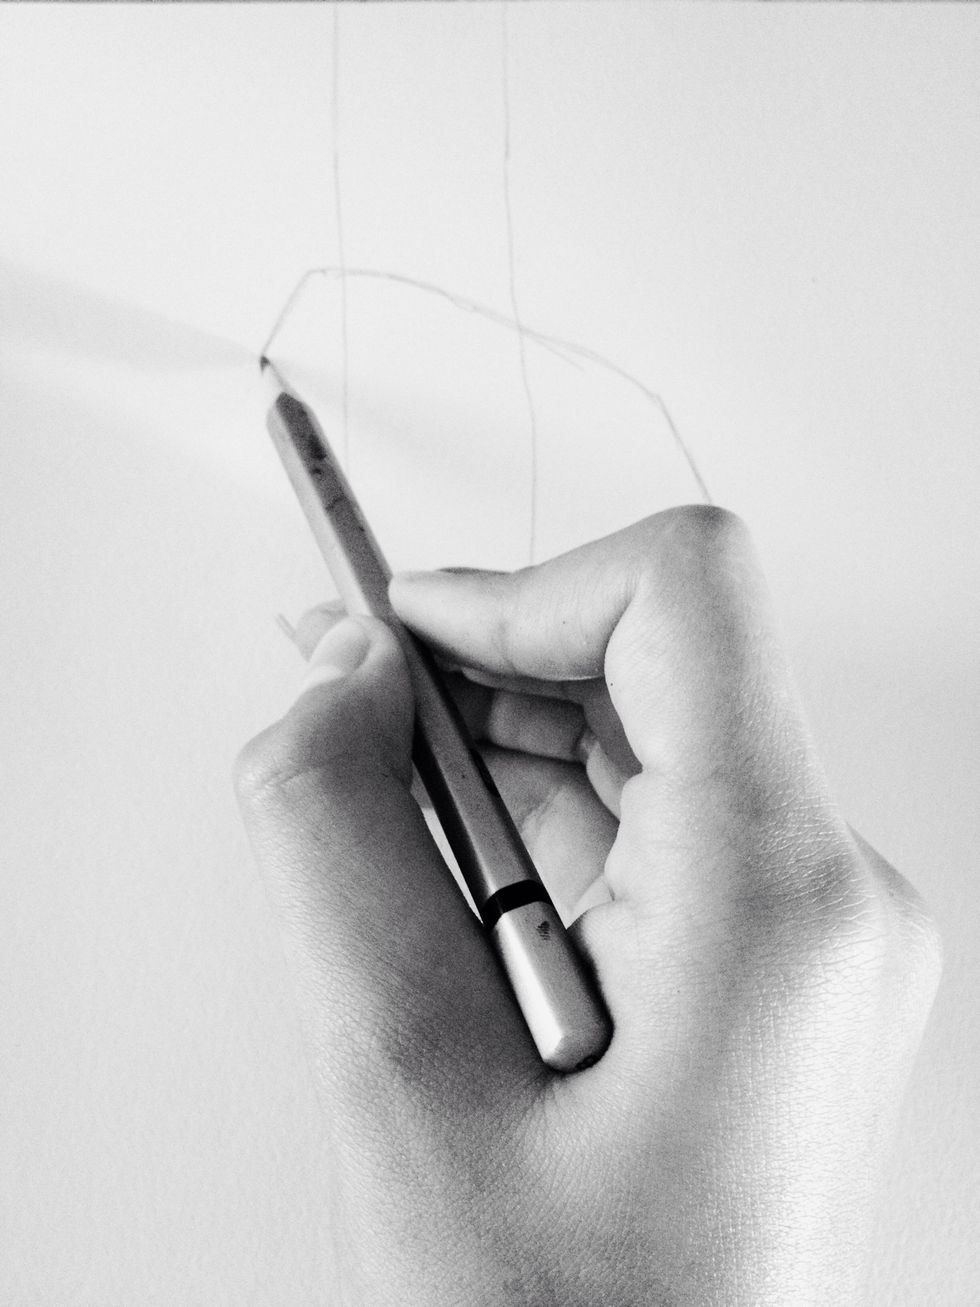
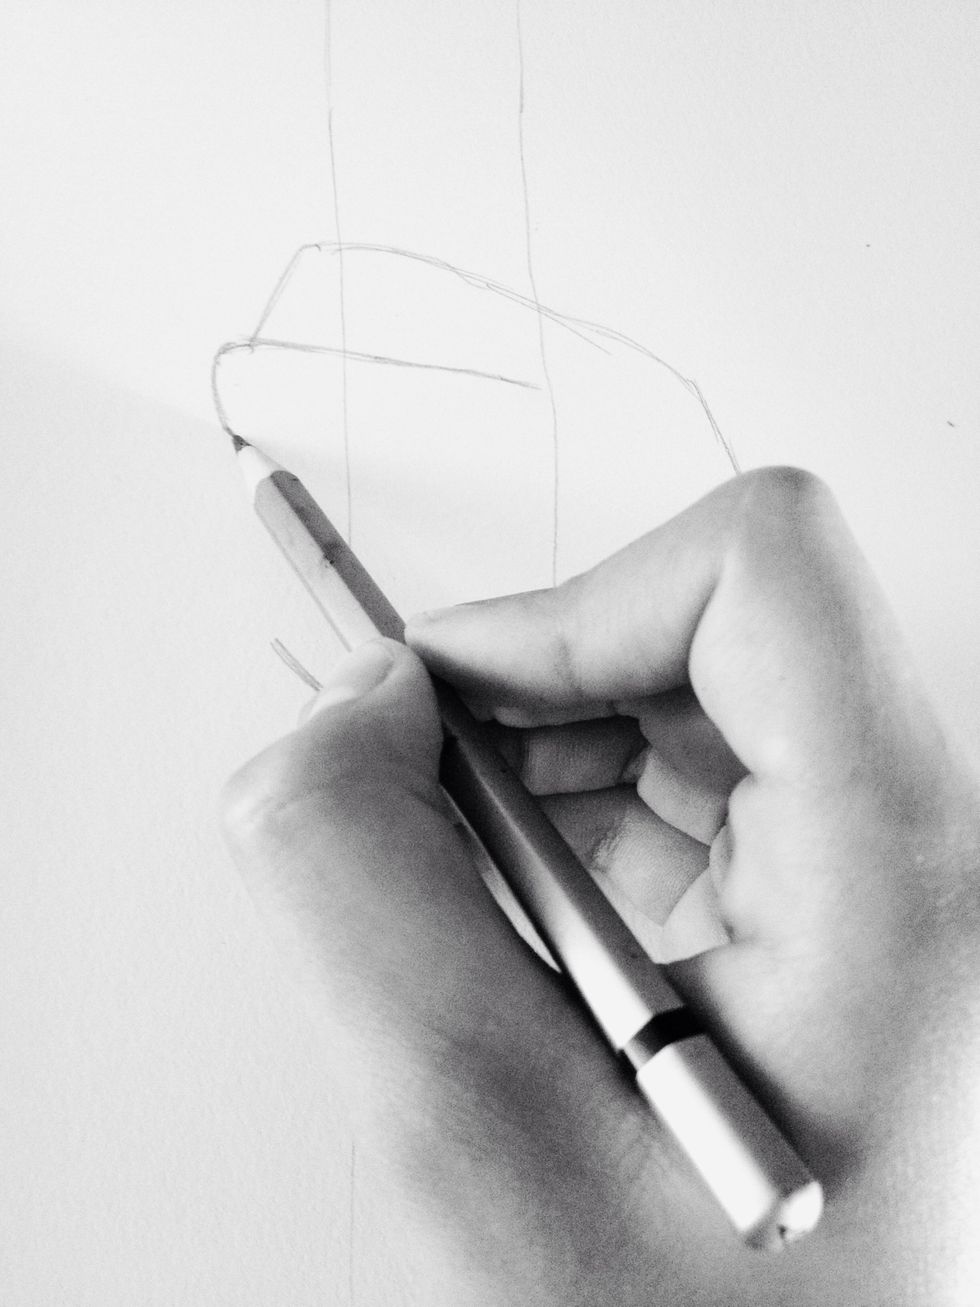
Gather Supplies. (Rubber isn't shown haha)
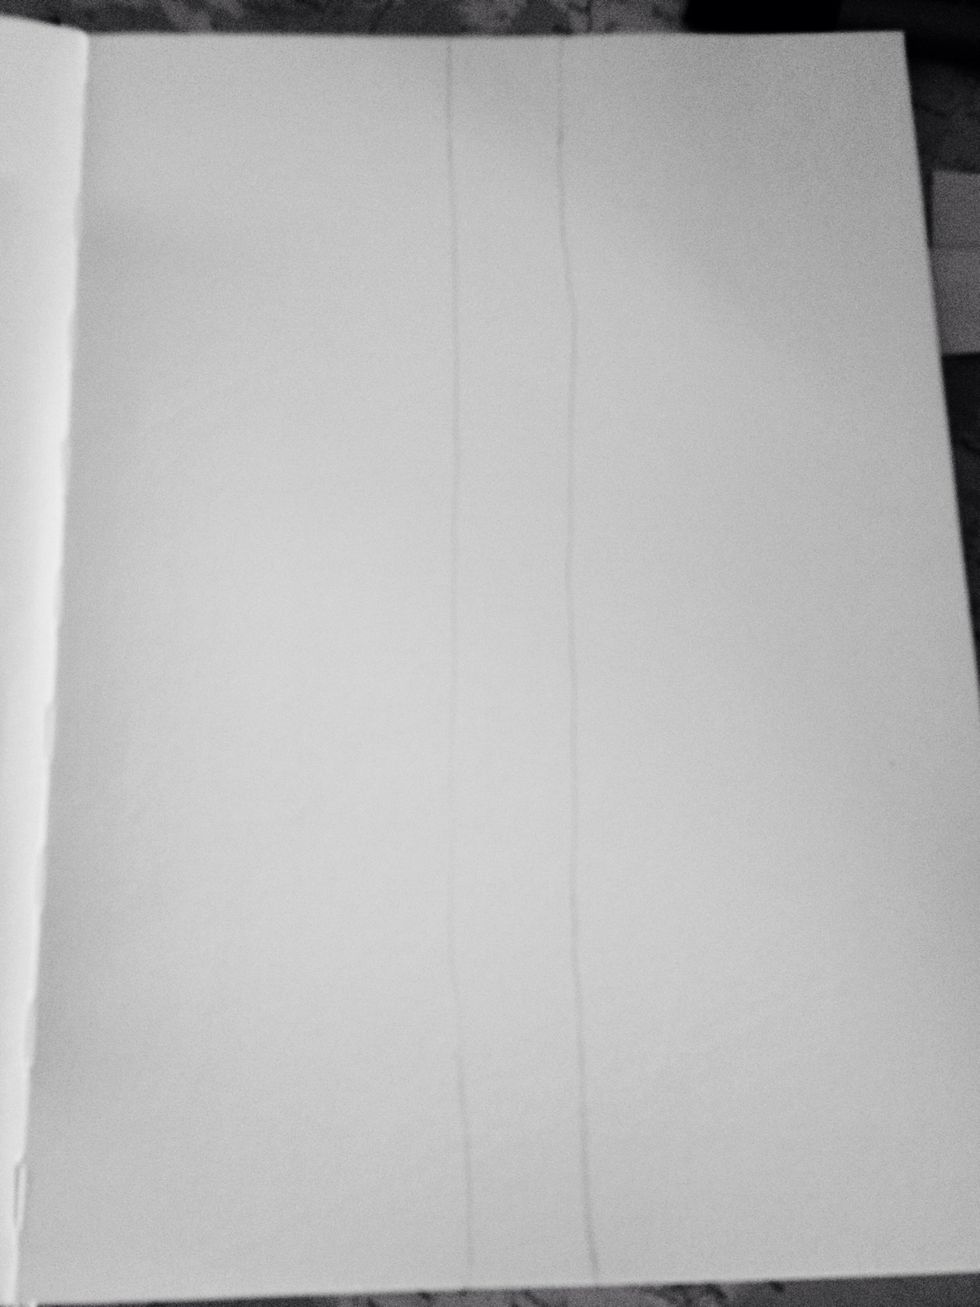
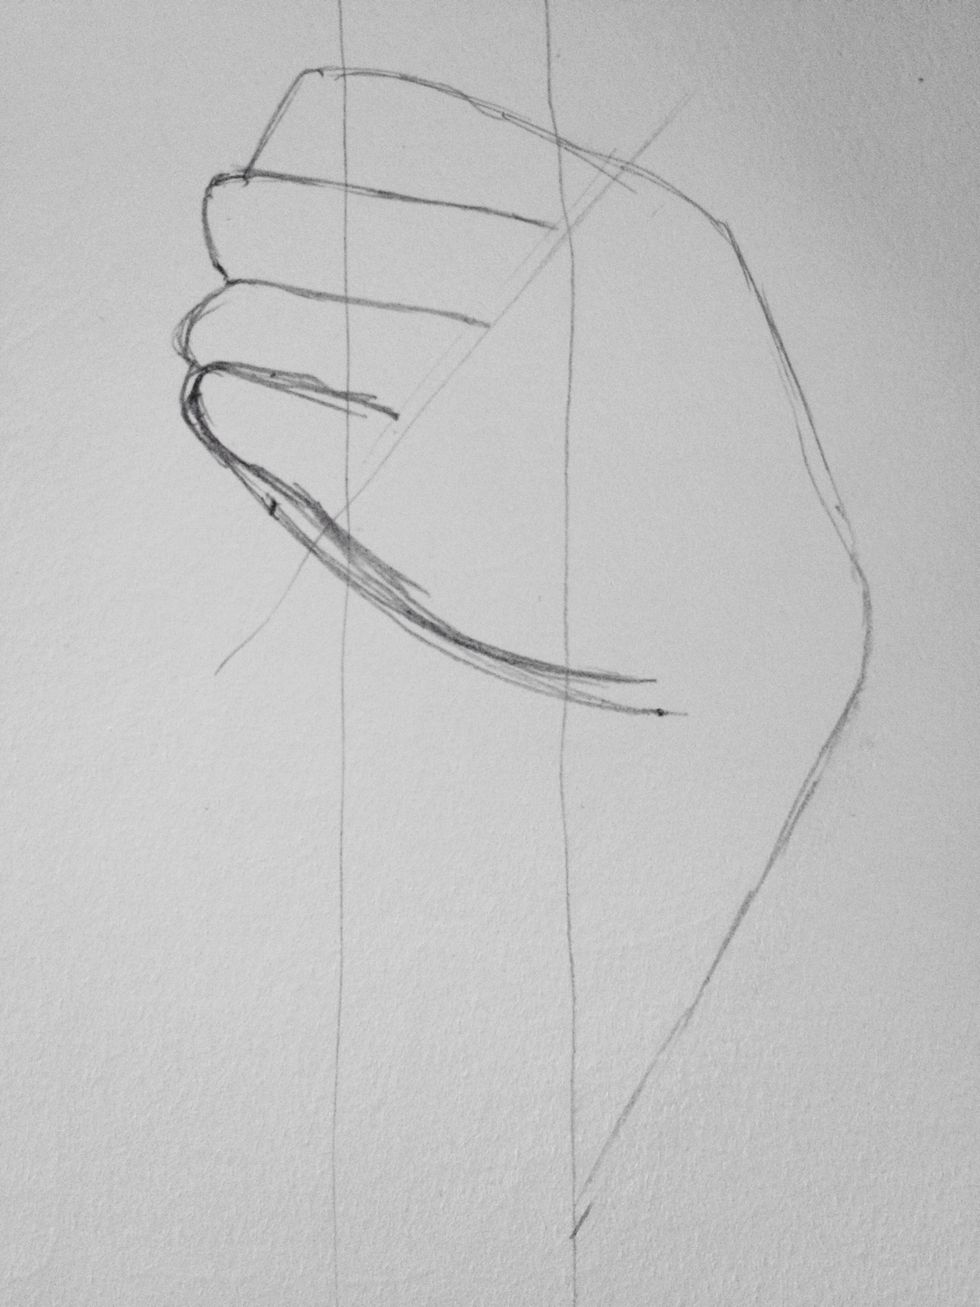
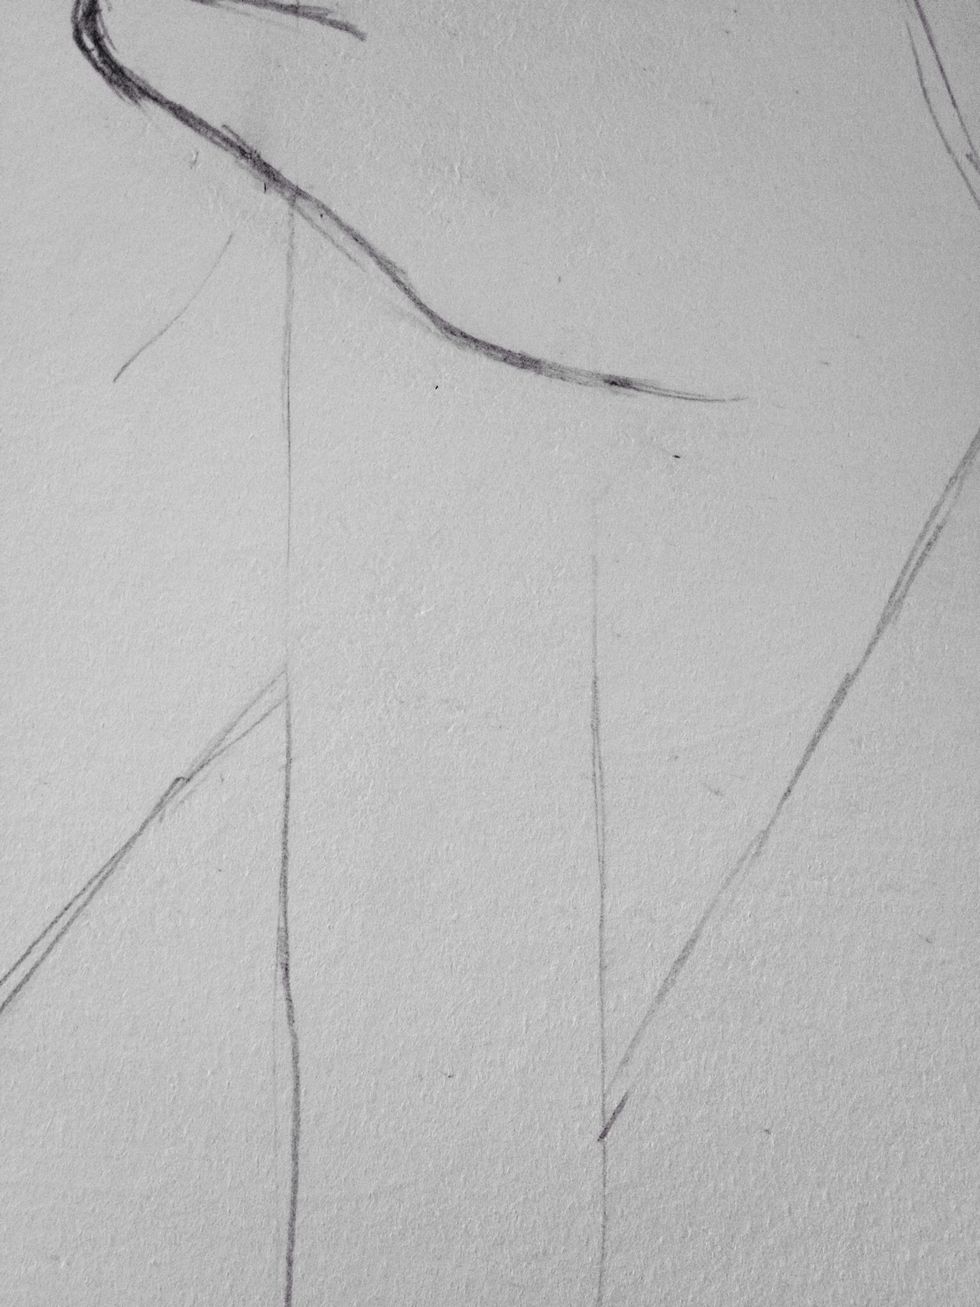
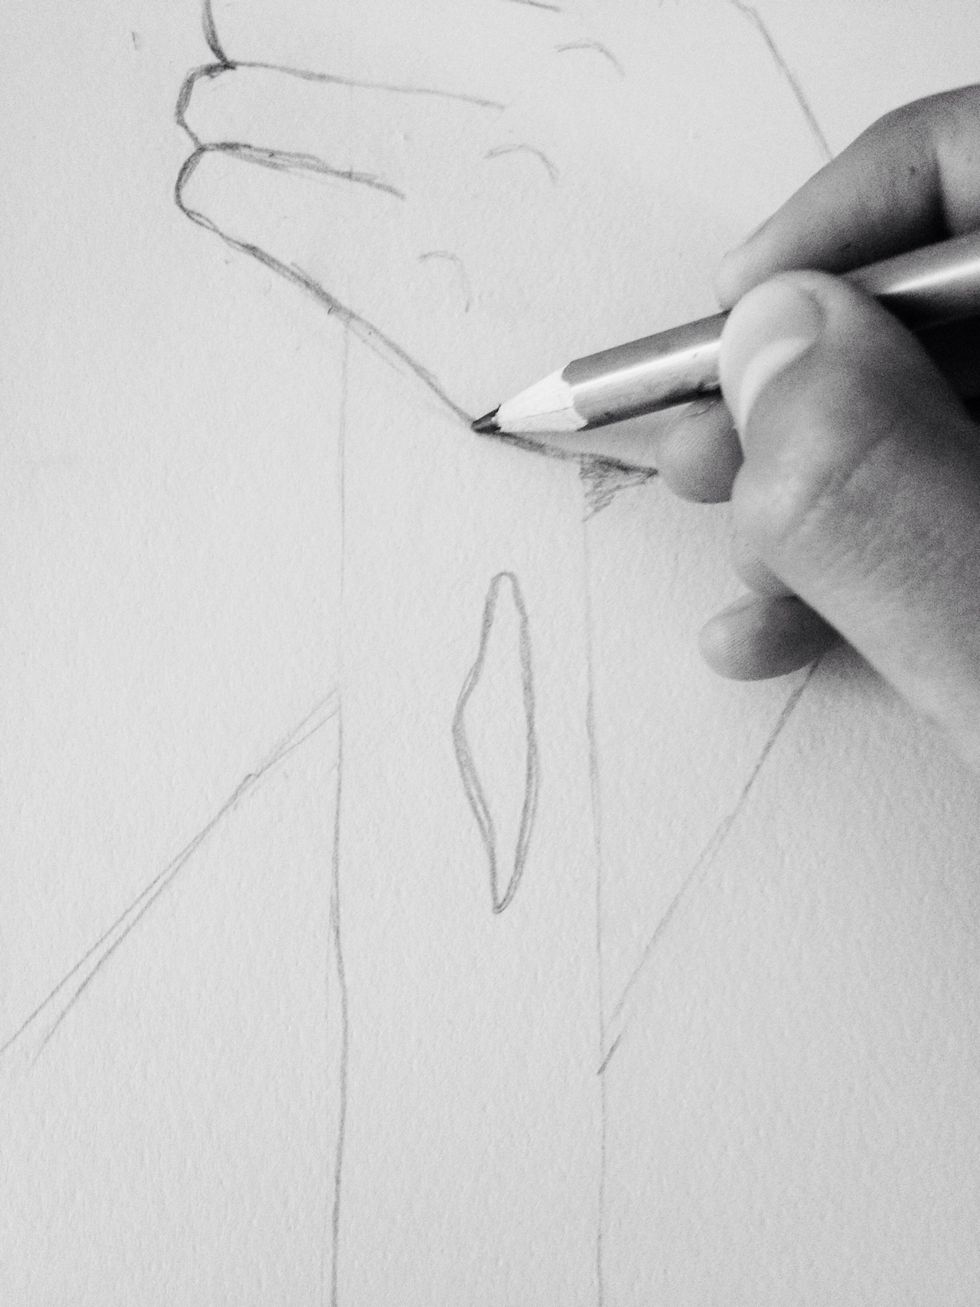
Draw two lines down the middle of your page from top to bottom, about an inch apart. The staff will be more rustic if the lines aren't perfectly straight, but do them how you want.
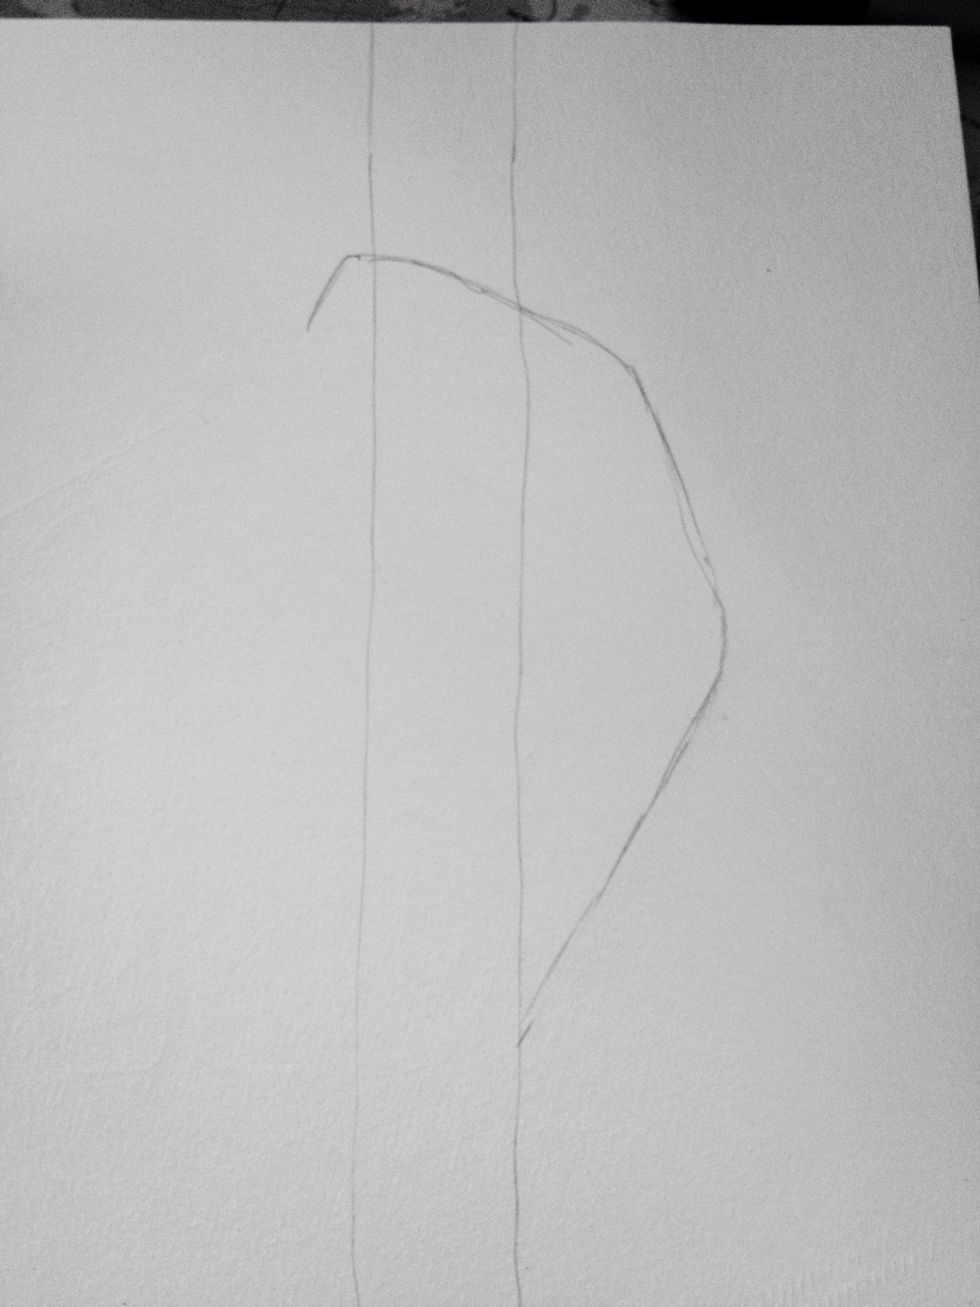
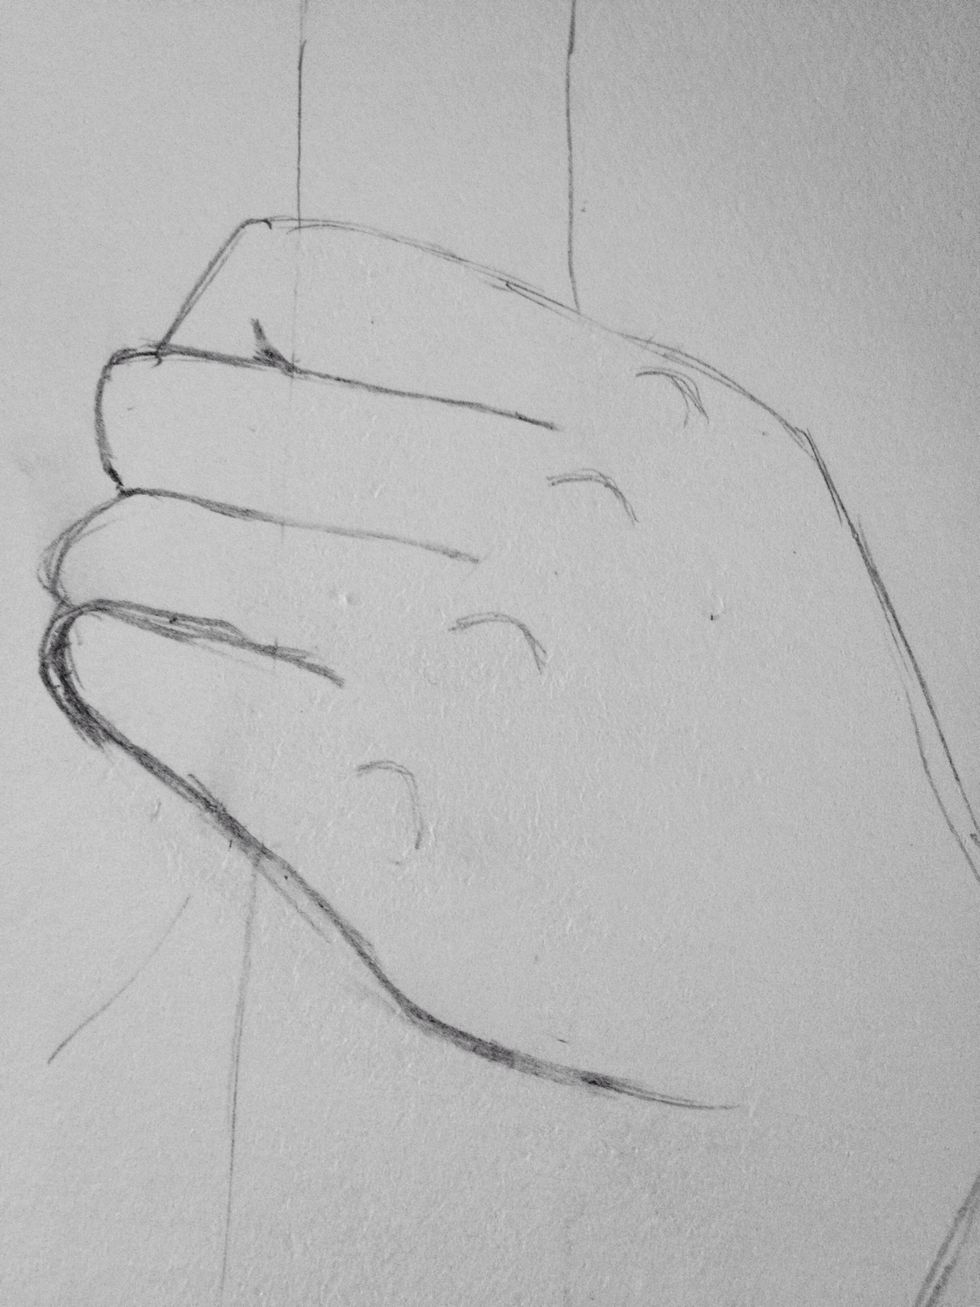
Draw the outline of the top finger and the side of your hand. Draw four separate lines that join with a small curve, but can still be identified as separate lines.
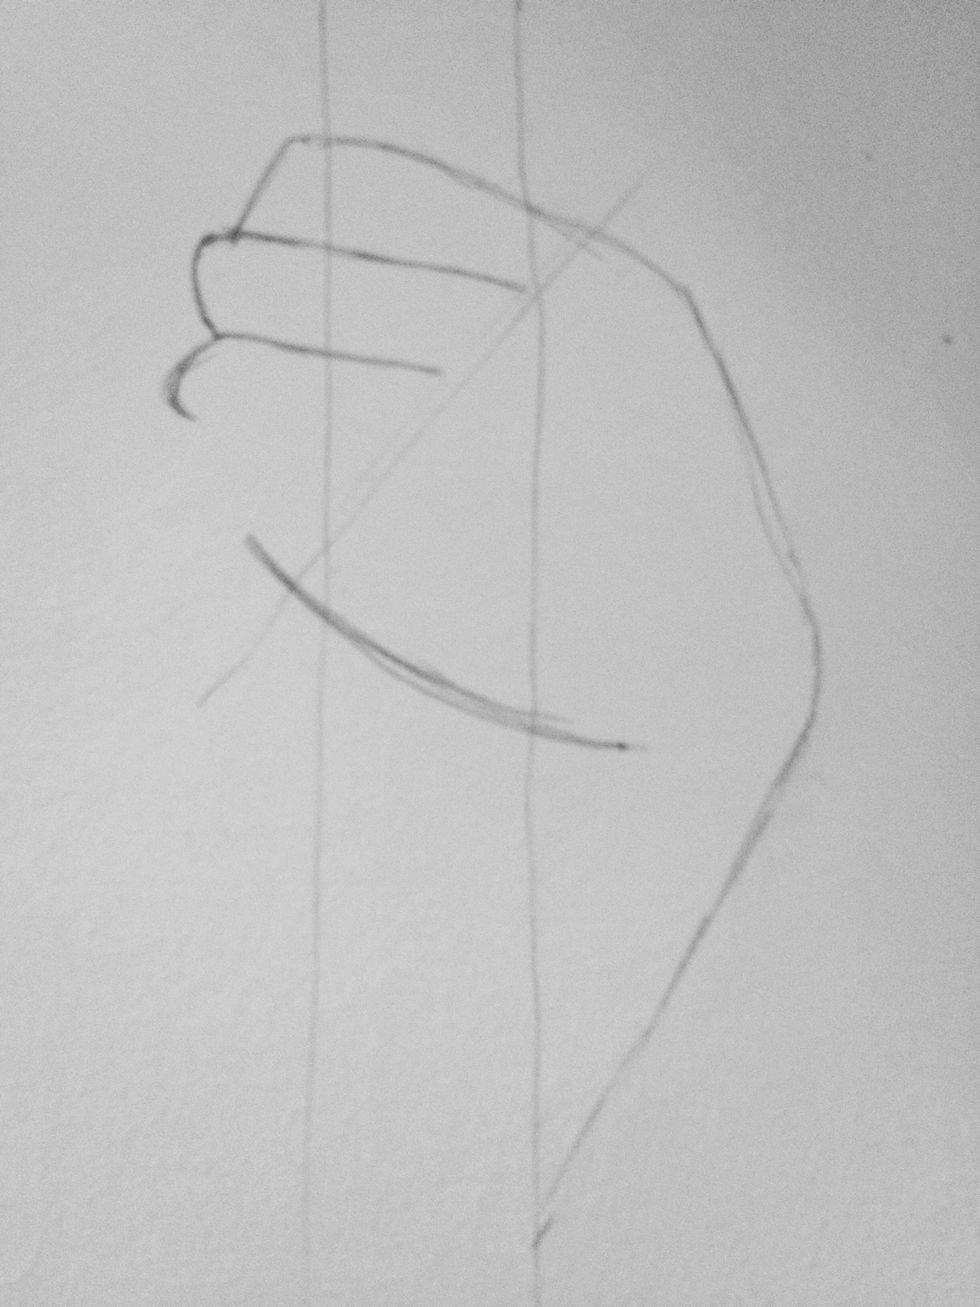
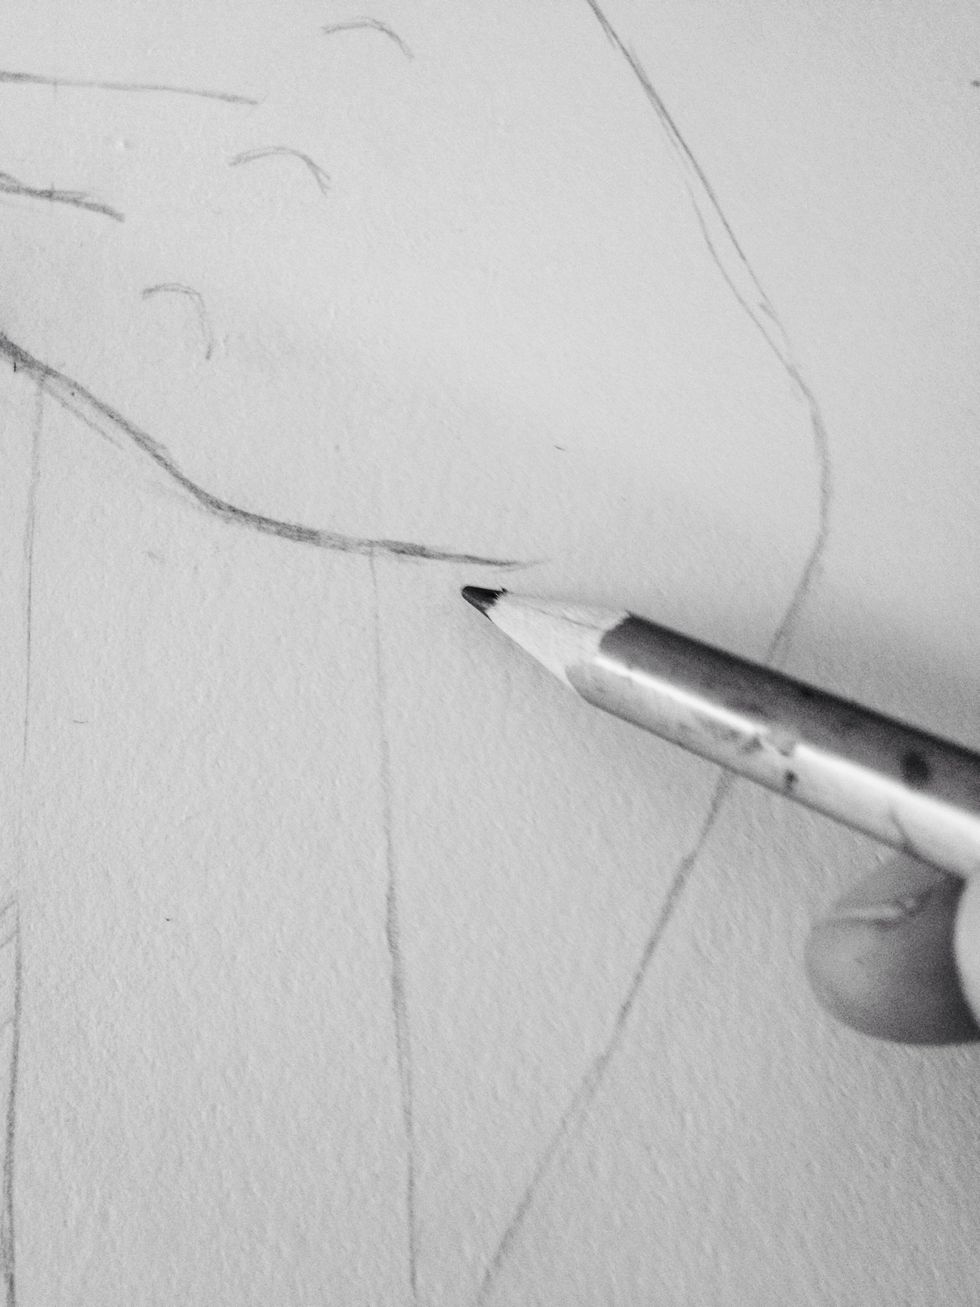
Coming down a little from the wrist joint, and across from the right edge of the staff, mark a small dot.
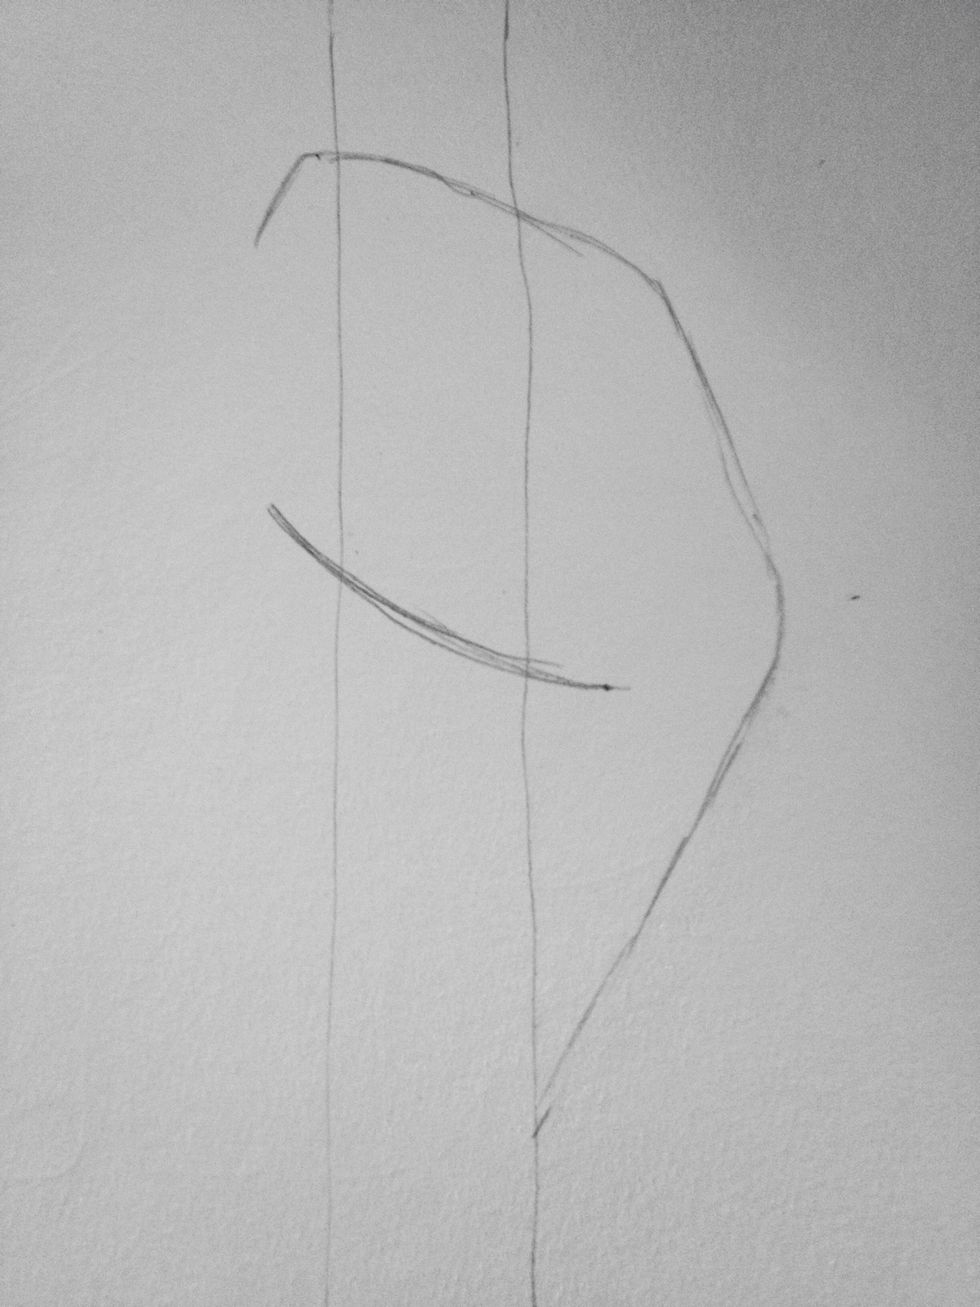
Draw a soft curve from the dot, across the staff and finish the line almost directly under the first line (the pointer finger line)
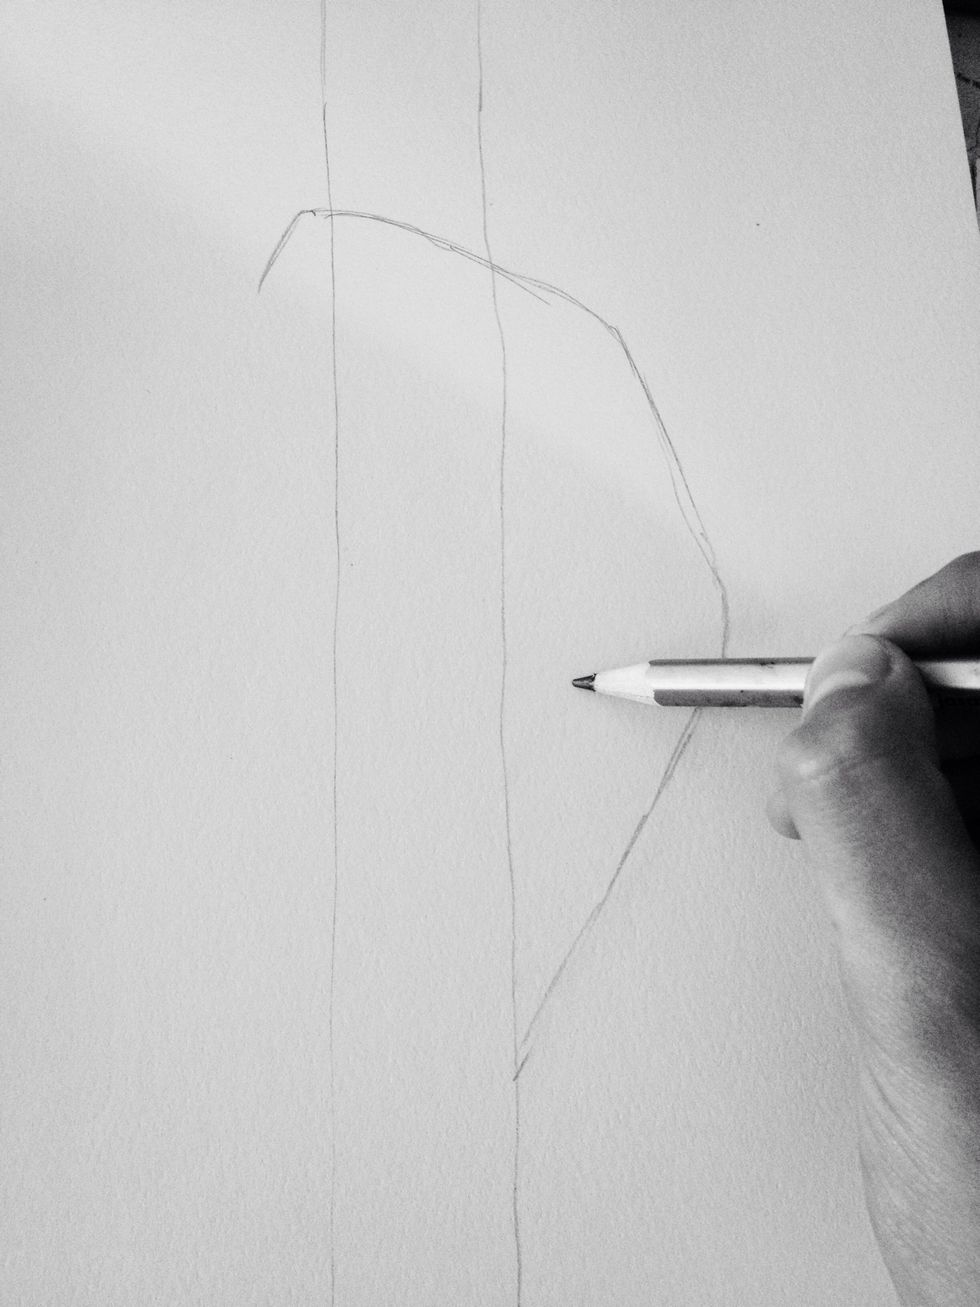
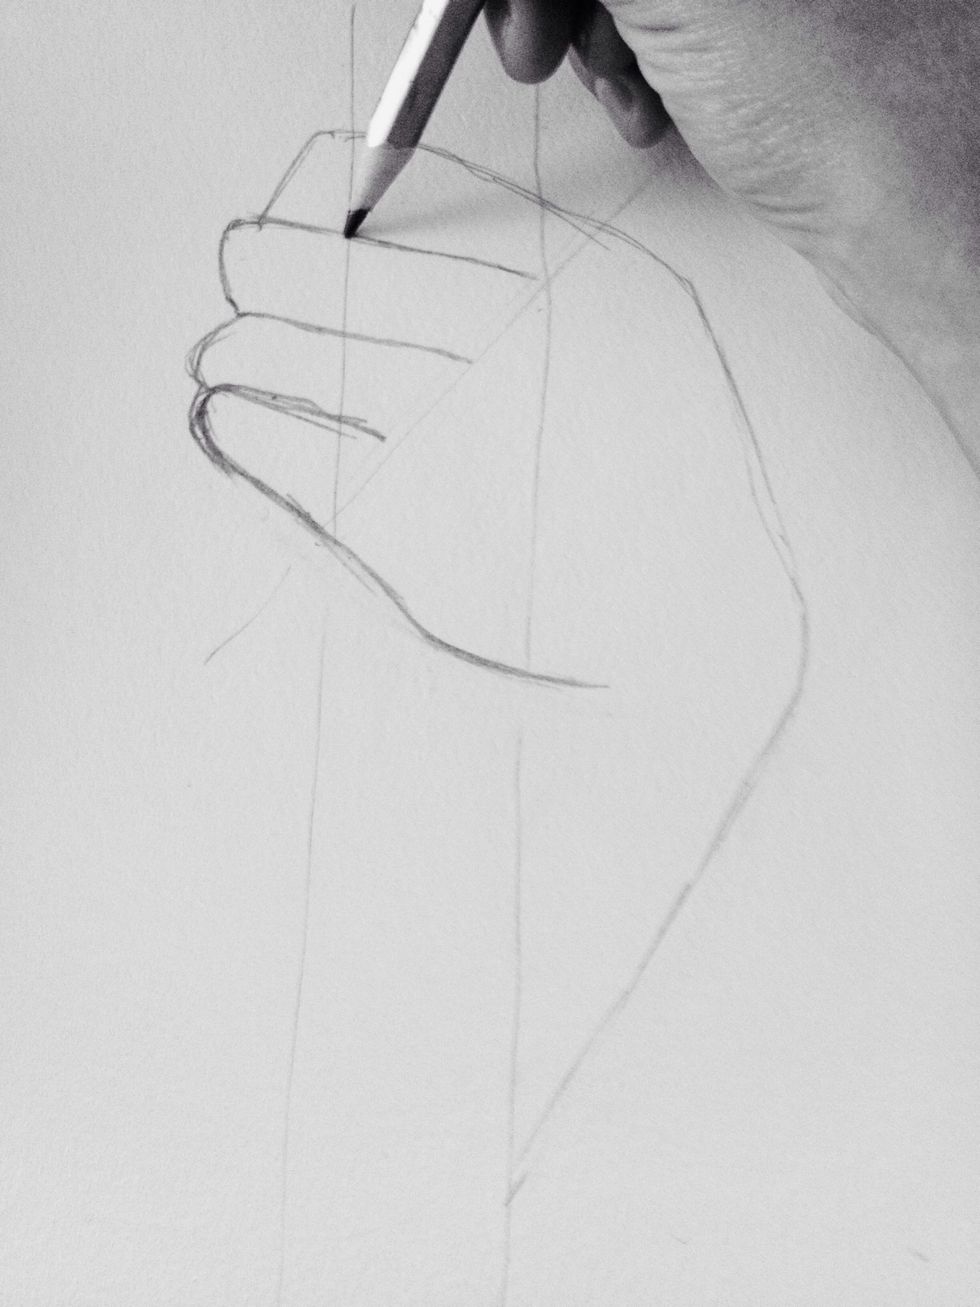
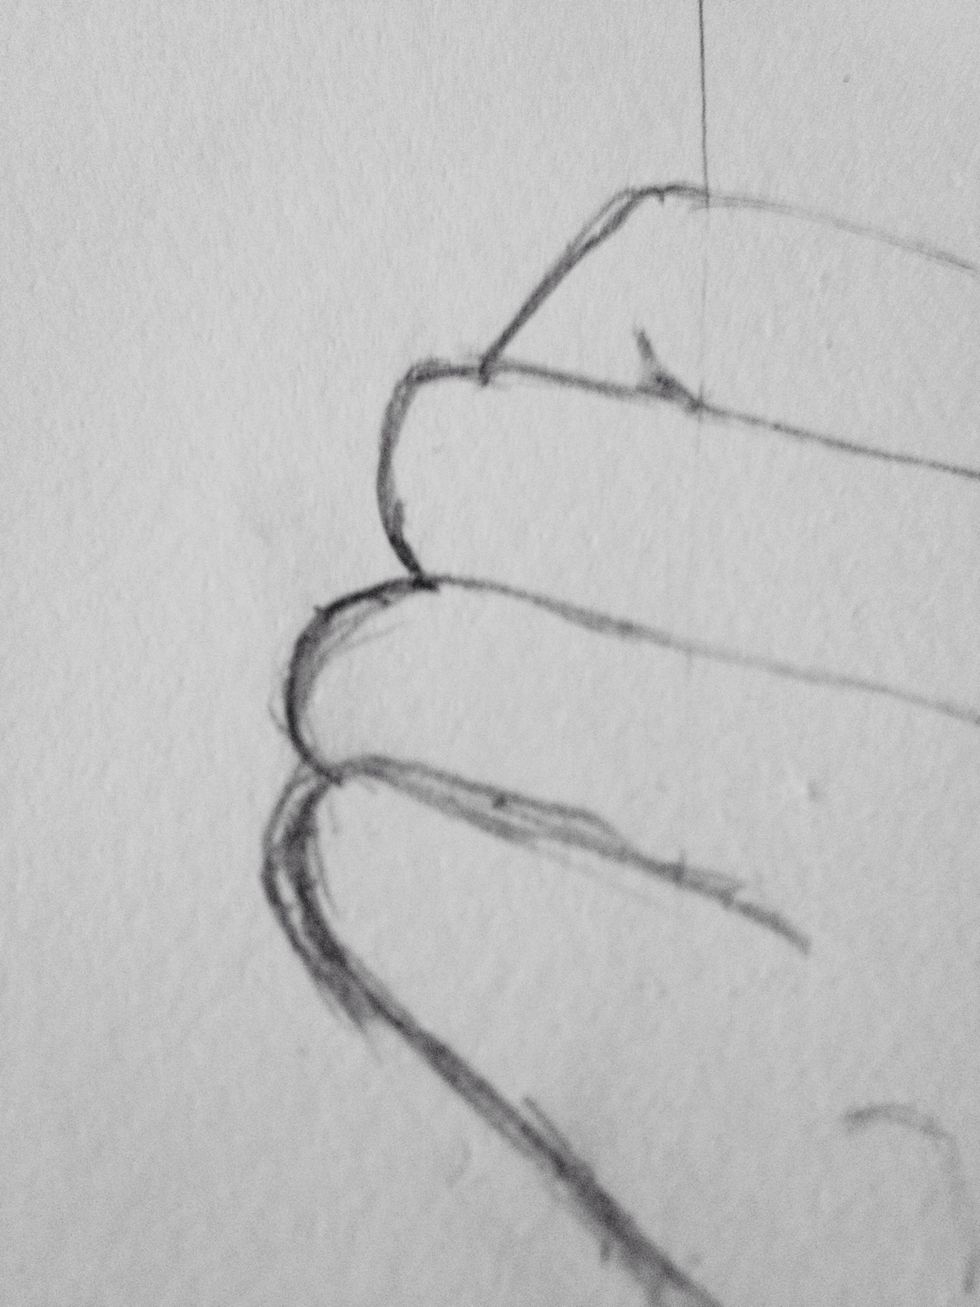
Put your pencil on the pointer-finger outline.
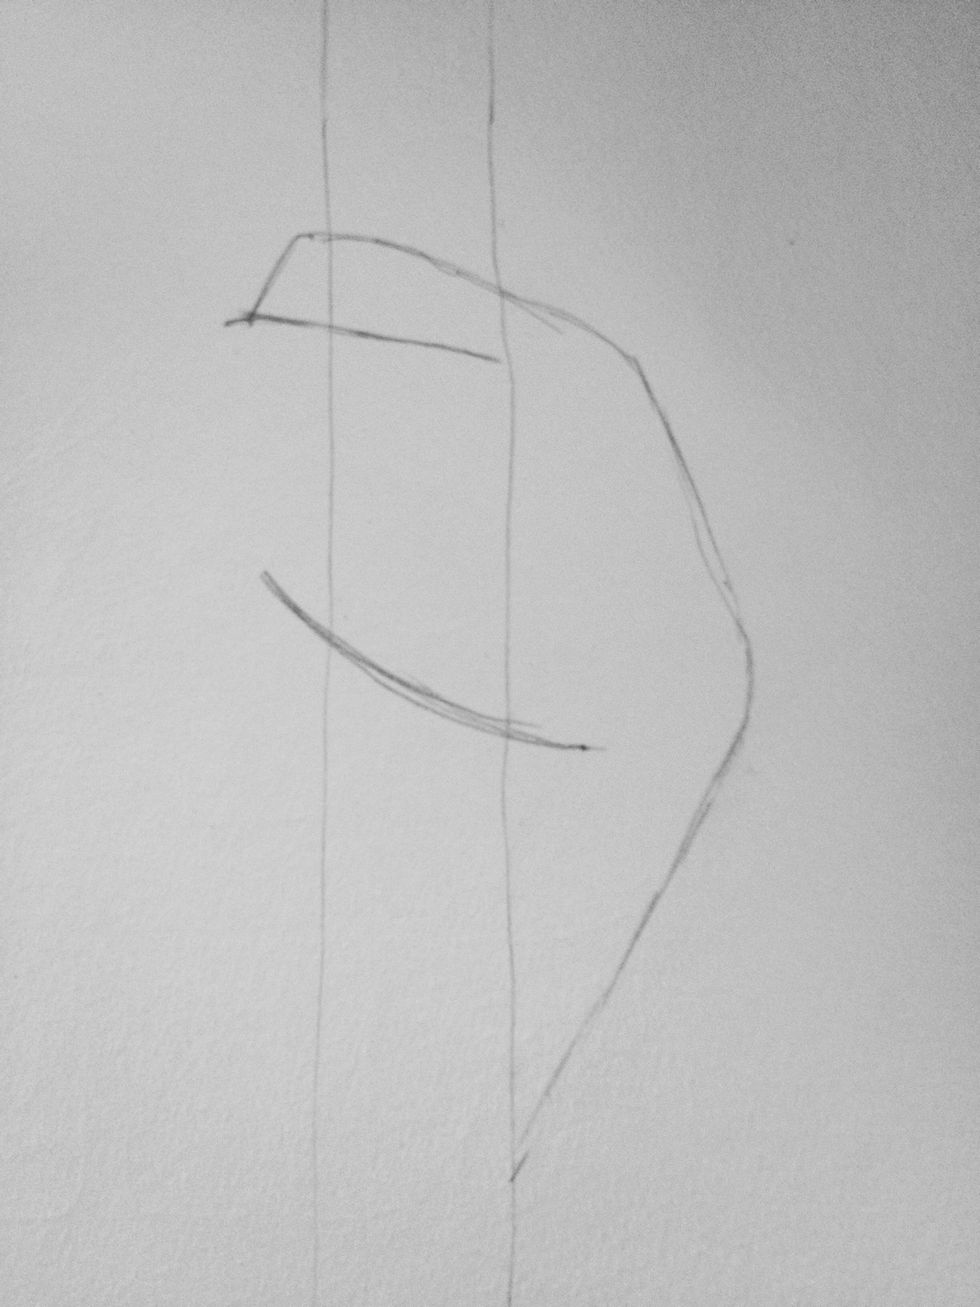
And draw an almost parallel line the juts out a little from the pointer finger. This is the middle finger line.
Curve downwards and inwards to make the knuckle.
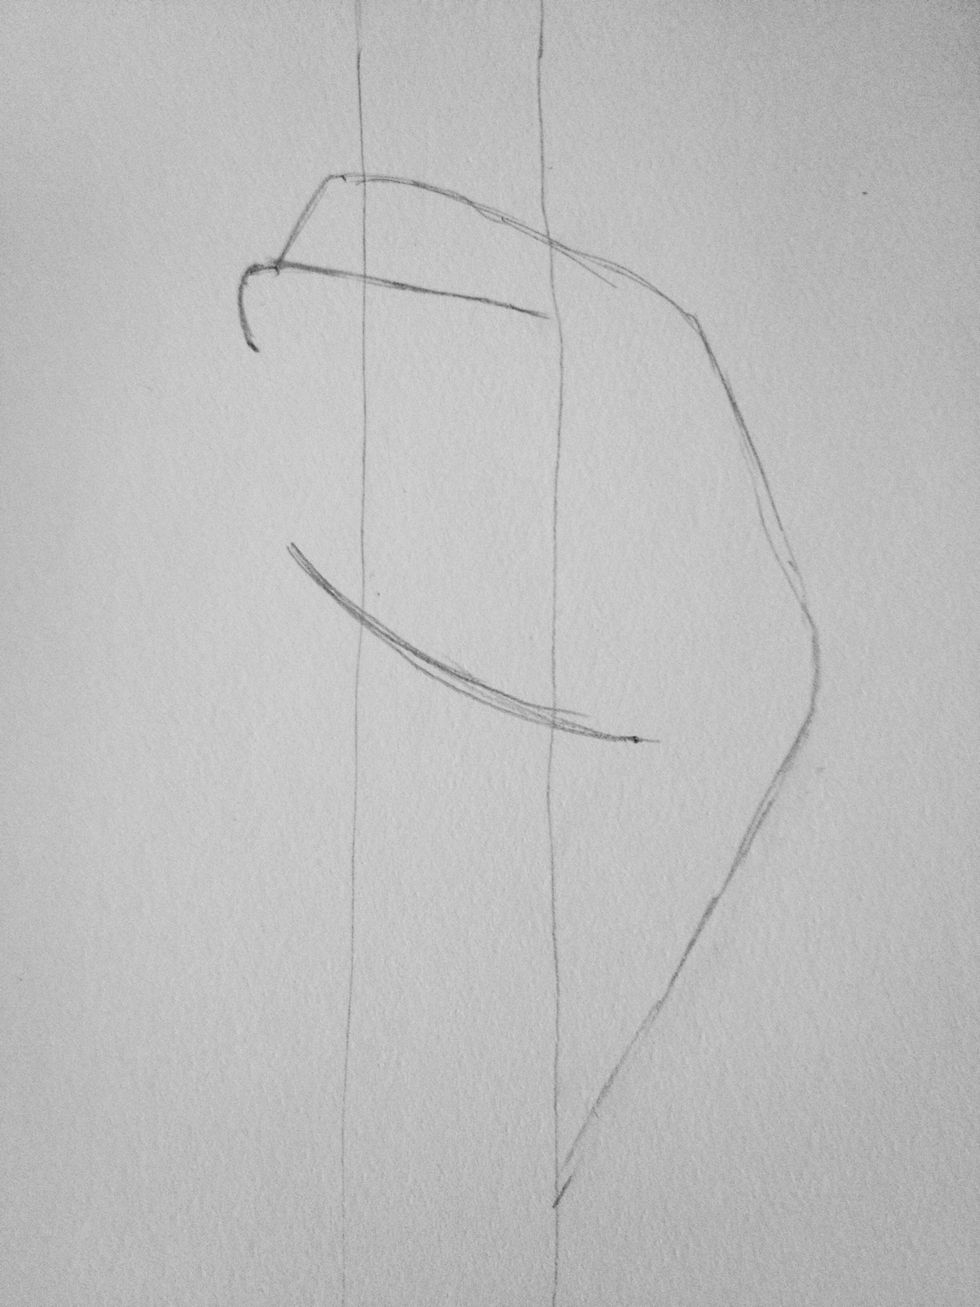
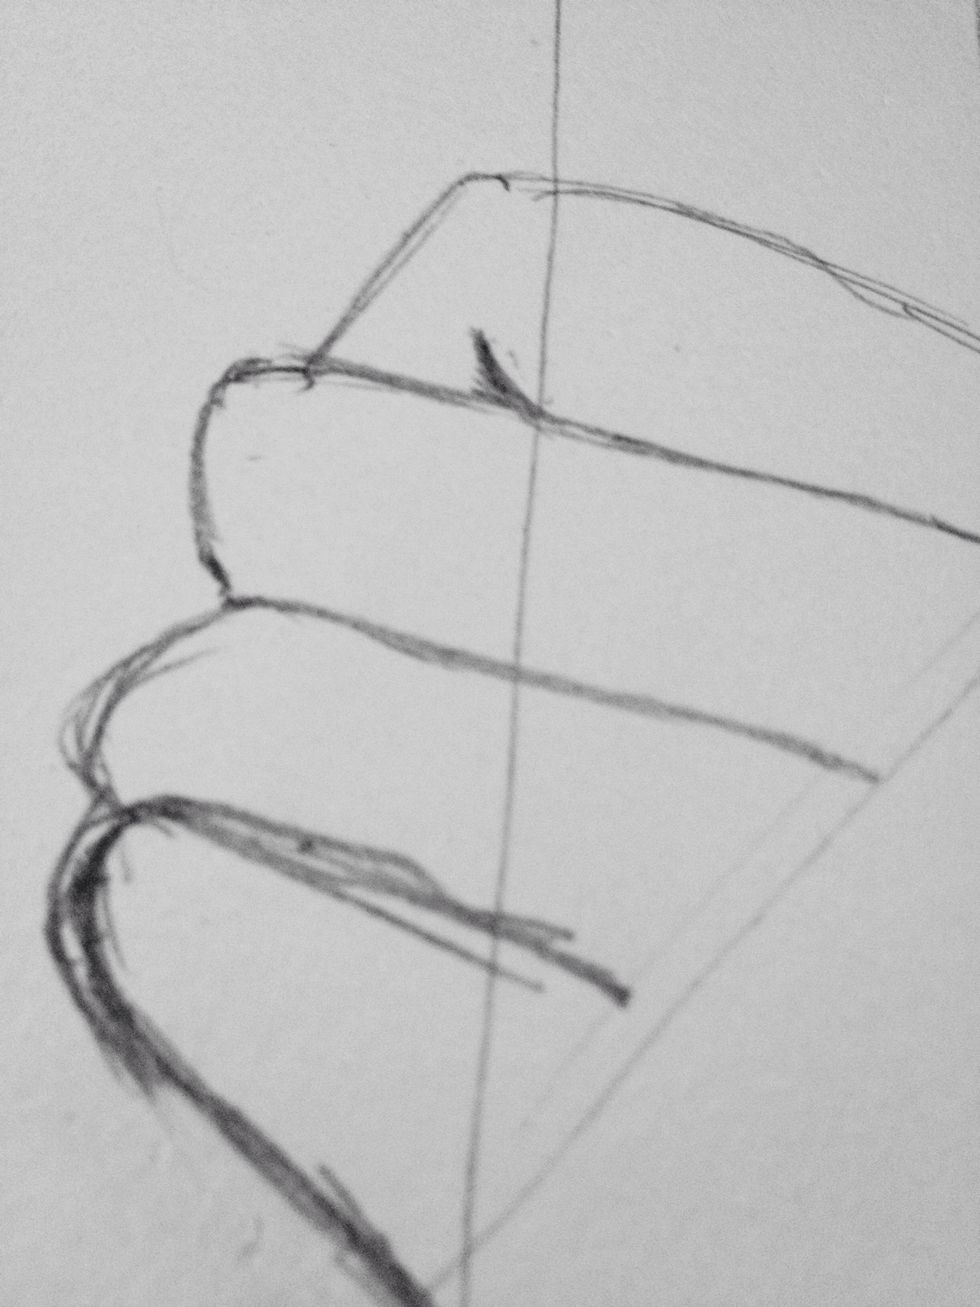
Put your pencil on the middle finger knuckle line.
And make the finger line and knuckle line for the ring finger. The knuckle line is more curved then the middle and pointer fingers were.
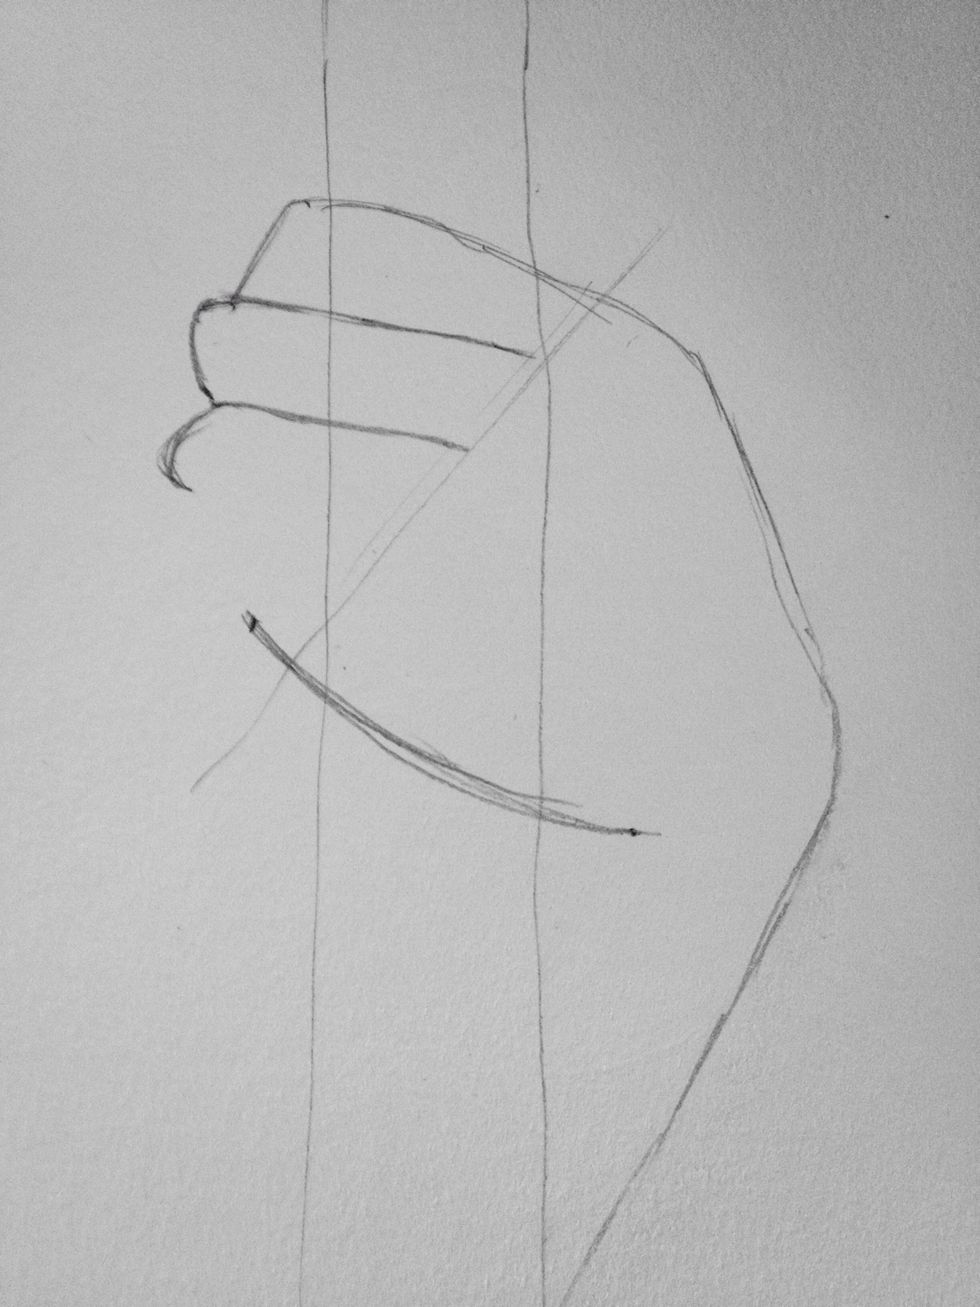
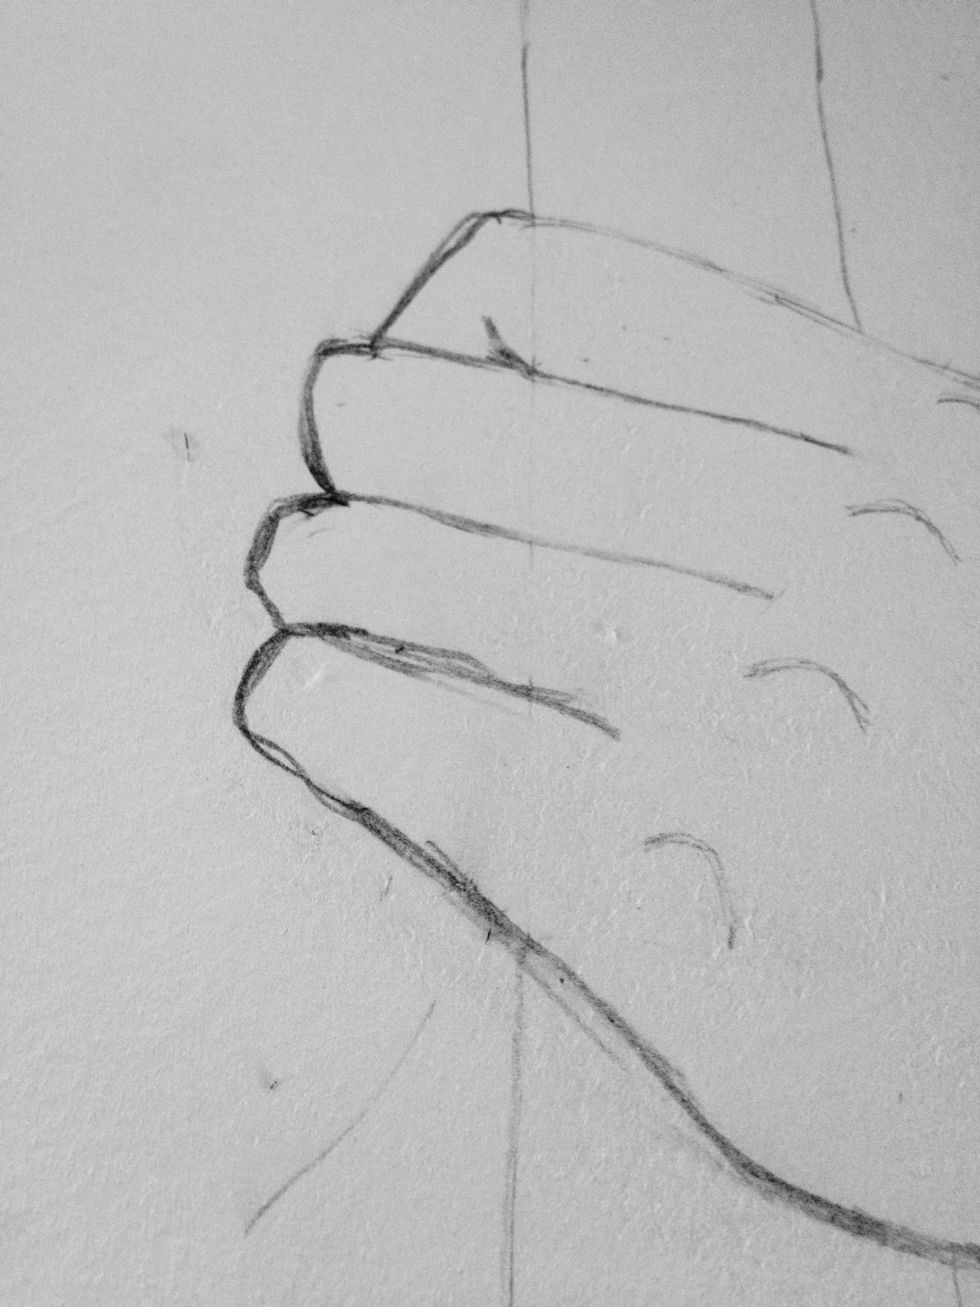
Sketch a light line that joins the ends of the fingers at an approximately 45degree angle.
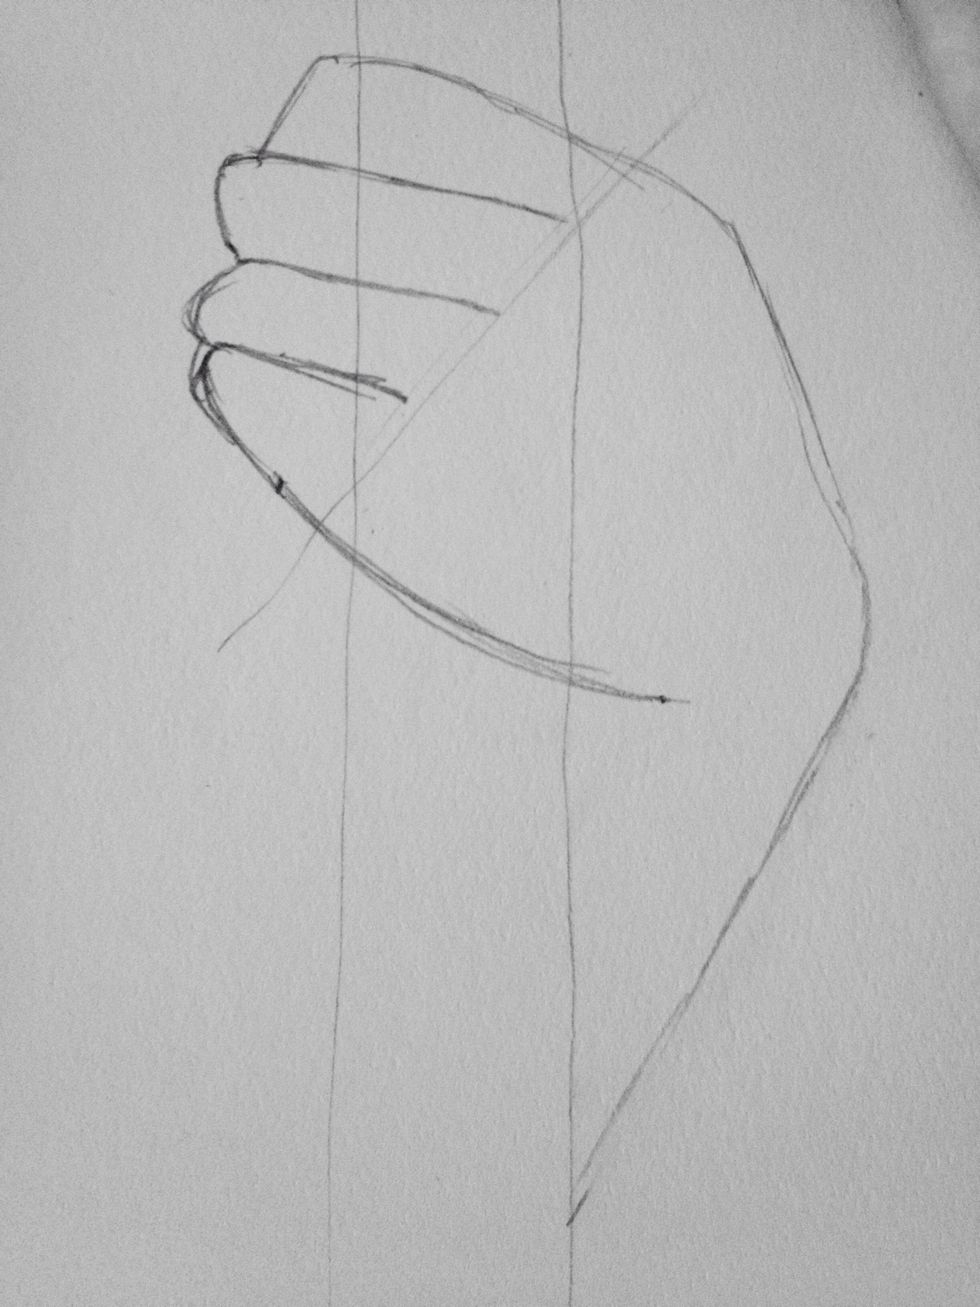
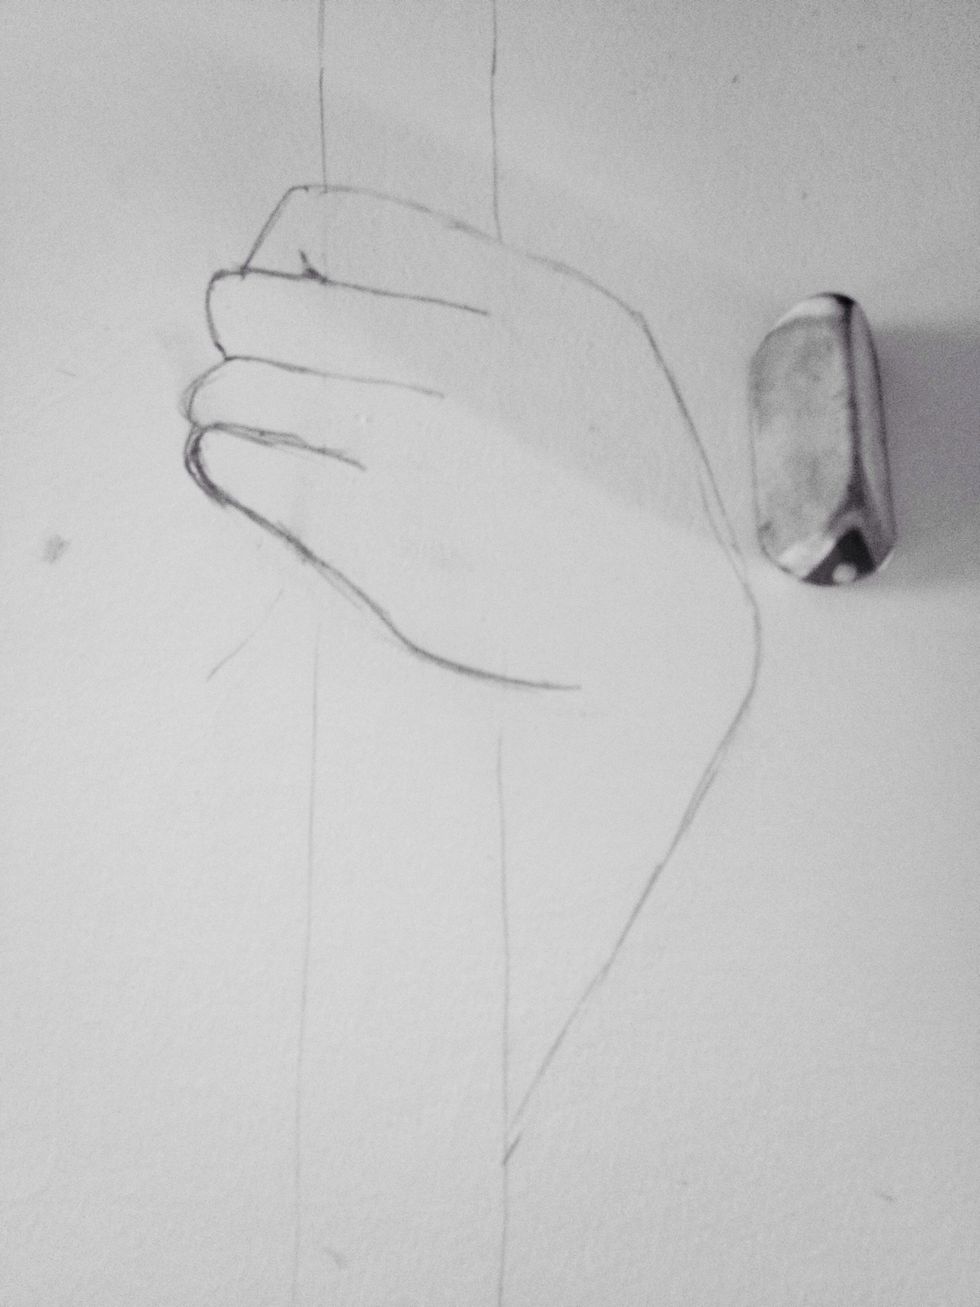
Finish the pinkie finger with a very soft curved knuckle and the finger should join the base of the hand and the finger line (that connects the ends of the fingers)
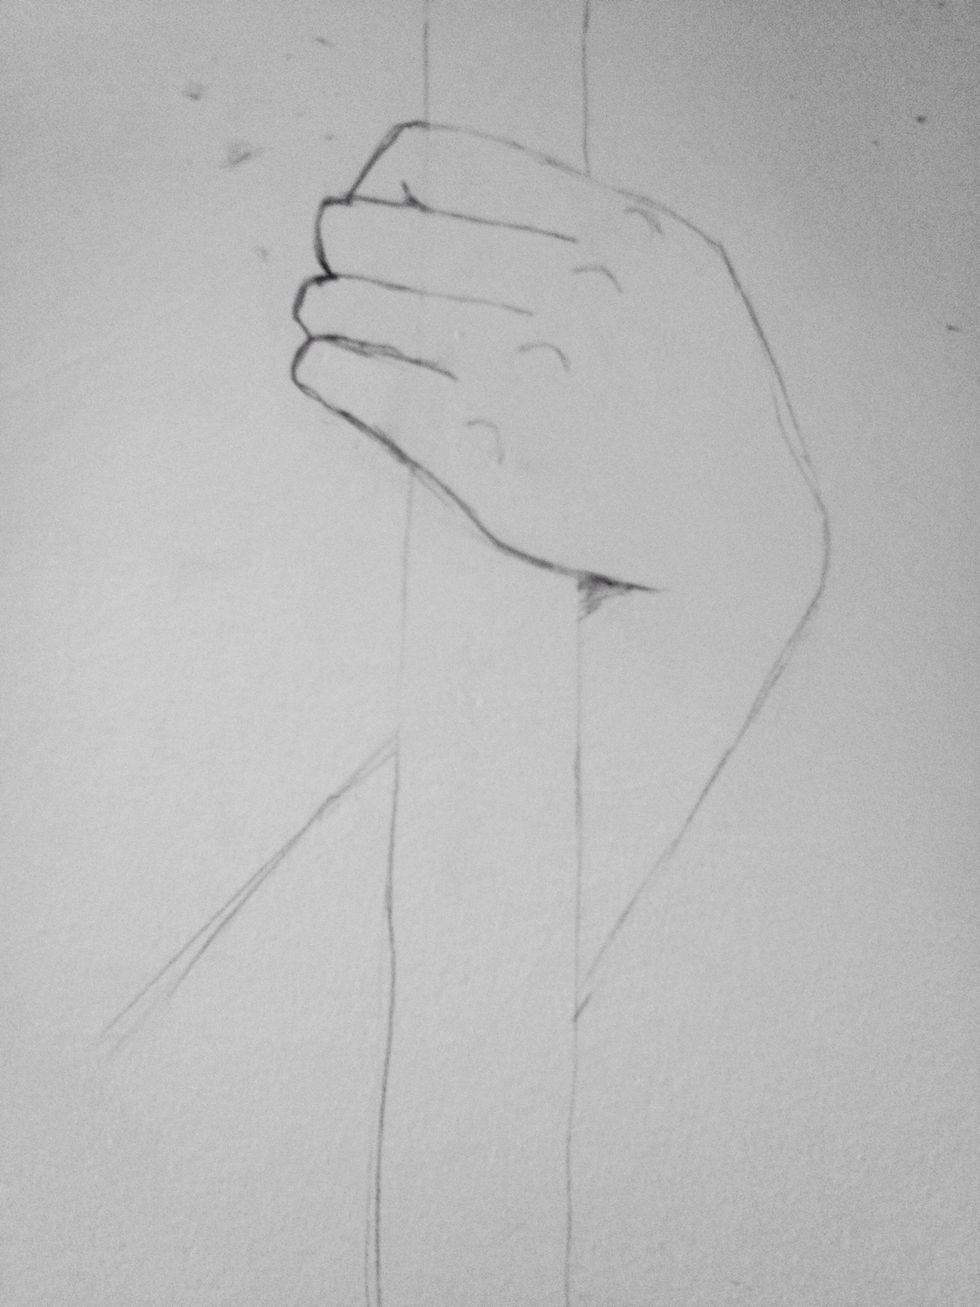
Draw a more accurate bottom of the hand that has a more realistic shape.

Erase the previous line.
Put your pencil on the bottom of the pointer finger line where the staff outline is. (Tap the image to see it better)

Draw a small curve upwards to make the finger bend.
Do a little bit of shading to make it look realistic.
Erase the lines of the staff in the hand.

Draw a light straight line from where the bottom of the hand meets the staff in an almost parallel line to the other side of the arm. Like this.
Erase the arm line on the staff.
Draw in knuckles by drawing pointy semi-circles.
Make the ends of the knuckles look more realistic. Note that fingers aren't exactly round, so make the tops almost flat with curved or straight bits coming off to the rest of the finger.
A bit like this, but don't do what I did for the pinkie finger haha!
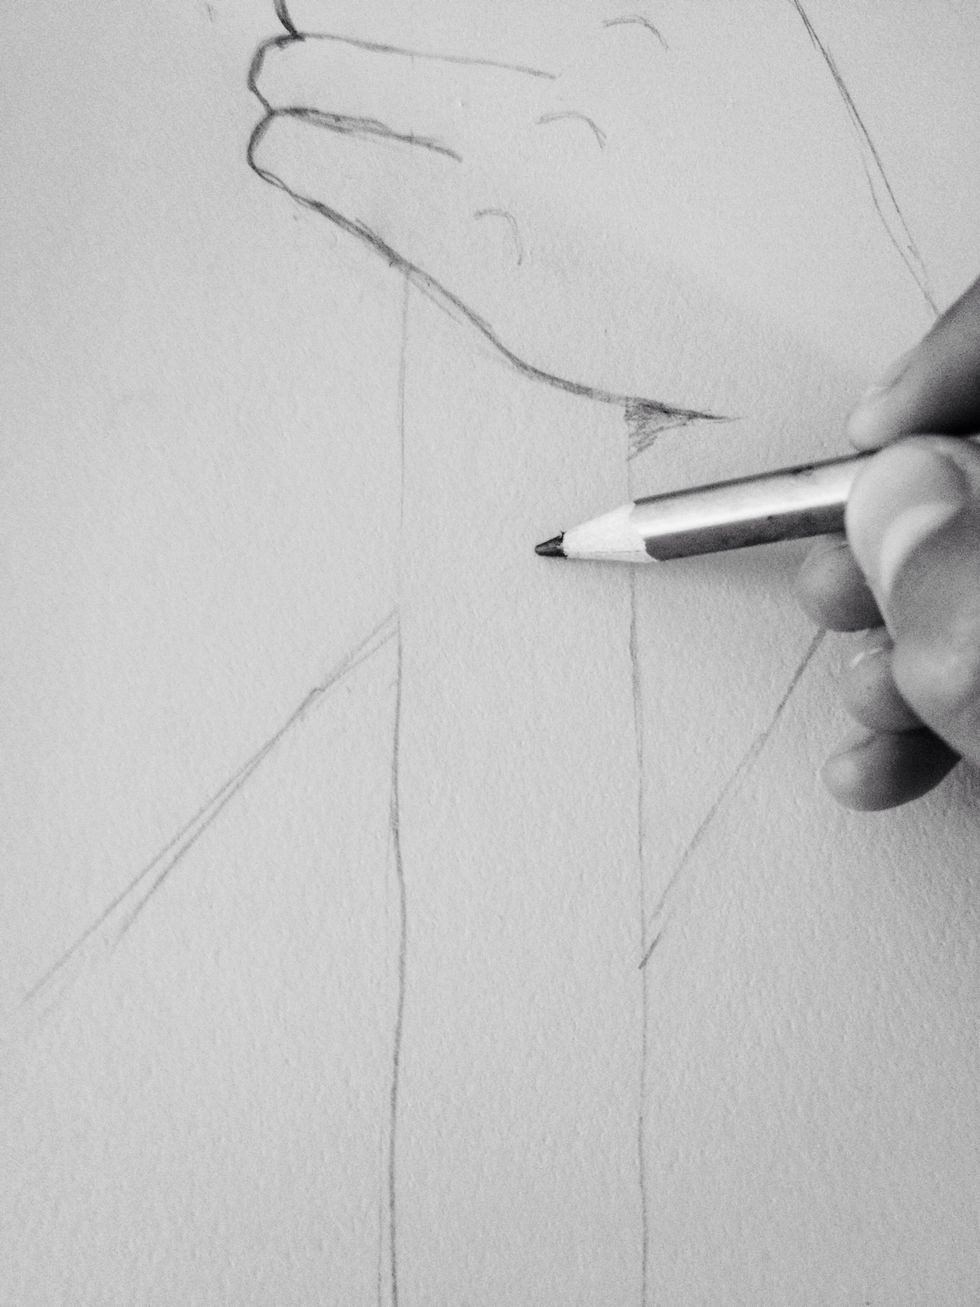
Make a but of shading where the arm bends to hold the staff.
Like this.
Put your pencil somewhere on the staff.
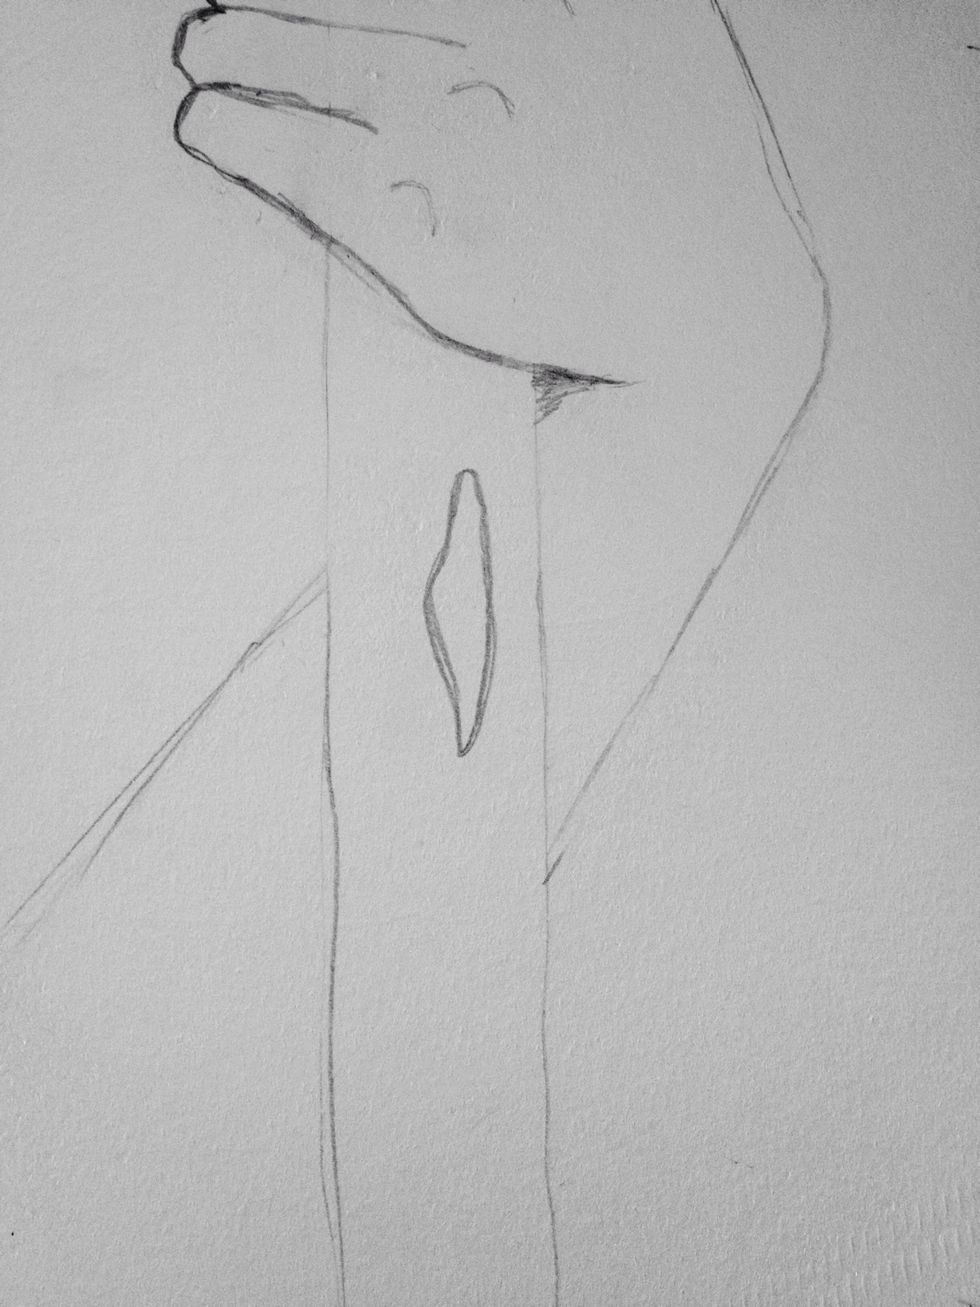
Make a strange oval shape.
Above this shape, put your pencil. (Lol I sound like Yoda)
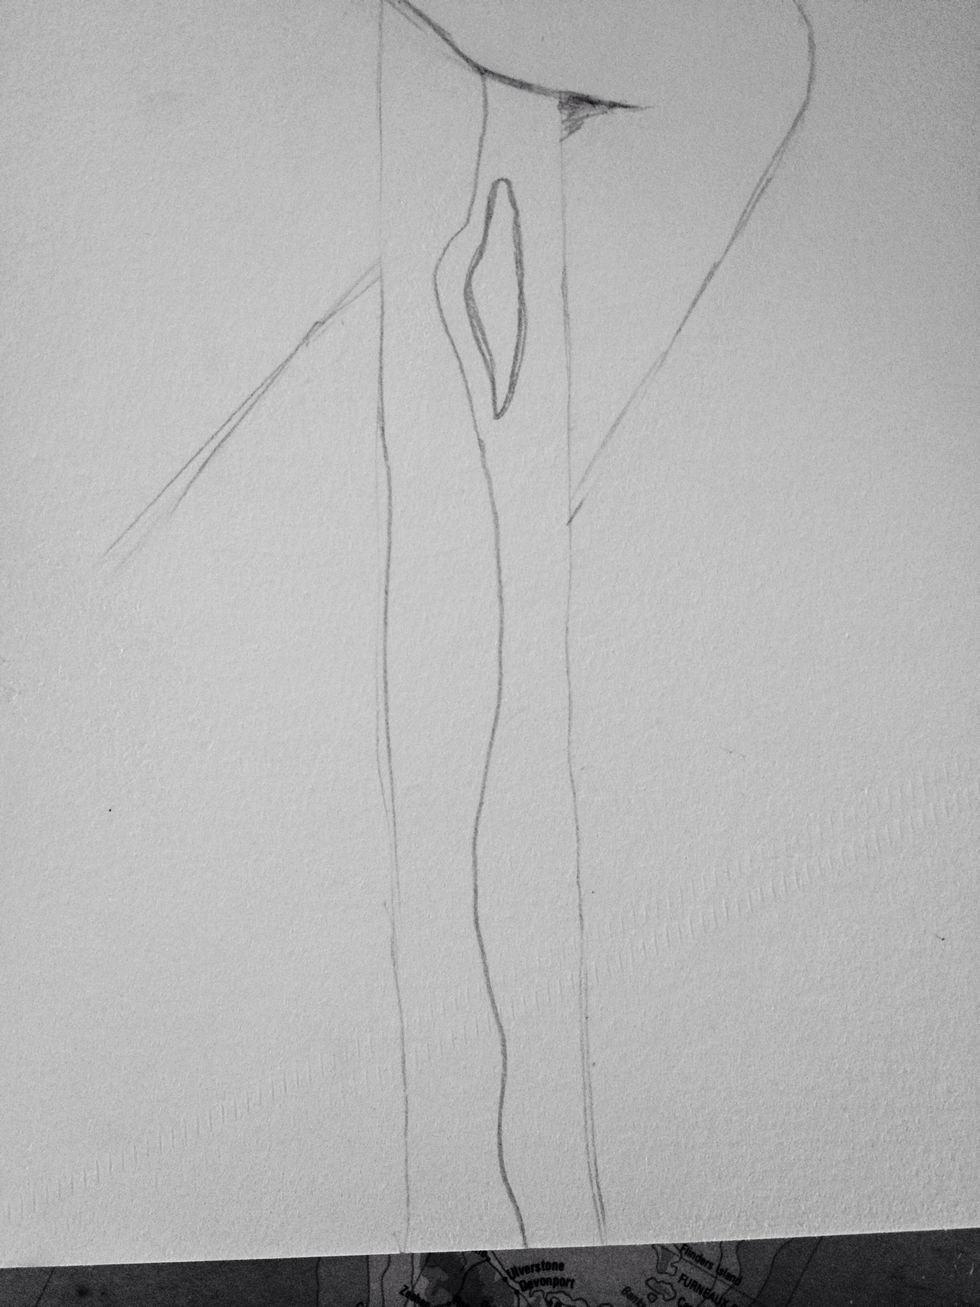
Draw a line that outlines the oval and goes down to the end of your stick. Curve it or keep it straight wherever you want. This bit will be very unique!
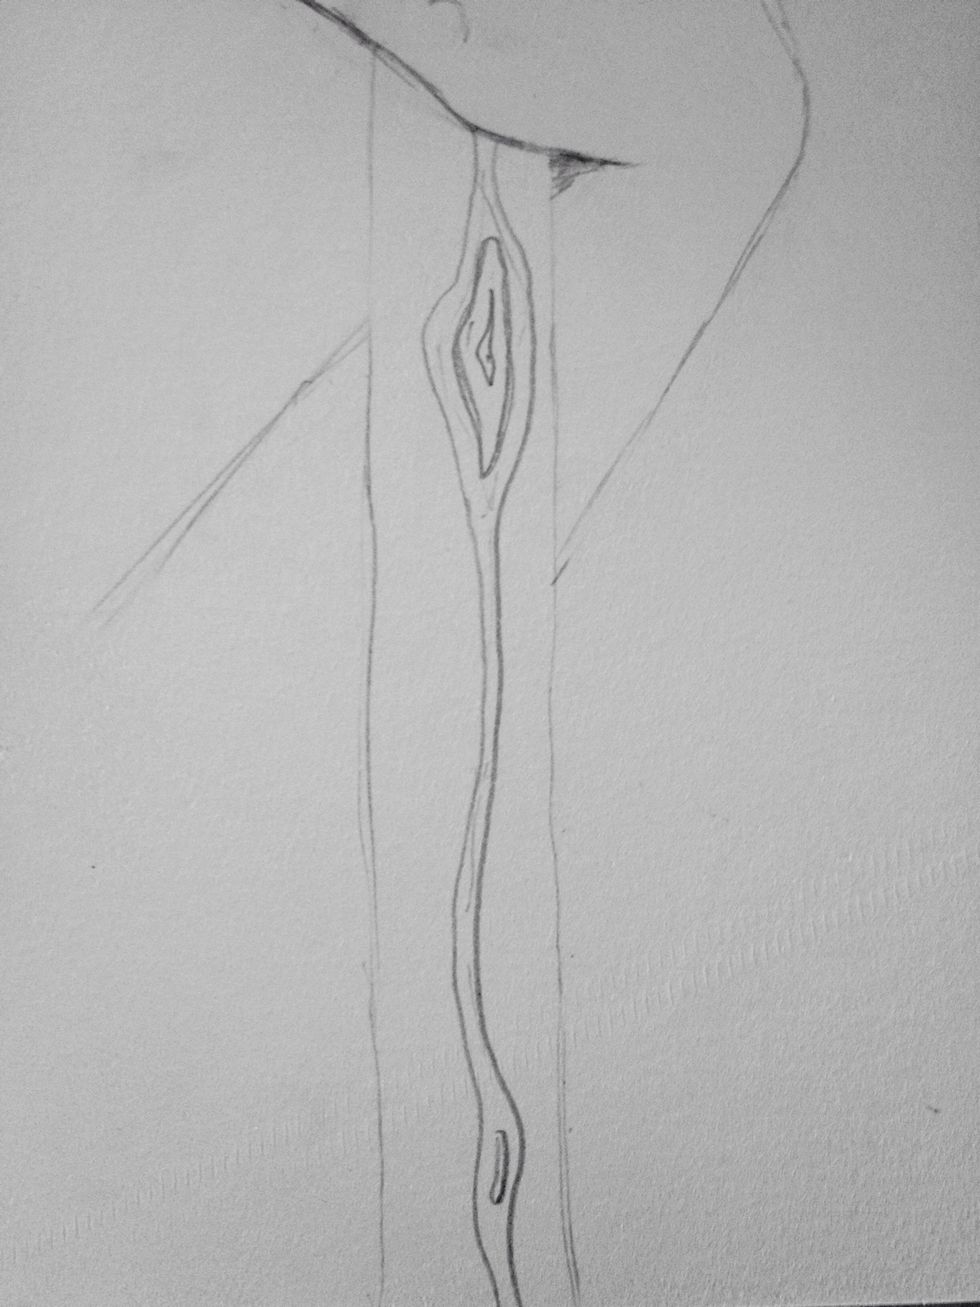
Again on the other side of the oval.

Keep doing this until you fill the staff. Now it looks like the grains of wood!
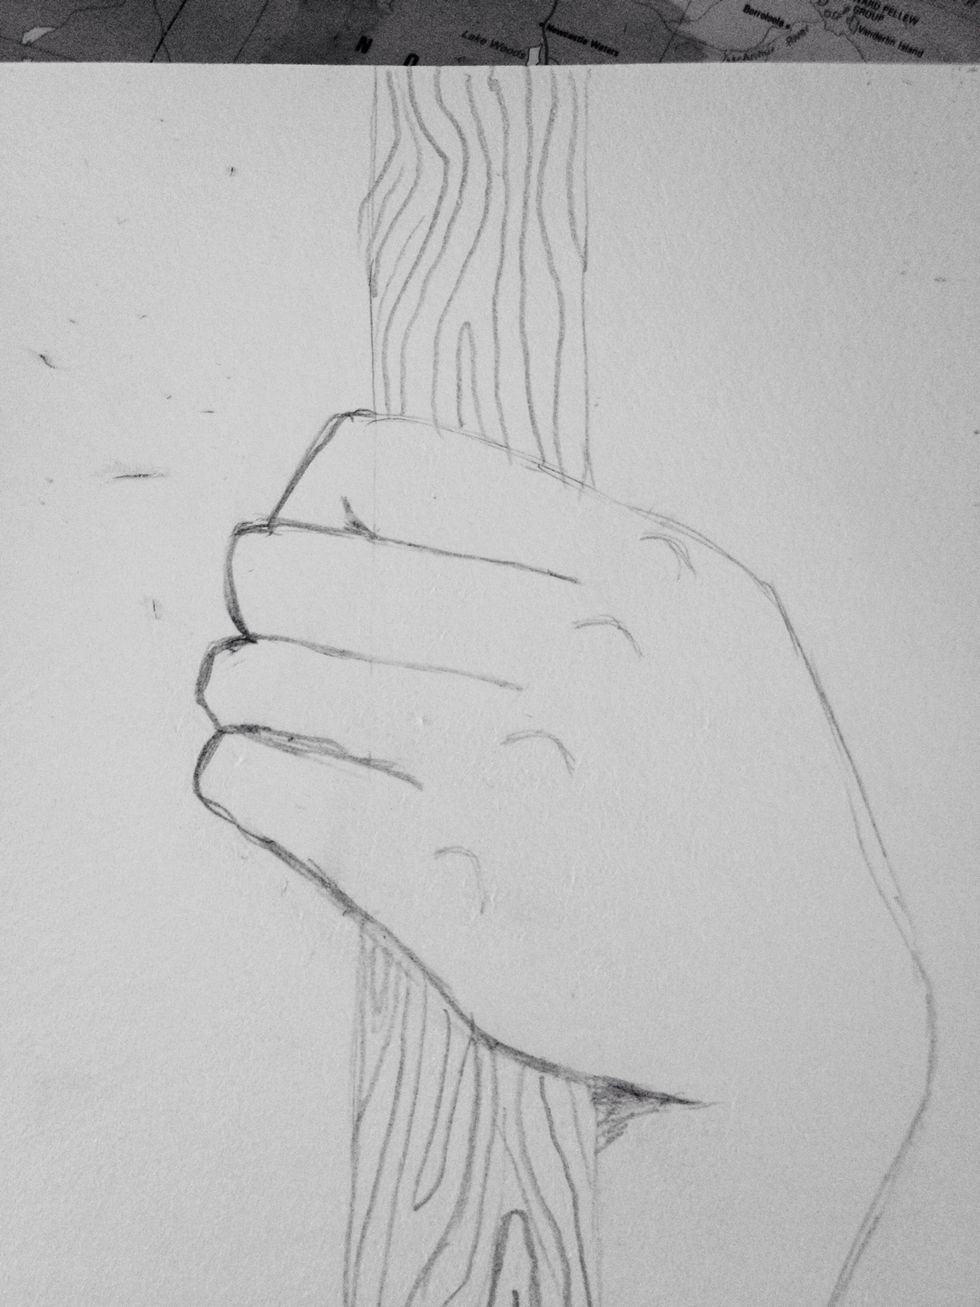
Repeat on the top part of the staff.
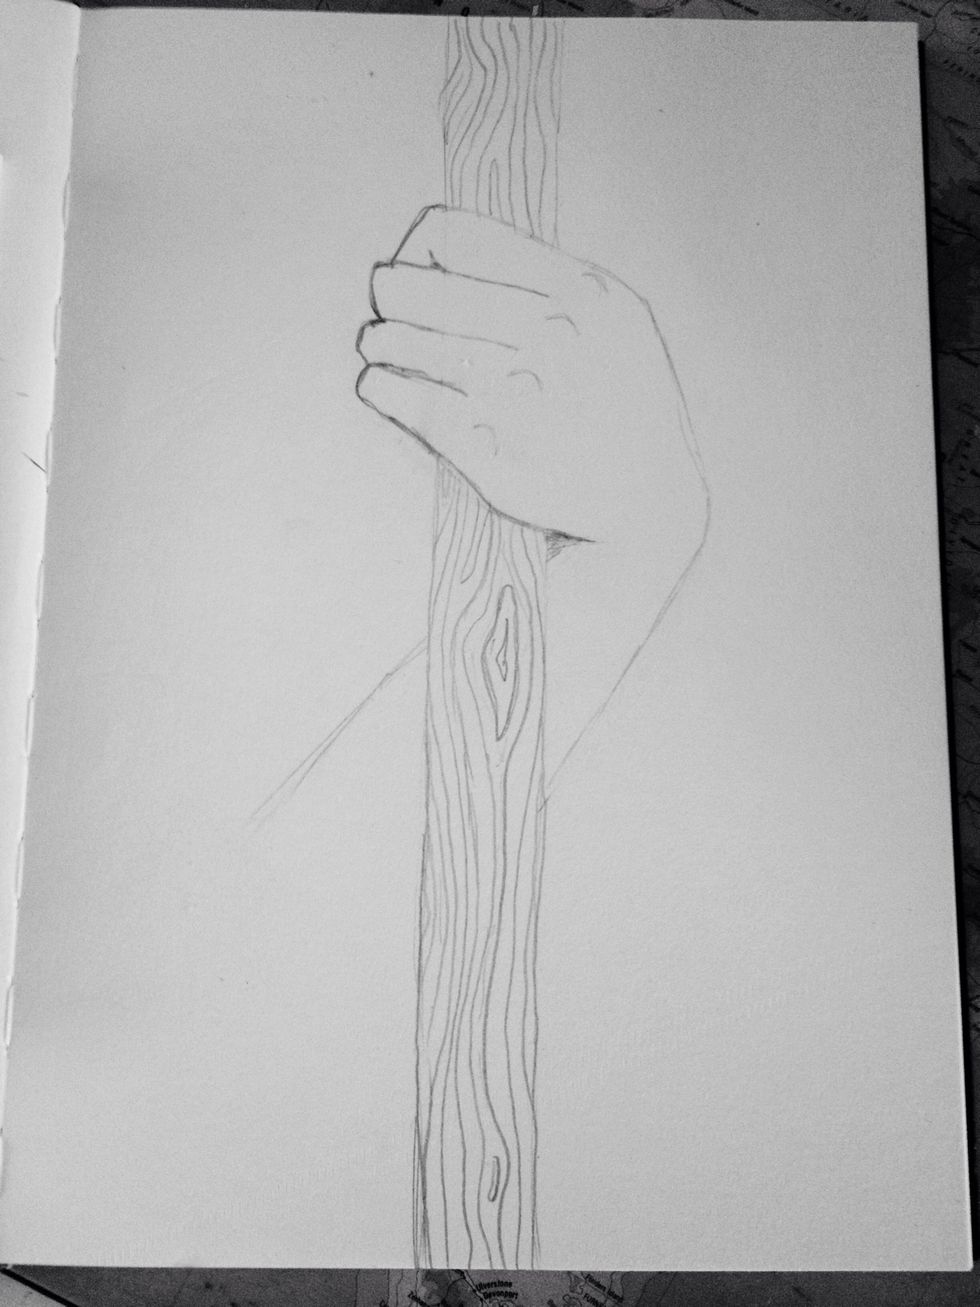
And this is the finished product!
Thanks for watching my guide!! Please like, comment and check out some of my other guides:)