The Conversation (0)
Sign Up

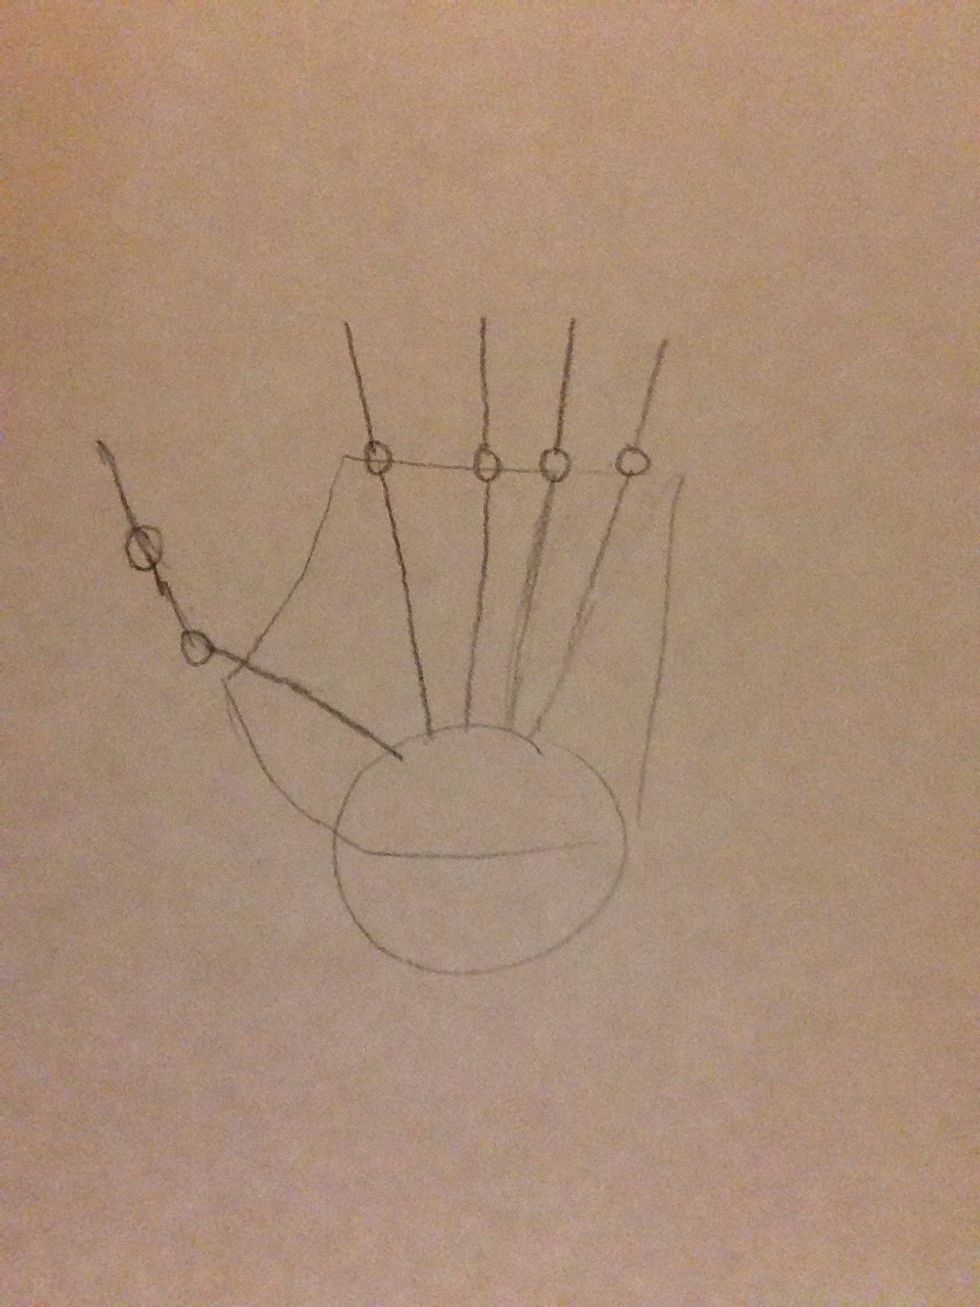
Start off with the shape like this.
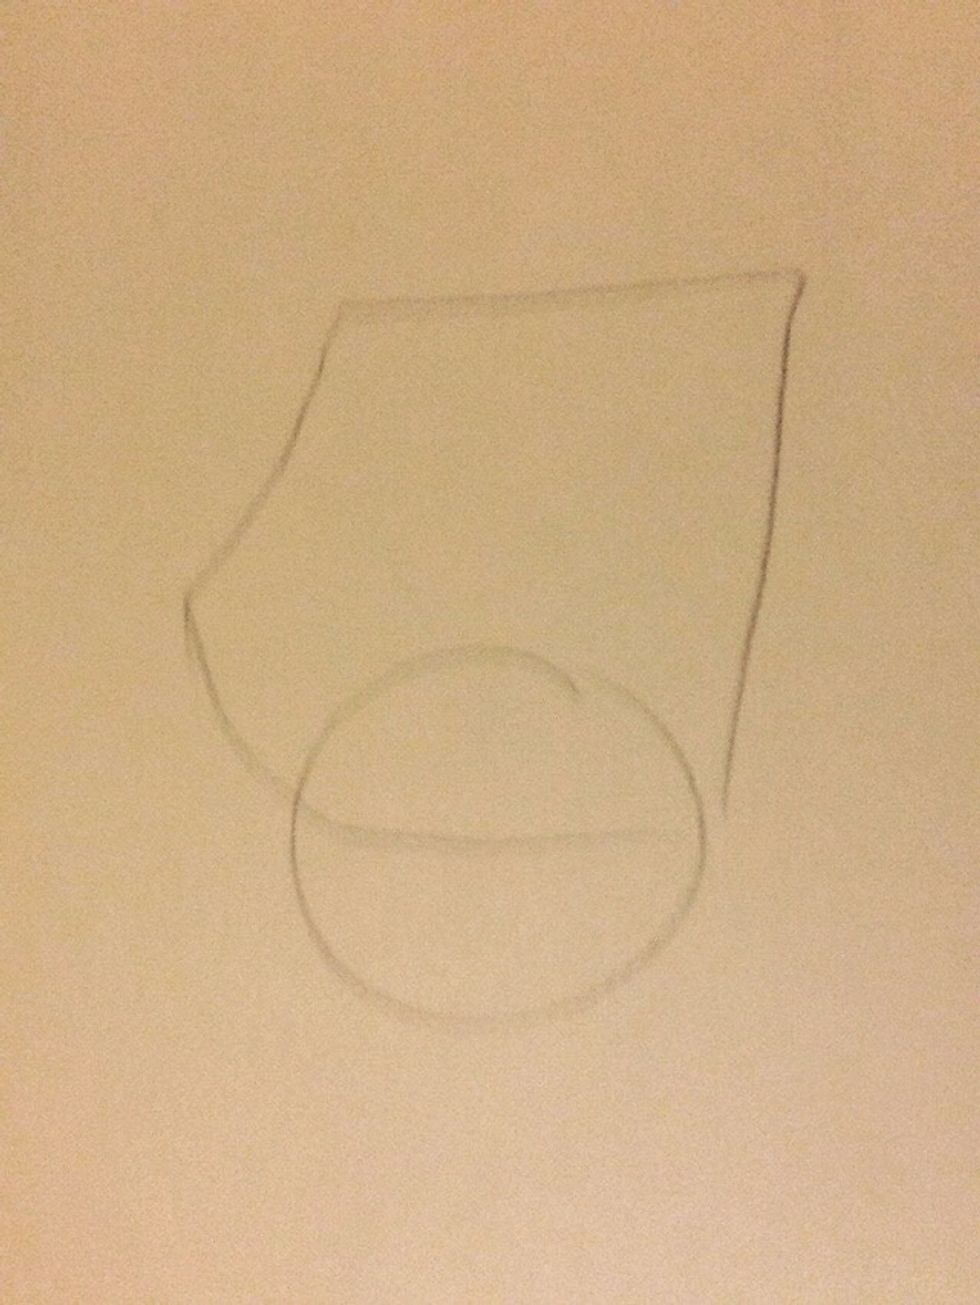
Add a circle under it. All the circles we will be drawing will be joints. This is the wrist.
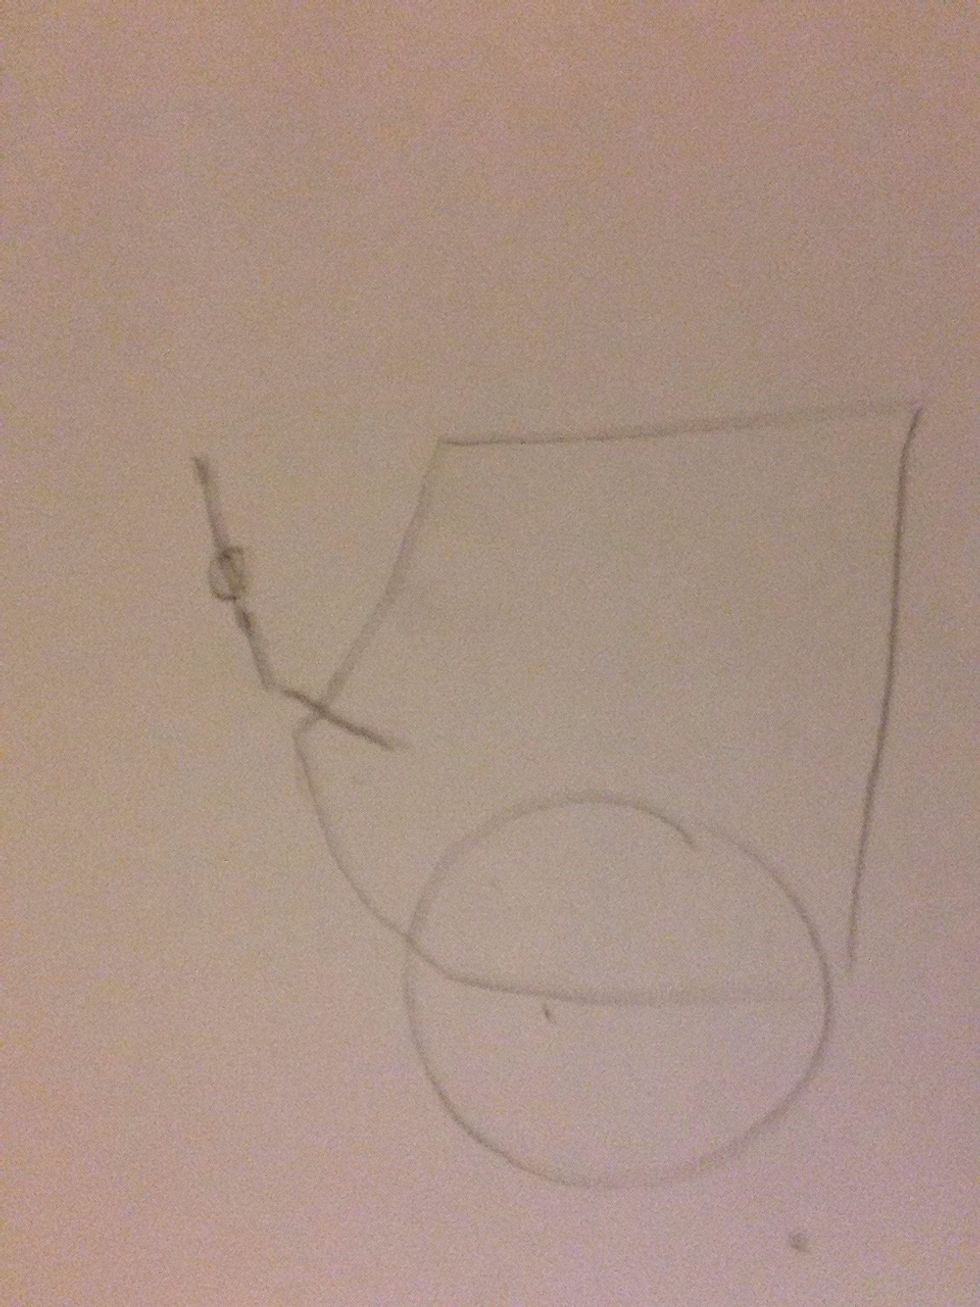
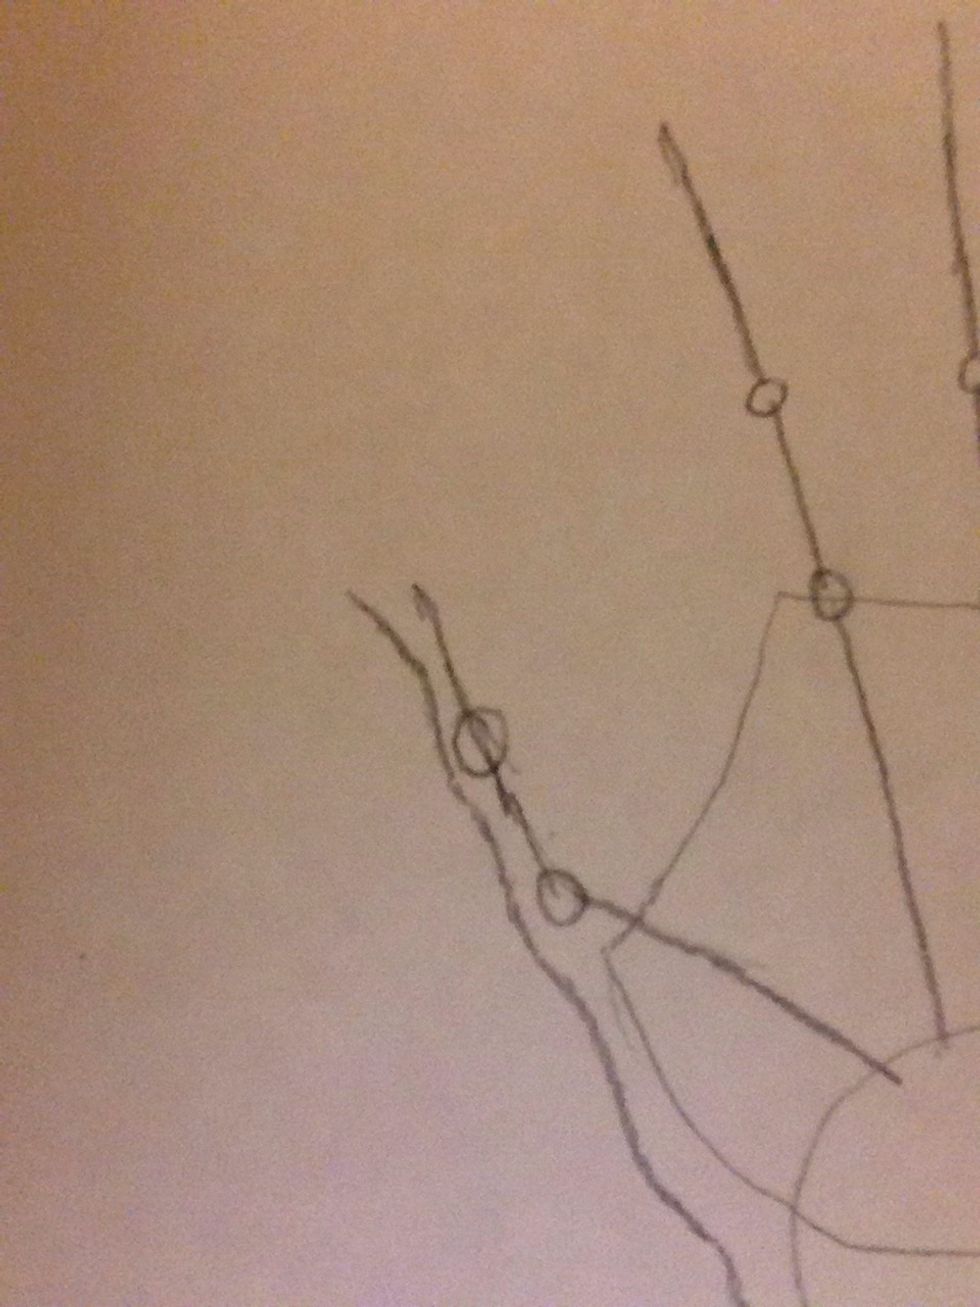
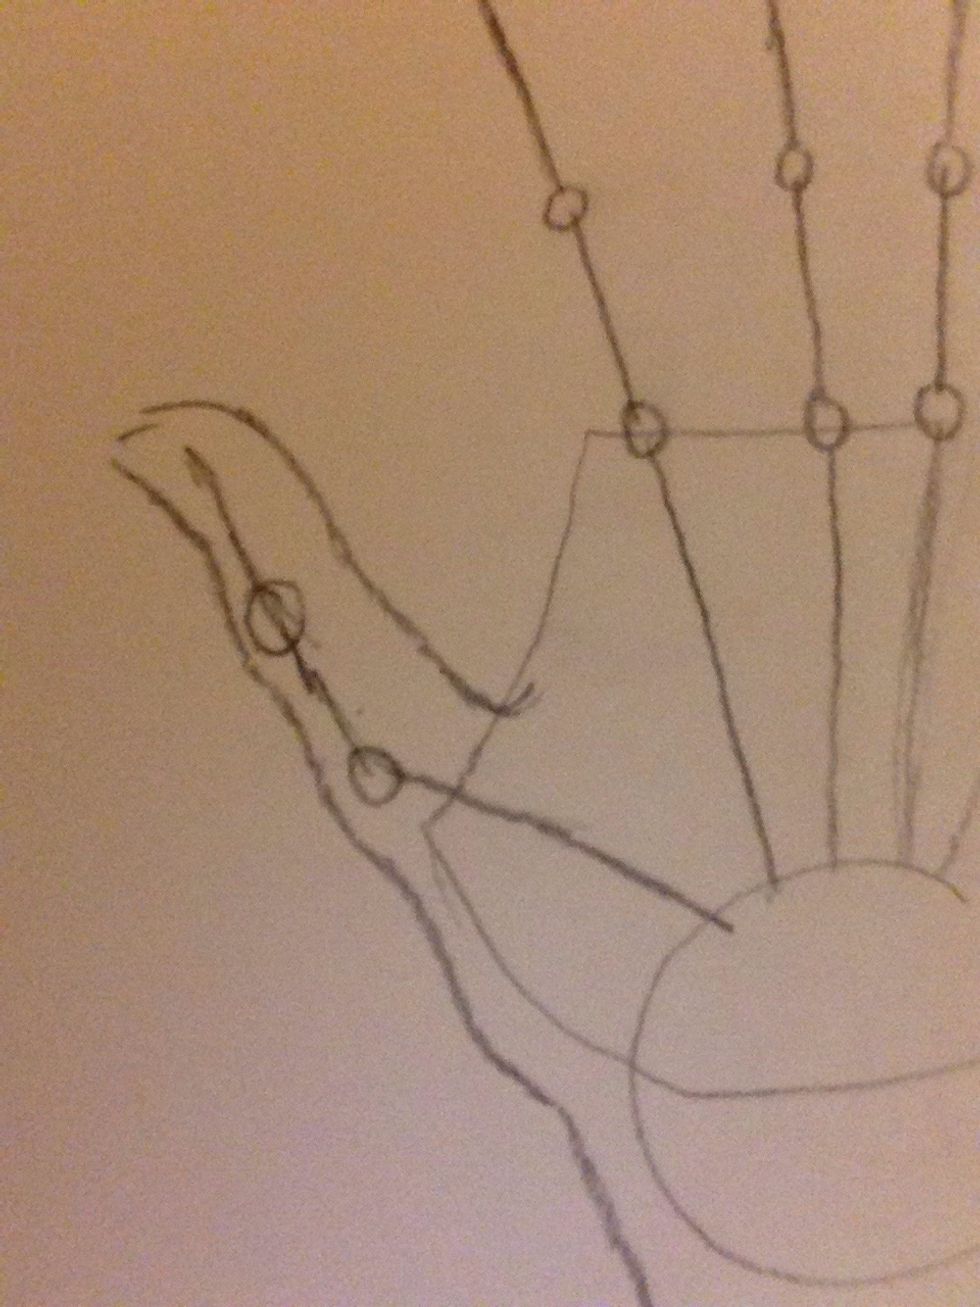
Add the skeleton shape for the thumb
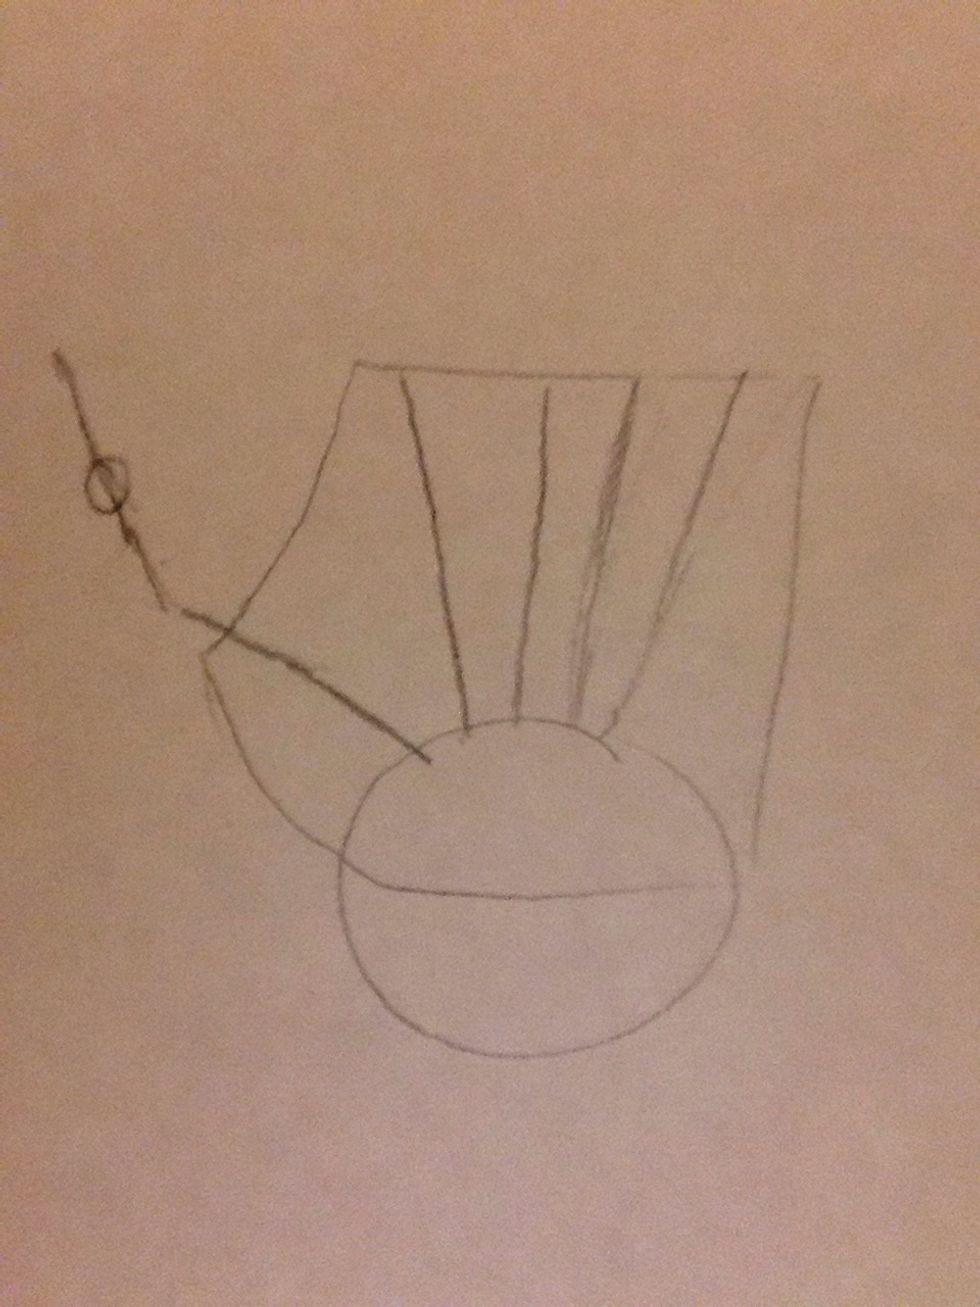
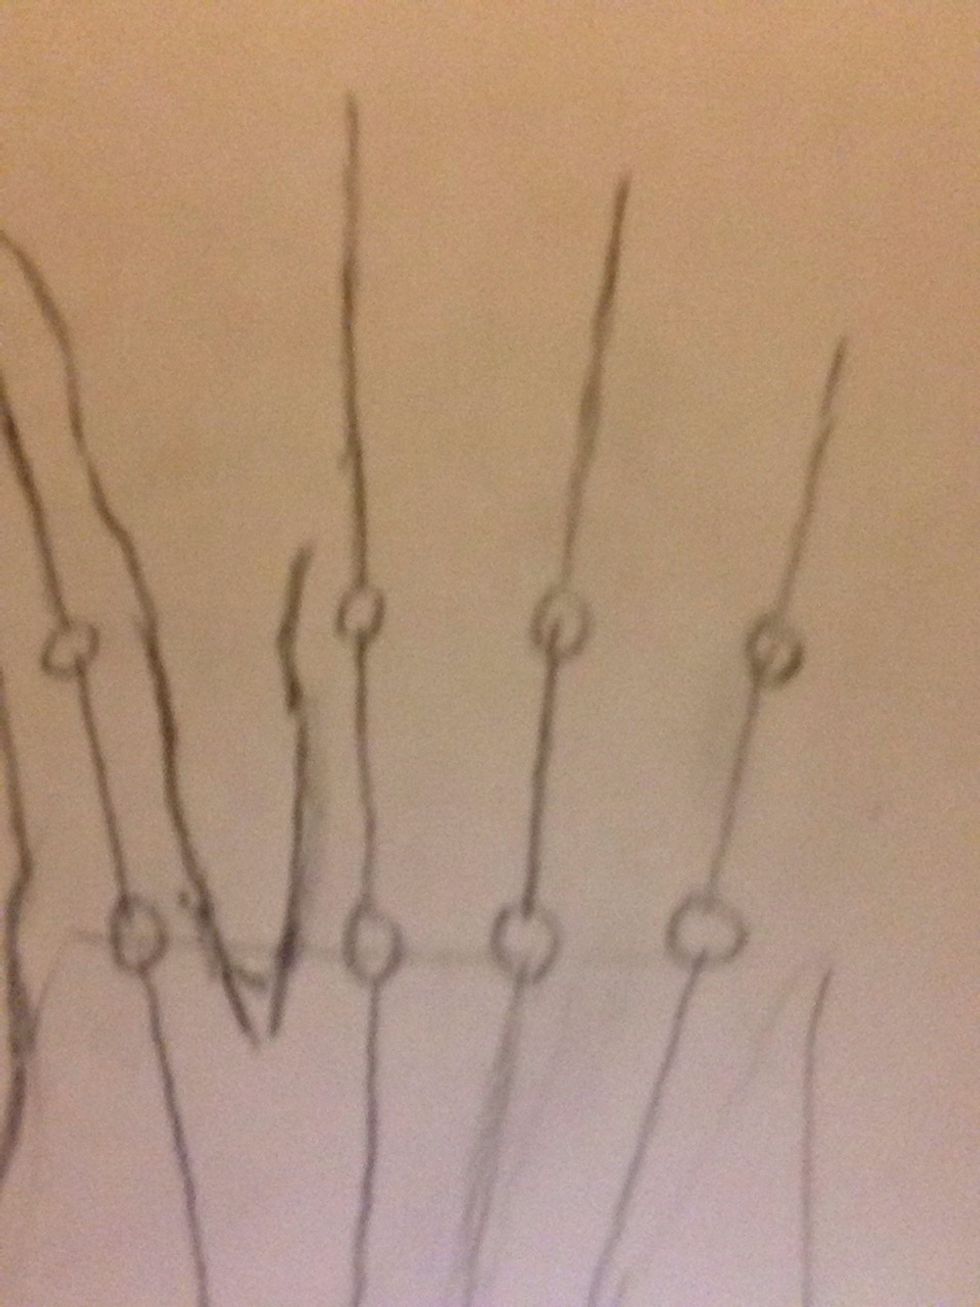
Create lines coming from the circle. This will be the fingers eventually!
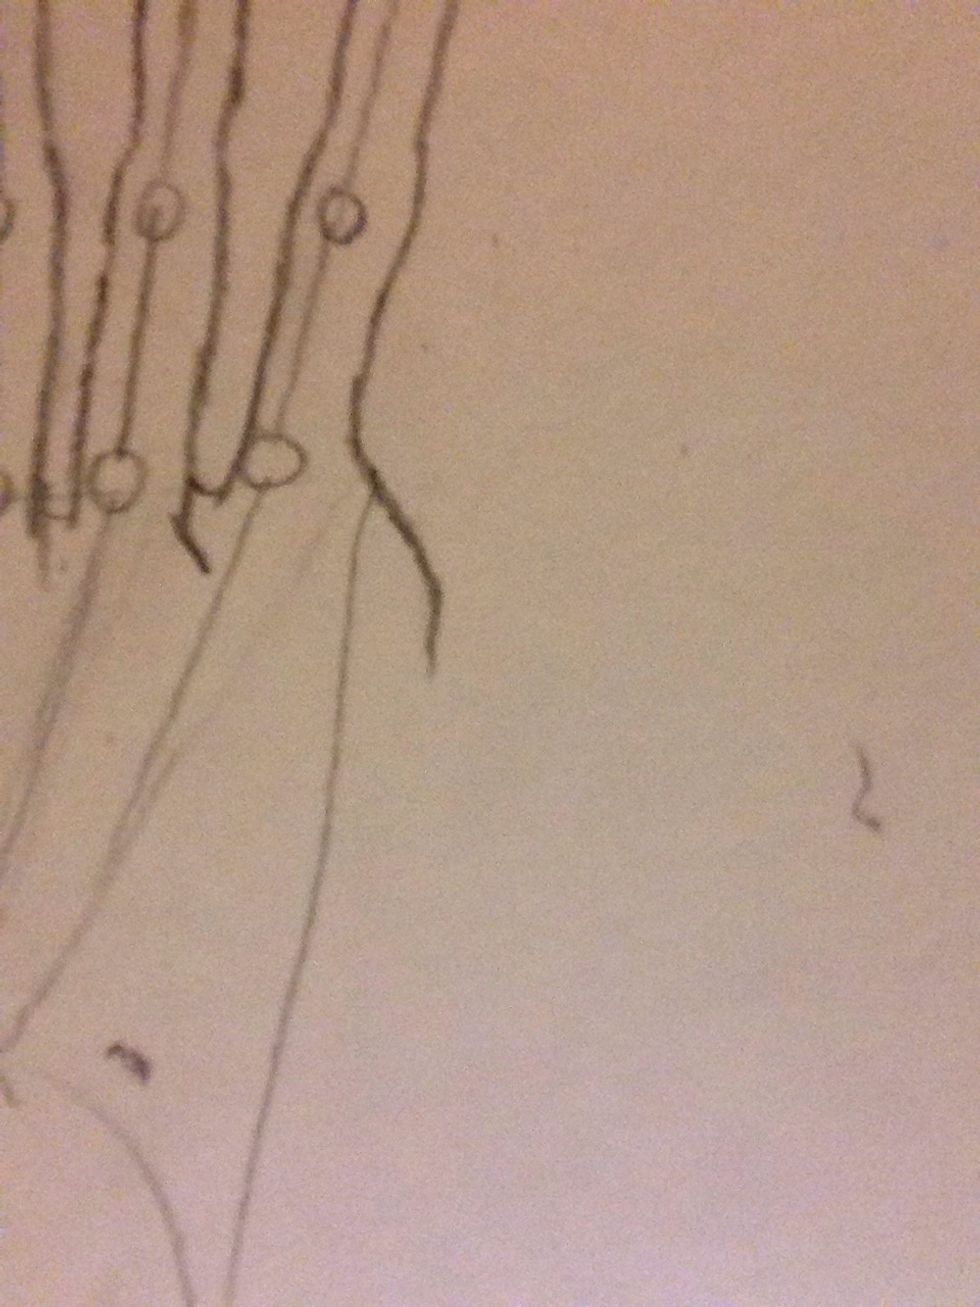
Joints…
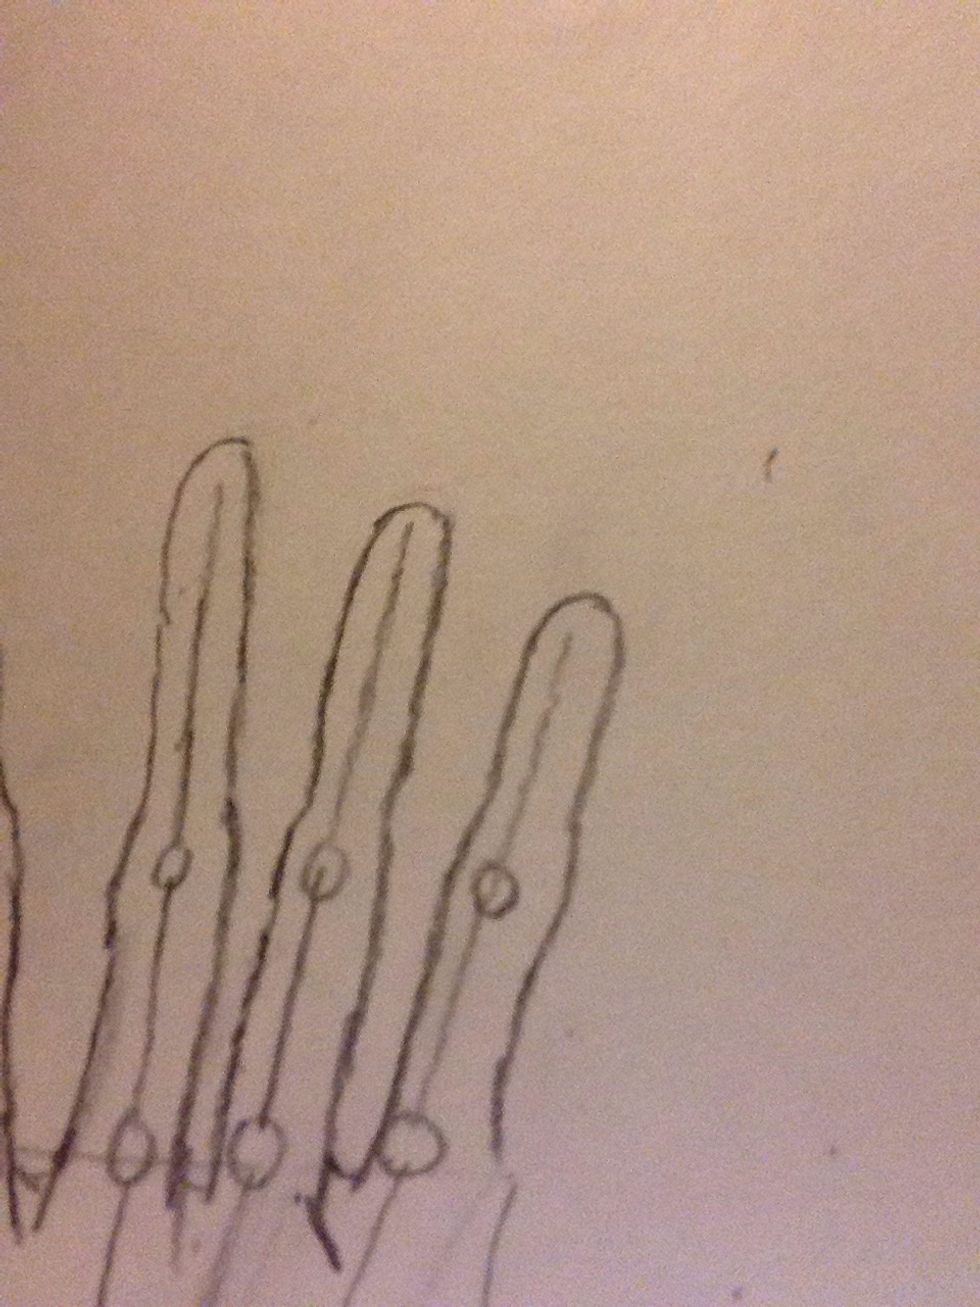
Draw the first half of the fingers

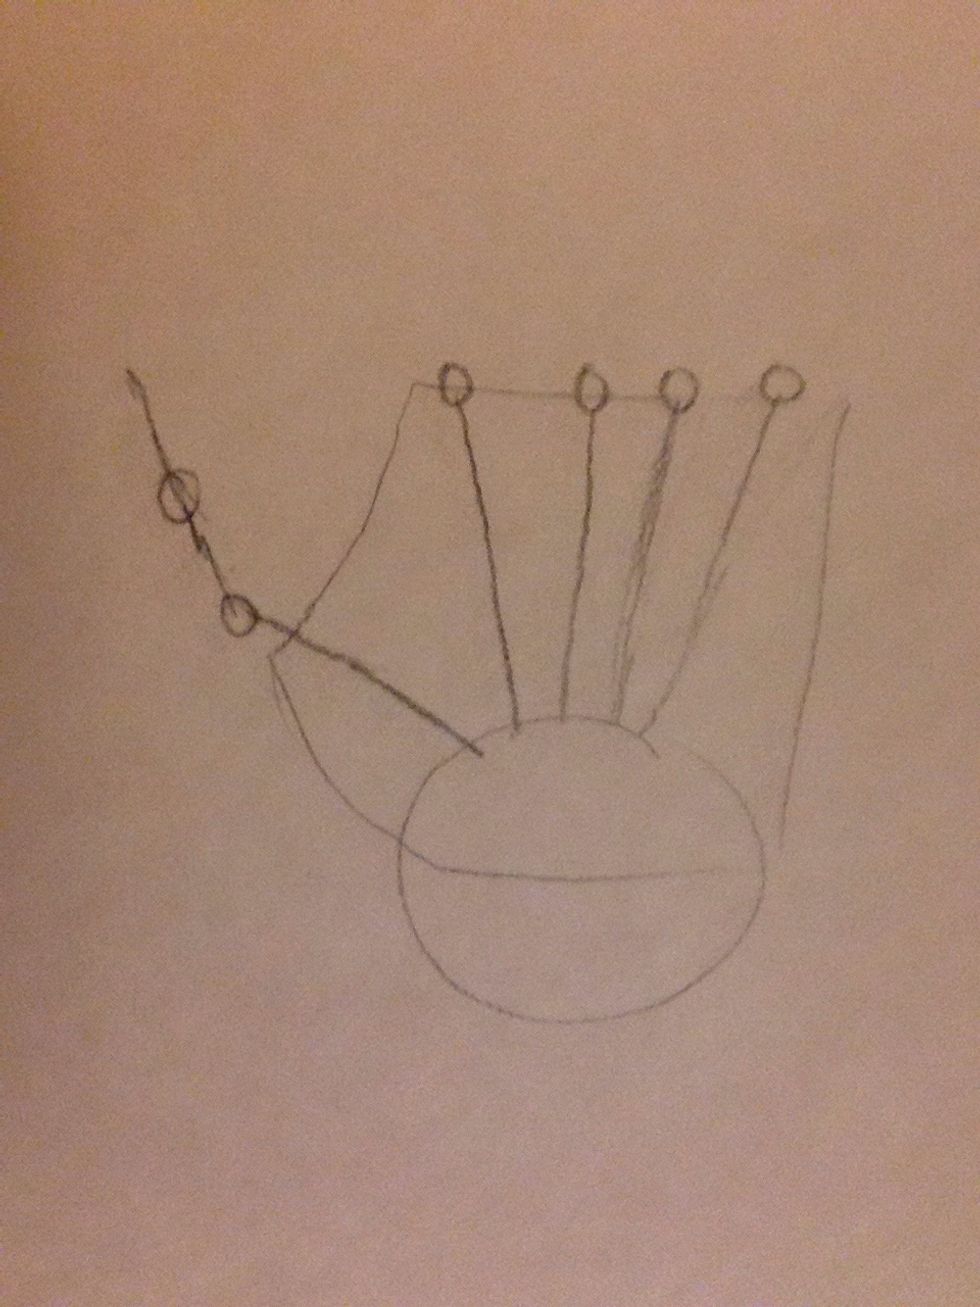
Draw joints and the second half. You can always look at your own hand for an example!
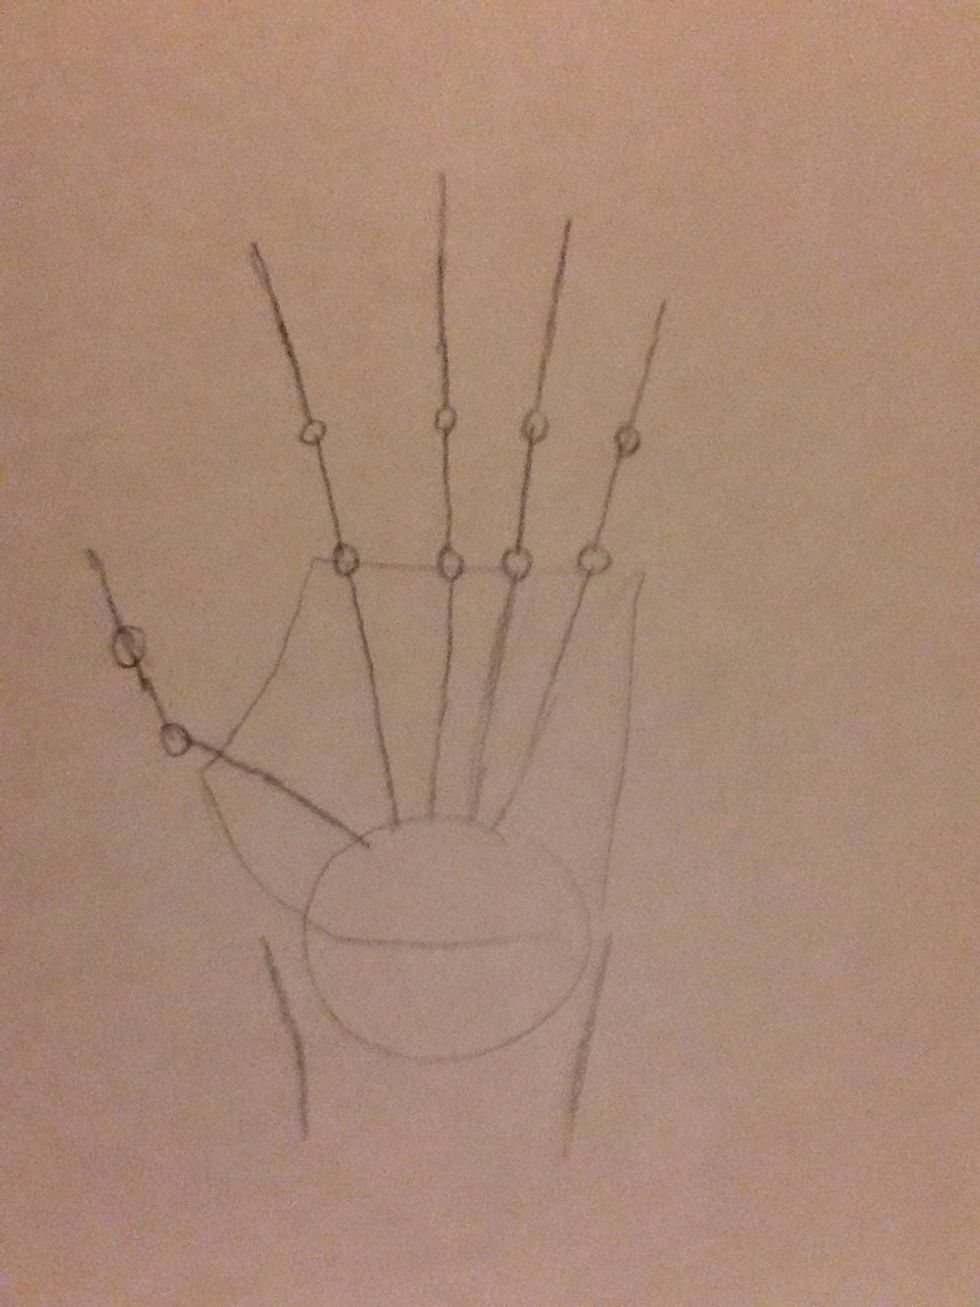
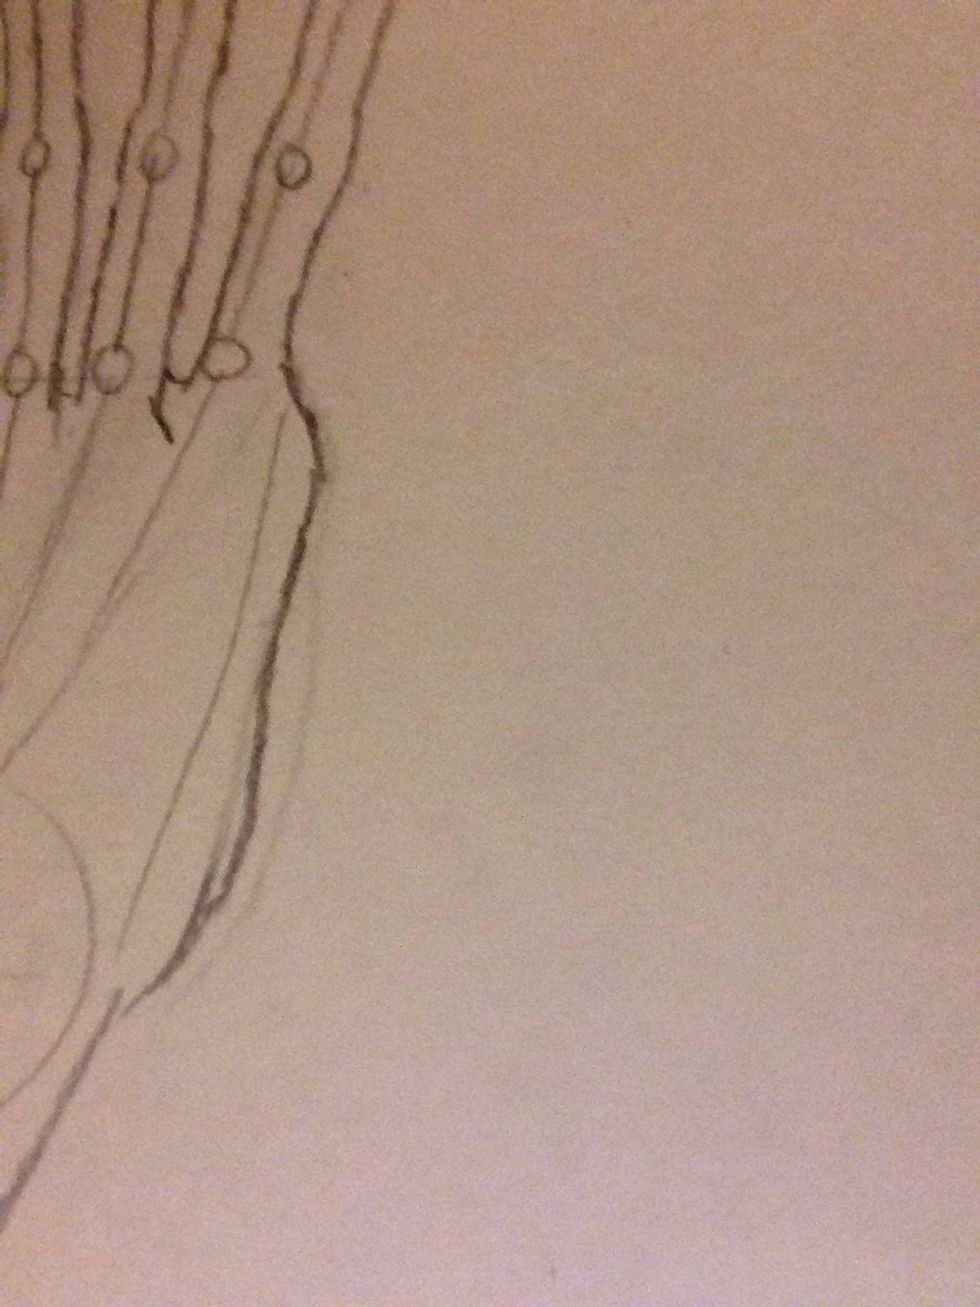
Start drawing the wrist

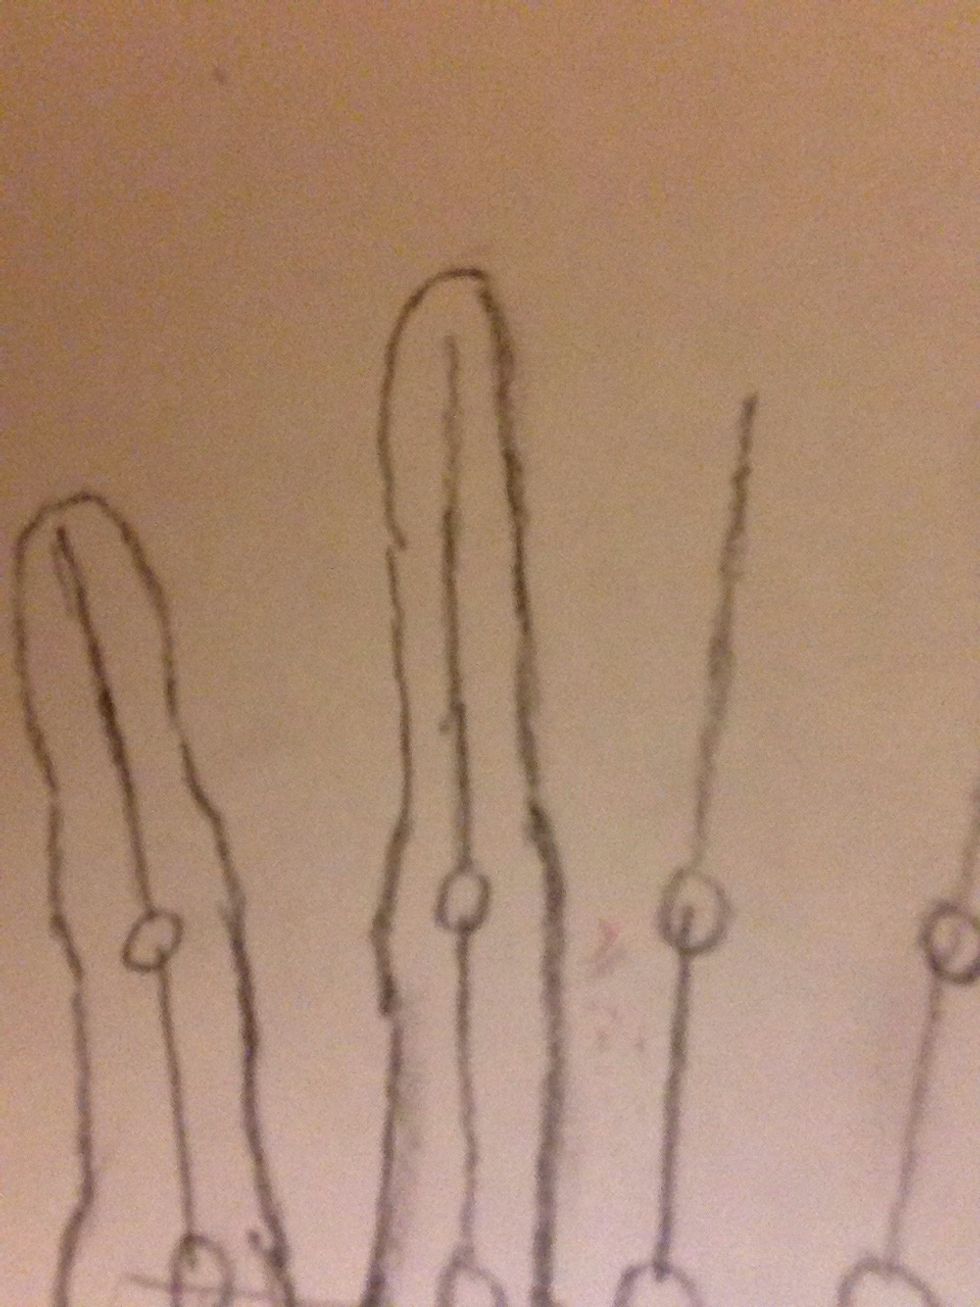
Now we are going to start adding some flesh to the base skeleton. Make a line like this for the bottom of the thumb.
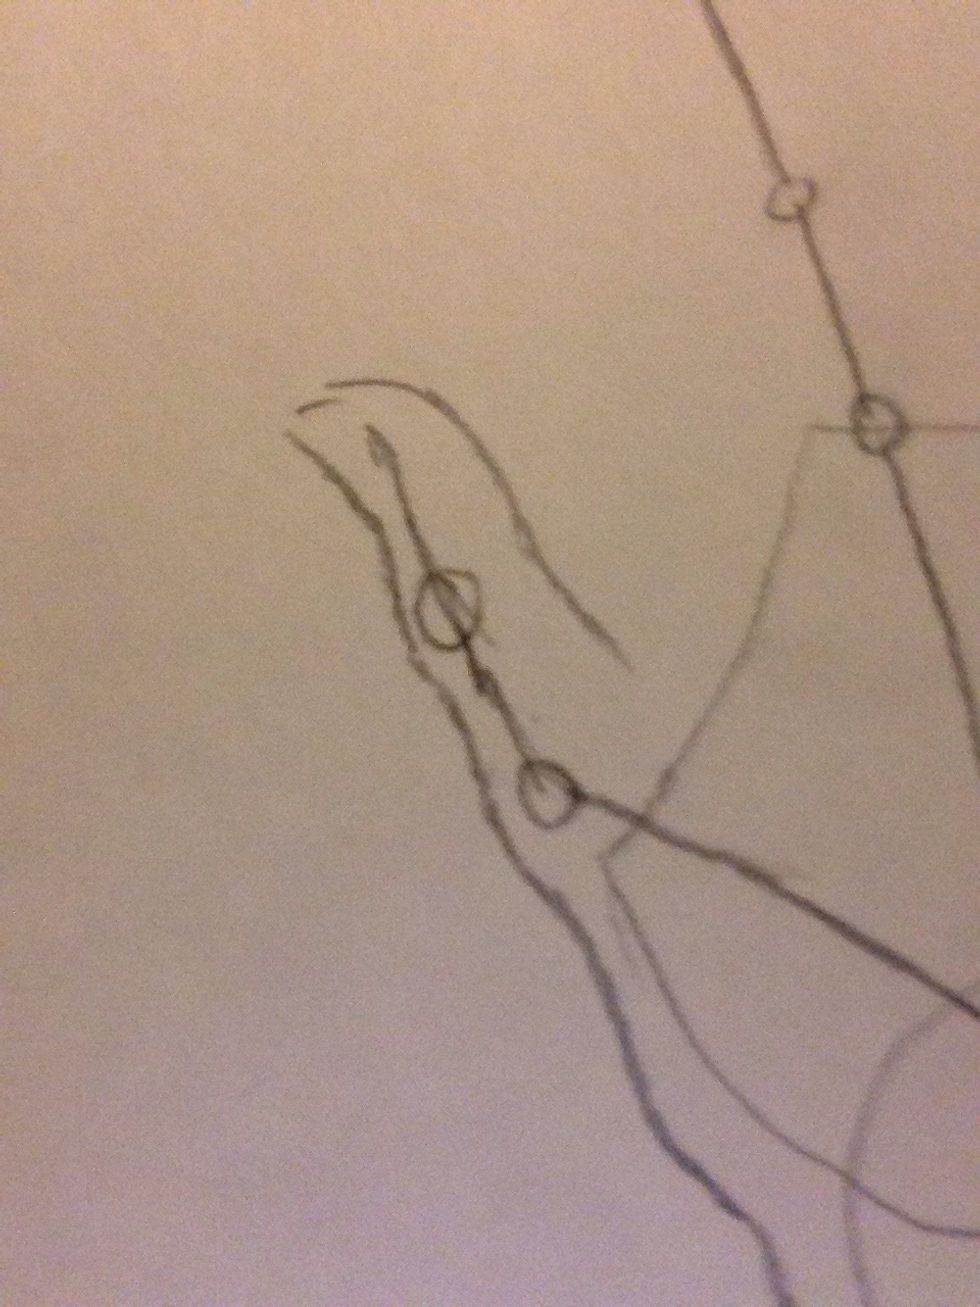
Draw a line like this to finish the thumb
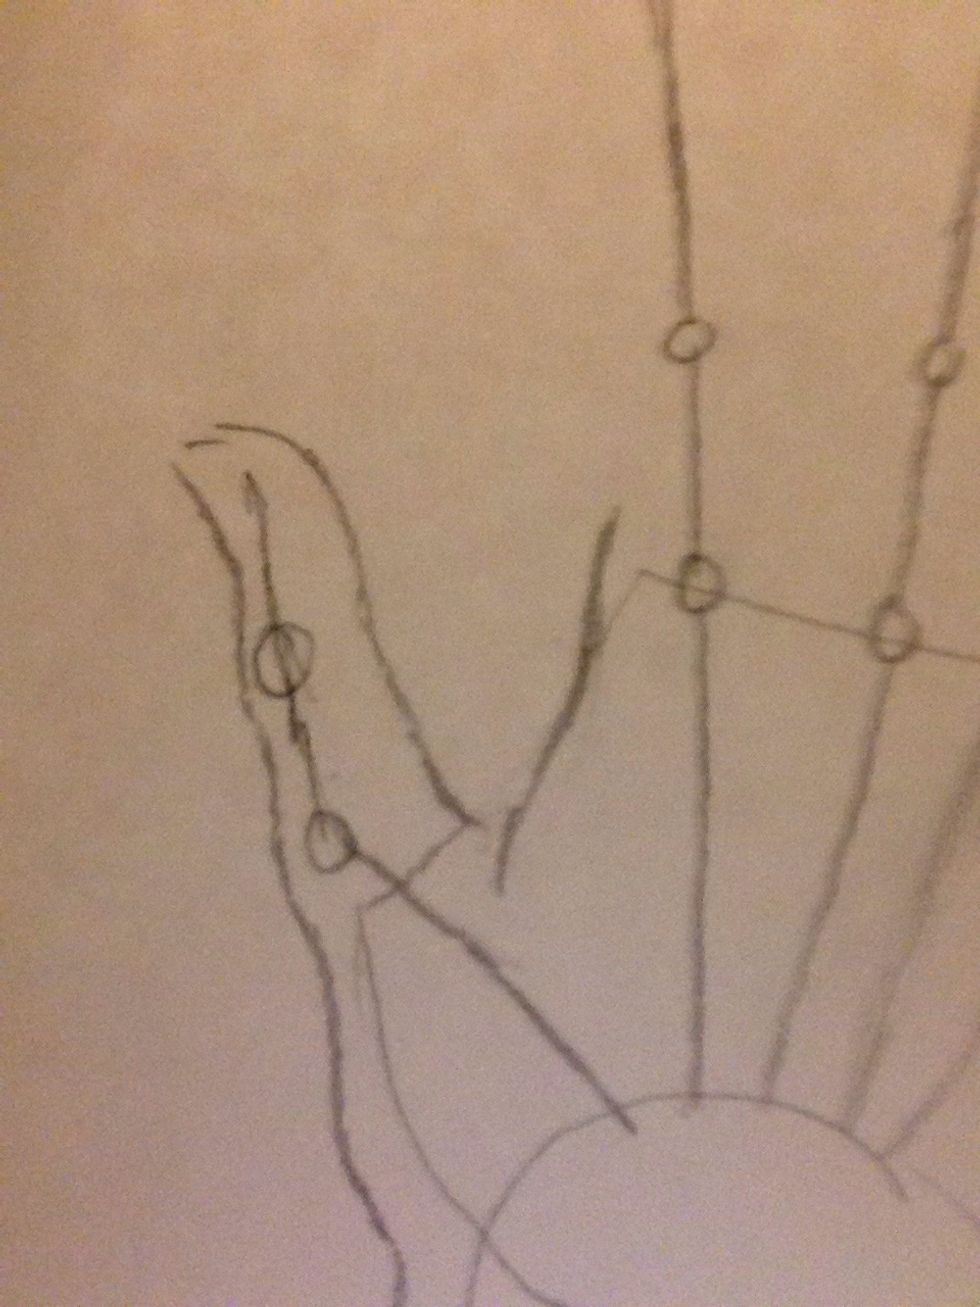
Draw this to start the pointer finger

Continue adding lines to thicken up the finger. Make it more curved around joints.
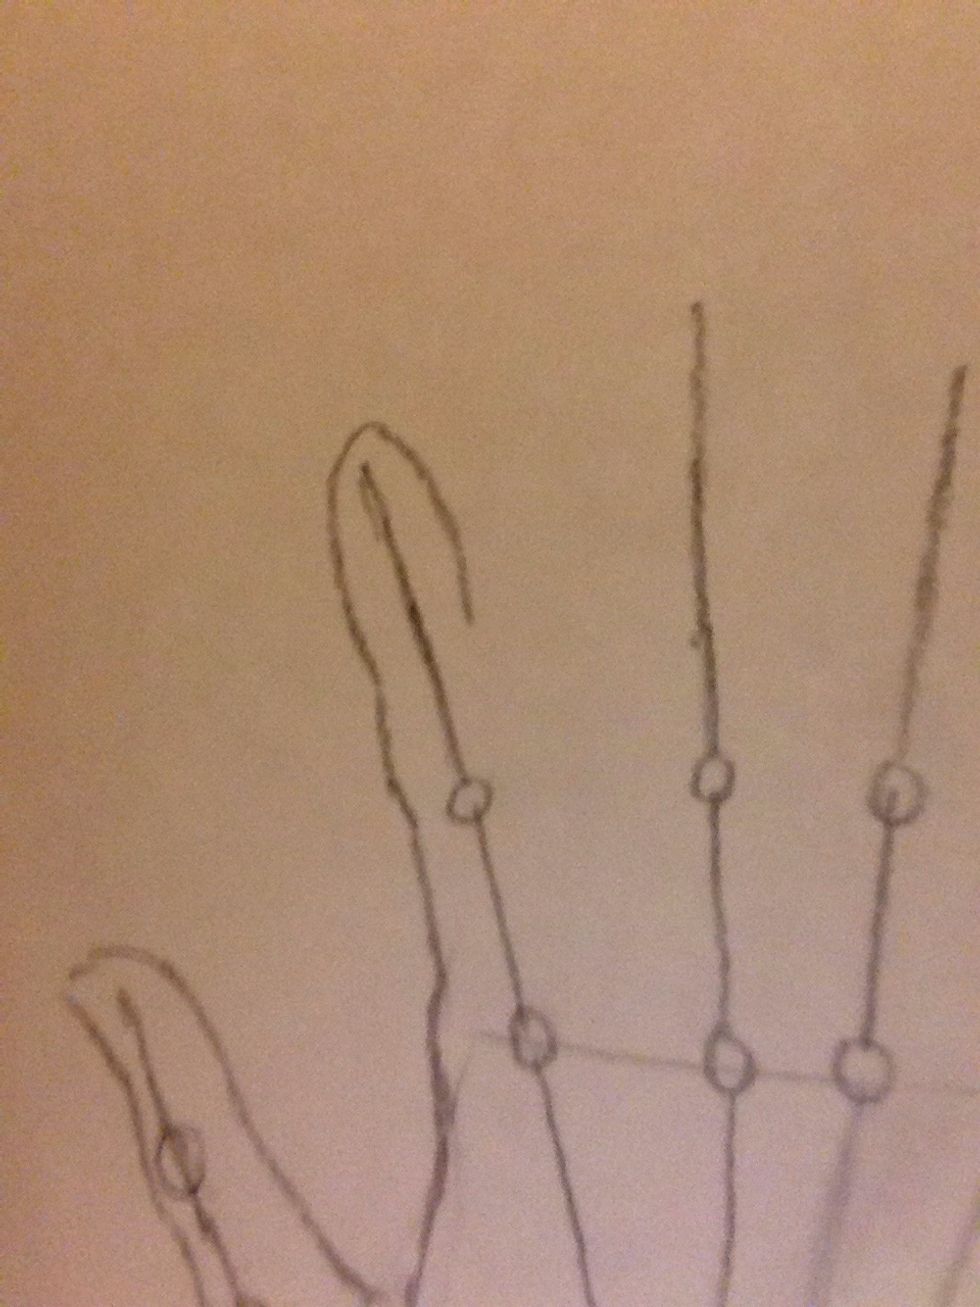
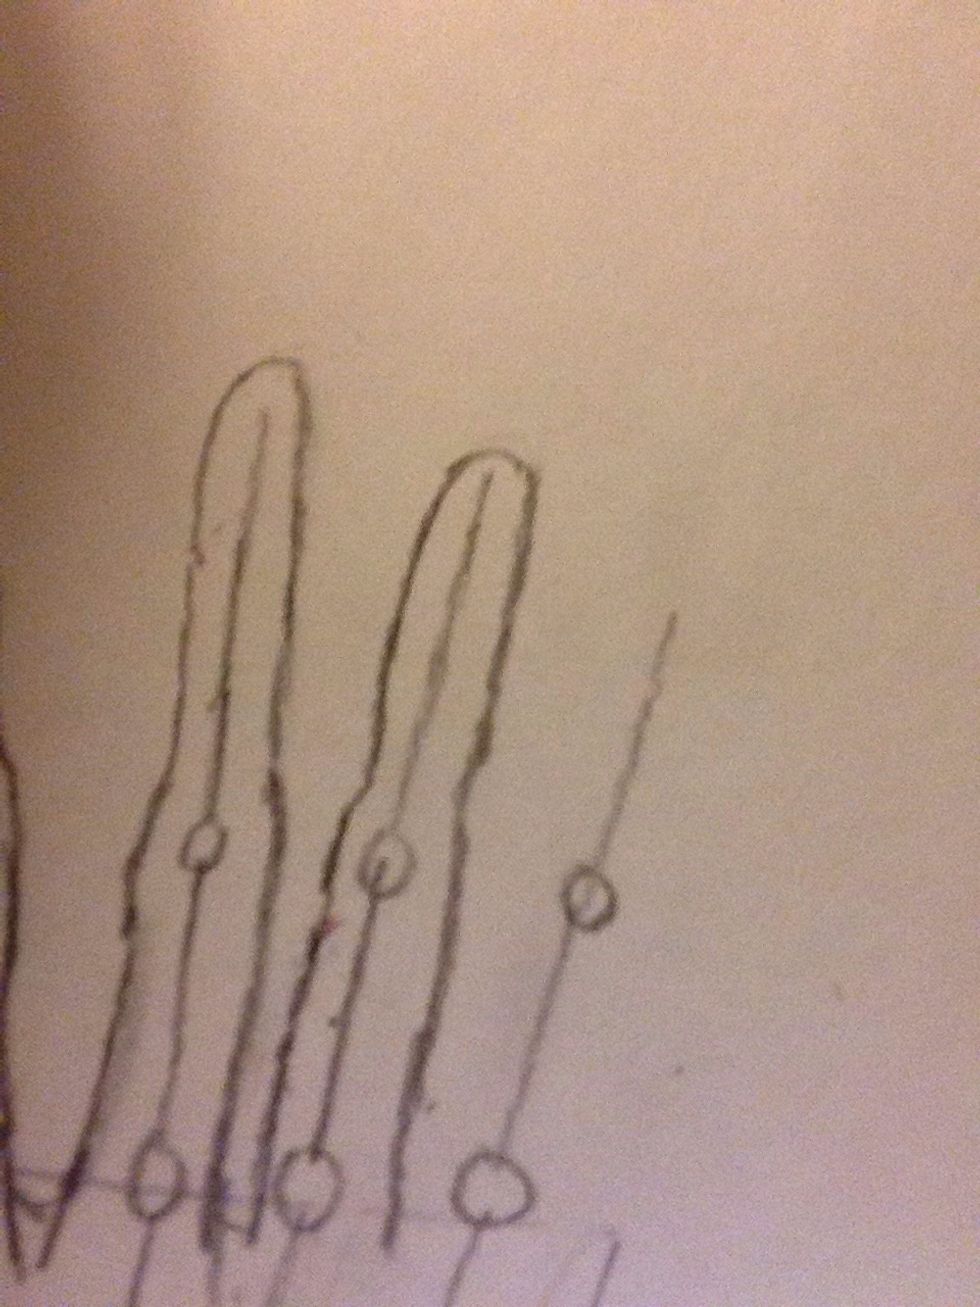
Add the tip of the finger

Finish it as somewhat the same way as you did the last half of the finger
Continue into the next finger

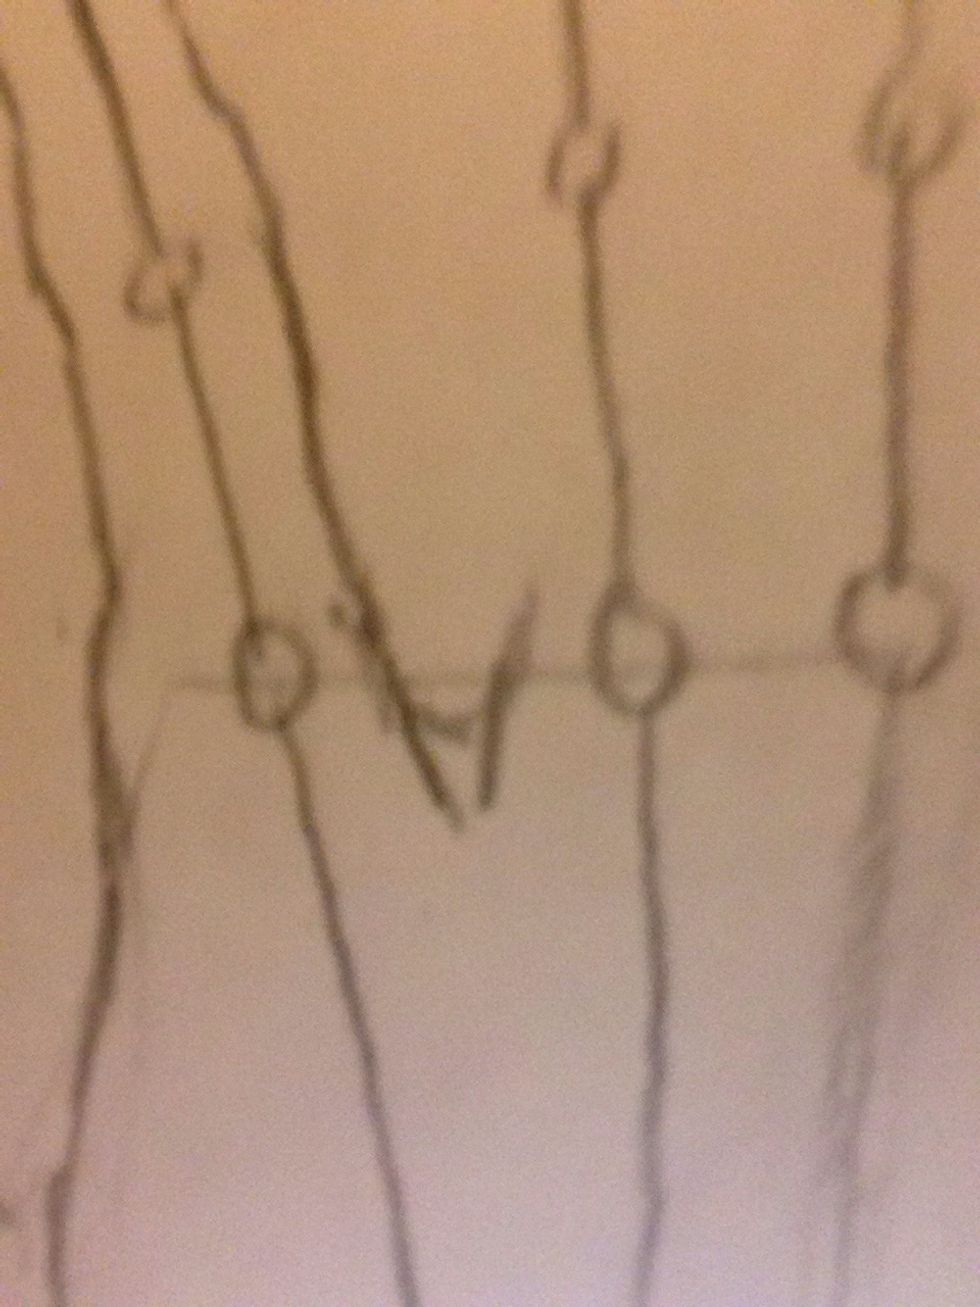
Top off the finger
And finish it like you did before
Continue with the ring finger
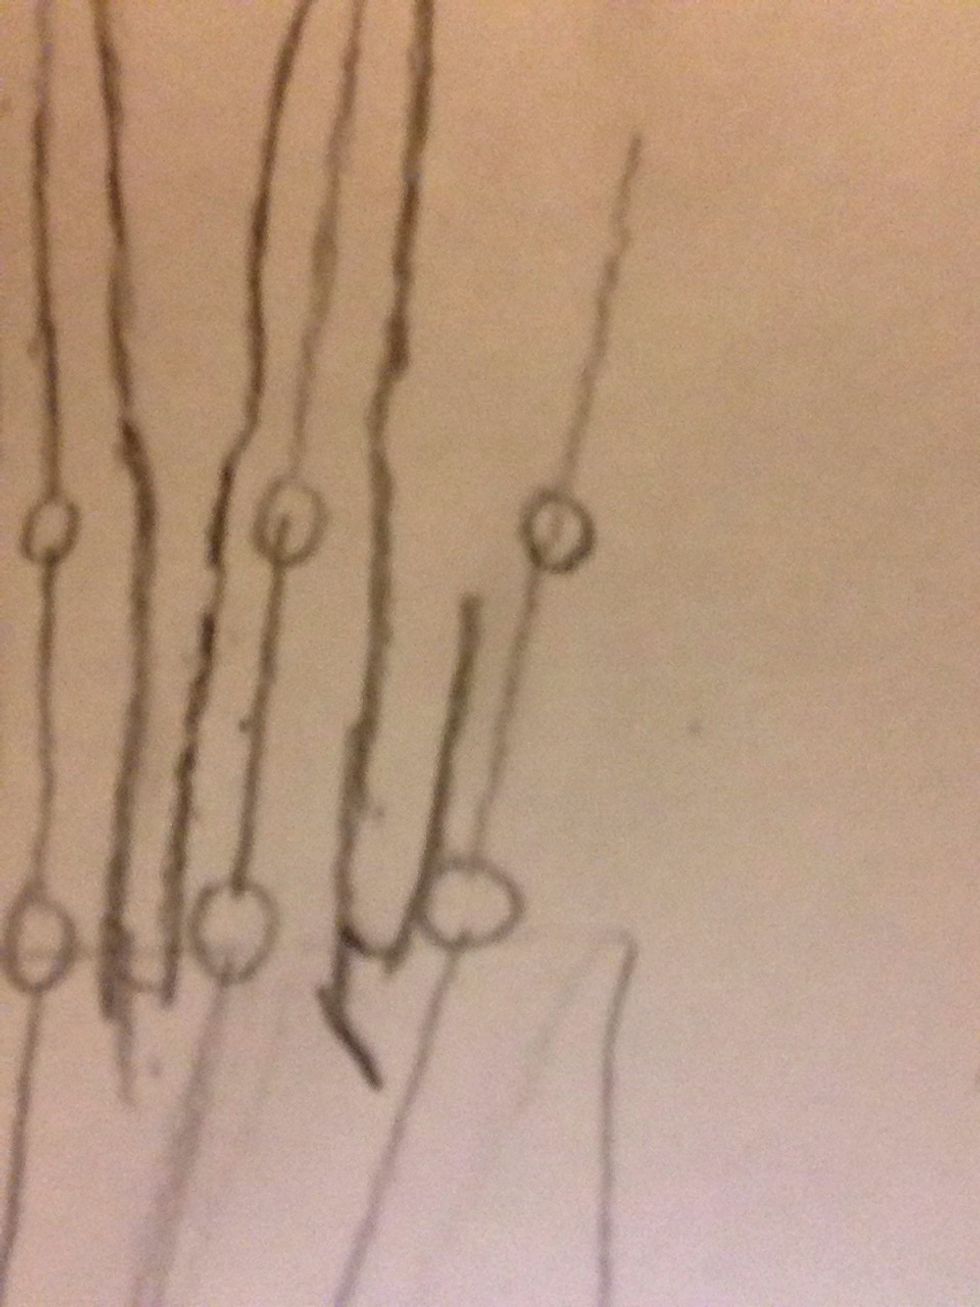
And finish with the pinky finger
Add a line like this it is the start of your hand
Finish your hand
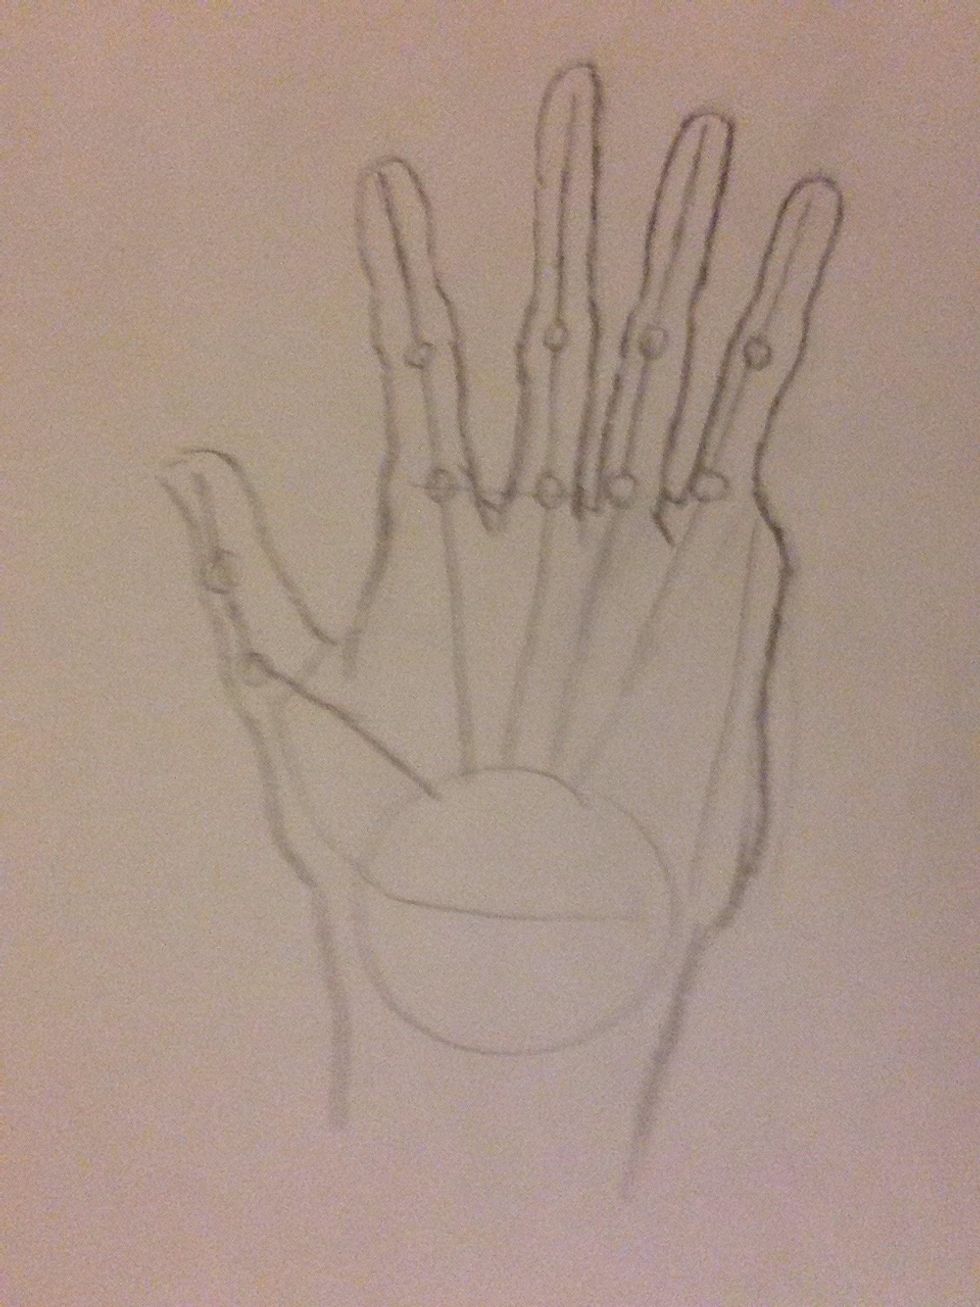
… And here it is! Your hand.
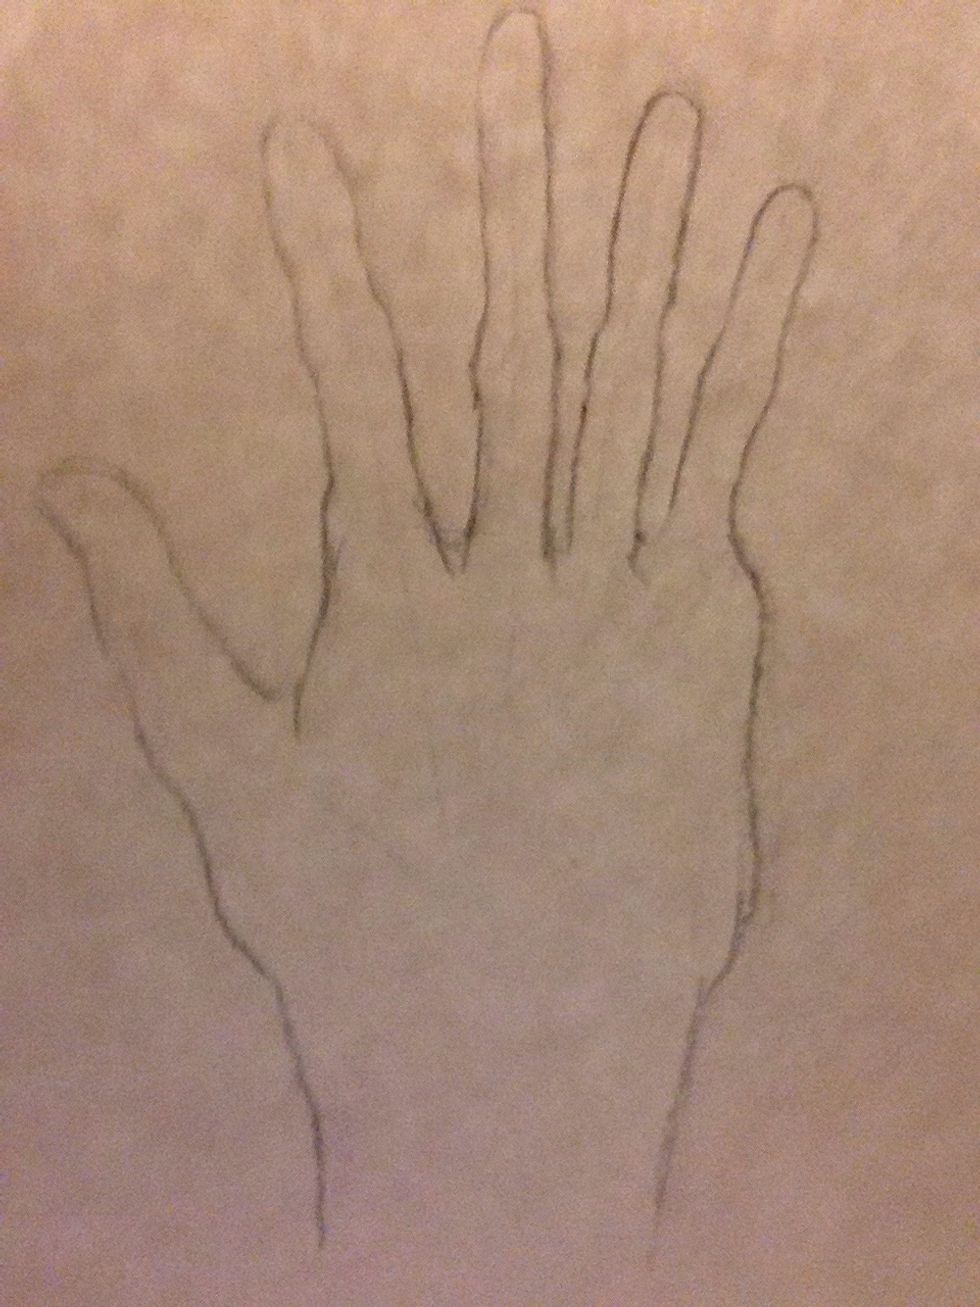
Erase the skeleton lines
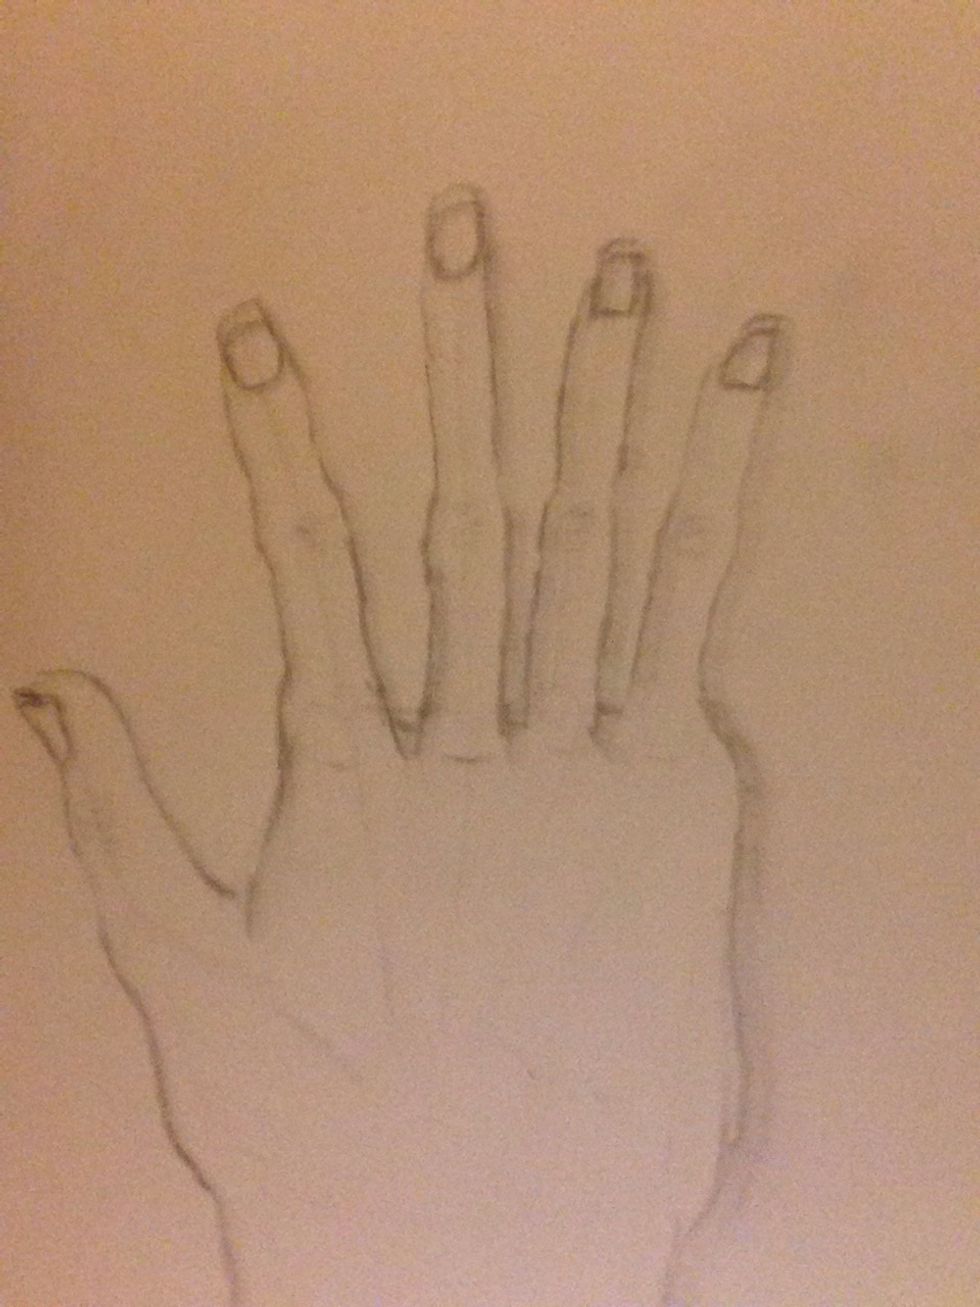
Add fingernails and creases on the hand. The more creases you add, the older your hand looks. And, so sorry for the bad camera angle! 😋
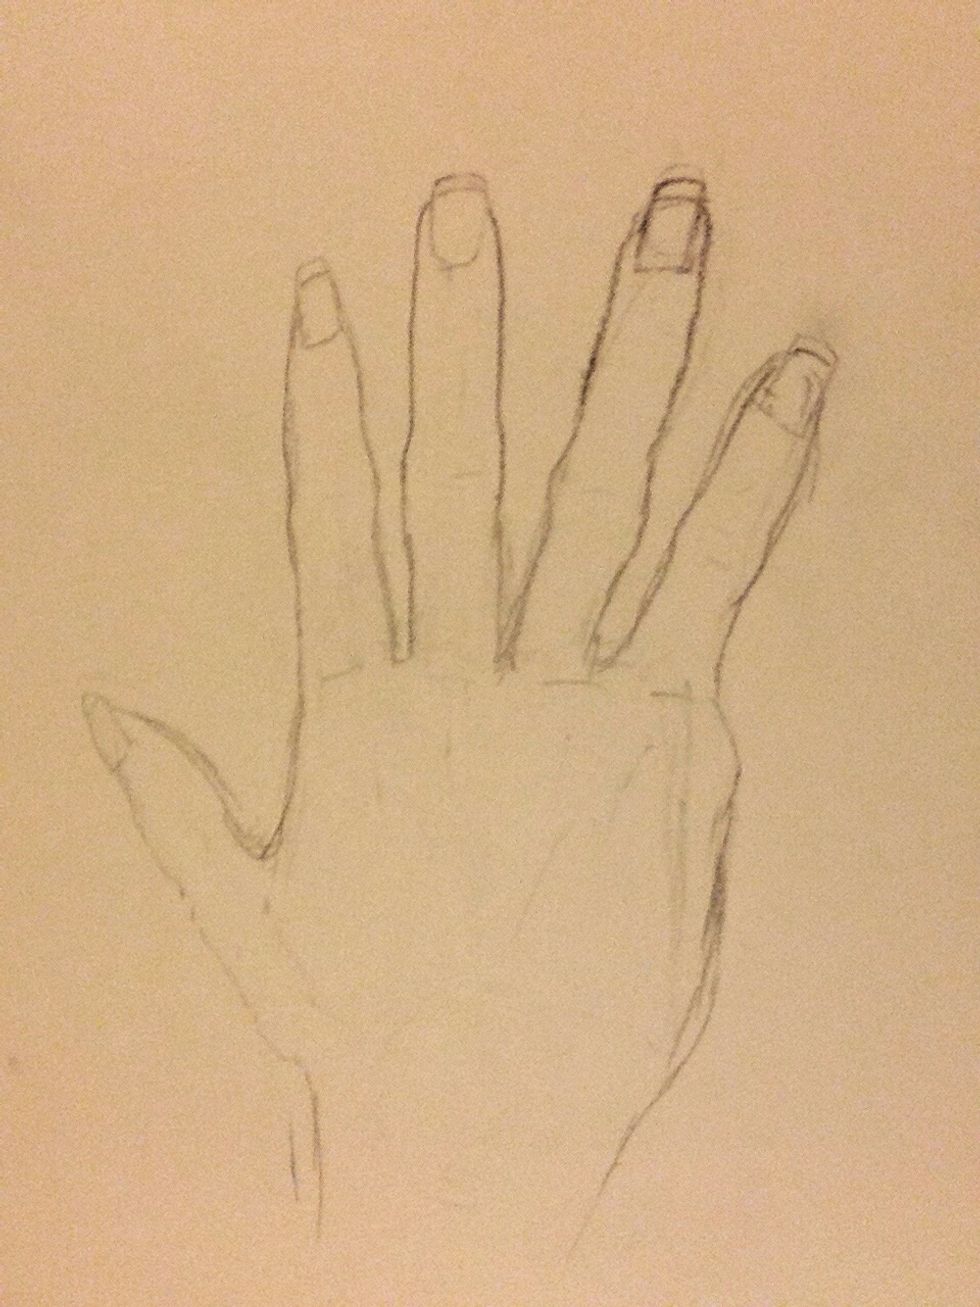
Here is a better hand I did. Have fun with it and like I said, use your hand as a reference a lot. Put any questions in the comments for any of the parts I didn't explain enough.
Have fun! And check out my other guides!