The Conversation (0)
Sign Up
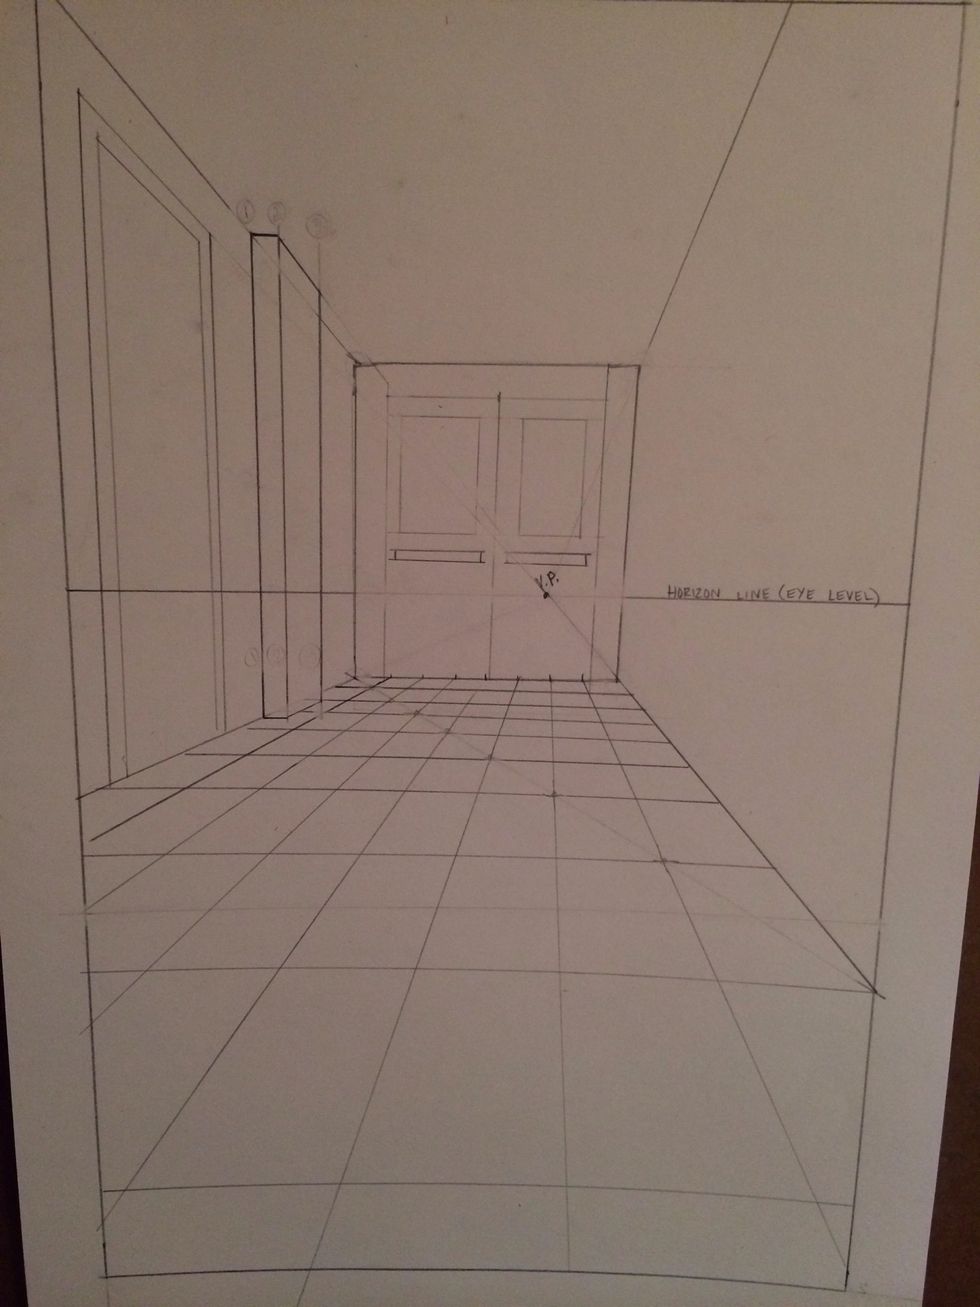
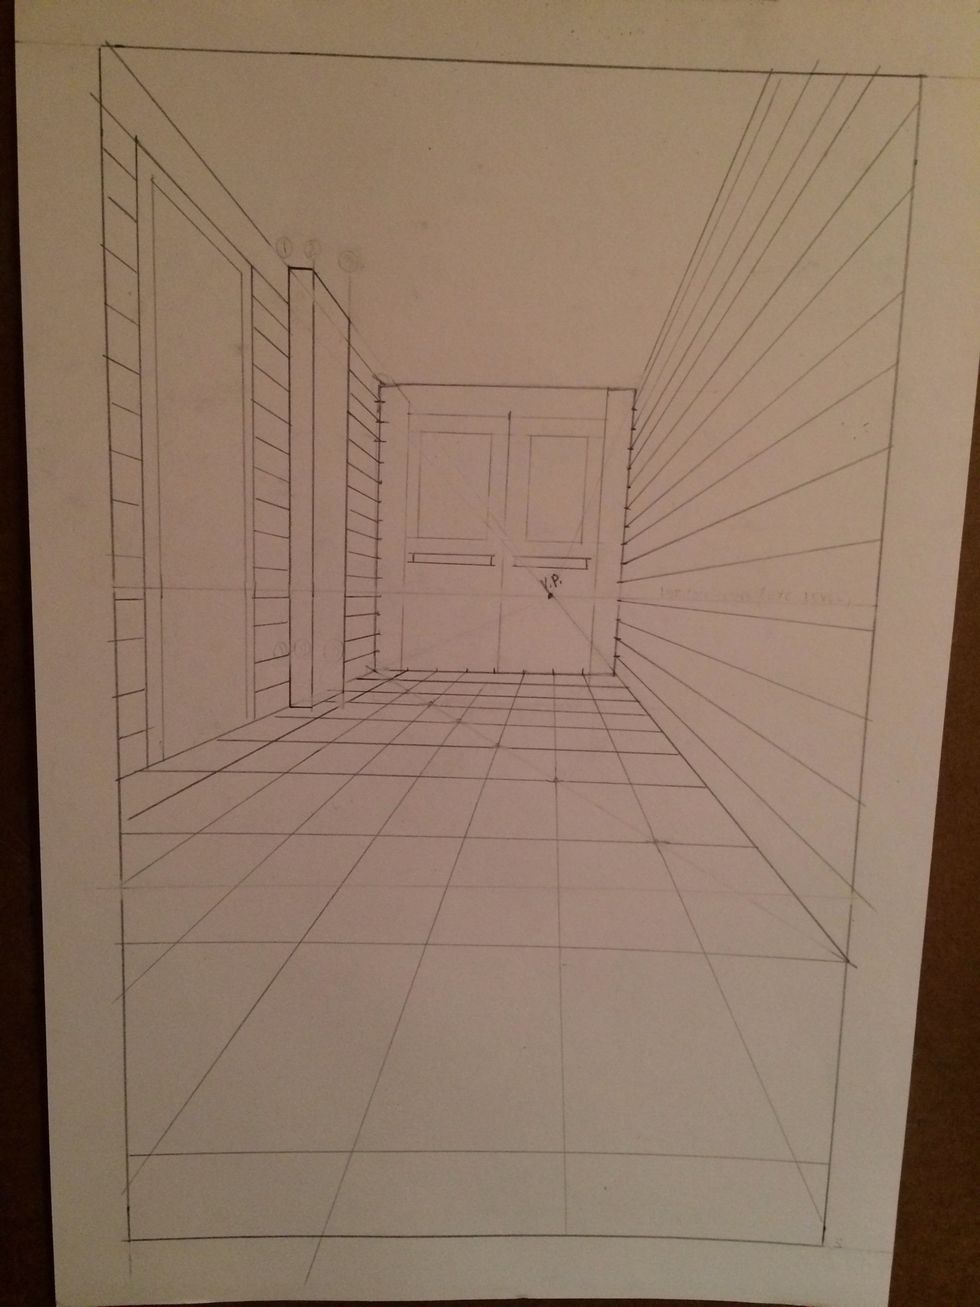
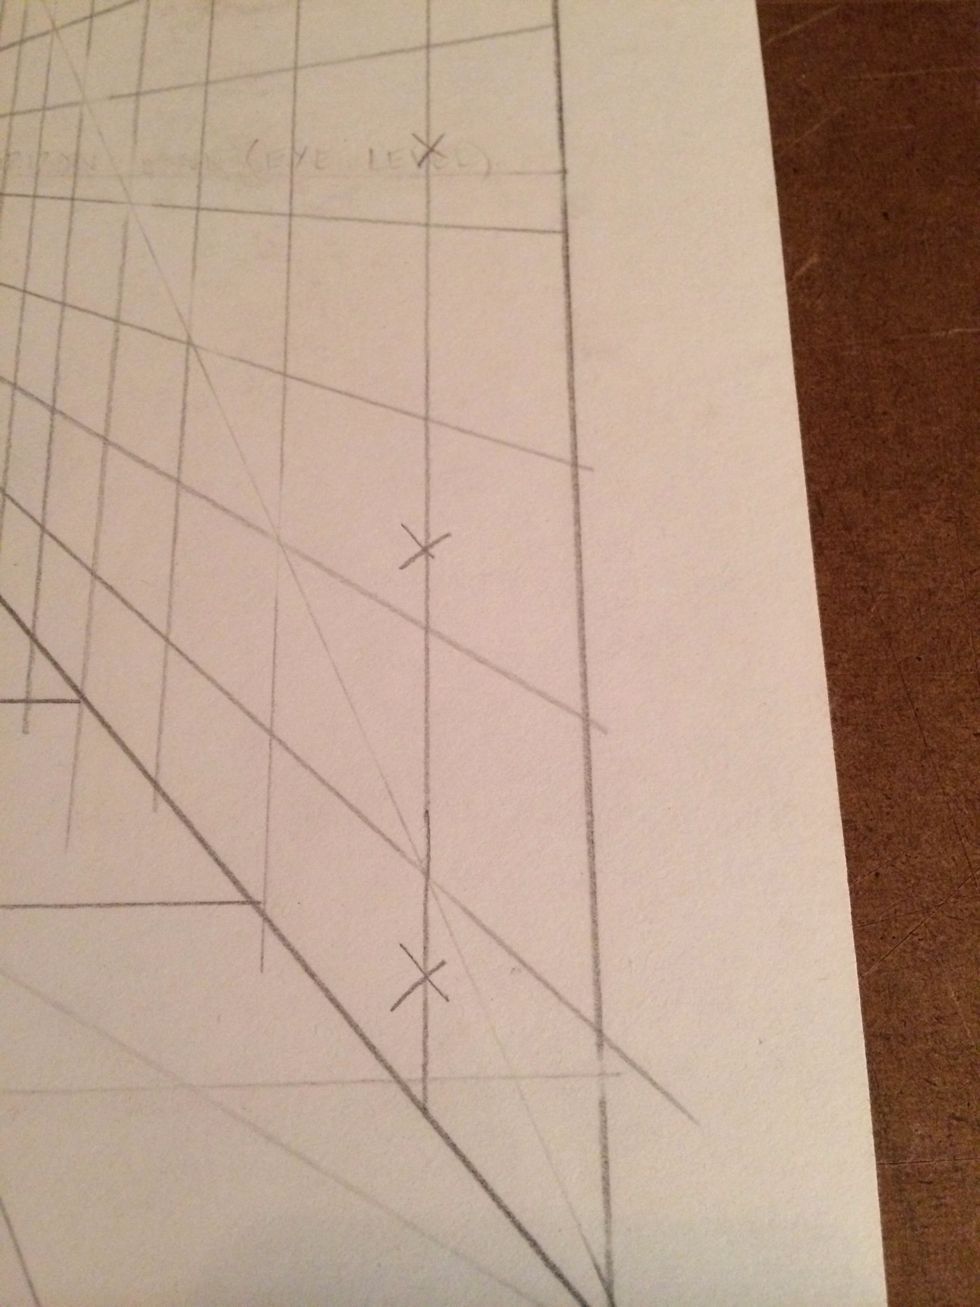
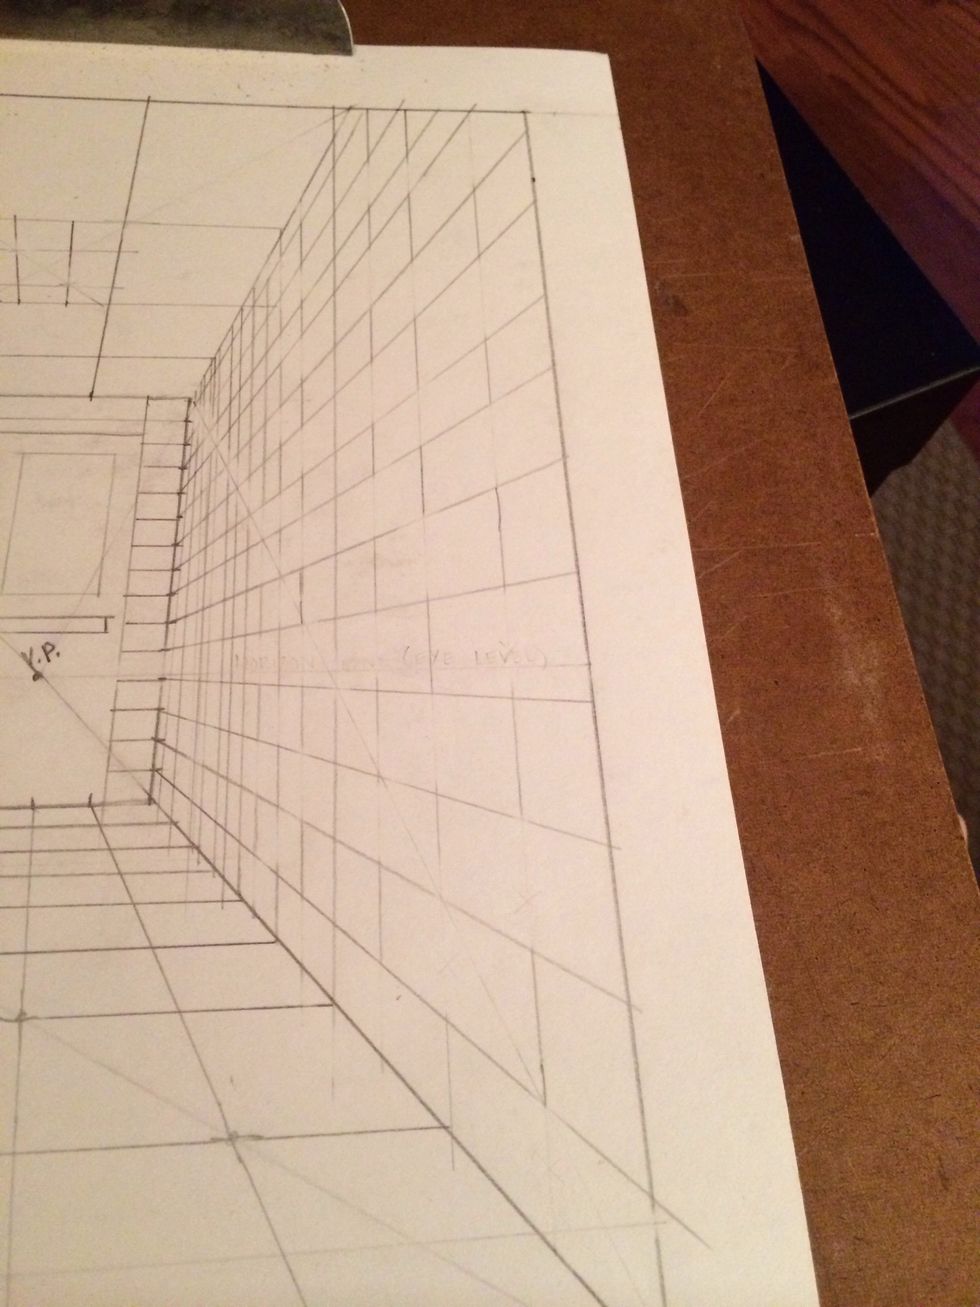
divide the corner of your wall that touches the back wall up by however many tiles are present in your hallway. Make sure the measurement is equal.
connect your VP to each measurement you've marked off. Make sure you continue the lines onto the walls.

continue to connect each measurement and the VP.

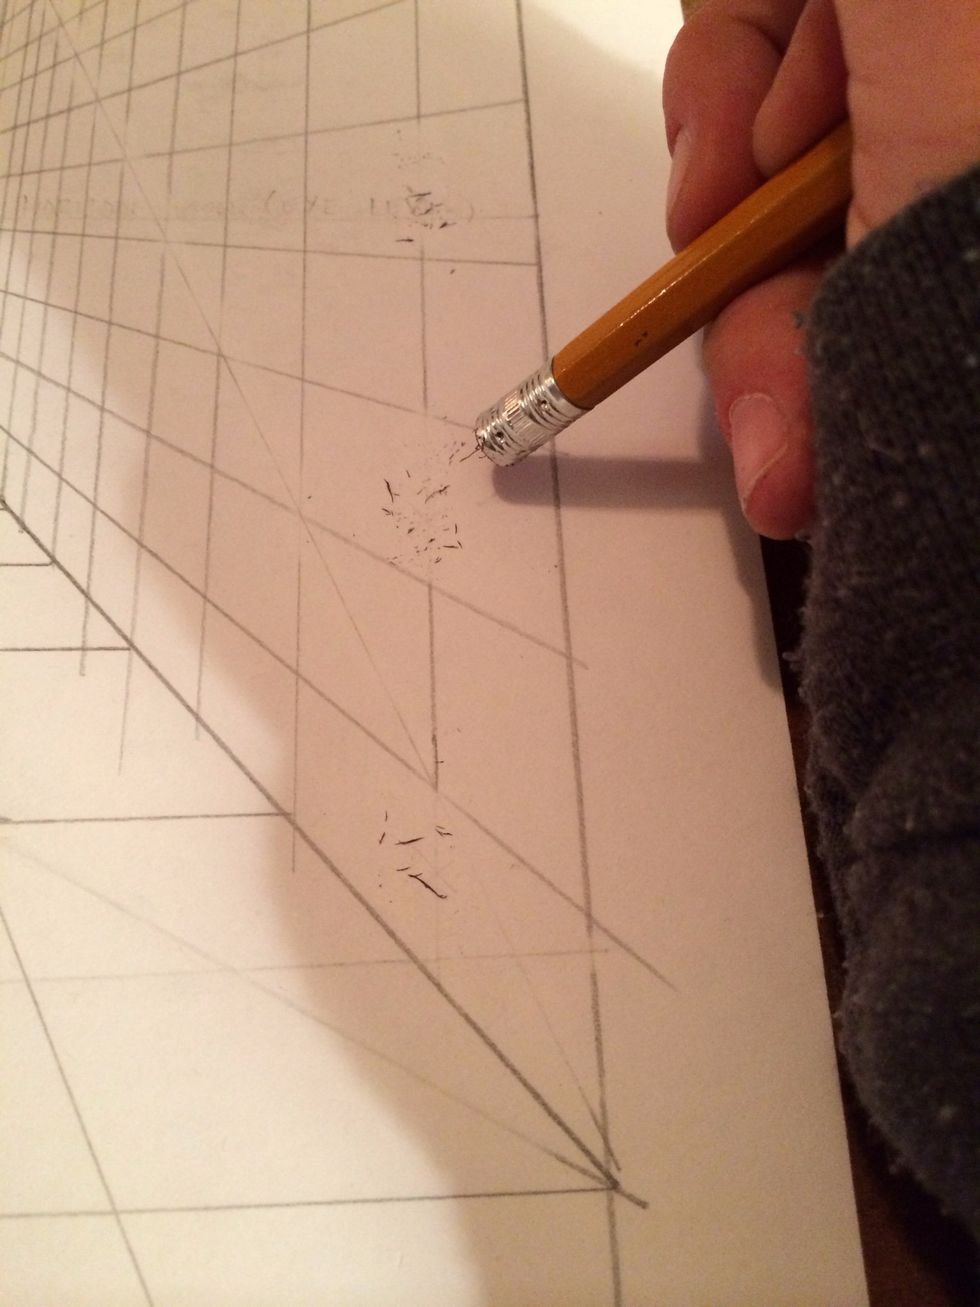
Some of the tiles will look wider, that is because they are the closest to where you are in the hallway, remember as thing move away from you, they appear smaller.
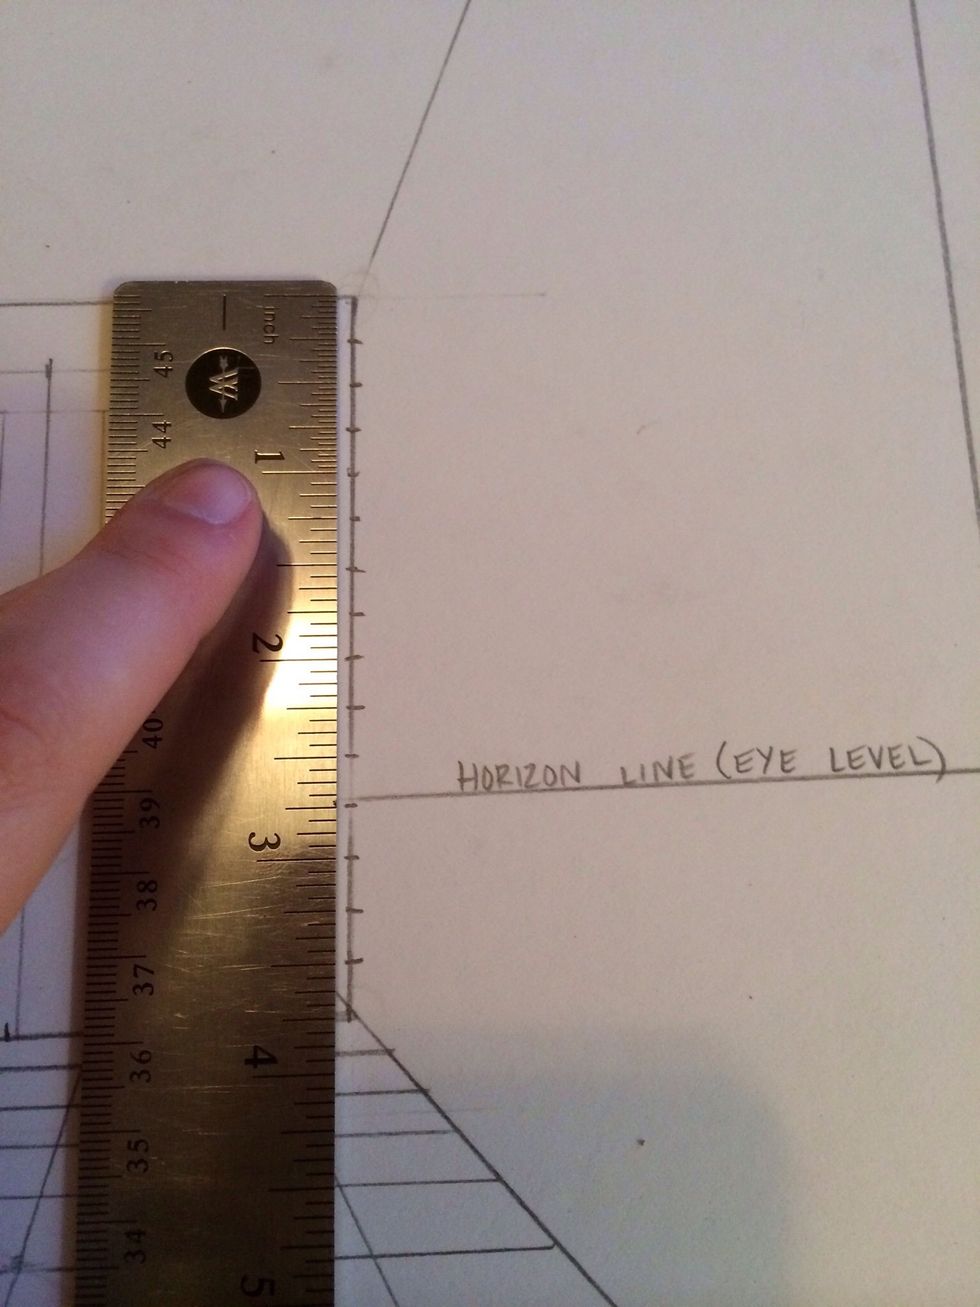
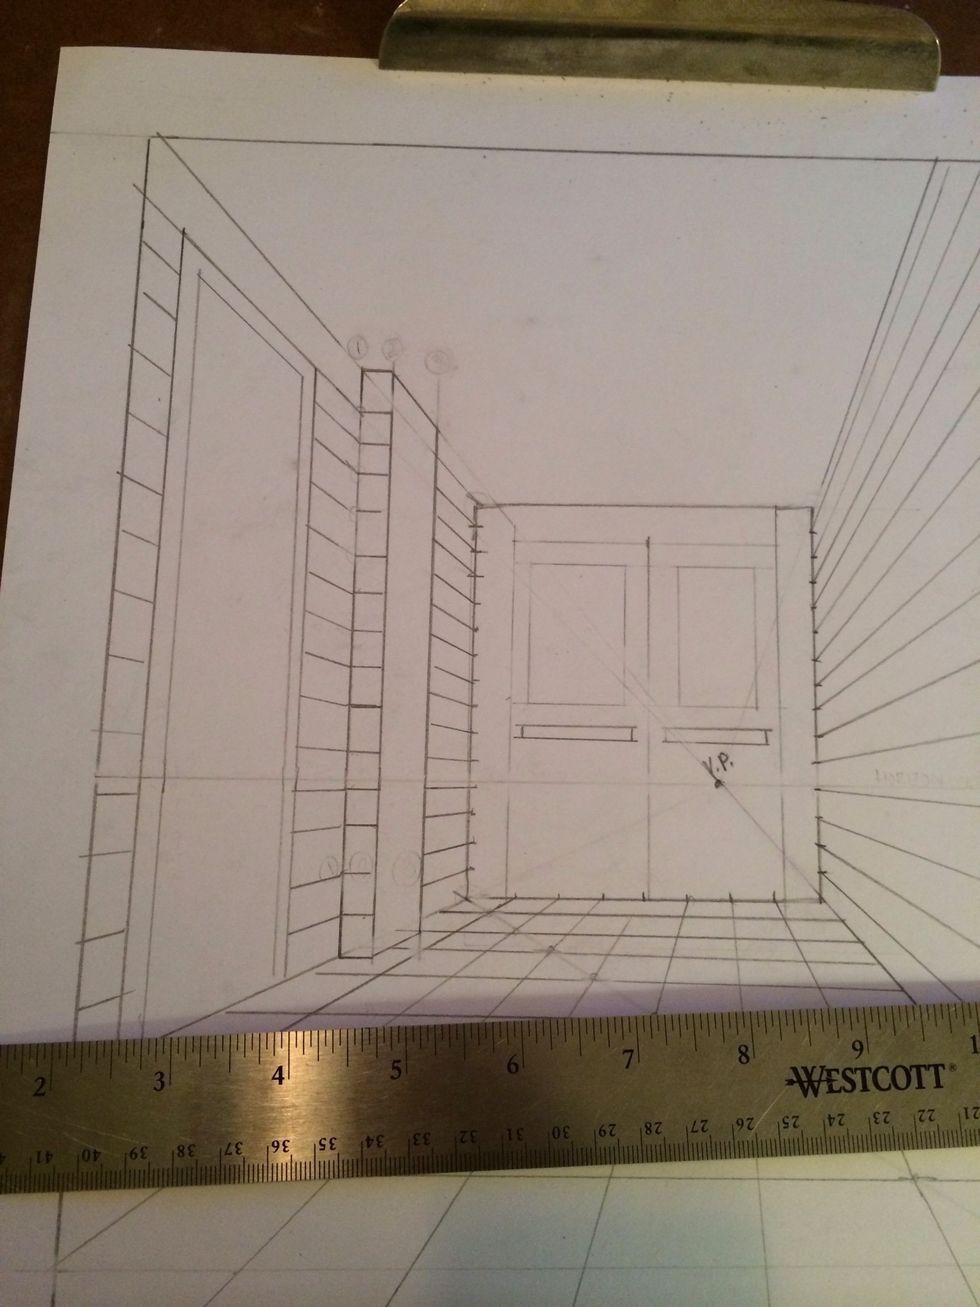
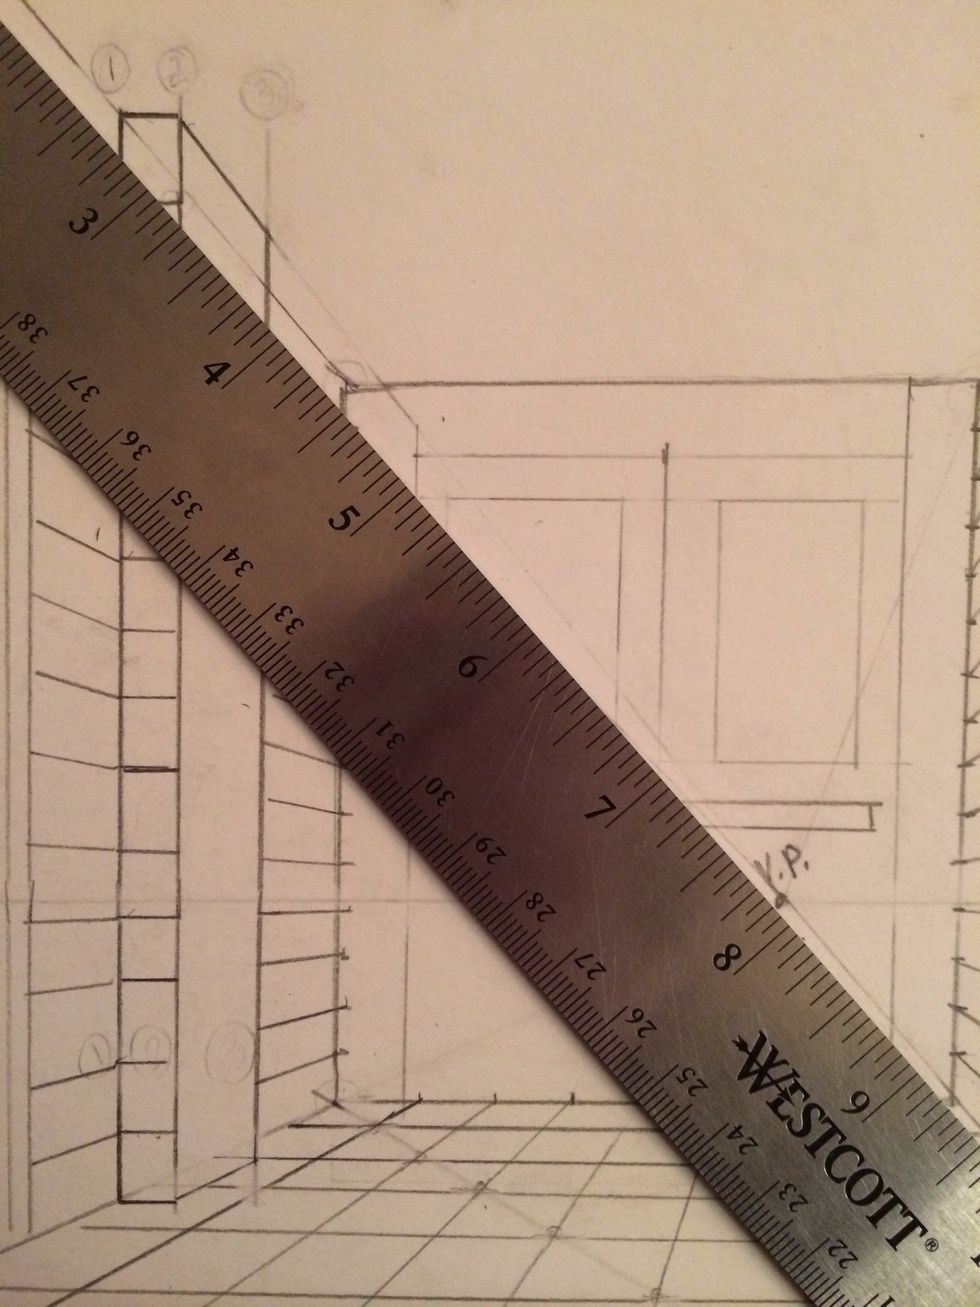
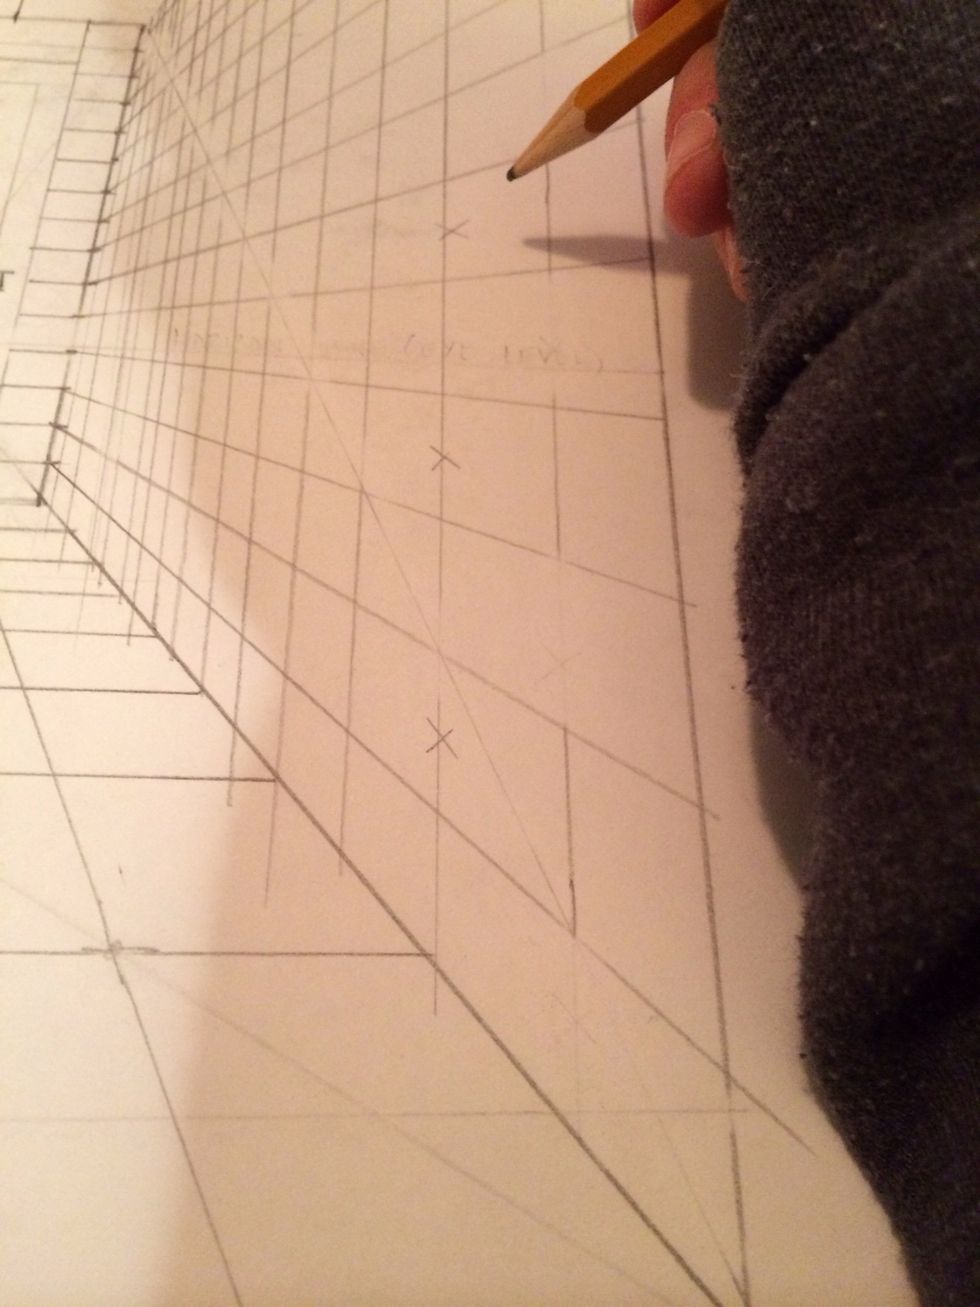
transfer your measurements to the opposite wall. You can do this 1 of 2 ways, carefully line your ruler up and mark the other side of the wall (keeping your ruler as straight as possible).

or remeasure the other side of the wall.

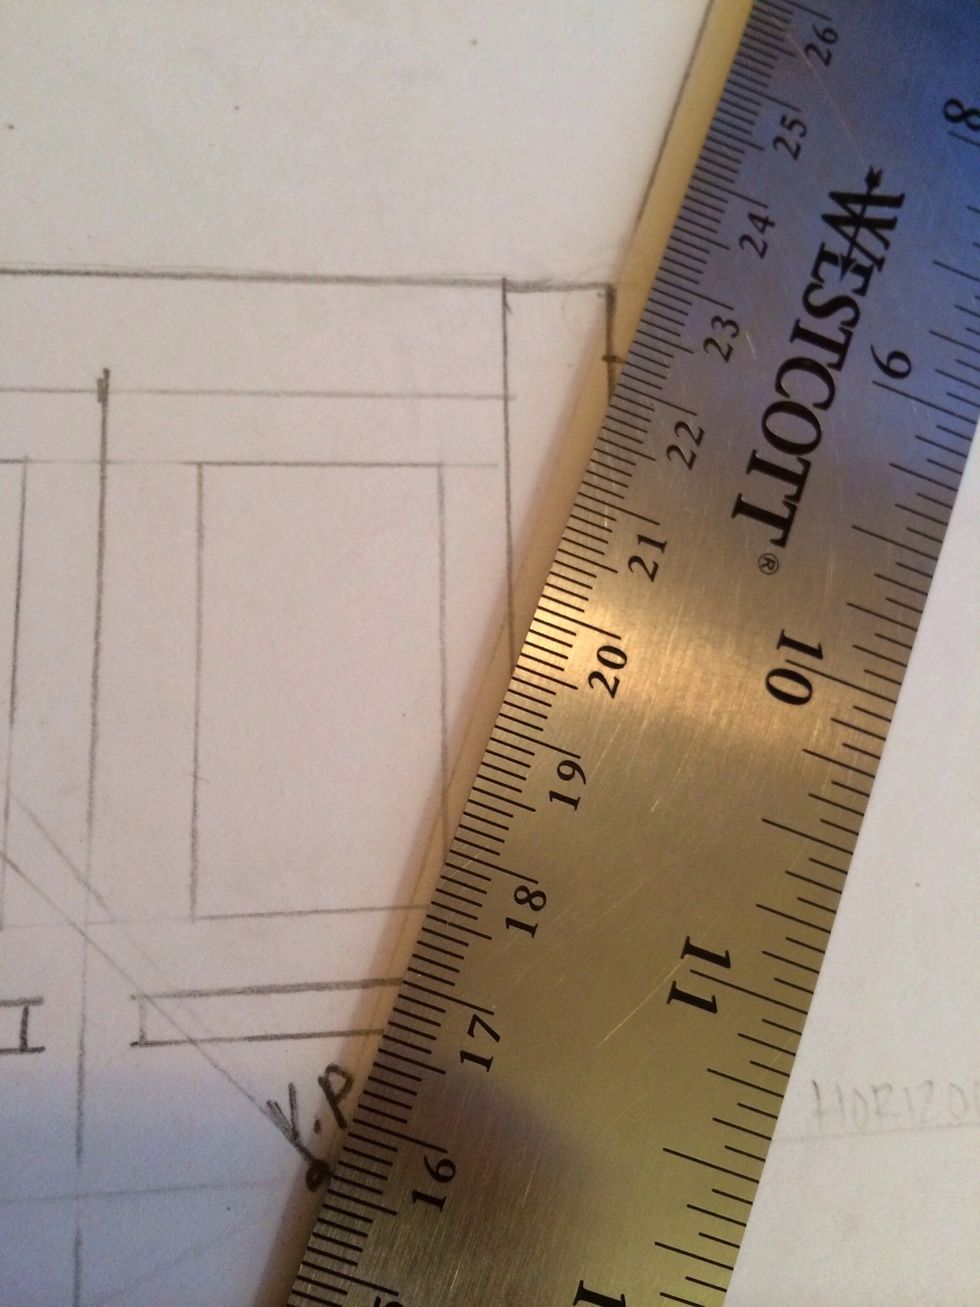
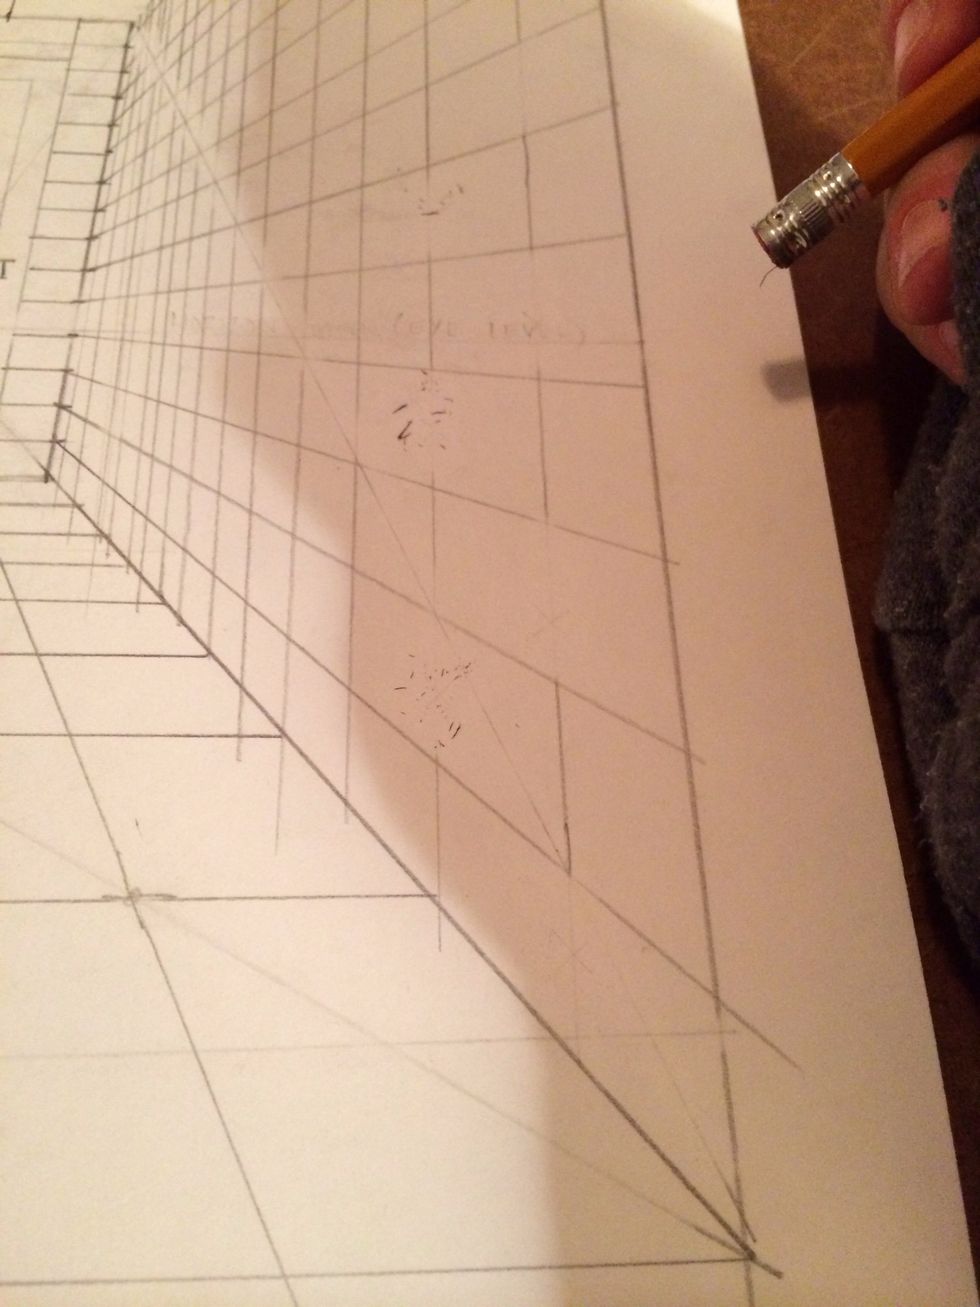
line your ruler up with the VP and your measurements on the left wall.
When you drawing your lines skip over the doorway and the column for now.
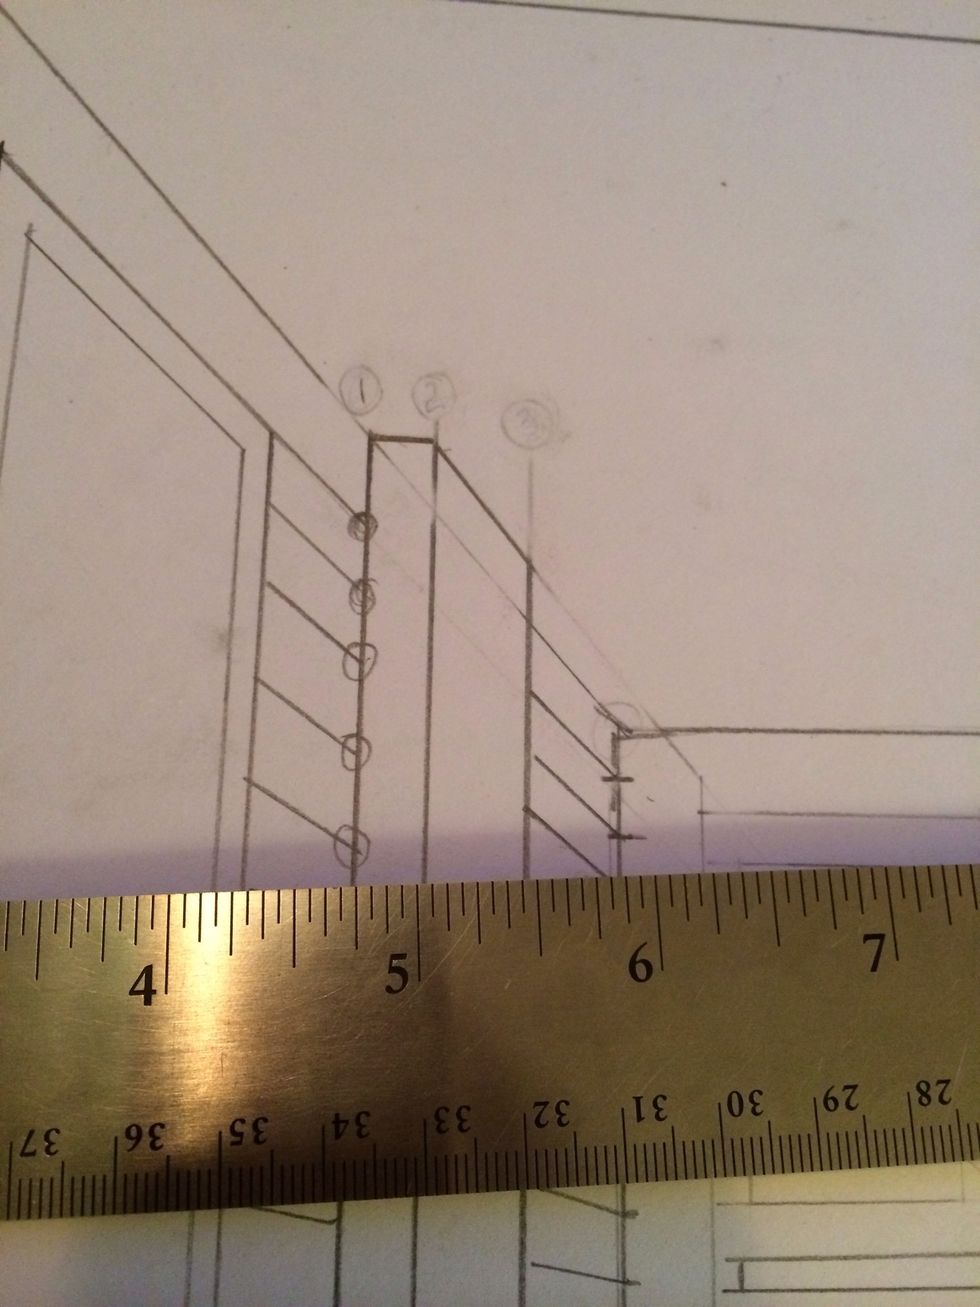
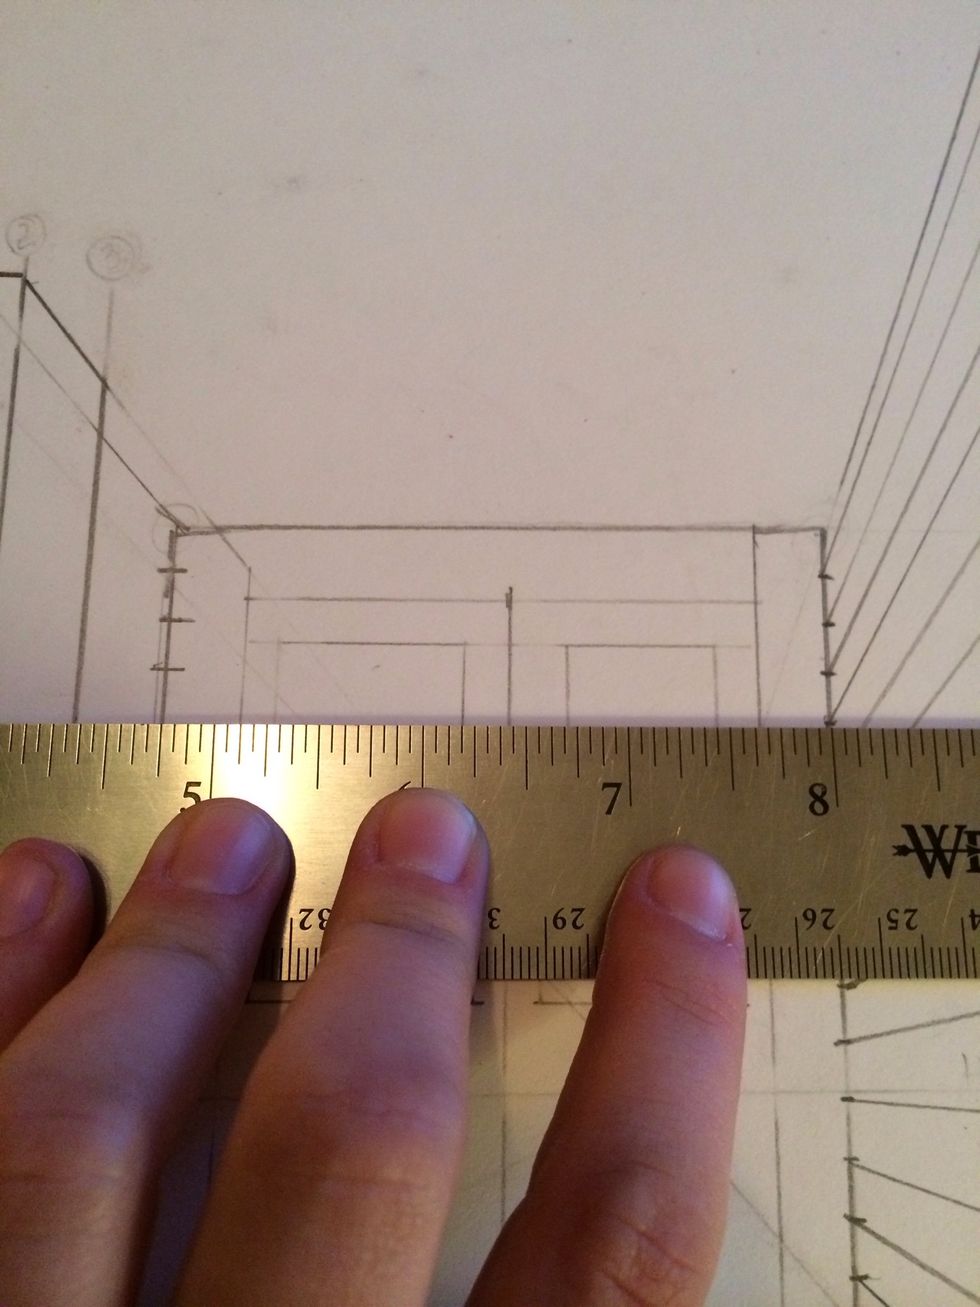
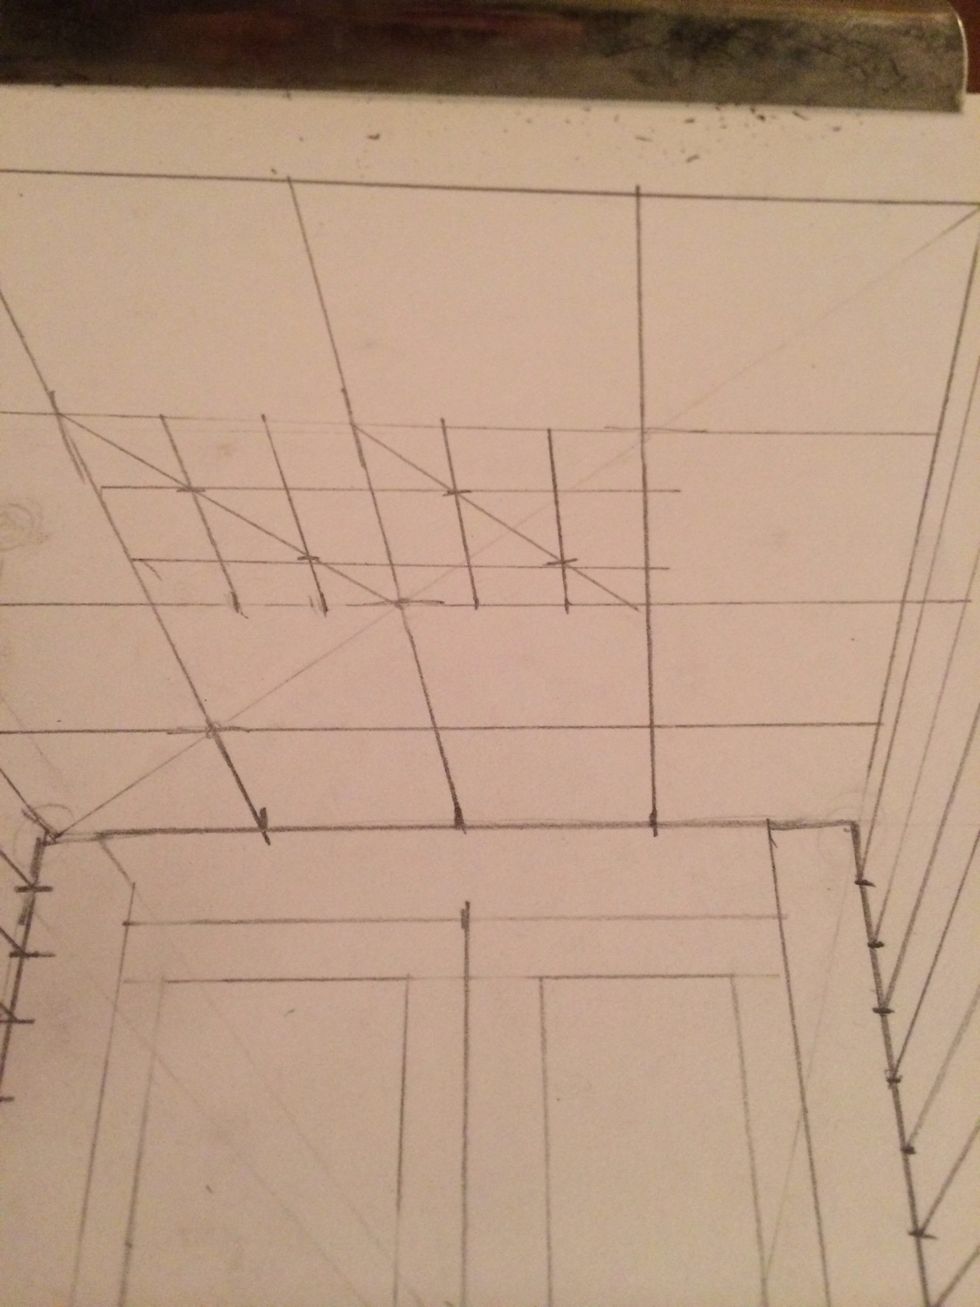
to create accurate lines on your column, start by creating a horizontal line everywhere the column touches a tile line on the left (circled).
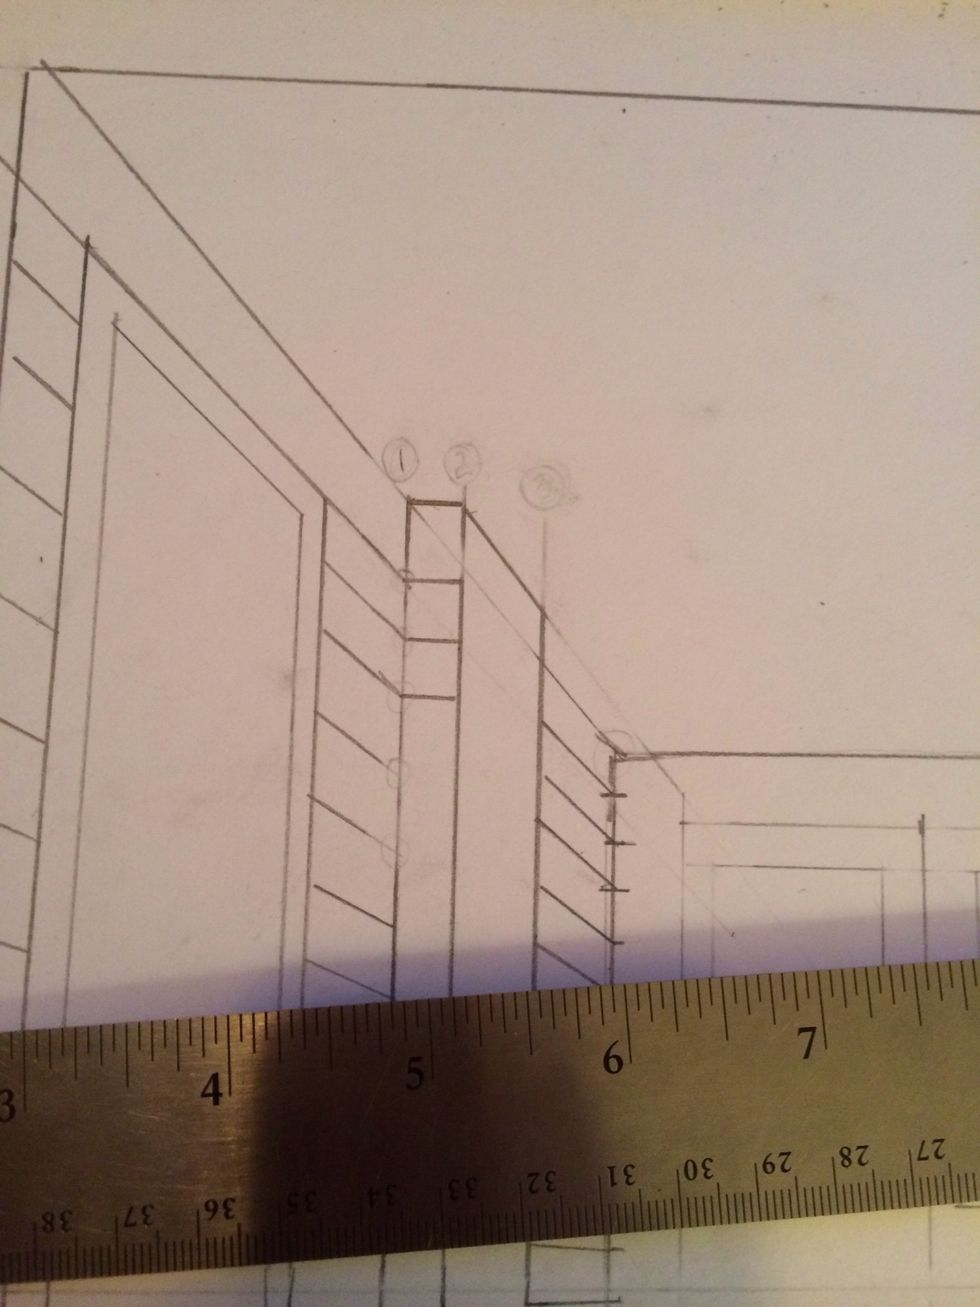
these lines should be parallel to your border.
continue those lines all the way down the column.

next, connect the sides of the line you just created to your vanishing point. This will create the lines on the front of the column.
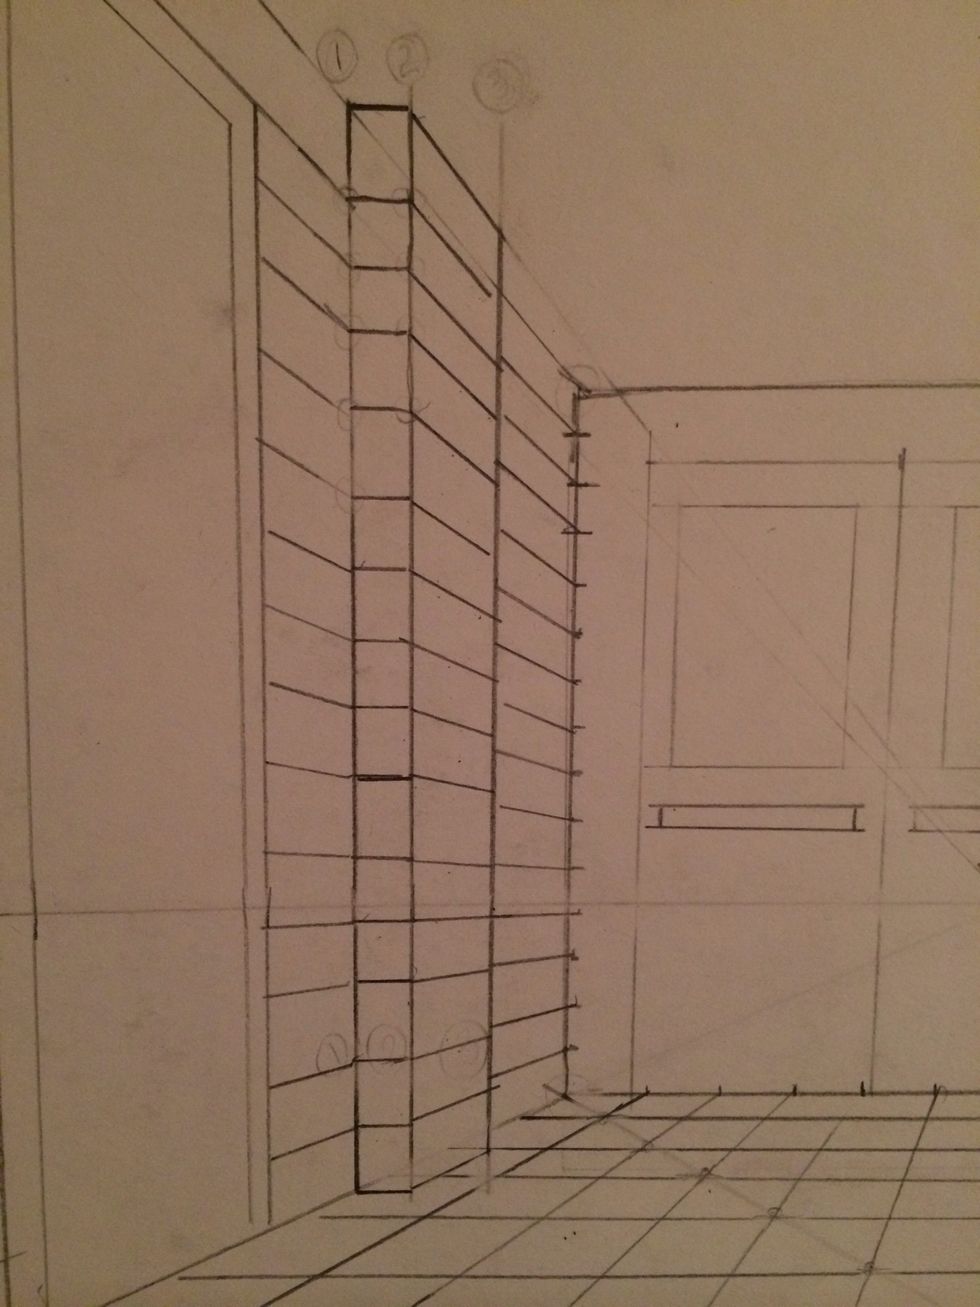
These lines will be slightly different from your regular wall tile lines.

we will skip over the vertical tile lines for now.
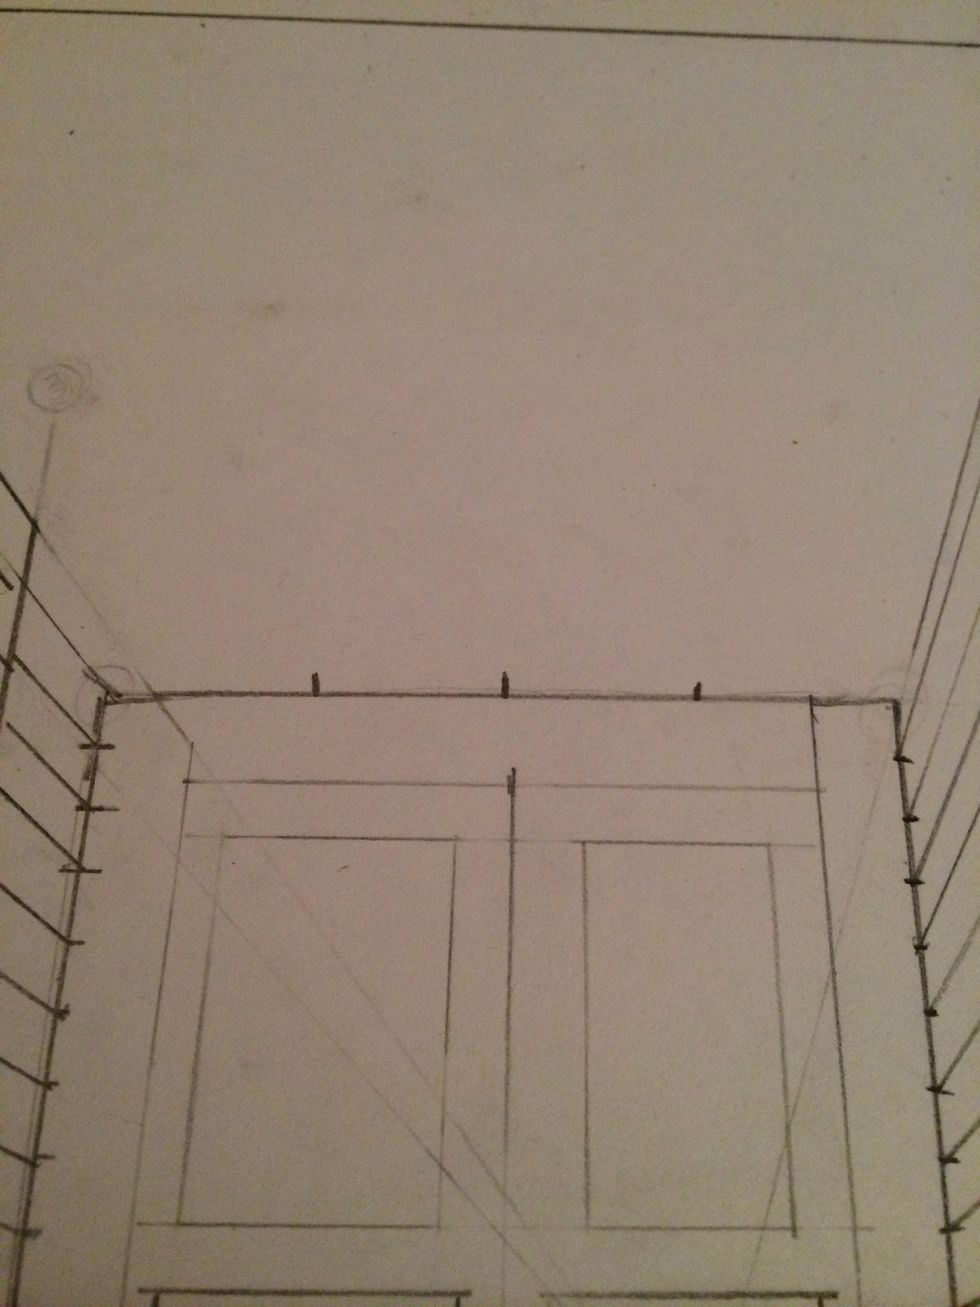
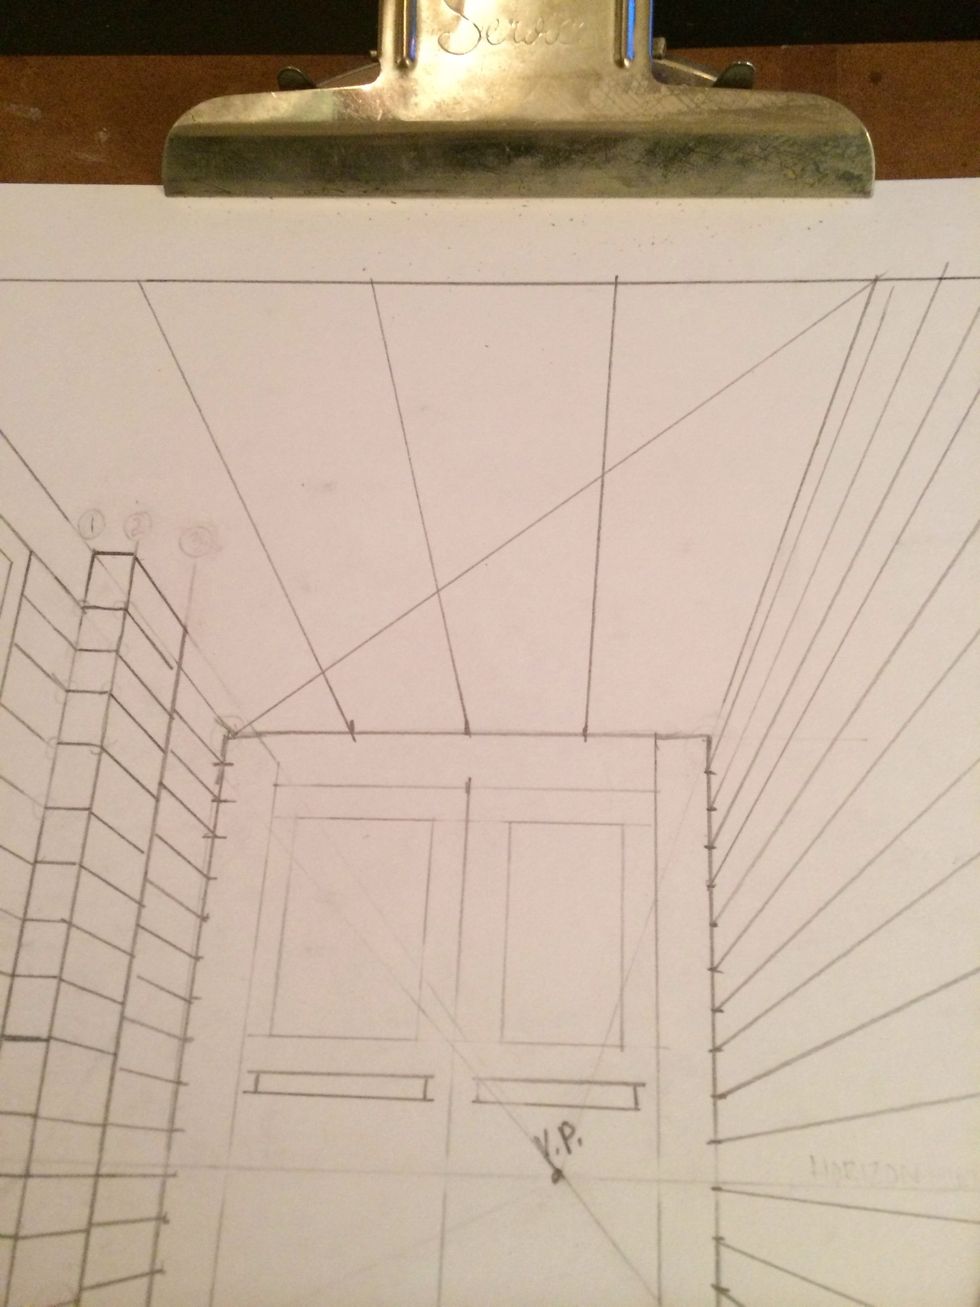
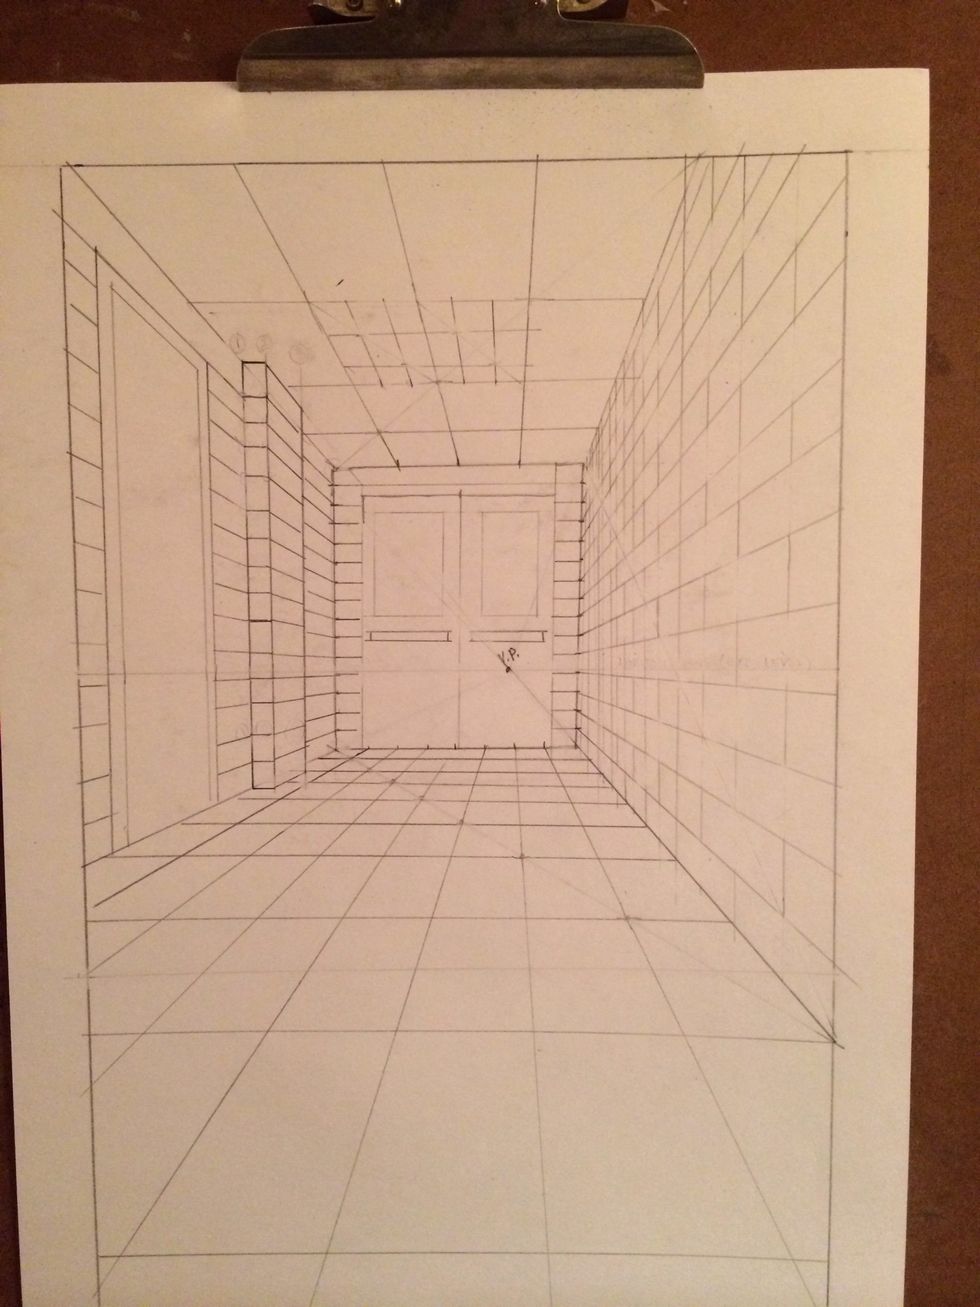
ceiling tiles, divide the top of your back wall equally by however may ceiling tiles are present in your hallway.
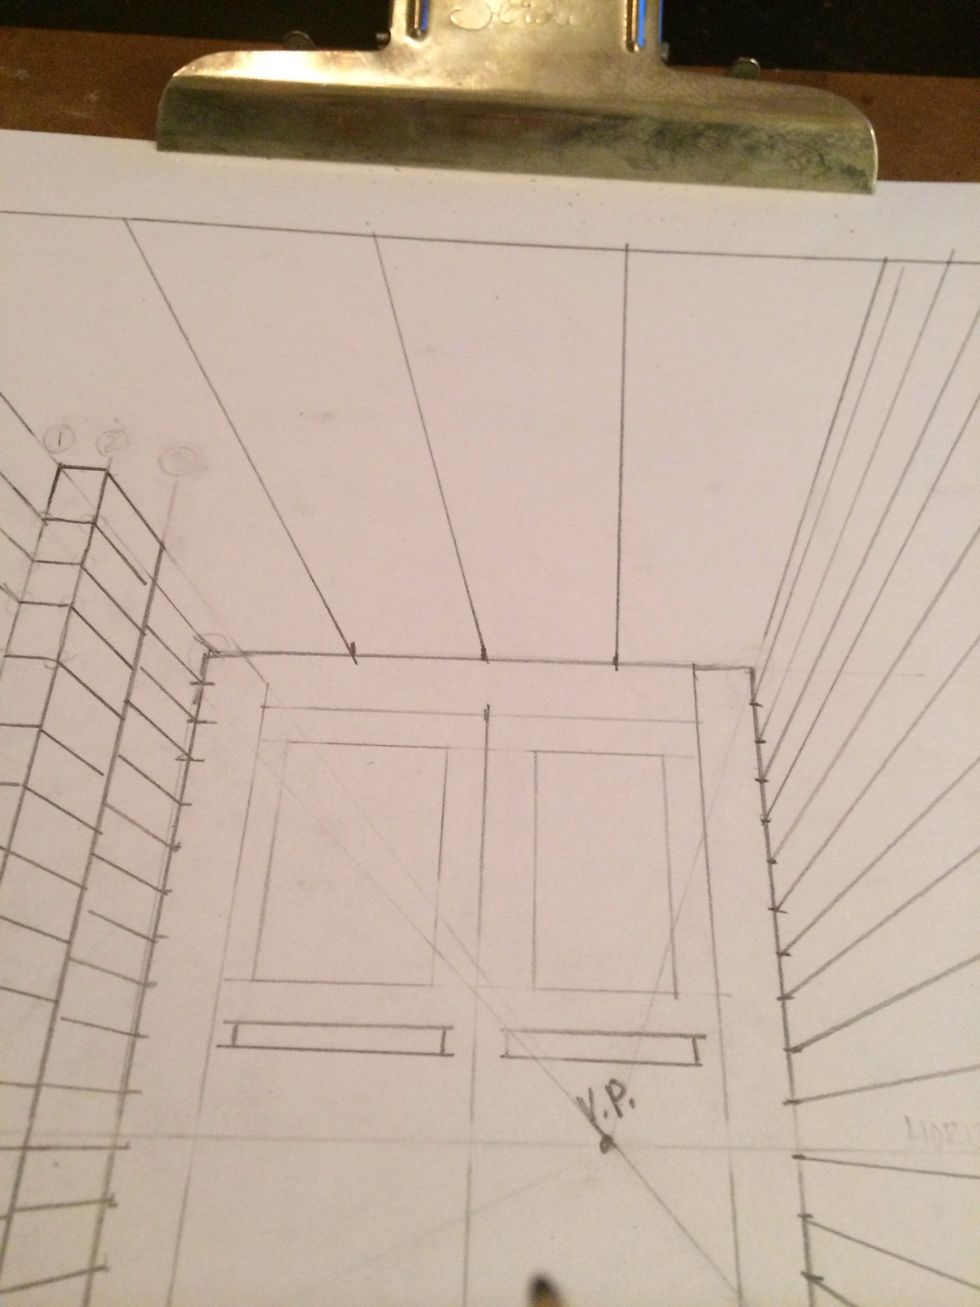
connect those points with your VP.

Draw your diagonal from one side of the ceiling to the opposite.
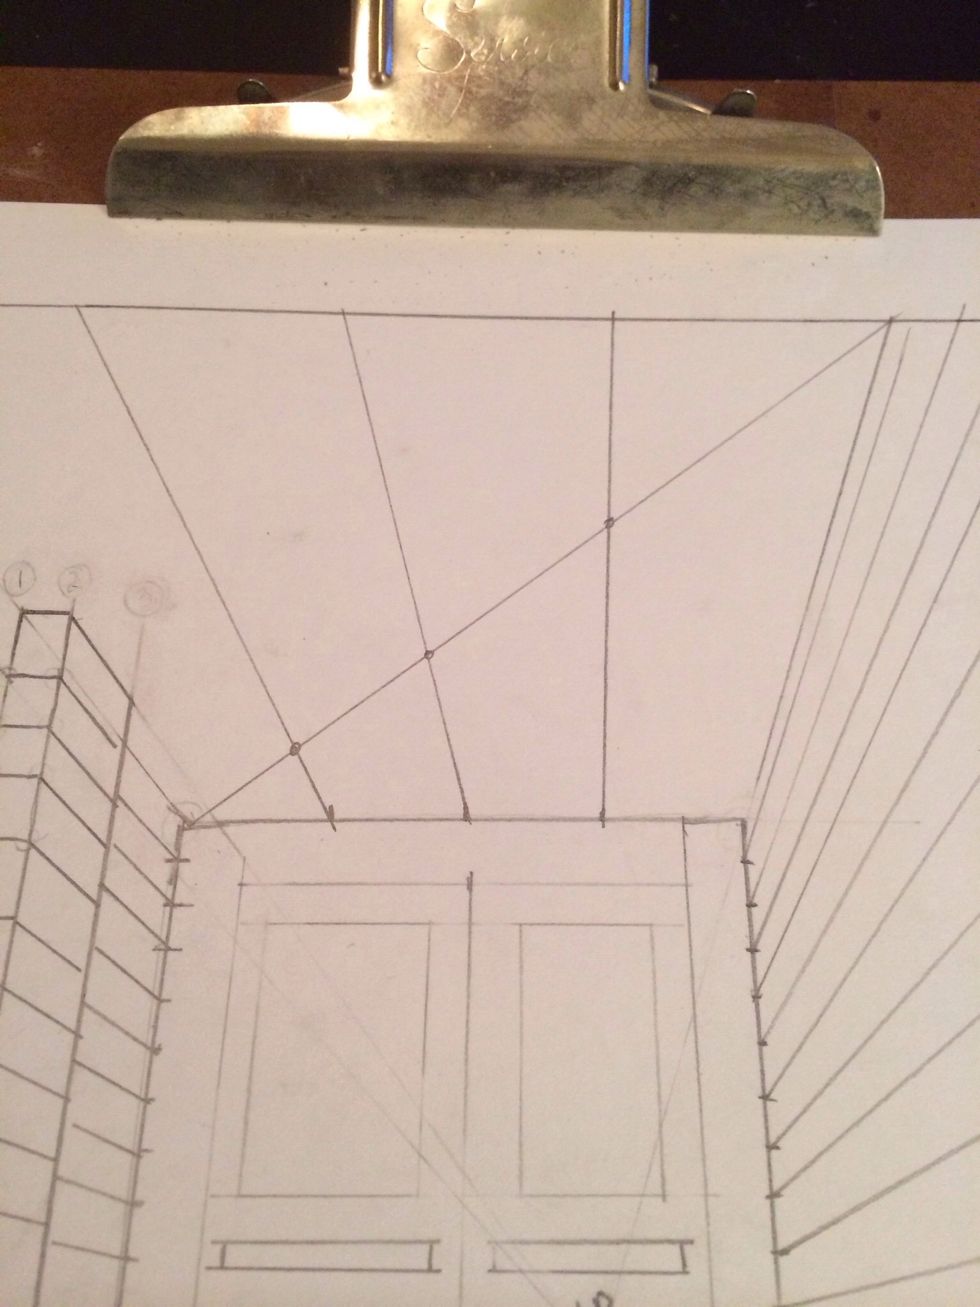
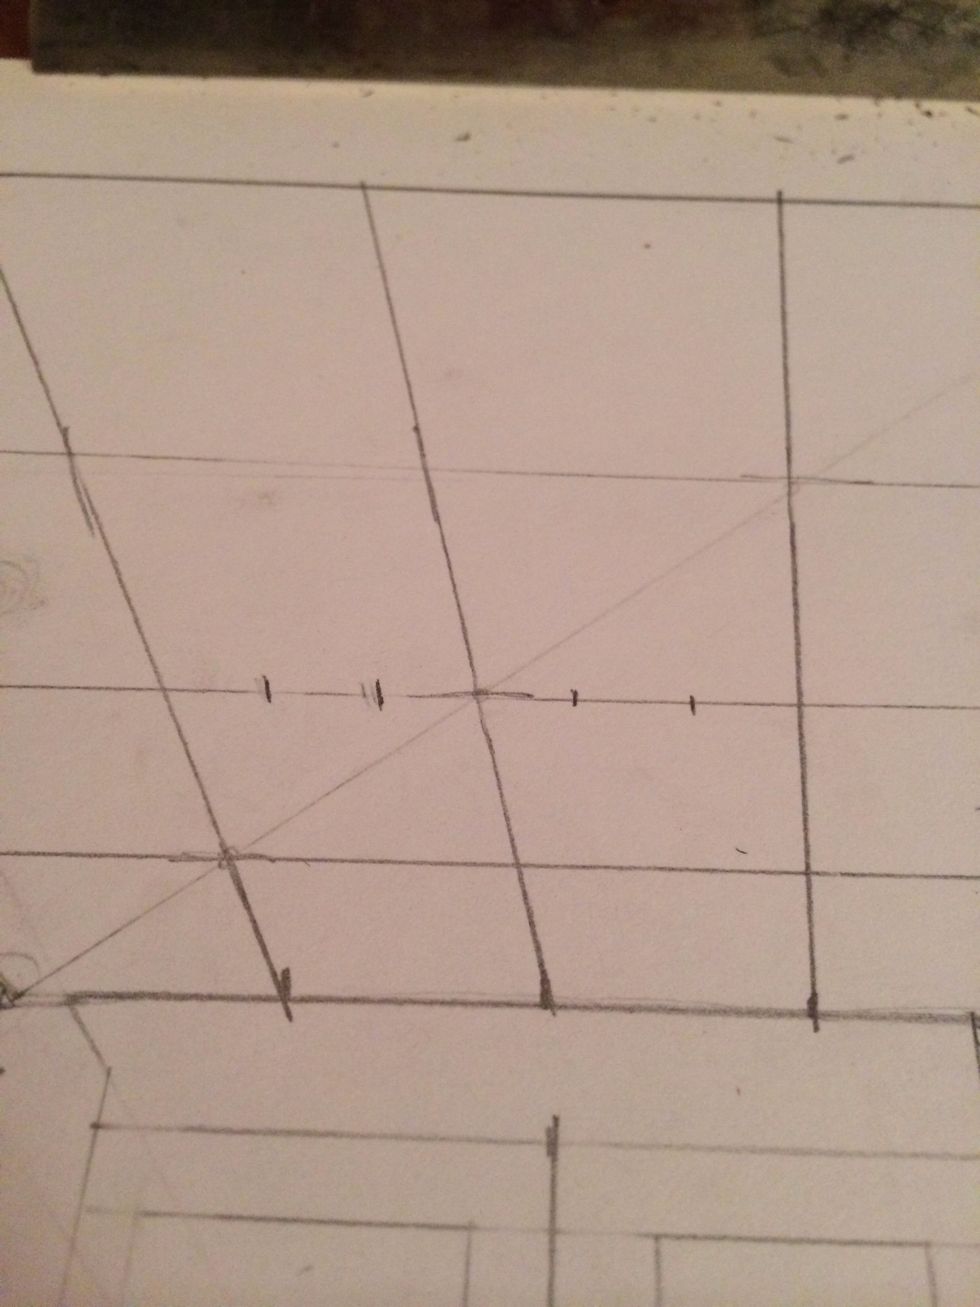
draw a dot at each pace the diagonal crosses over one of your lines.
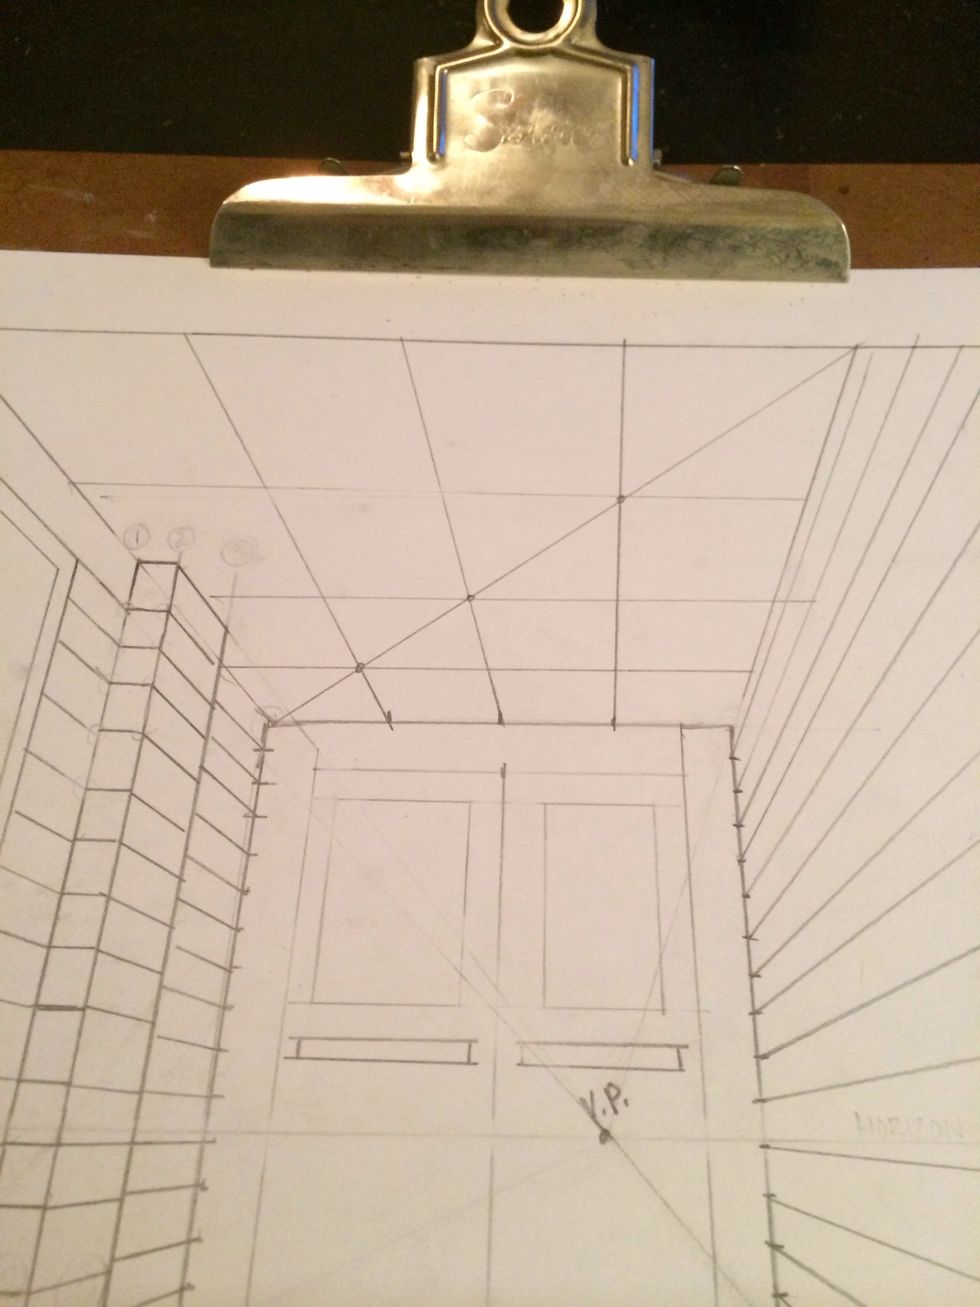
carefully draw horizontal lines across where you made a dot. Try to keep your ruler as parallel to the border as possible.
to draw lights on your ceiling tiles, evenly divide a ceiling square into 3 equal parts. I divided 2 ceiling tiles into 3 equal parts.

connect those points to your VP. You only need to put your lines inside off the ceiling tile that you are adding lights to.

draw your diagonal line from one corner to the next.
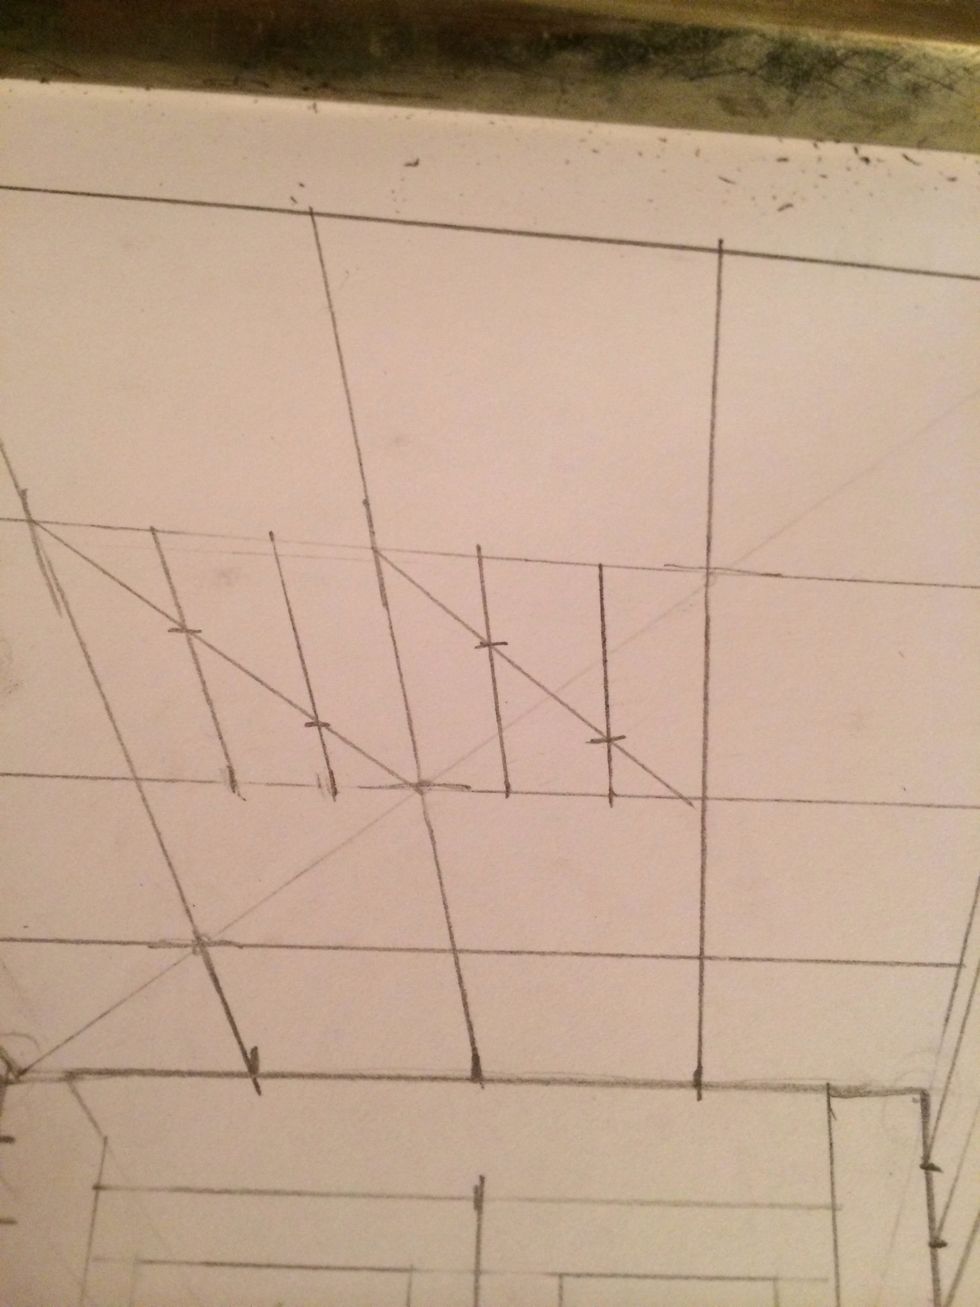
draw your dots where the lines intersect.
draw your horizontal lines across you lights

making your walls into tiles.

divide your wall with a diagonal from one corner to the next.
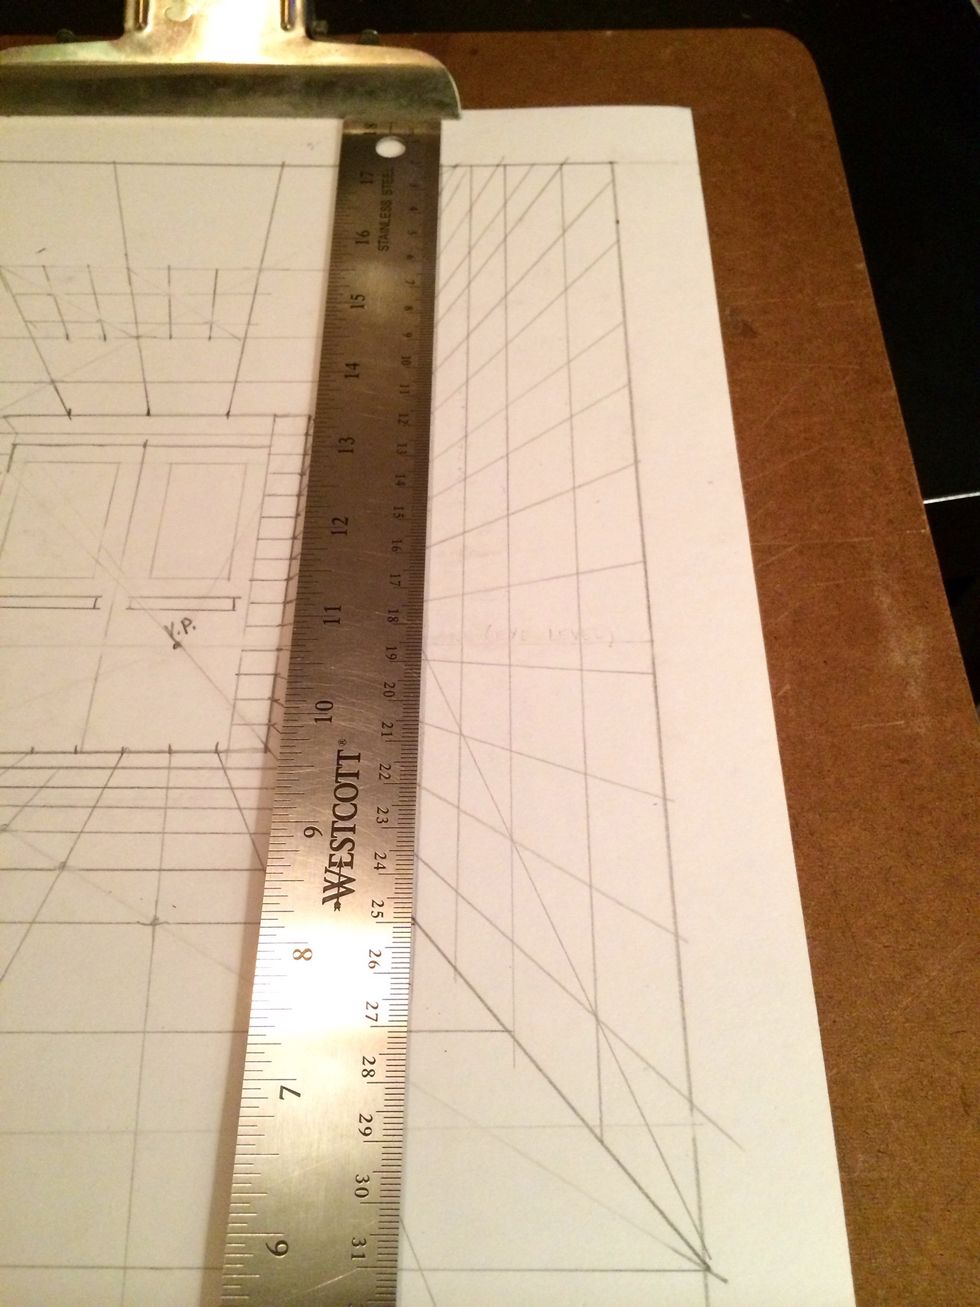
draw a vertical line down where ever the diagonal intersects the wall lines.
mark off every-other line. Where you mark off is what you will eventually erase.
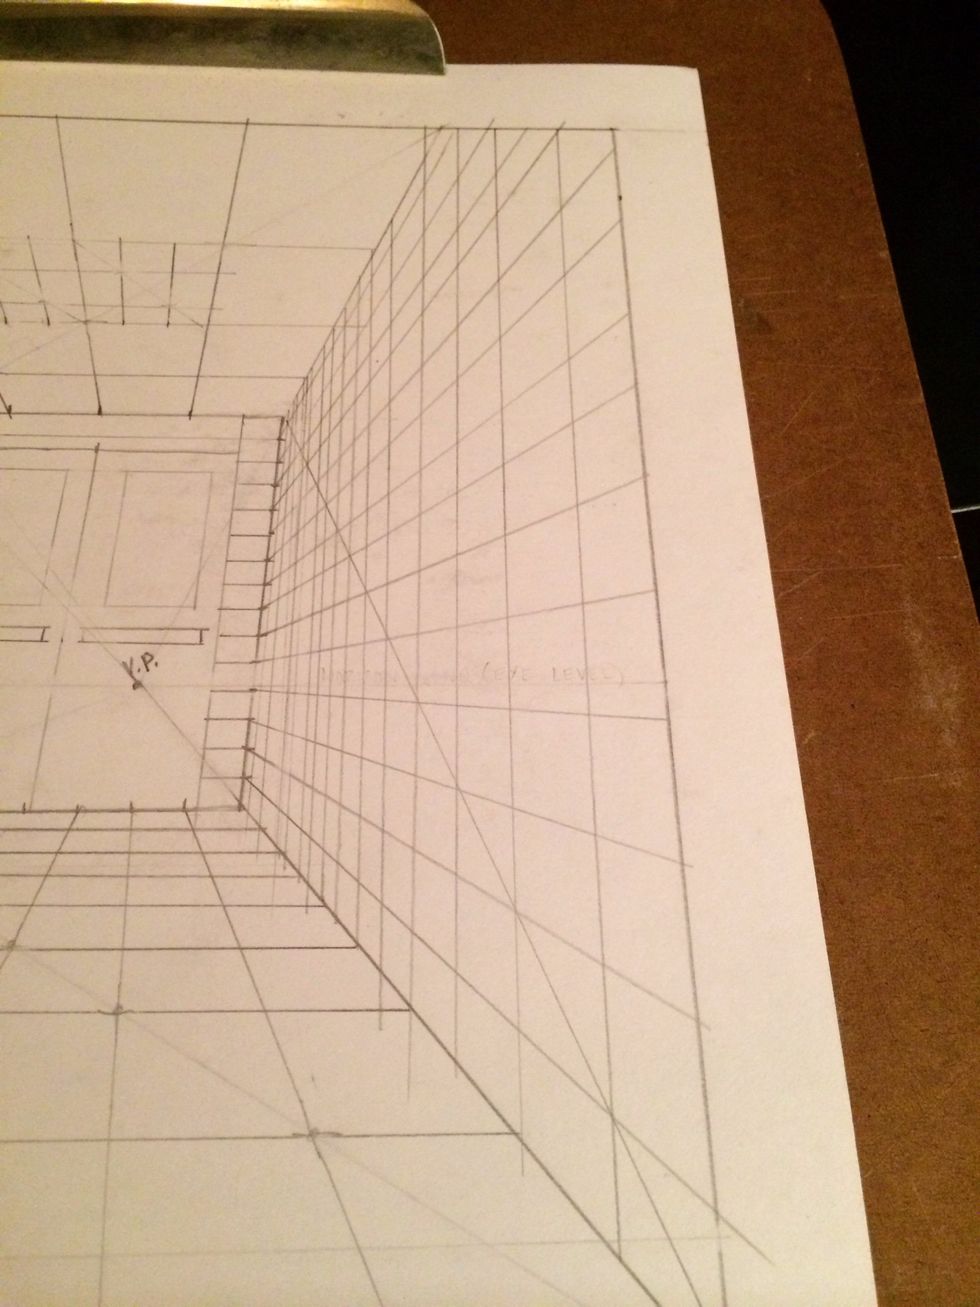
erase every-other line to give he look off the wall tiles (center blocks).
For the second row of tiles be sure you erase the opposite lines.
do this for all the tiles until you reach your back wall.
add more details