The Conversation (0)
Sign Up
There are two kinds of buns, so I'll start with a floppy bun then go to a twist bun. First you'll learn how to draw side views, then I'll show you other views!!!
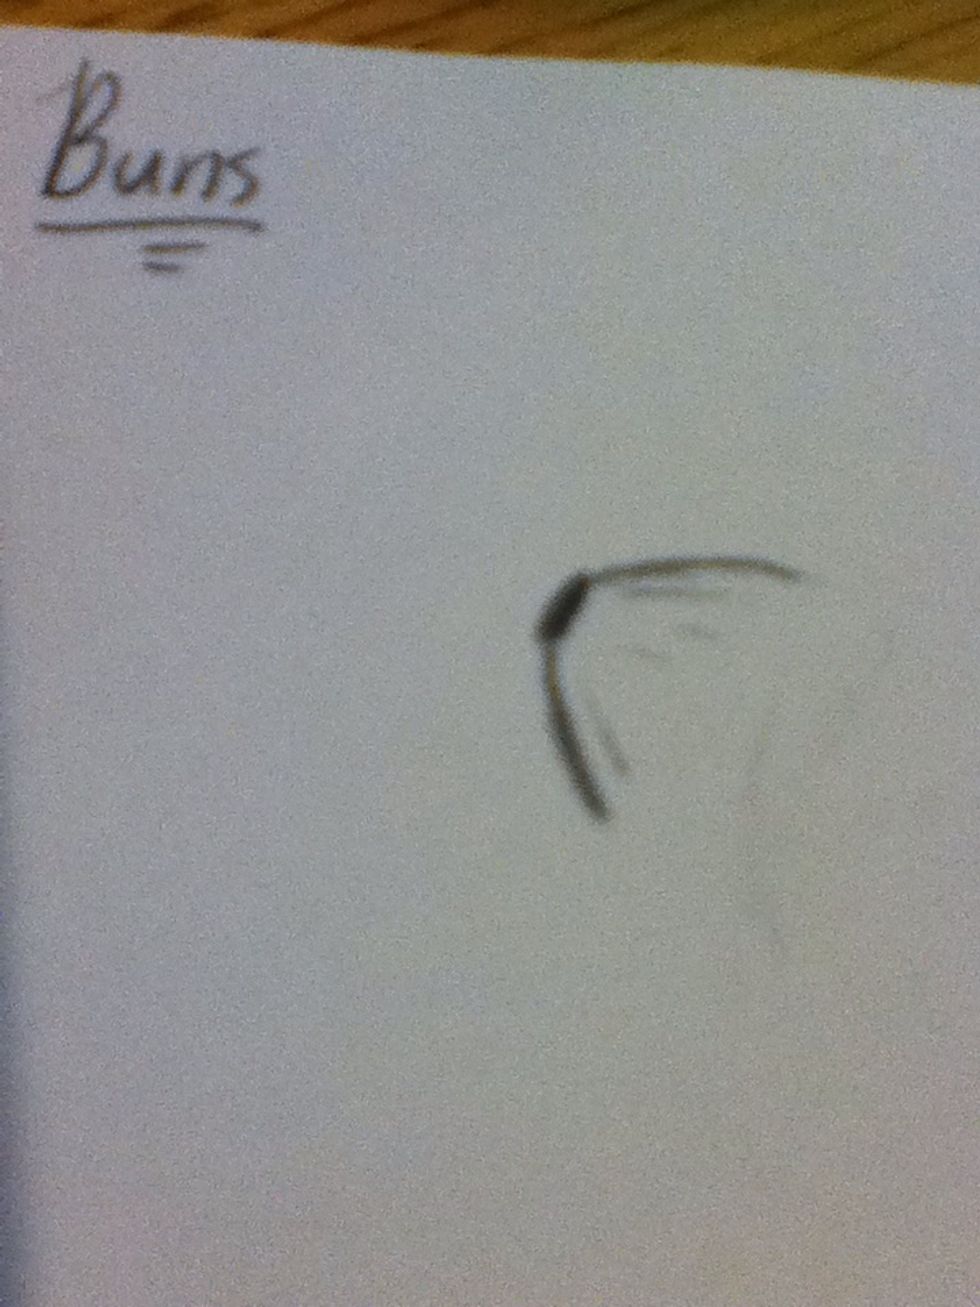
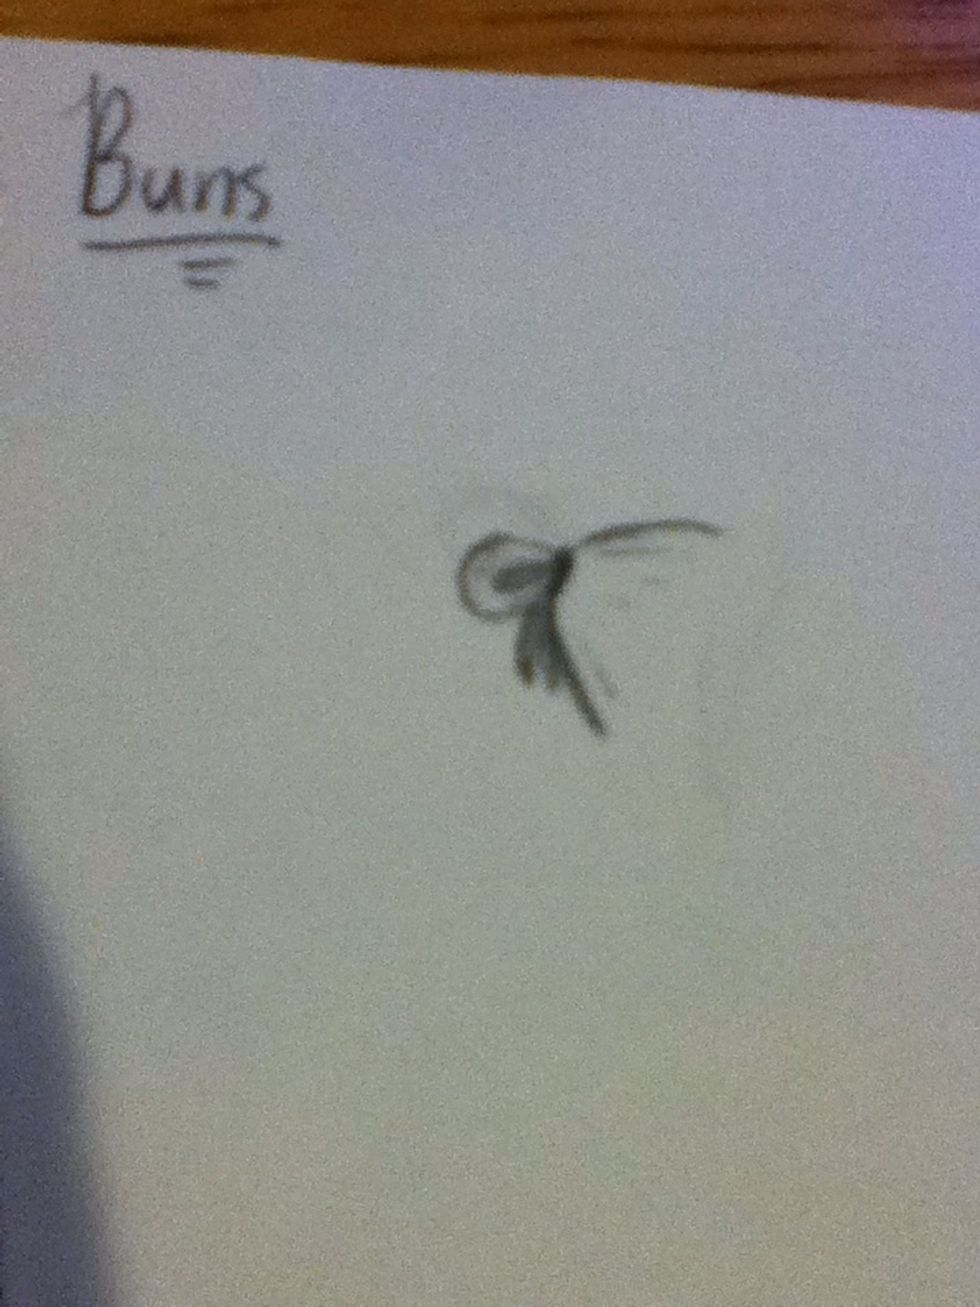
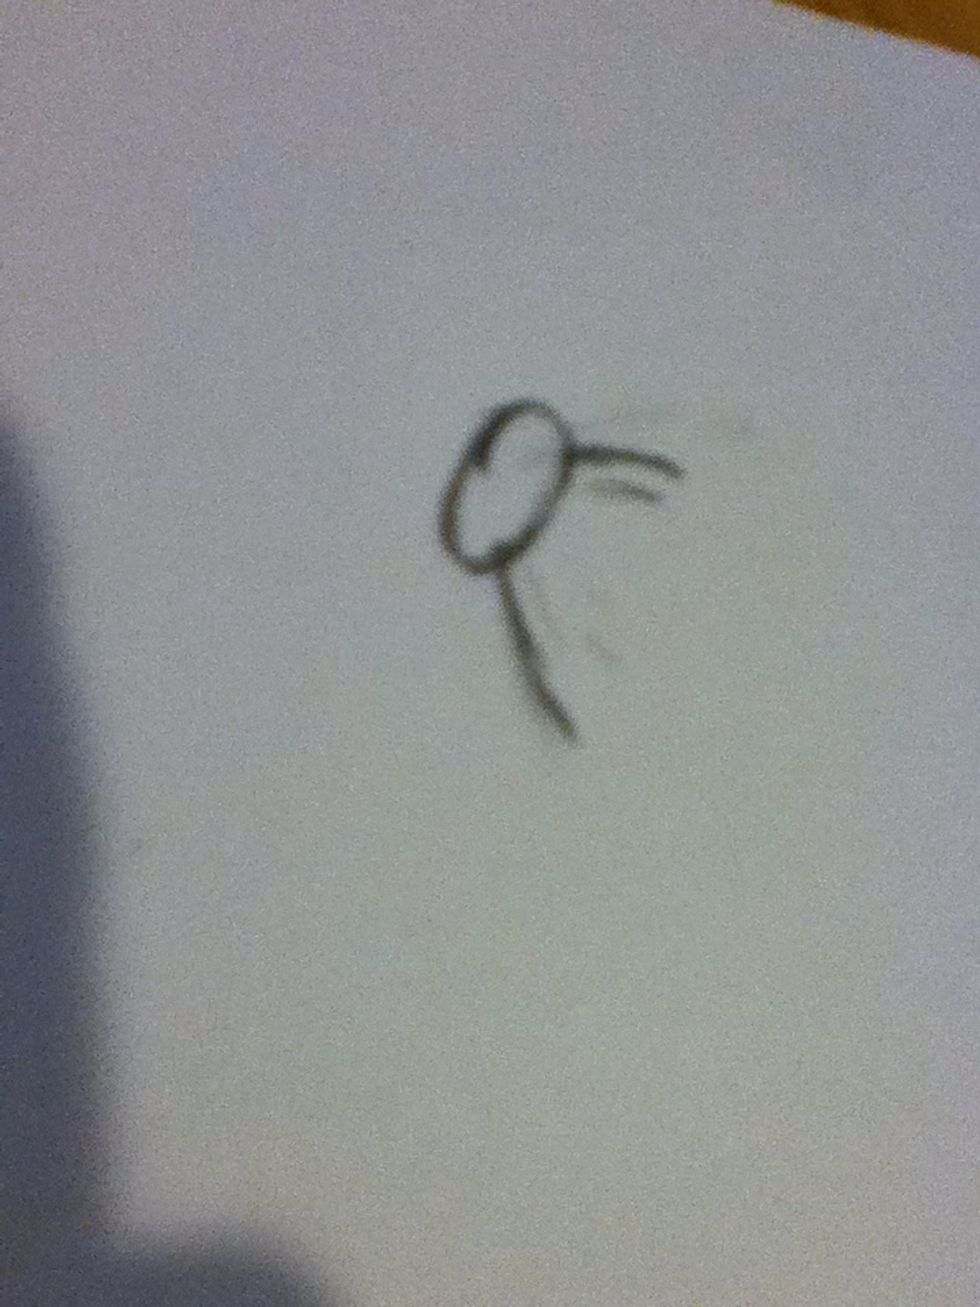
Start with something like the picture above, a basic head with a tie!
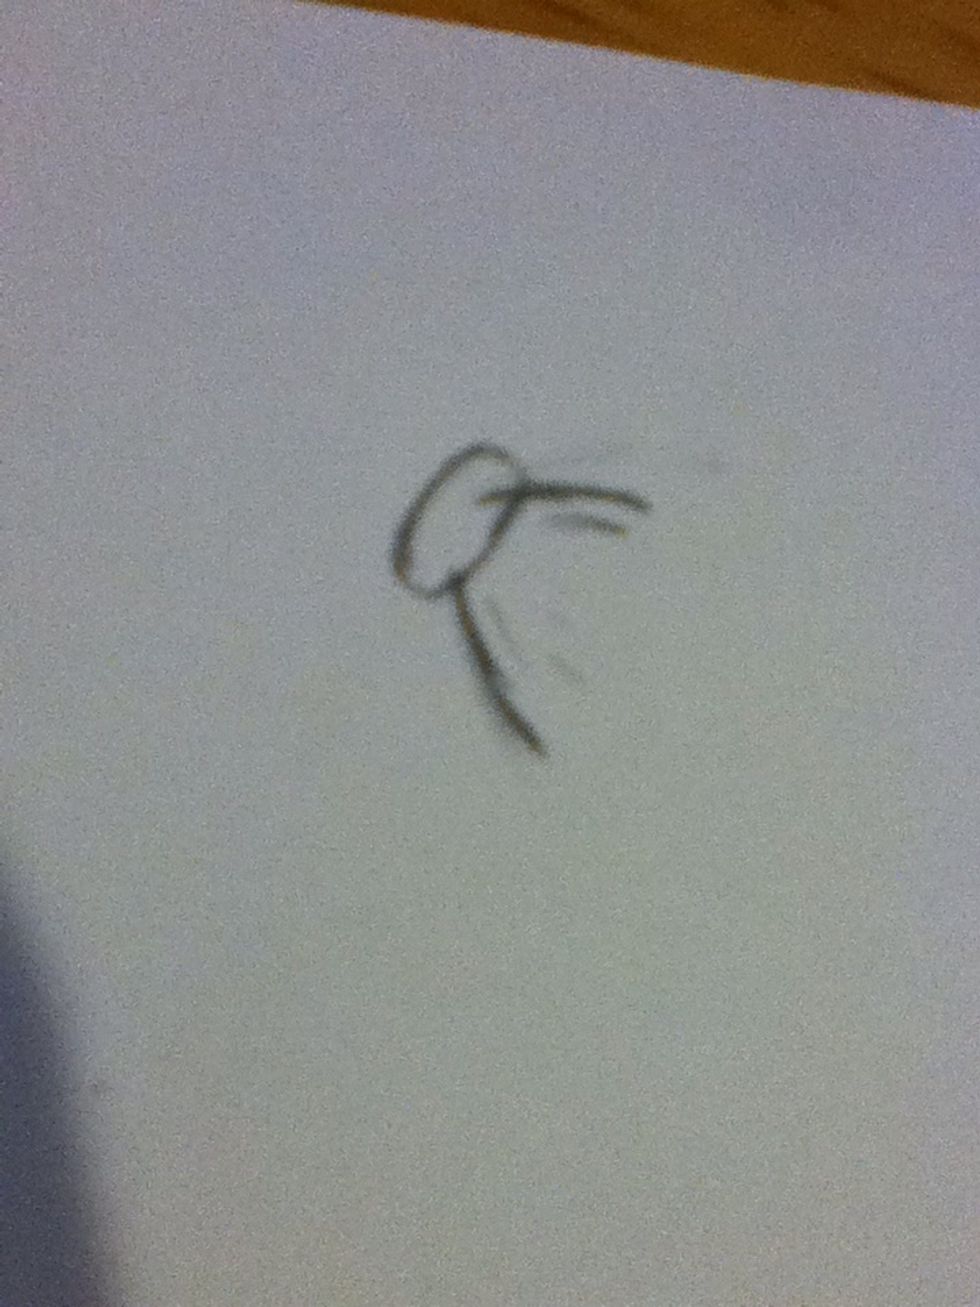
Add a circle a little below and behind the tie.
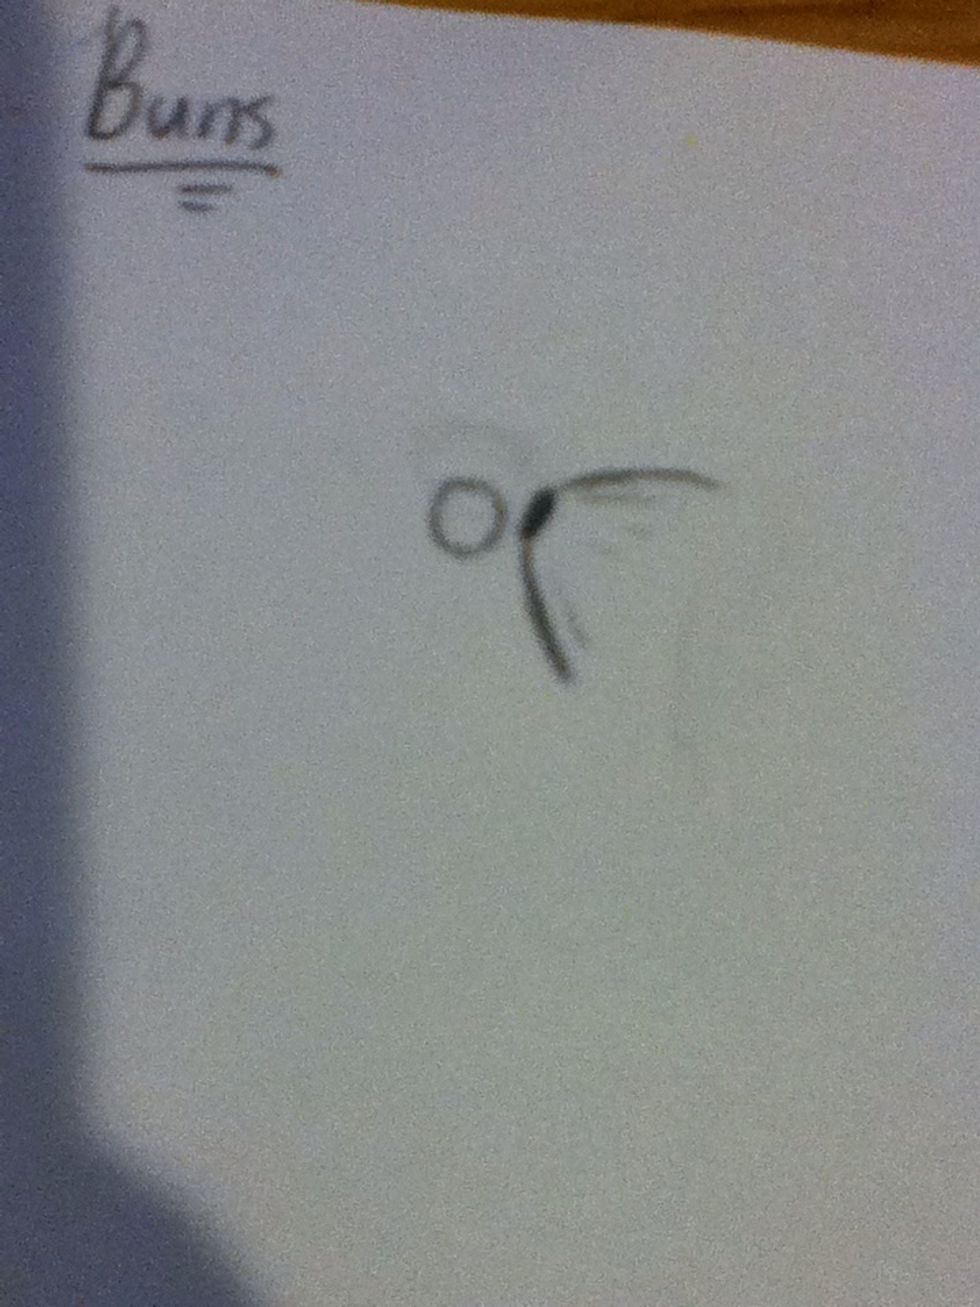
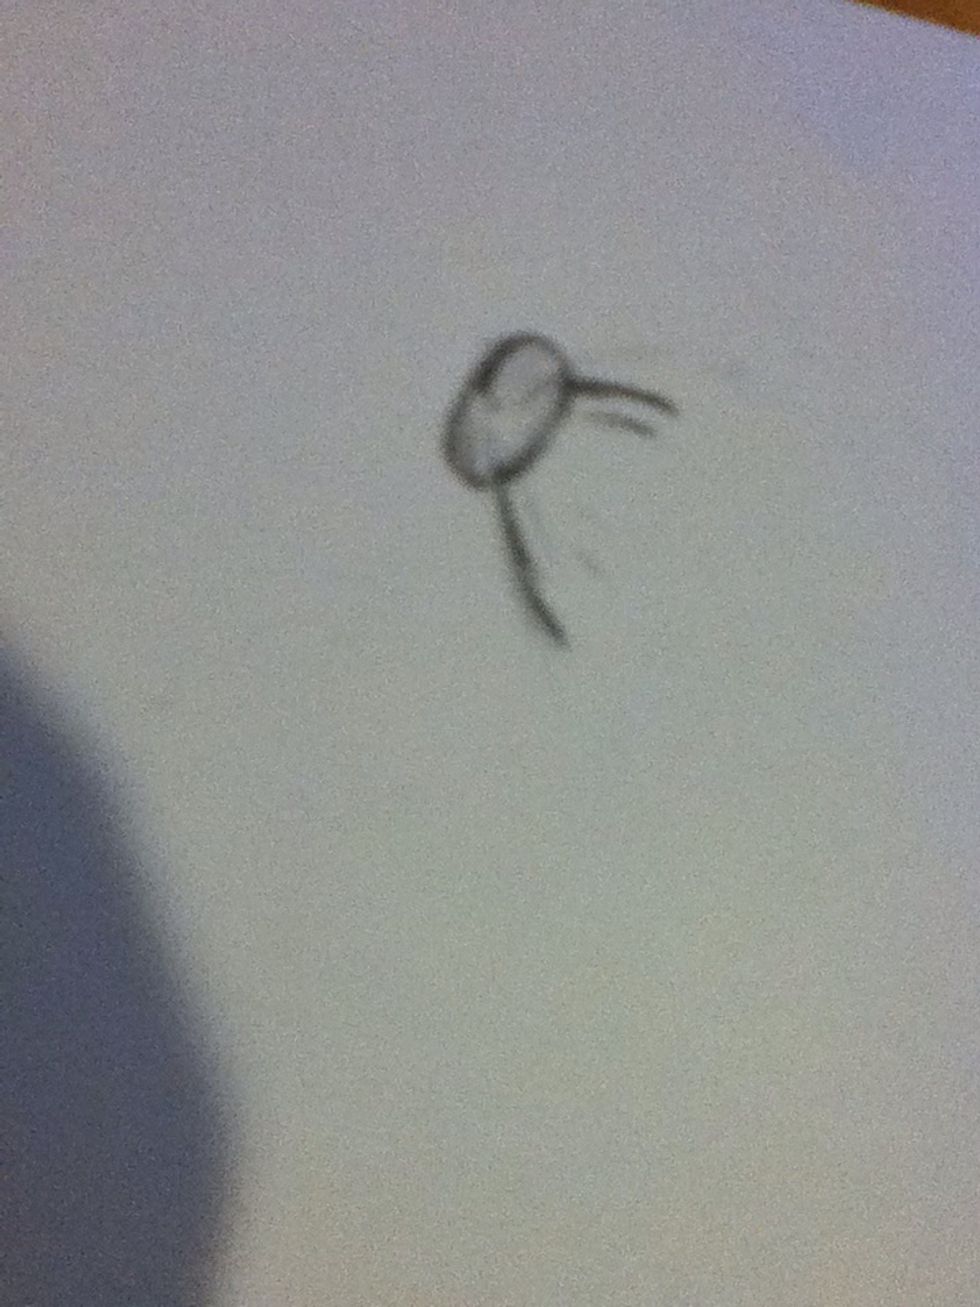
Connect the circle and the tie with gentle archs.
Erase the part of the circle inside the archs, and add some hair below the tie.
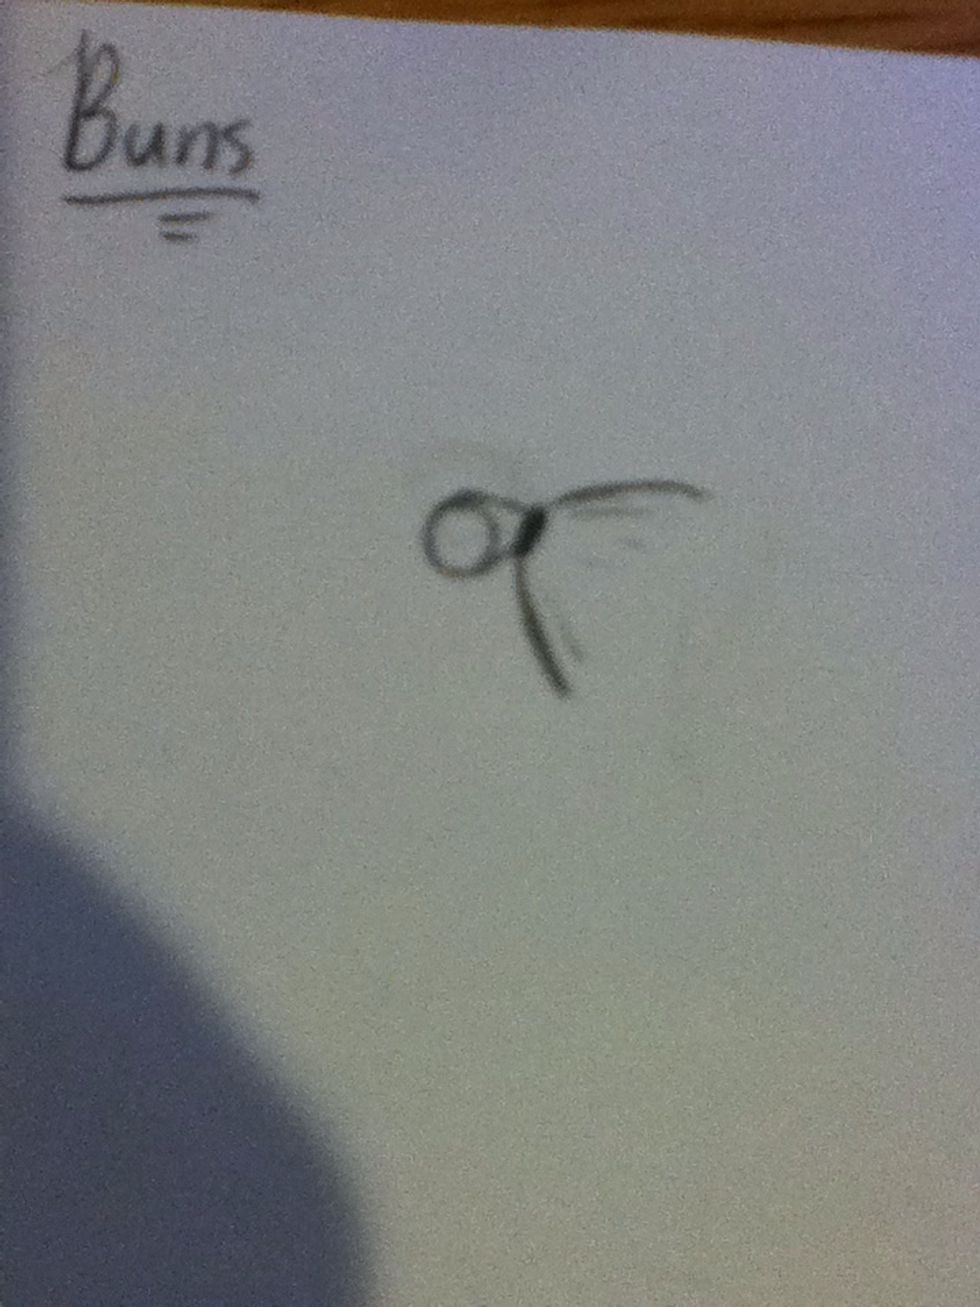
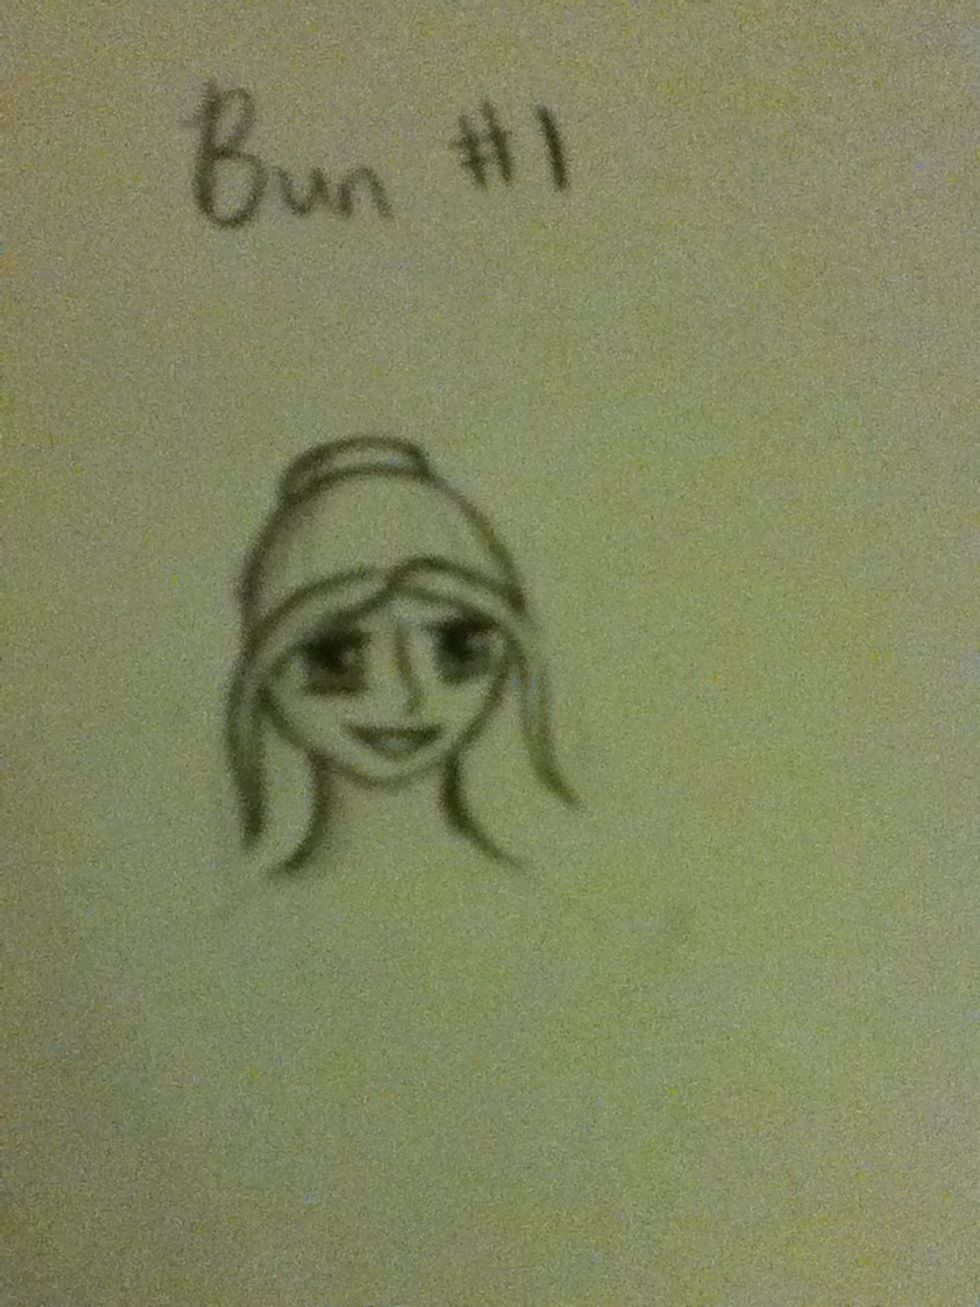
Add hair detail similar to what I did, a line in the middle of the main bun shows that the hair is overlapping.
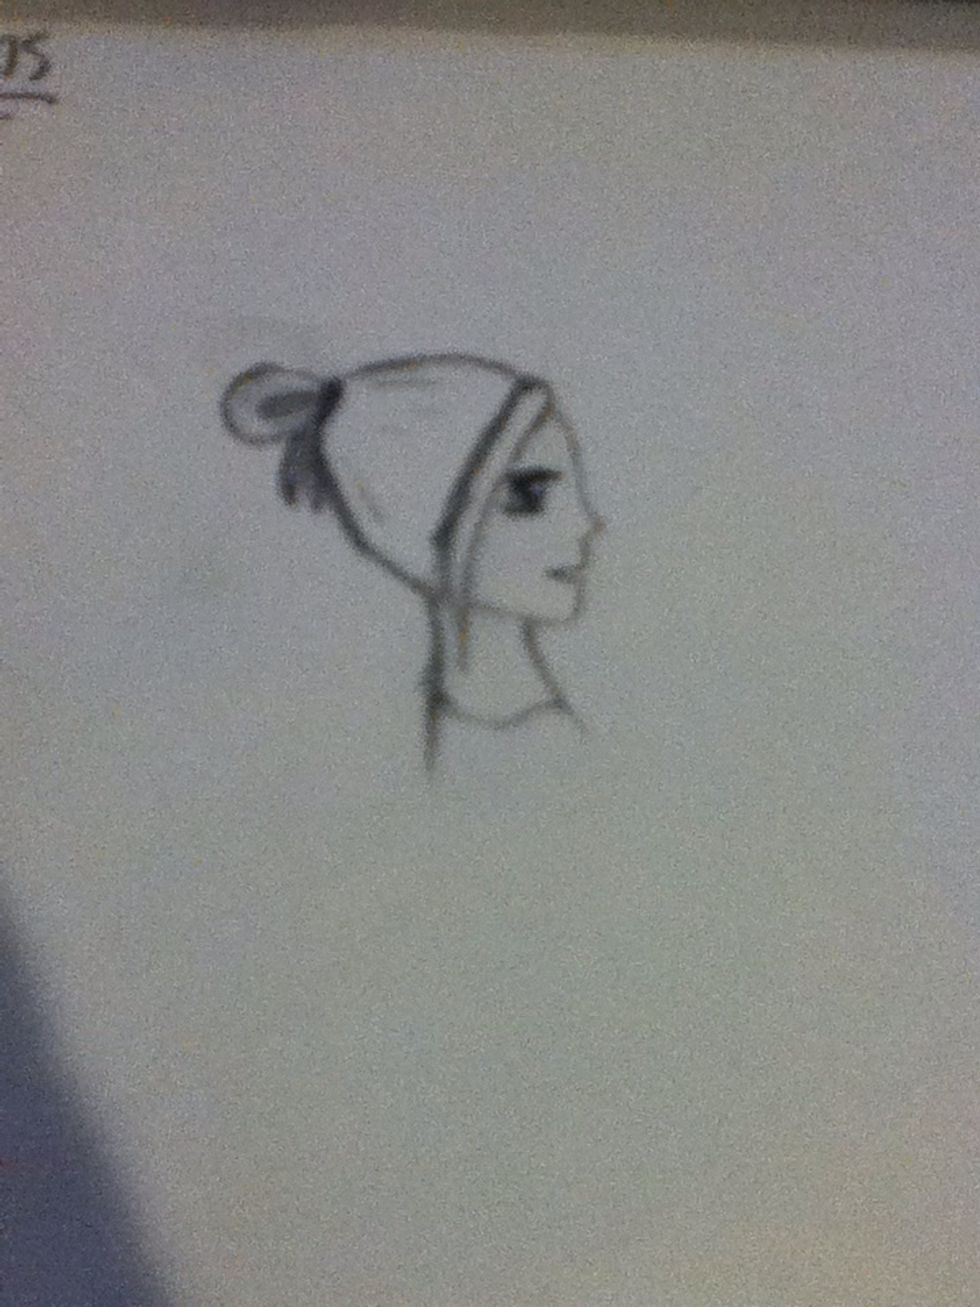
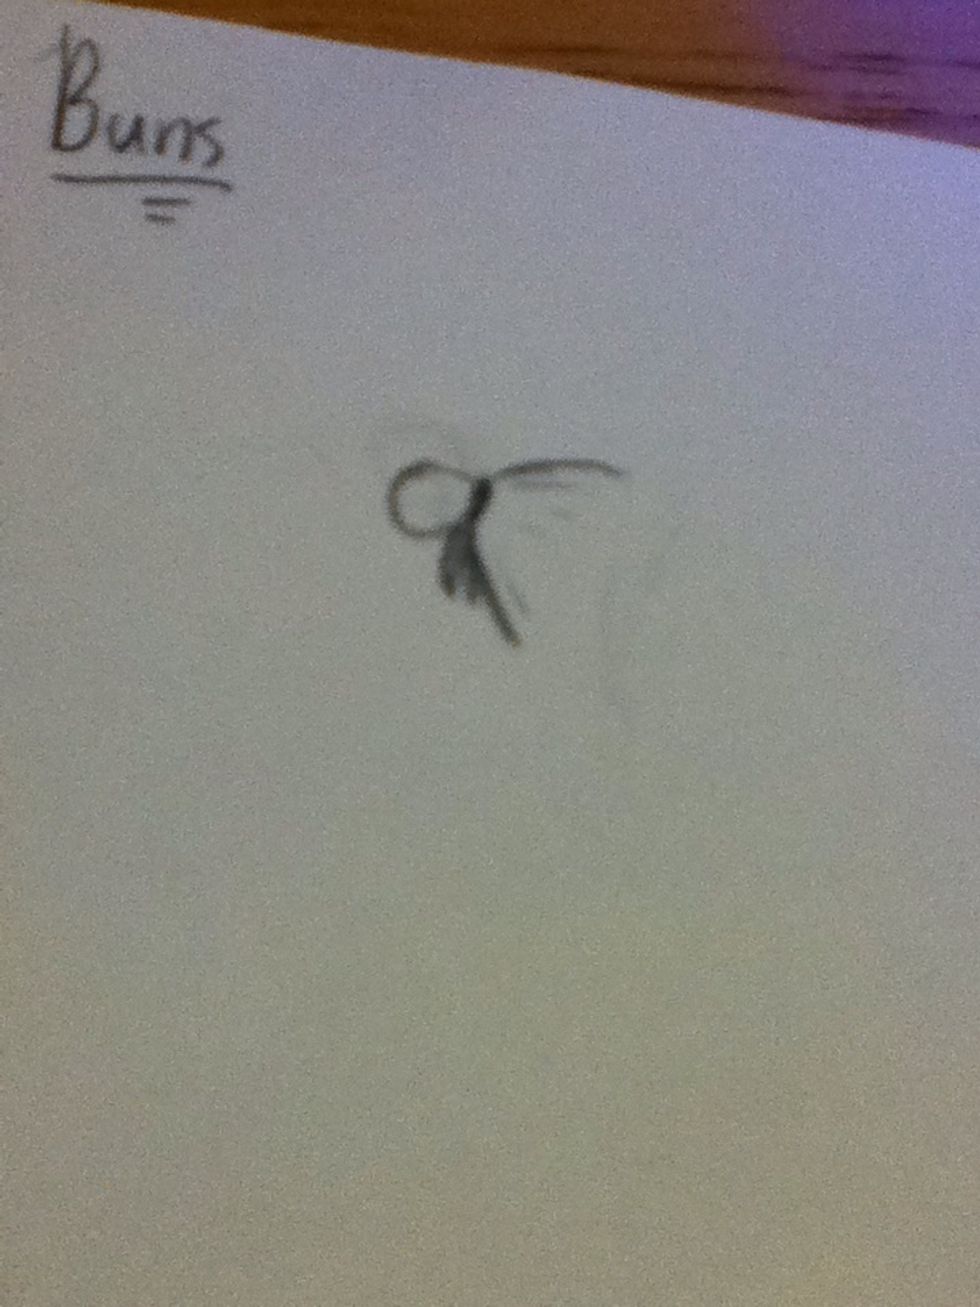
Add the rest of the head and... Ta Da!!!
Here is a tutorial on the back view of the twist bun.
Start with the same basic and take out the tie.
Add a oval to the end of the head, this is the main bun.
Put a small indent in the middle of the main bun, and erase ant lines that were poking into the main bun.
Add some hair detail that's pointing twards the little indent. (its kinda hard to see in the picture, sorry)

Finnish up the head and... Voila!!!
Now you get to see some other views!!!
Here is a front view. You just have to place a half oval at the top of any head.
This is what they look like from the back. (I'll add a tutorial for the floppt bun in a little while)
Now for the twist bun!

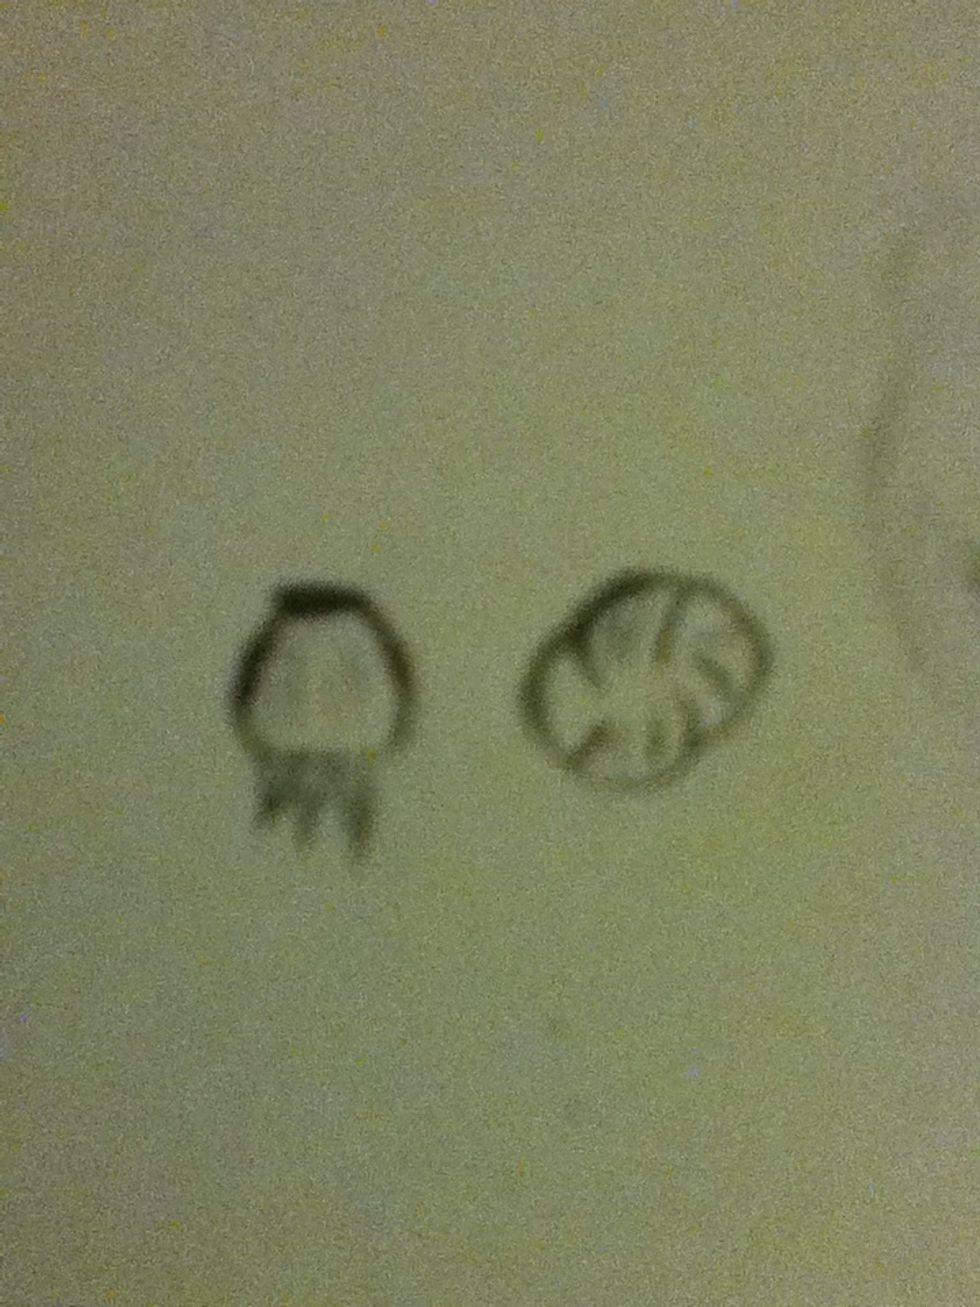
Start with a circle!
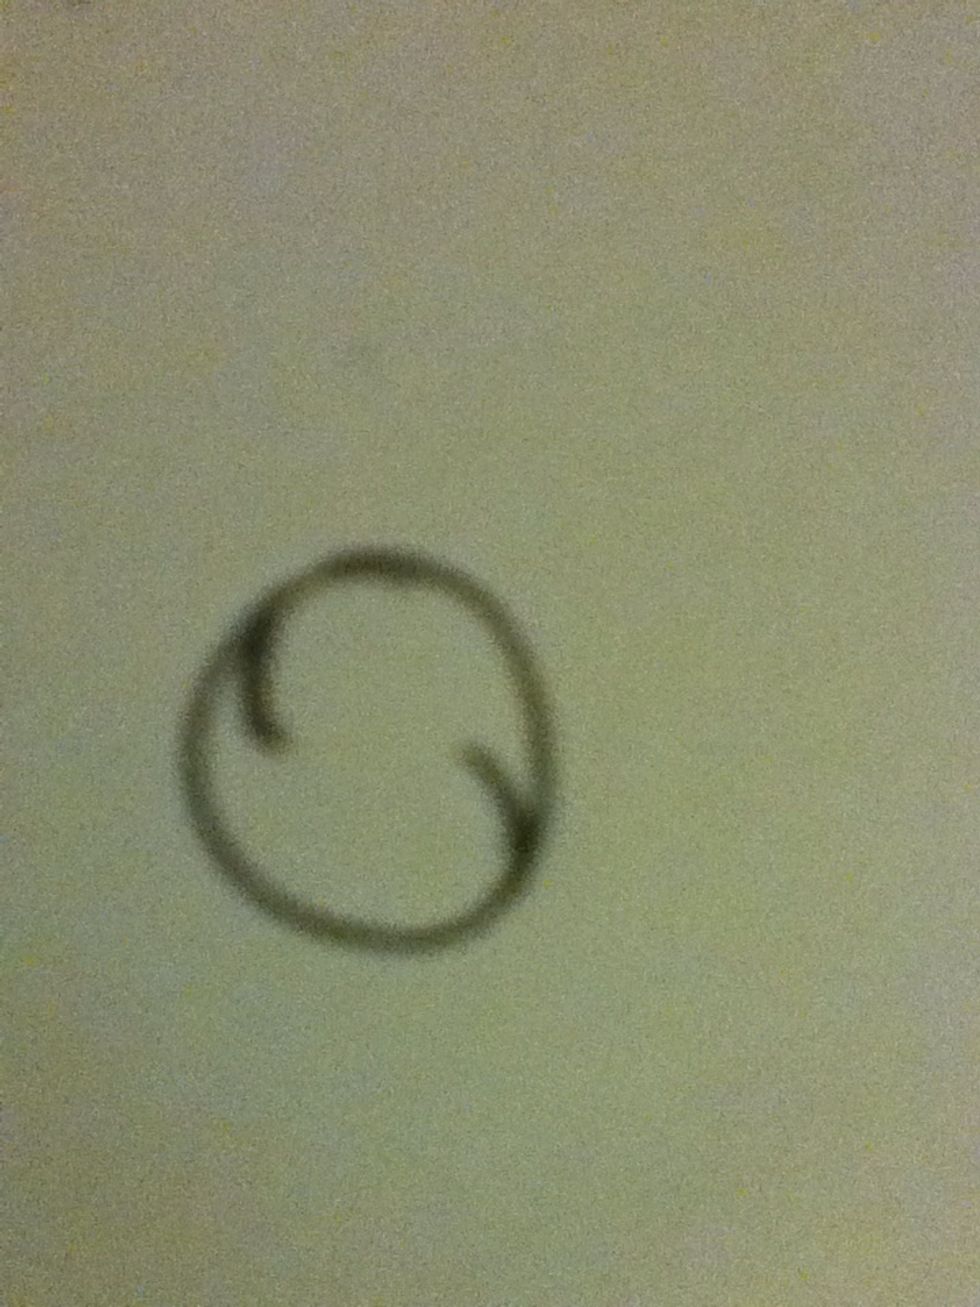
Add two indents that make the circle look like a bubble letter 'S'
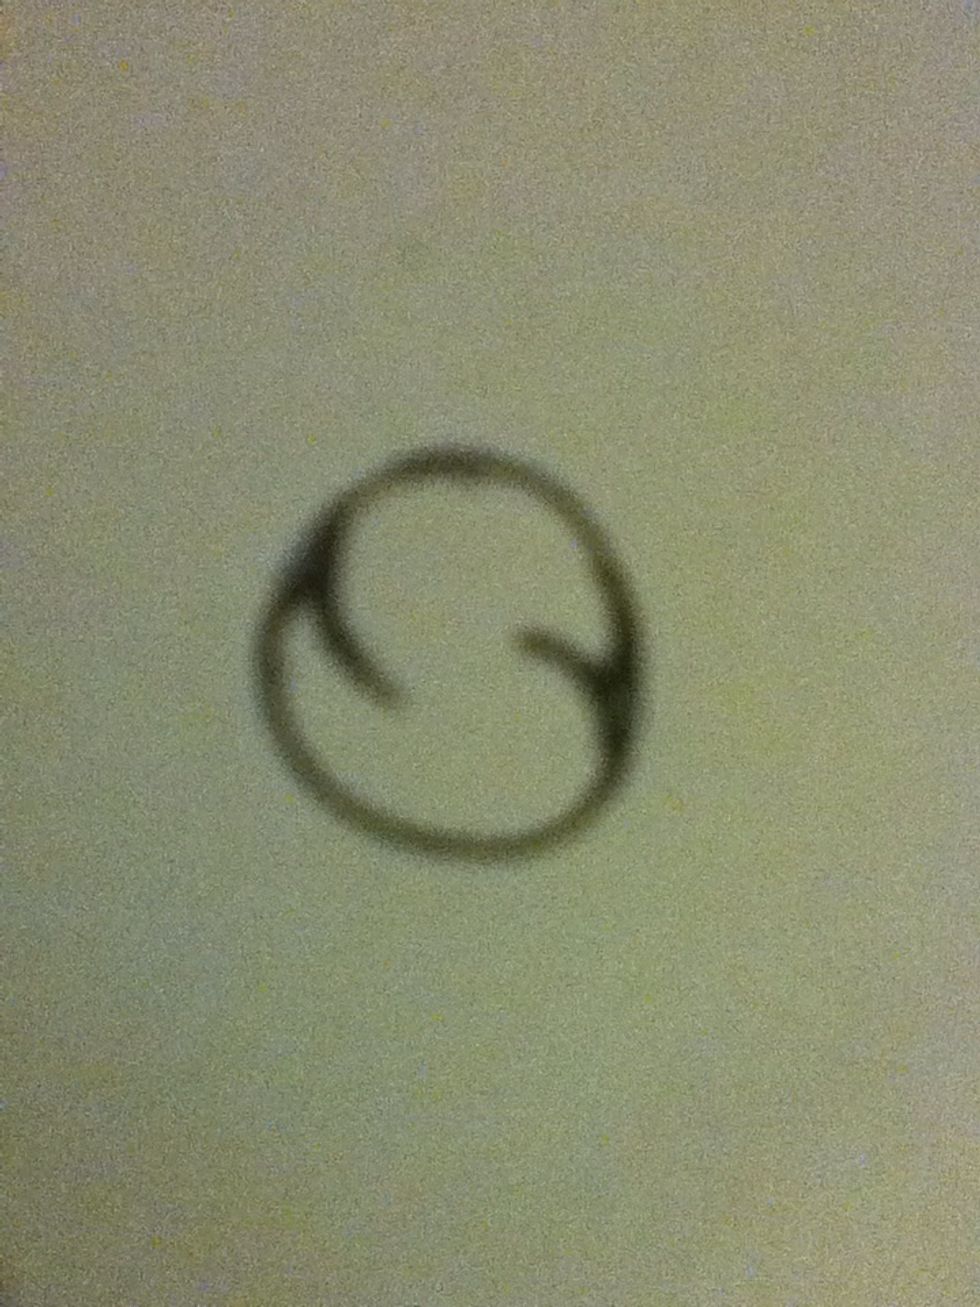
Round out the points.
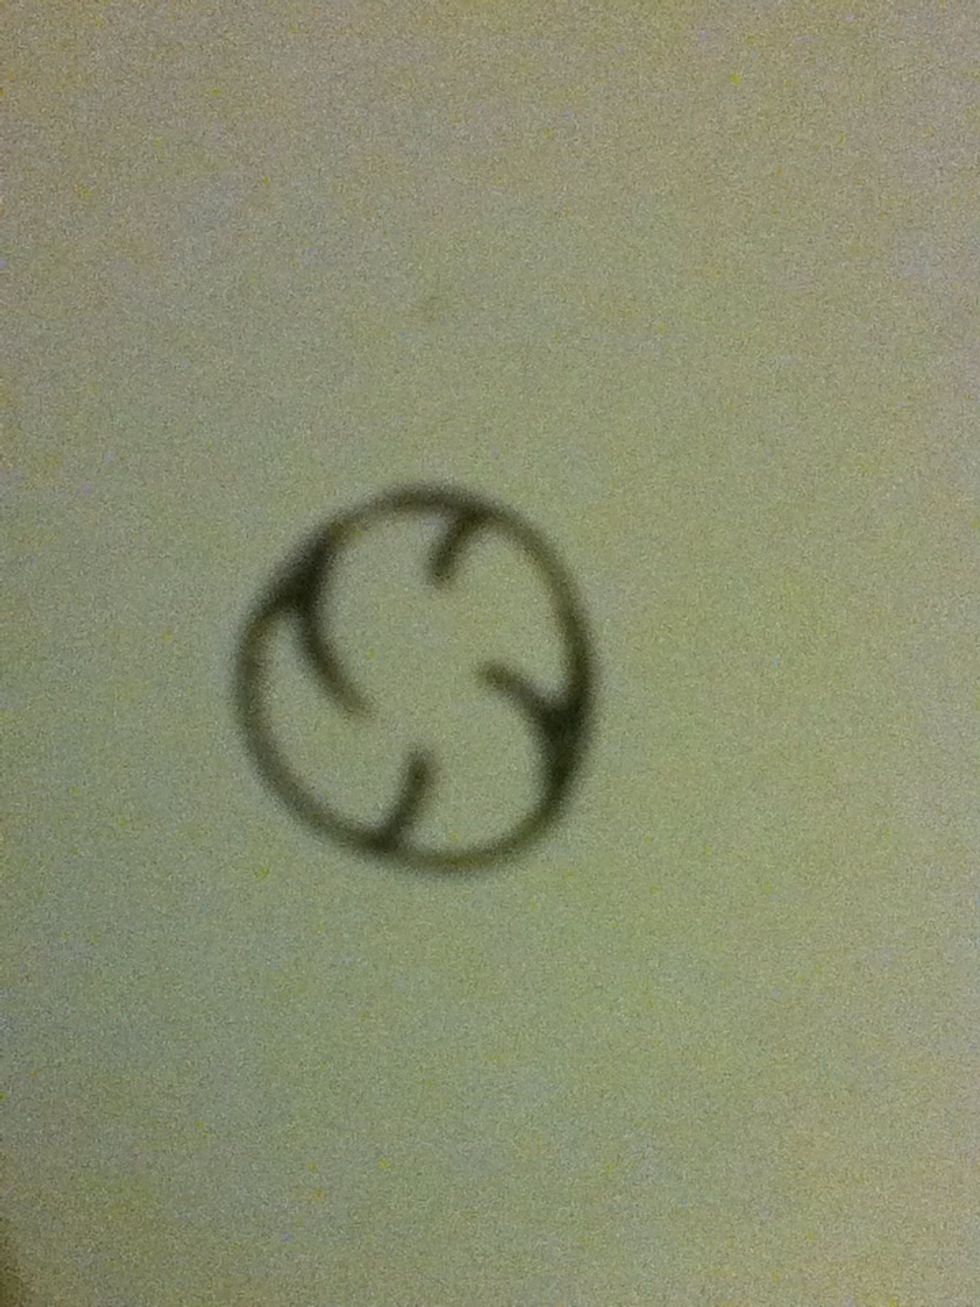
Add some more indents so that the bun looks like a pinwheel.
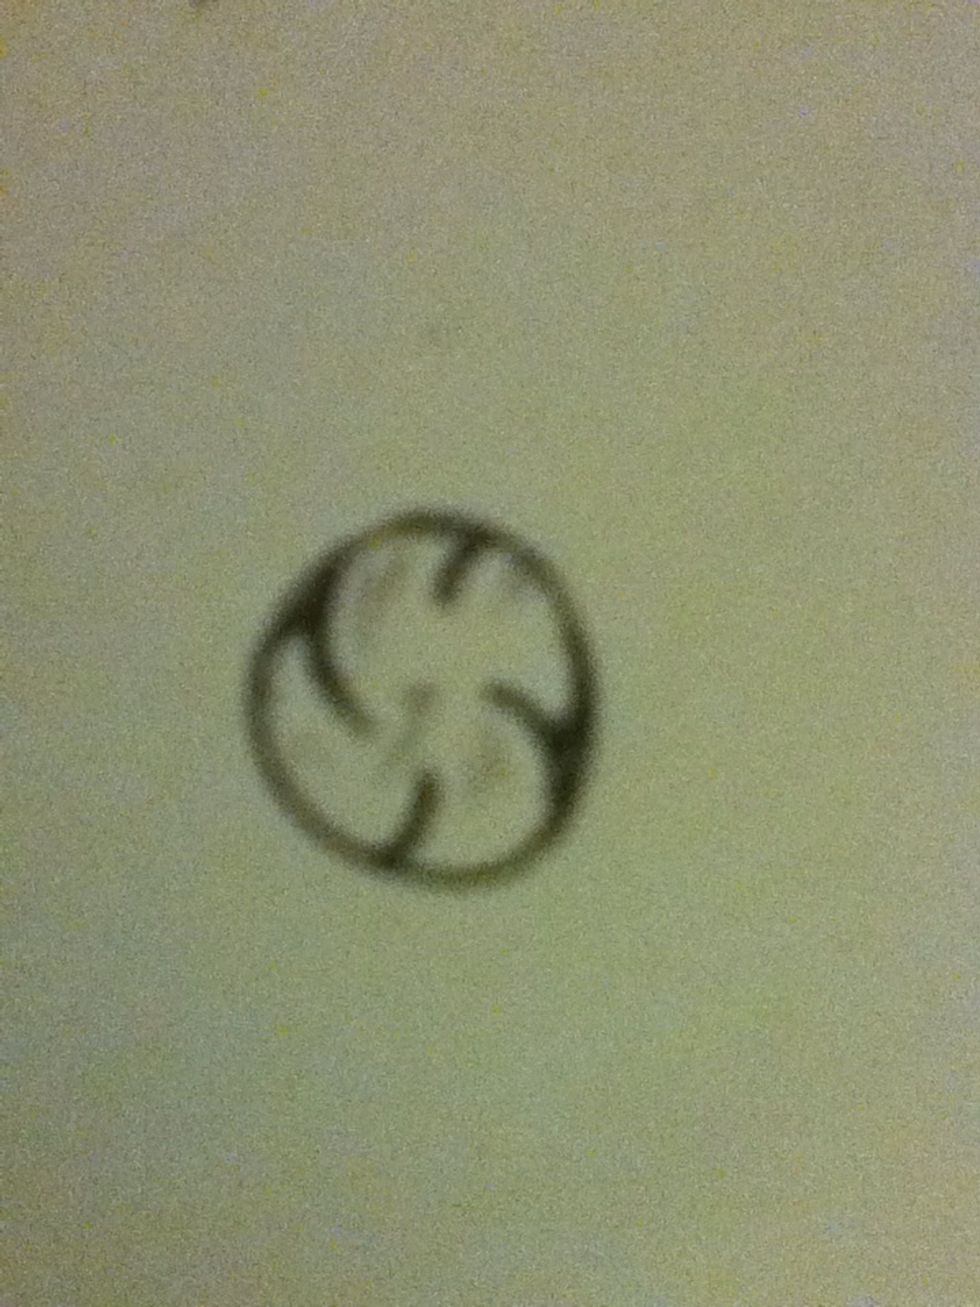
Put a small dash in the miidle of the bunn and add hair detail pointing twards the dash.
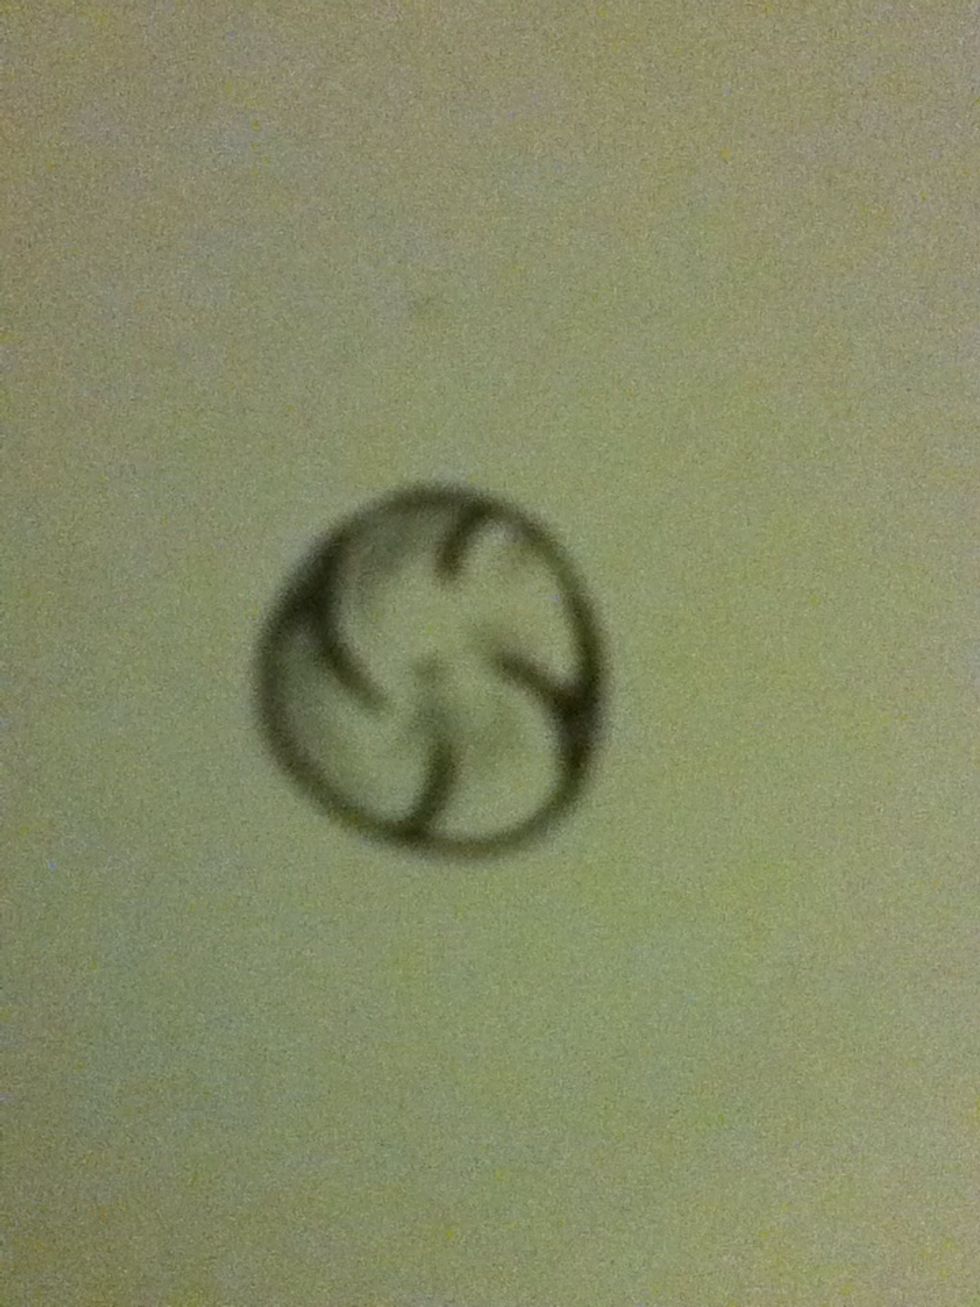
Shade!!!
Here are some examples of when I acctually used buns in my drawing!
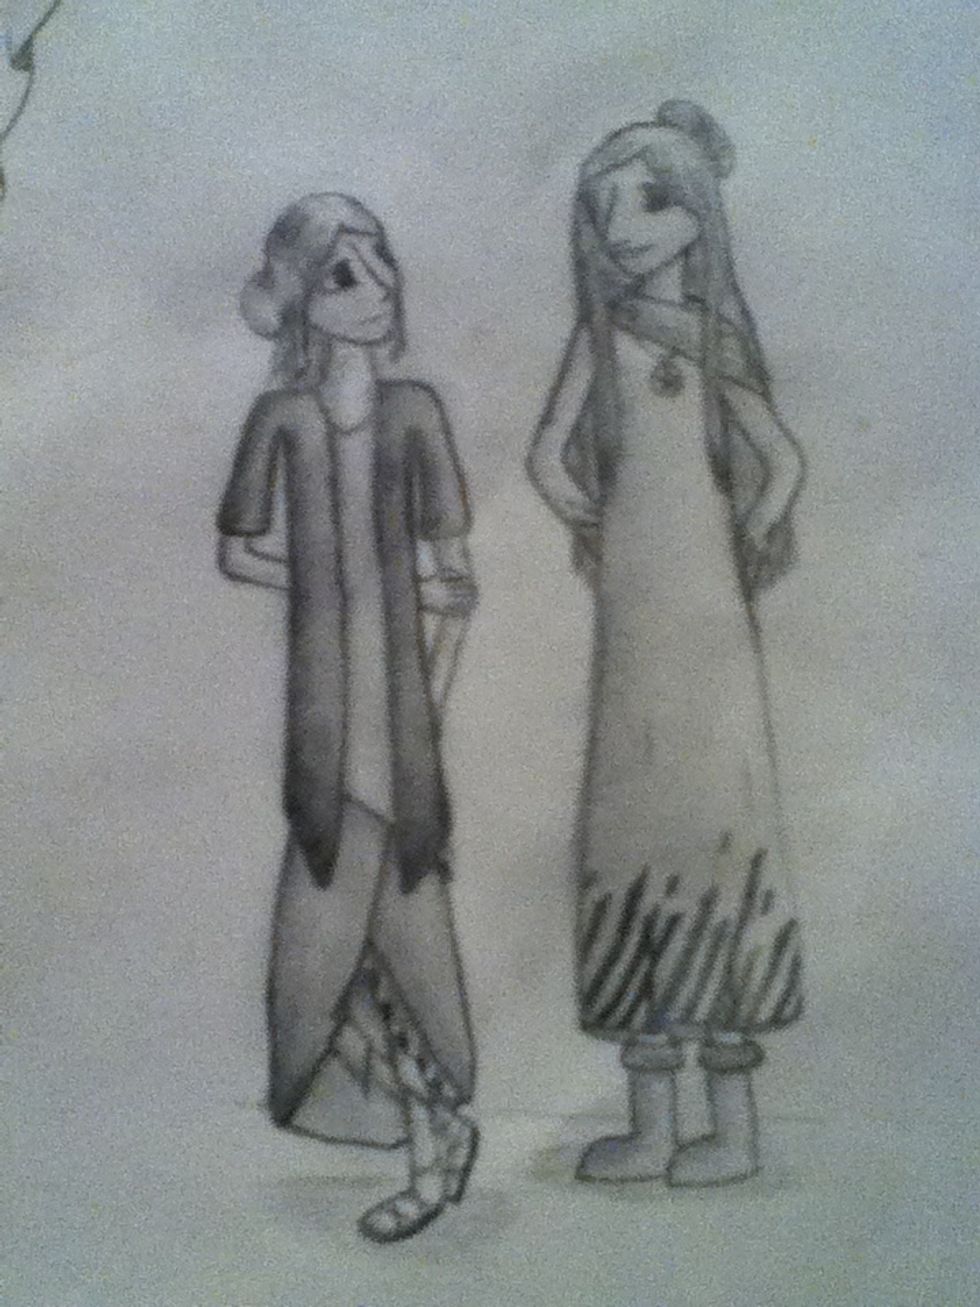
The girl on the left (I call her Sirea) has the floppy bun, and the girl standing next to Sirea has the twist bun(her name is Khania, if you were wondering).