The Conversation (0)
Sign Up
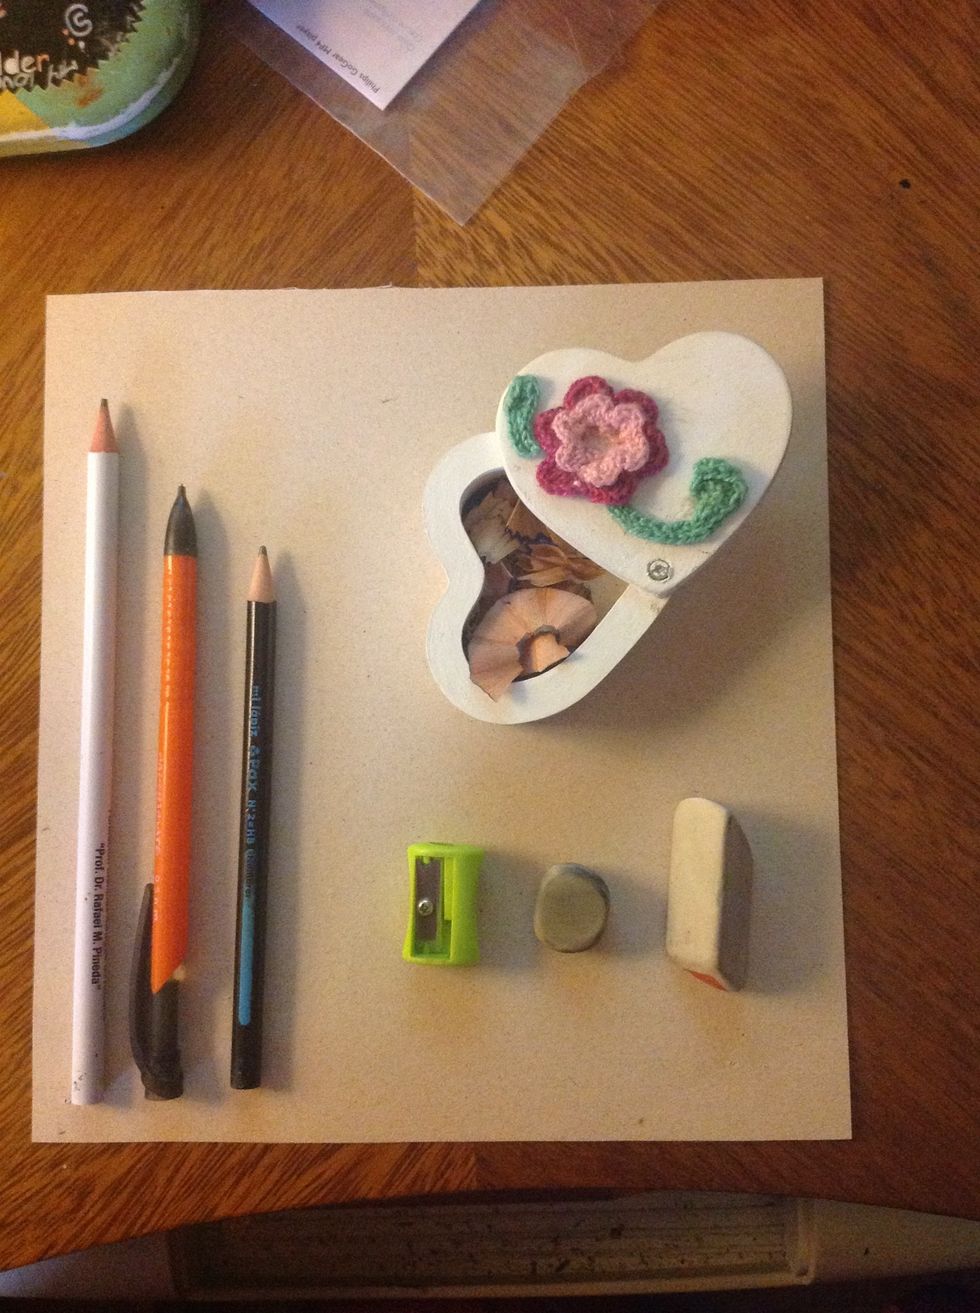
This are all the things I will use. I chose a cardboard instated of common paper so you can see better.
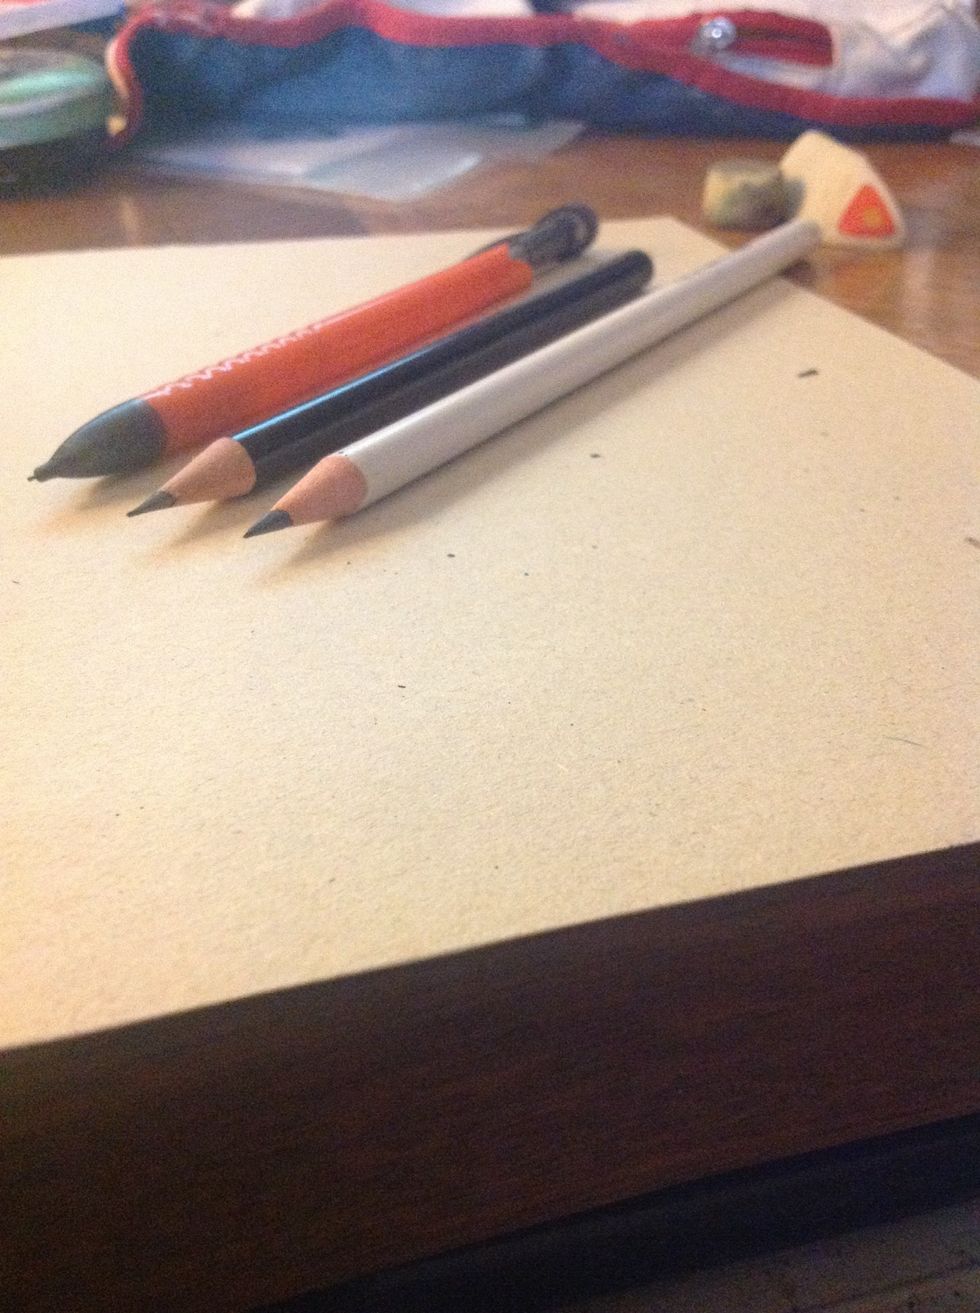
You can use one pencil with a sharp tip. I chose 3: 1. A soft graphite for the sketch. 2. A pencil N* 2 for the shadow and black parts 3. A pencil-mine, for the details. If you use one is okay.

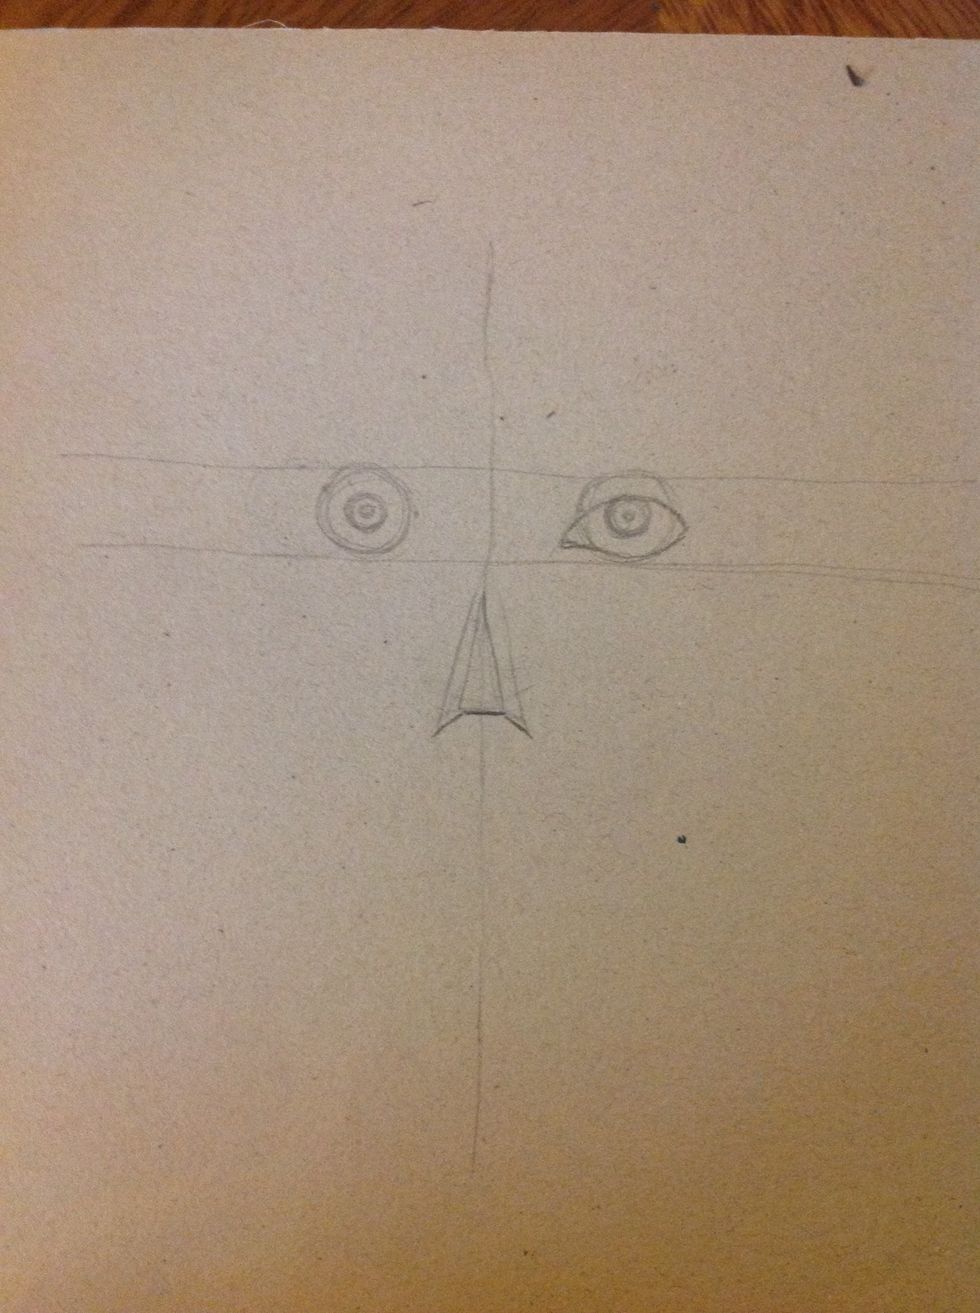
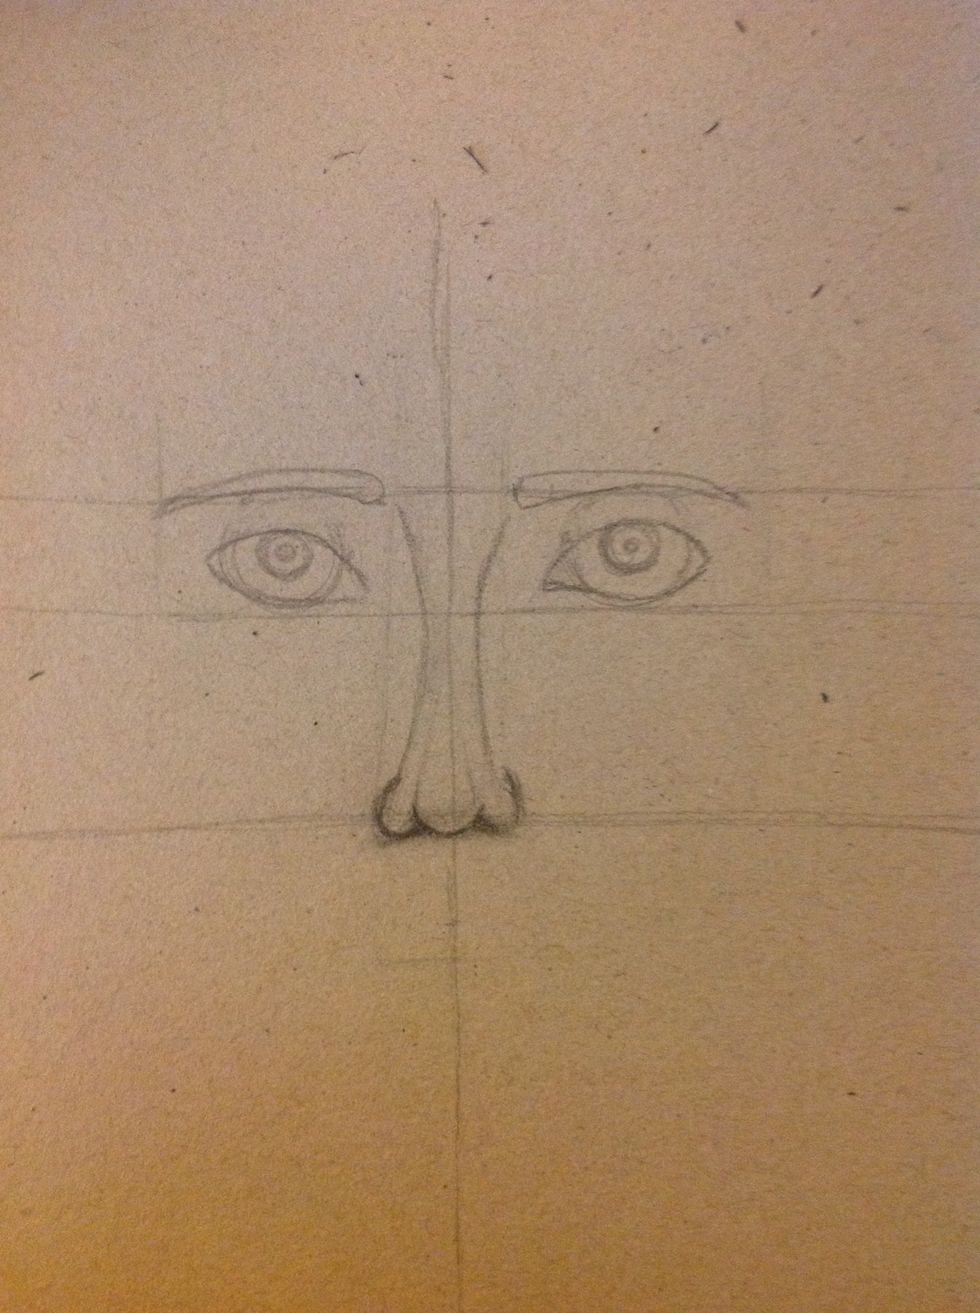
Draw 3 lines (no need of a ruler). The space between the horizontal lines will be the size of our eyeballs. NEVER ERASE THIS LINES, ARE VERY VERY IMPORTANT!
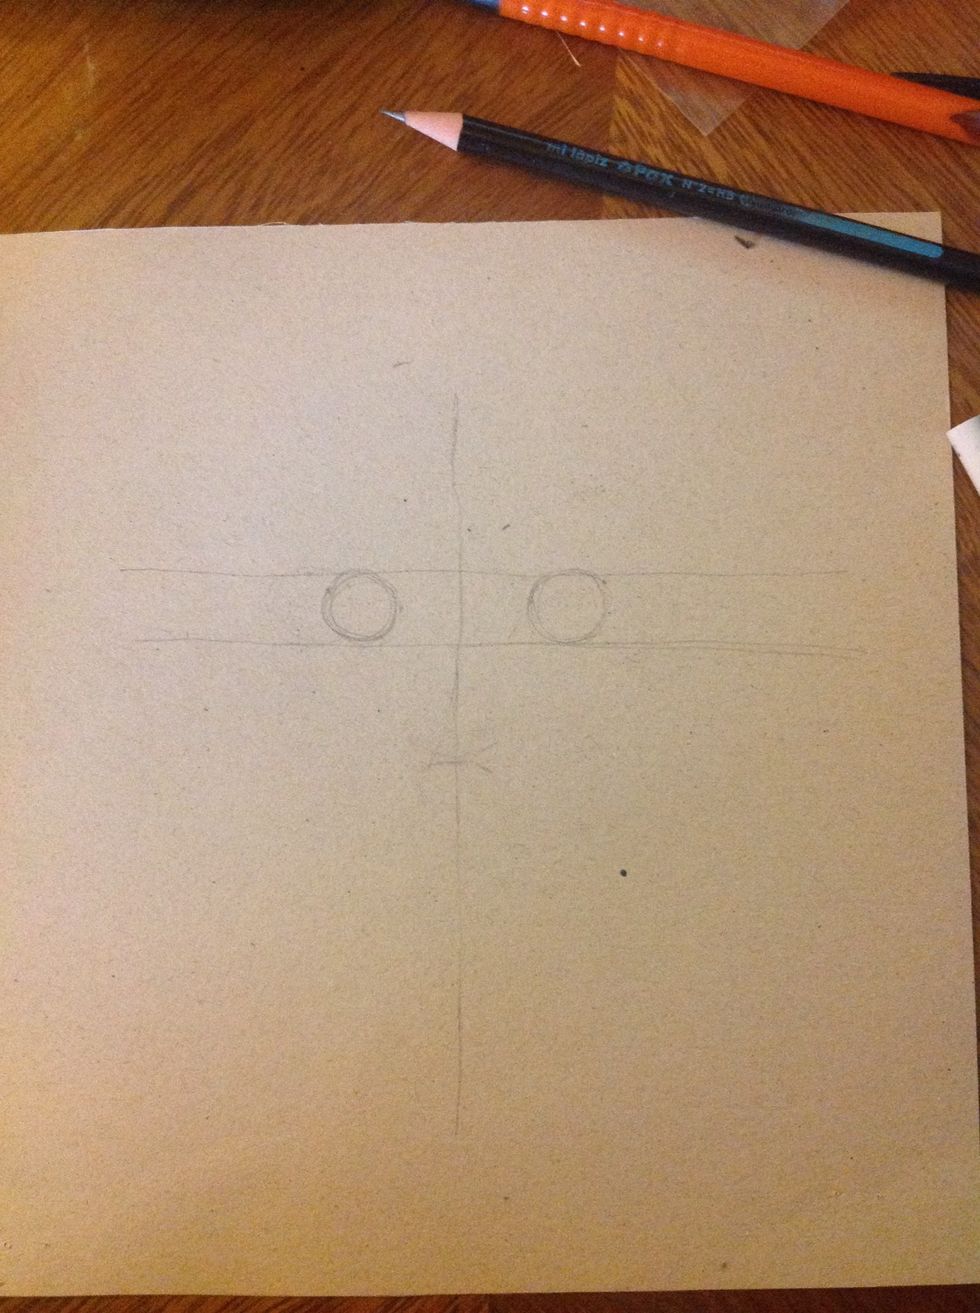
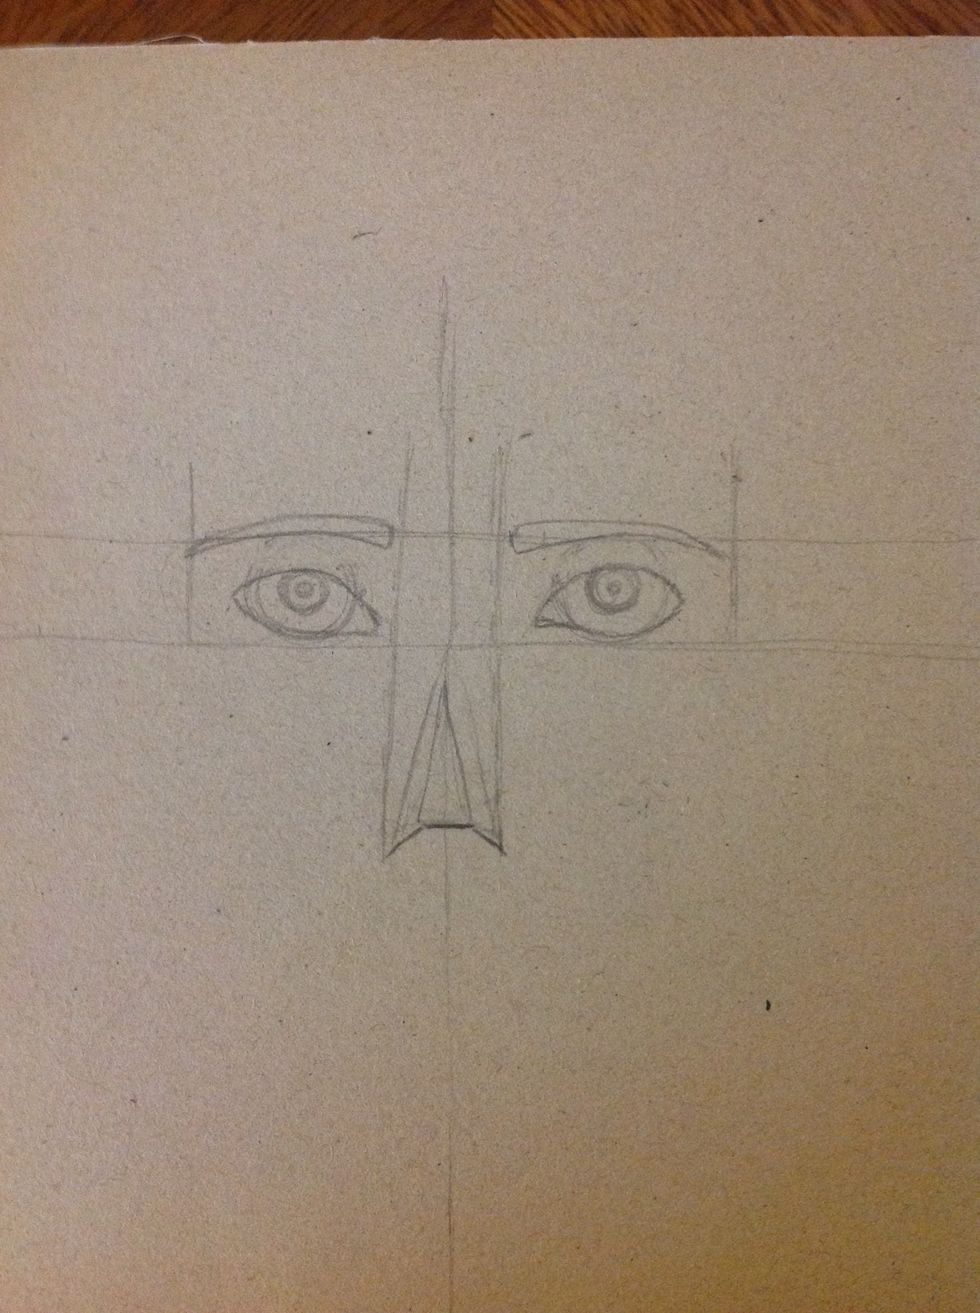
Draw the eyeballs, the distant between them will be the wide of our nose. Try to make an equal distance between the eyeball an the vertical line.

You can manage de high of the nose. Ones you chose where it goings to be draw a triangle based on the vertical line. Then draw to more on the sides as the picture.
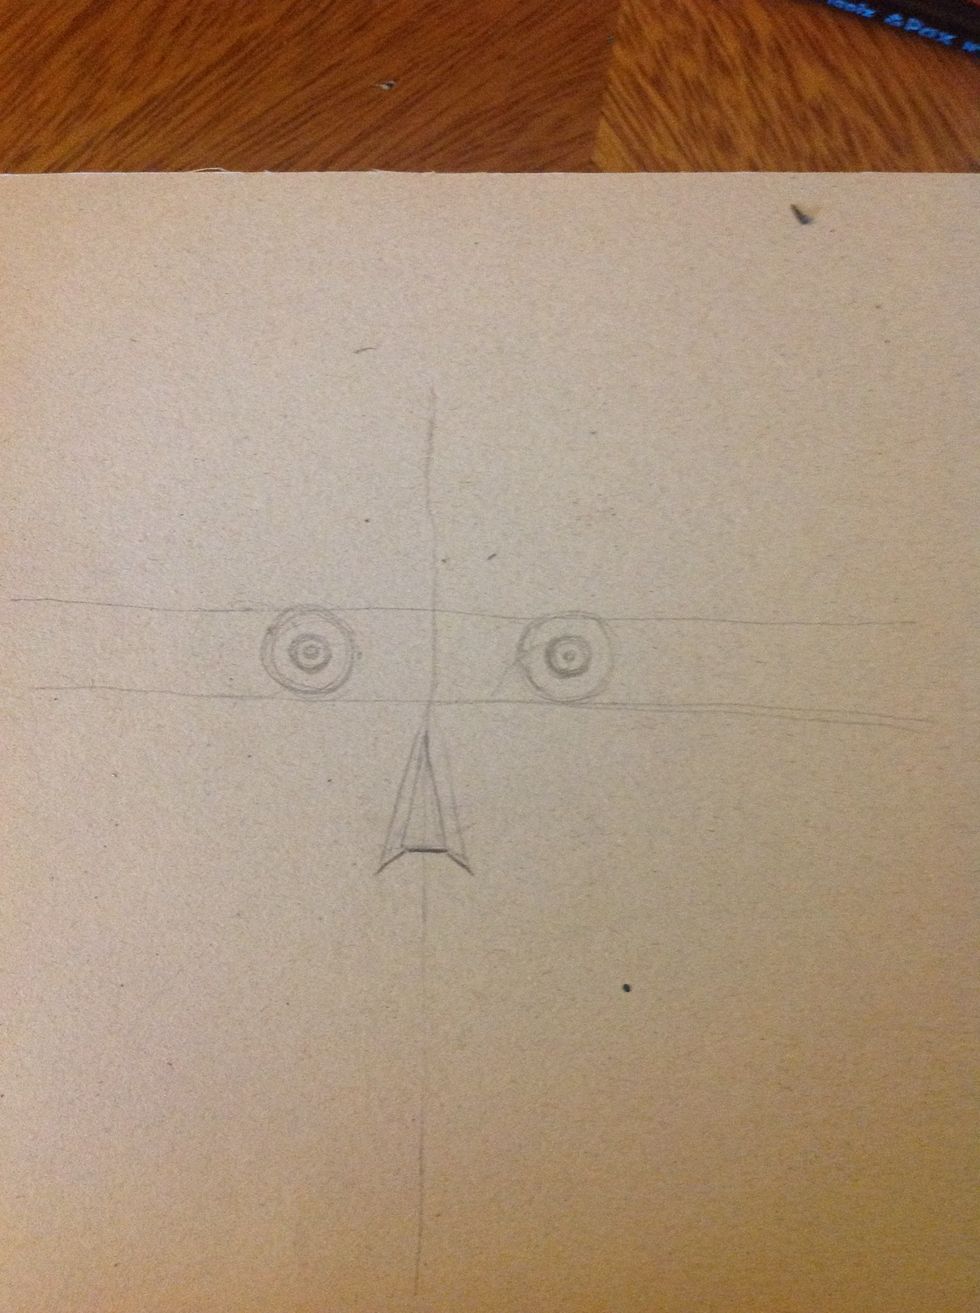
Let's make the pupils. You can chose the direction an the size. I recommend to make it logical, no so big and no so small.
Now let's draw the form of the eye. There're a lot of ways to draw an eye, I chose this. I invite you to create and do the eye as you wish. Try not to copy! This eye have the form of a almond.
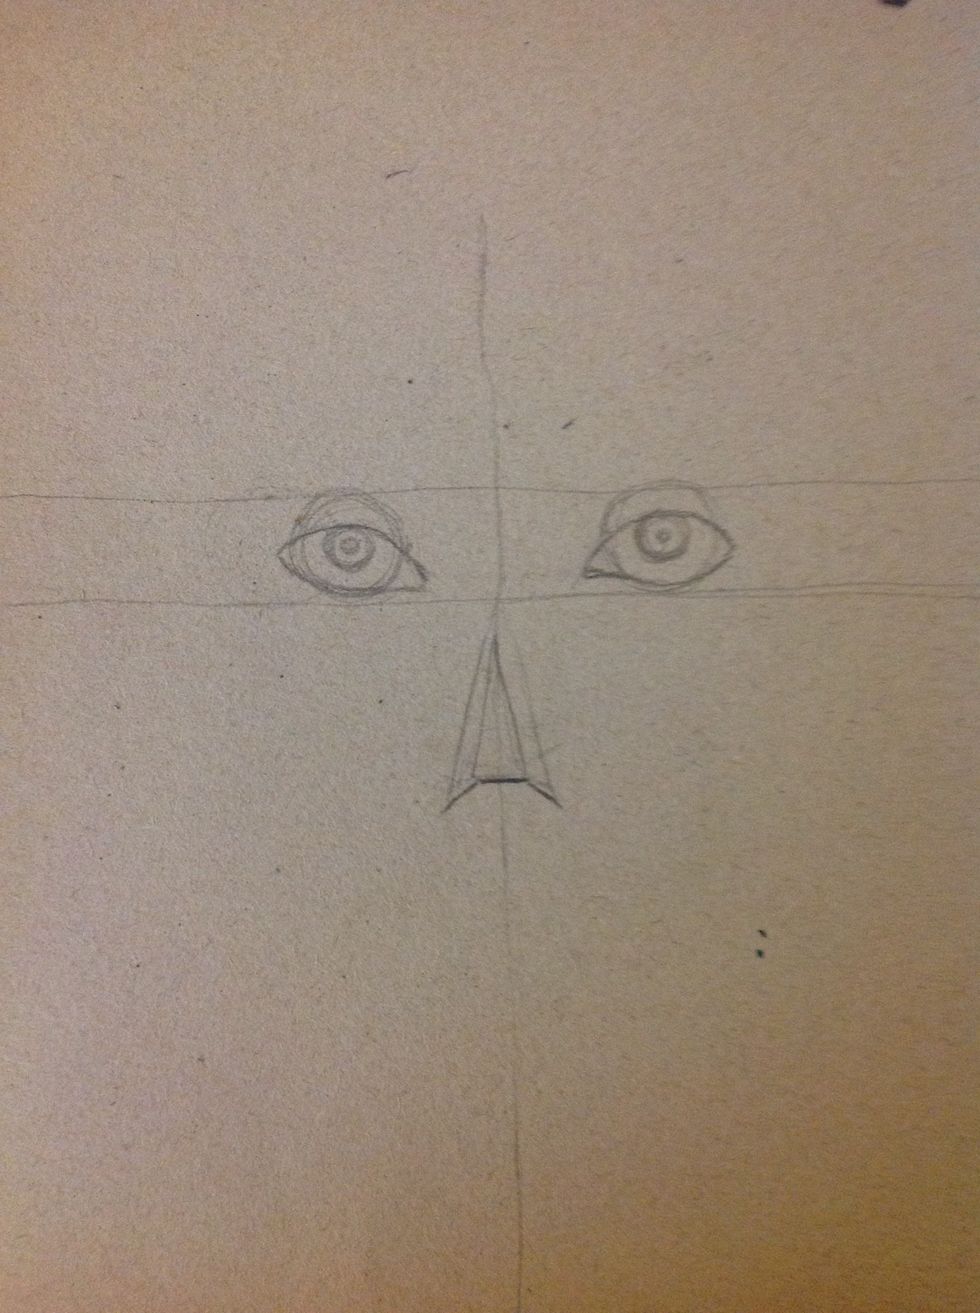
Do it on the both sides an a correct it the times that are necessary until you like it.
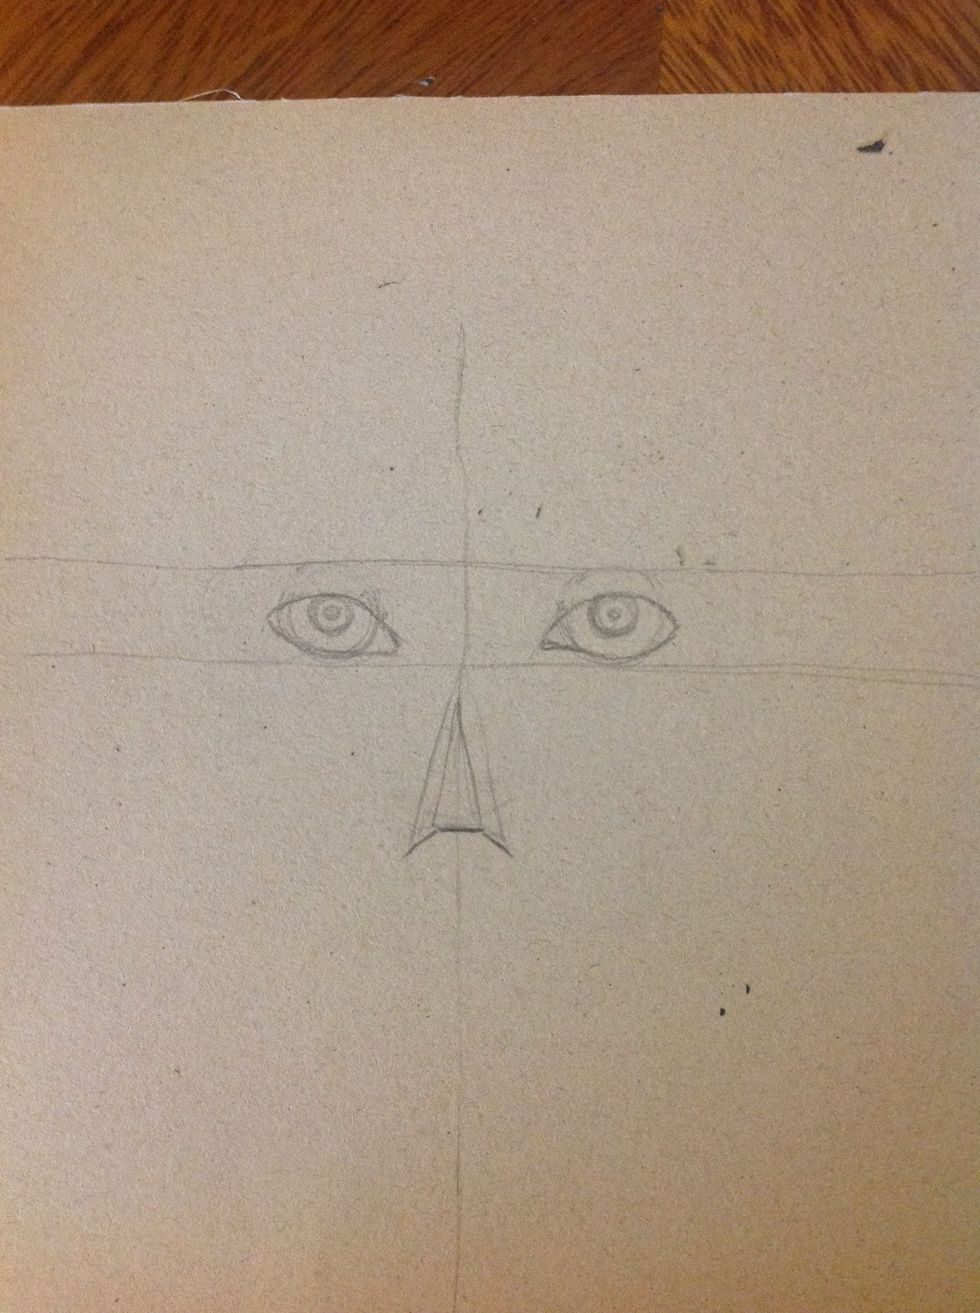
Erase the rest of our eyeballs. If you accidentally erase the lines, please make them again.
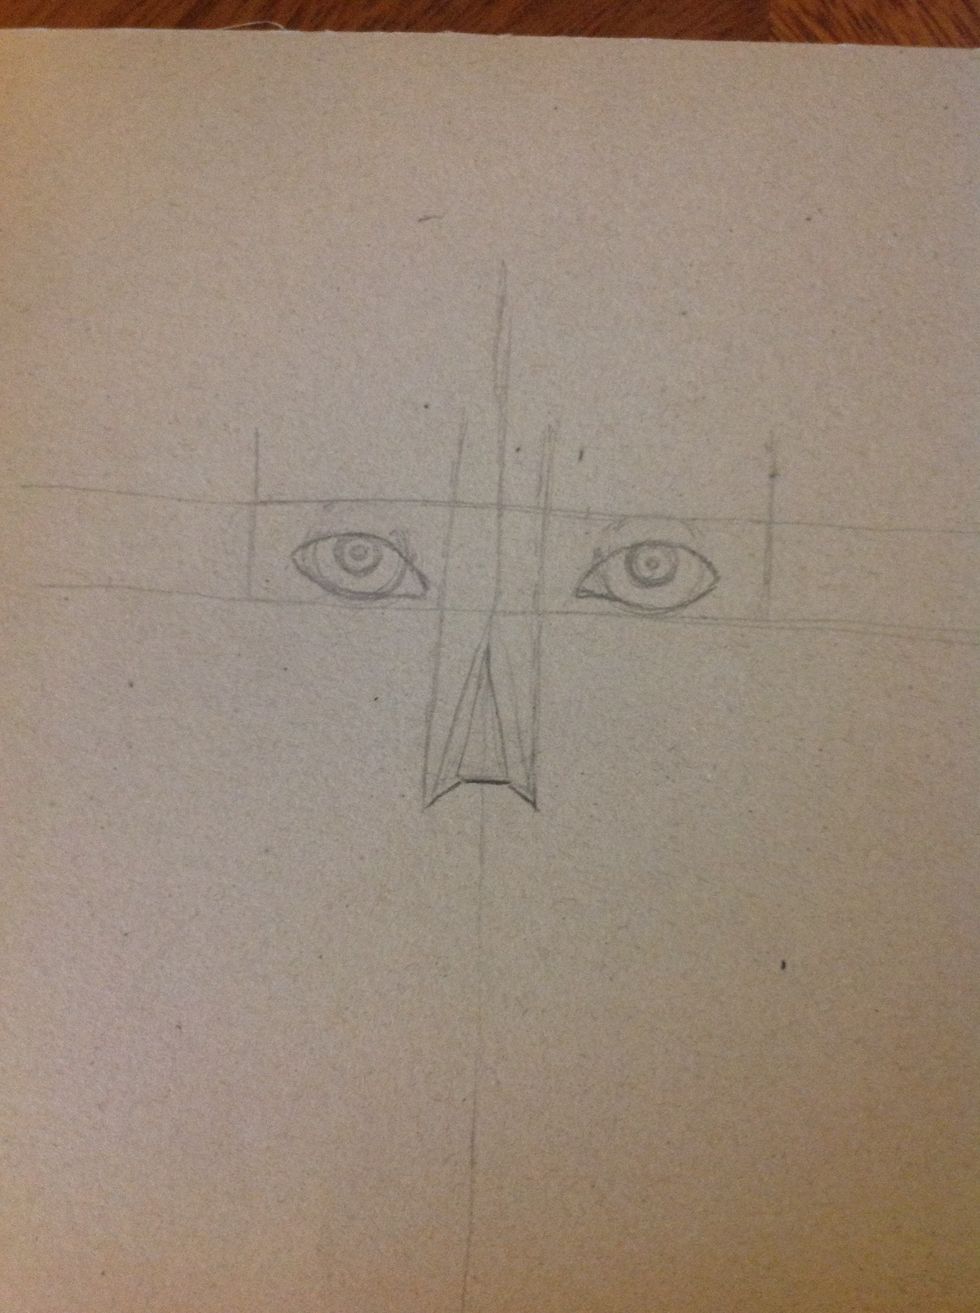
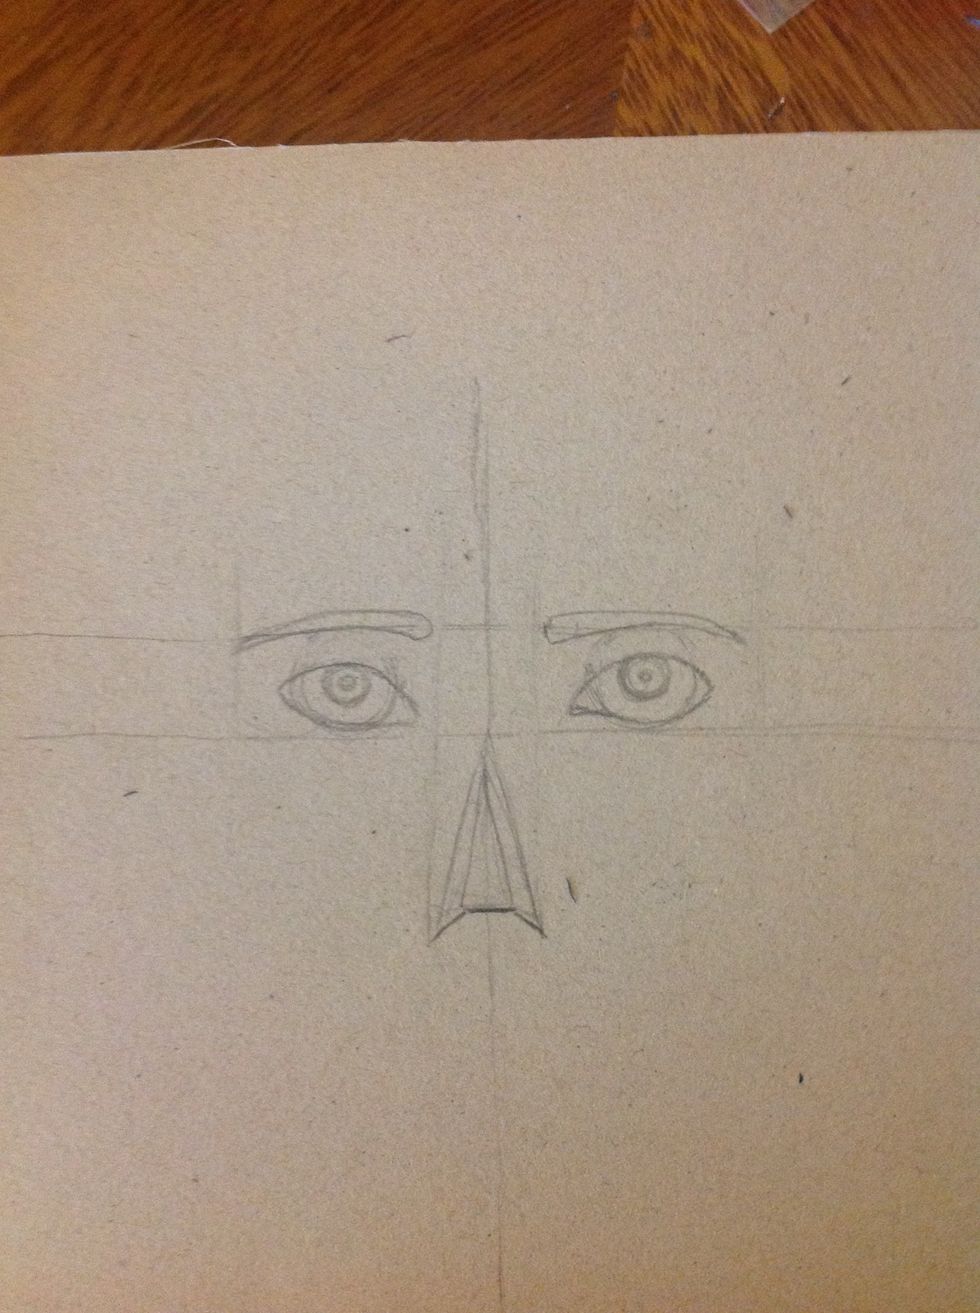
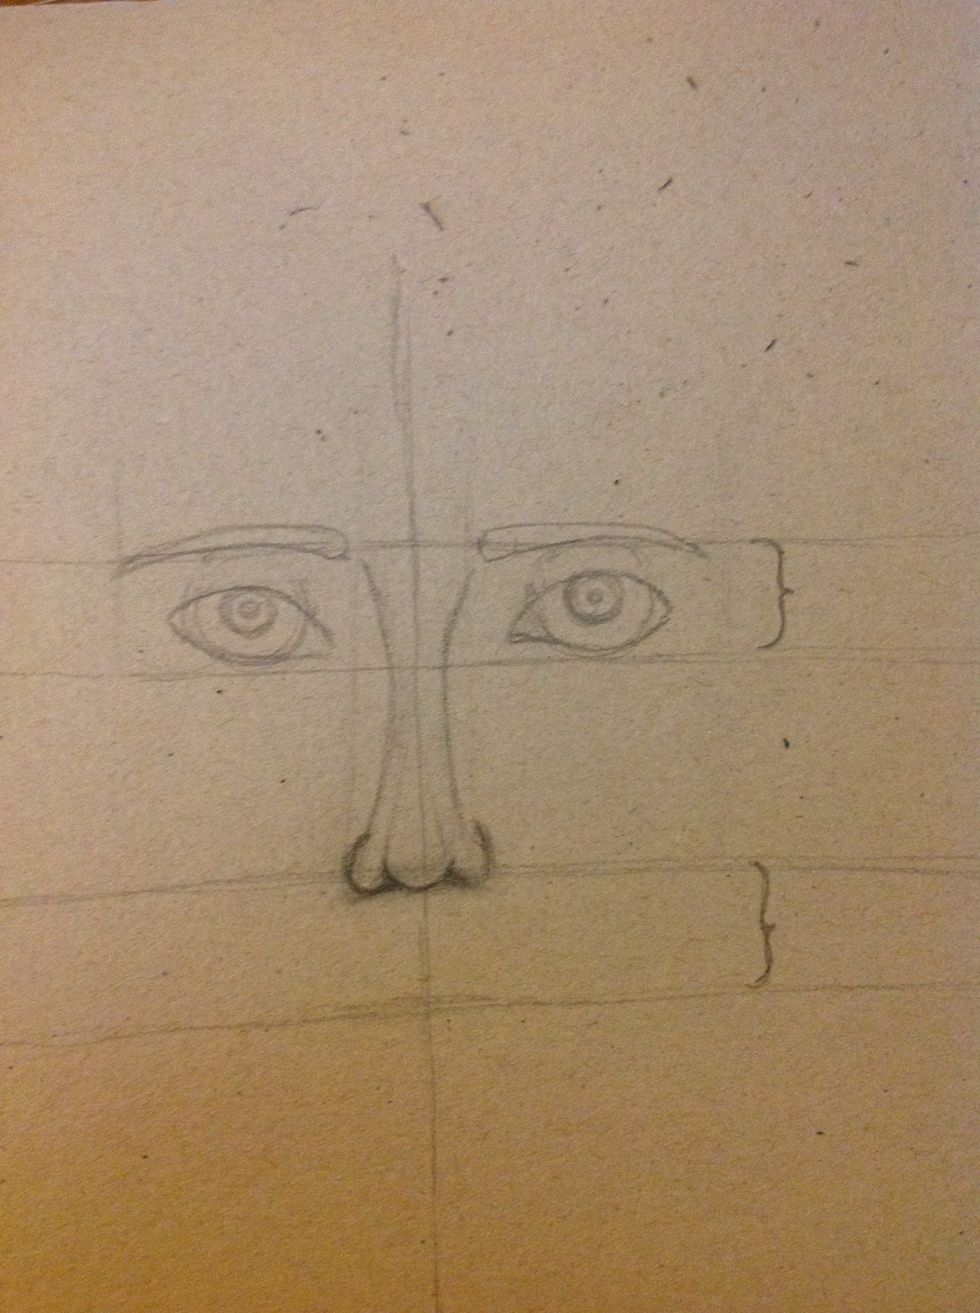
Considering the width of the nose, draw two lines as the draw (no ruler necessary). And then make other two lines on the other size of the eye. That's going to be our eyebrows.
There's a lot of type of eyebrow. I chose this form. You can correct it anytime!
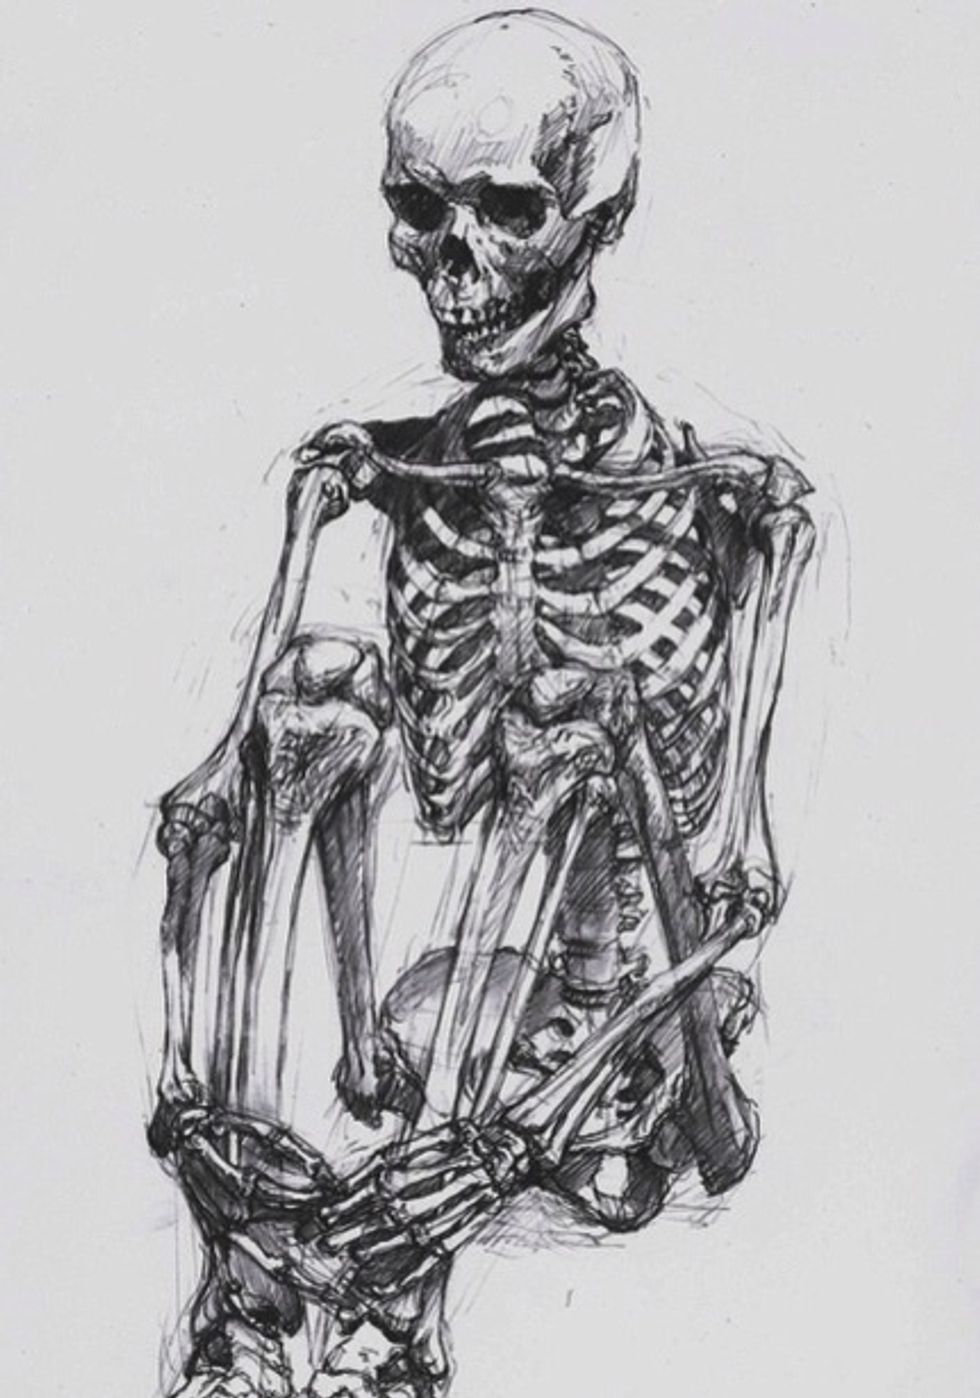
HELP! THE BEST WAY TO LEARN HOW TO DRAW A REALISTIC HUMAN FACE IS TO LEARN HOW TO DRAW A SKULL.
Erase the lines we did before and remember to fix the 3 lines if you erase some part
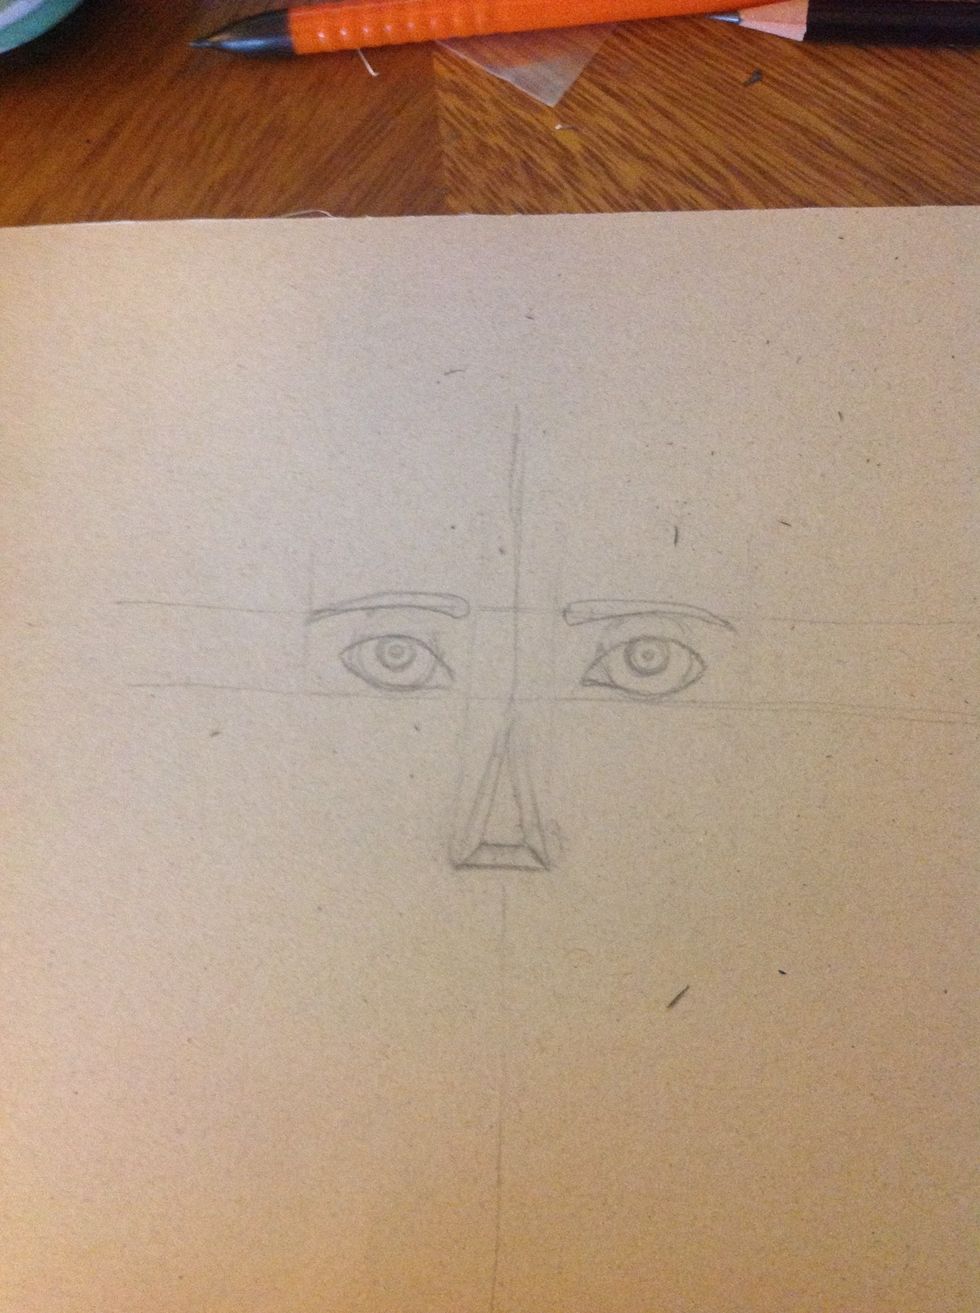
Now we will make the nose. Draw a line in the triangle as you can see in the picture.
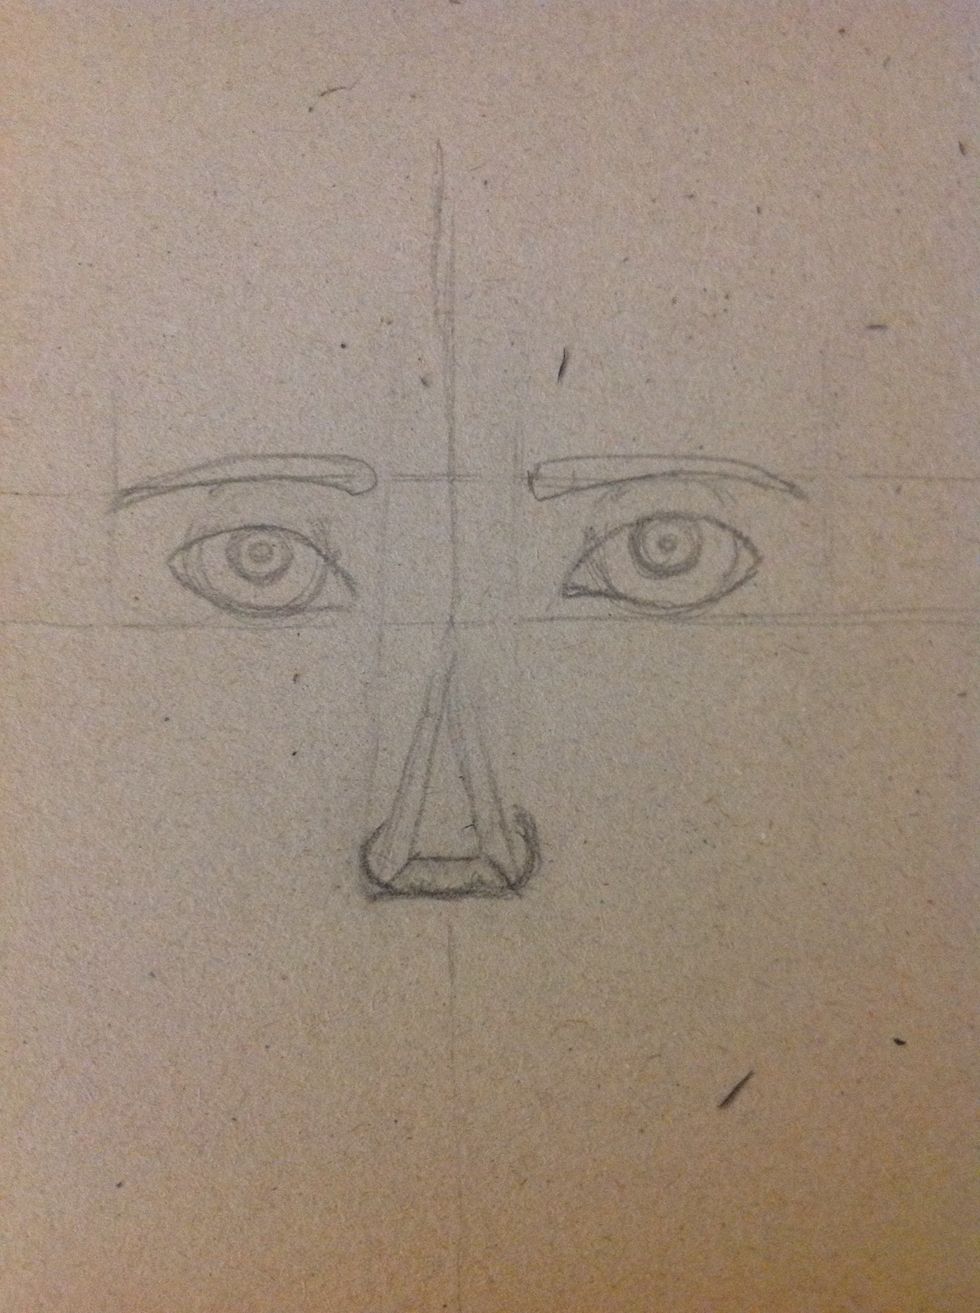
Draw the width of the nostril. That will be the width of our nose.

Now draw the center of our nose. We have to make an inverted "C" and it have to reach the width of the base of the triangle
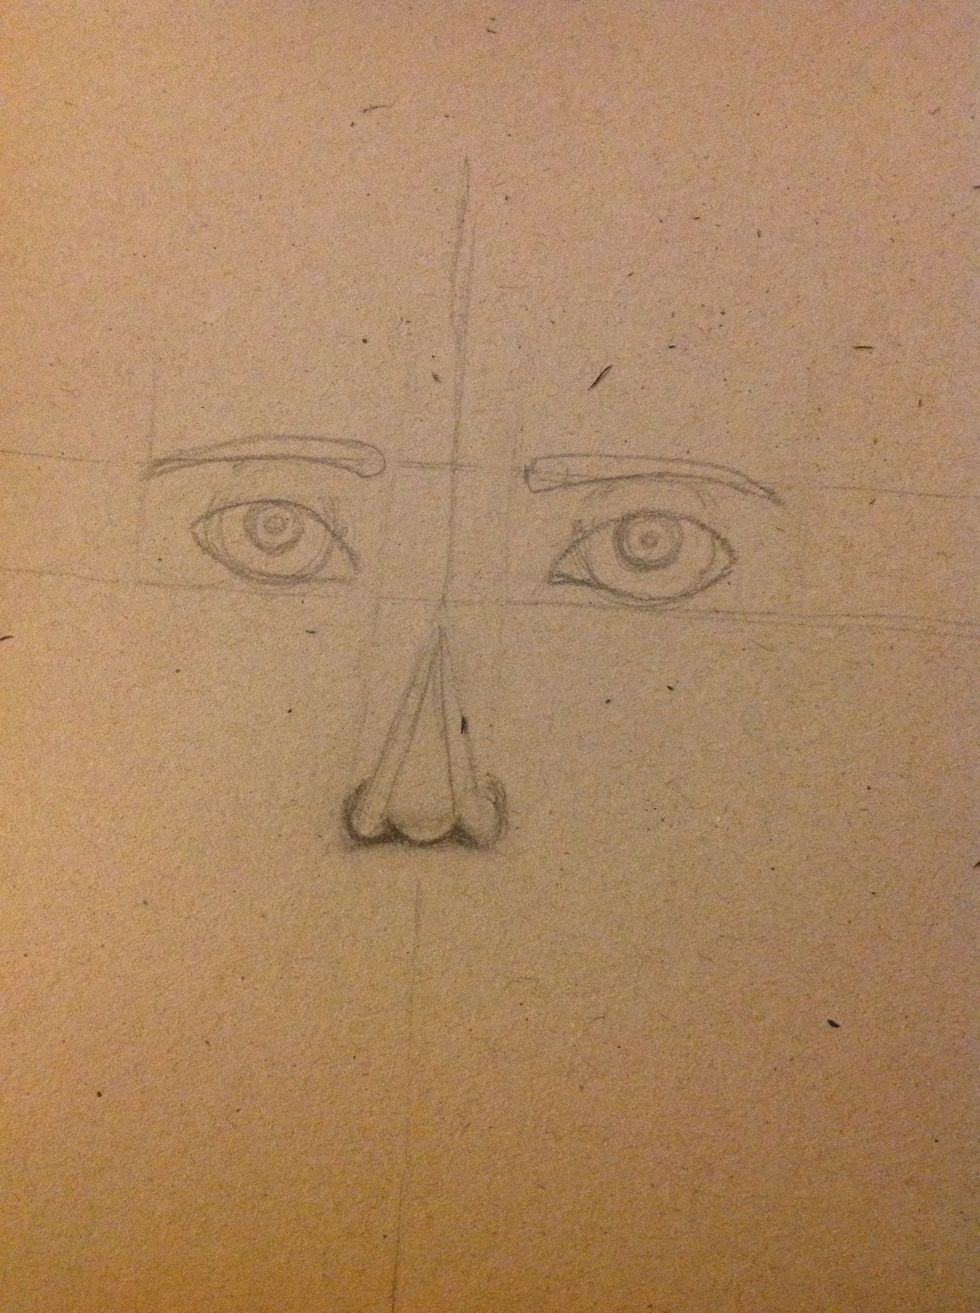
You can erase the bases of the triangles.
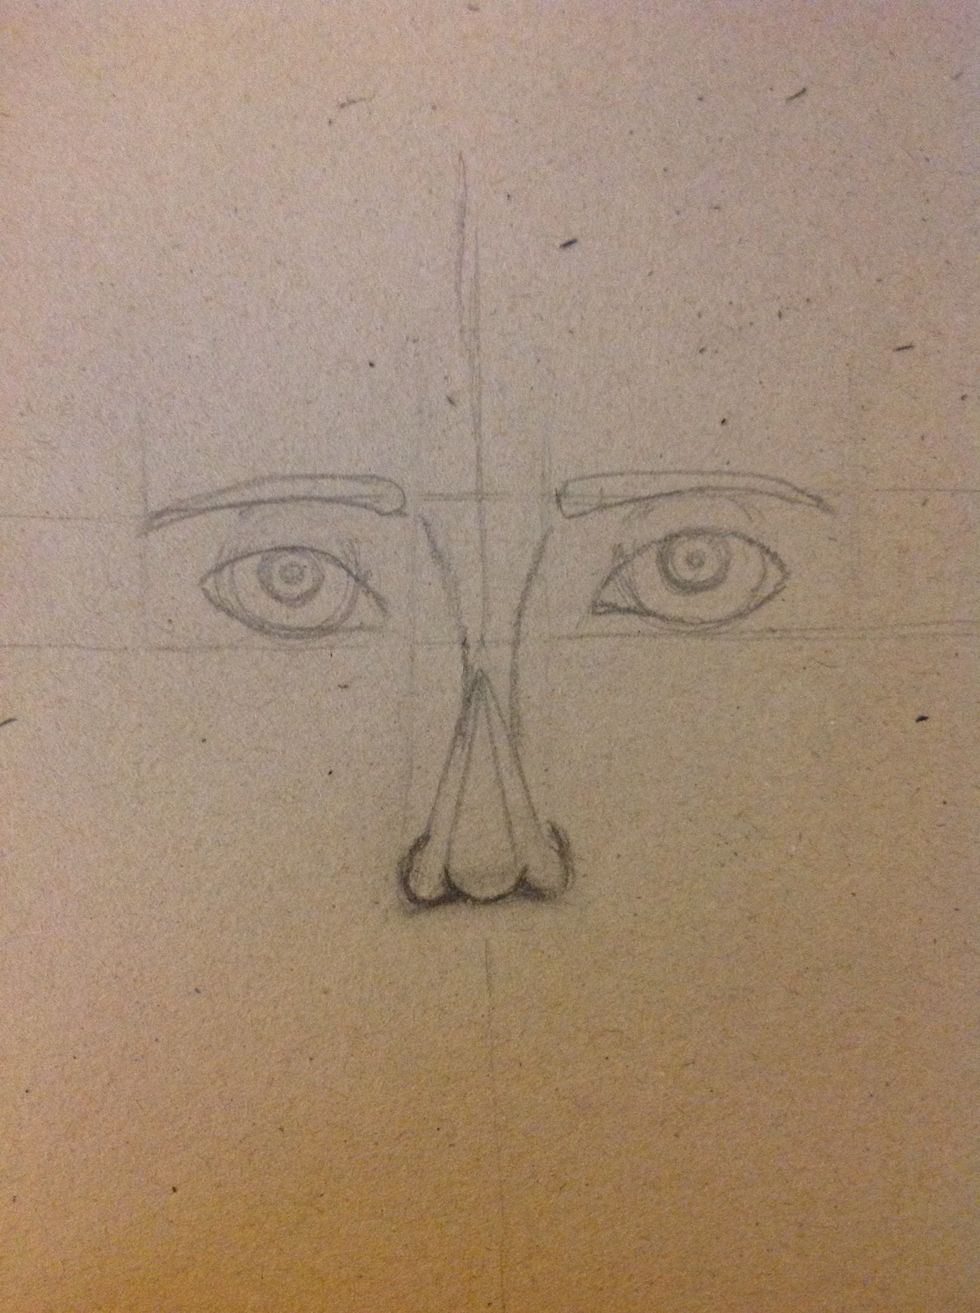
Join with a curved line the width of the tip of the triangle with our eyebrow. That will be the width of the bridge of the nose.
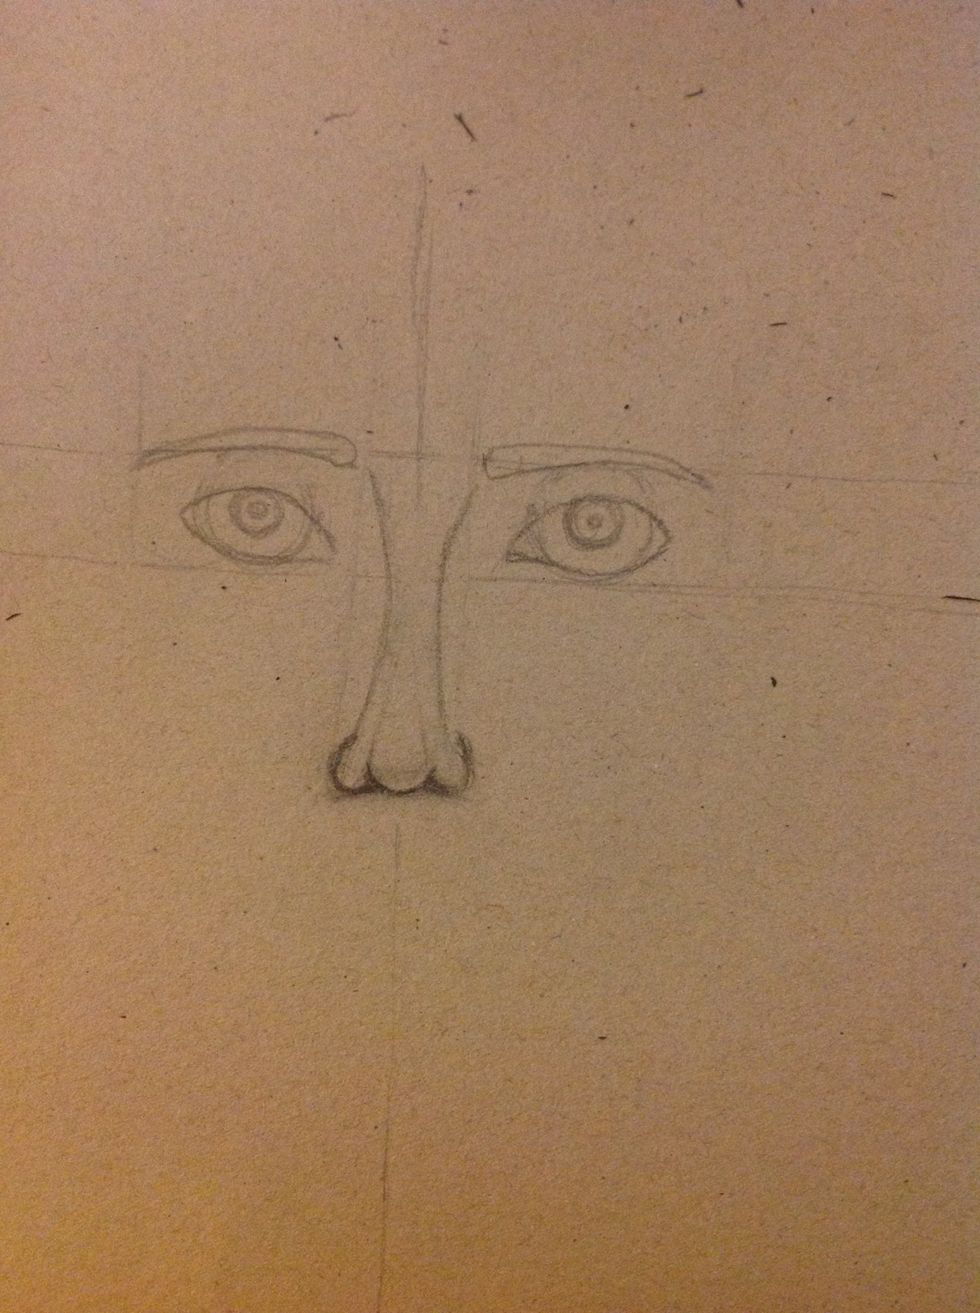
Now you can erase the triangle.
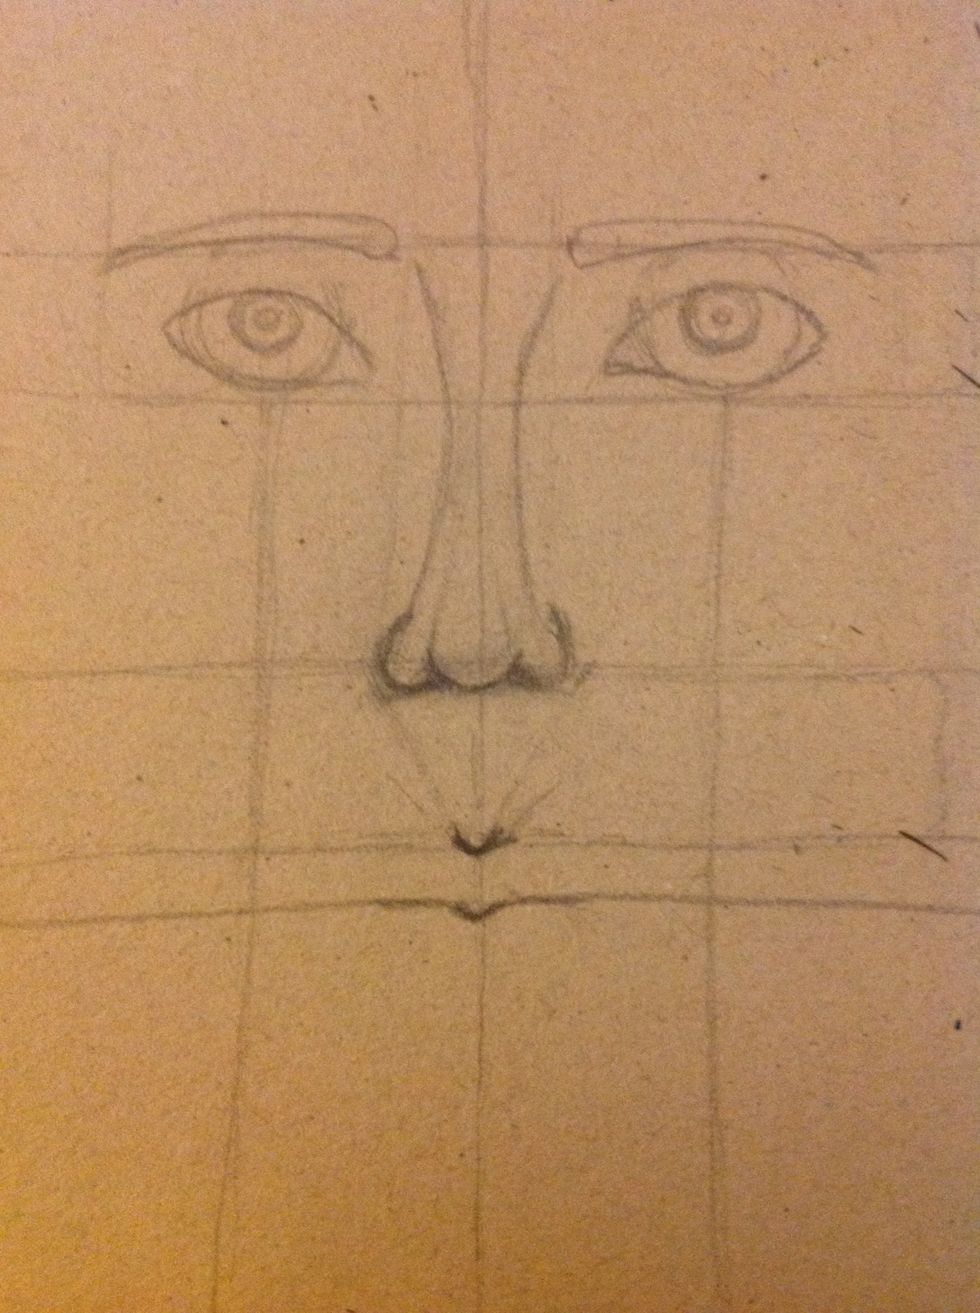
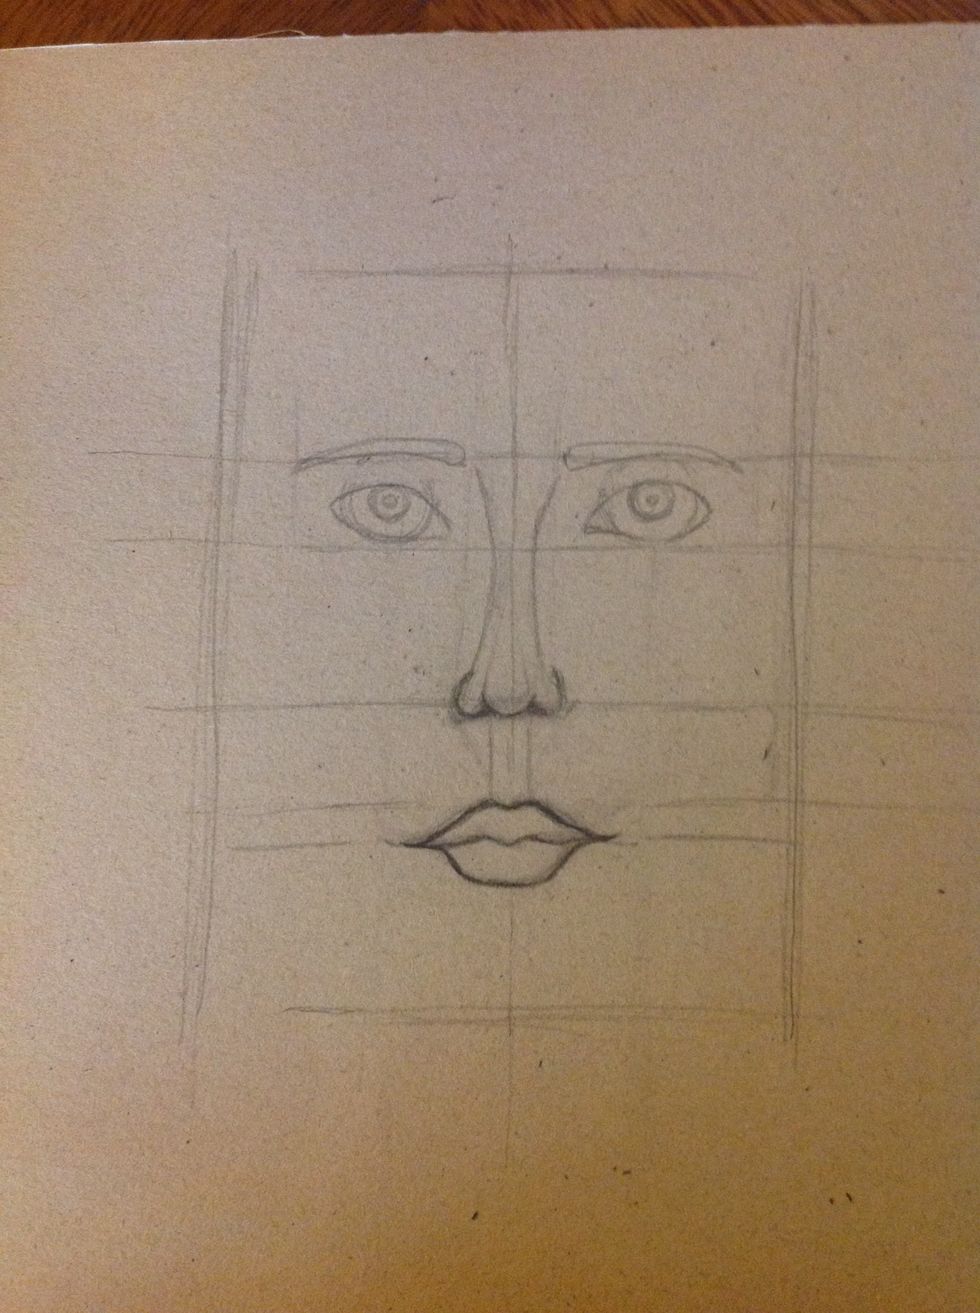
Remake the 3 lines so we can draw the mouth. Make a fourth line at the height of the nose.
Down the 4 line, add other one. The space between this lines is the same size of our eyeballs.
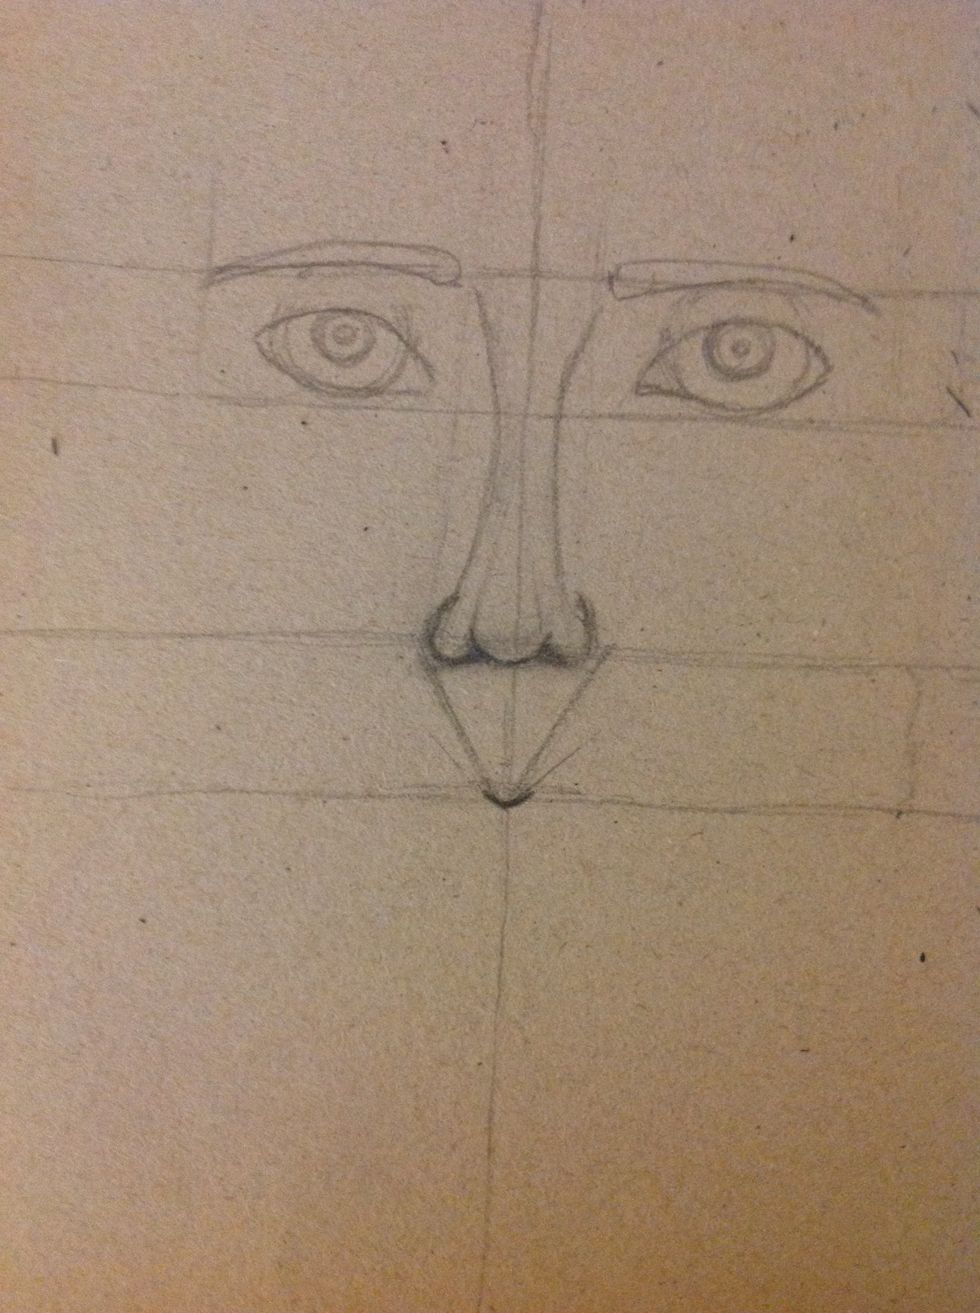
Make a "V" following the vertical line and mark the tip of it.
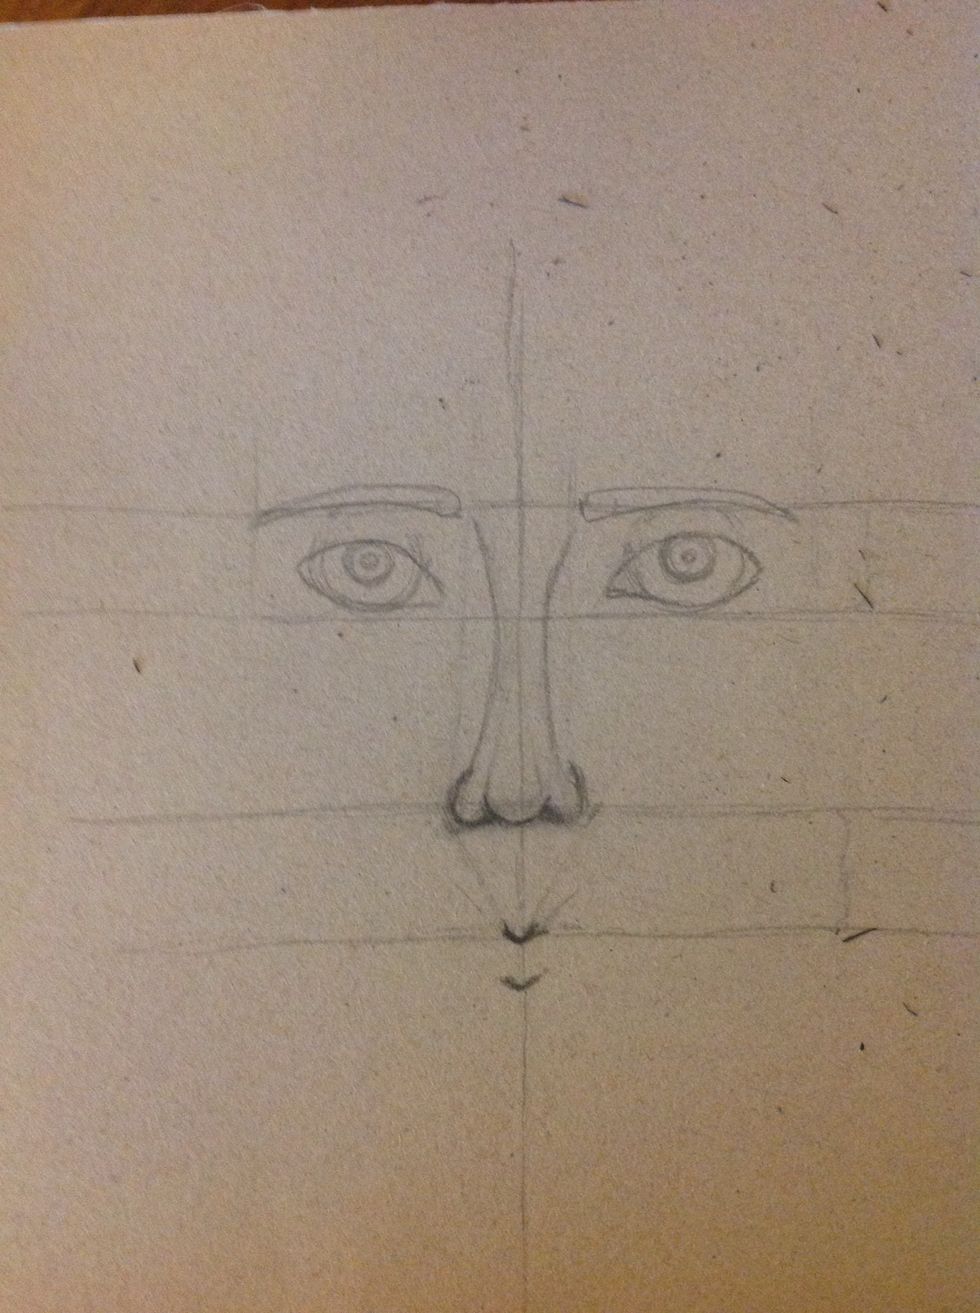
Erase the "v" and make an equal mark down the other as you can see In the draw. That will be the high of the lip of the top.
Make 2 lines that come down from the middle of the eyes. Draw an horizontal line that marks the high of our lips. These new lines will show us the wight of the mouth.
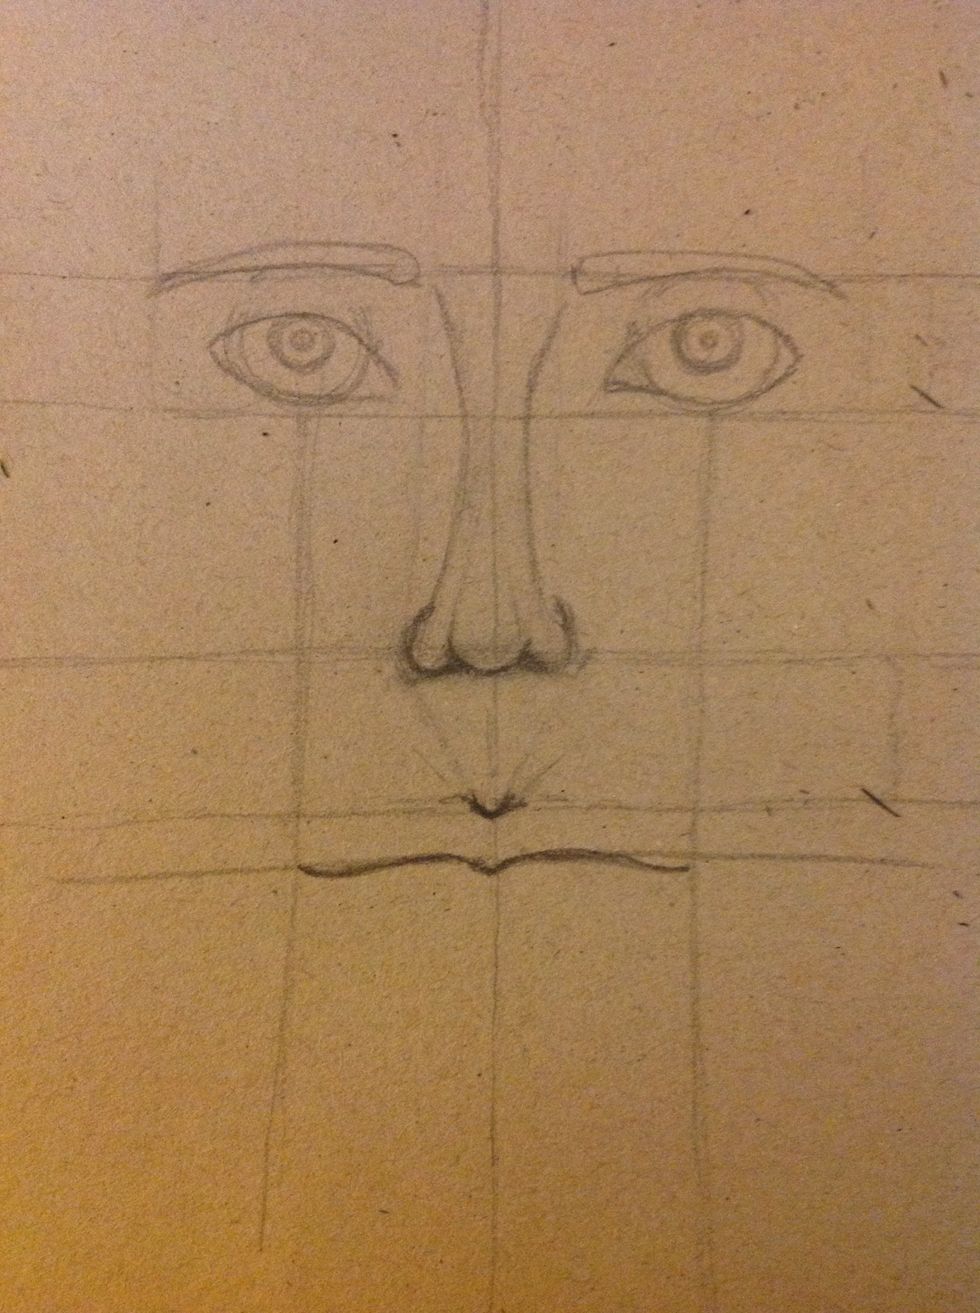
Draw the corners of our mouth.
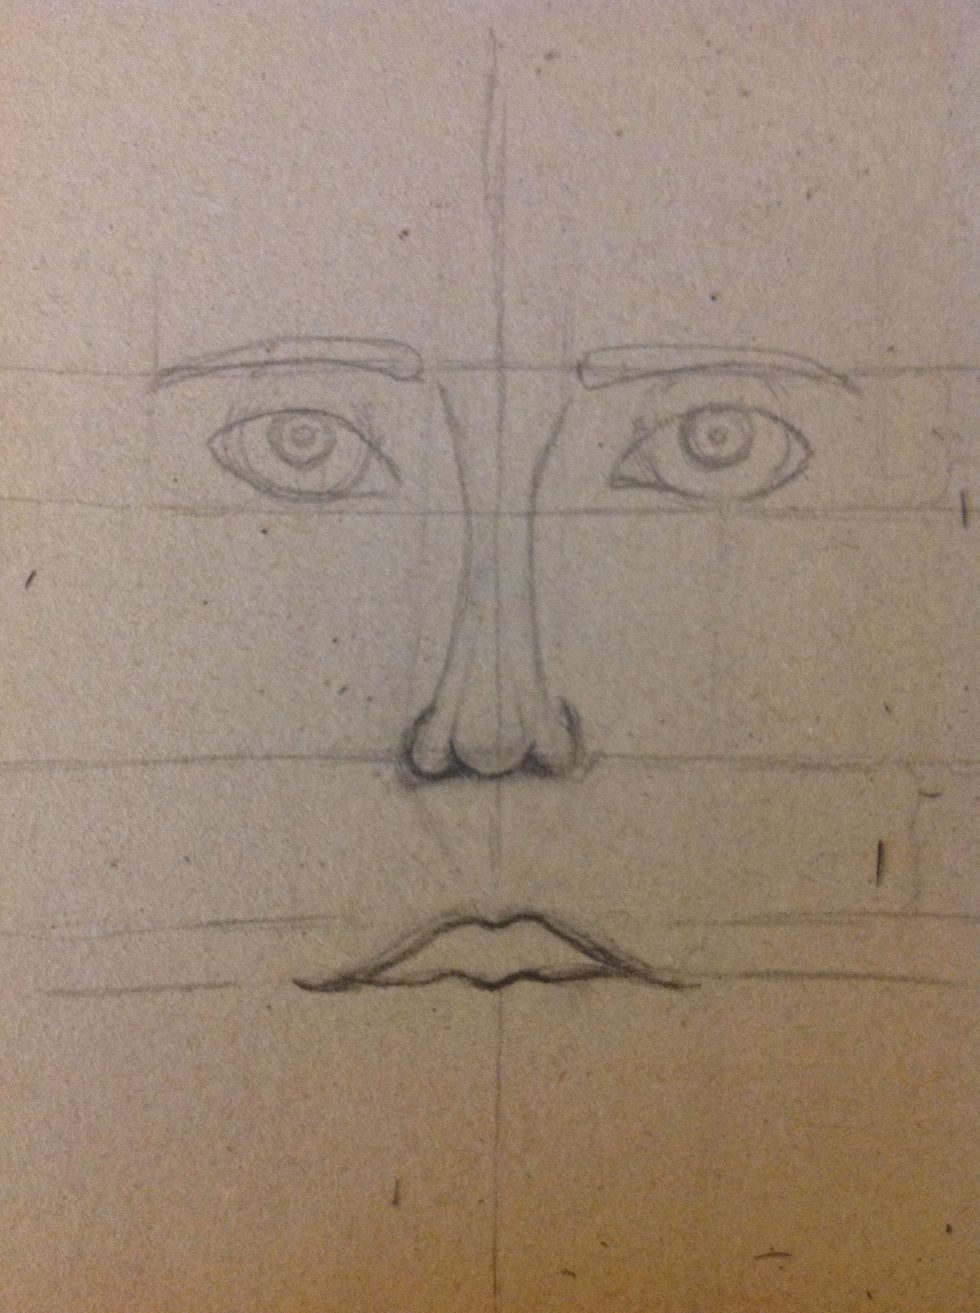
Make the lip of the top as you wish. I like a full lip. Erase the vertical lines of the eyes and the mouth.
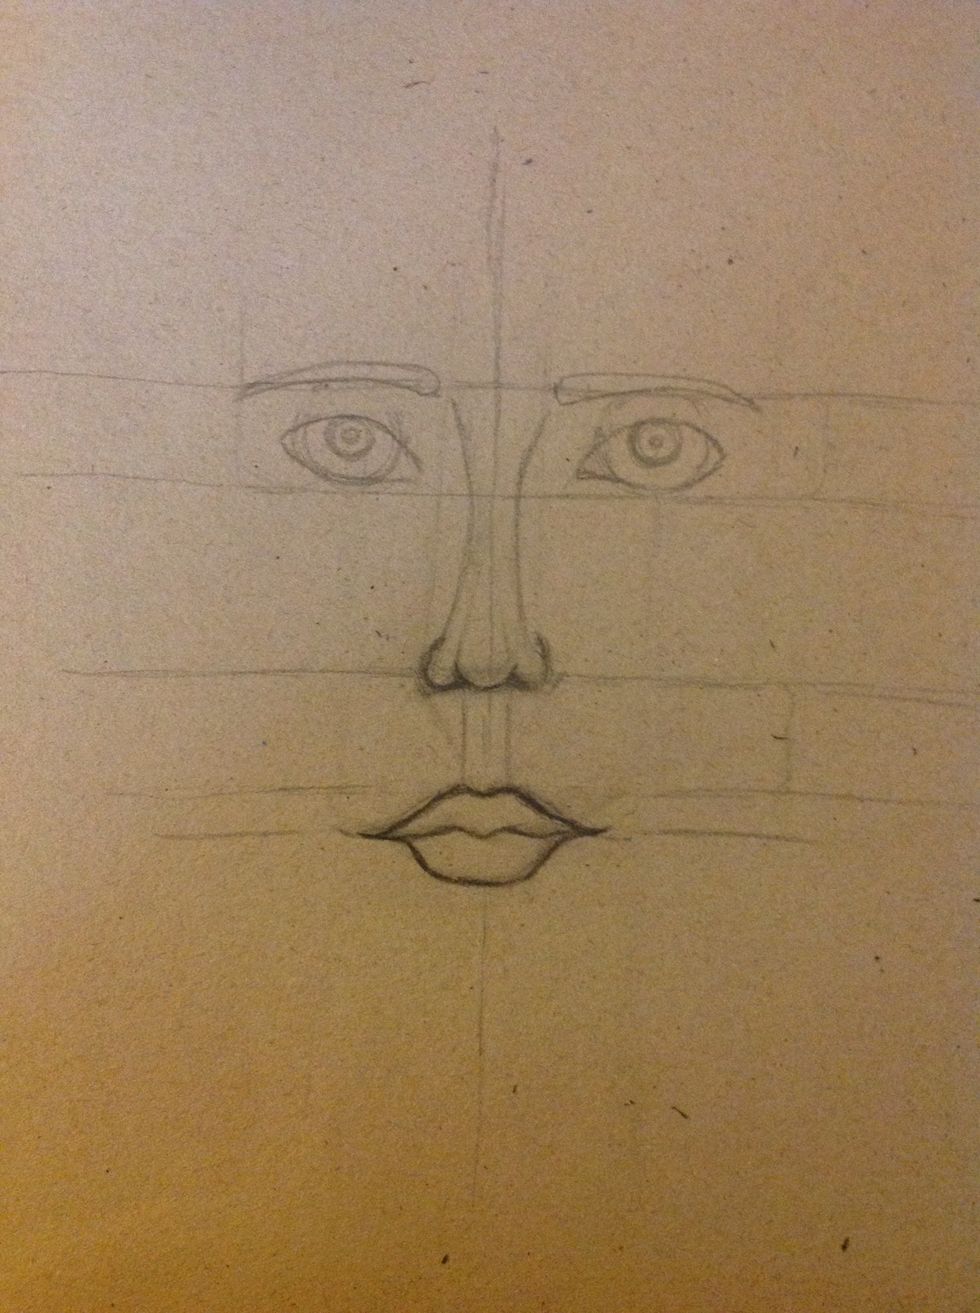
Make the last lip and correct it so many times as you need.
Now with a block, draw the high and the wight of our face
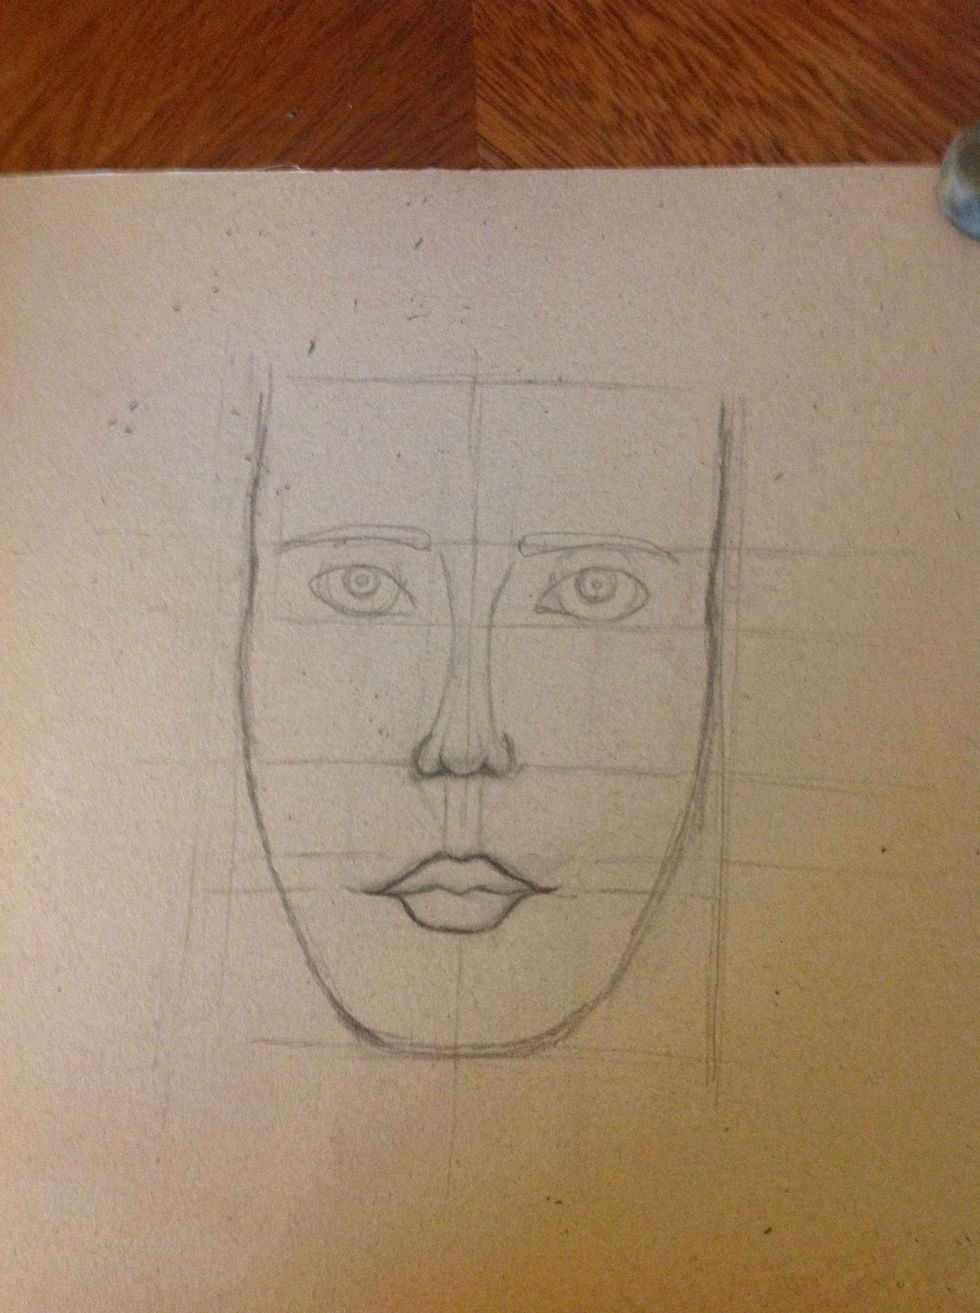
Make the form as you prefer.
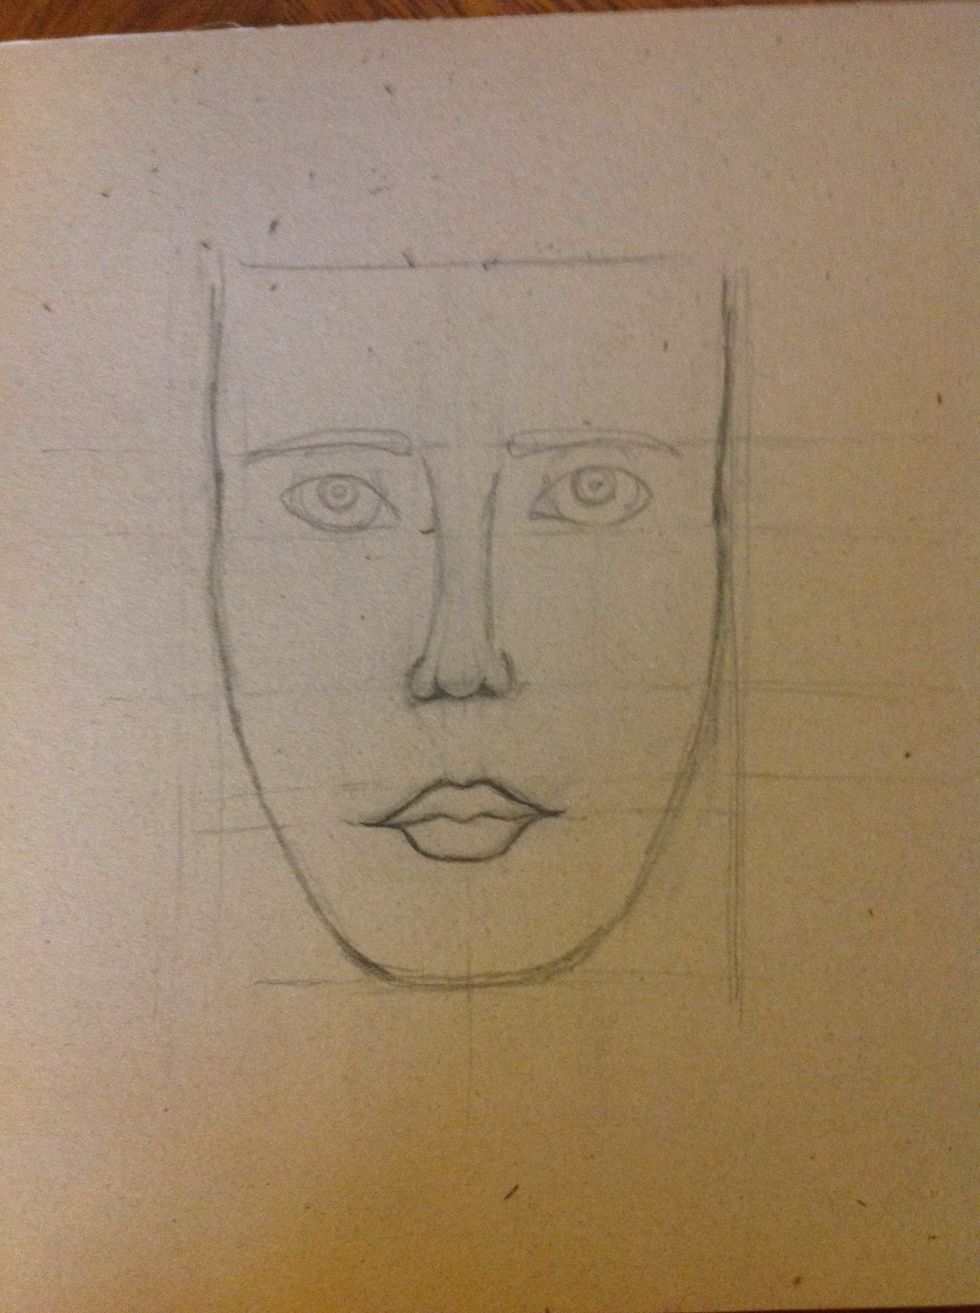
Now you can erase ALL the lines. Even the 3 lines that were so important.
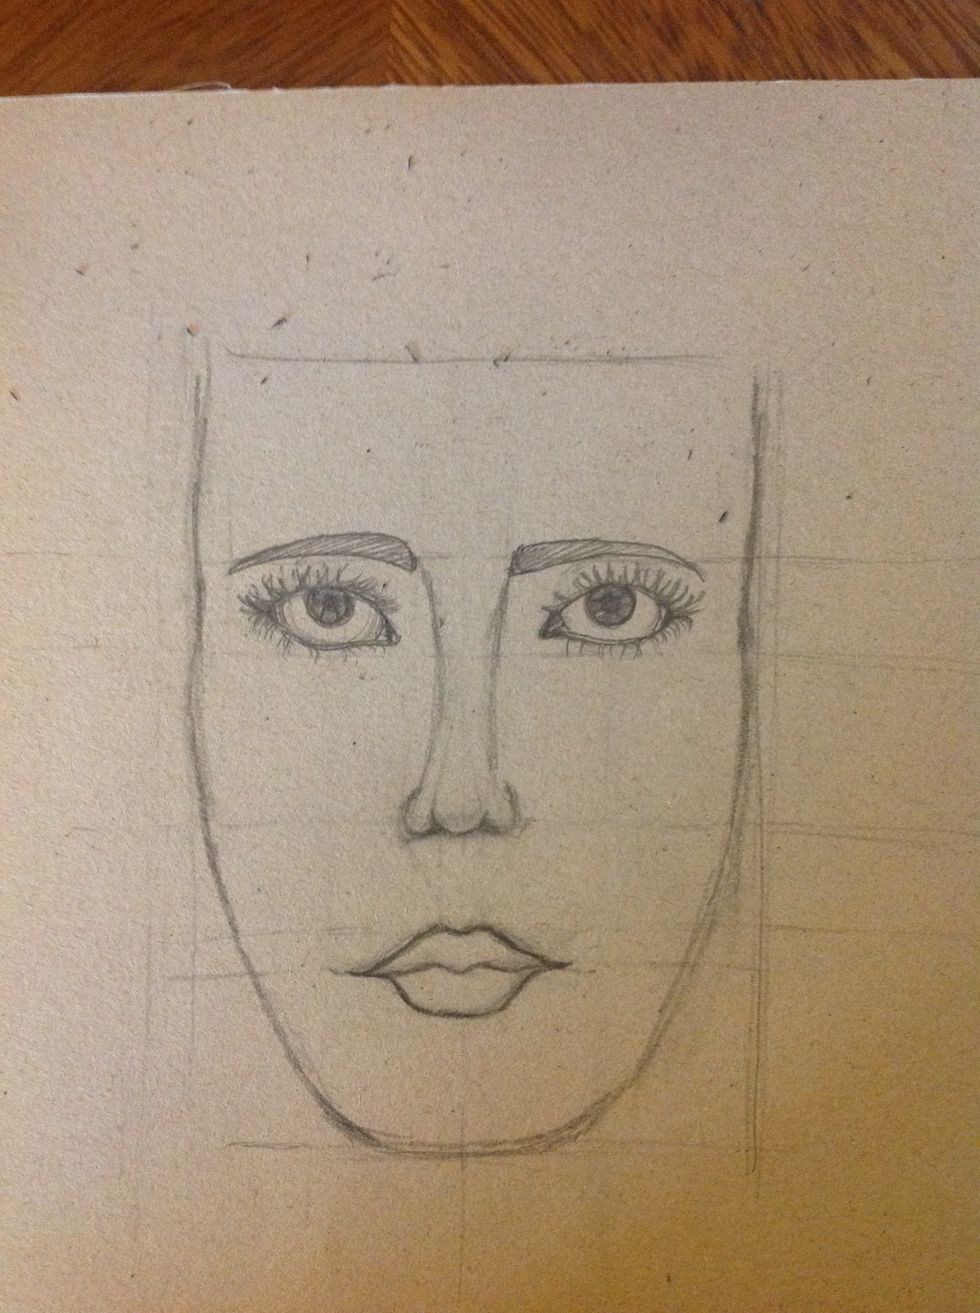
Now we are into details. Put data ills in the eyes. Put color in the pupils and eyelash.
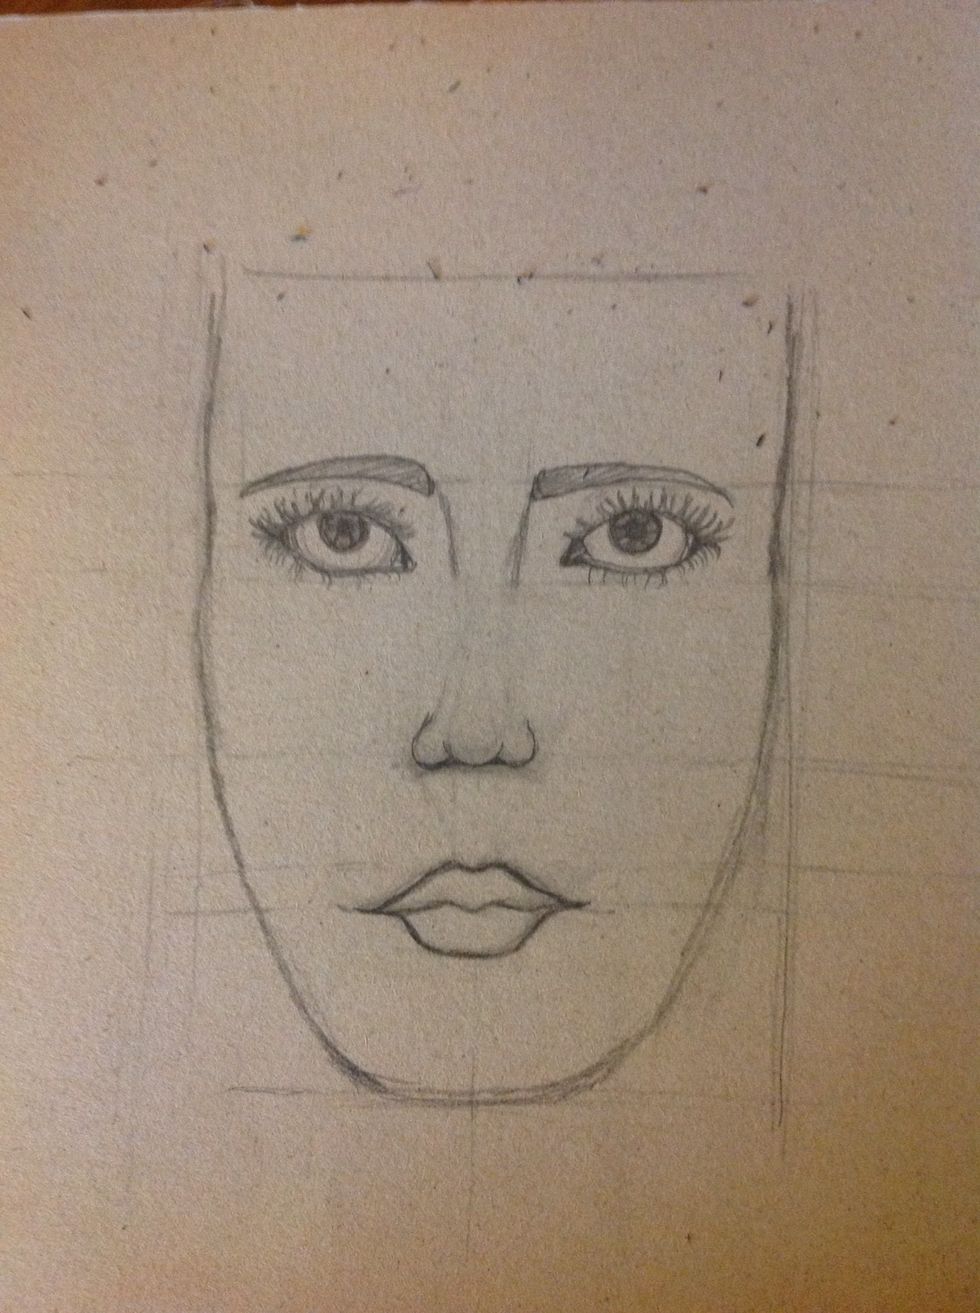
Erase the center of the long of the nose. Left only the tops.
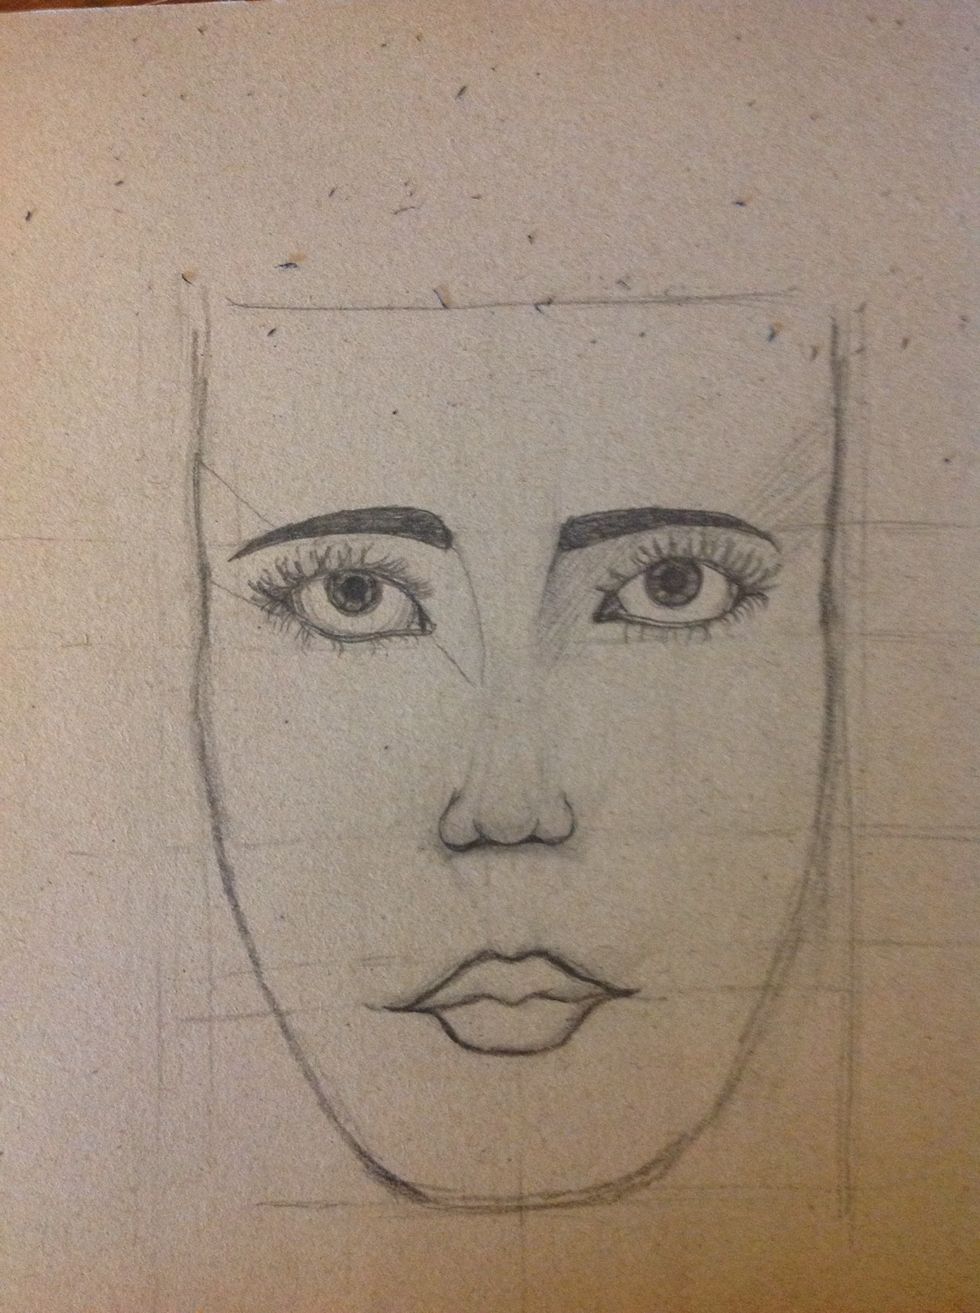
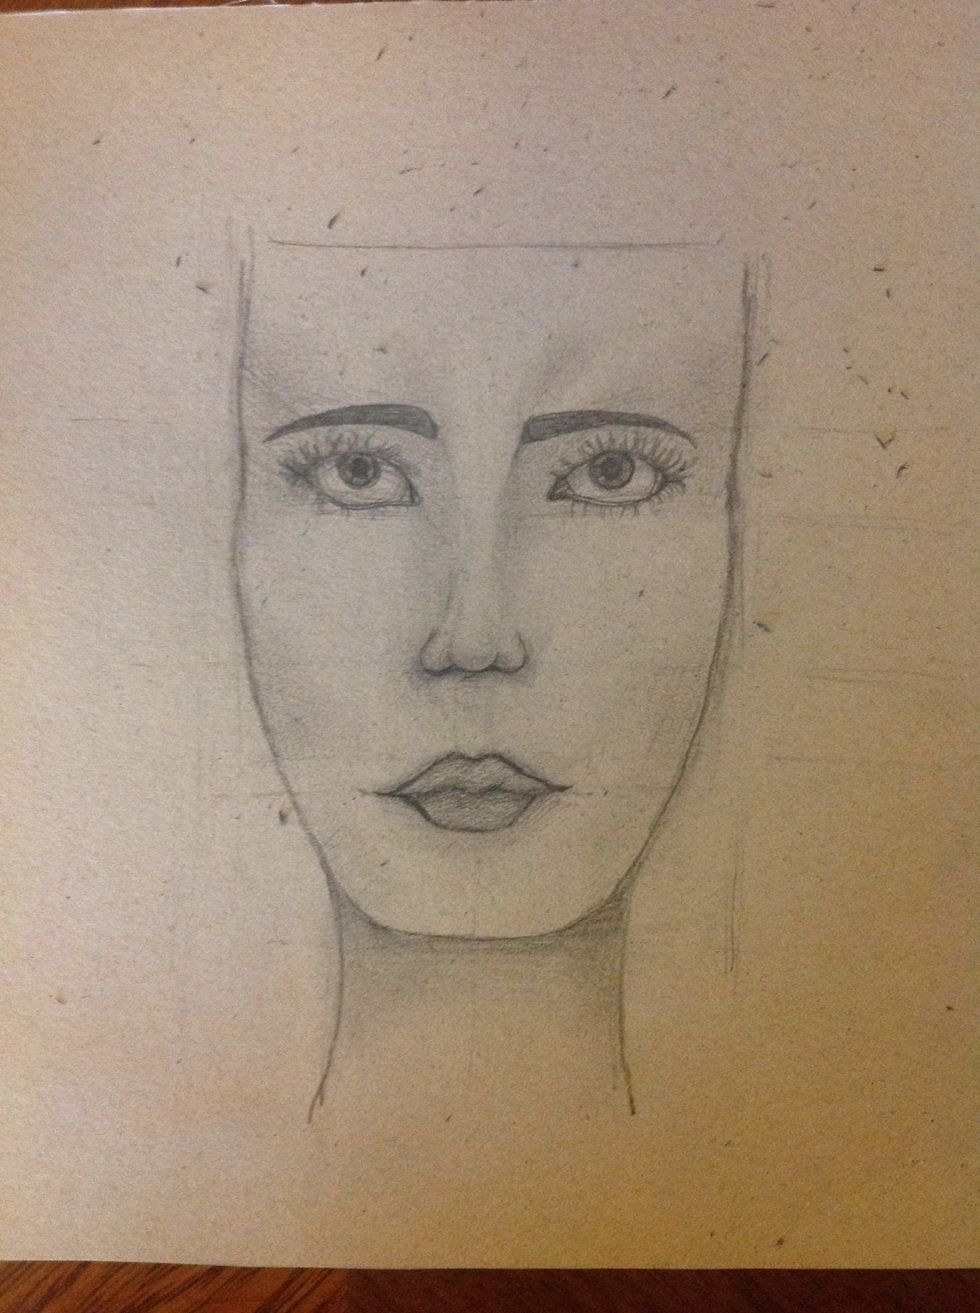
Now we are going to make the shadows in the face, remake the eyebrows and make with a pencil tiny lines (don't press) as you can see in the picture.

HELP! MAKE THE SHADOWS OF THE FACE IS EASY. YOU HAVE TO FOLLOW THE SAME STEPS THAT YOU DO WHEN YOU USE MAKE UP.
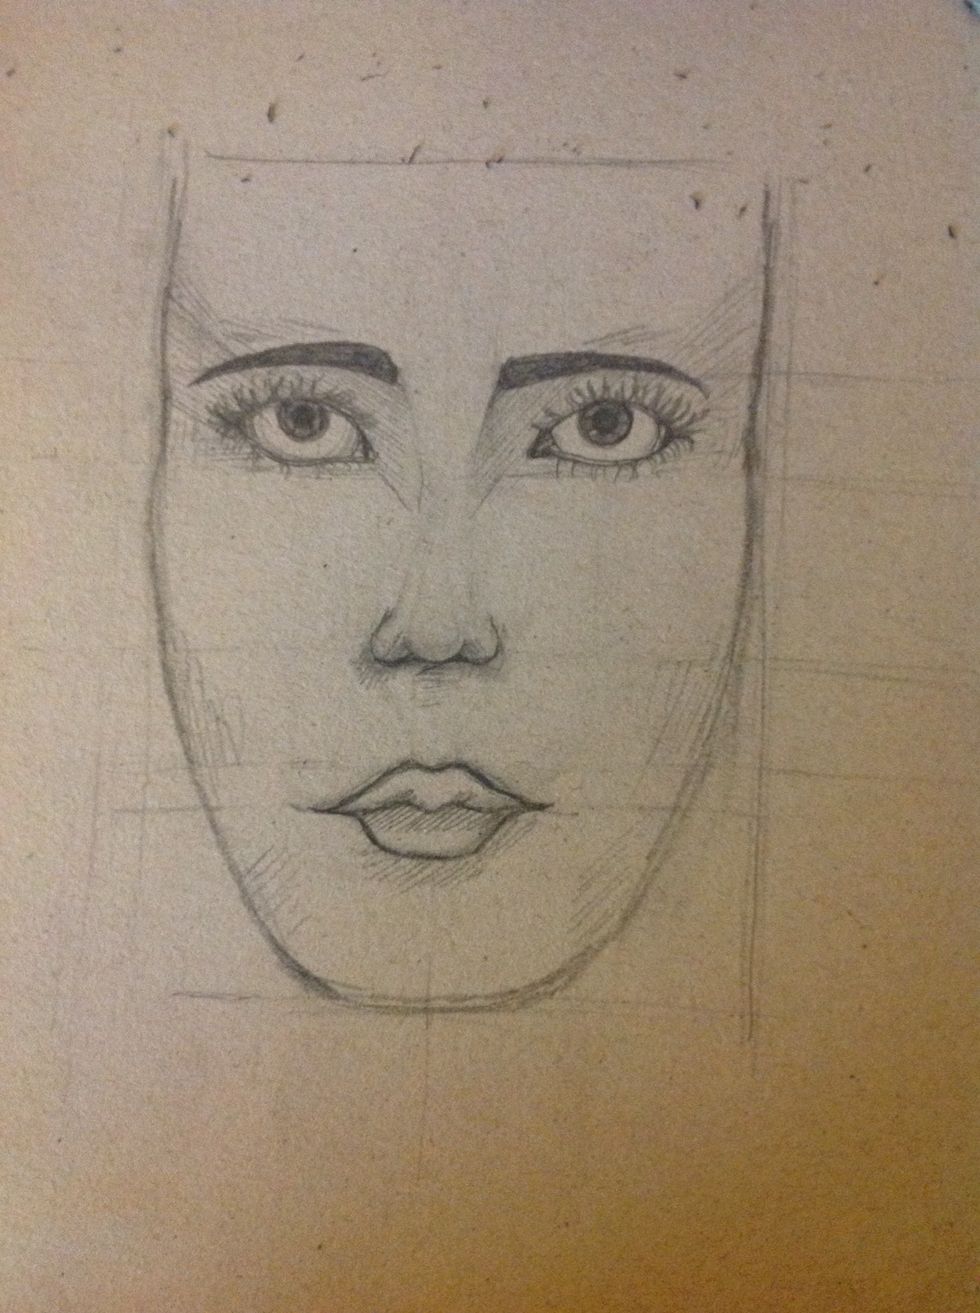
Put all the shadows that you see in the draw
This is how it looks when you end to vanish the lines.
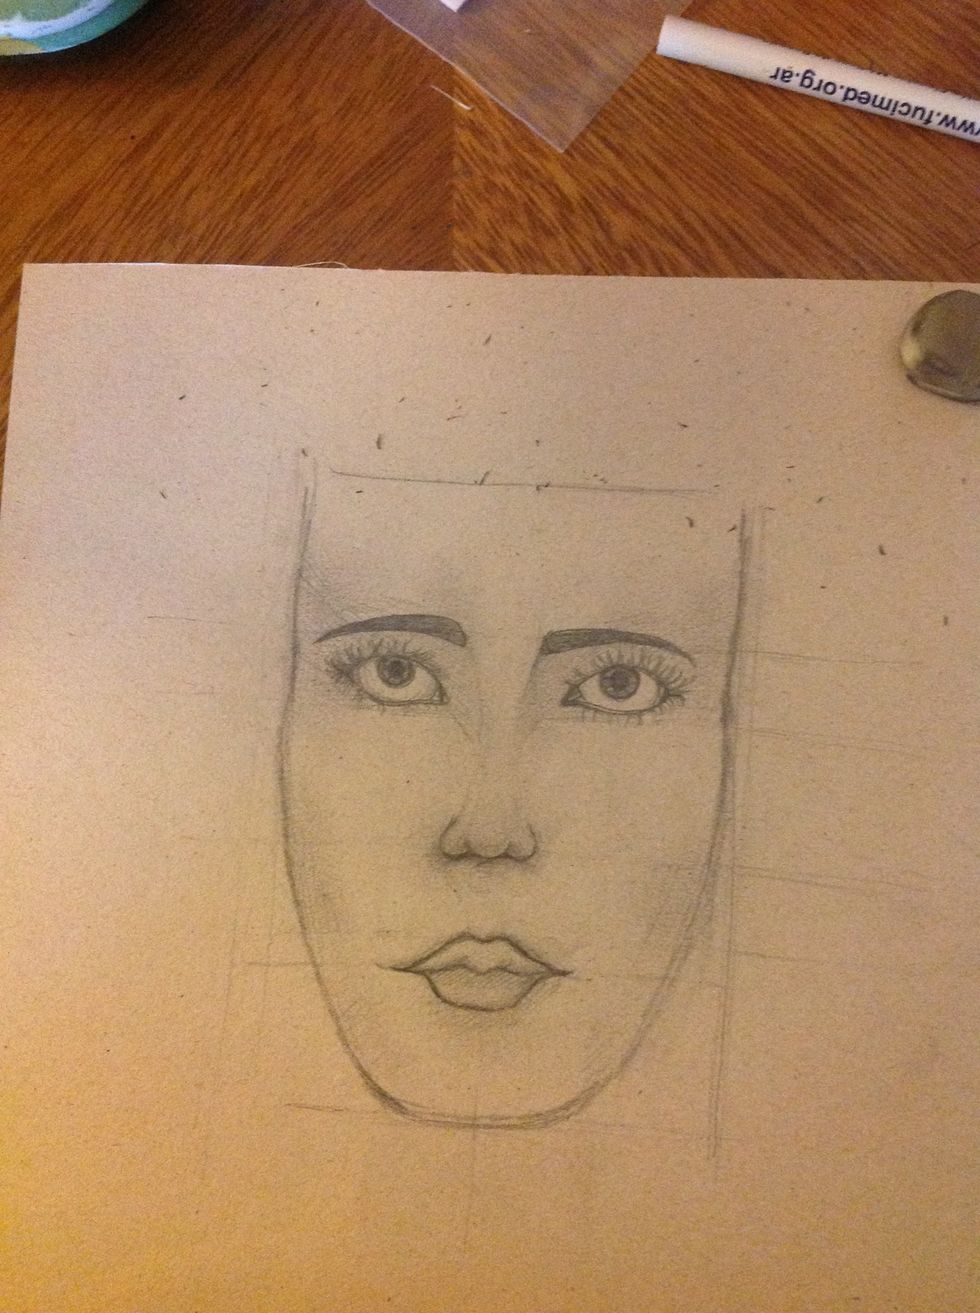
With a rubber erase all the shadows that are no necessary and stress the lines of the face. Don't forget the neck!
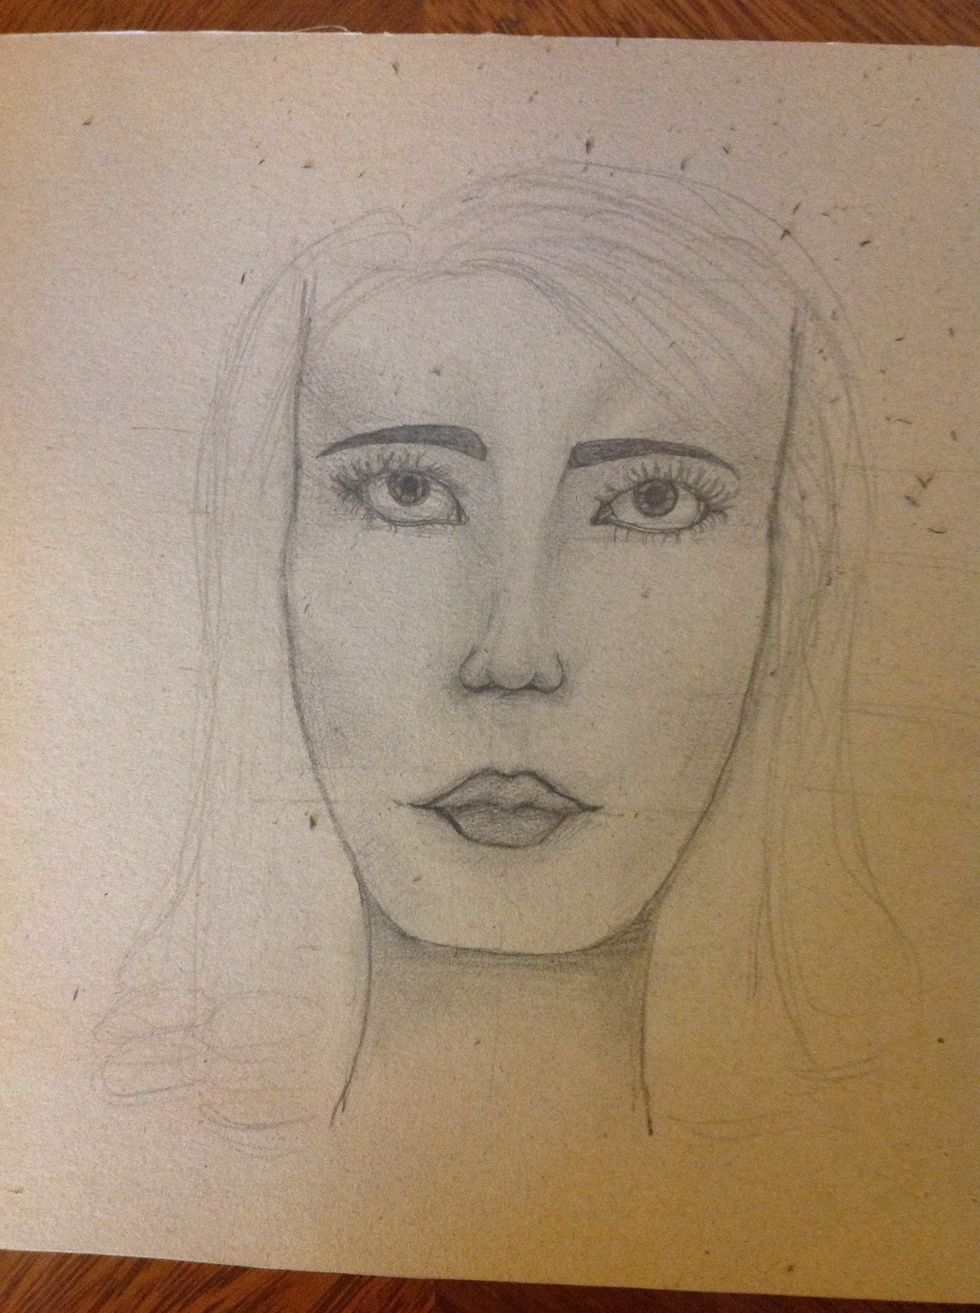
The last step is the hair. Draw the form as you wish
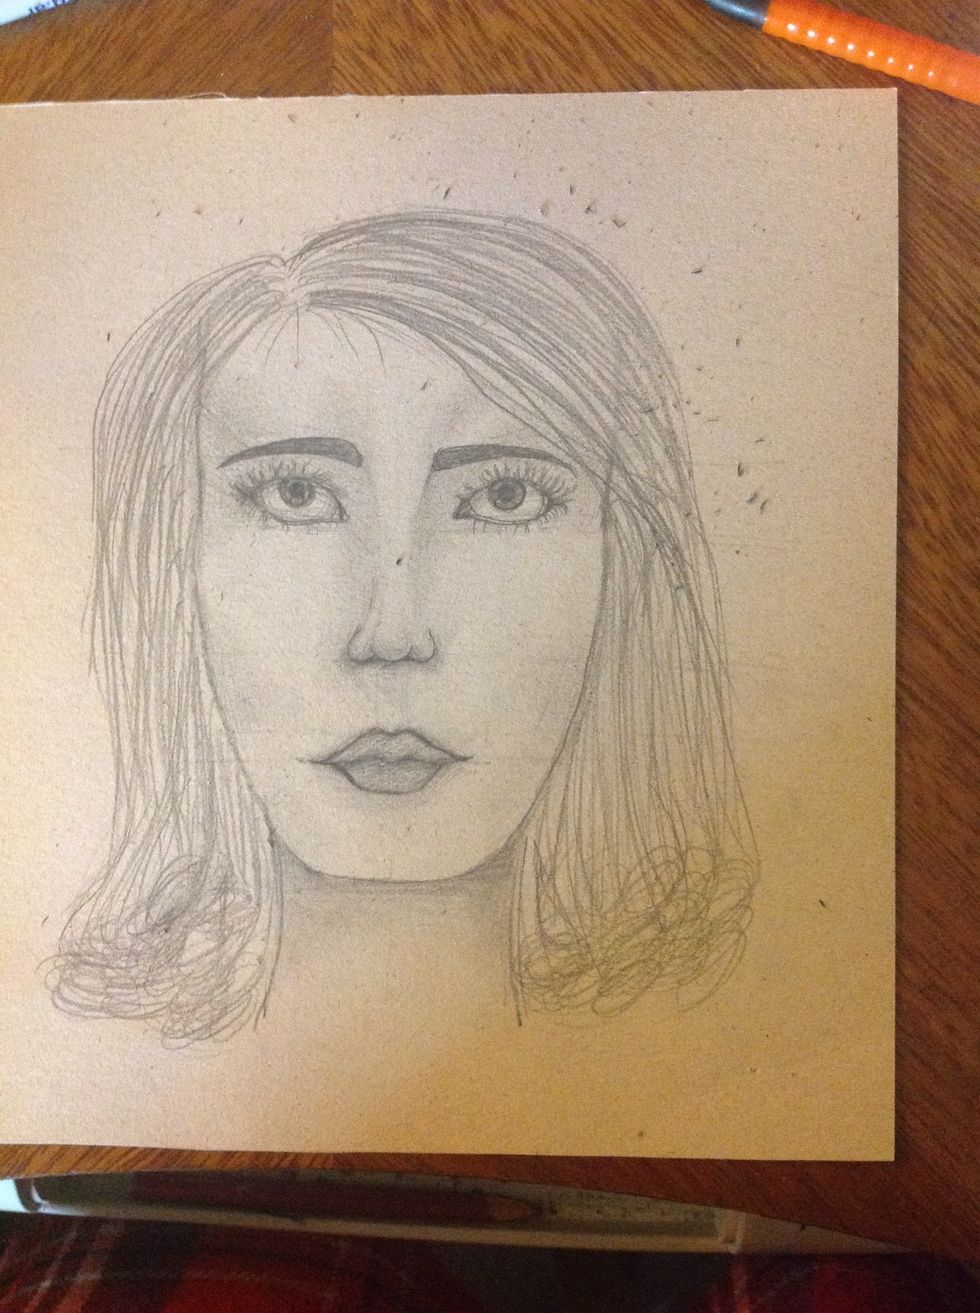
Mark it and it's done!