The Conversation (0)
Sign Up
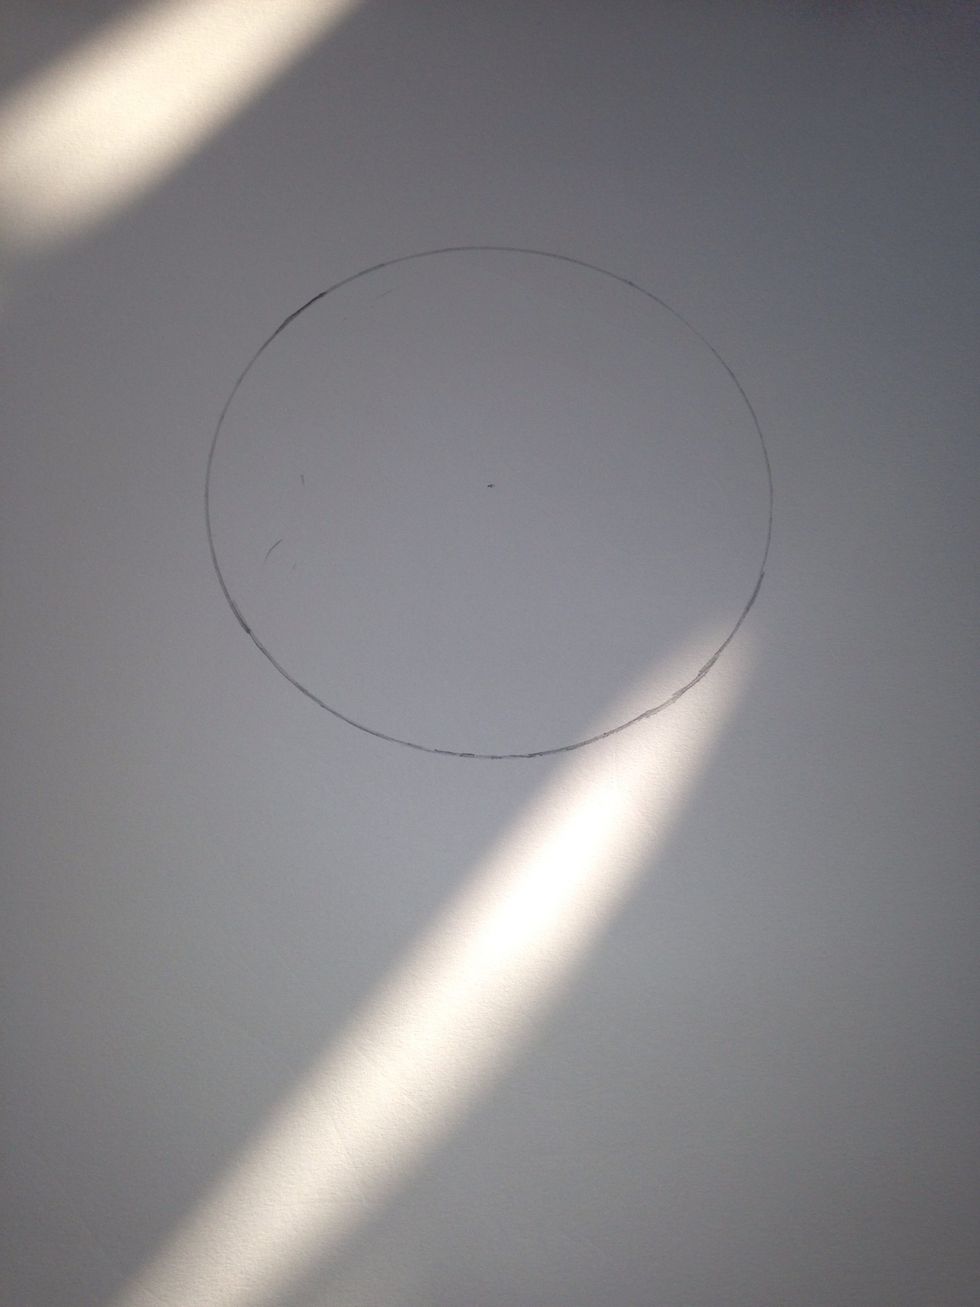
Draw a medium-ish circle at the top of your paper with a compass (or just free draw).
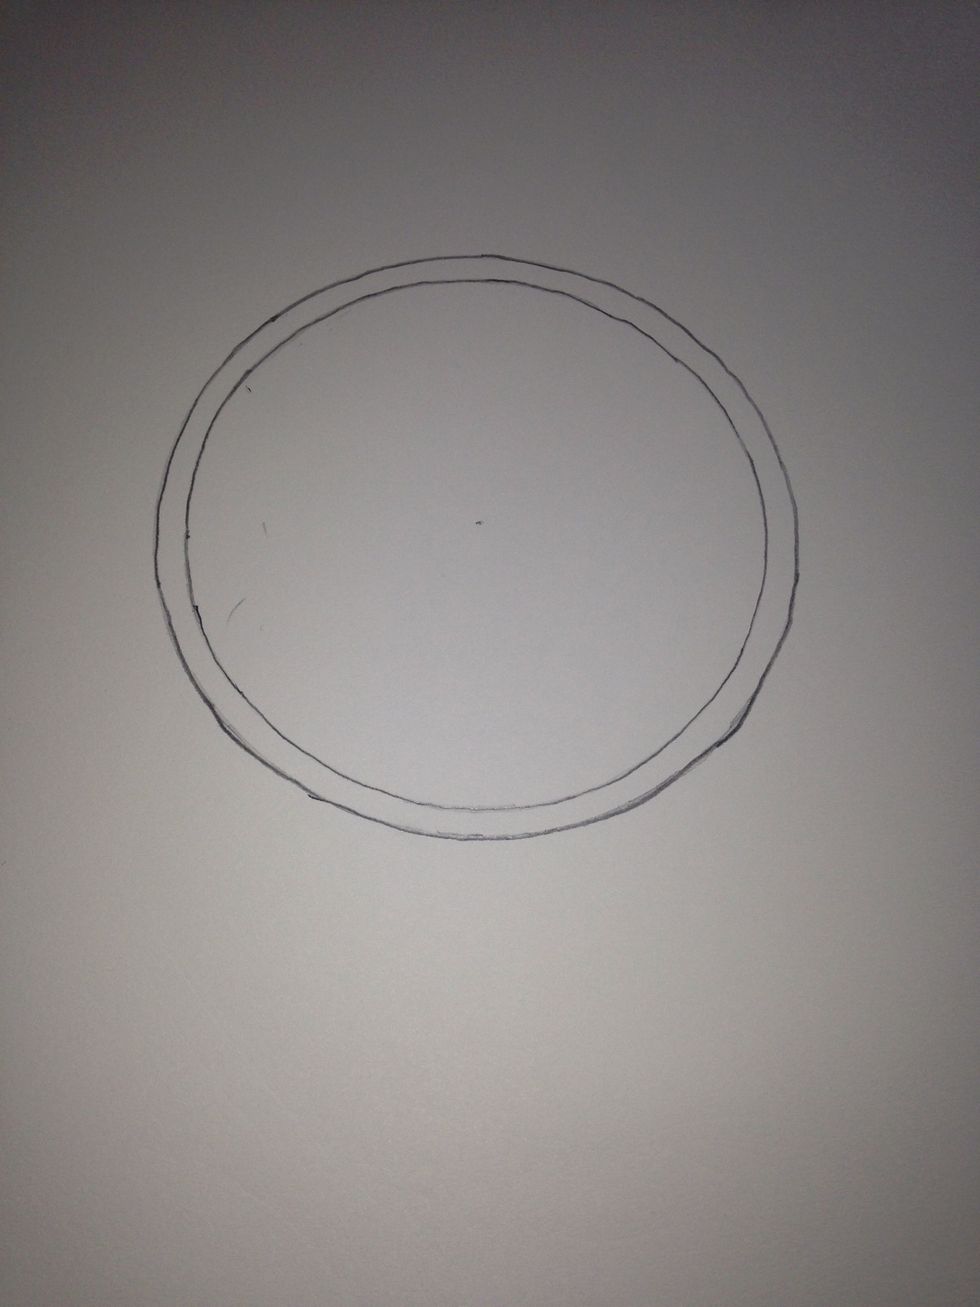
Now draw a slightly smaller circle inside the larger one.
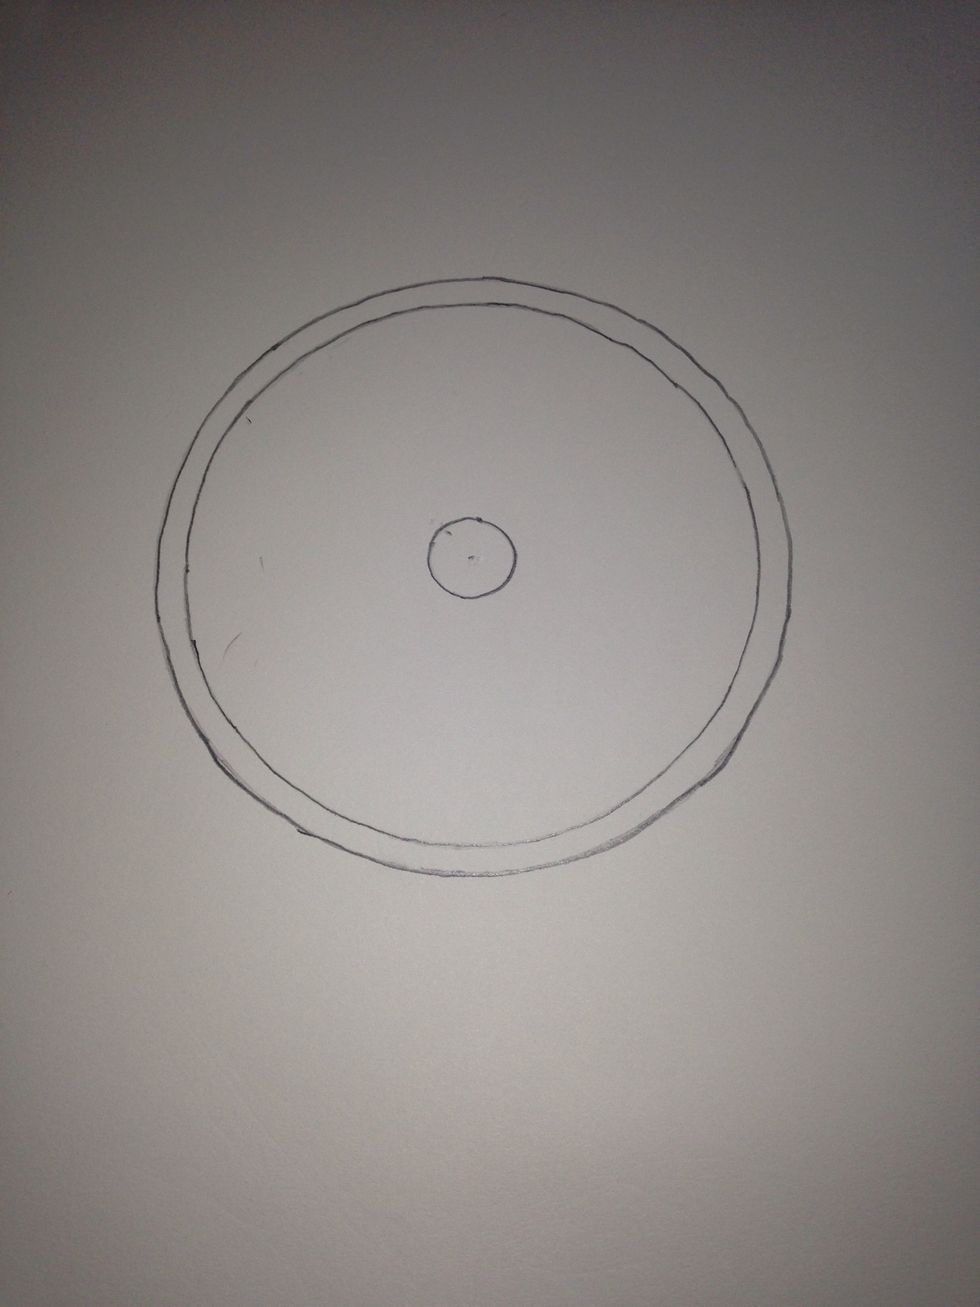
Draw a very small circle in the middle of the other two.
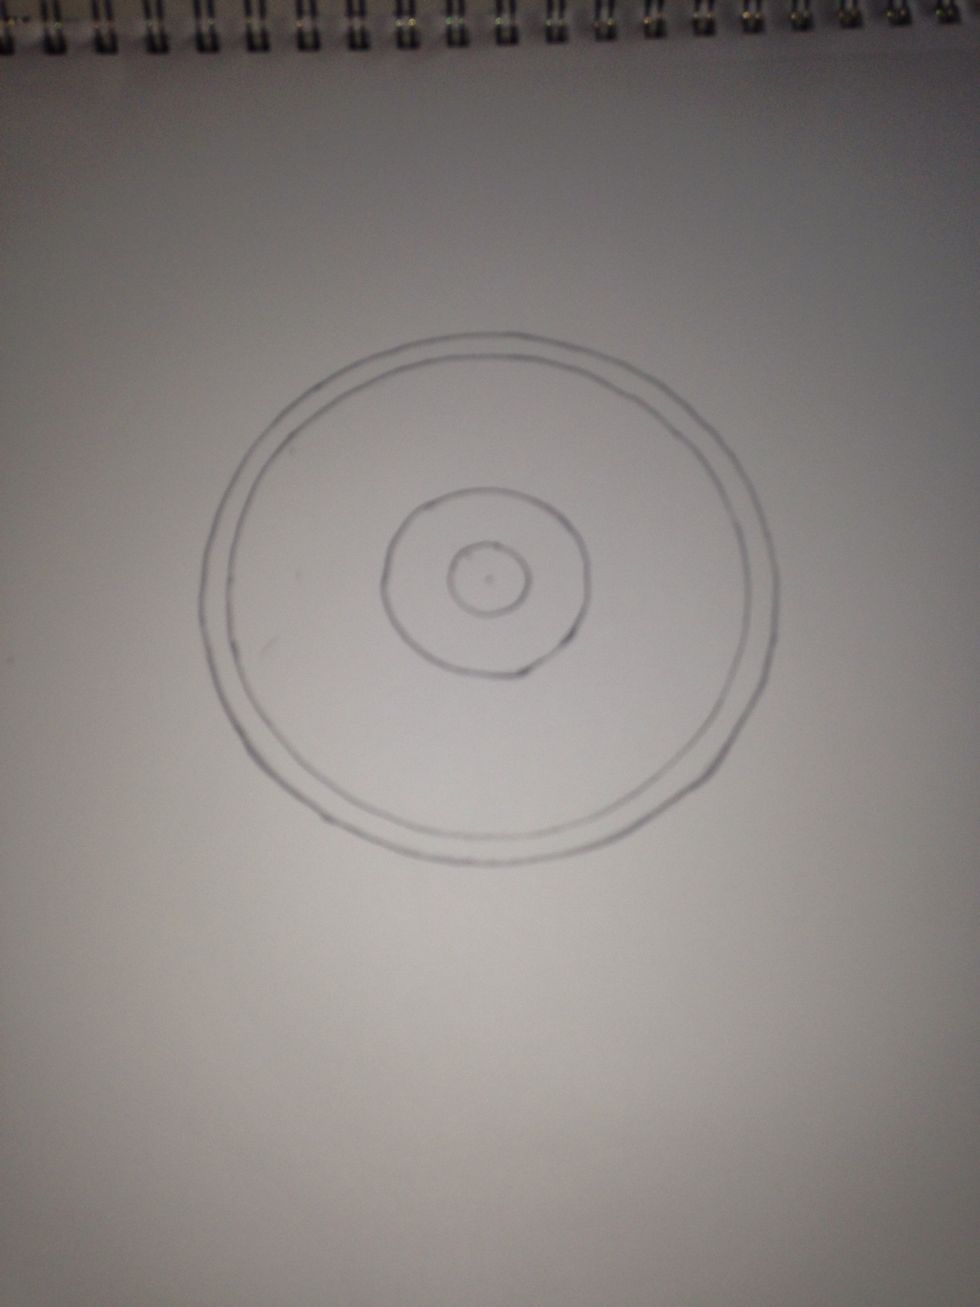
Another circle...
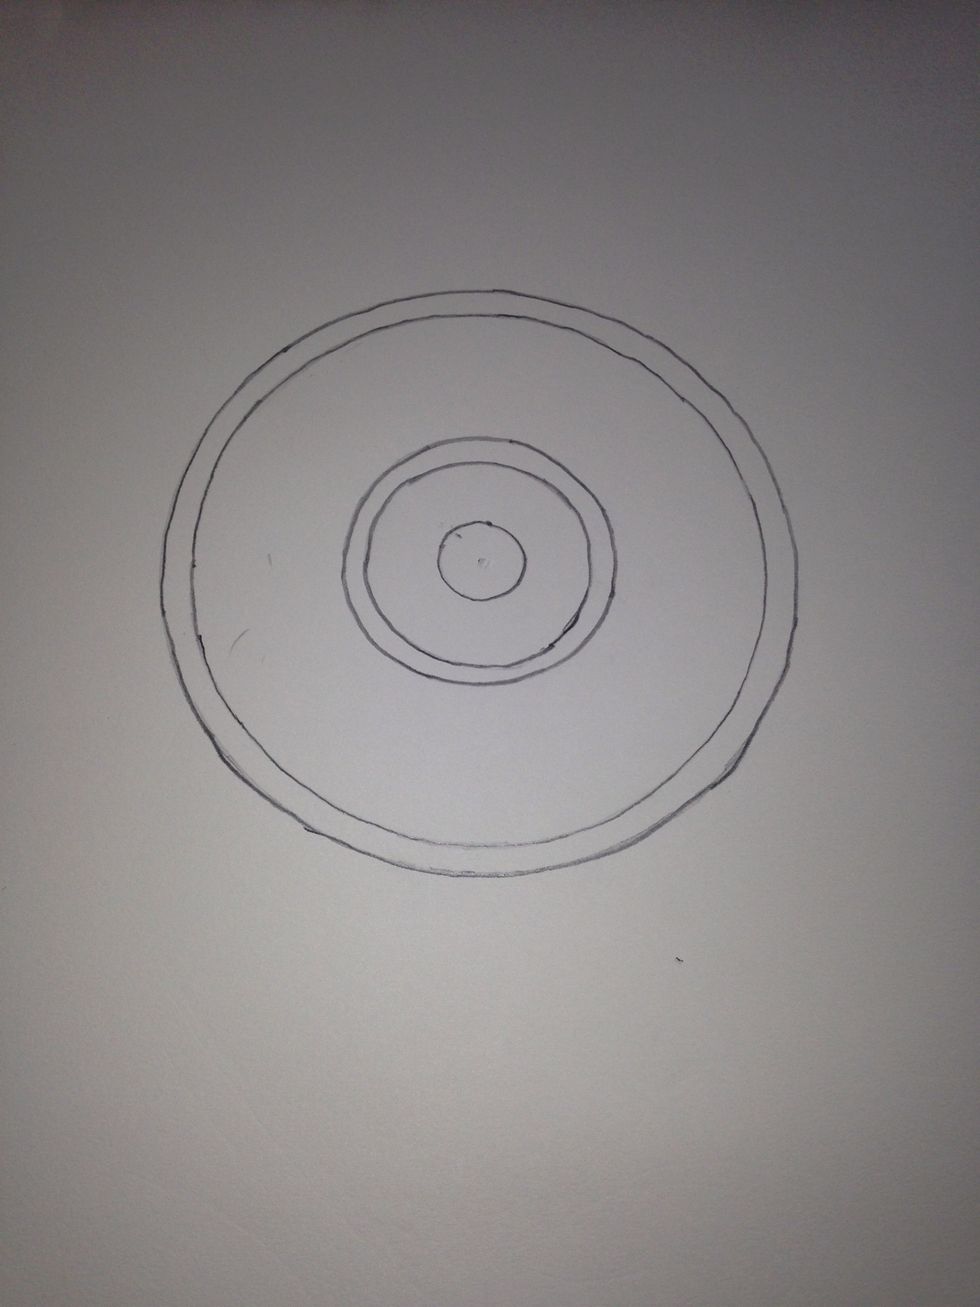
And another
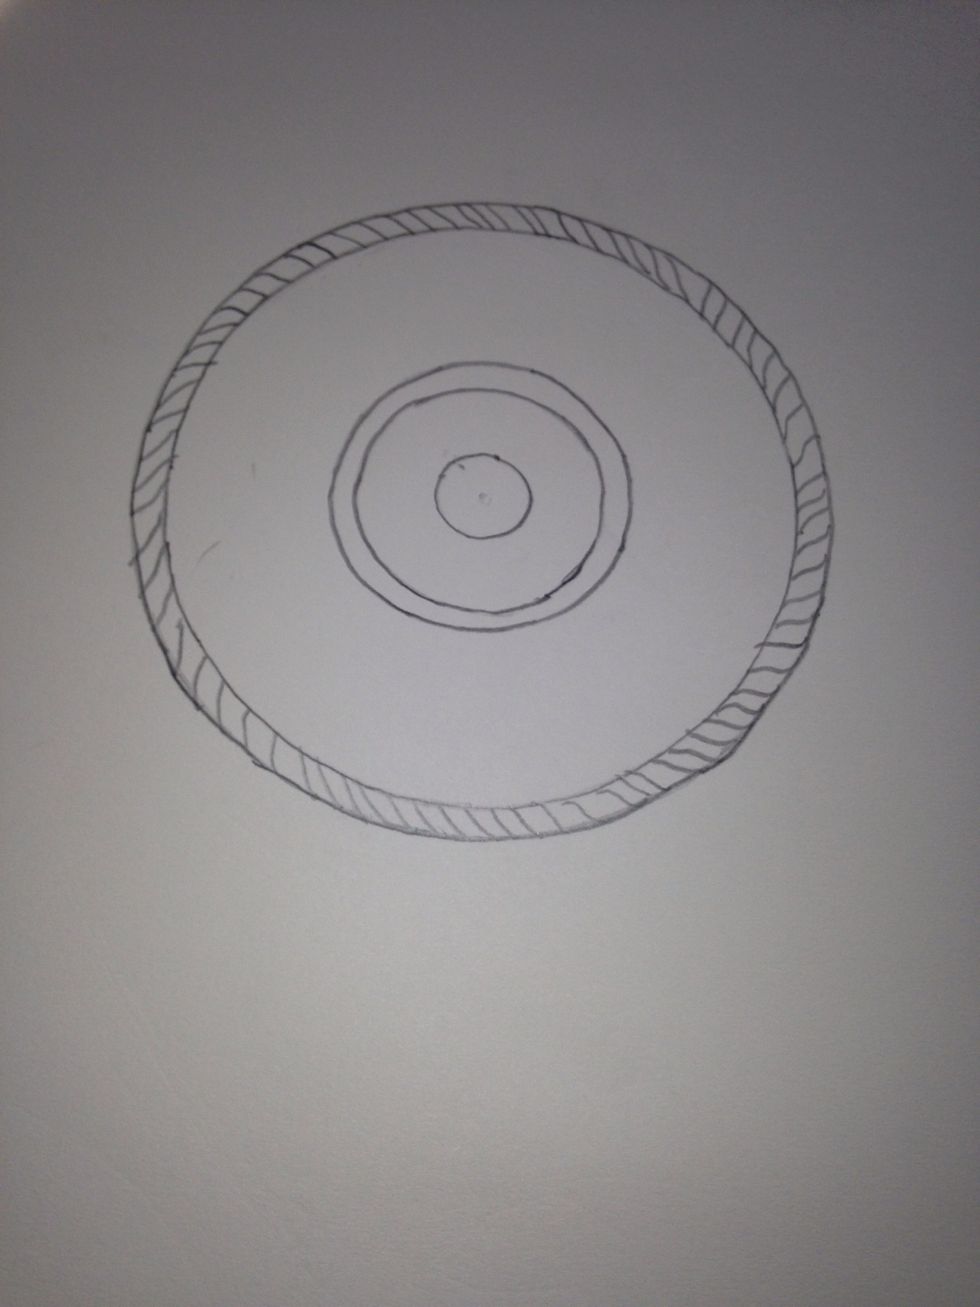
Now draw diagonal lines in between the outermost circles.
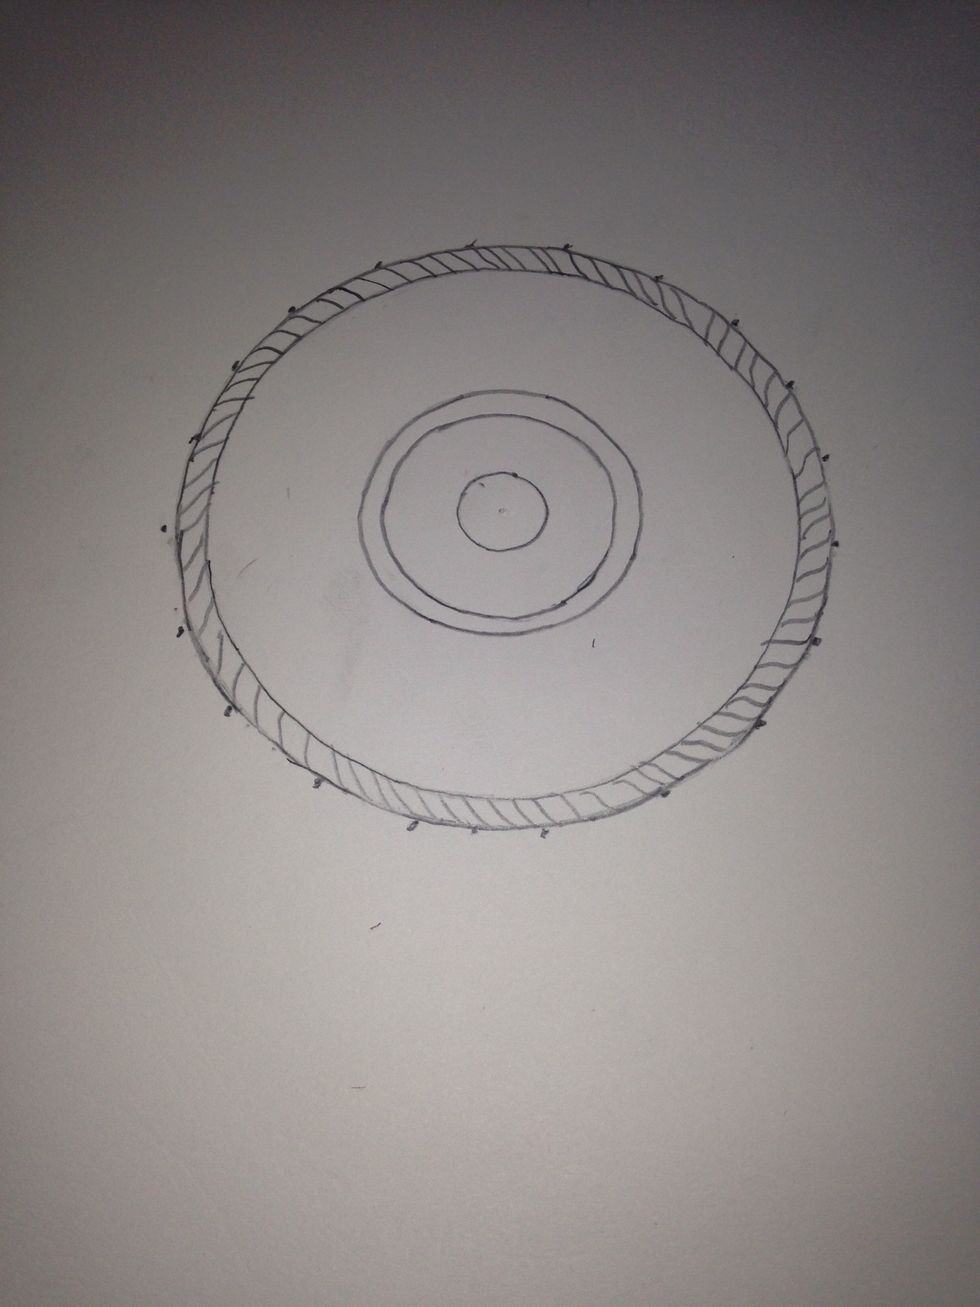
Make 20 evenly spaced dots on the outer edge (sorry you can't really see mine)

Start at one dot and make 2 lines coming from it. Notice that I only made one of the lines touch the dot. I recommend using a ruler
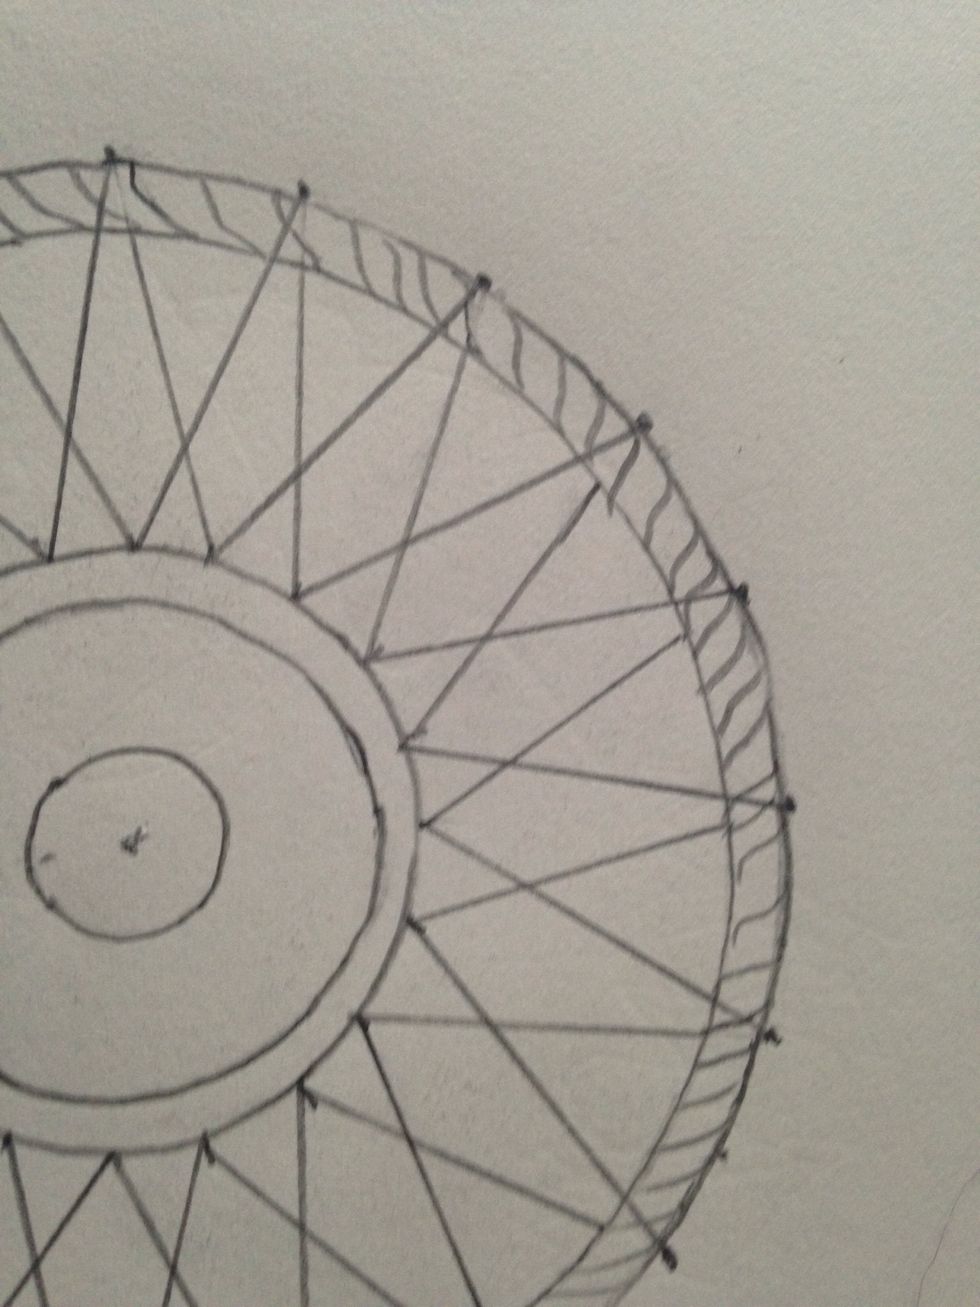
Make sure that each set of lines is connected to the set behind/in front of it.
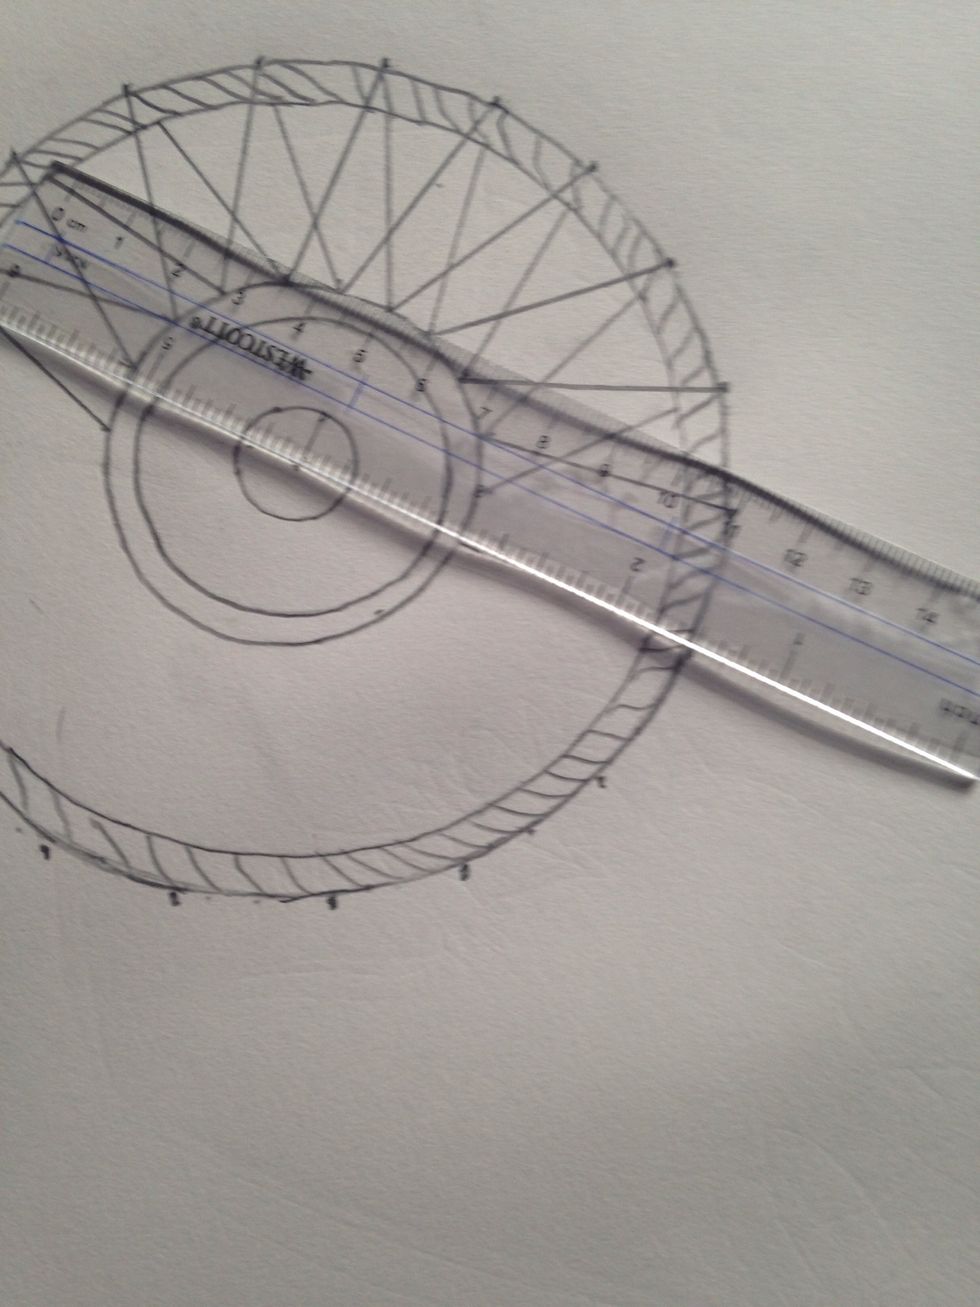
To make things easier, I lined up each dot with the center of the circle and made another dot. It helped me make my lines more even.
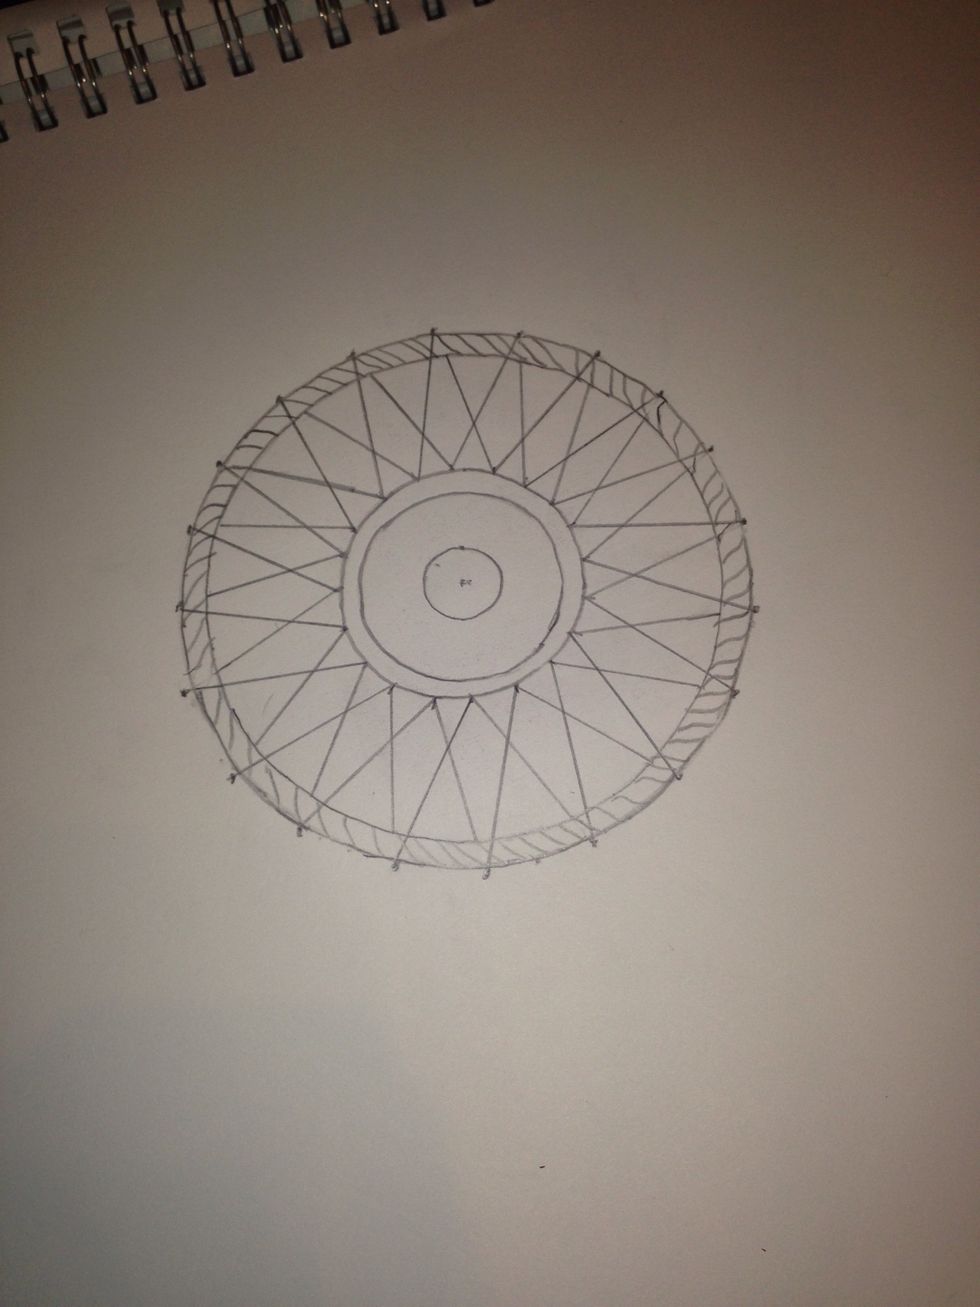
This is what it should look like now.
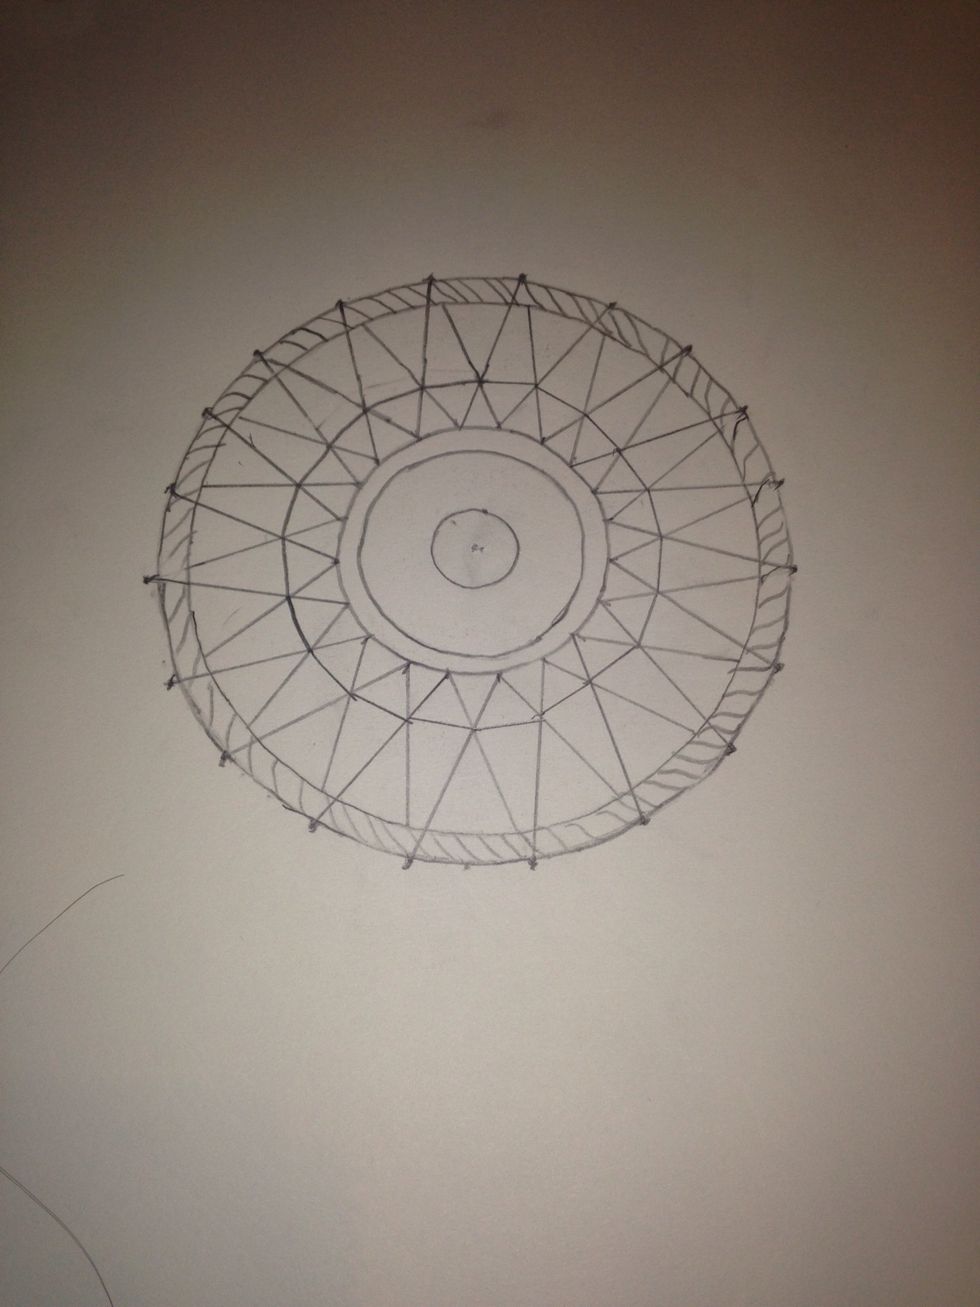
Draw a line going through the crossing lines.
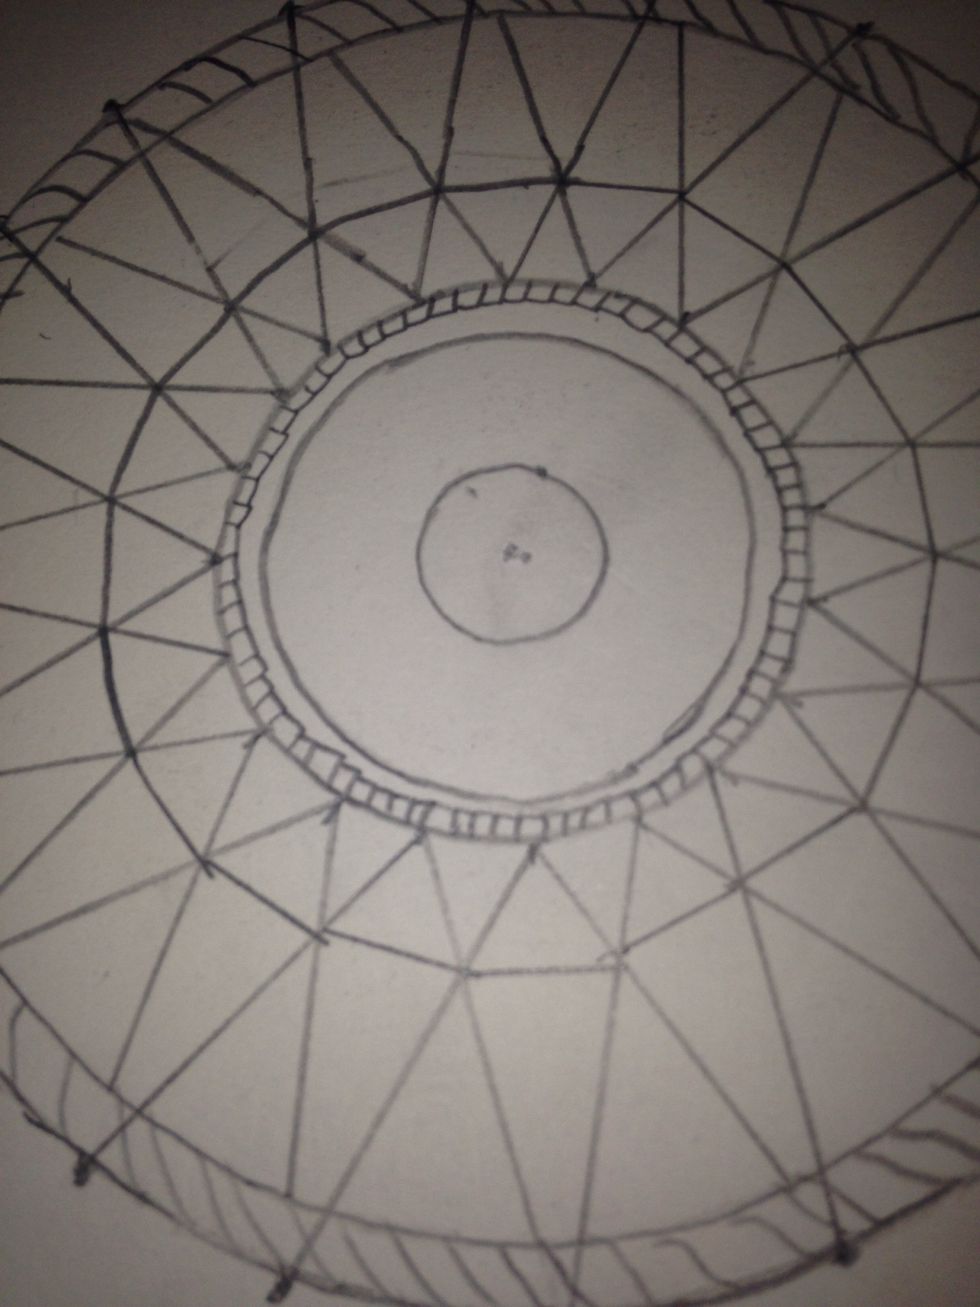
Draw small squares in between the 2 lines shown above.
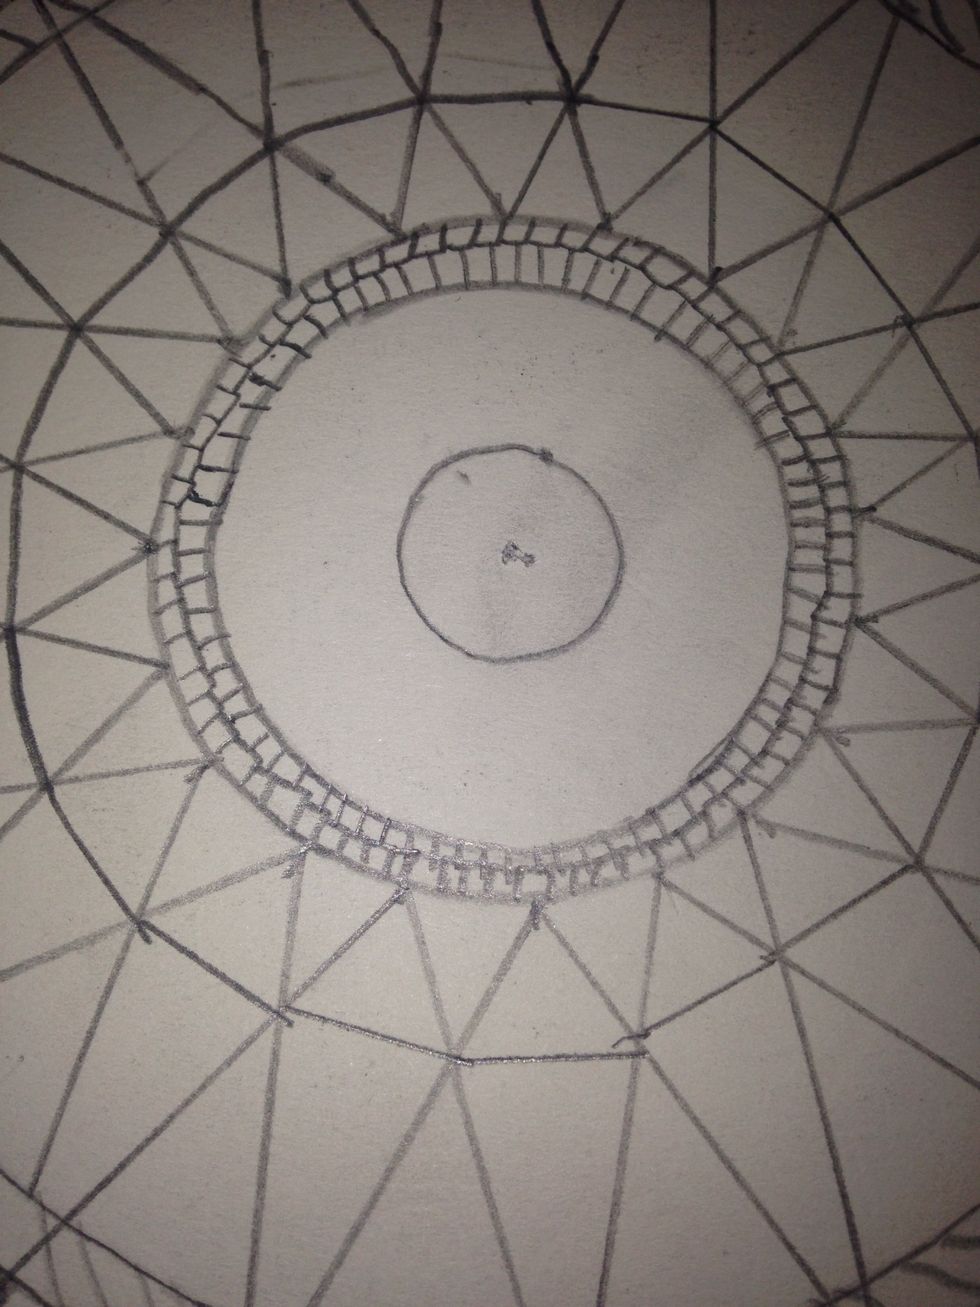
More squares on the bottom half, but I displaced them a little.
I added some bumps on the outer edge :)
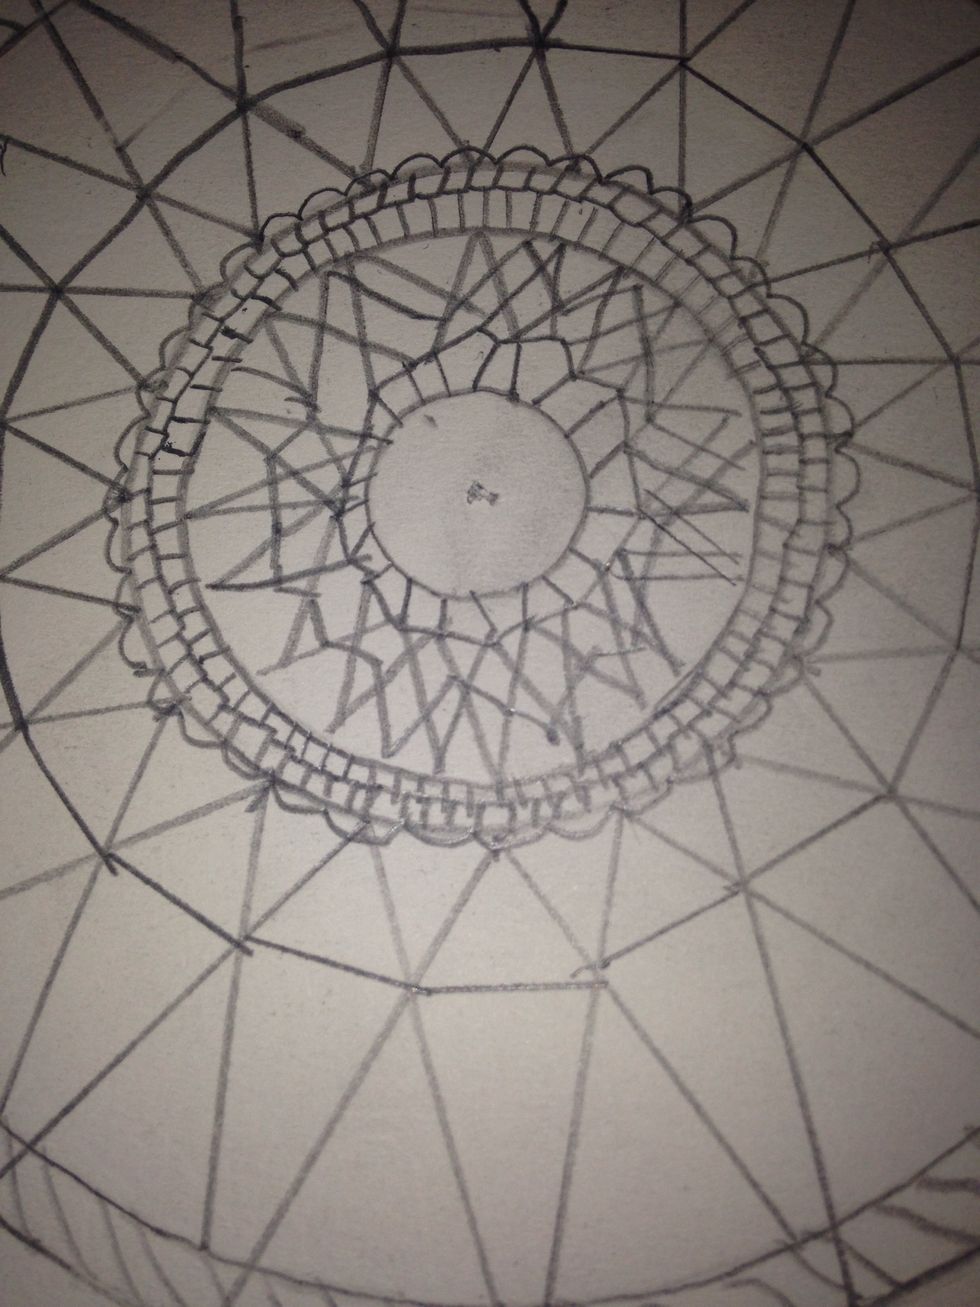
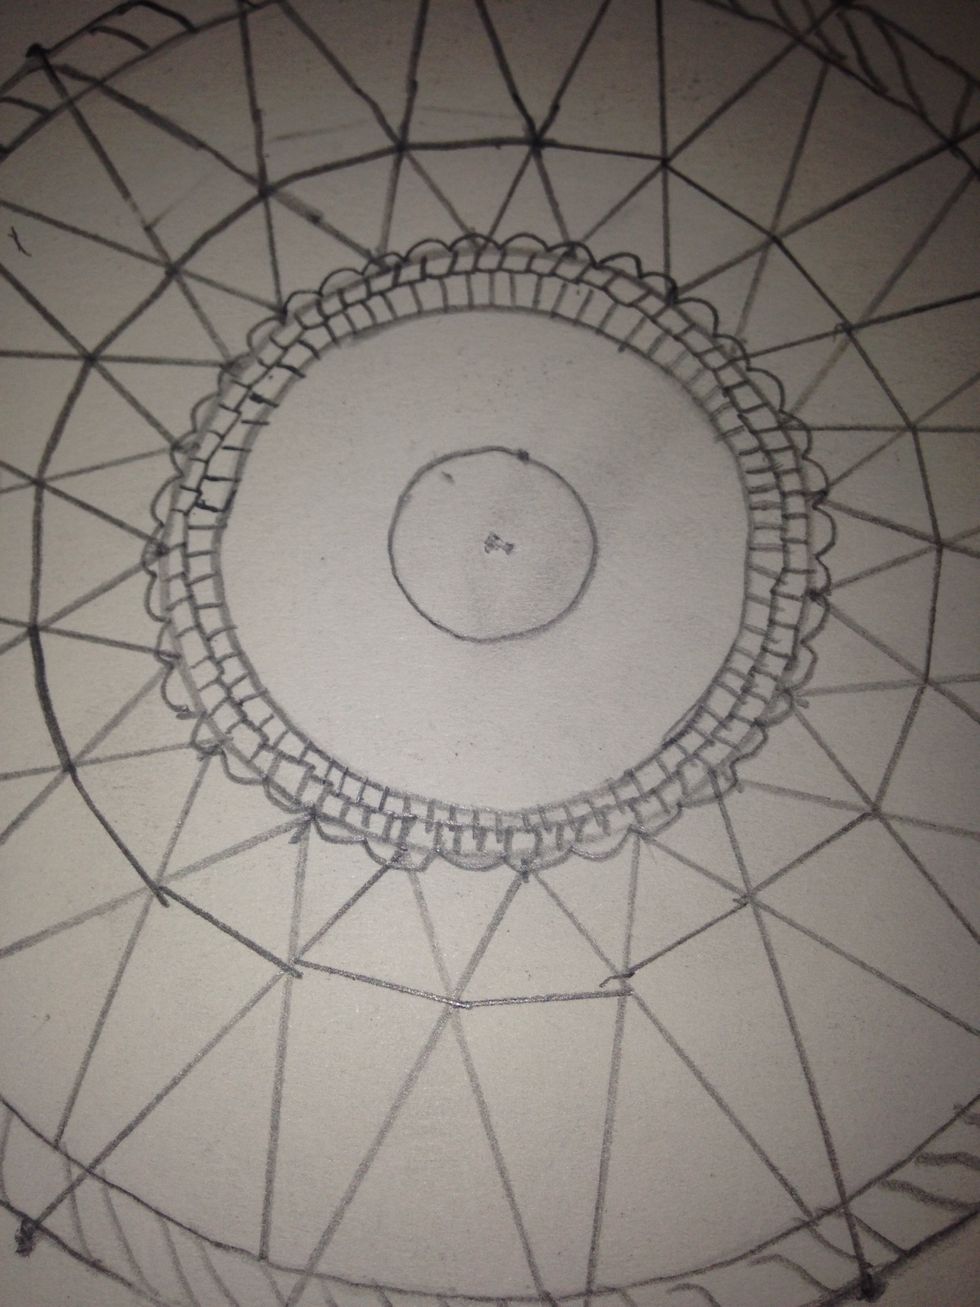
The design in between the inner circles doesn't really matter. I sort of copied the outer design, then added more lines.
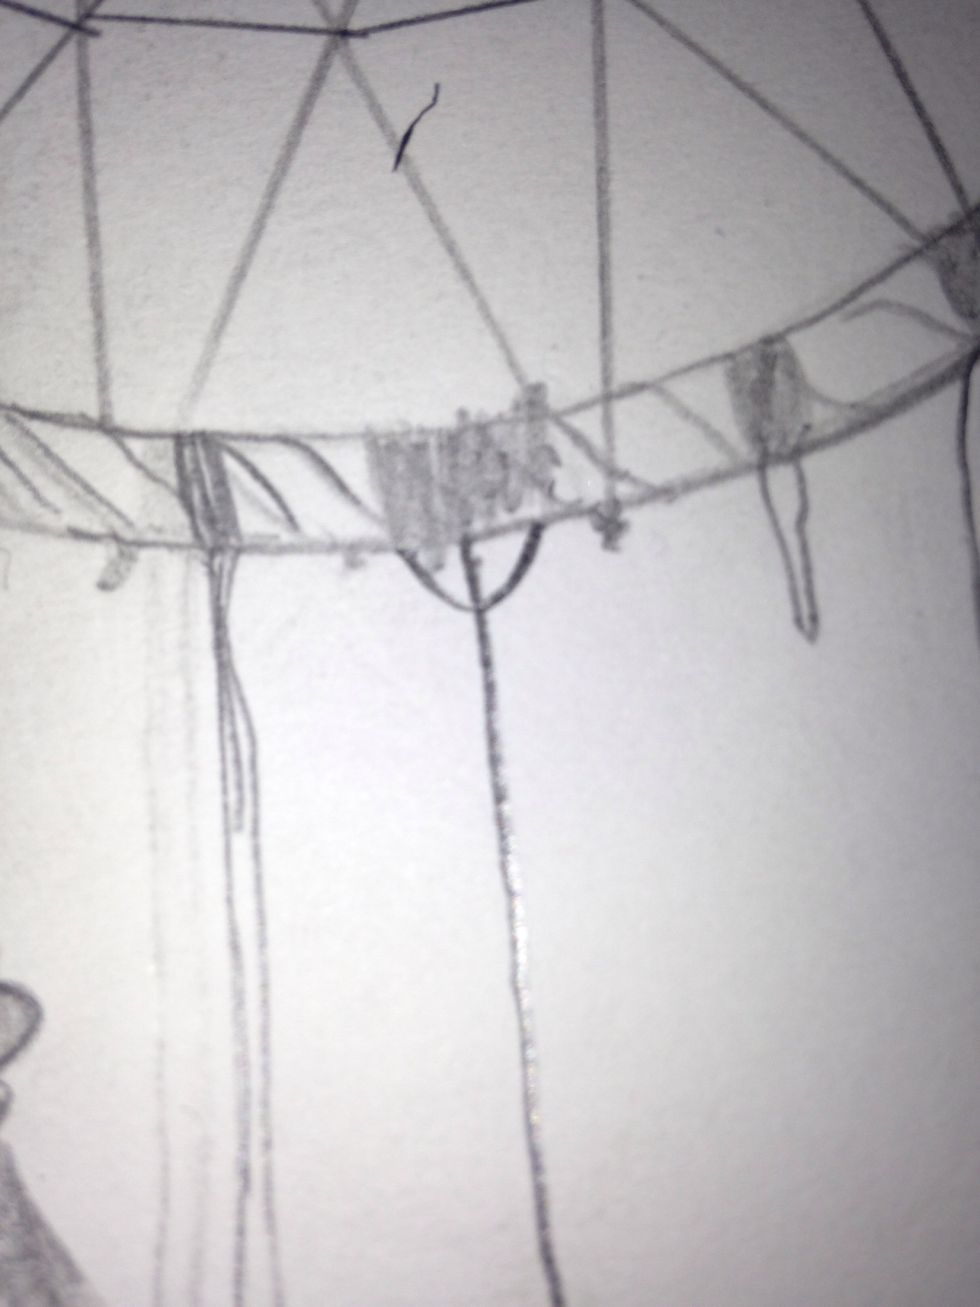
More details to the outer circles...
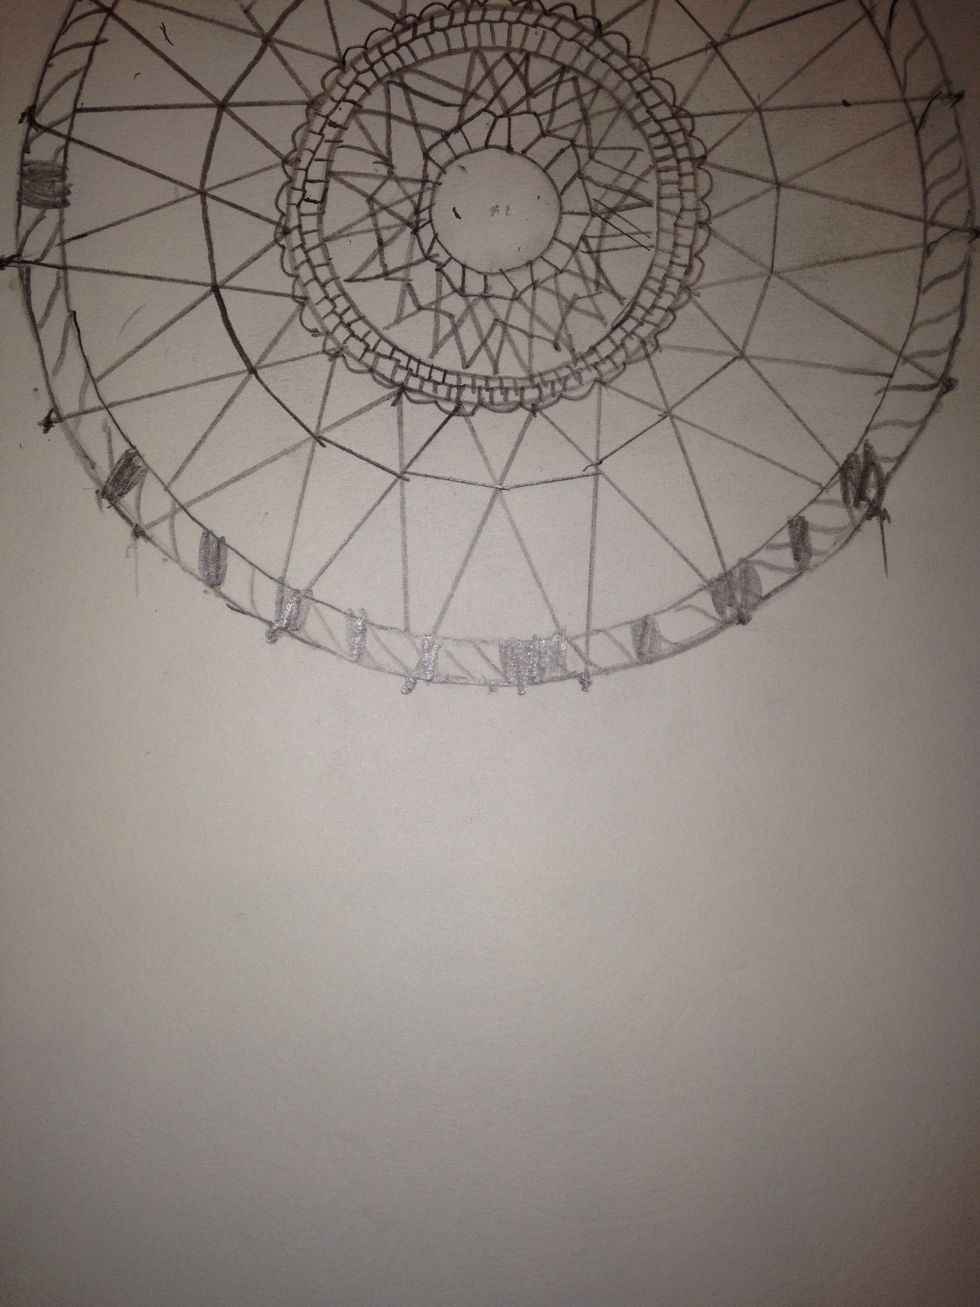
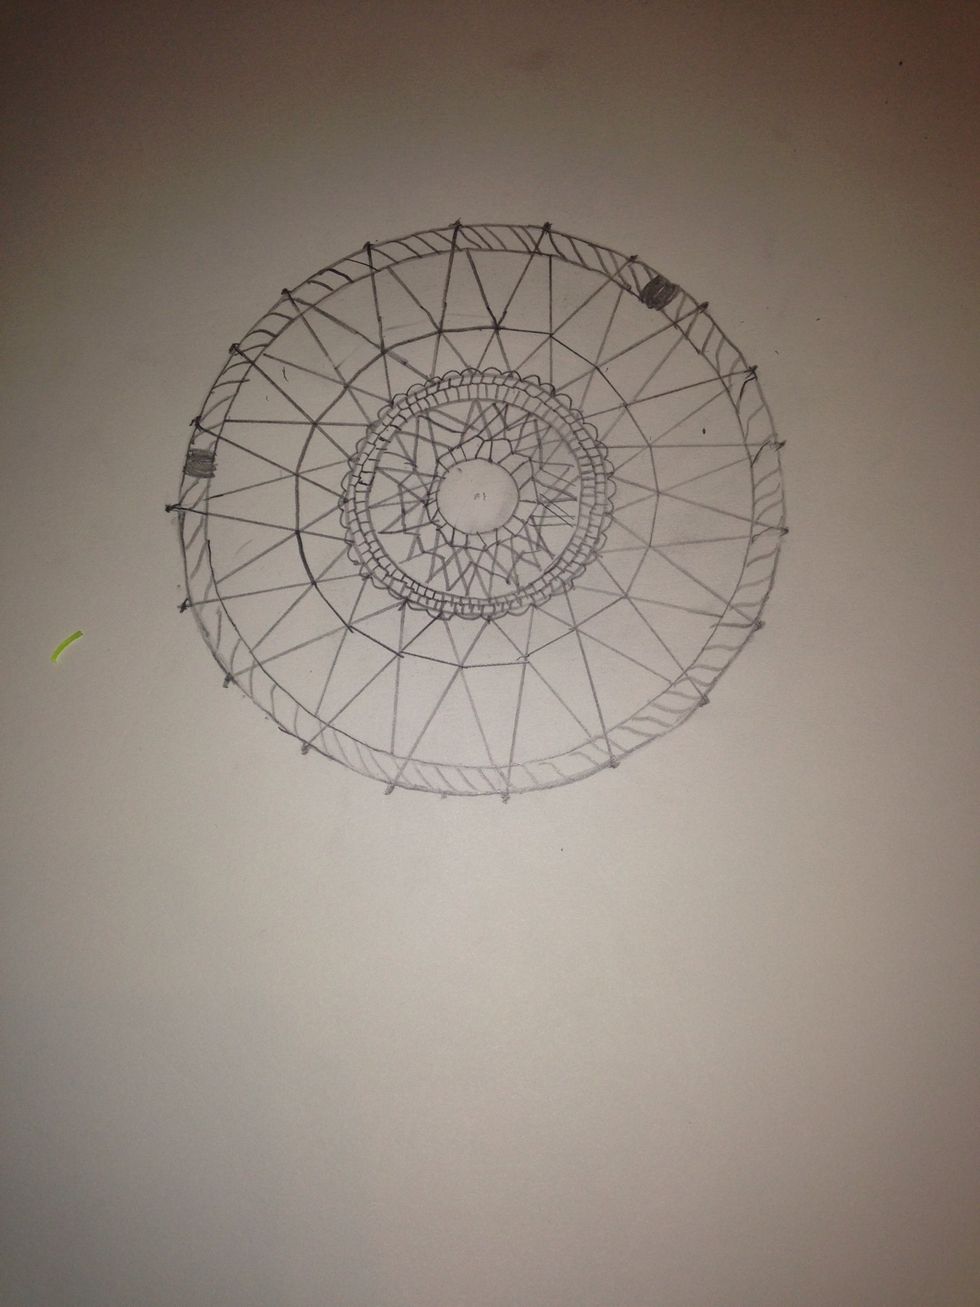
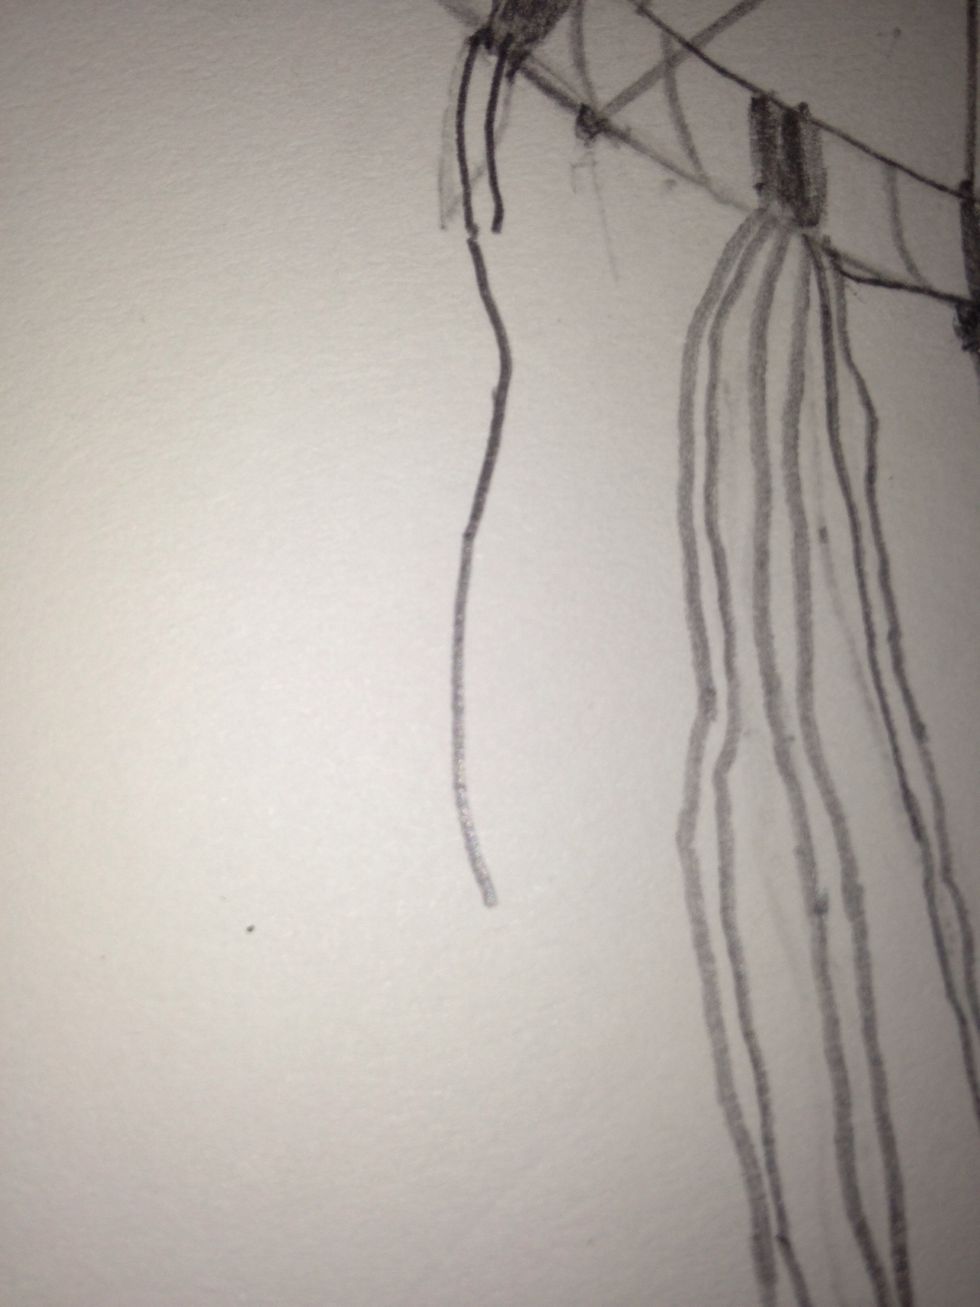
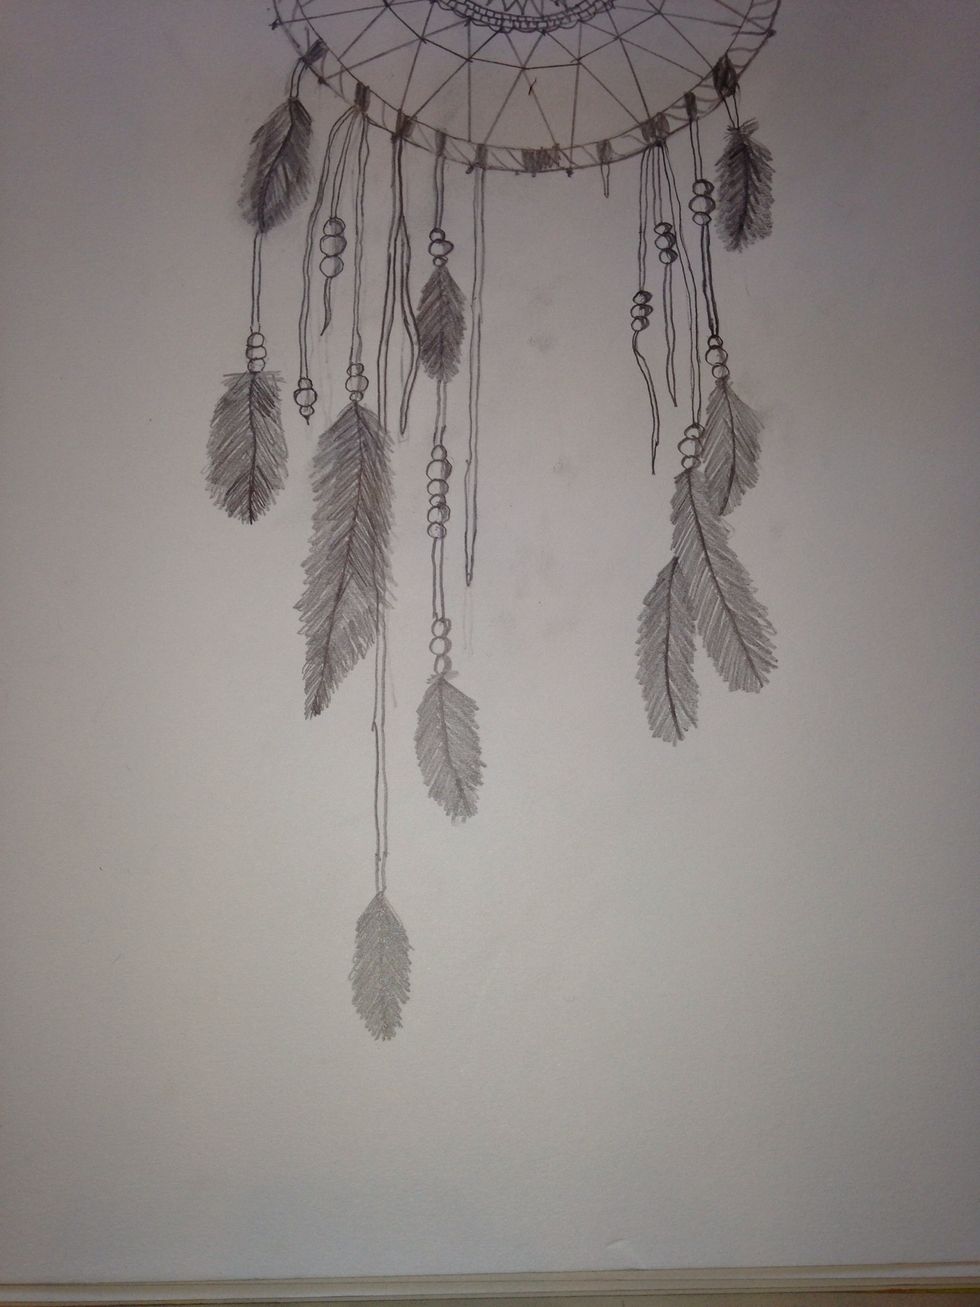
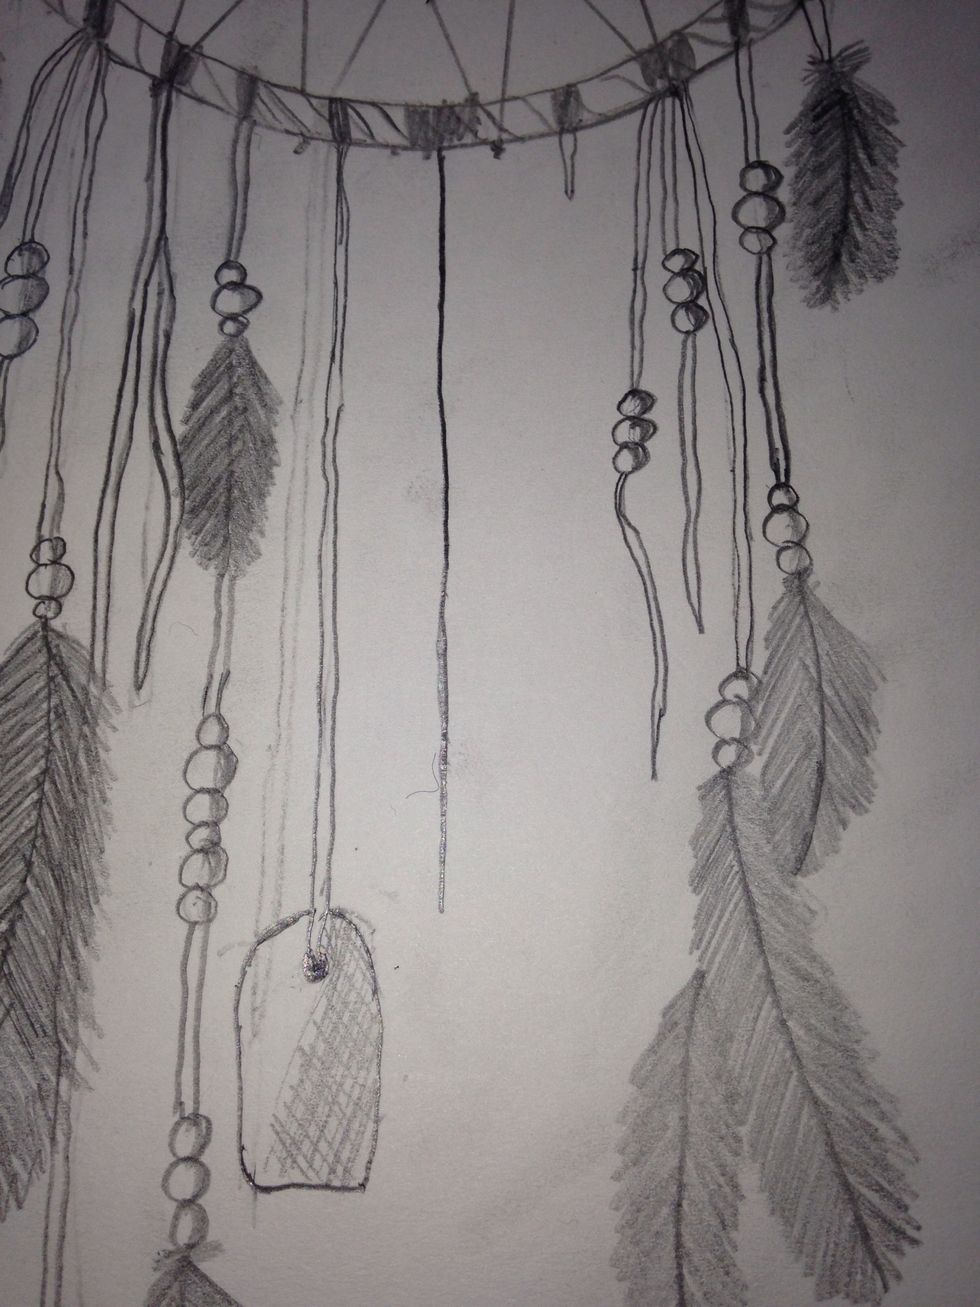
Add 10 box like things on the outer circles. These will be the bases of the charms and feathers. You can add more or less if you want.

Add some small extensions to a few of the bases.
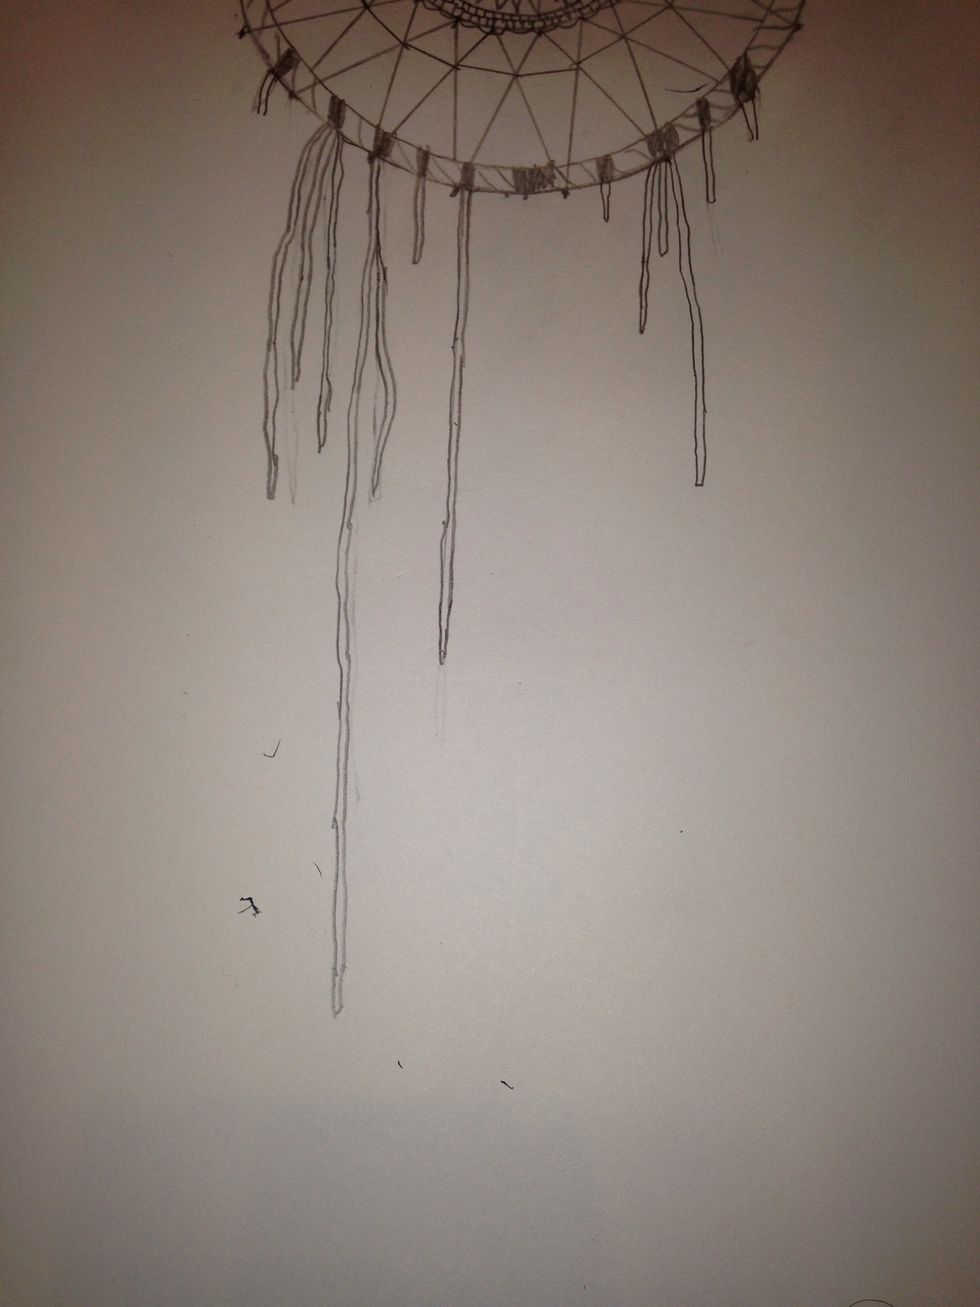
Make longer extensions that are different lengths coming out of the bases. Make sure that they are fairly thin and wavy.
I'm now going to show you how to draw different charms and feathers on the extensions. Draw whichever ones you want!
Feather - Start of with a base line.
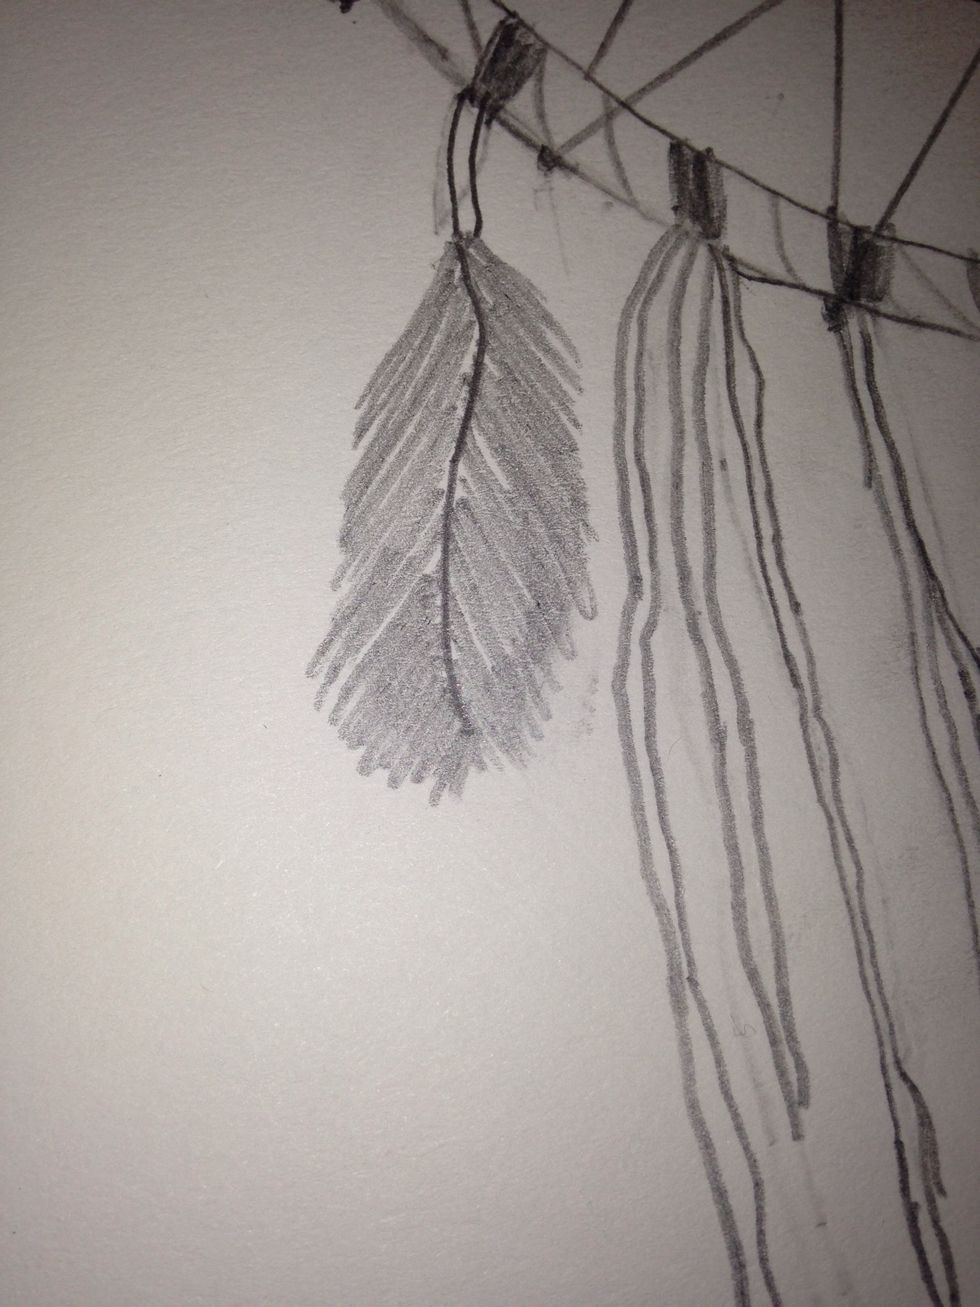
Make downward strokes of different lengths coming out of the base line. Try to make the lines shorter at the top and bottom, and longer in the middle.
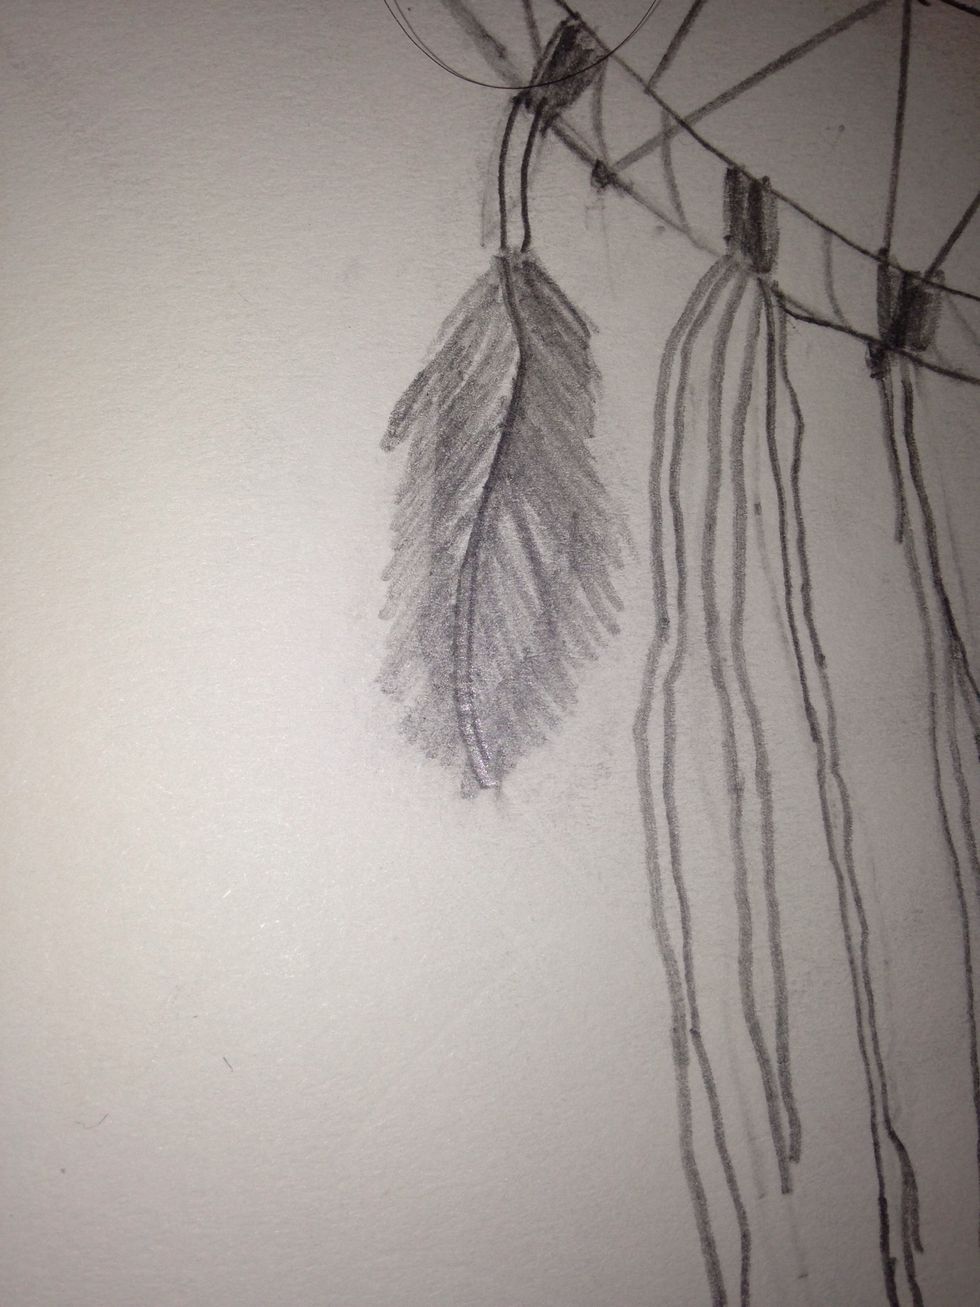
Erase the edges and clean it up. Shade accordingly.
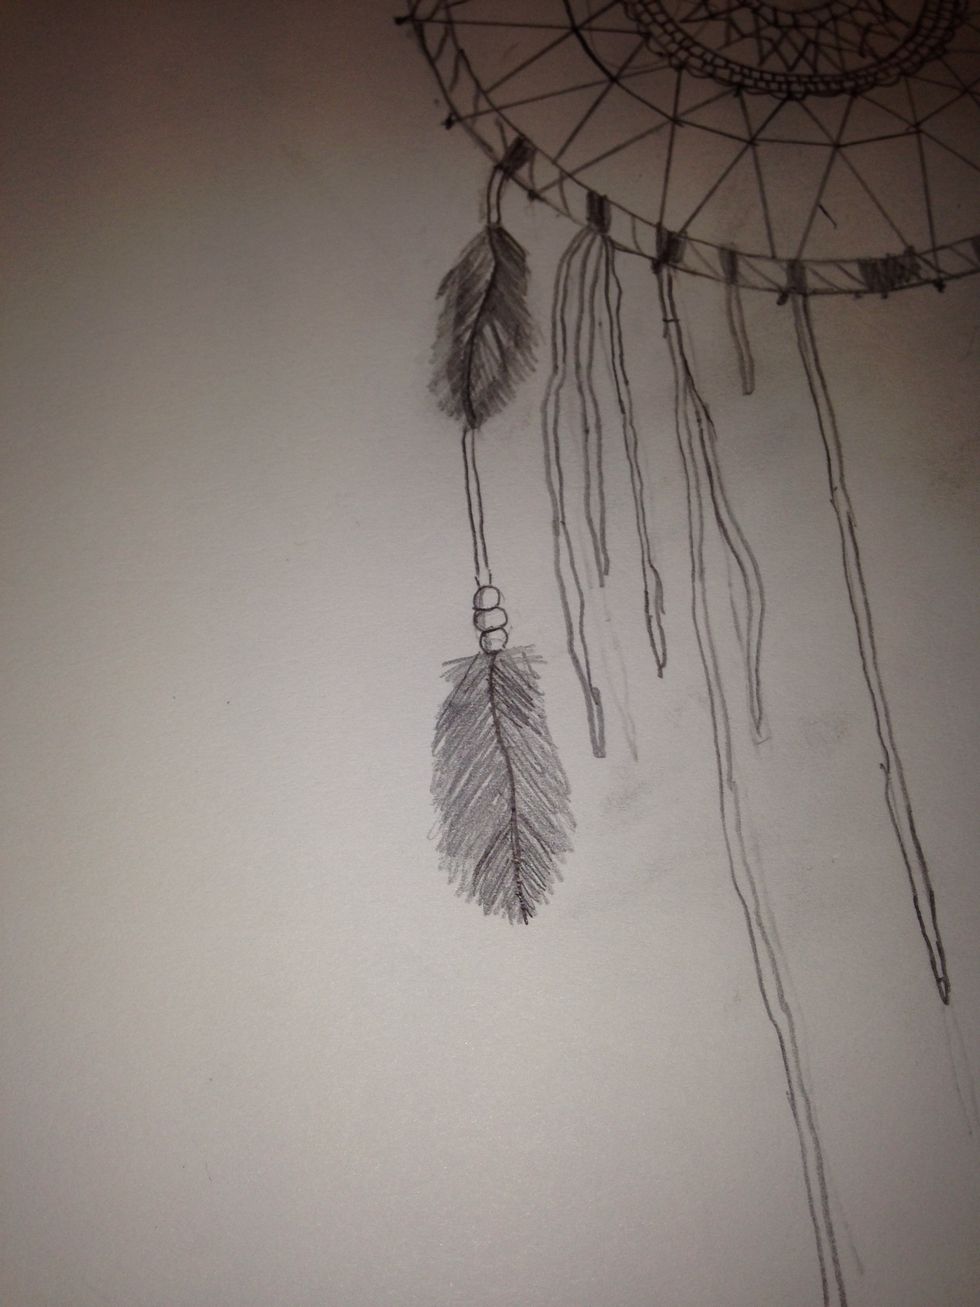
I added another feather and some beads too.
Feathers and beads done!
I added a small paper charm.
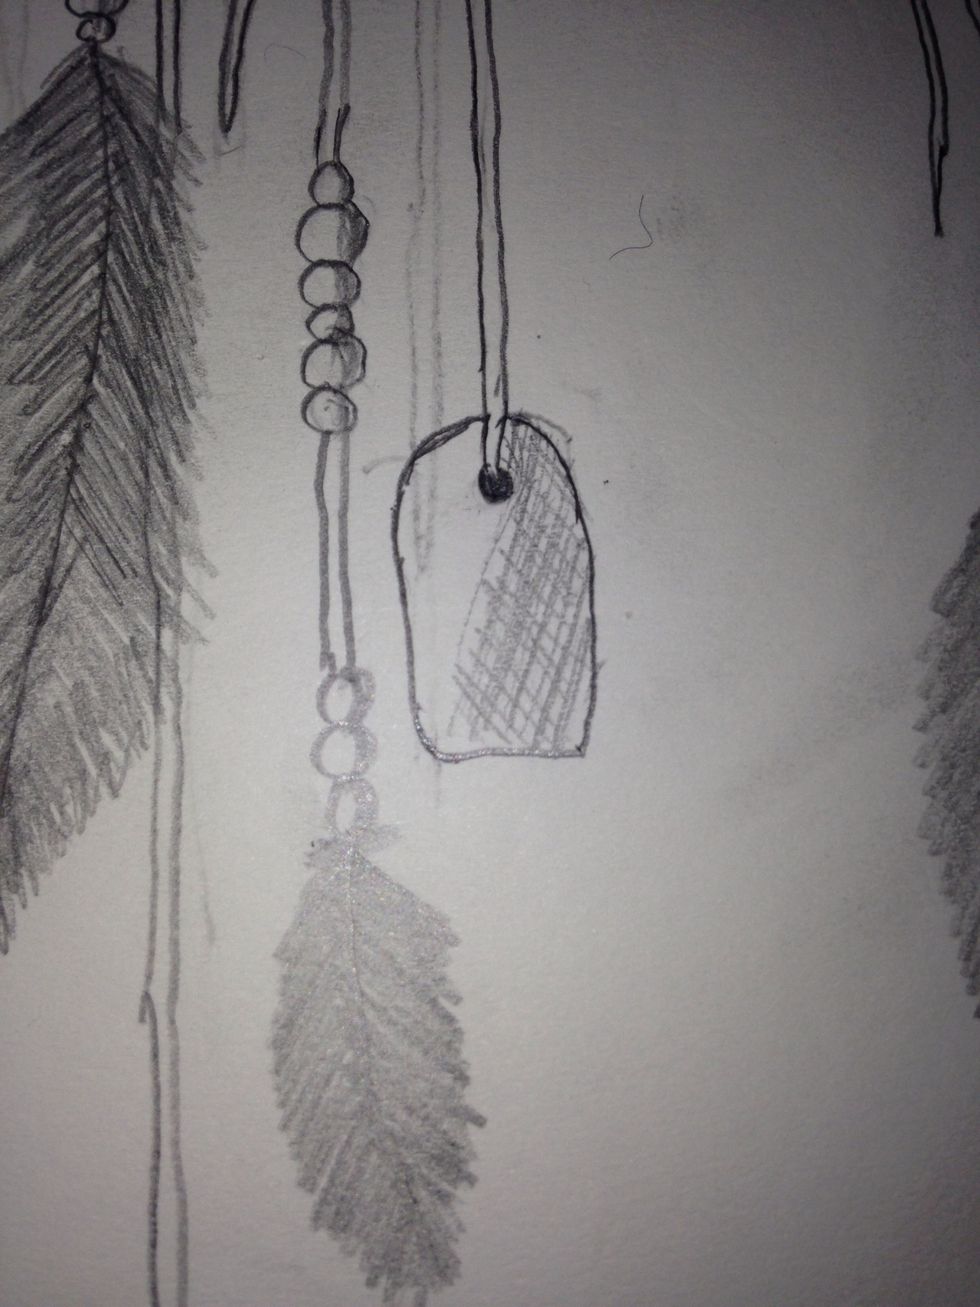
Braided Charm - Make a straight line coming out of the extension.
Make 2 curved lines coming out of the top.
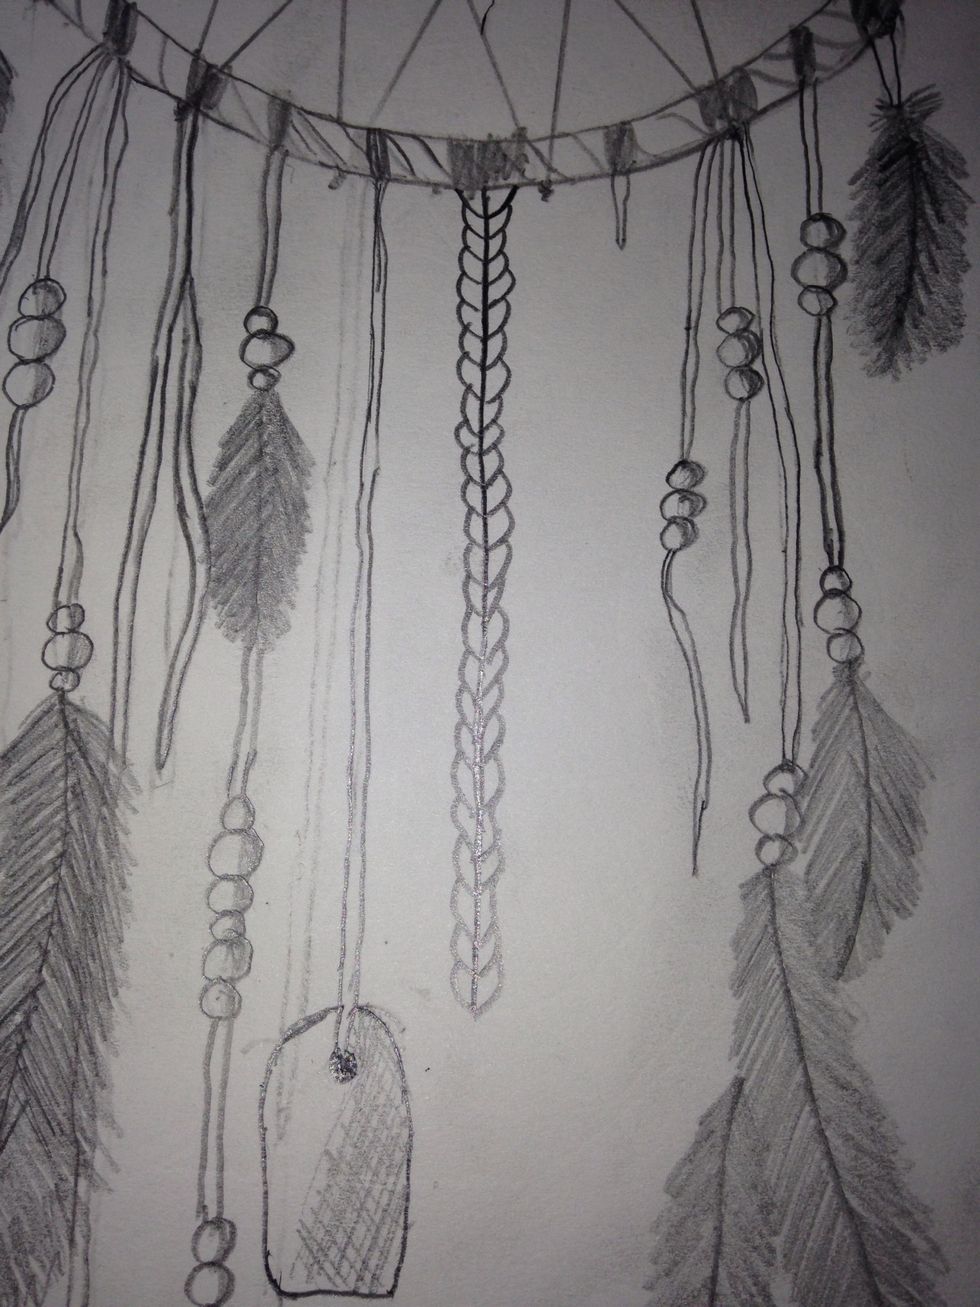
Continue making curves lines until you get to the bottom of the line. It's okay if they are different sizes!
Add some decorations or leave it as it is!
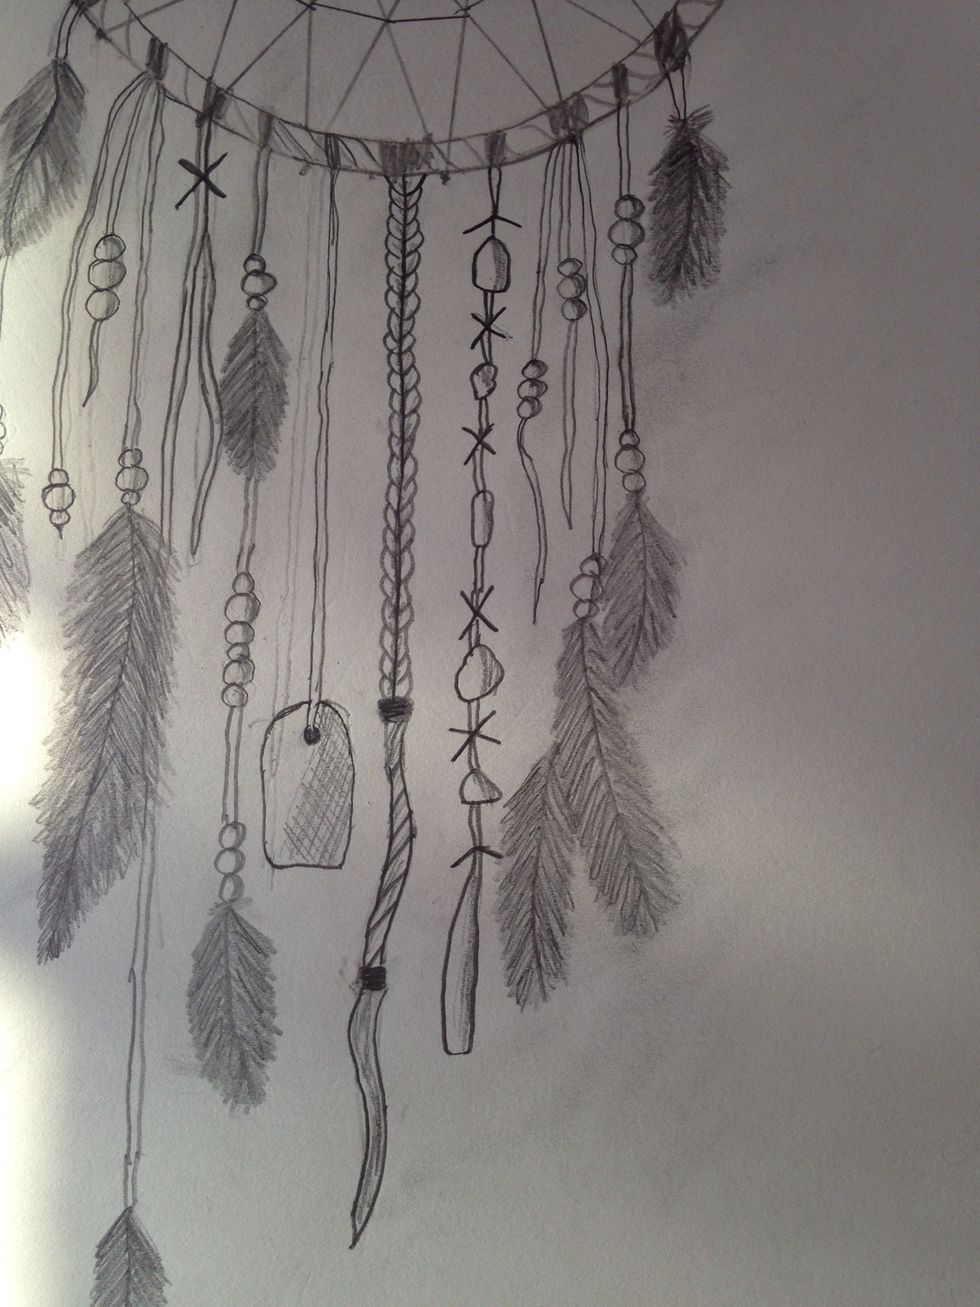
For the last extension I made some x's (supposed to be knots) and some irregular beads.
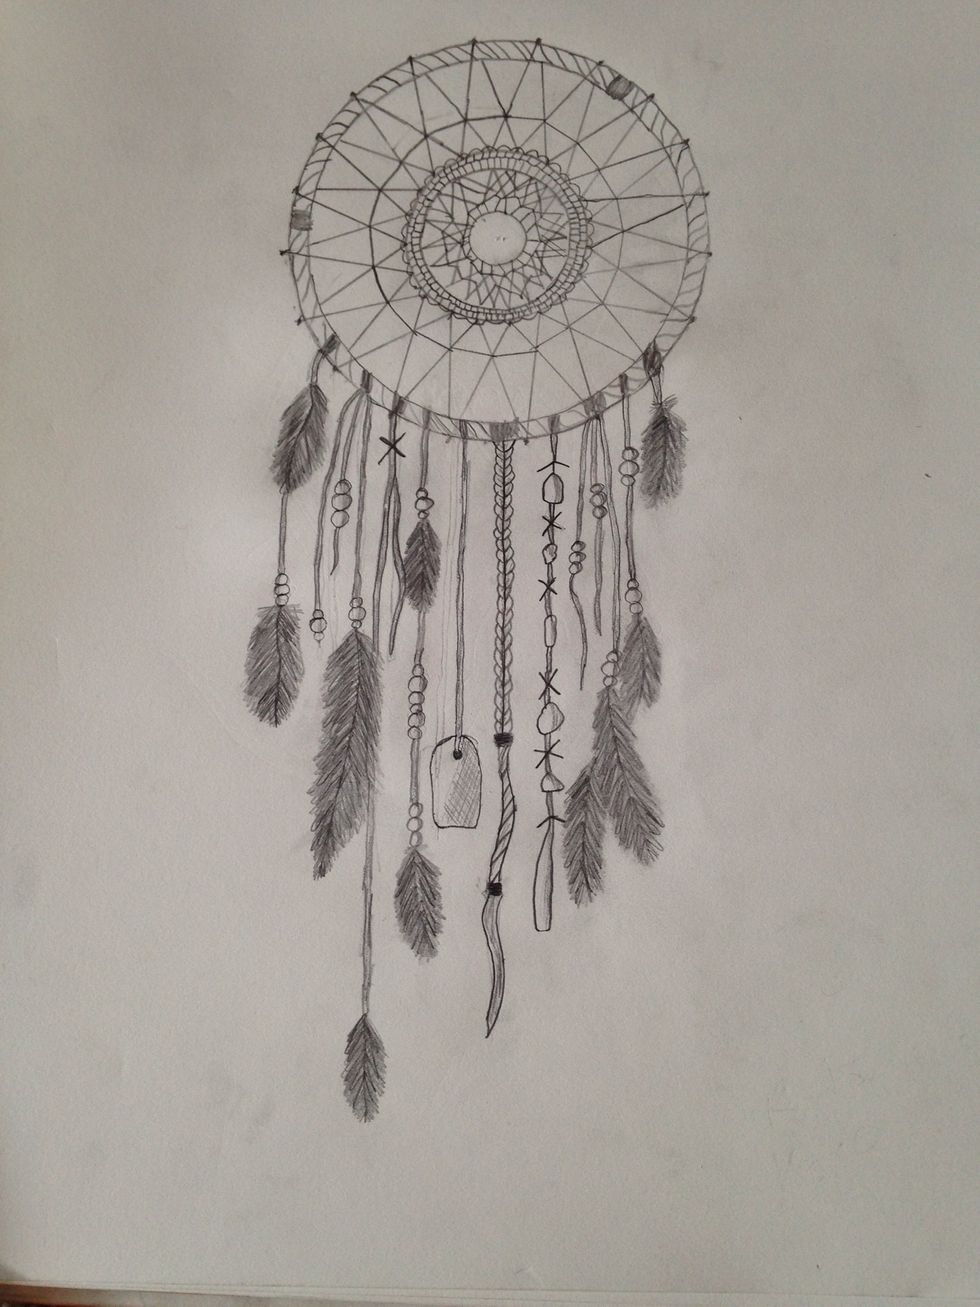
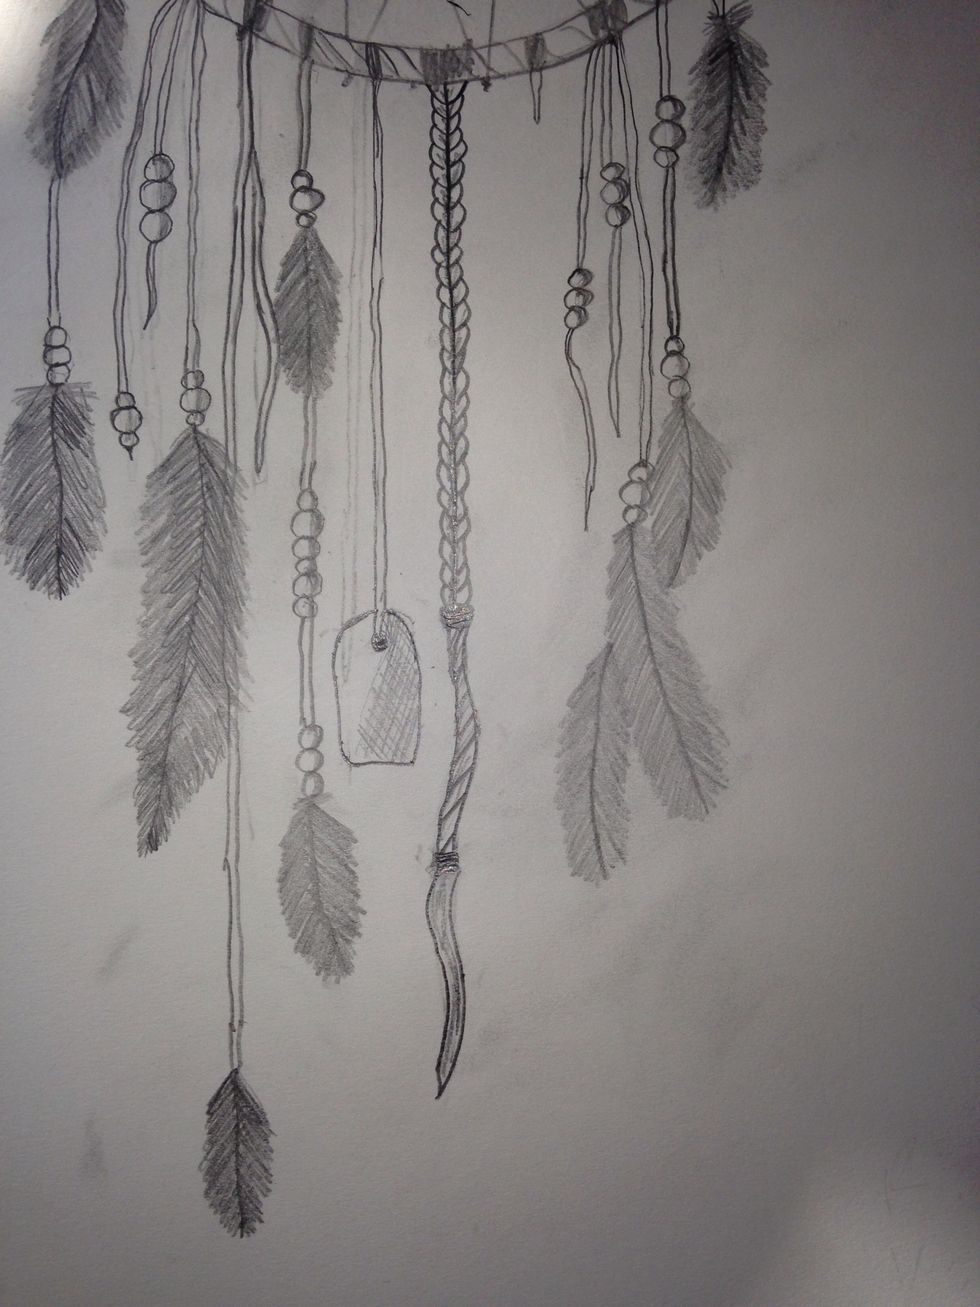
Finished after touching up and shading!