The Conversation (0)
Sign Up
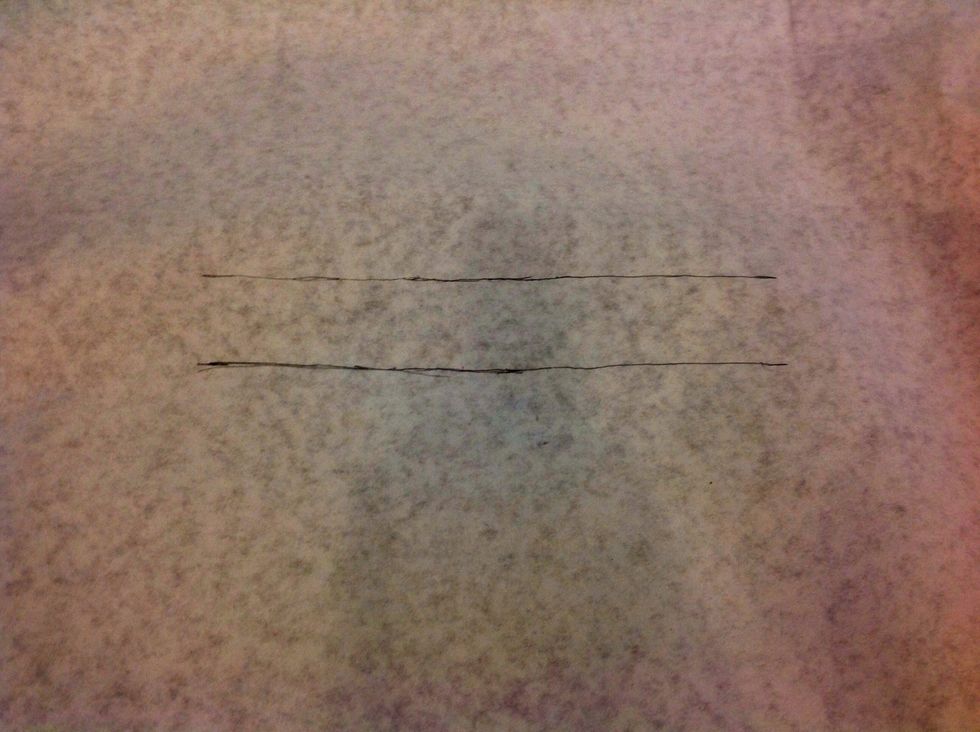
Draw two lines as straight as possible, about 1.5 inches across, and 10 inches long.
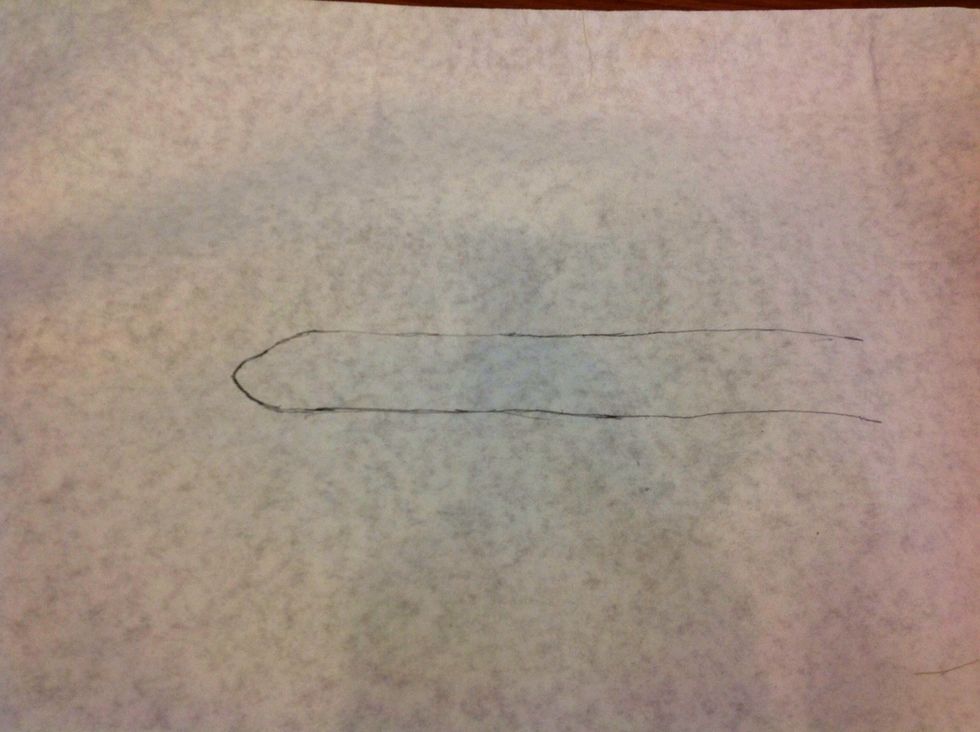
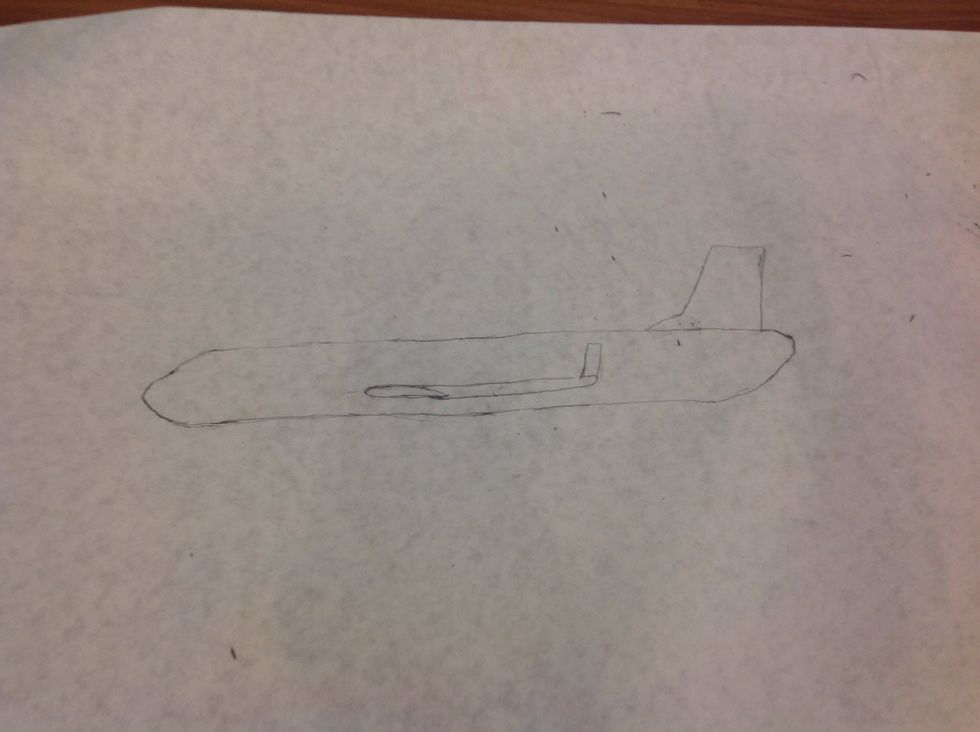
At the front end of the 2 lines draw an airplane nose similar to the one you see in the picture above.
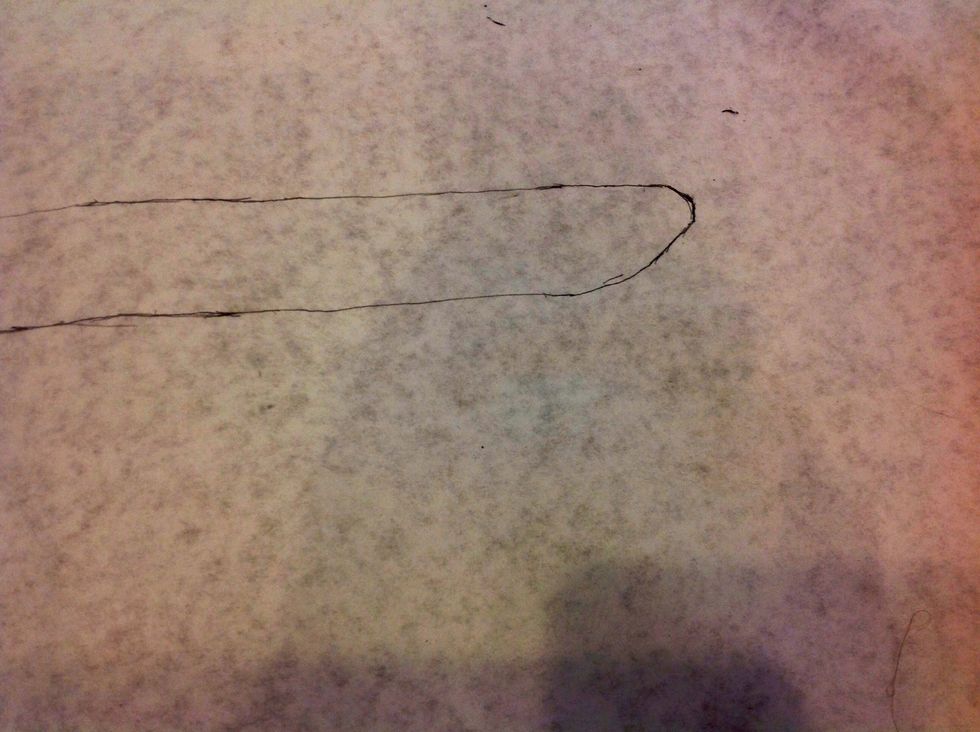
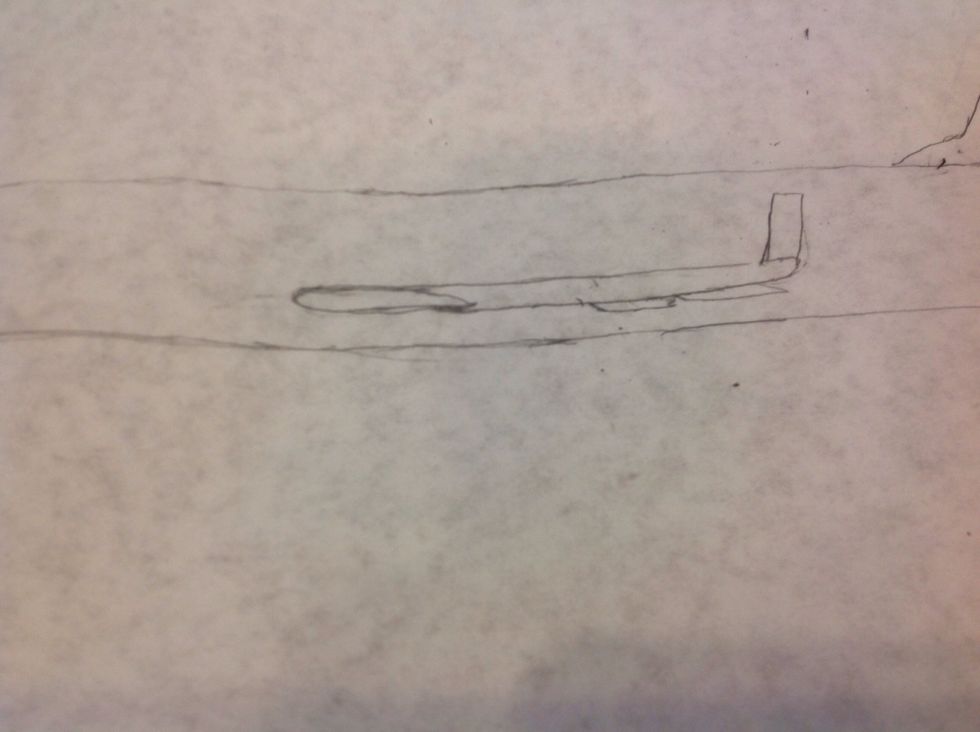
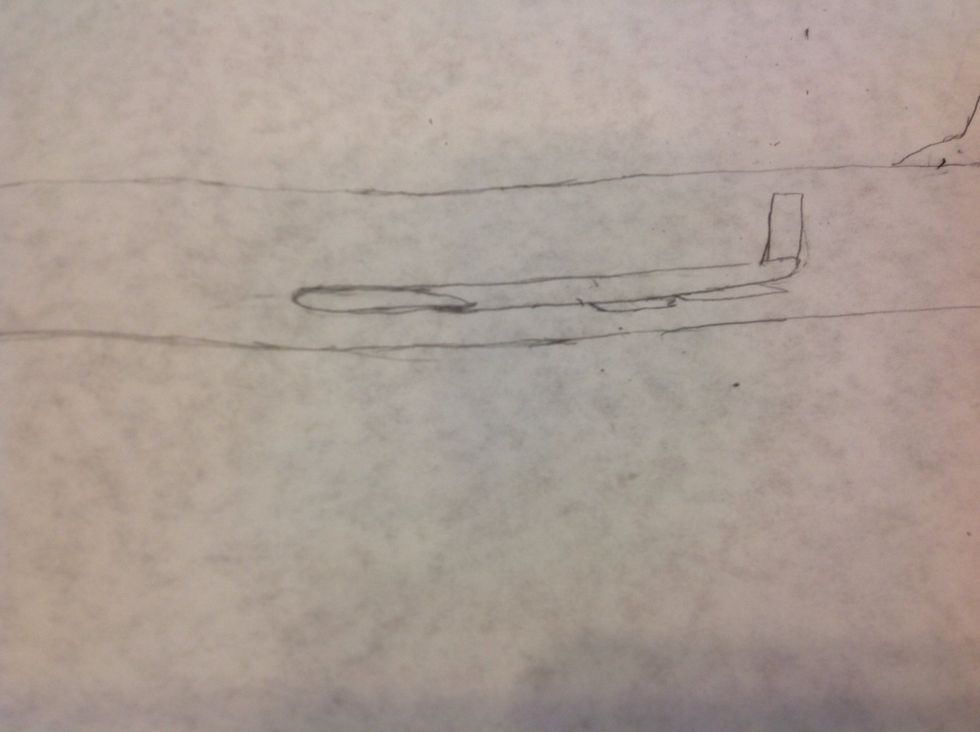
To draw the rear of the plane, first draw an upward curve similar to the one in the picture; then after draw a vertical line about 1.5 inches long. Next, draw a curve line to connect the upper line.
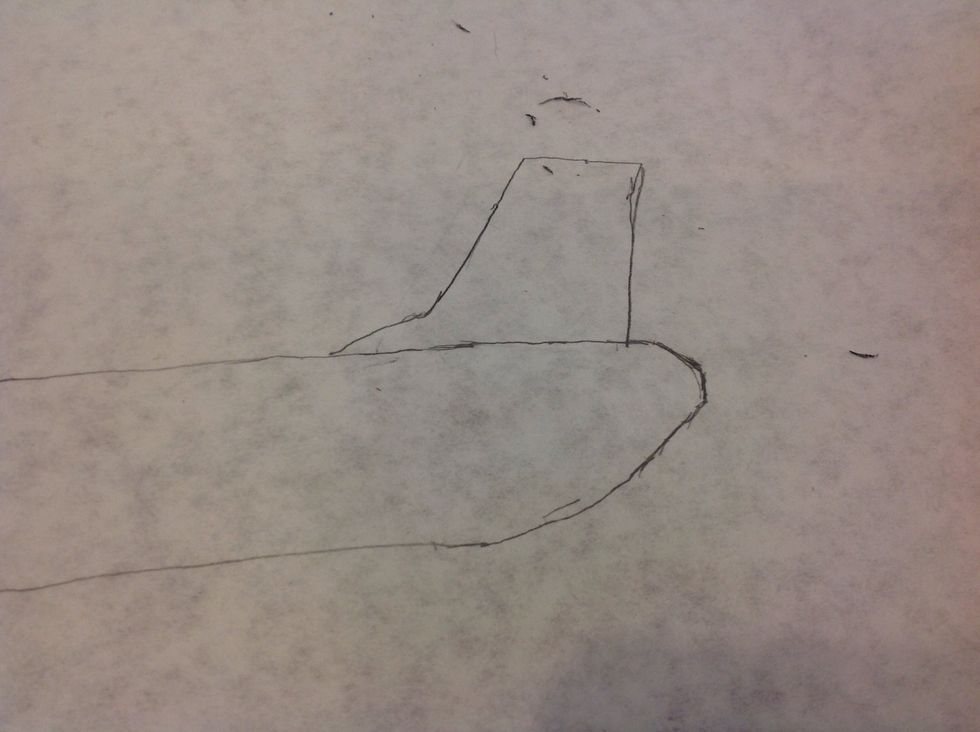
To draw the vertical stabilizer at the back, draw a curve similar to above, then draw a 2 inch line upward. Next, draw a 1.5 inch line across the top, followed by a 1.75 inch line down.
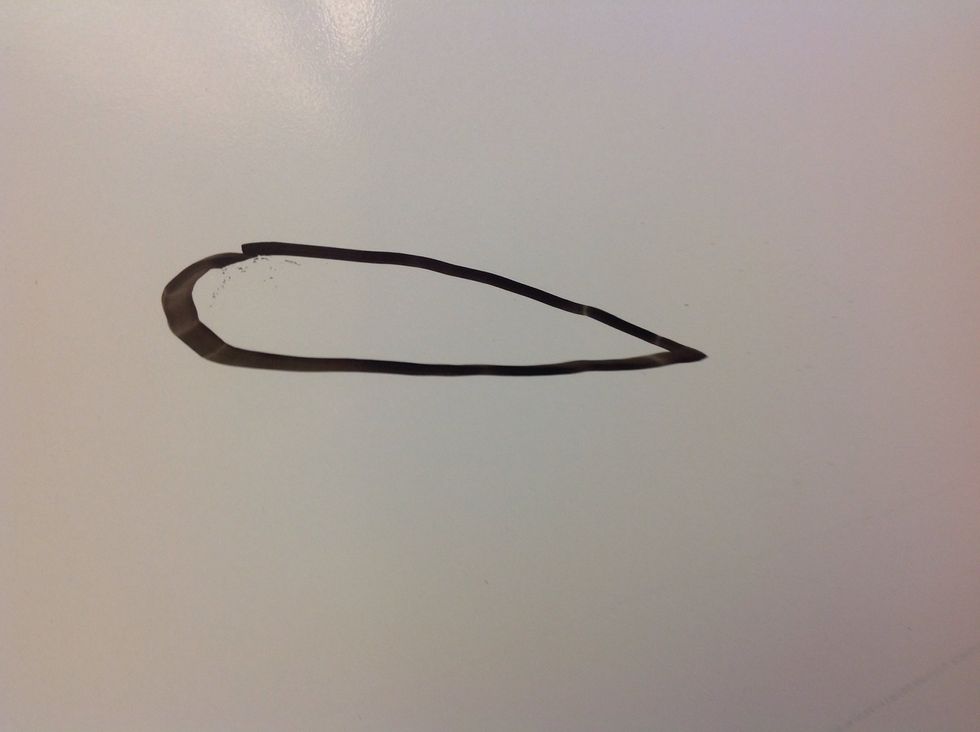
This is an airfoil shape. In the next slide you will need to draw this shape.
To draw the wings, draw an airfoil shape similar to above, then draw 2 lines parallel to each and the bottom of the plane from the airfoil shape until the whole shape is centered in the middle.
To draw the winglets, draw a trapezoid at the wing tip like the one shown above.
To draw the wing spurs, draw two quadrilateral shapes like the ones shown above.
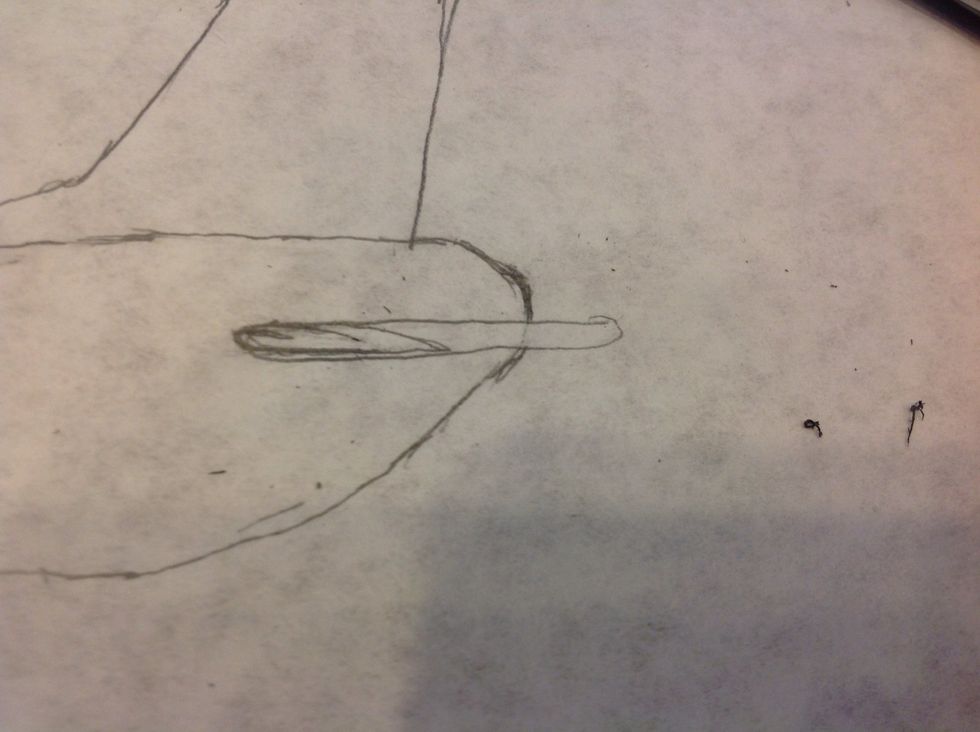
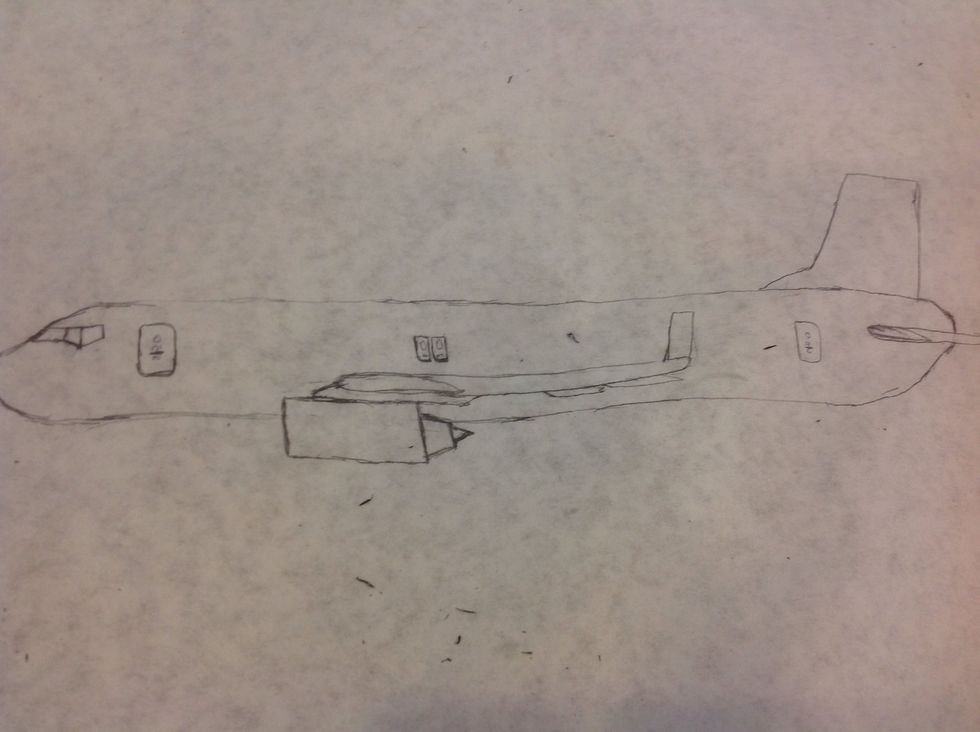
To draw the engine mountings, first draw a curve about 0.5 inches in front of the wing. Next, draw an approximately 2 inch line, and after draw the same angular line as the wing spurs.

Engines step part 1 of 2: First draw 2 lines about 0.5 inches underneath the mountings starting about 0.5 inches before the engine mount starts, continuing back for about .75 inches.

Engine step 2 of 2: Draw lines connecting the engines top and bottom at the front and back of the engine.

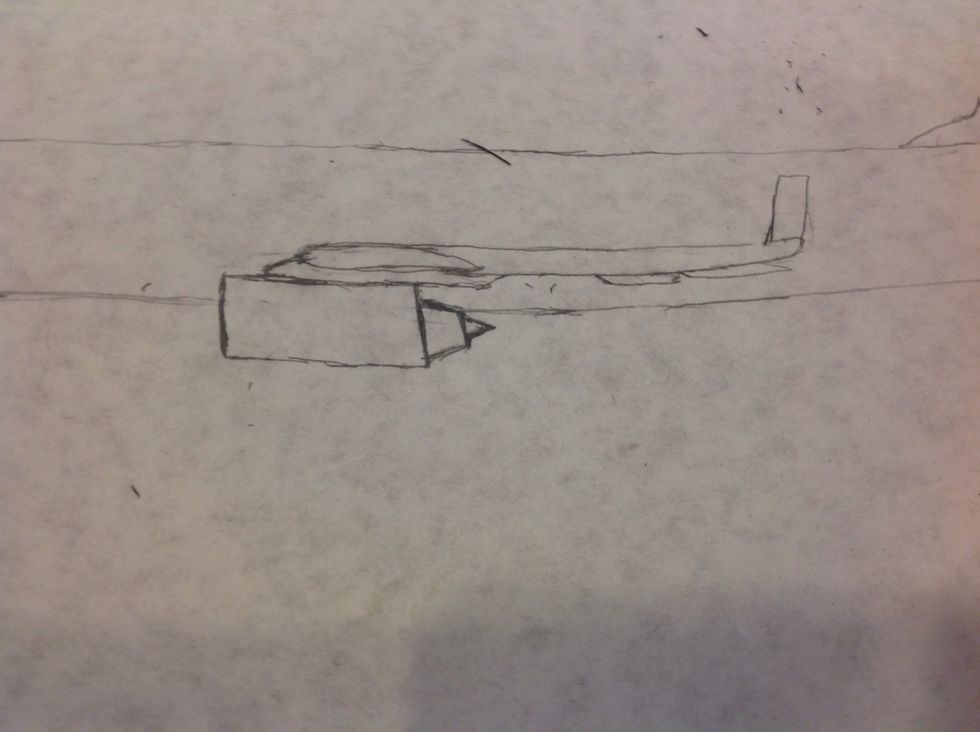
To draw the engine nacelles, first draw a trapezoid about 0.5 inches long, then draw a triangle to form the nacelle, like the one in the picture above.
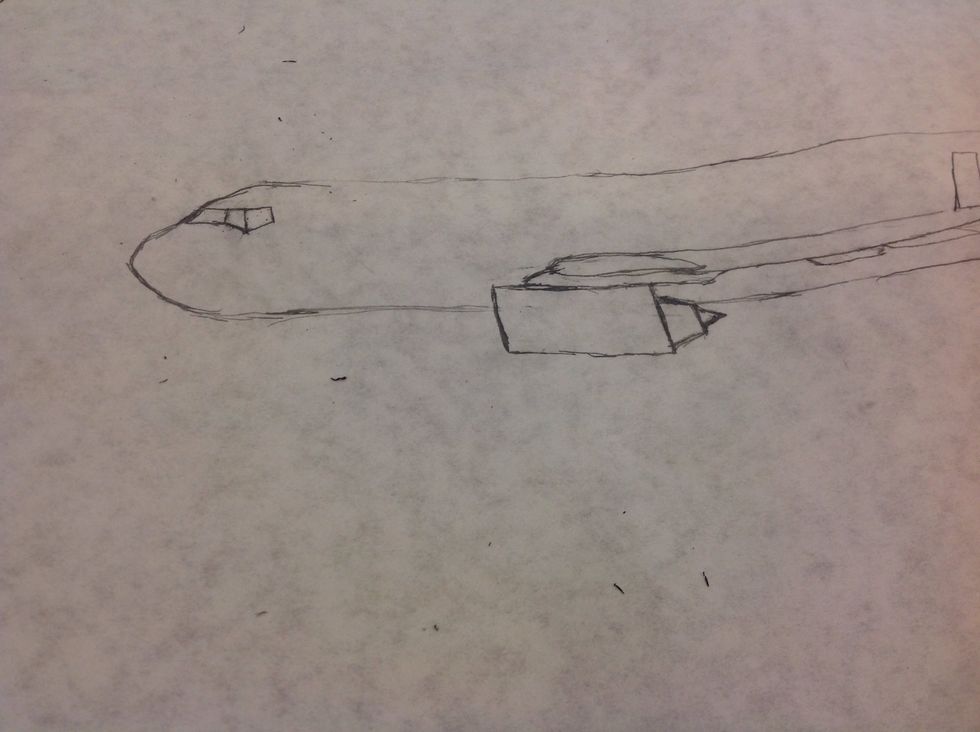
To draw the cockpit windows, first draw a one side slanted trapezoid, then draw a window that is sloping like the one in the picture. Next, draw a window going back up like the one in the picture.
To draw the horizontal stabilizer, first draw an airfoil shape like the one in the picture, then draw two lines with a curve at the end.
To draw the 2 doors, first draw an oval like the one shown above, then draw a circle on the top of the door. Next, draw a straight line, and arrows like the ones shown above. Repeat for the rear door.
To draw the emergency escape windows, first draw two ovals about the center of the plane and over the wing. Next, draw a rectangle around each of the ovals.
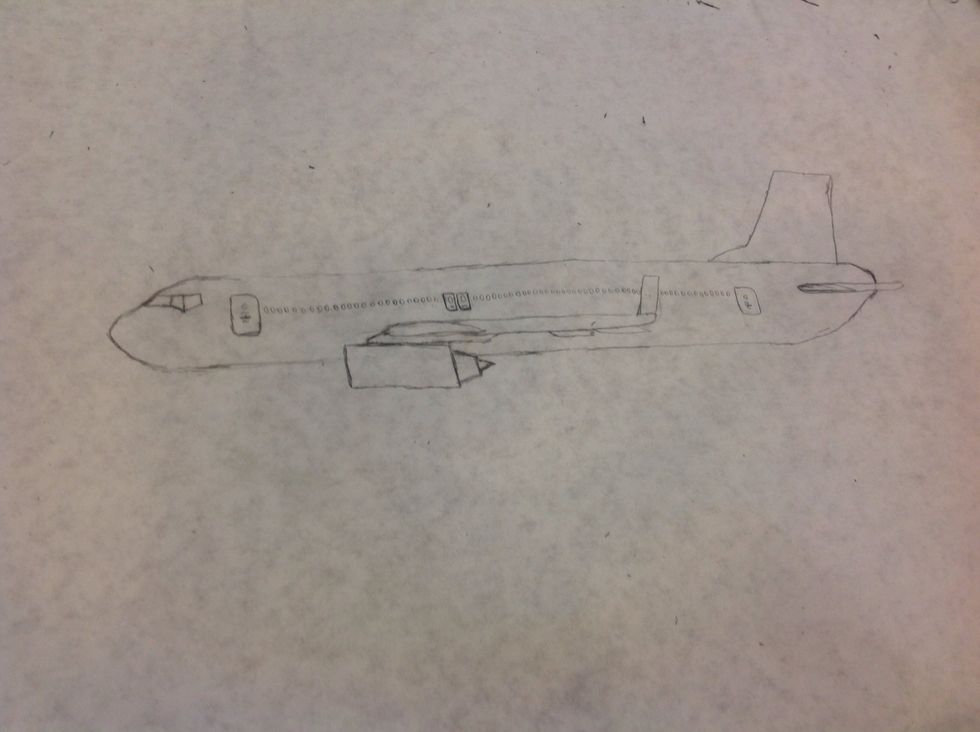
To draw the windows, sketch tiny ovals like the ones shown above and keep on drawing them until you reach the rear passenger door.
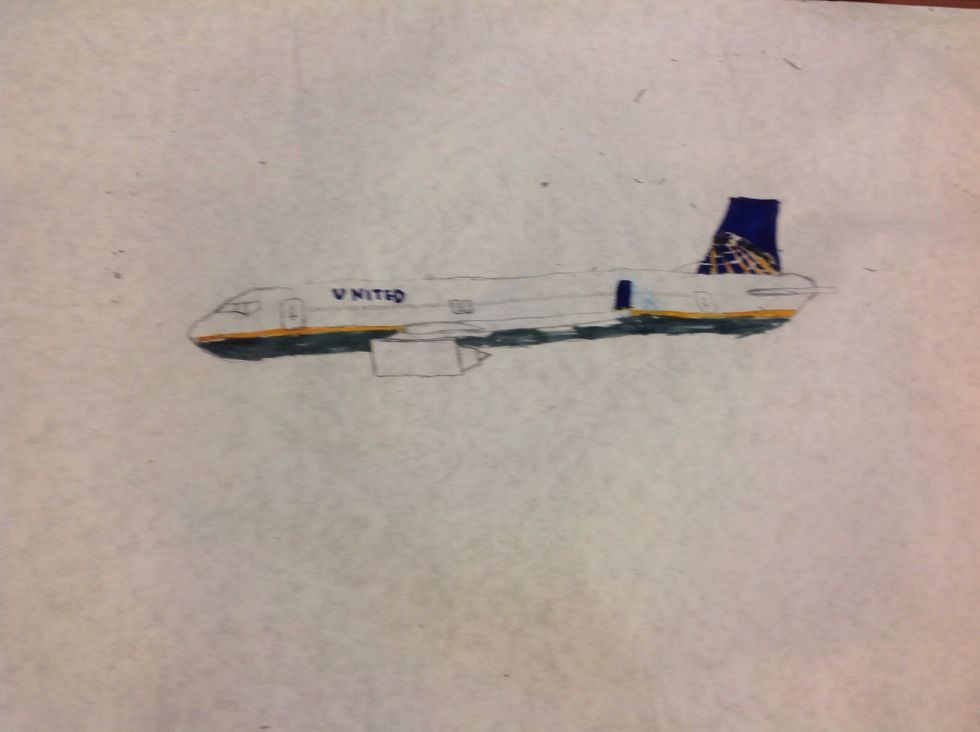
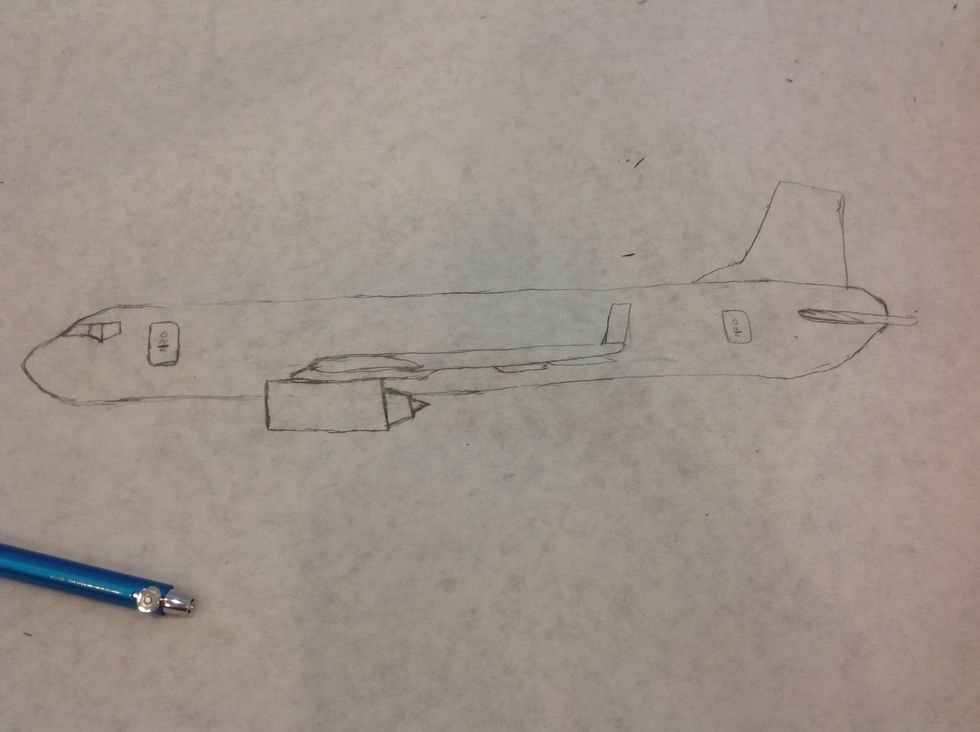
Coloring and personalizing it with an airlines' livery is optional, but it will make the plane look nicer, and more realistic. I colored mine in United's livery. I hope you enjoy your new drawing!