The Conversation (0)
Sign Up
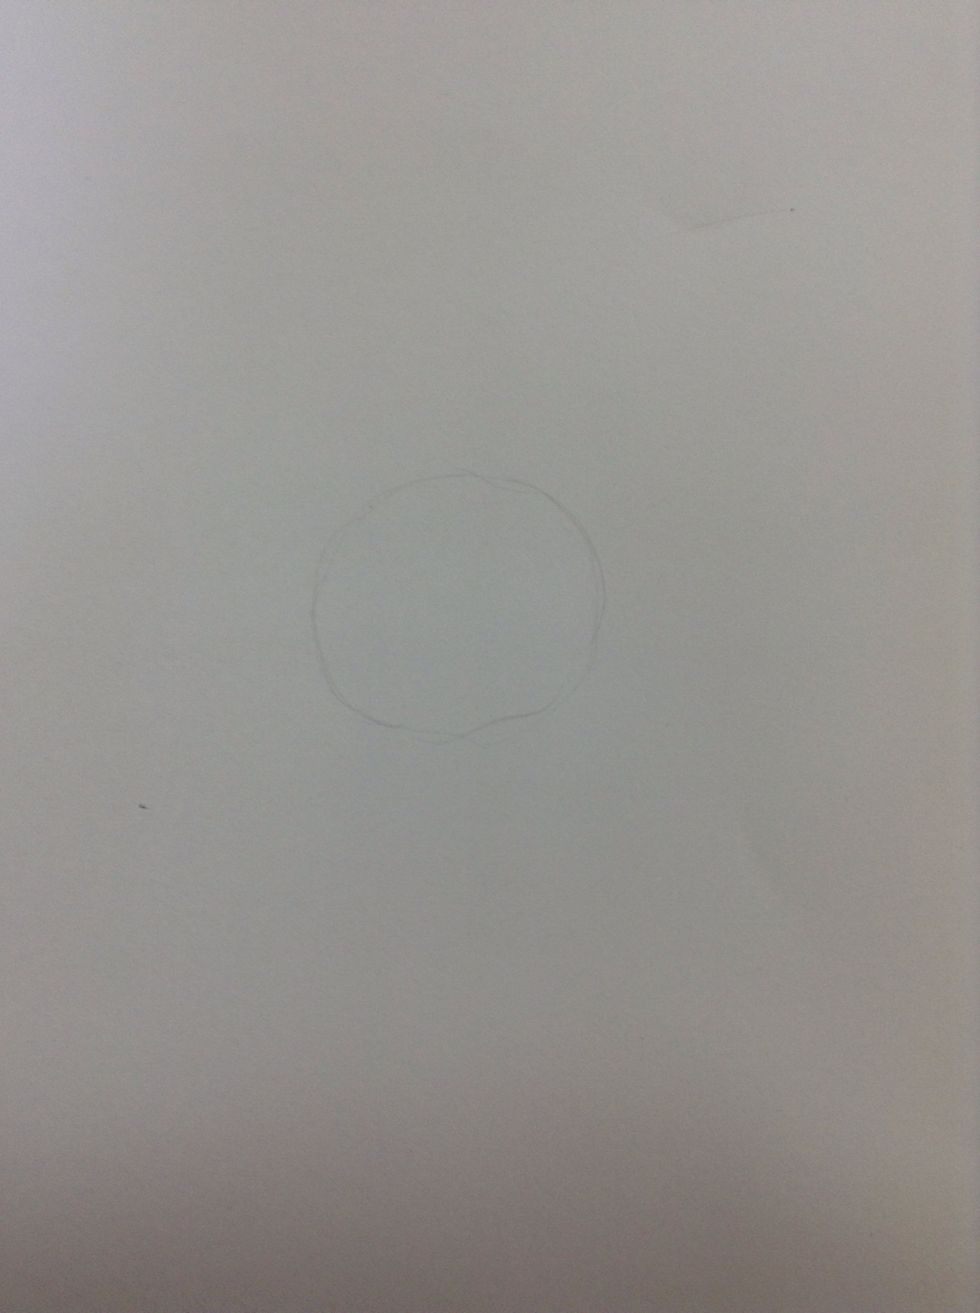
Step one: lightly draw a circle.
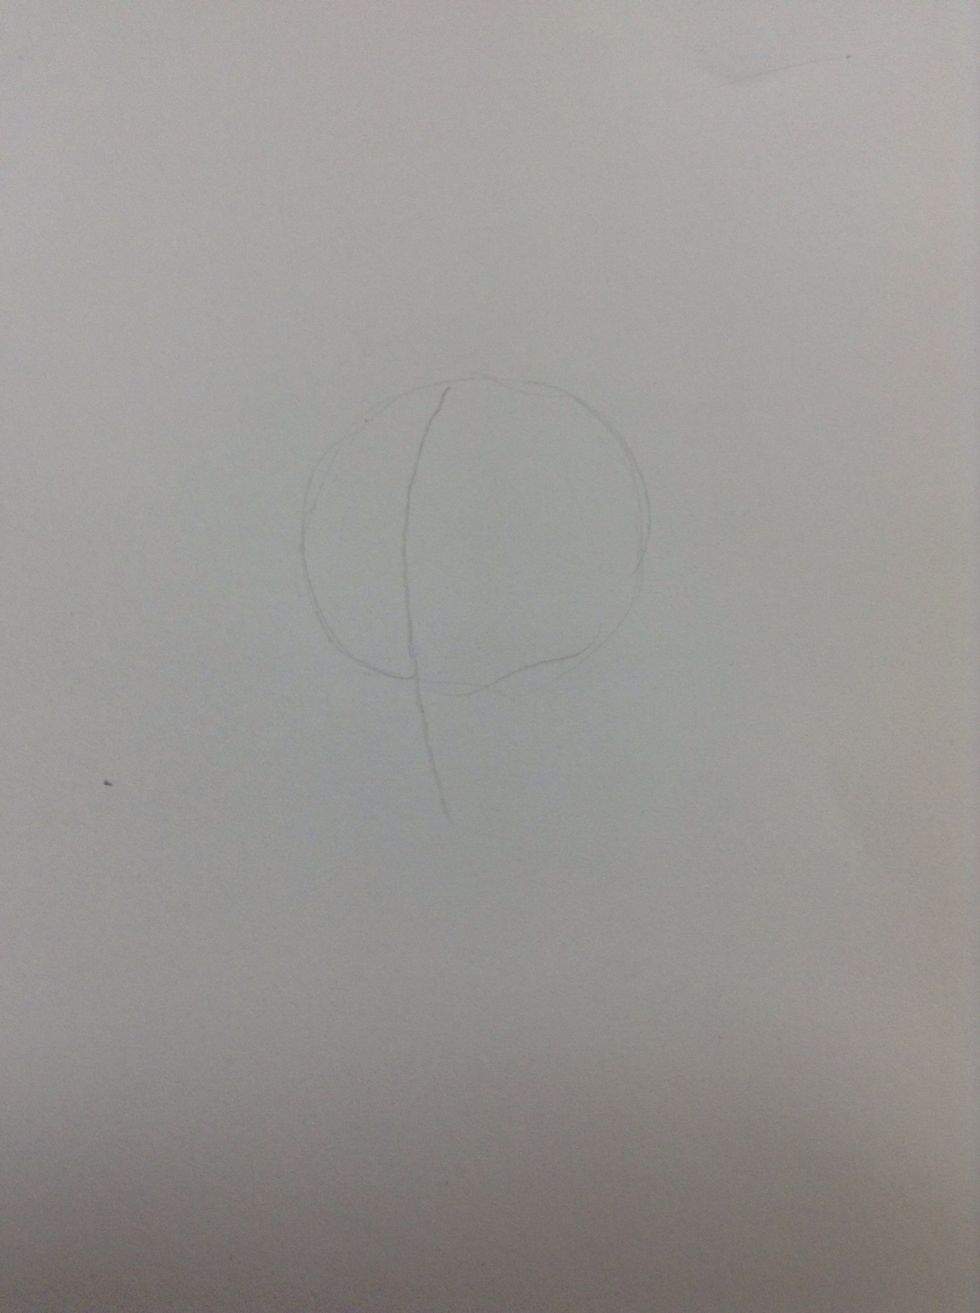
Step two: lightly draw a line from the top of the circle then work your way down until the chin will be located, to determine the centre of the face.
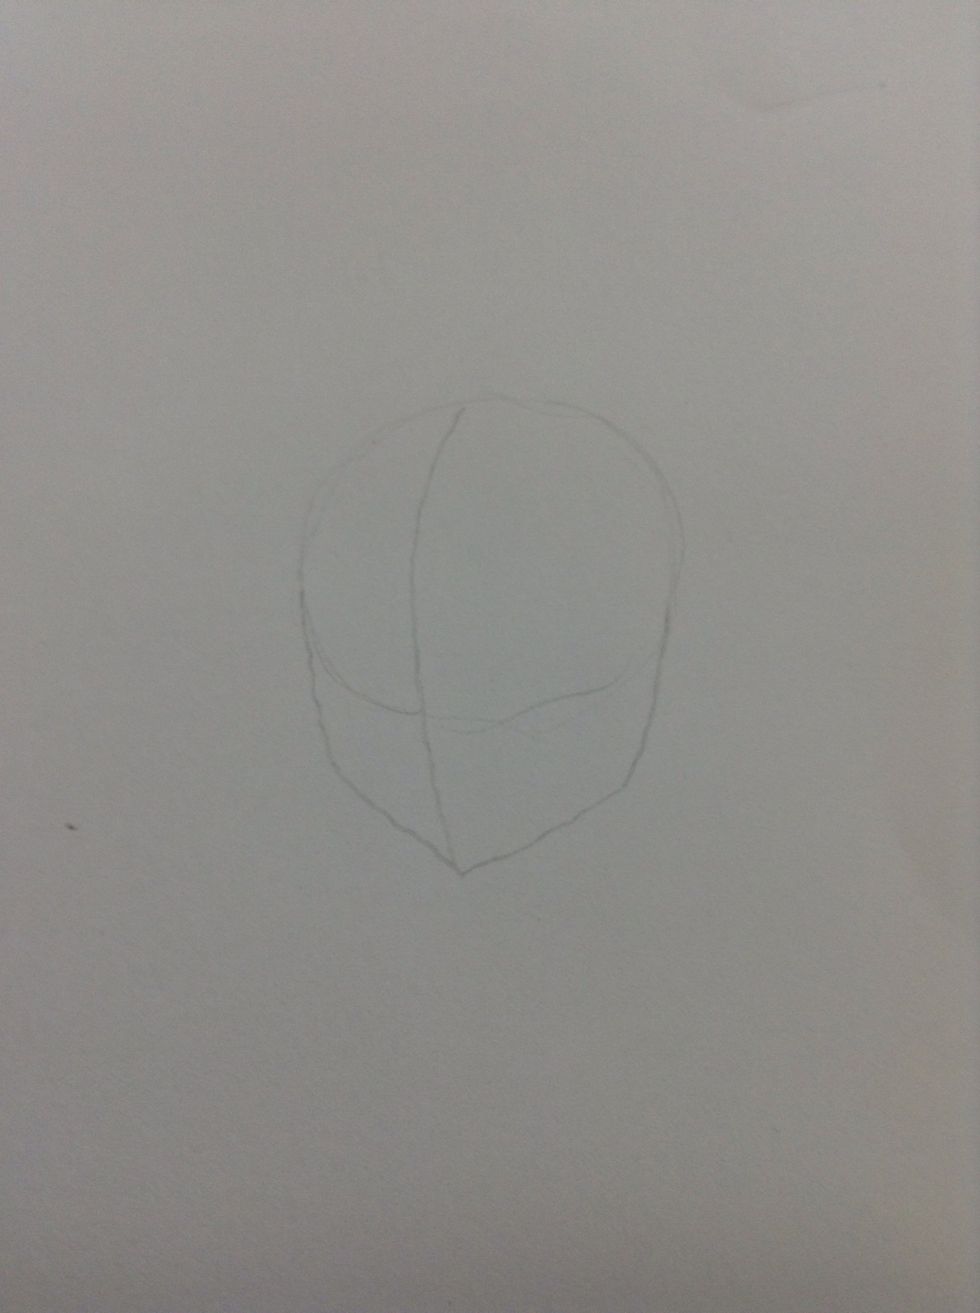
Step three: then complete the shape of the head by sketching the shape of the jaw and chin.
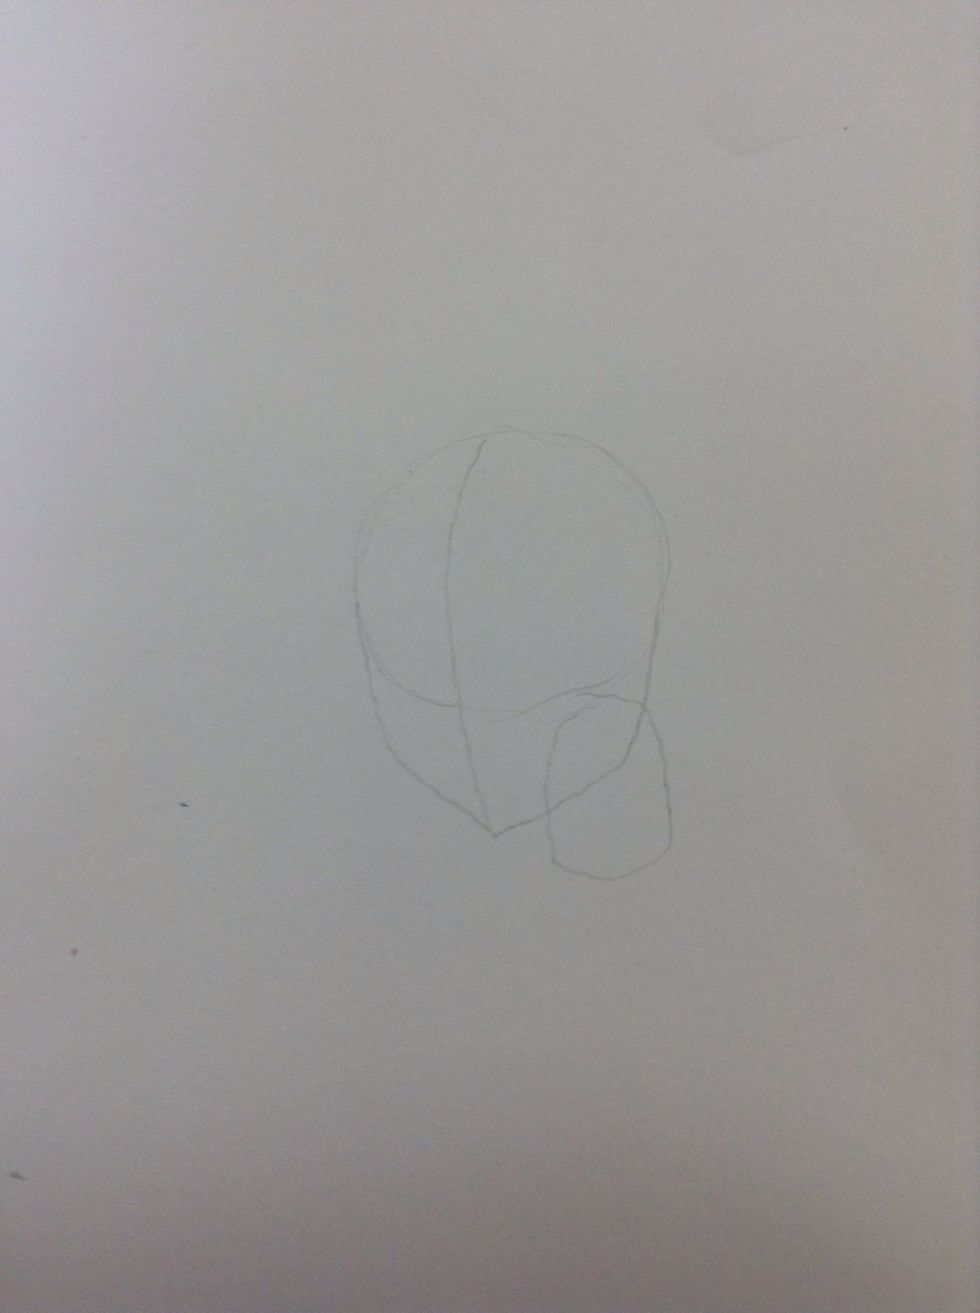
Step four: lightly draw a cylinder shape under the head, to make the neck.
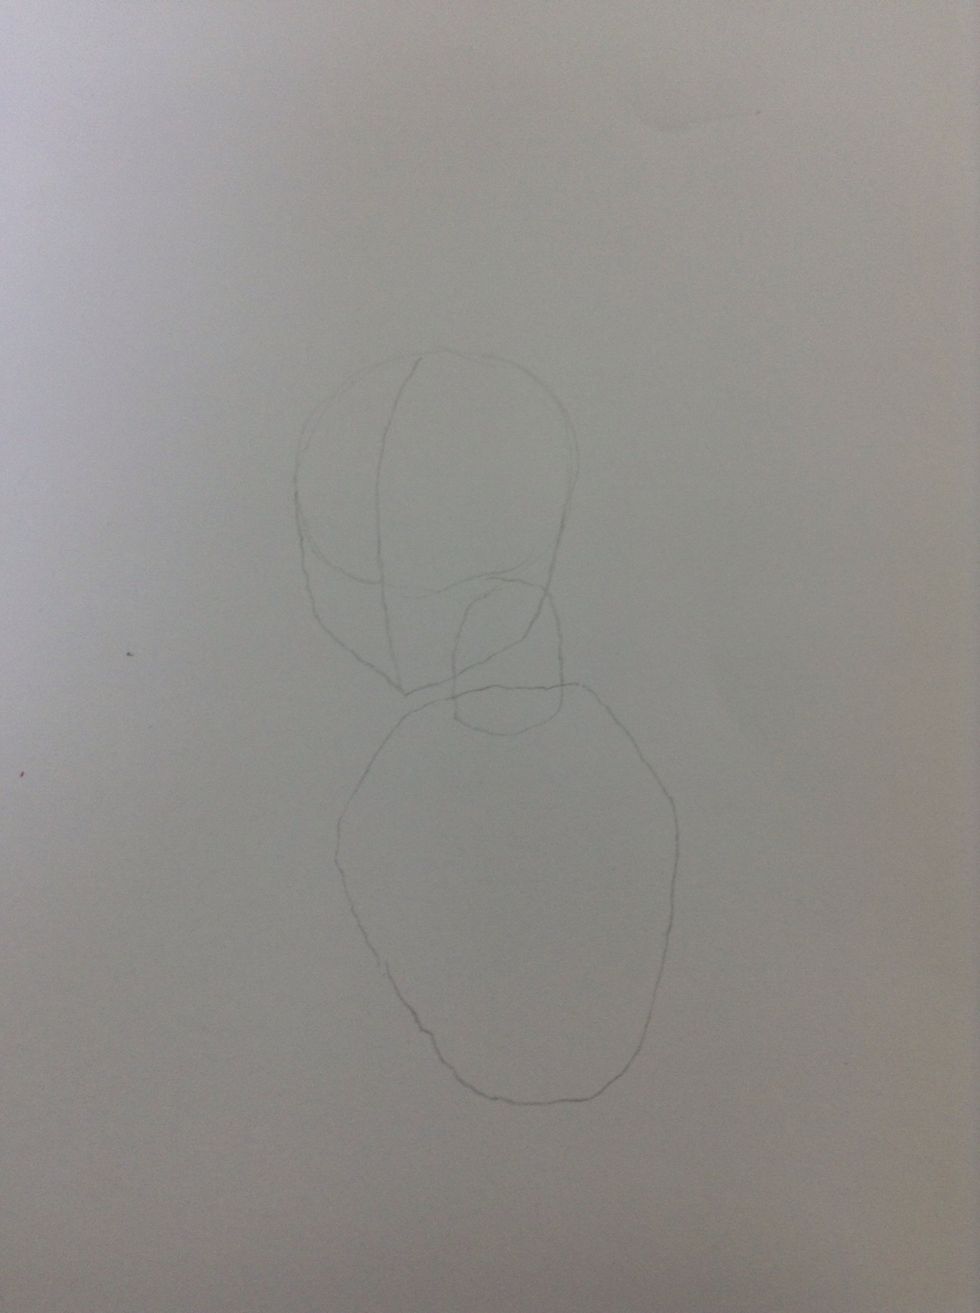
Step five: draw a slim shape to make the torso.
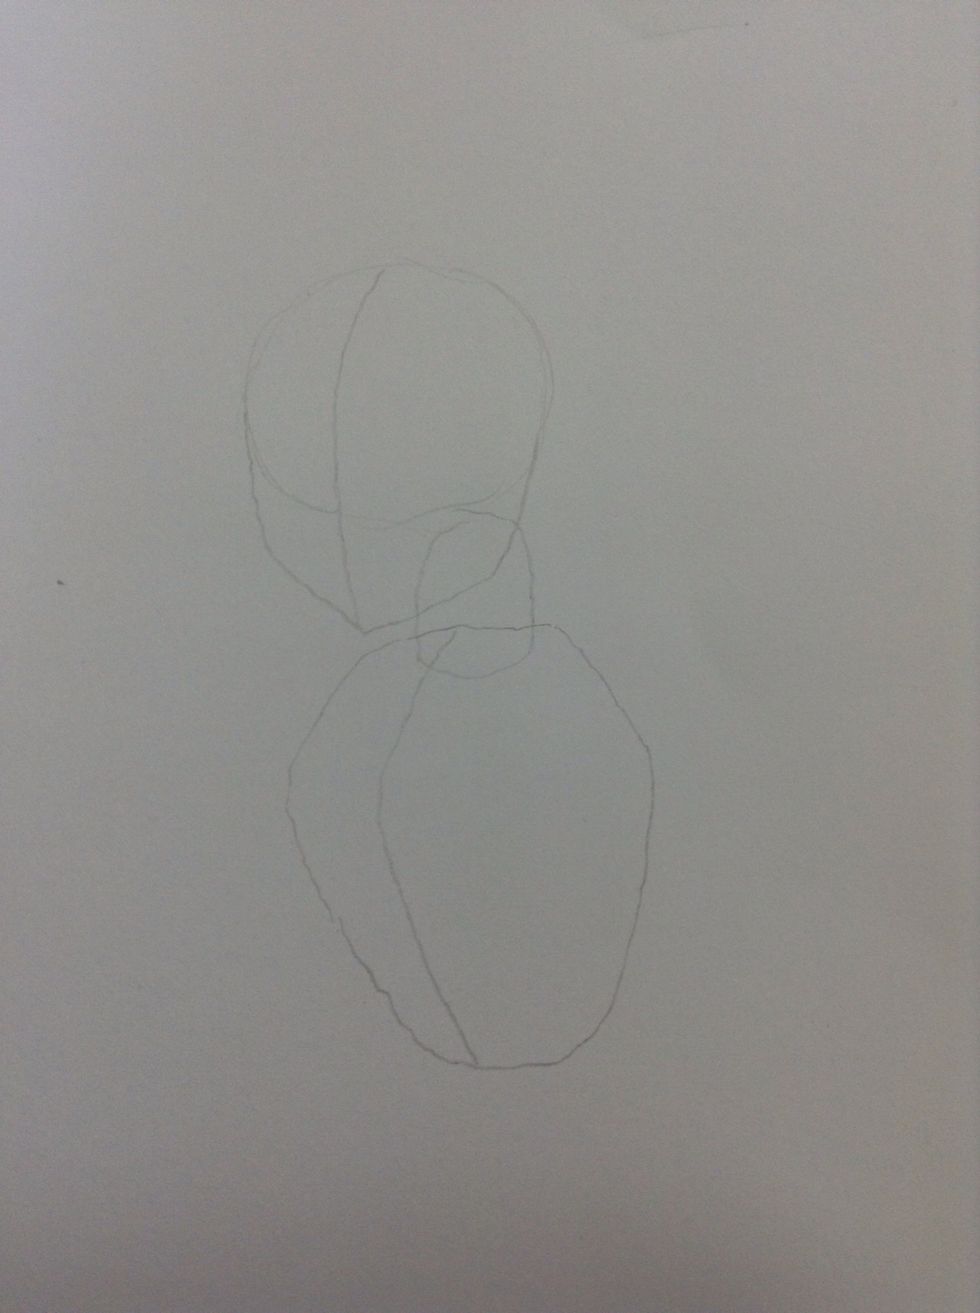
Step six: draw a curved line from the top of the torso shape until you've reached the bottom, to determine on where the chest will be.
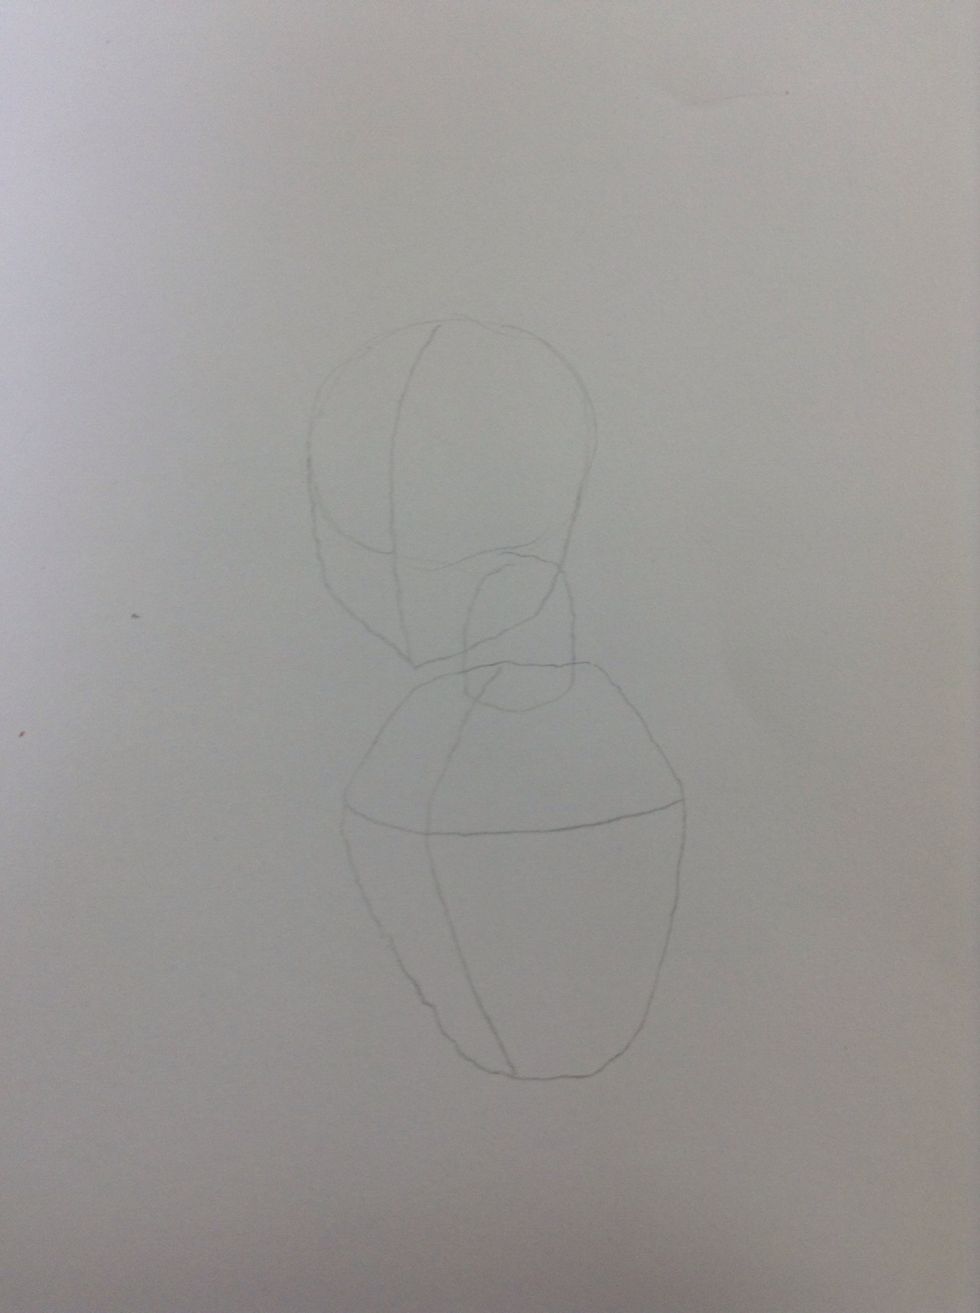
Step seven: draw a line across the torso shape, to determine on where the chest will be.
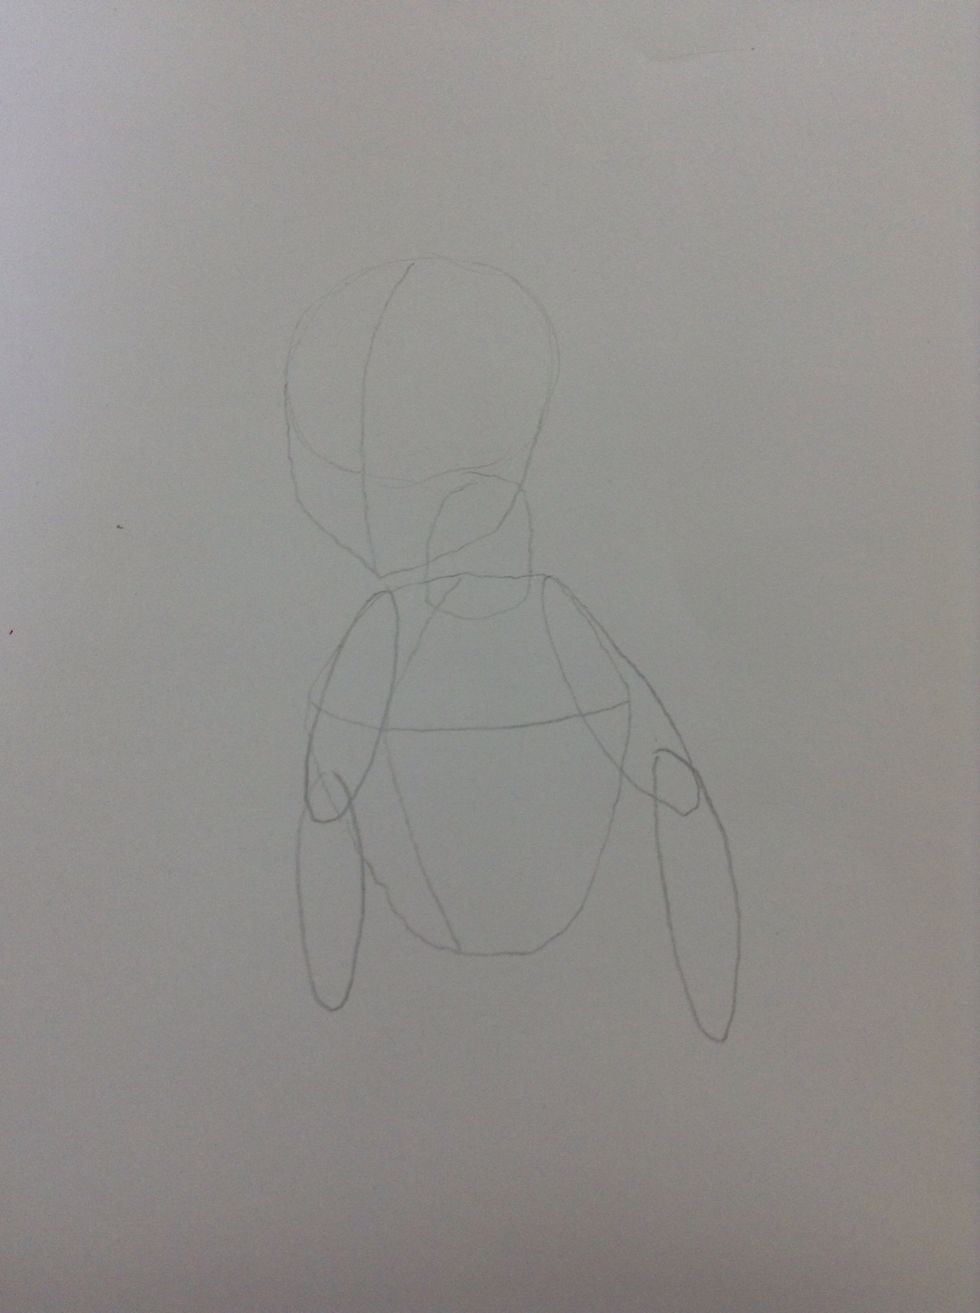
Step eight: draw two slim oval shapes (must be attached to each other) on one of the sides of the torso shape, now do the same to the opposite side.
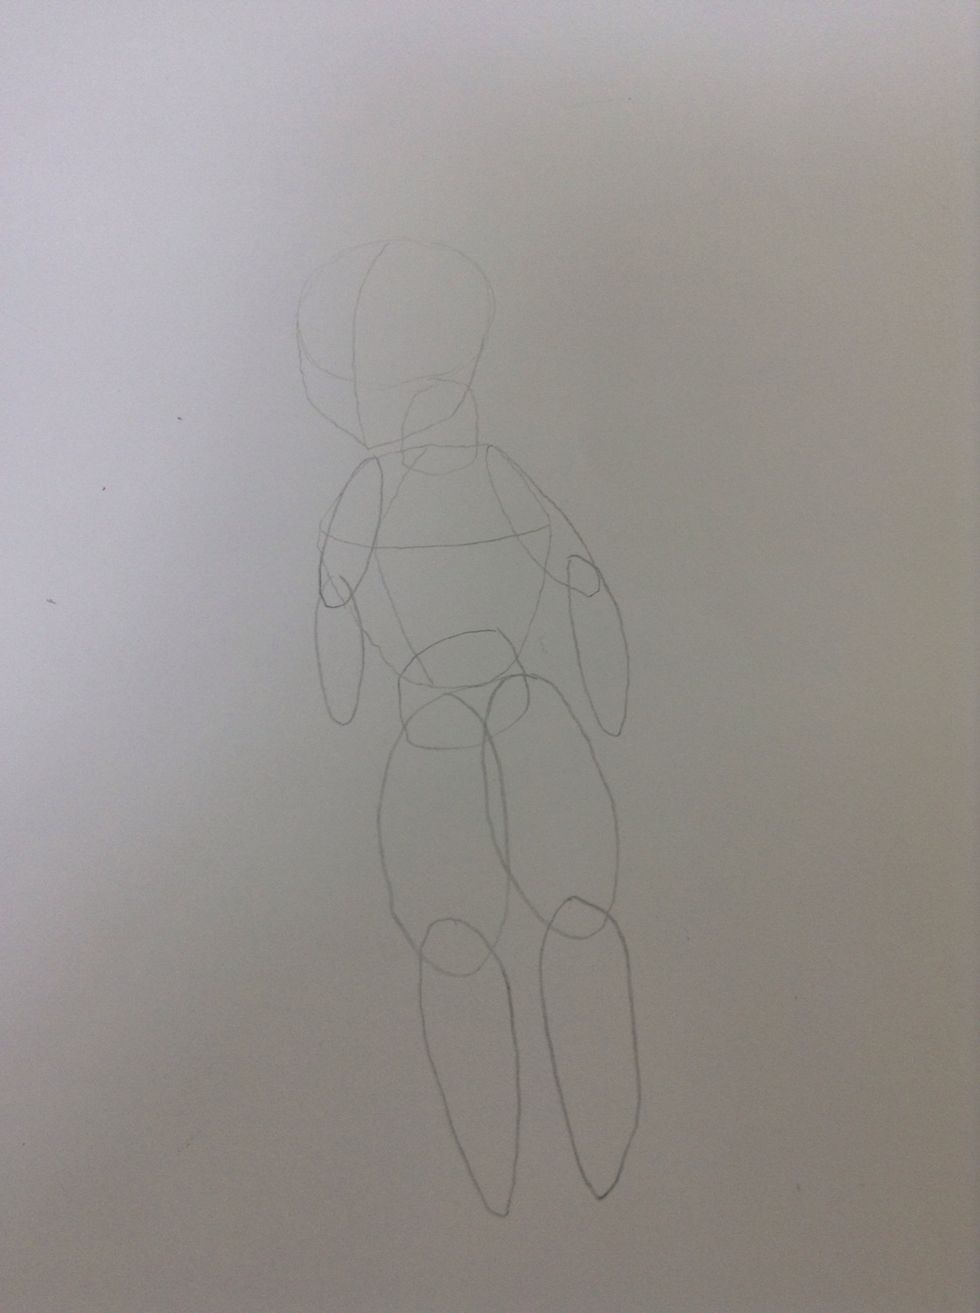
Step nine: draw one wide oval and draw one slim oval shape (must be attached together) on the bottom of the torso shape, then do the same on the opposite side.
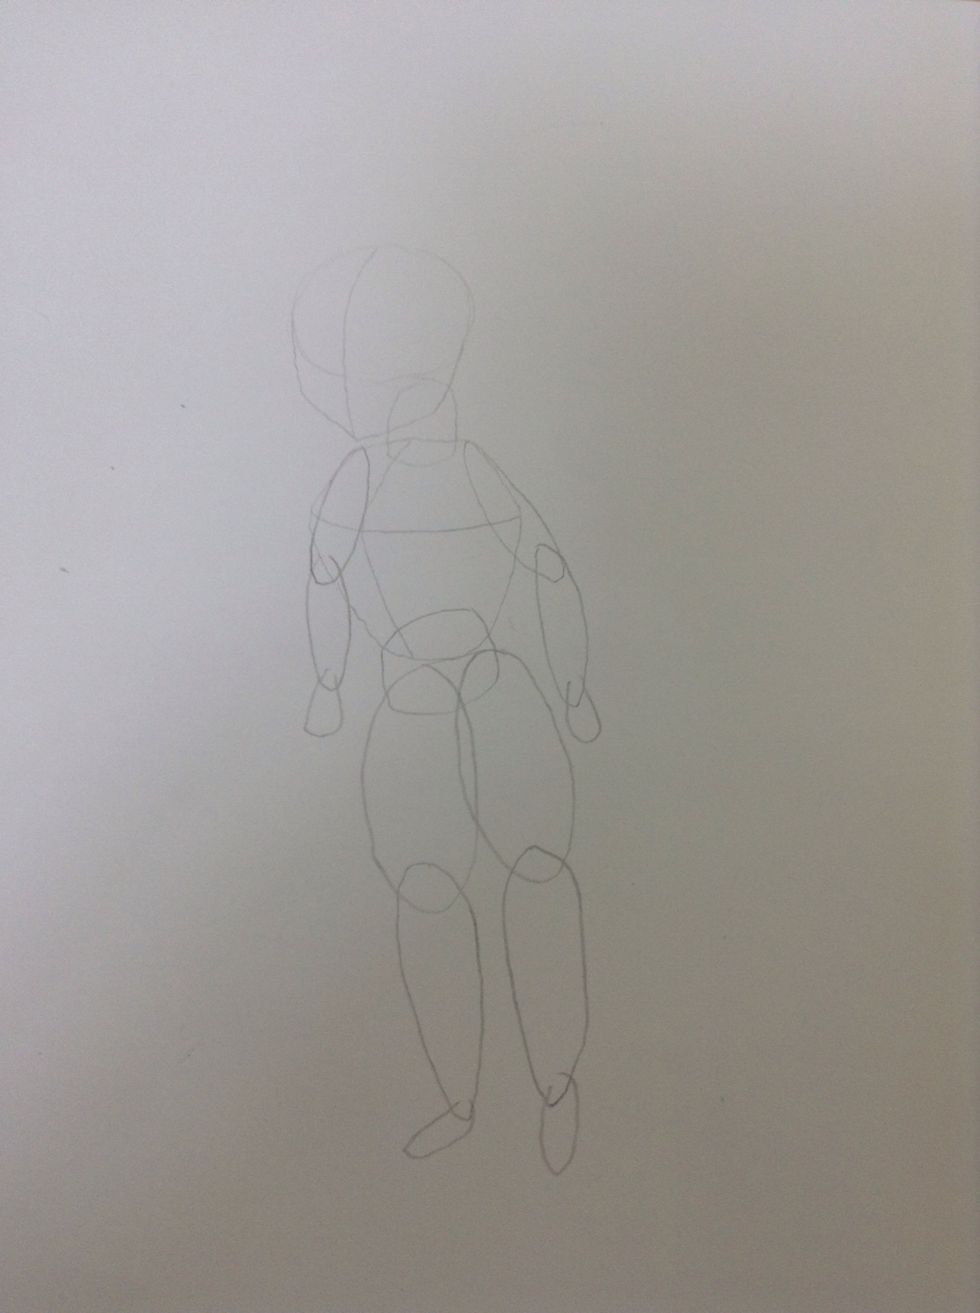
Step ten: add in slim oval shapes at the end of the arms and legs, to make the arm and feet.
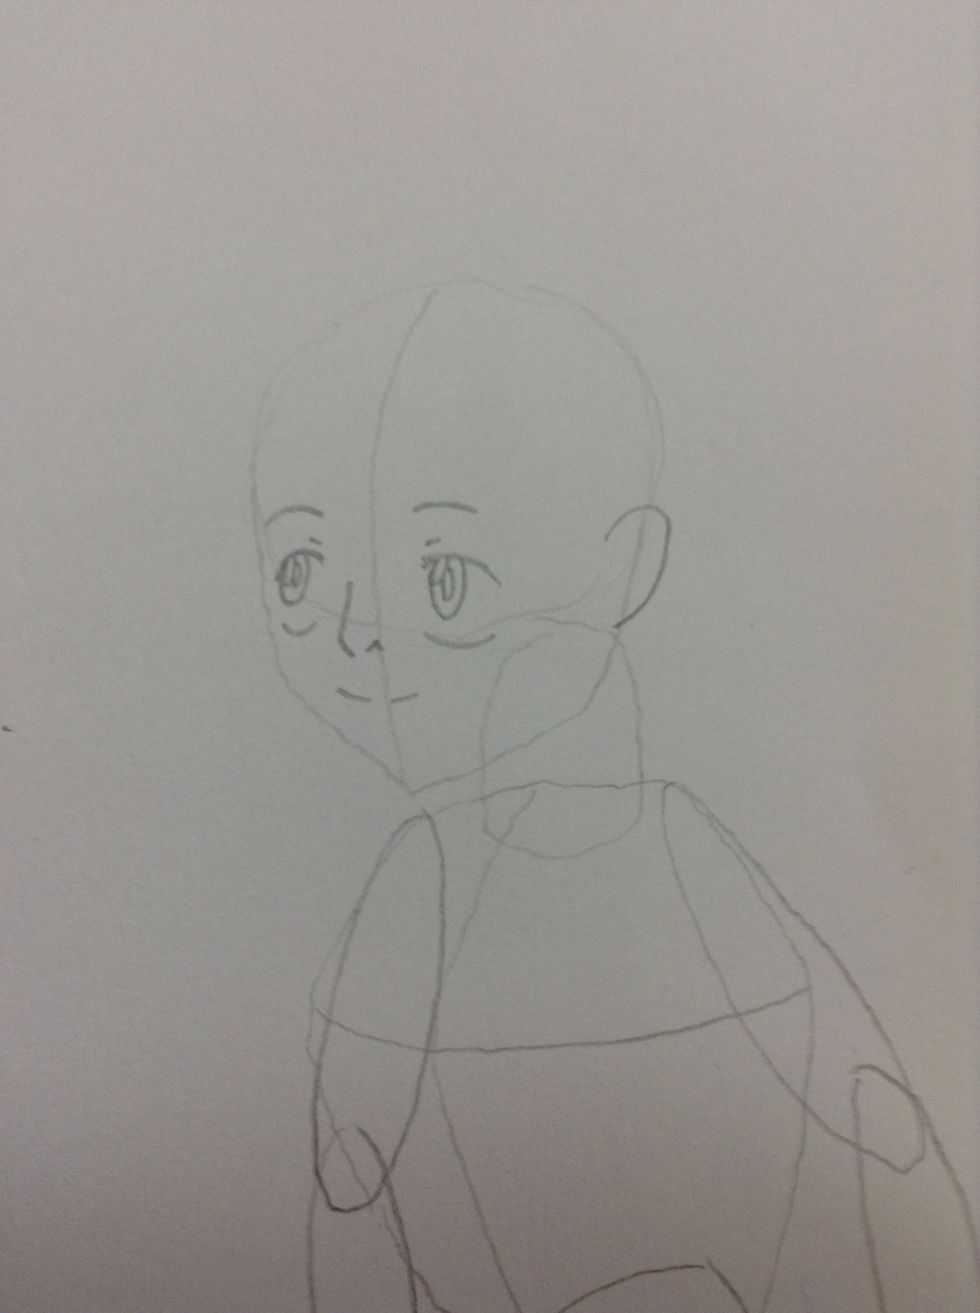
Step eleven: sketch the main details on the face (such as: eyes, nose, mouth, etc...).
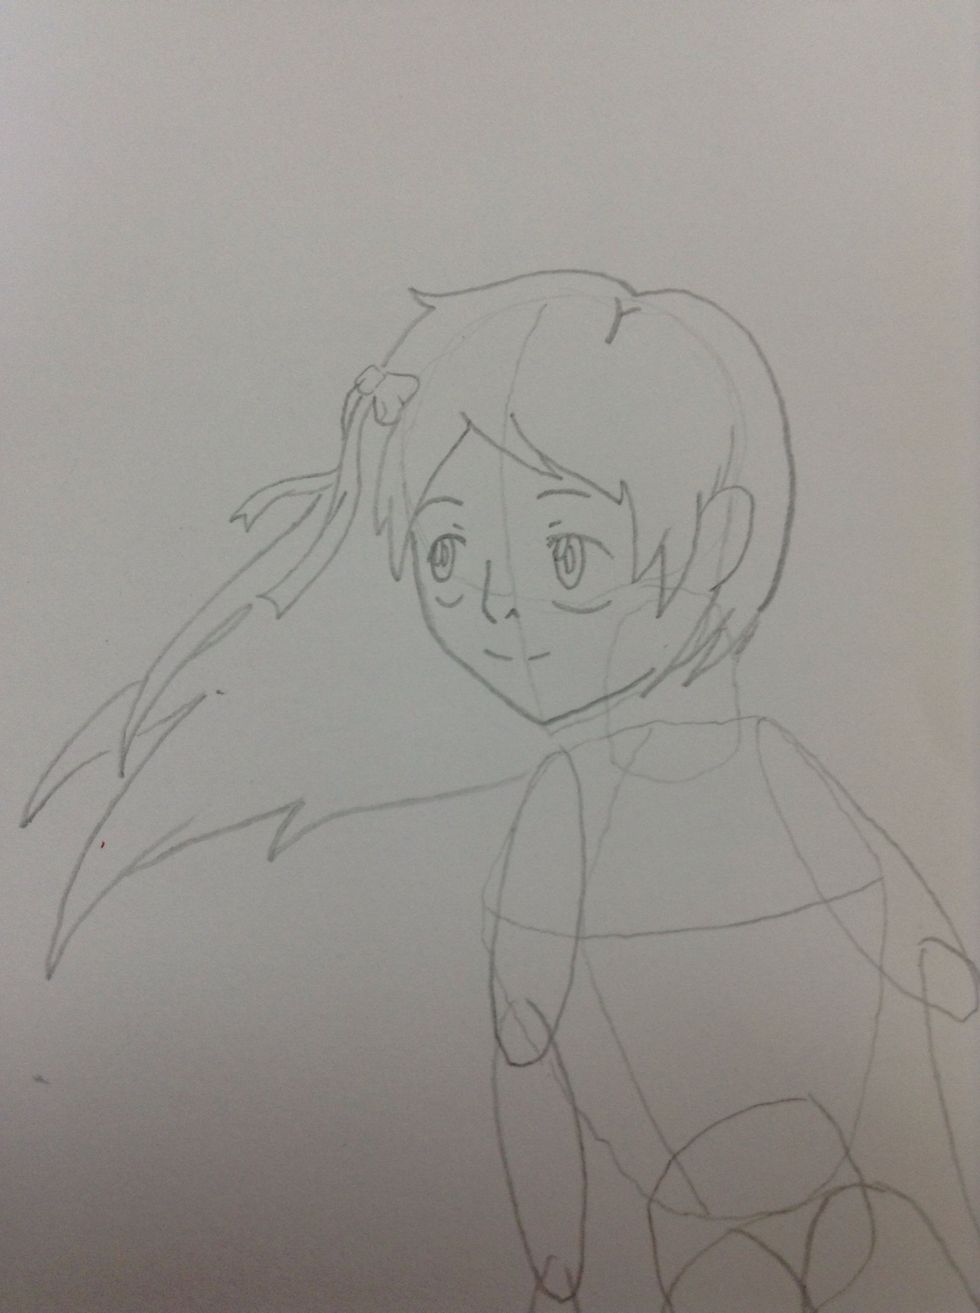
Step twelve: sketch the hair and head accessories (optional).
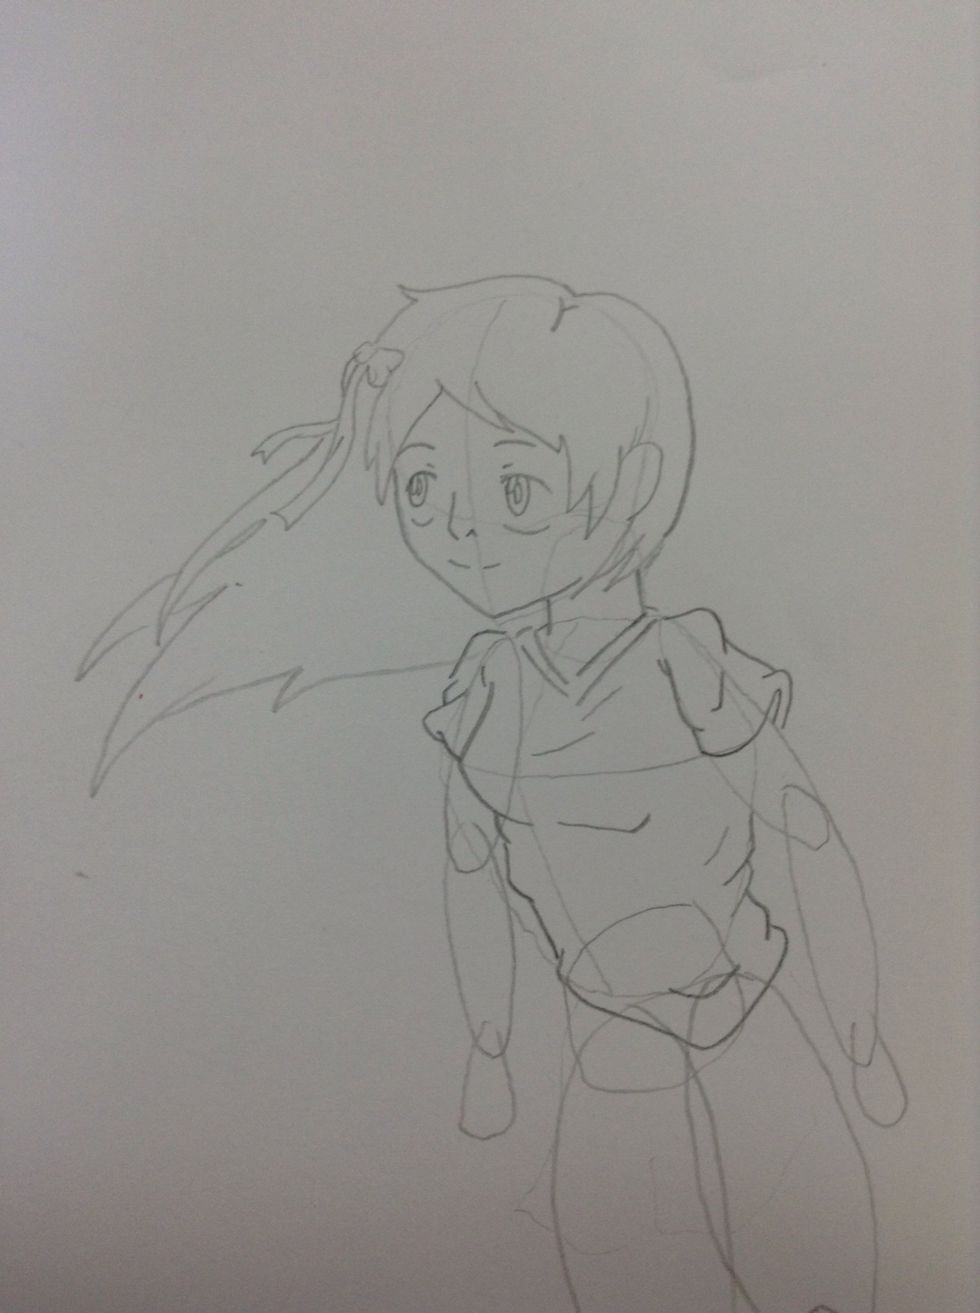
Step thirteen: sketch the top upper of the clothing.
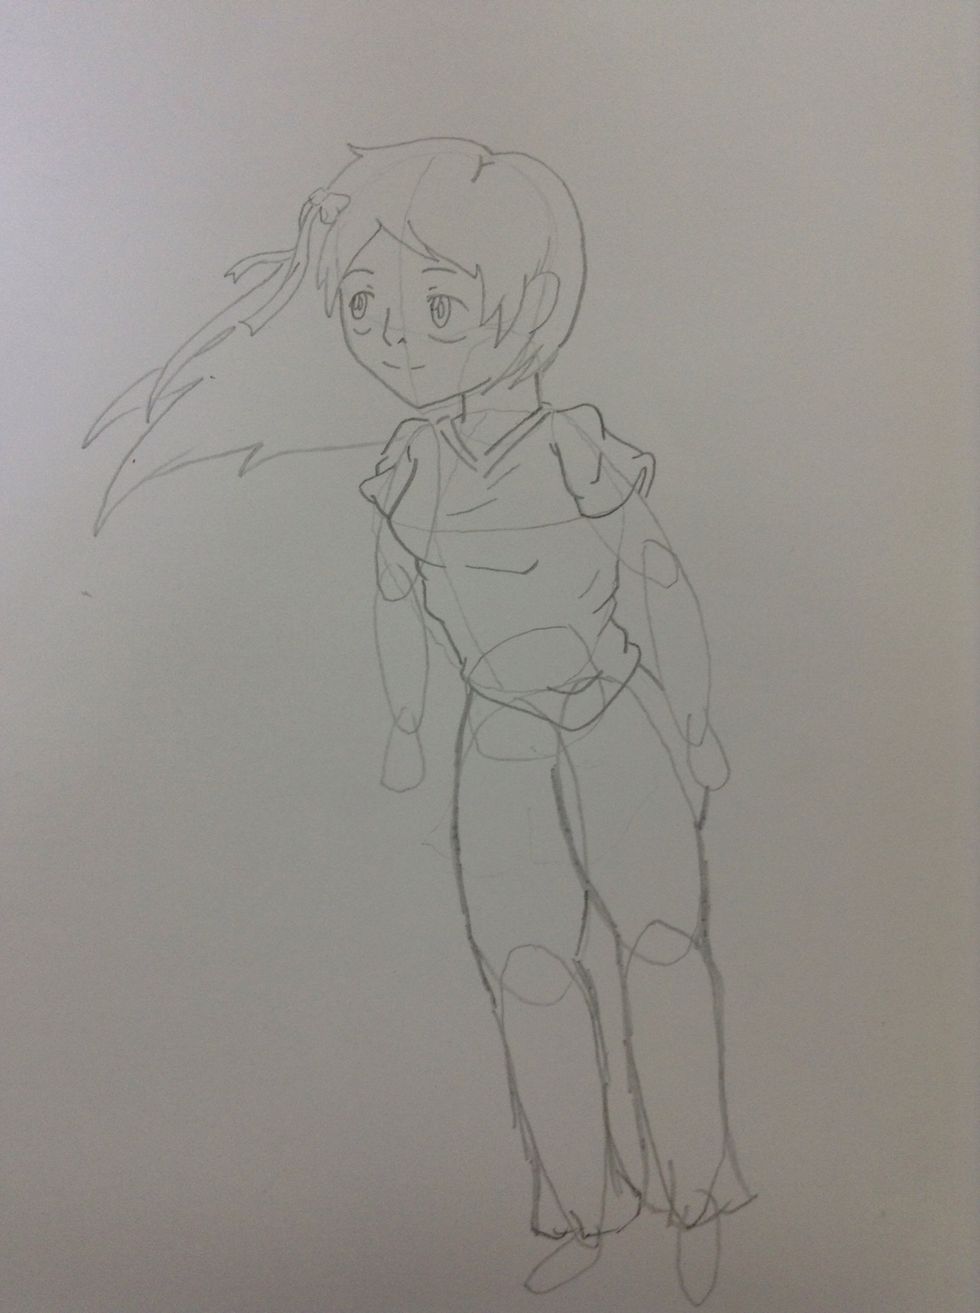
Step fourteen: sketch the lower part of the clothing.

Step fifteen: sketch the arm.

Step sixteen: sketch the shoes.
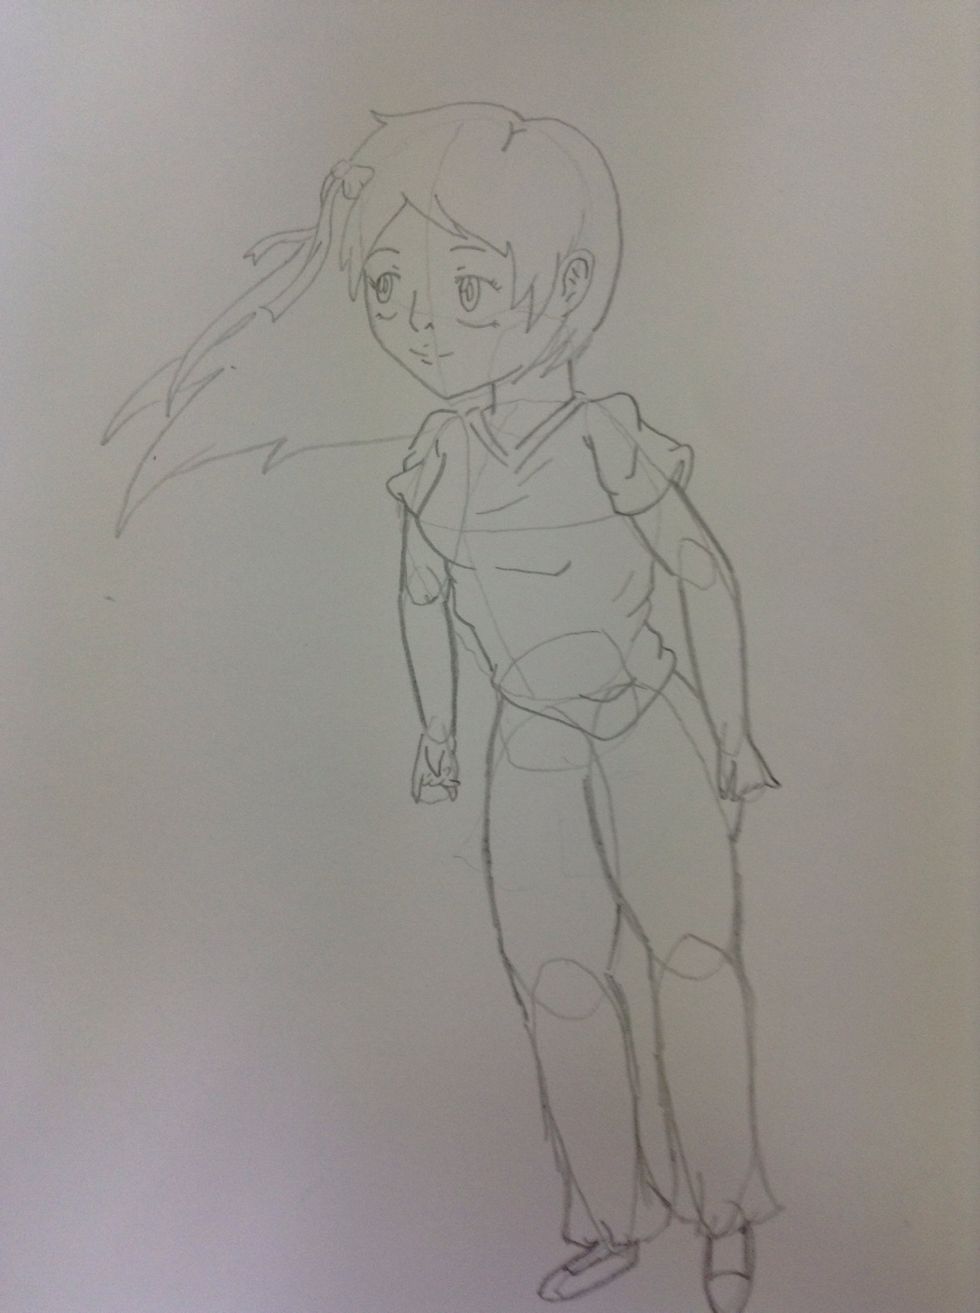
Step seventeen: put in any extra detail.
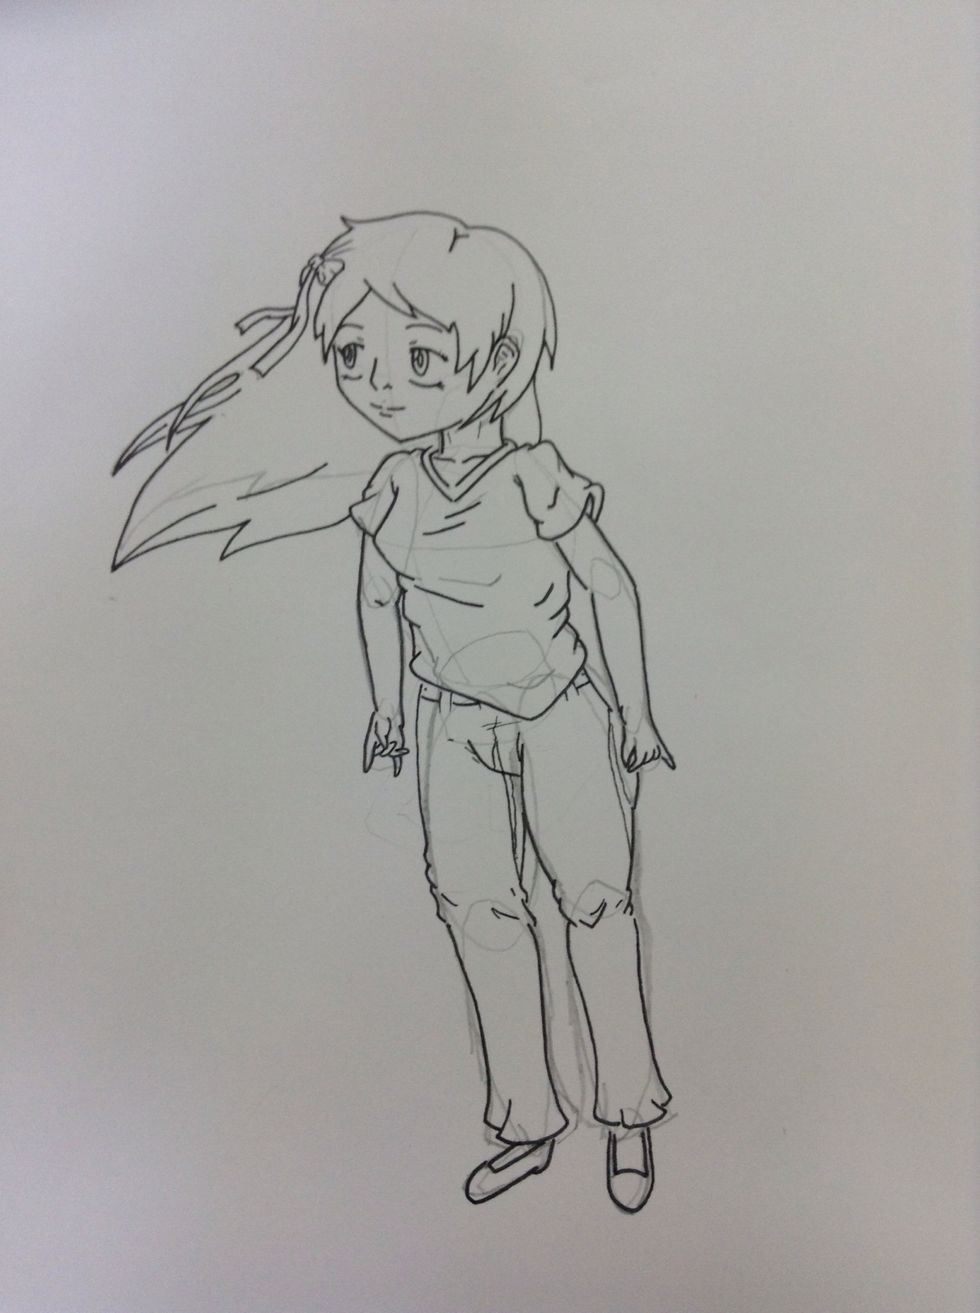
Step eighteen: outline your drawing (use the clear drawing as a guide).
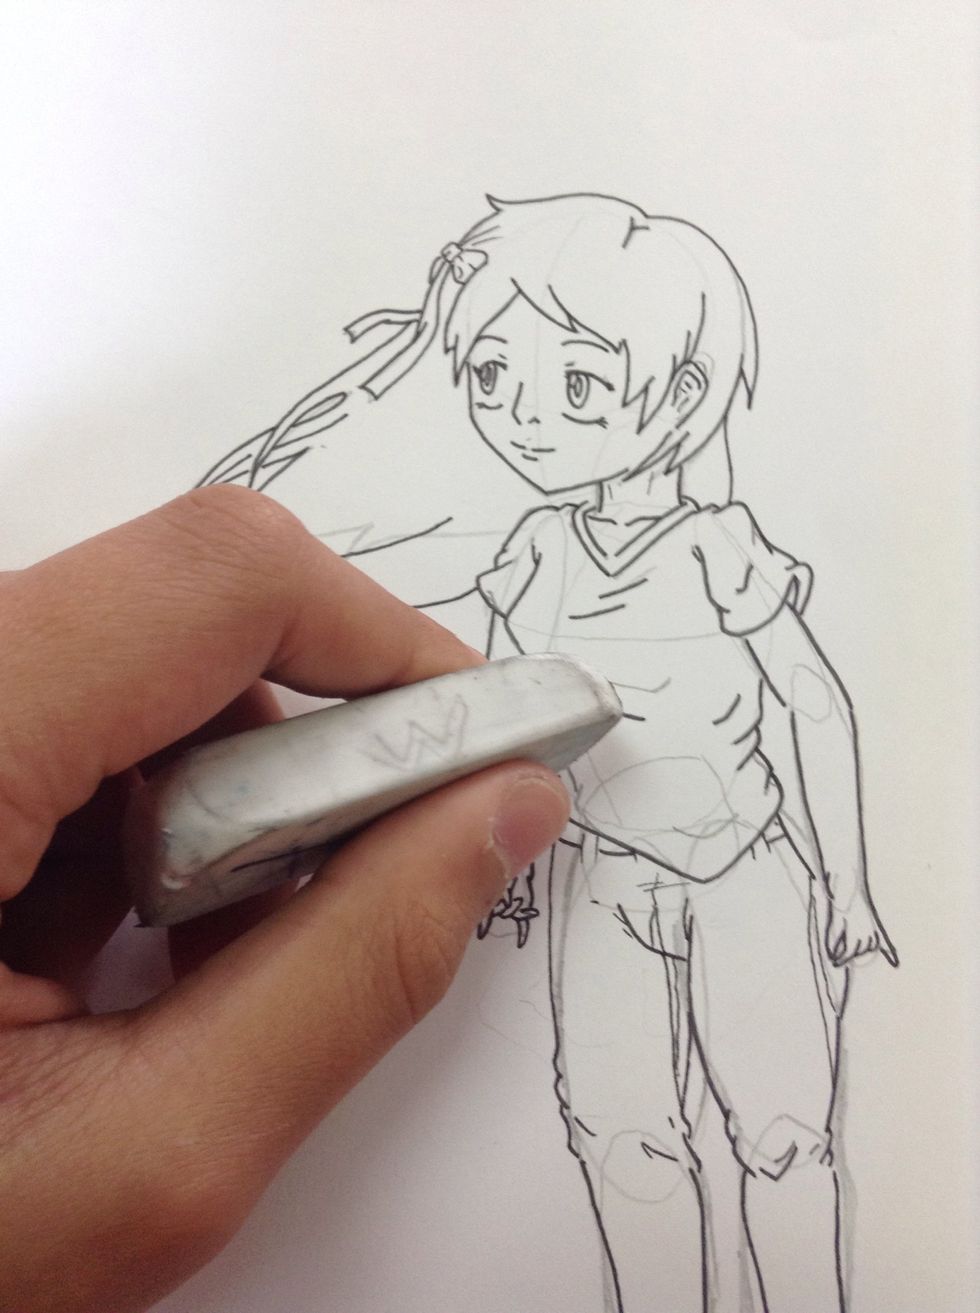
Step nineteen: erase all of the unwanted sketch marks to produce a clean drawing.
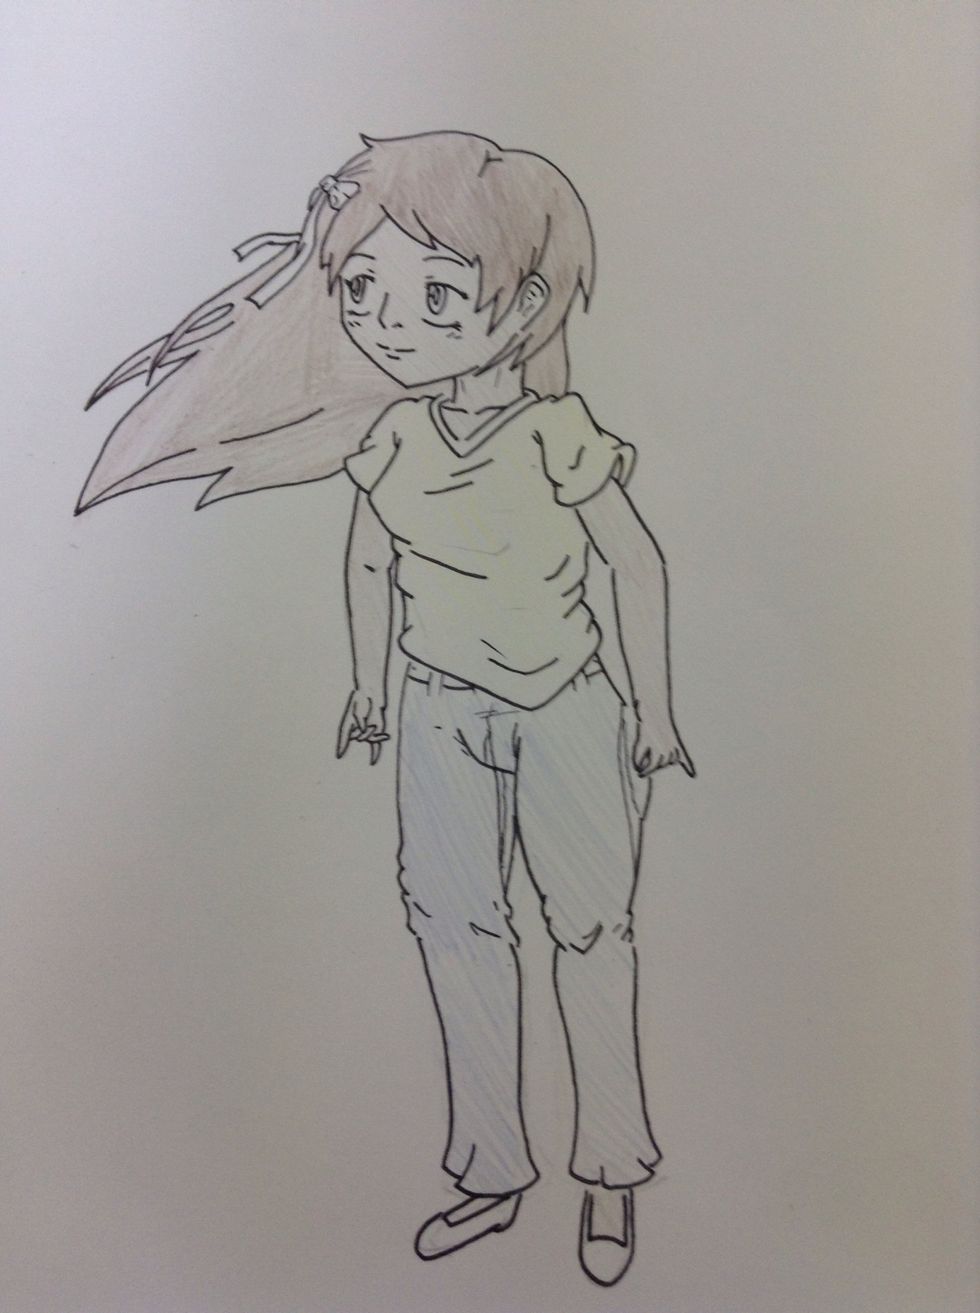
Step twenty: add the base colours on the artwork.
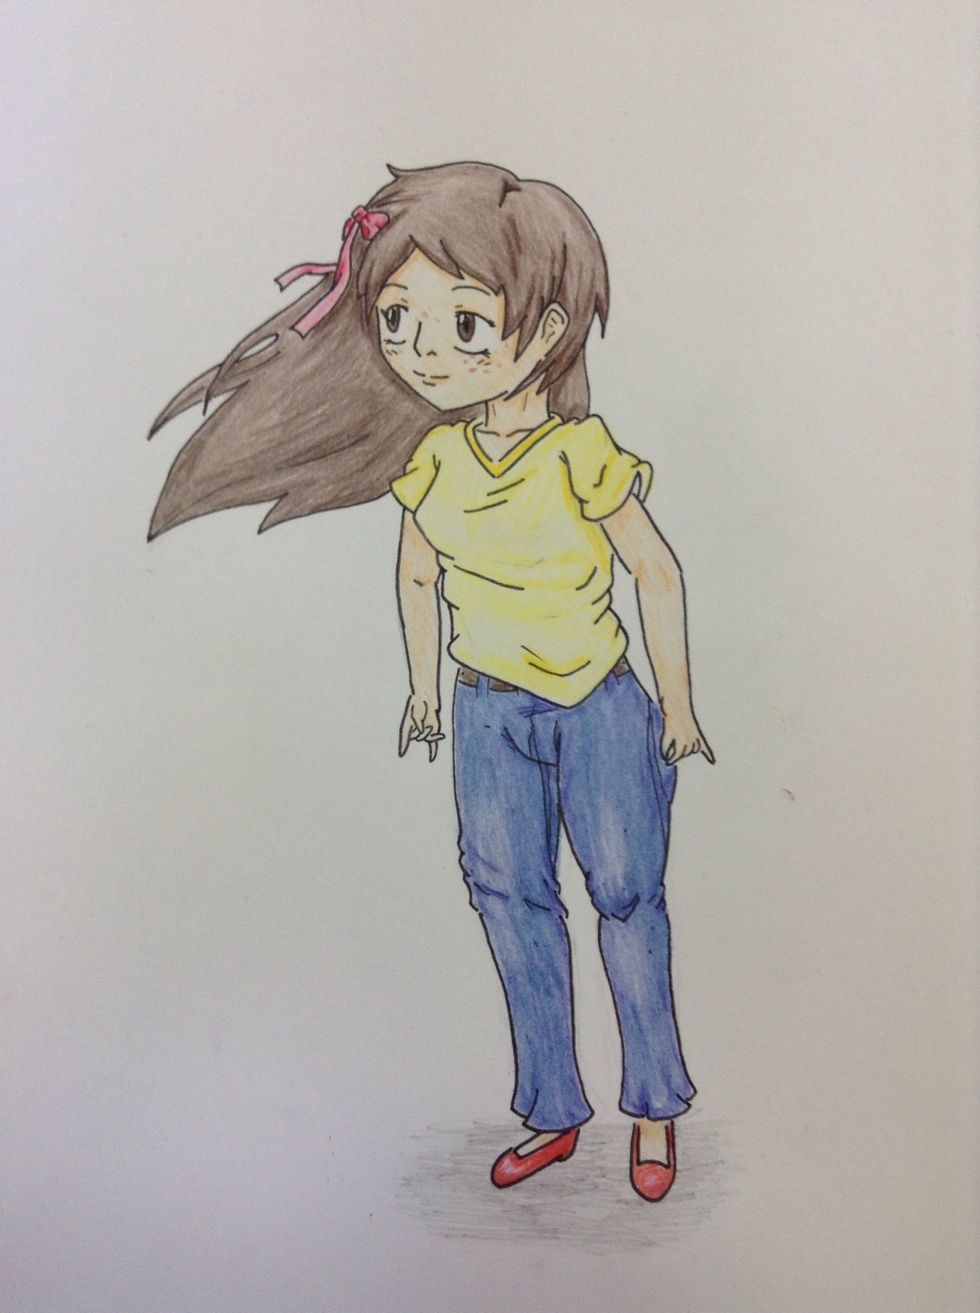
Step twenty one: add extra colour as shading to complete the artwork.