The Conversation (0)
Sign Up
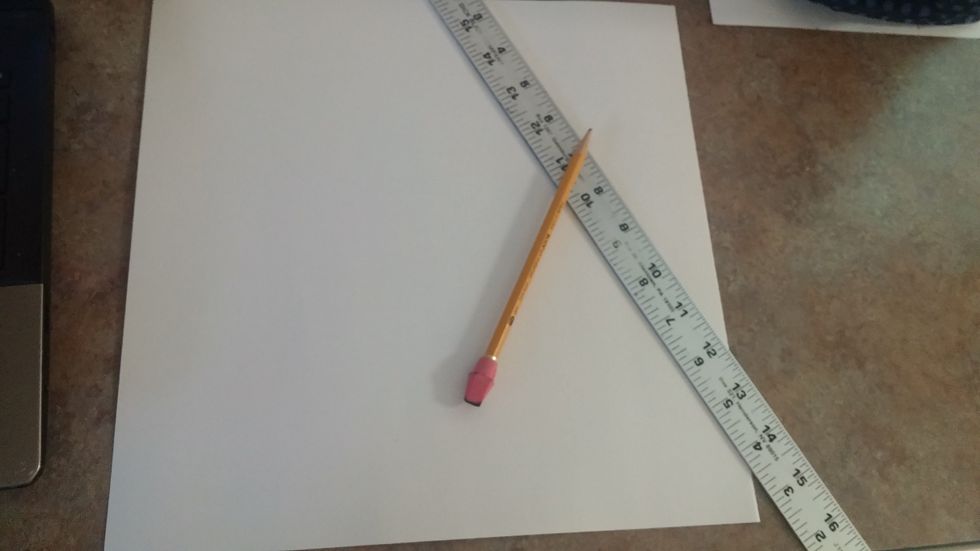
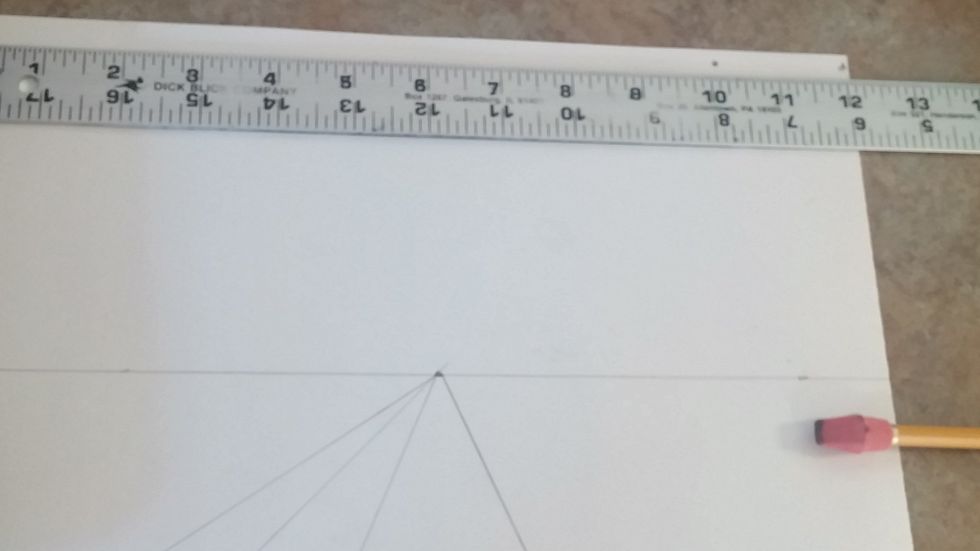
Start with a 12x12 drawing paper, a pencil with good eraser, and a ruler.
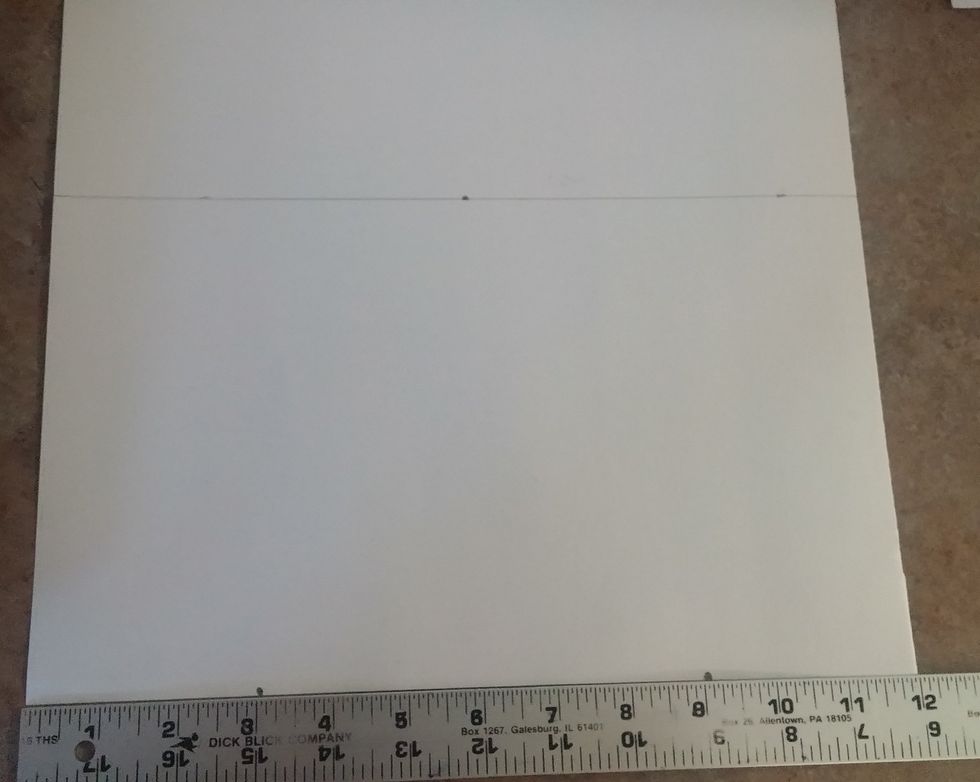
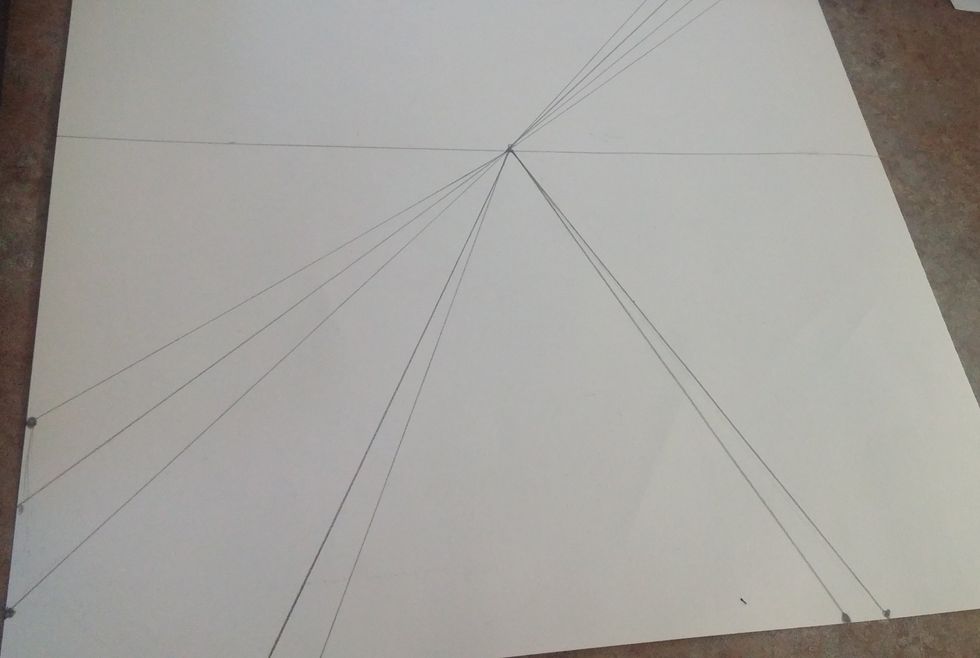
Start by making a line horizontally across the paper at about 5 inches. Place a dot on this line 6 inches in. This is the middle of the line and will be referred to as the Vanishing Point.

Place ruler at the very bottom of your paper, going from 1inch to 12inches. Make a dot at the 3-inch mark and the 9-inch mark
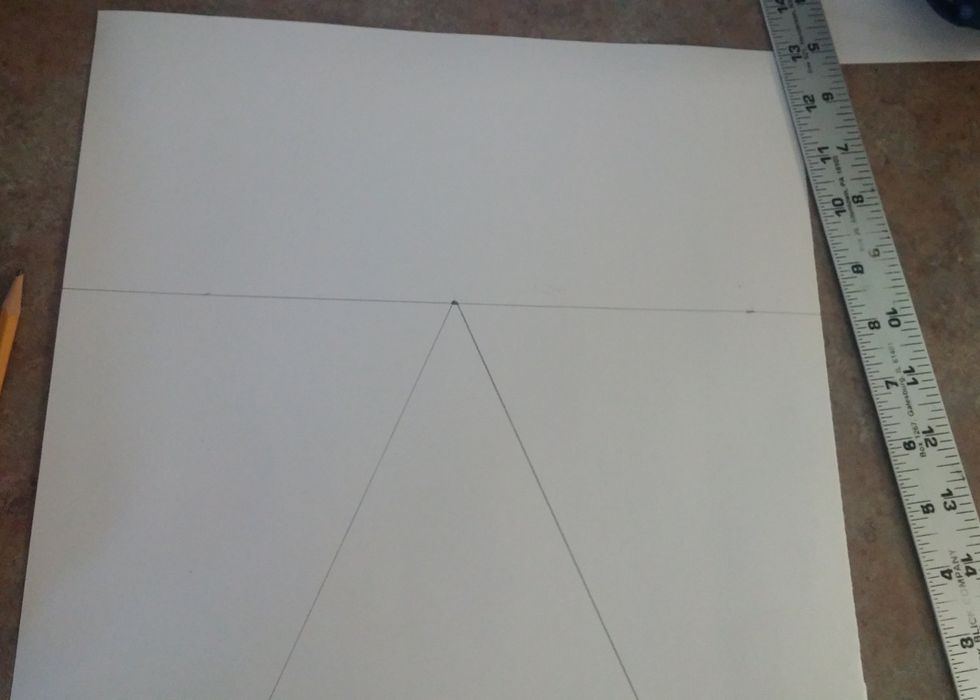
Connect each dot at the bottom of the paper to the vanishing point in the middle. This will be the lines of the railroad.
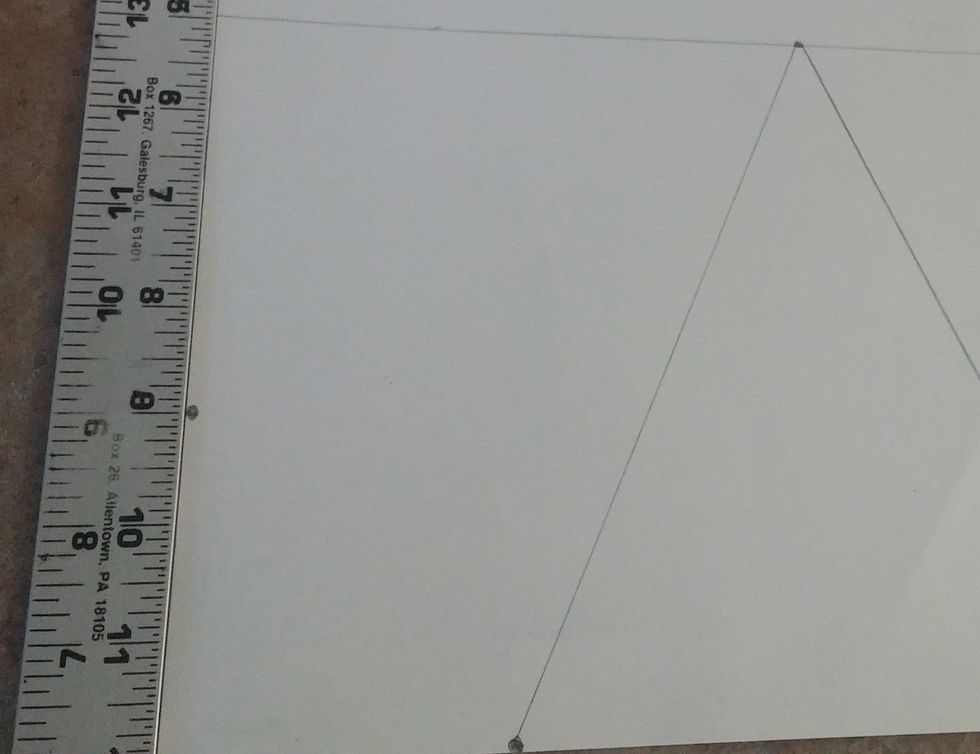
Place ruler on left edge of the paper going from 1-inch at top, 12inch at bottom. Place a dot at the 9-inch mark
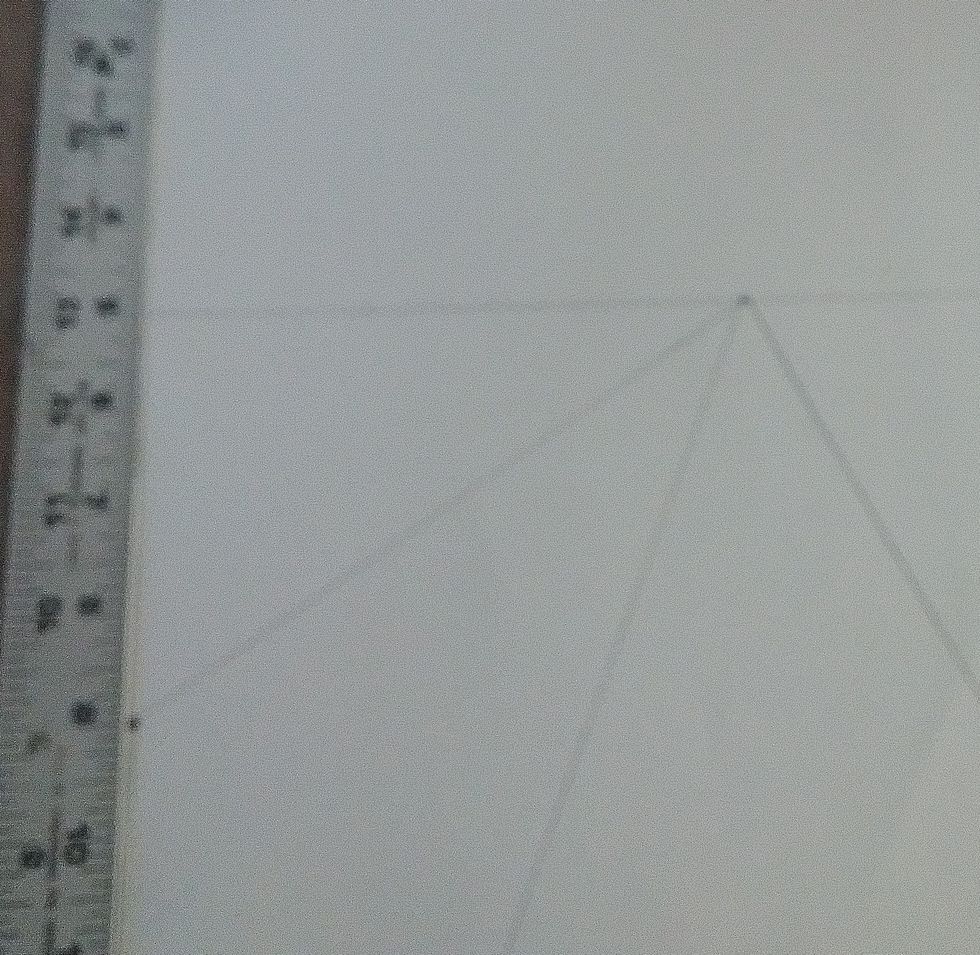
Connect the dot you just made to the center vanishing point
NOTE: Ignore the 2nd line in the bottom, this is adressed in the next step. Place your ruler at the very top left to right. Make a dot at the 10 inch mark.
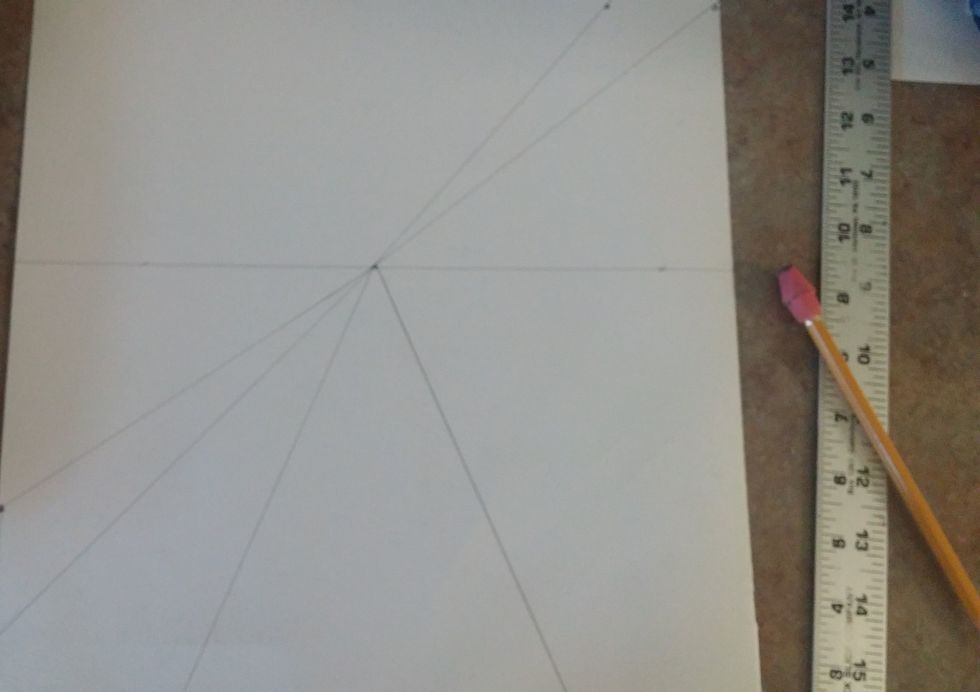
Create a dot 2 inches from the top dot (or at 12 inches) Connect each dot to the vanishing point. Do the same in the bottom portion 2 inches from the dot (at 11 inches.) and connect this to the point.

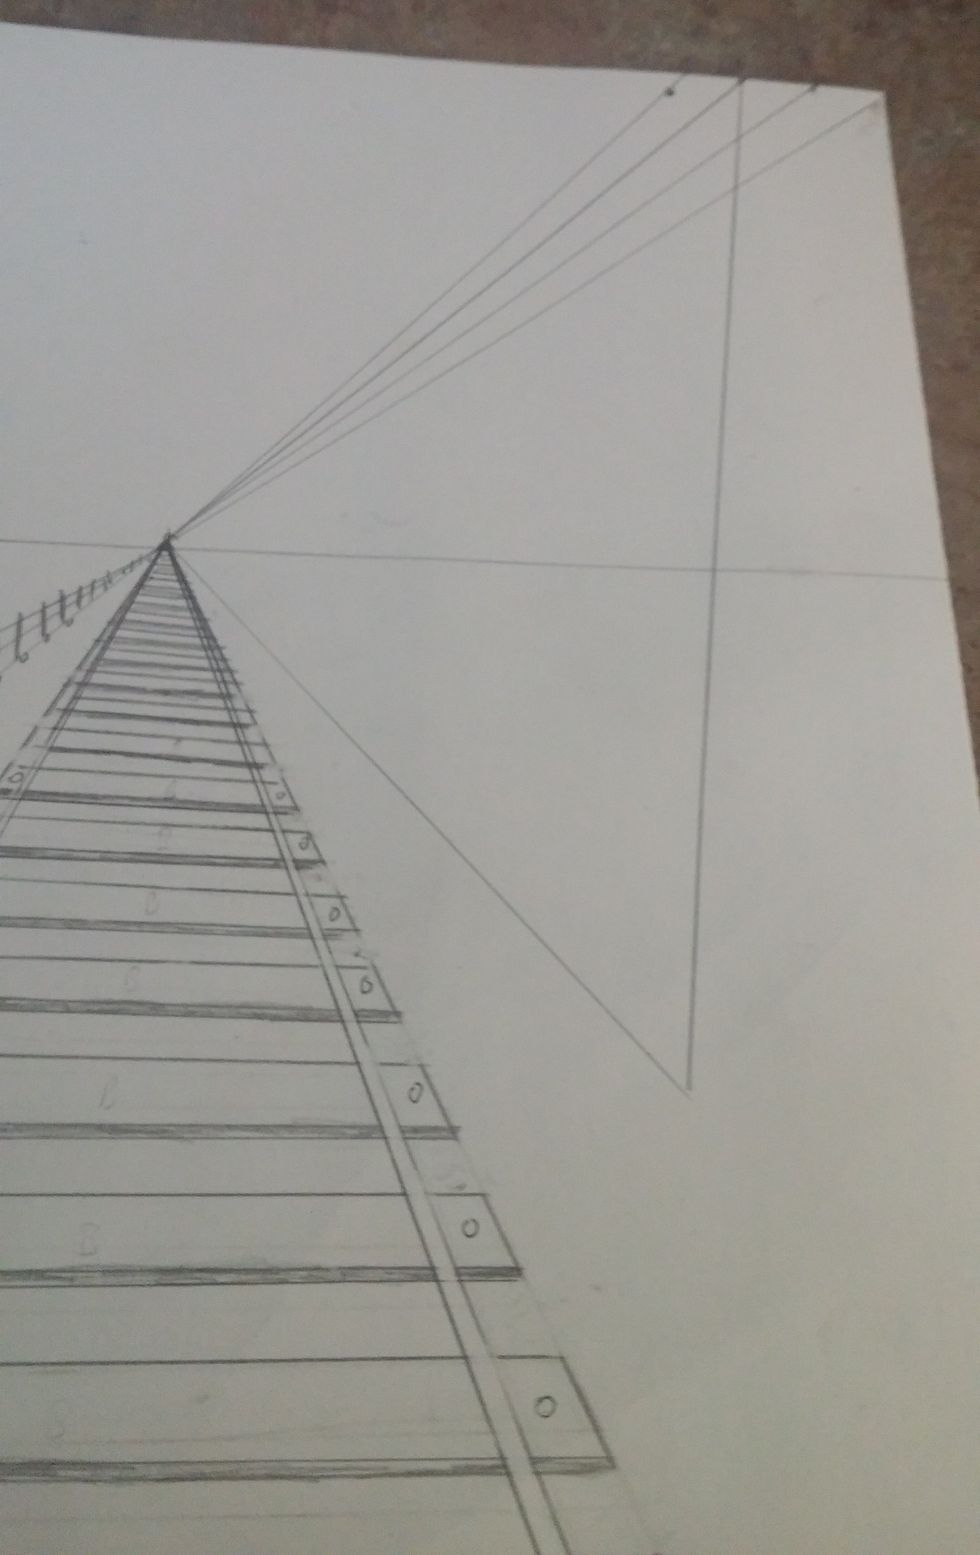
This is how your paper should look. There will be one horizon line and 3 separate wedges (triangles) all converging at the vanishing point.
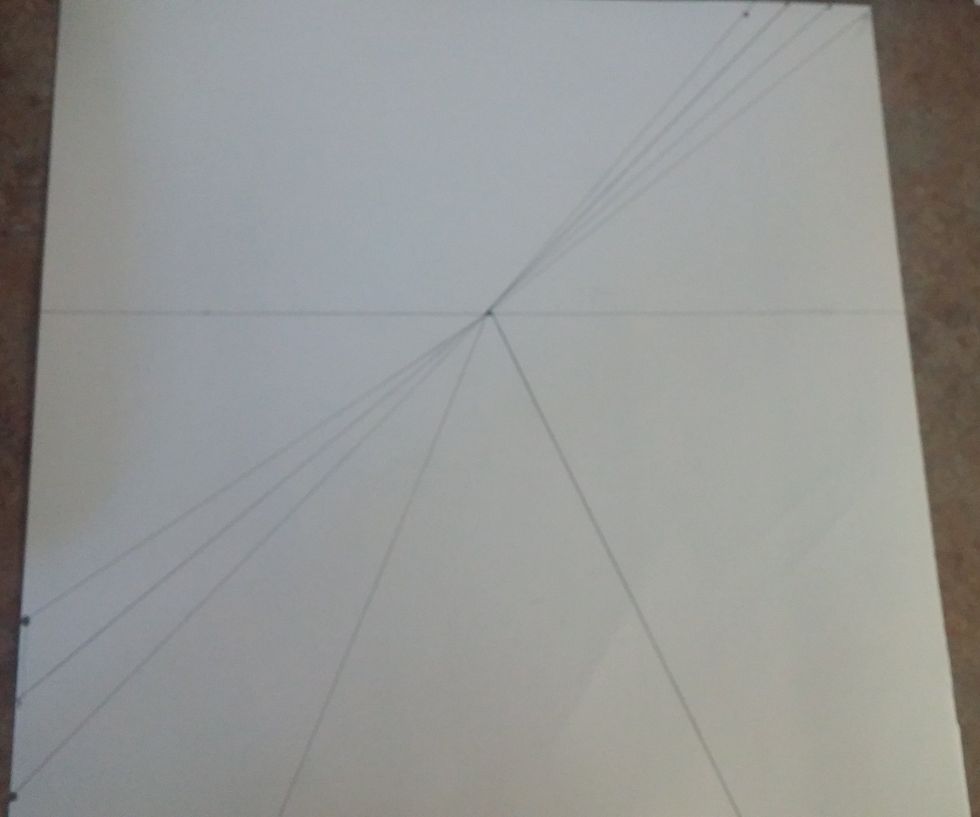
In the bottom corner wedge add another line in the middle of the two that converge to the vanishing point. In the wedge at the top add two equally spaces lines between the two existing lines..
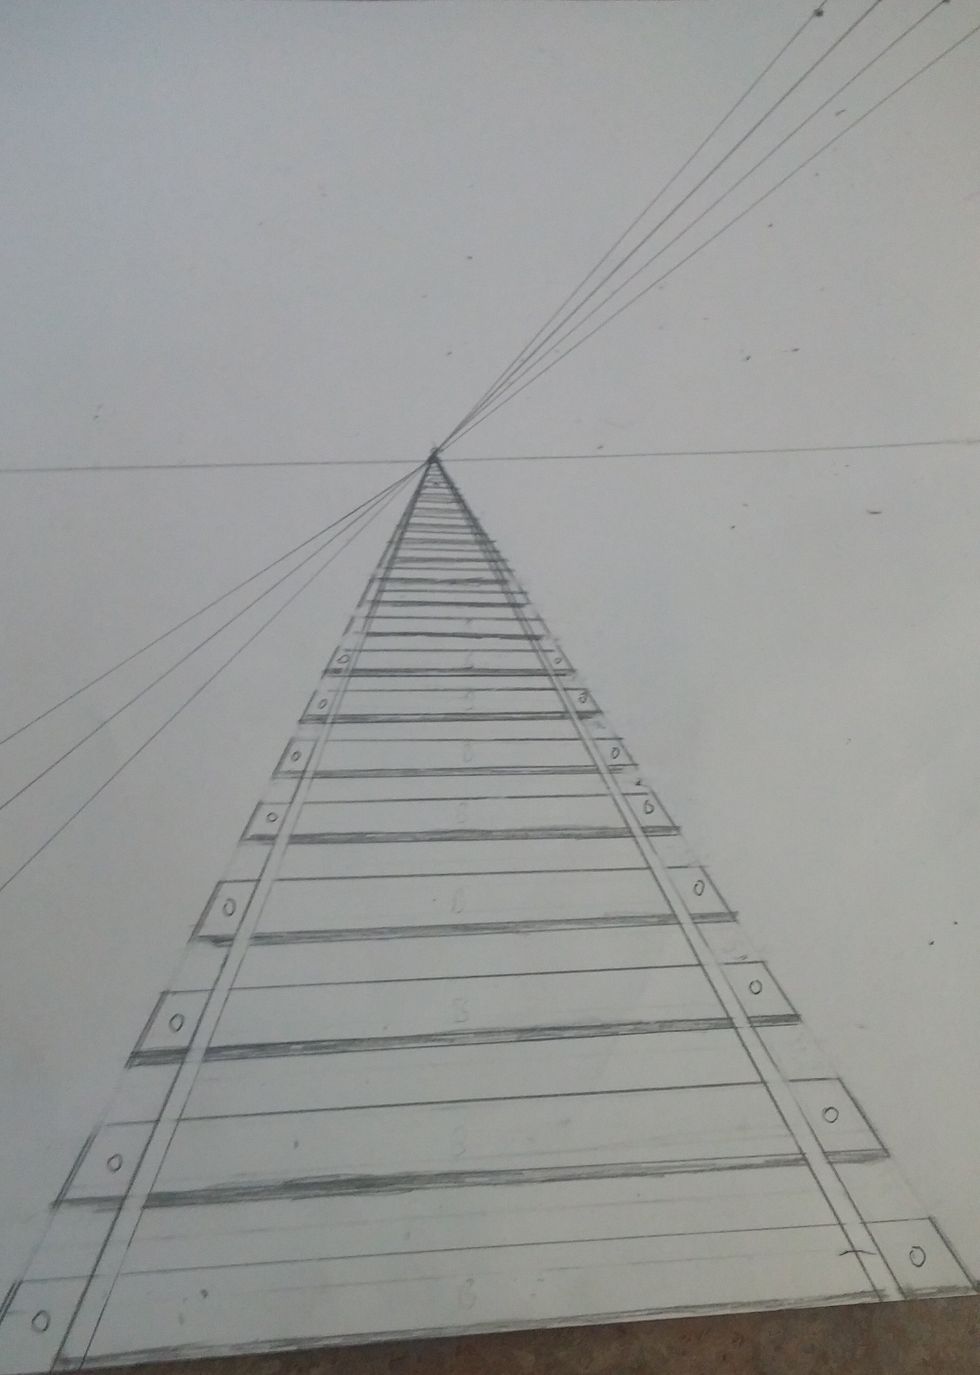
We will start on the railroad now. Add two lines, about 1/2 an inch on the outside from the original lines converging to the middle vanishing point. This will be where the end of the boards go.
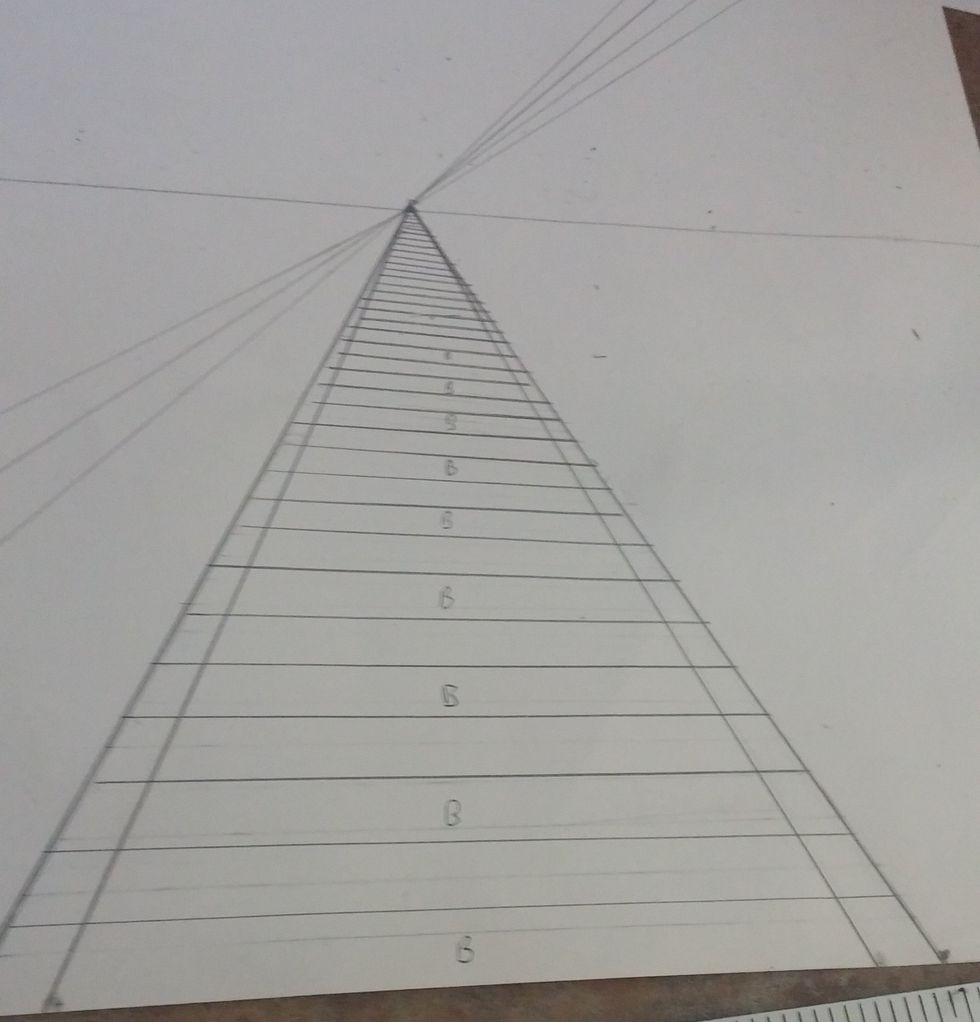
Add the boards and spaces with lines going straight across. Remember boards closest to bottom are bigger and gradually get thinner farther back. Label every other with a B to show the board vs space.
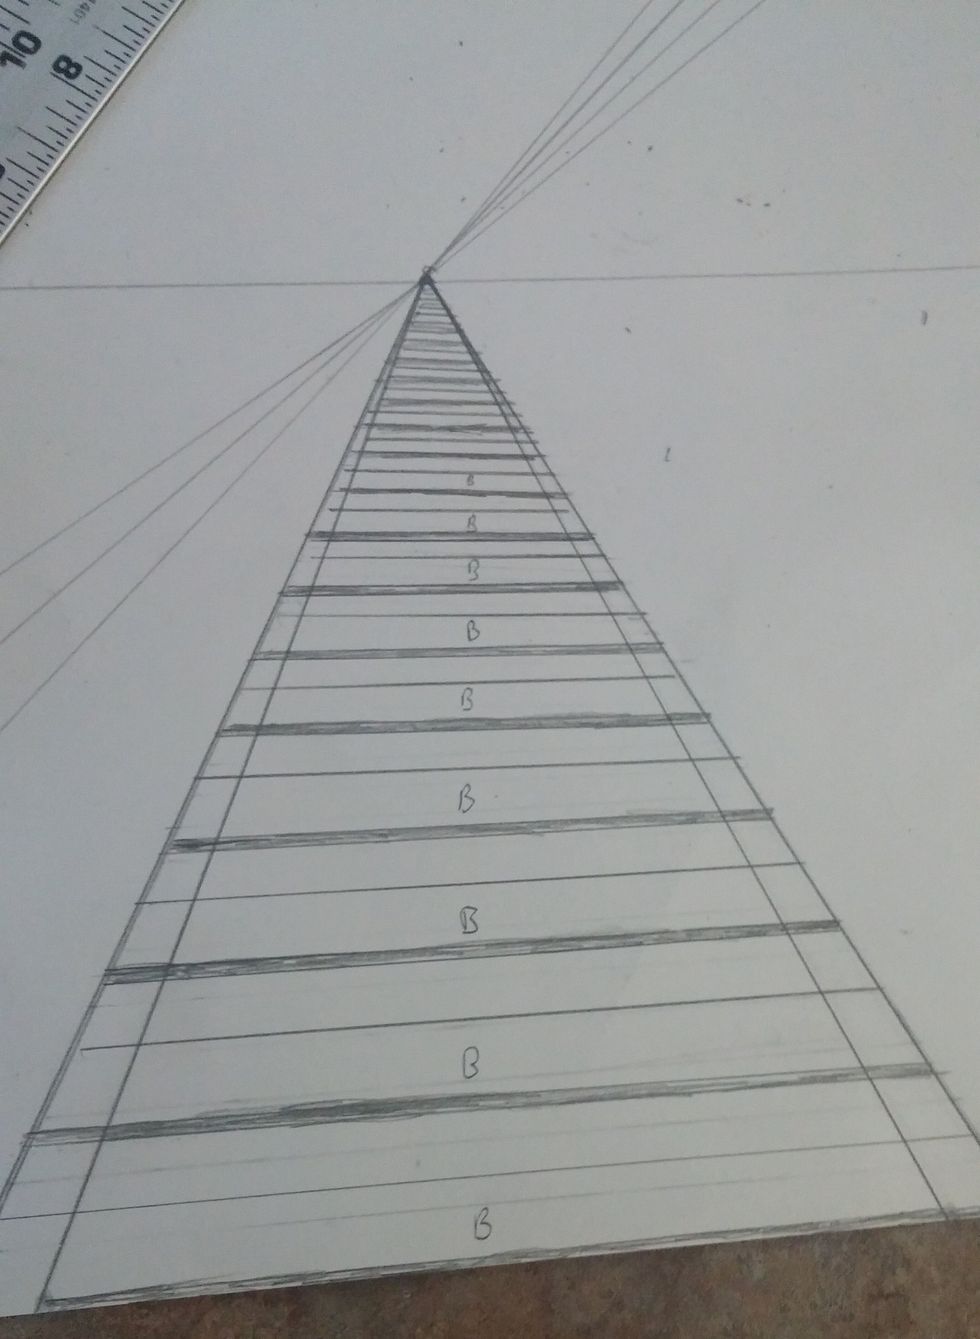
At each labeled board add a thin shaded rectangle at the bottom of each board. This will make them look 3D and more board like.
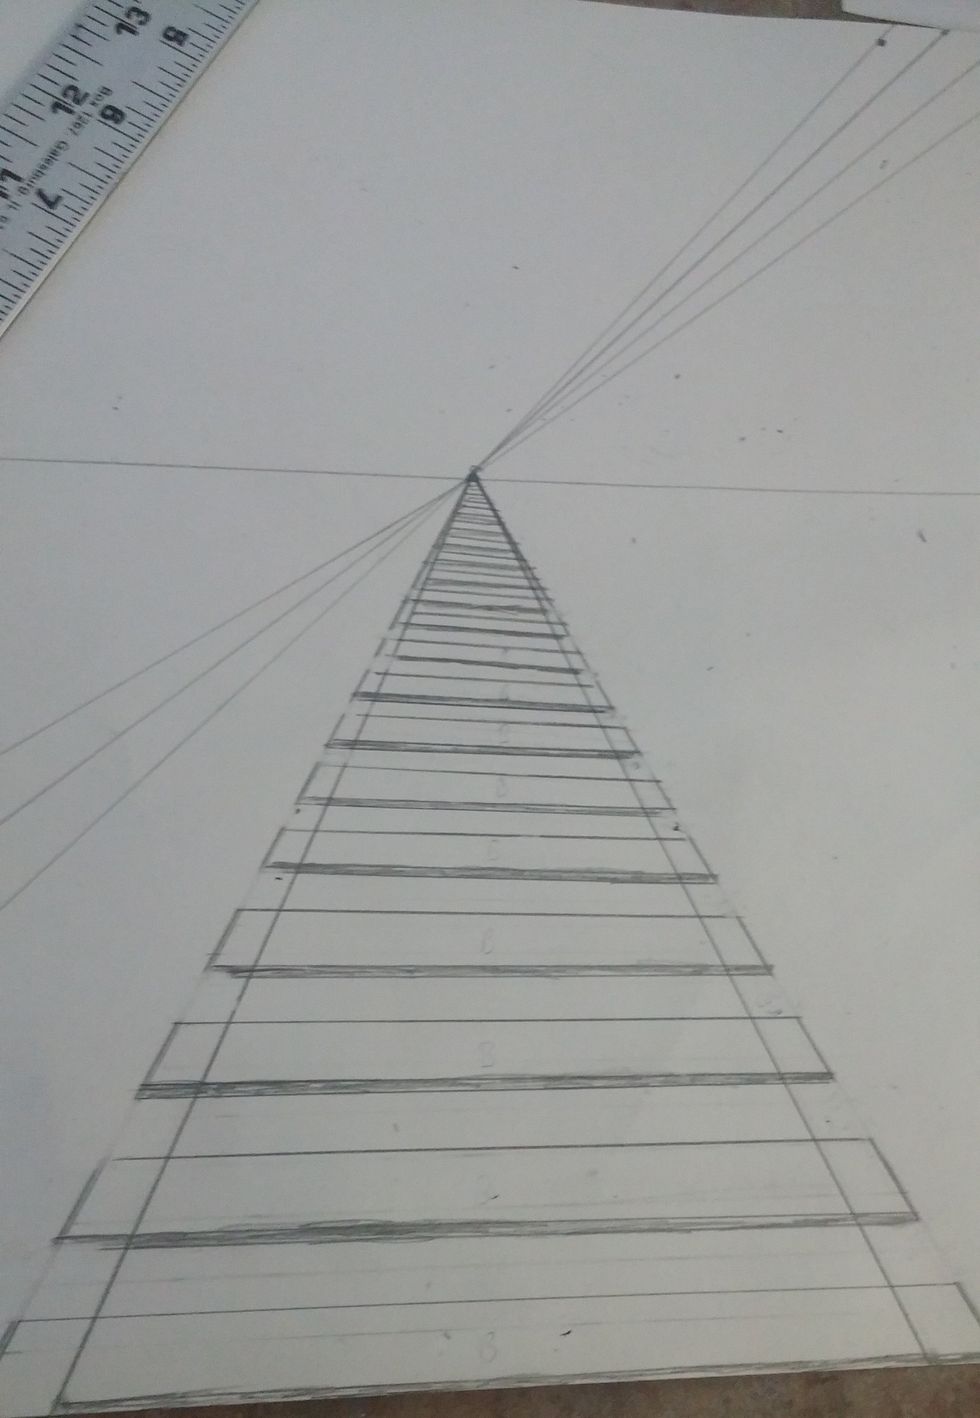
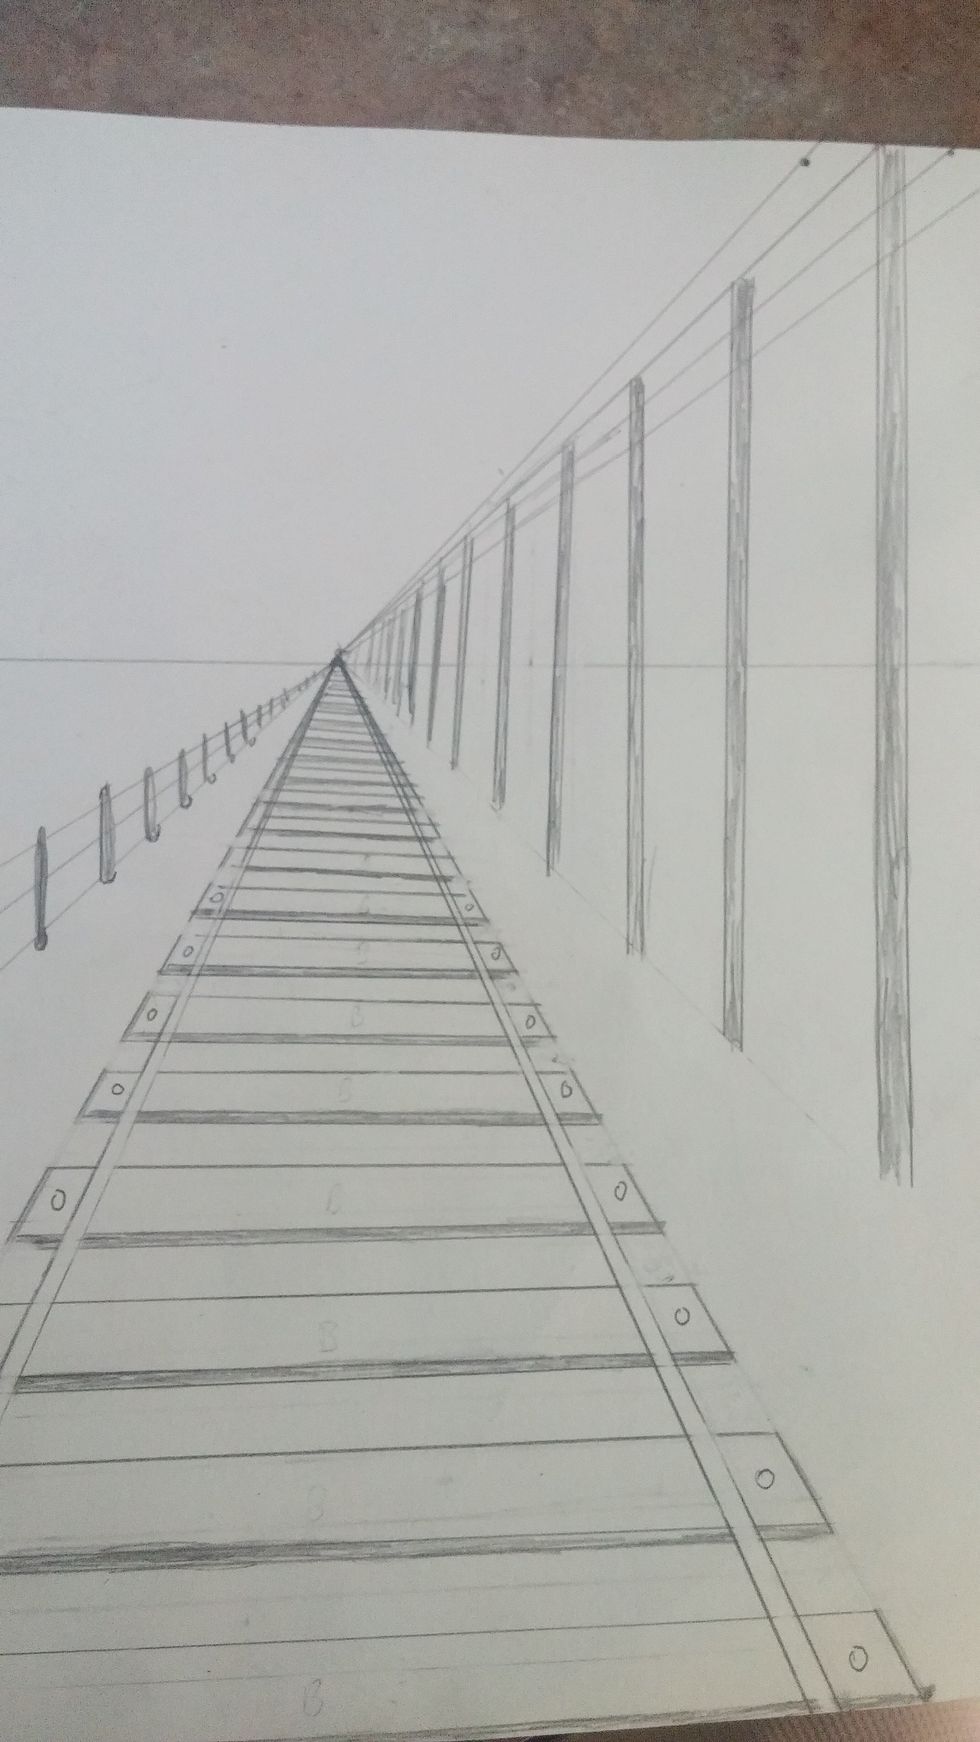
Erase the B labels. Also erase the outer most lines in the spaces, but leaving the board. This better defines the board vs the spaces between. Leave the inner most lines, this is the rail.
Add another line outside the two converging lines, all coming together at the vanishing point. This will serve as the rail. Erase any board lines inside these rail lines.
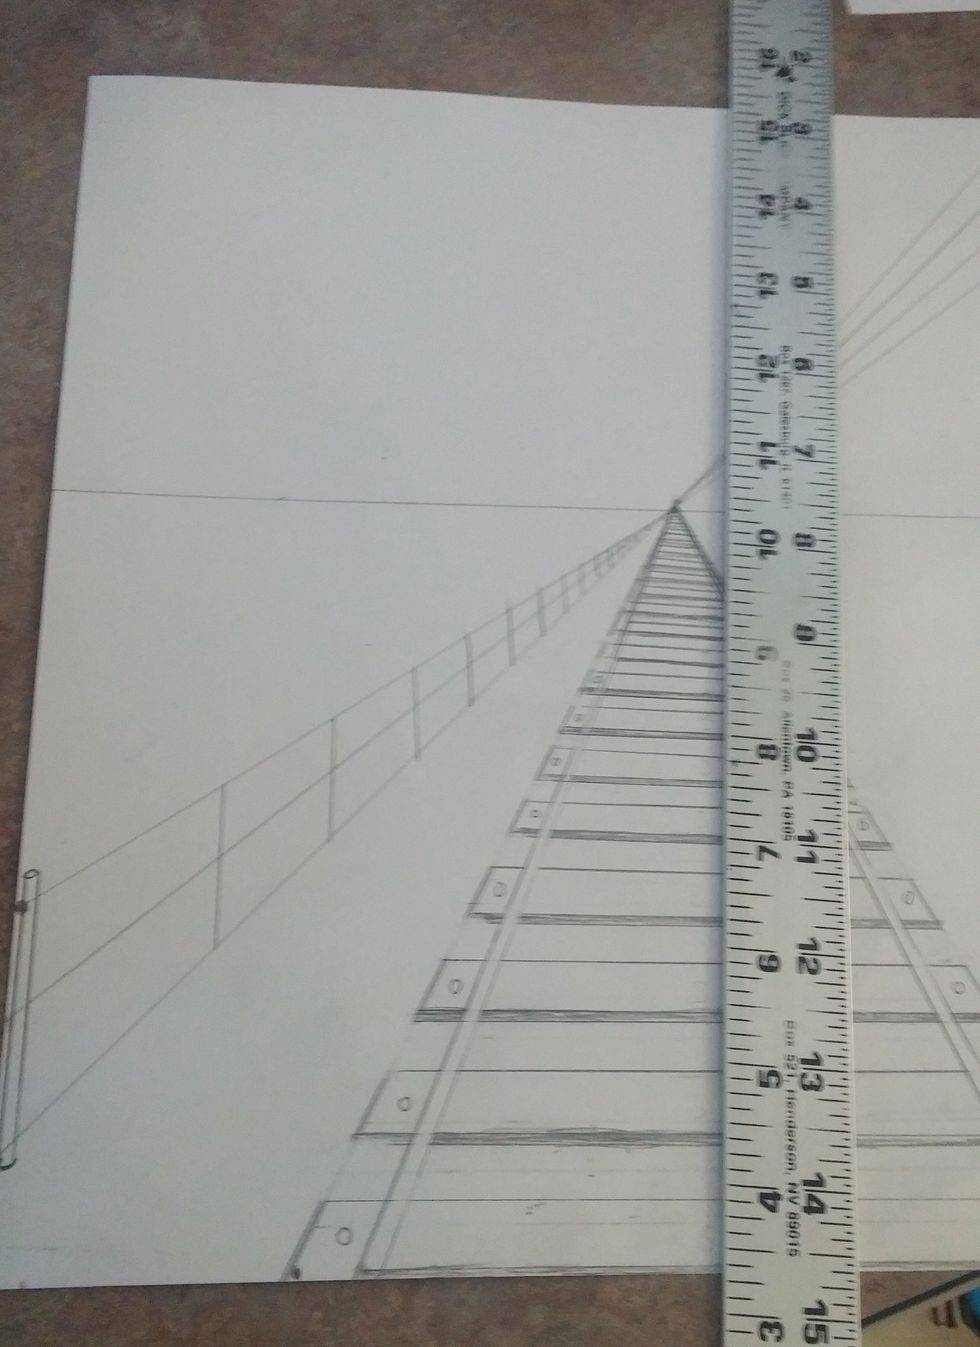
Moving onto the fence add straight vertical lines along the diagonal fence lines. These will become the posts of the fence. Remember those closest are spaced apart more and get closer together in back

Make posts thicker and extend a little above and below the wire lines.
Moving onto the power lines. make a straight vertical line starting down from the start of 2nd power line down to near the 4th board. make a line from the bottom of that line to the vanishing point
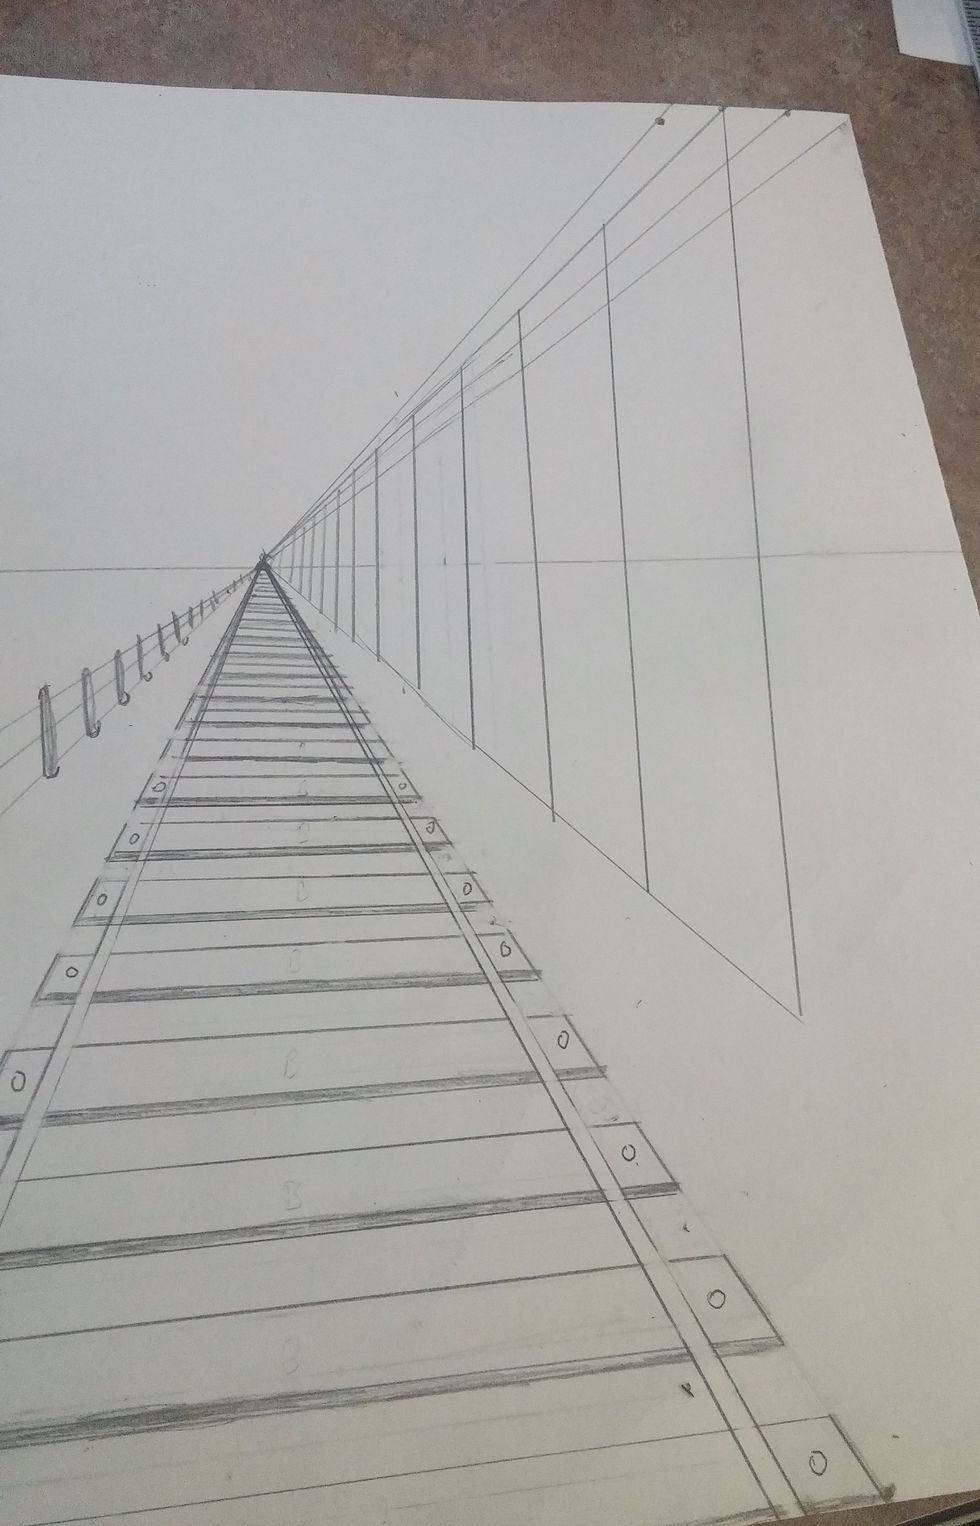
Make more straight verticals going from the 2nd power line to the bottom diagonal. Remember the closest are bigger and spaced further and the farther back the smaller and closer. These are the posts
Make power line post thicker. This is the time you may decide if you have too many or not enough power line poles. IF there seem to be too many, erase a few in-between the first few.
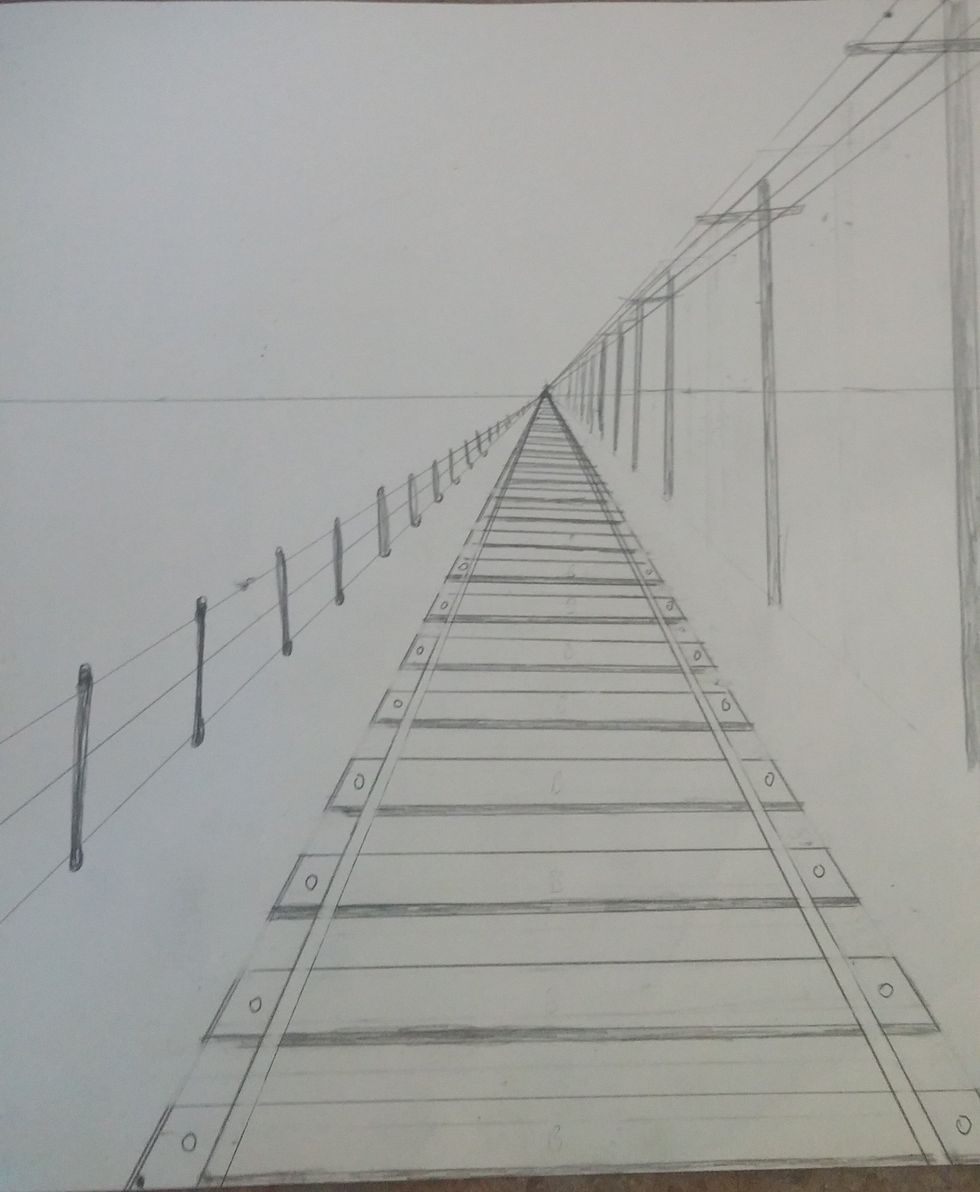
I decided I had too many posts in front and erased a few. Add a horizontal line across all 4 power lines and crosses the posts. This holds the lines.
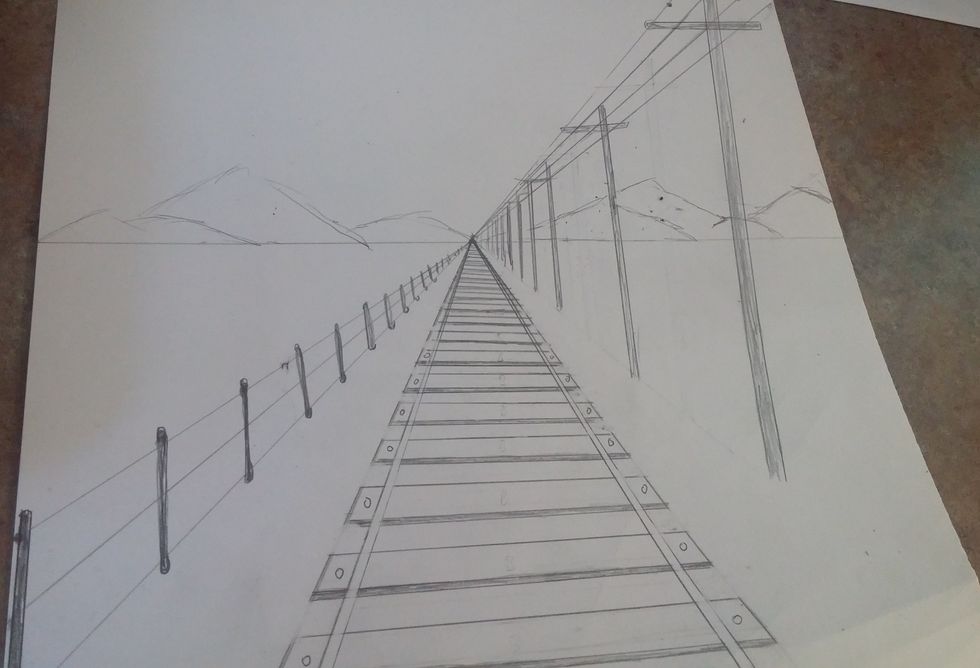
Create something in the distance on horizon line. These could be things like mountains or trees. Just remember they are smaller in comparison and not detailed, just ambiguous shapes in the distance.
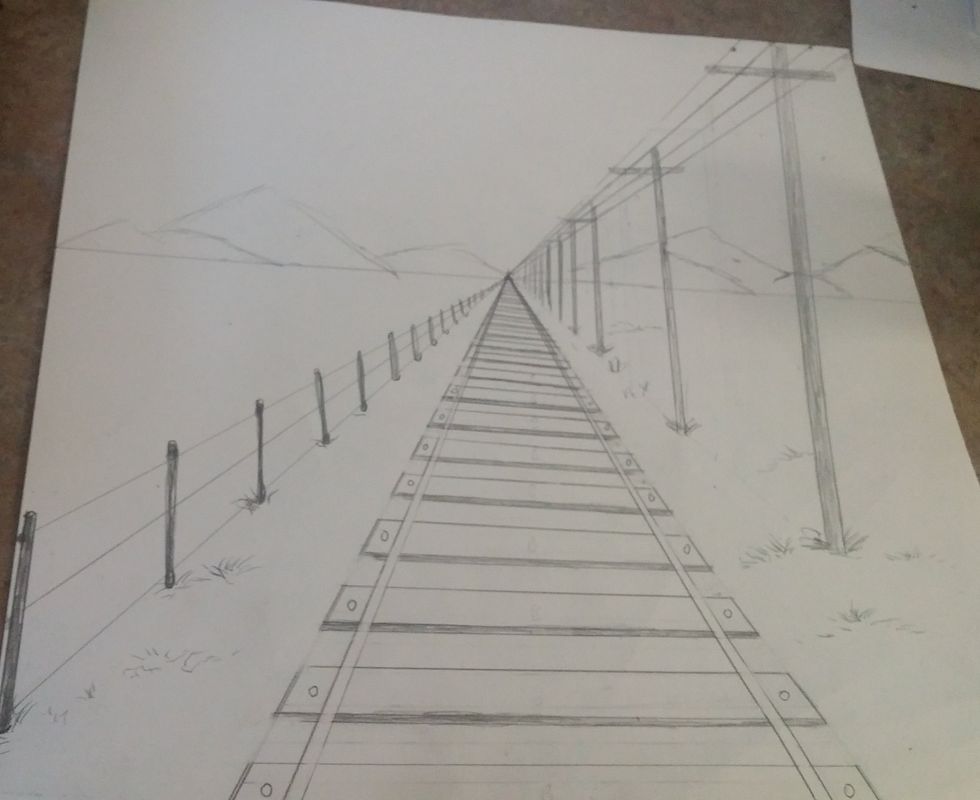
Add a few details like bits of grass and lines in the wood. Whatever you think adds to the detail in the front area.
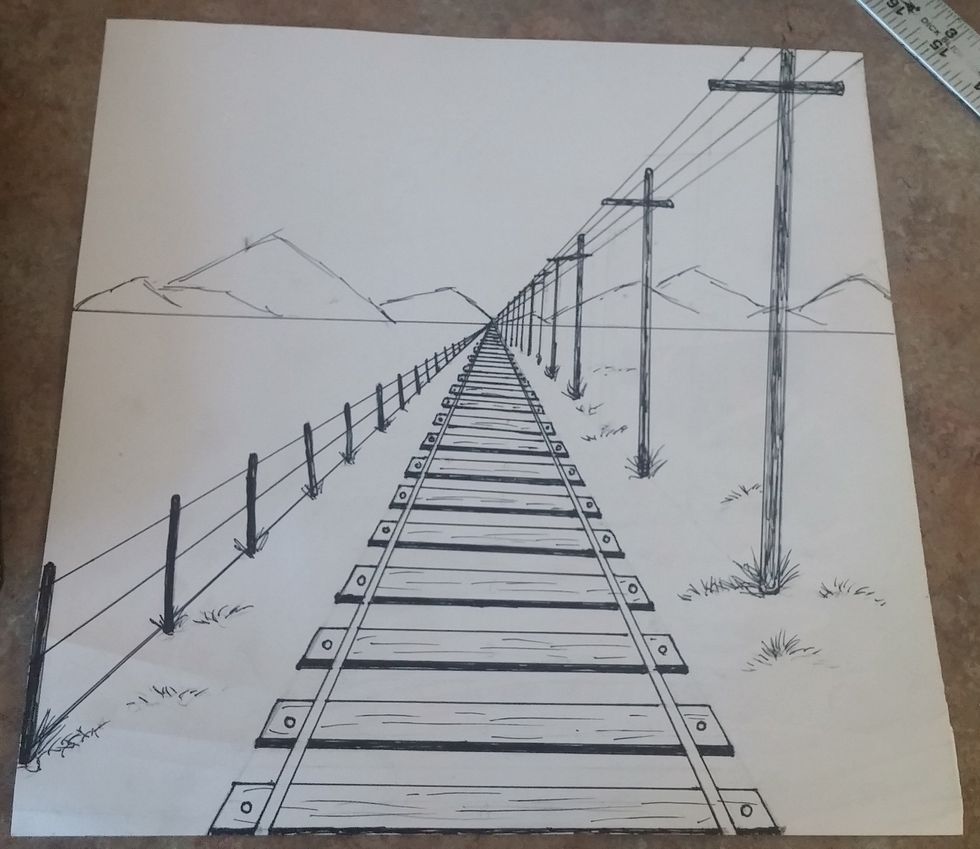
The final step is to go over all lines in sharpie. This makes everything stand out and look sharp. One sharpied go over entire thing with eraser and erase all showing pencil lines. It will look clean