The Conversation (0)
Sign Up
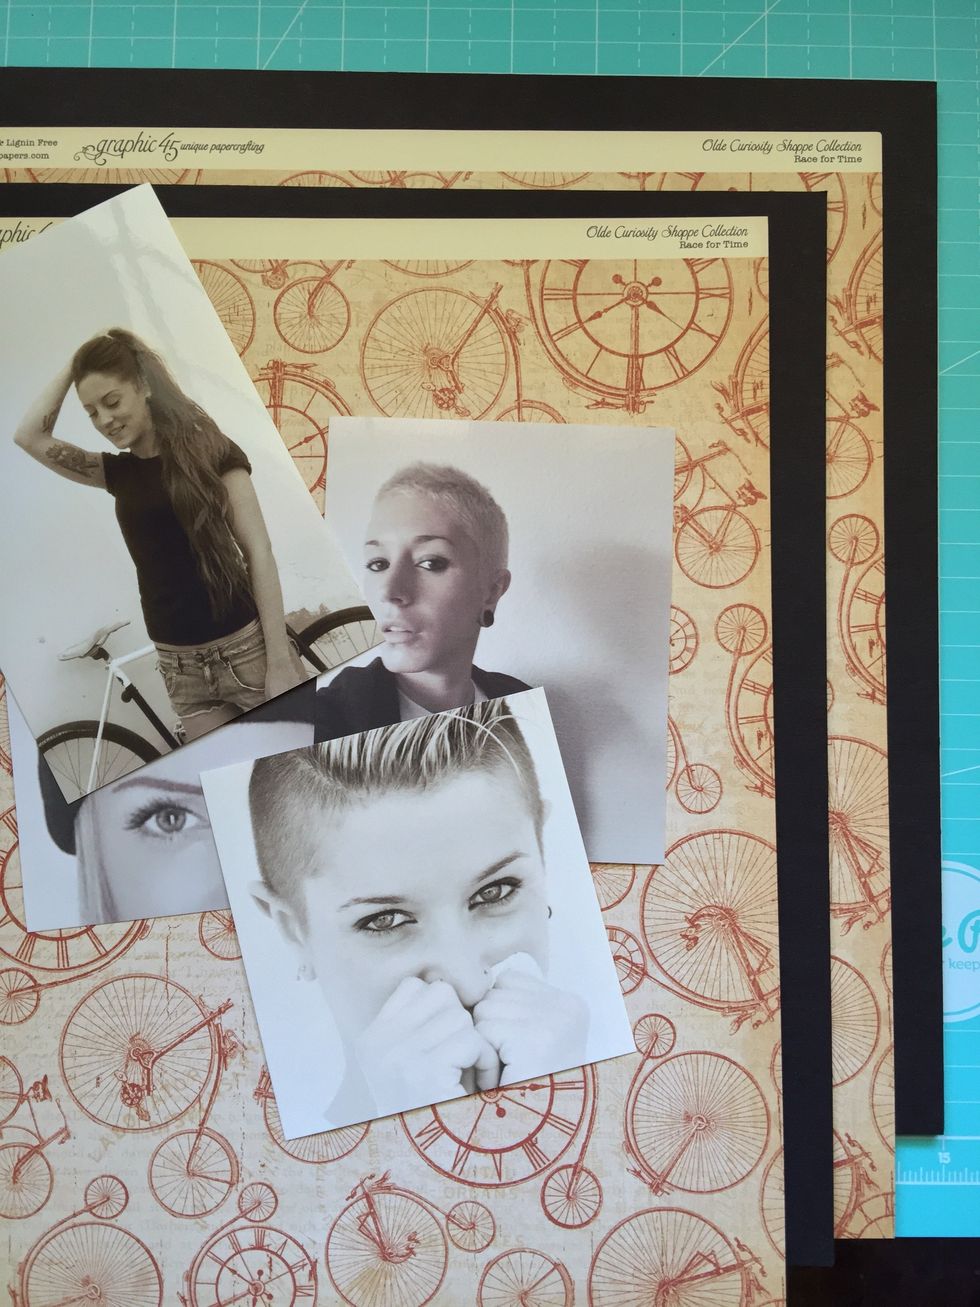
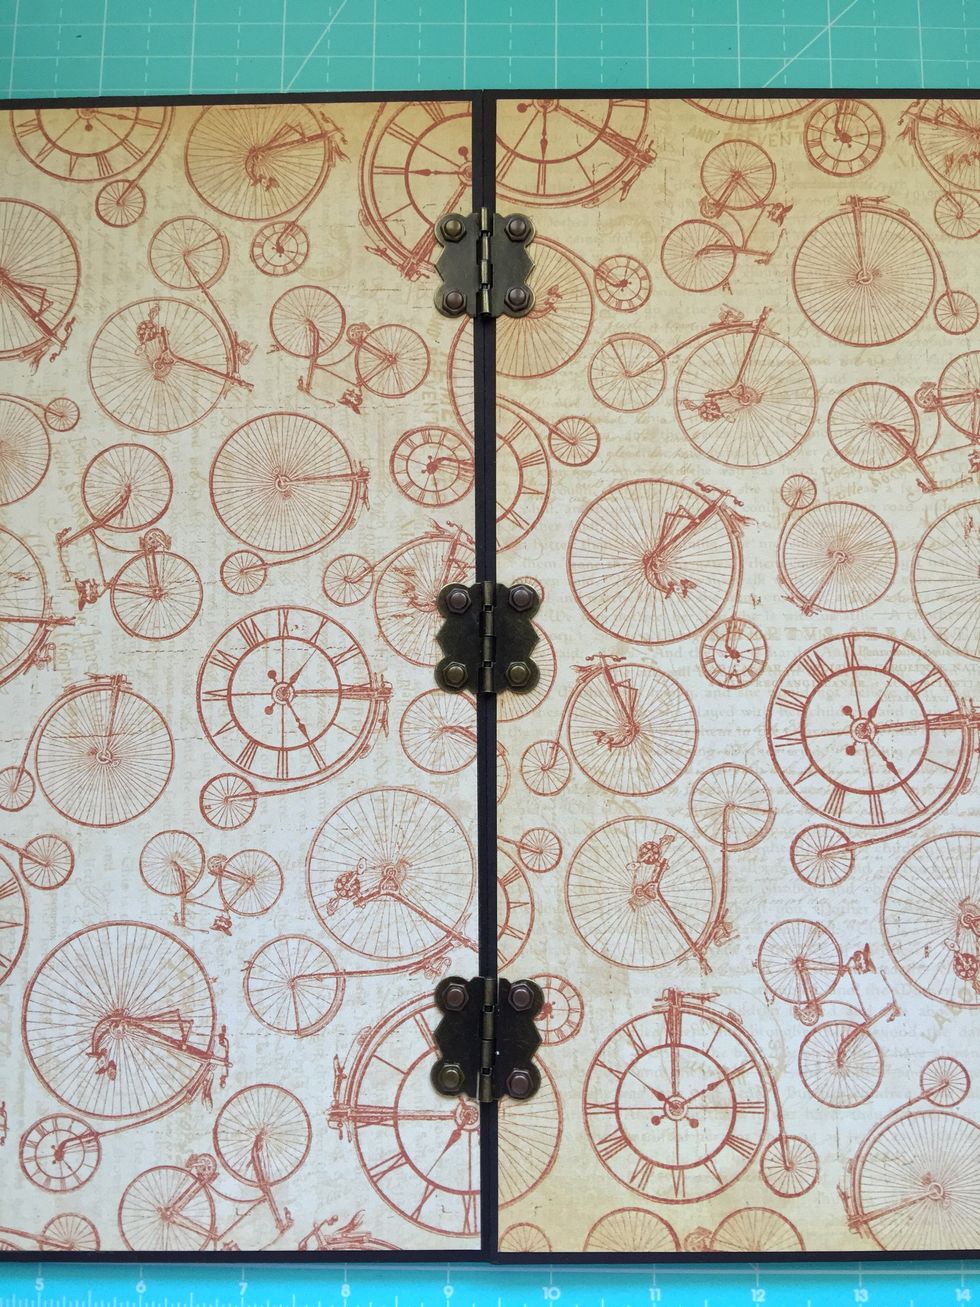
Select your fav photos and two 12x12" black cardboard and two decorated papers to make the background.
Cut the paper at 11 3/4"
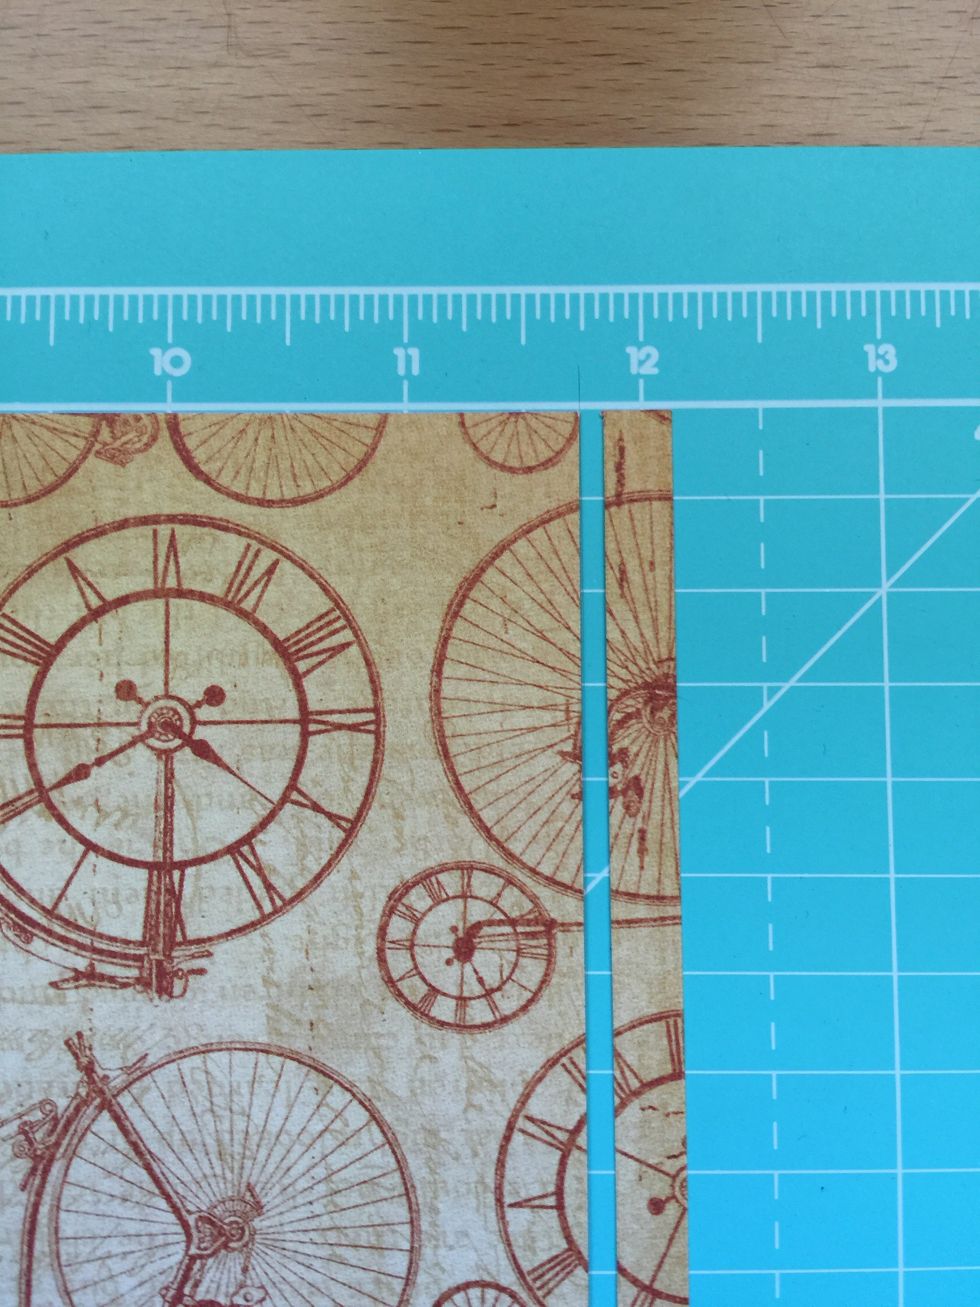
Turn 90º and cut again.
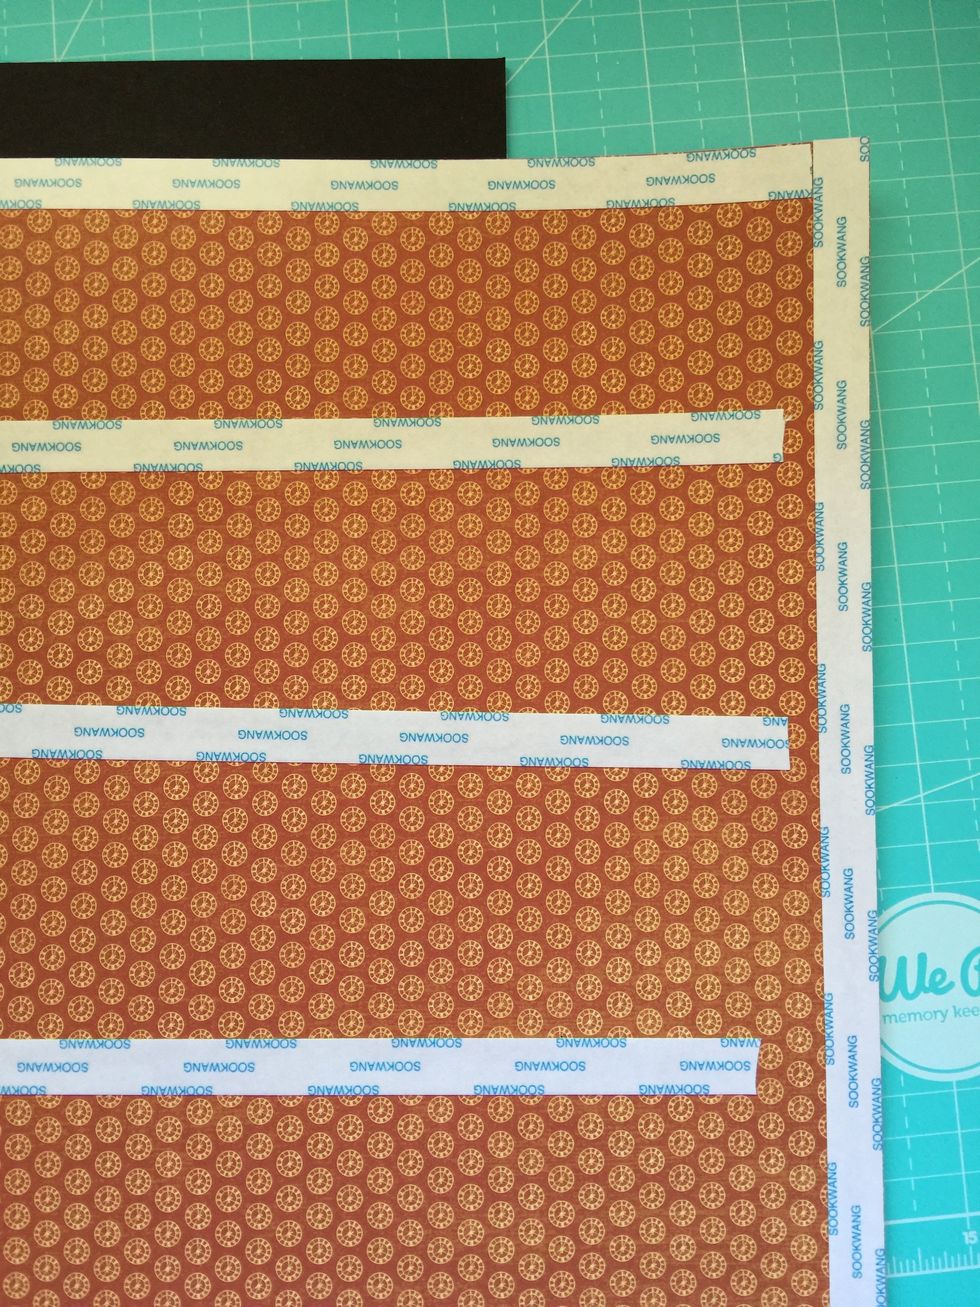
Use double-sided tape on the back side of the paper.
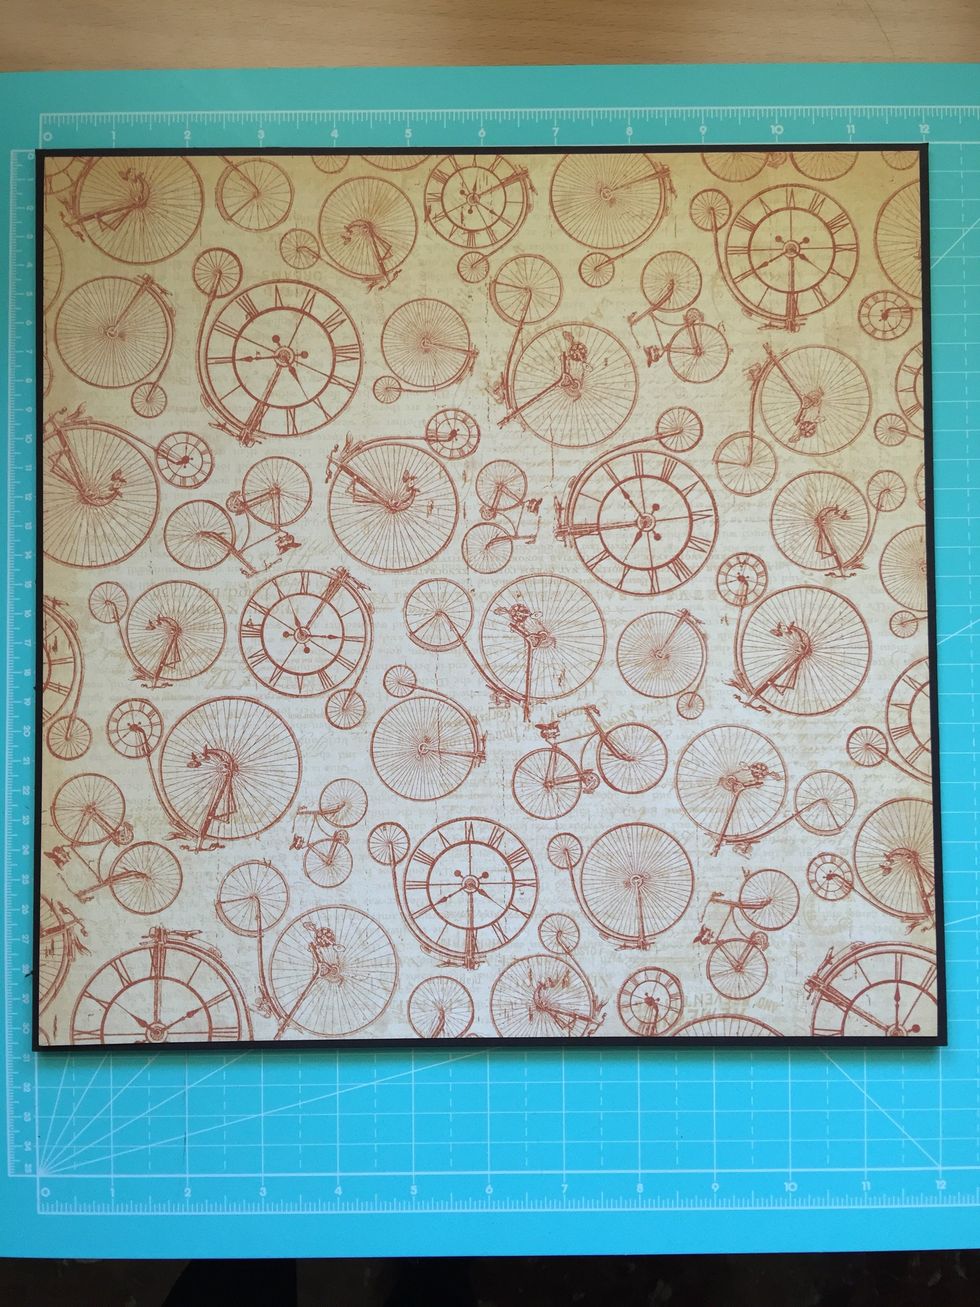
Stick the paper to the cardboard leaving a small margin.


Here we have the two backgrounds.
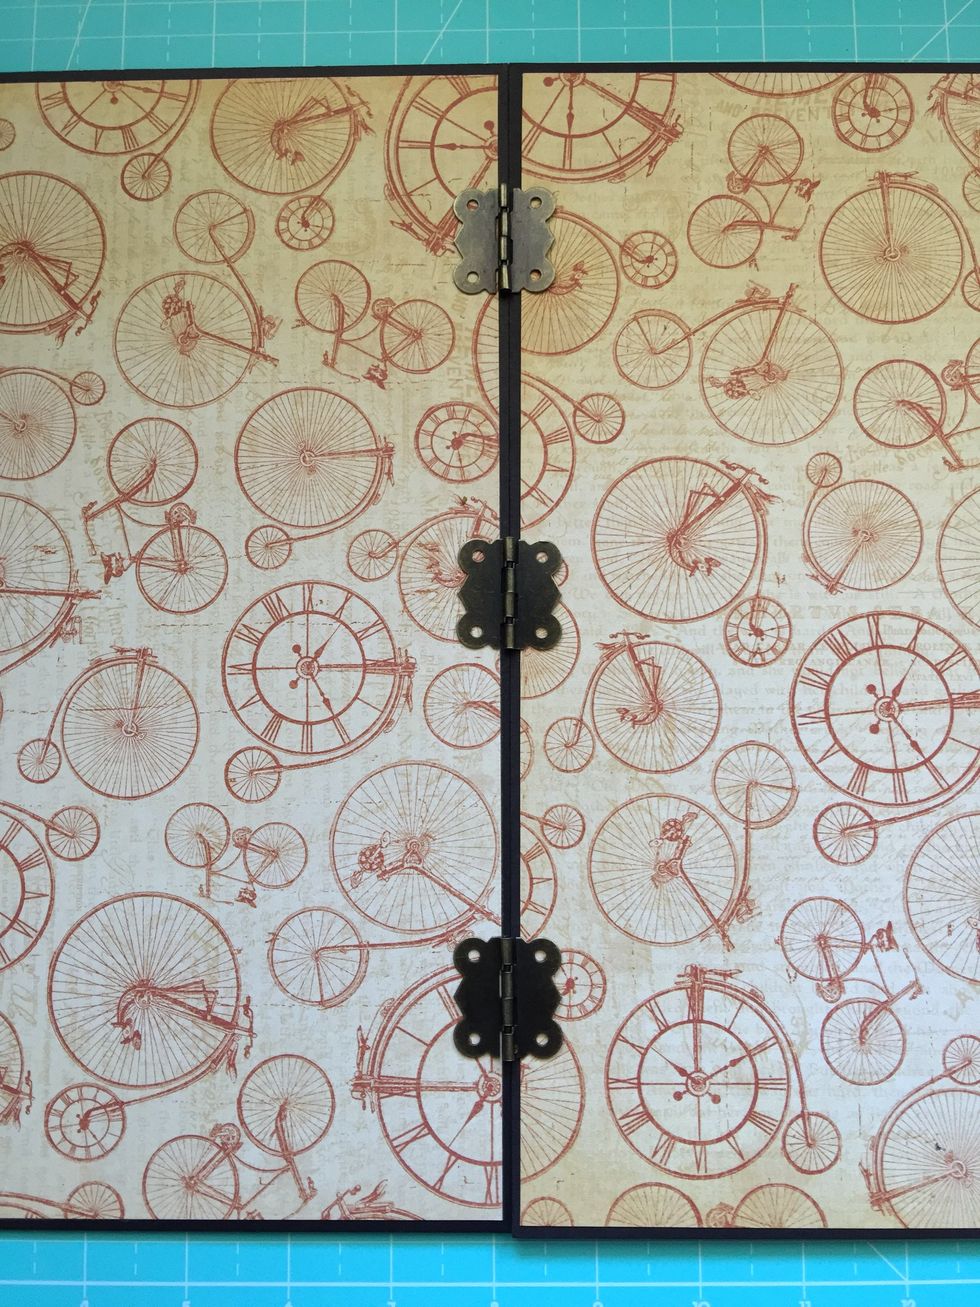
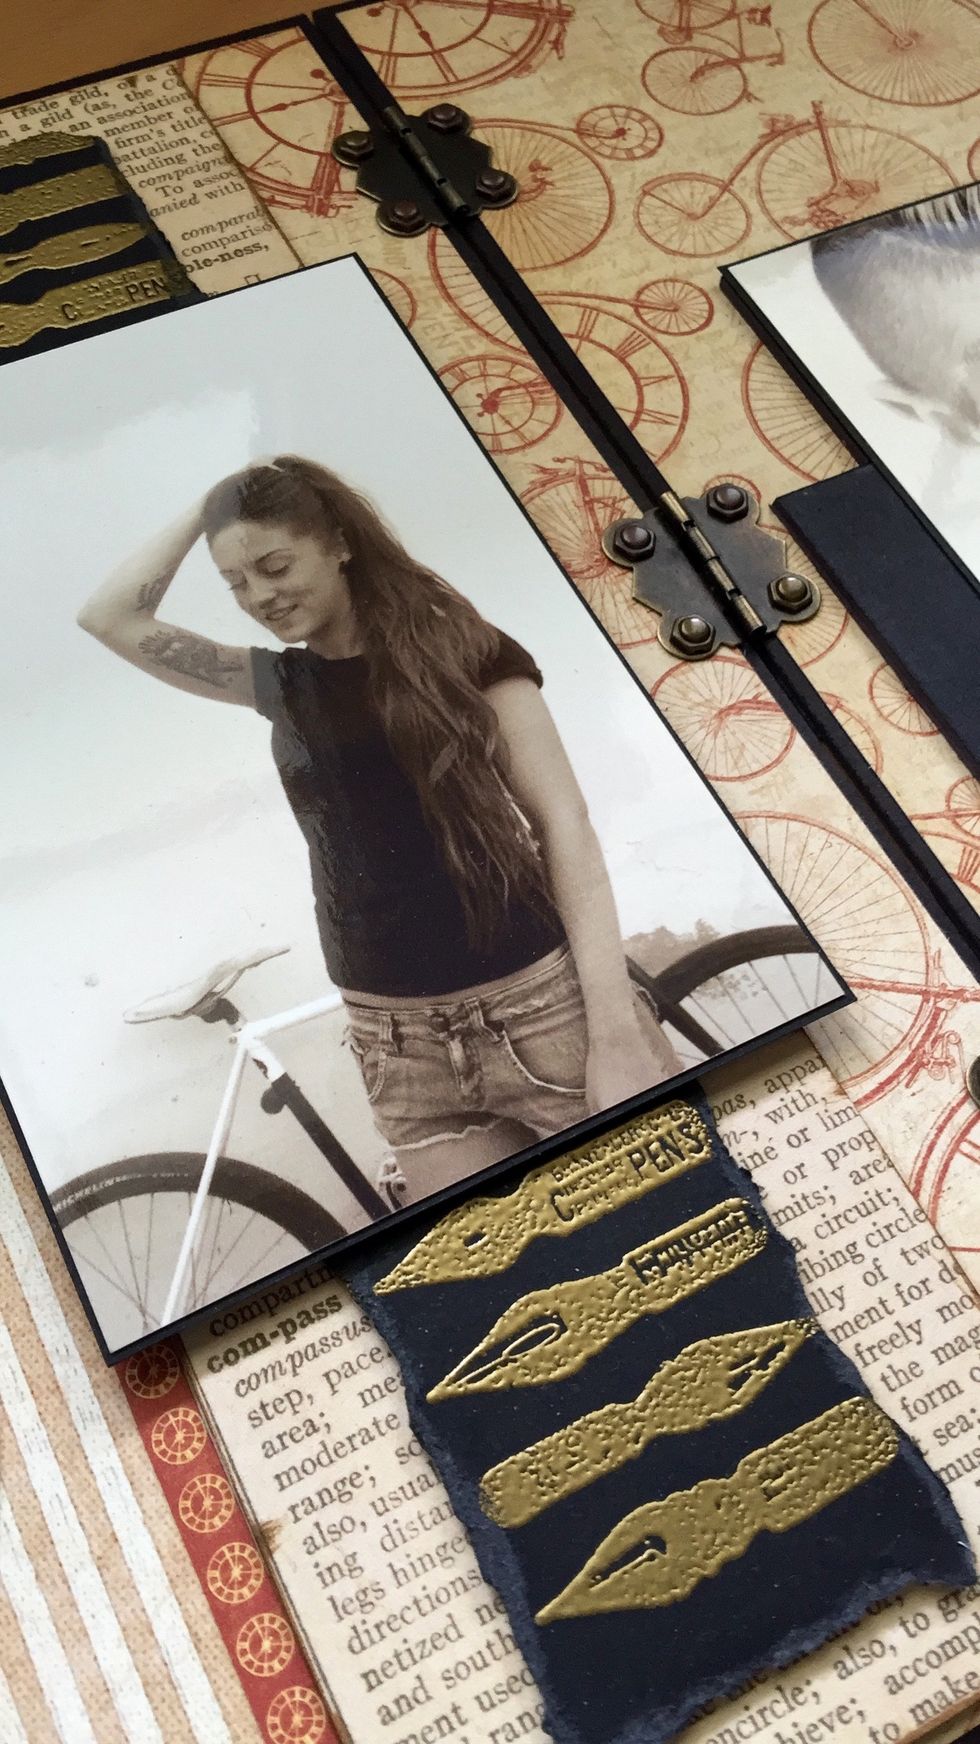
To join the two bases of the layout we use three small hinges.
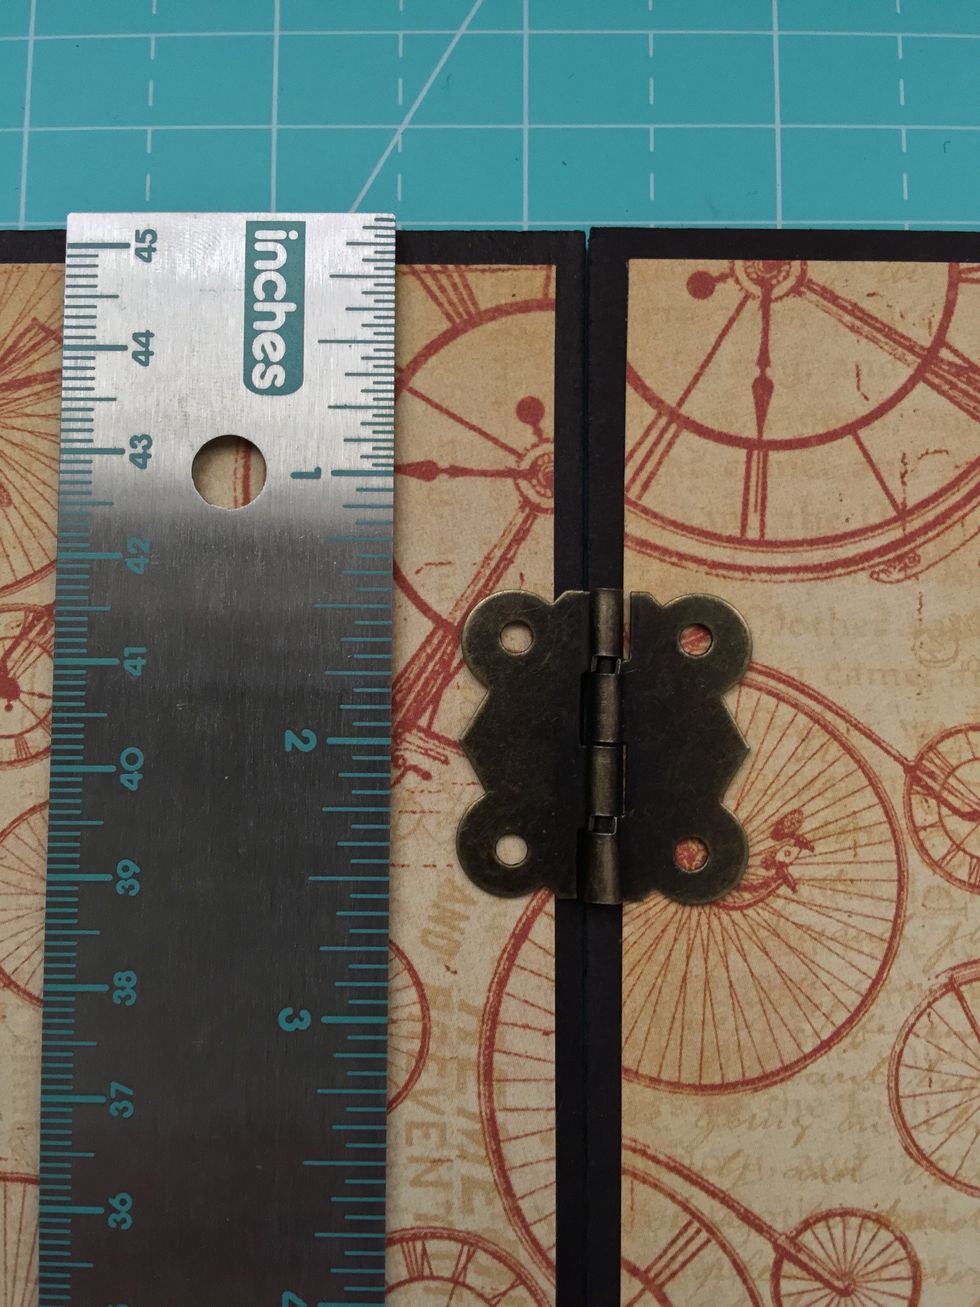
We mark the points where we will put the brads. First hinge.
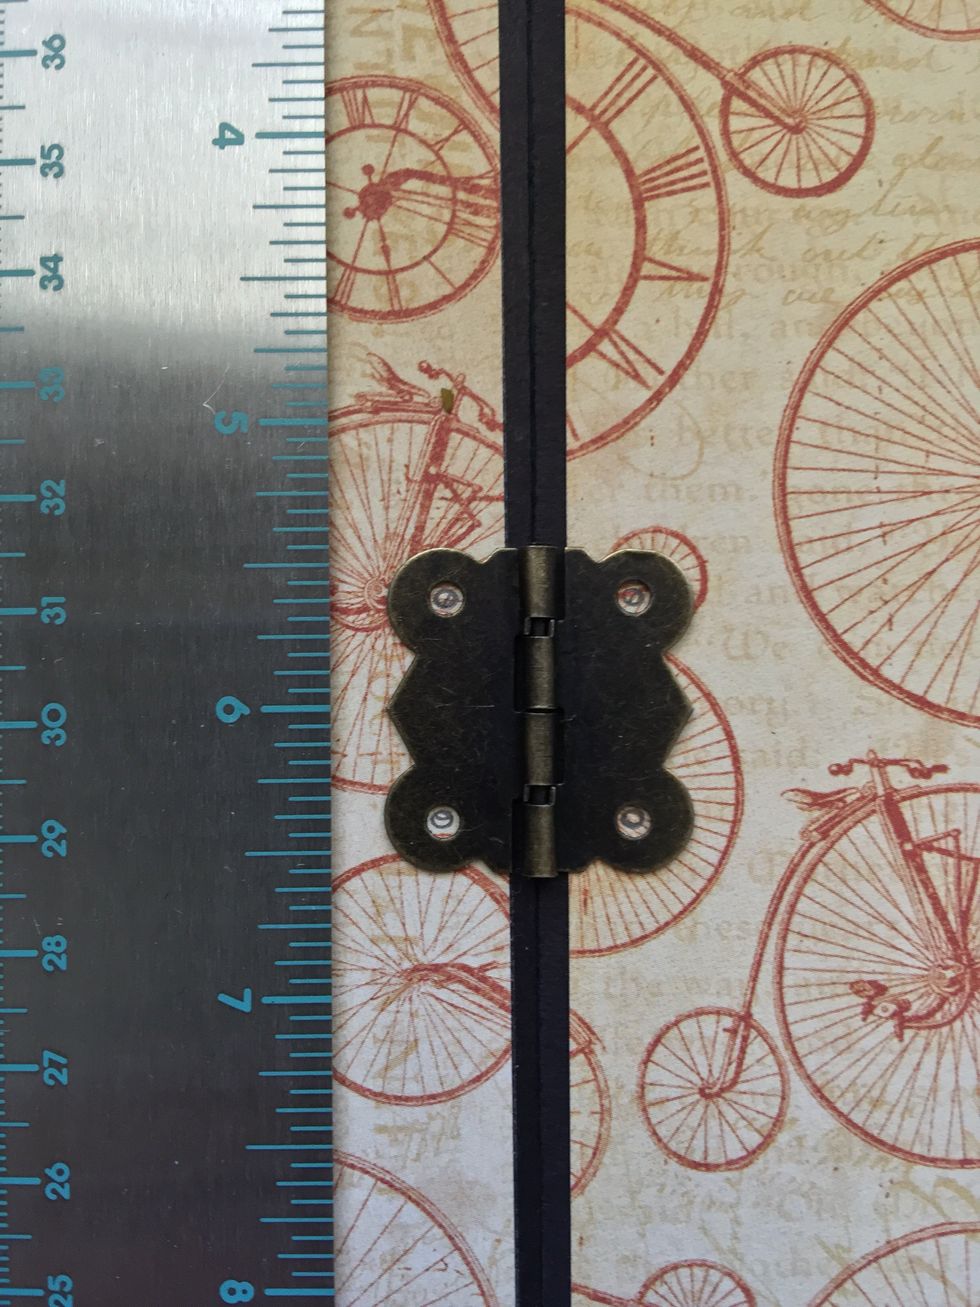
Second hinge.
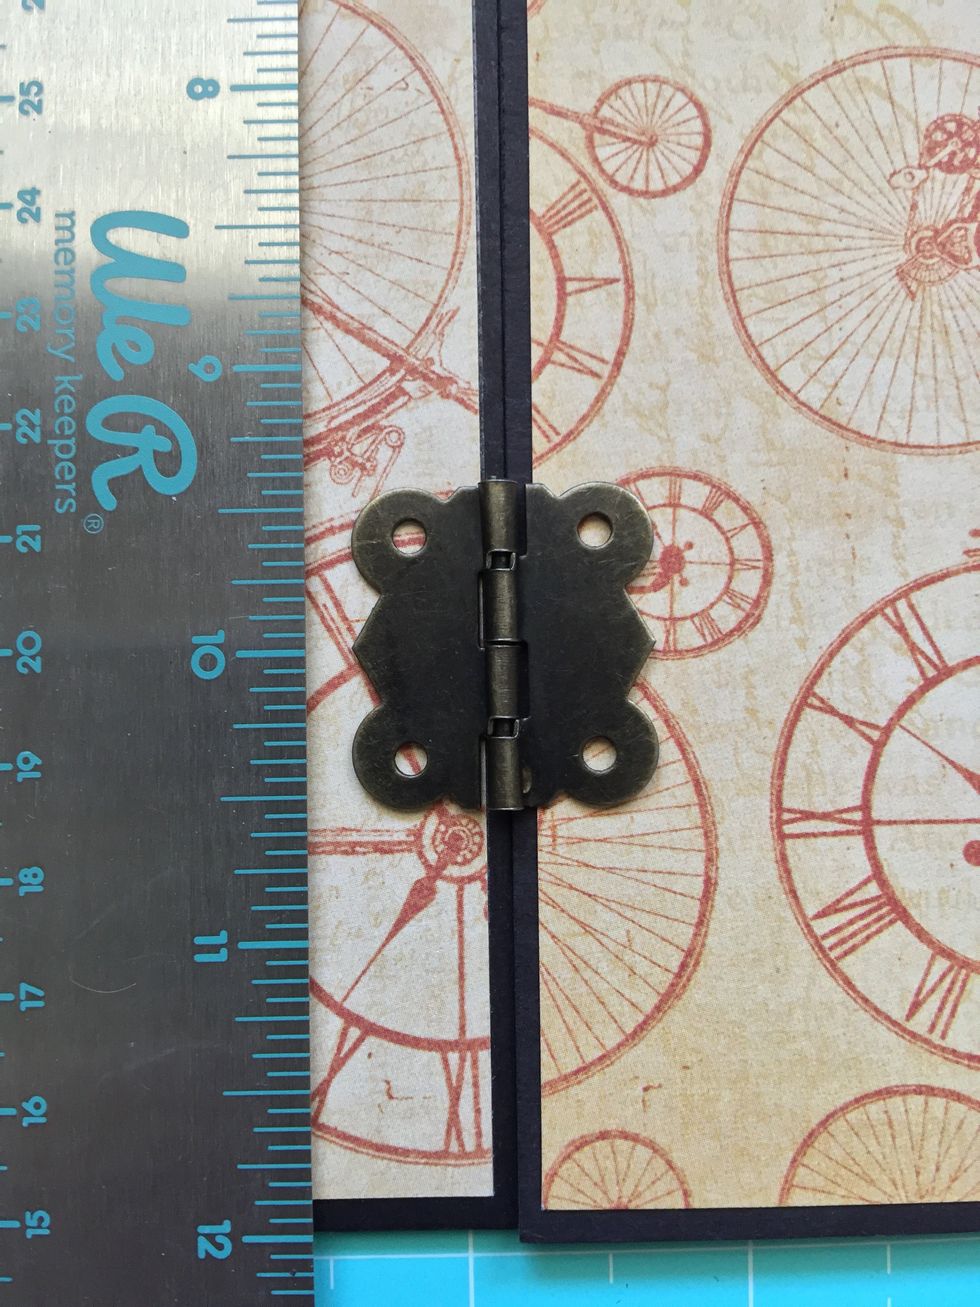
Third hinge.
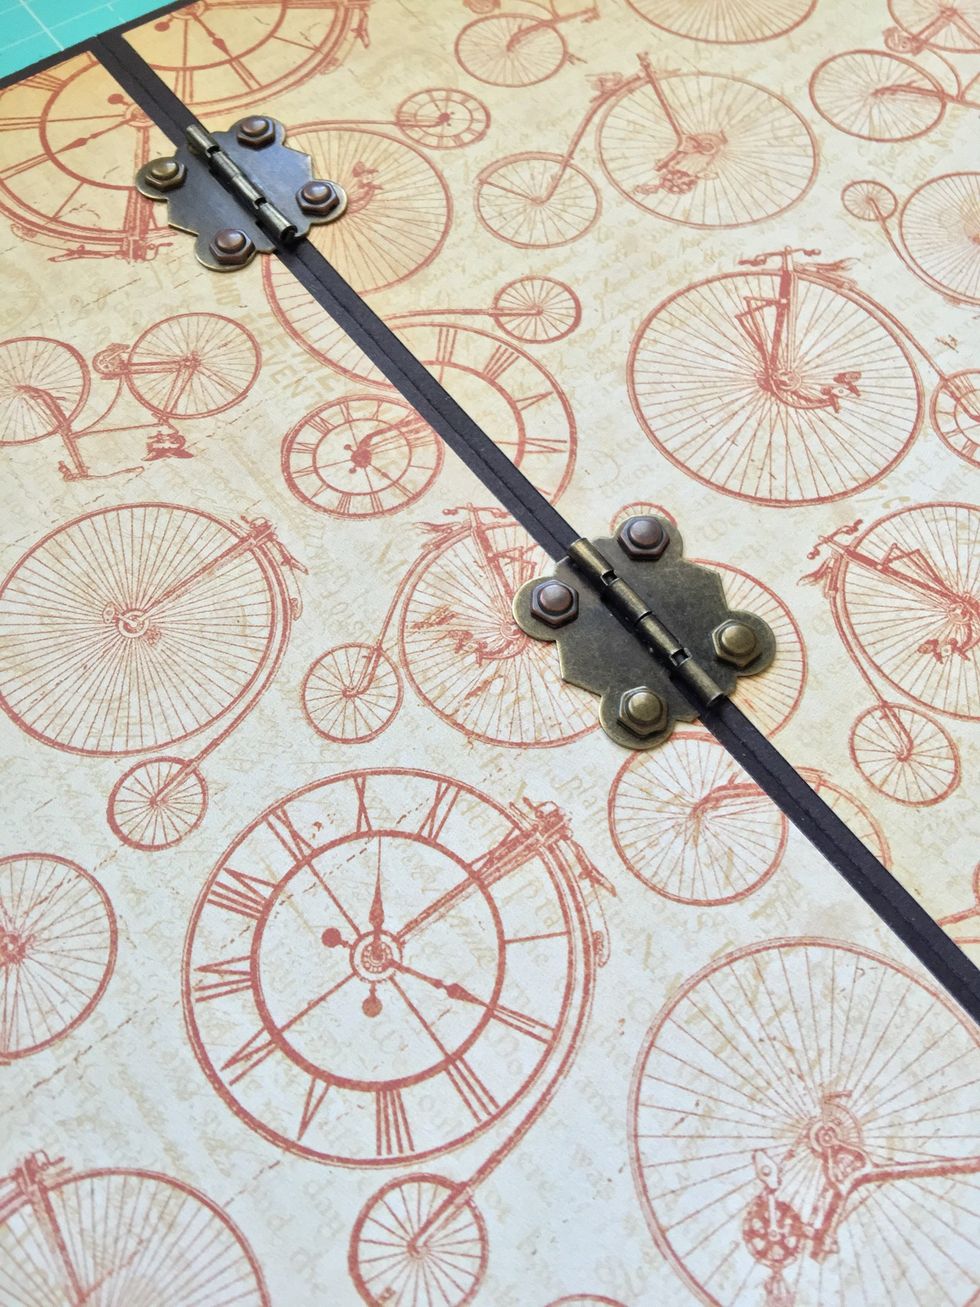
We make the holes in the marks and put the brads that join the hinges.
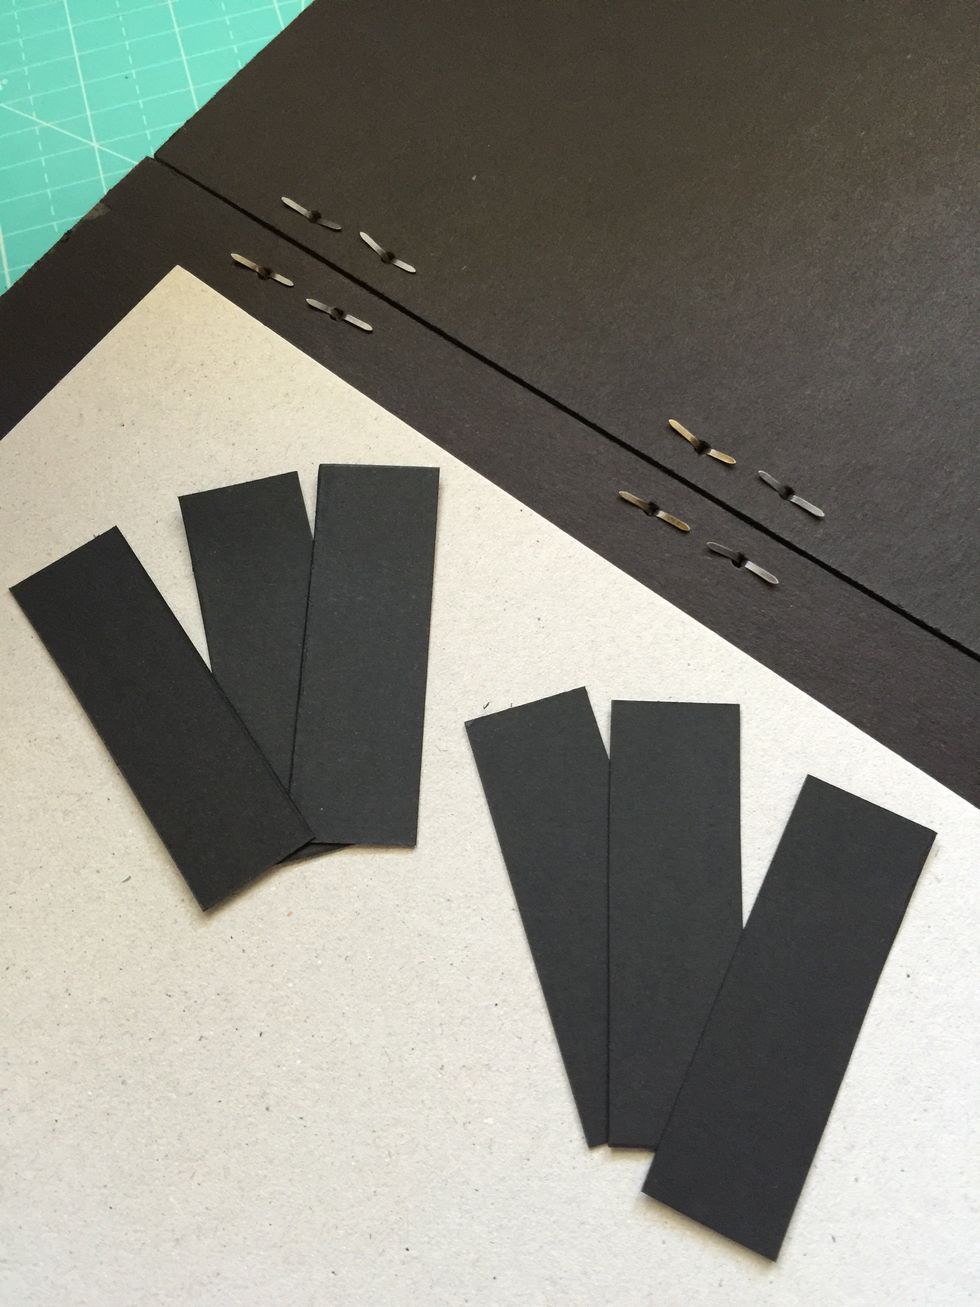
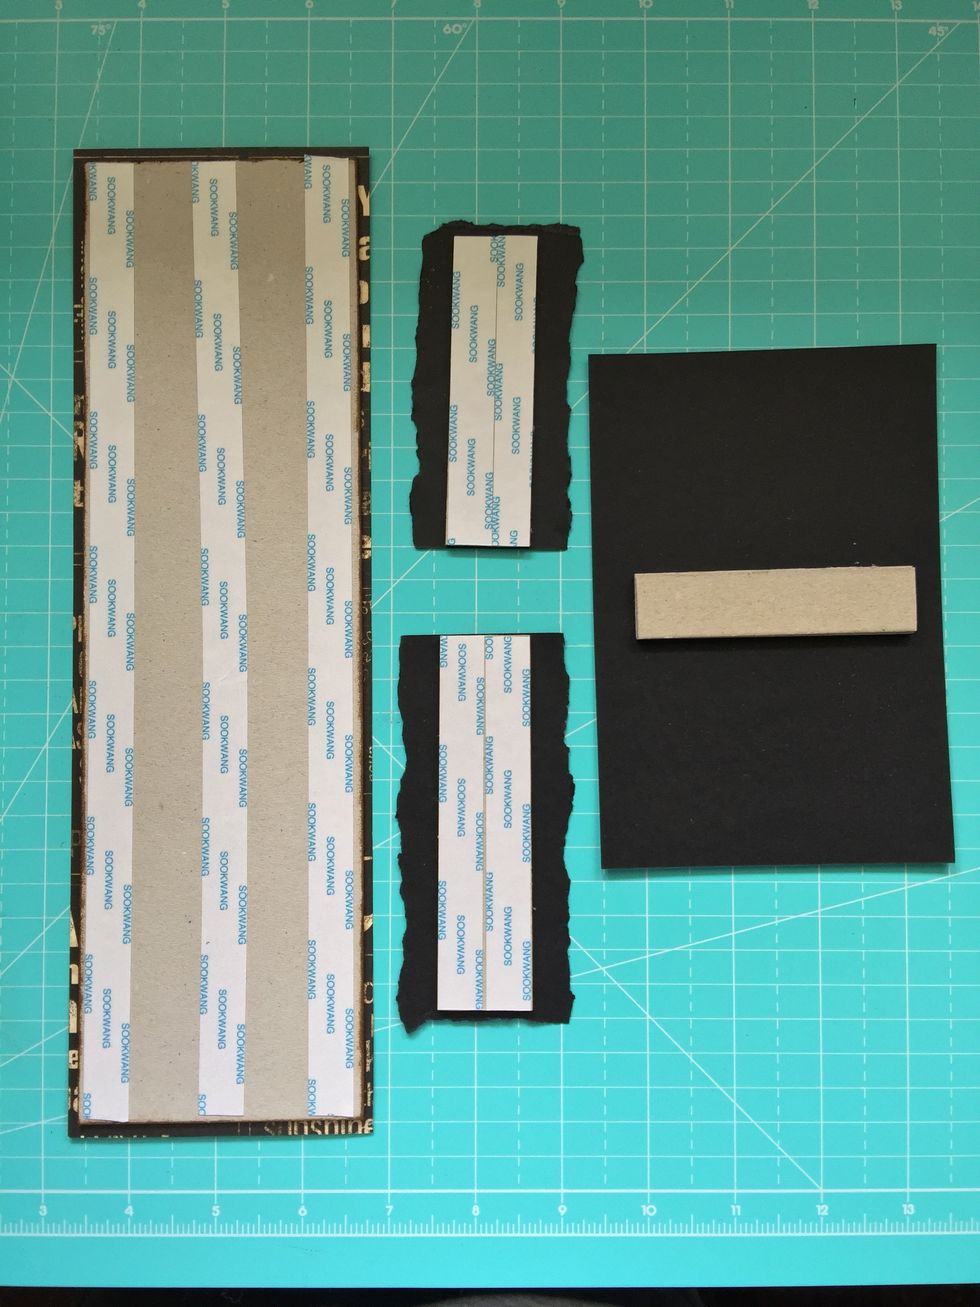
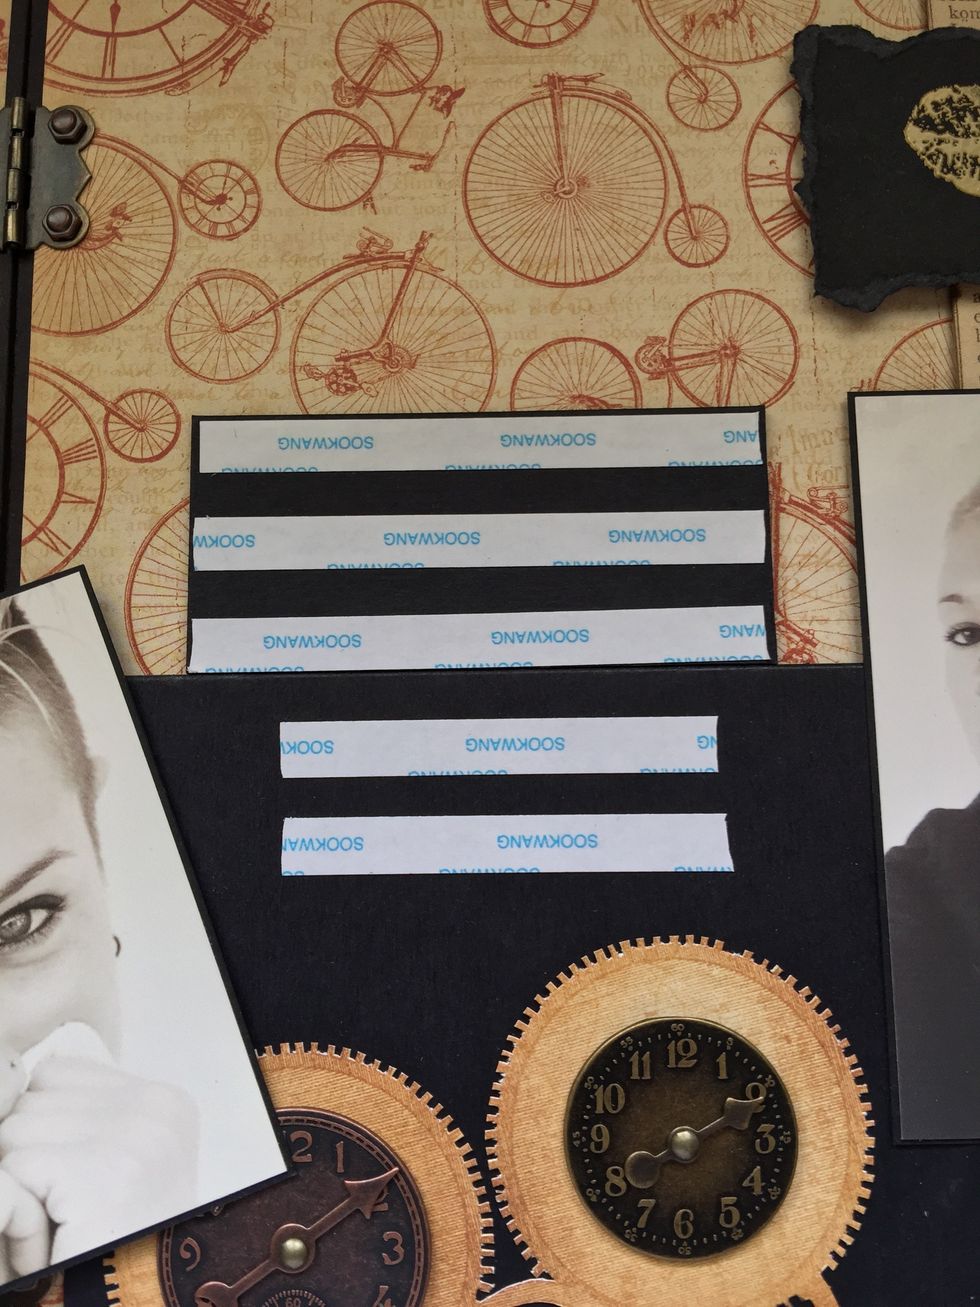
Cut six small pieces of black cardboard that will cover the back of the brads.
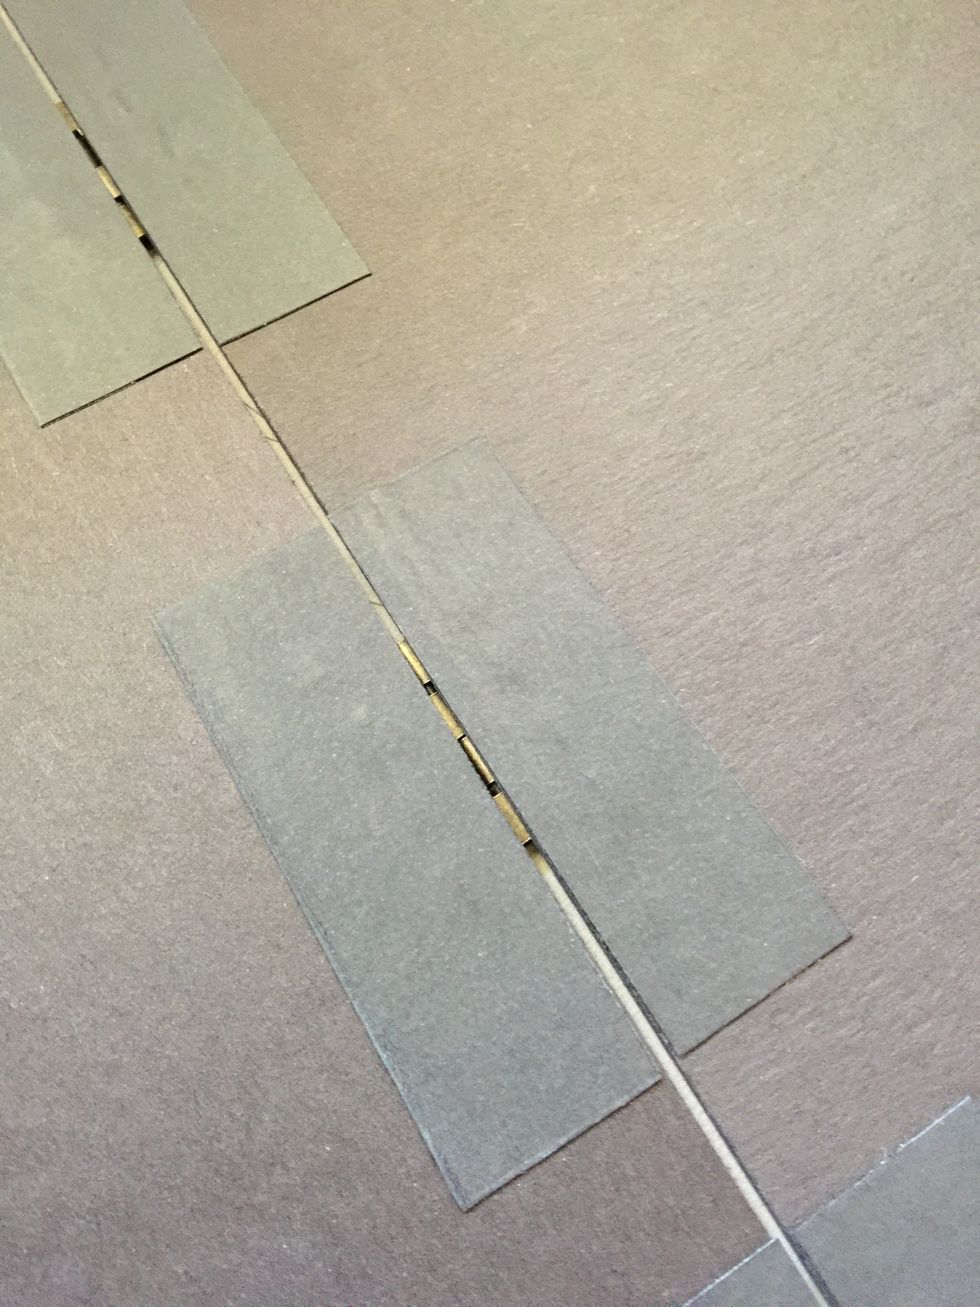
Glue the pieces.
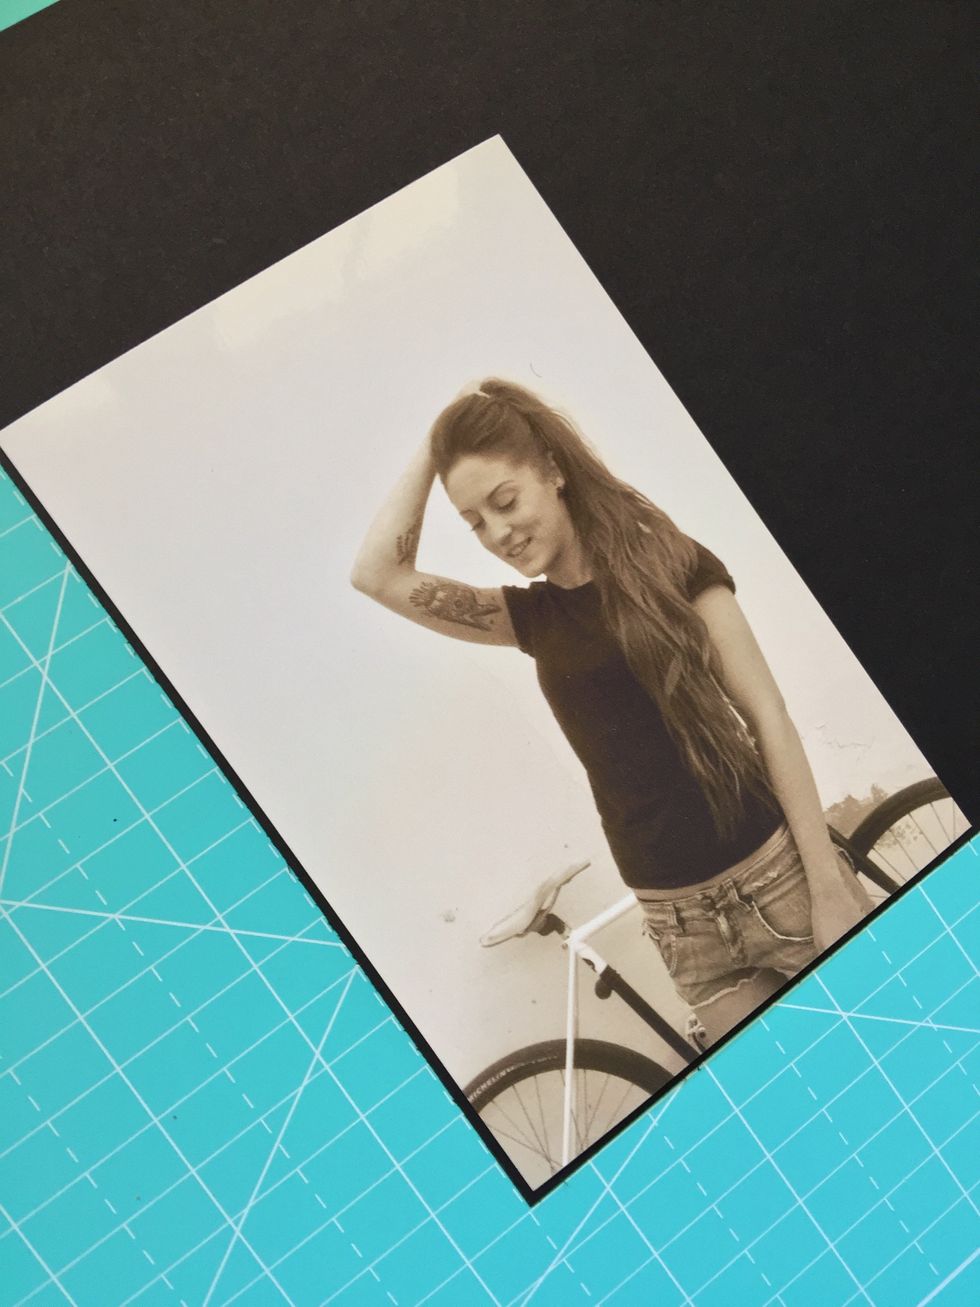
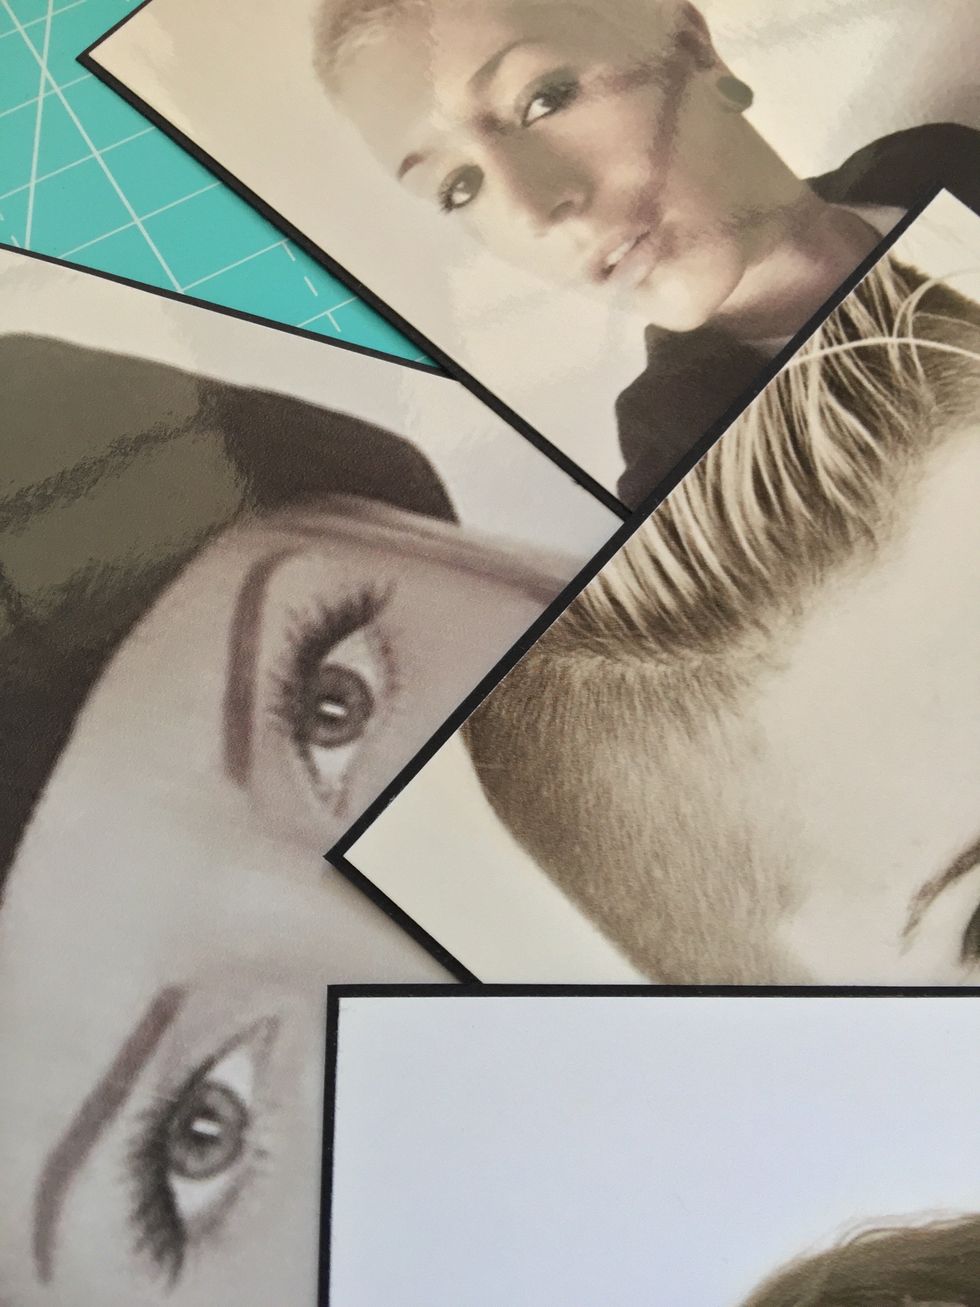
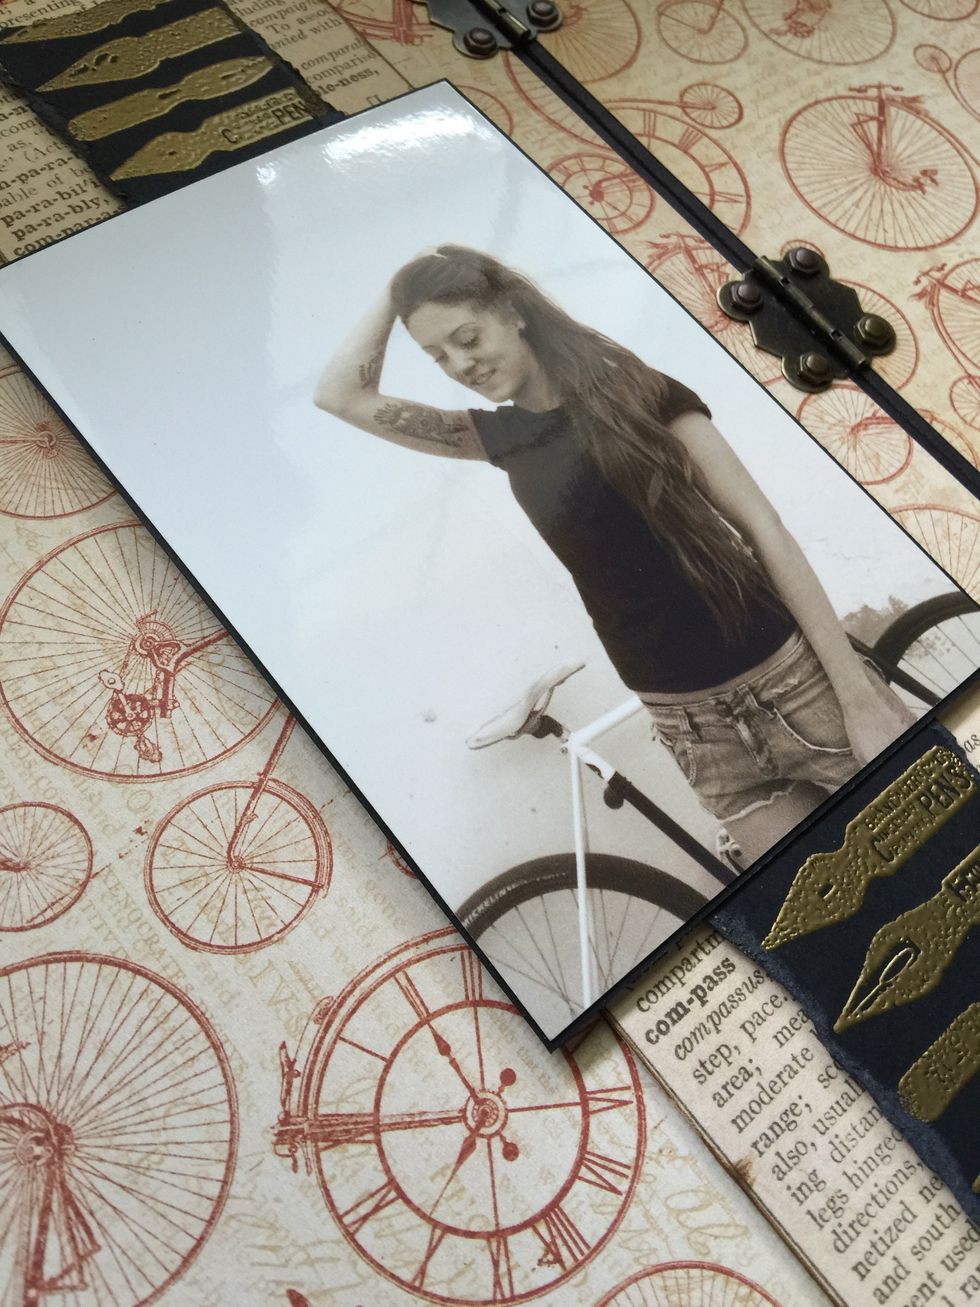
Cut pieces of black cardboard slightly larger than the photos.

Glue the photos on the black cardstock pieces leaving a margin.
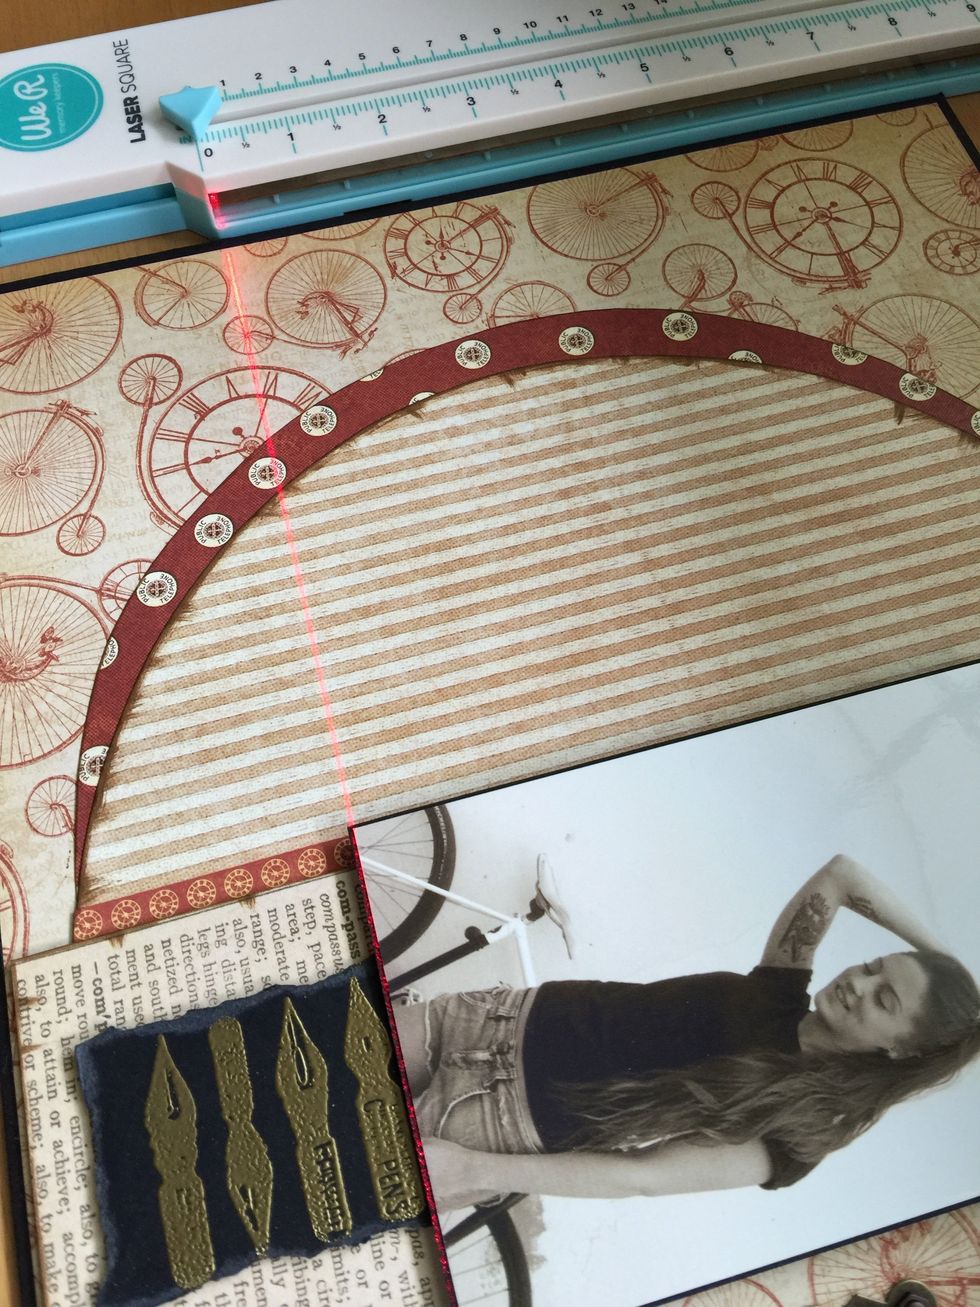
I used this paper to make two 11 1/2"x3 1/2" rectangles.

Ink edges.

Cut two pieces of cardboard a little smaller than the rectangular paper.
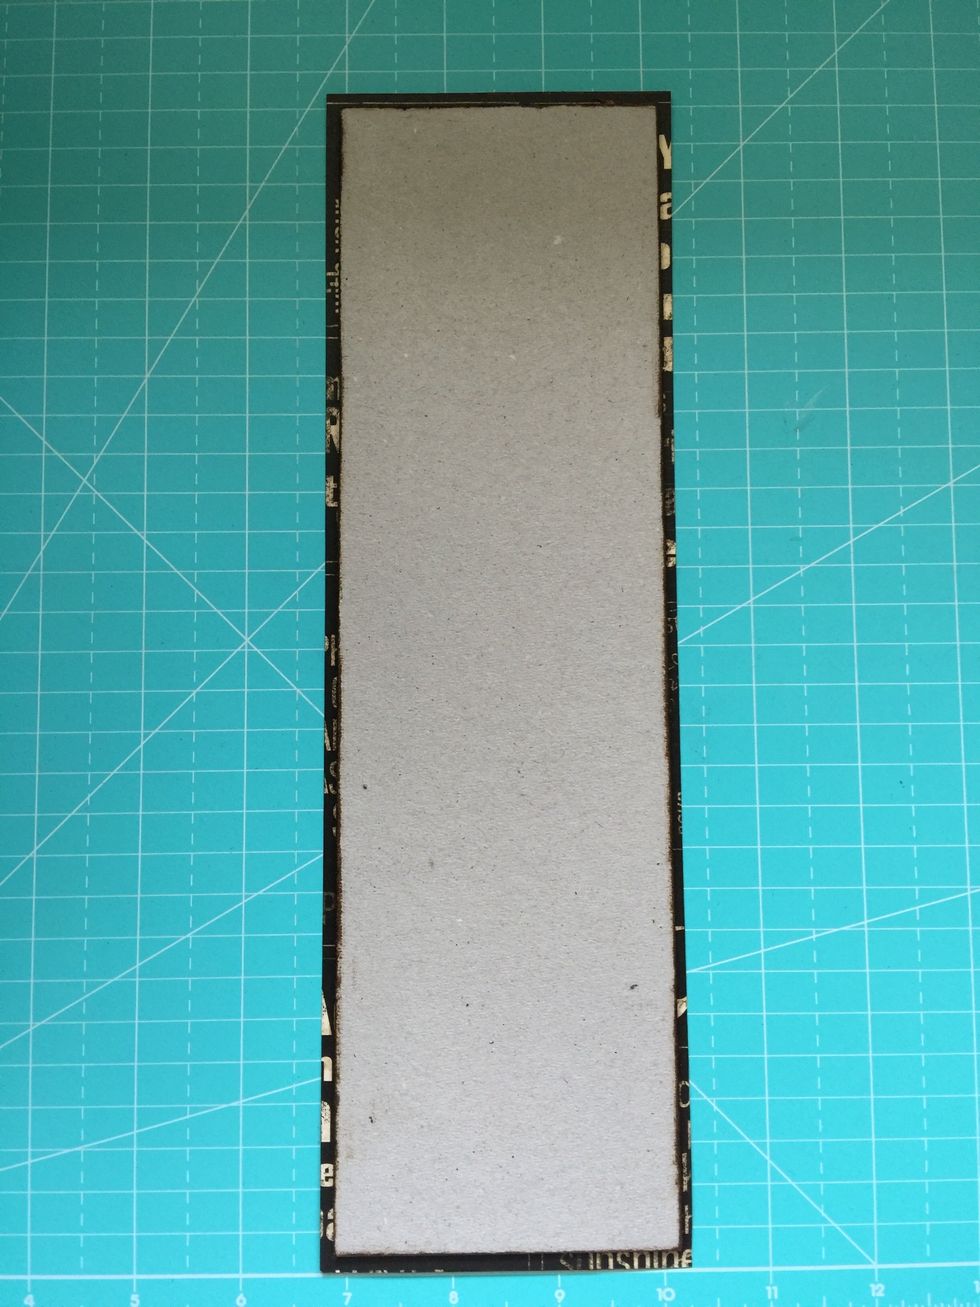
Glue as shown.

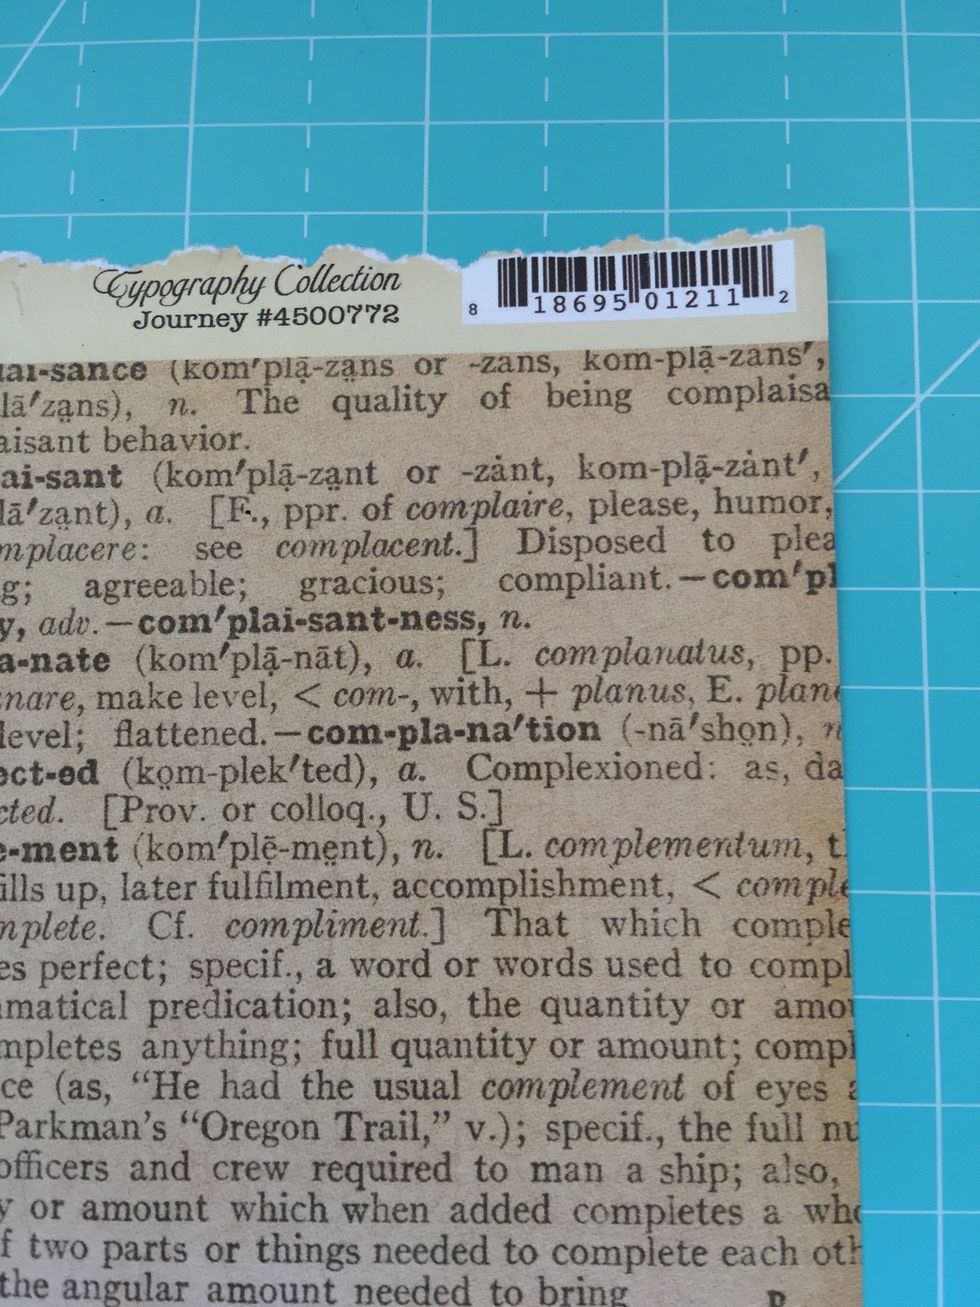
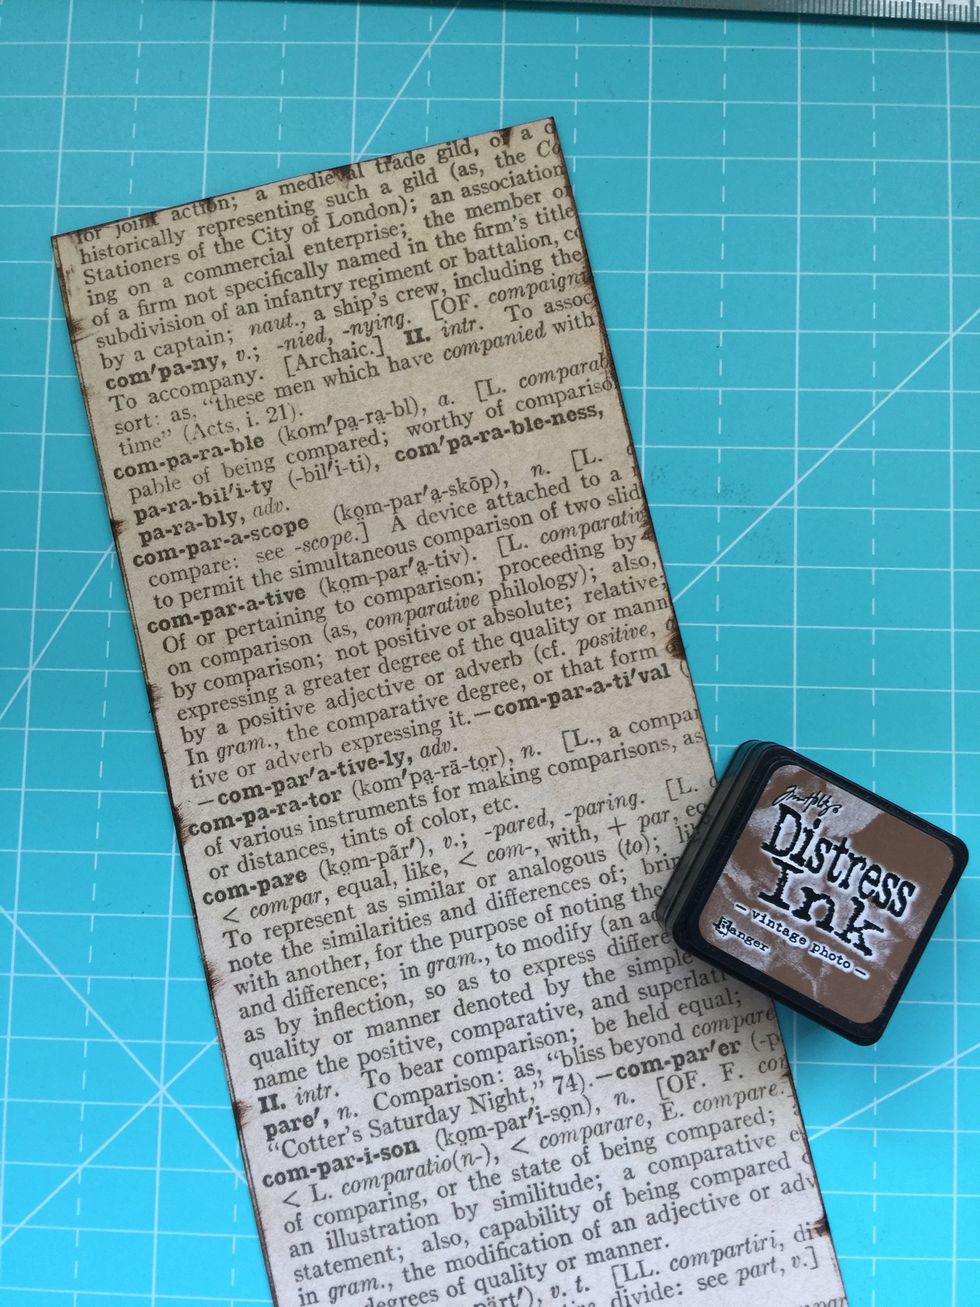
Rip come pieces of black cardboard. To make embossing we will need embossing stamp pad, stamps, embossing powder and a heat gun. Wet the stamp on the pad. Add embossing powder.
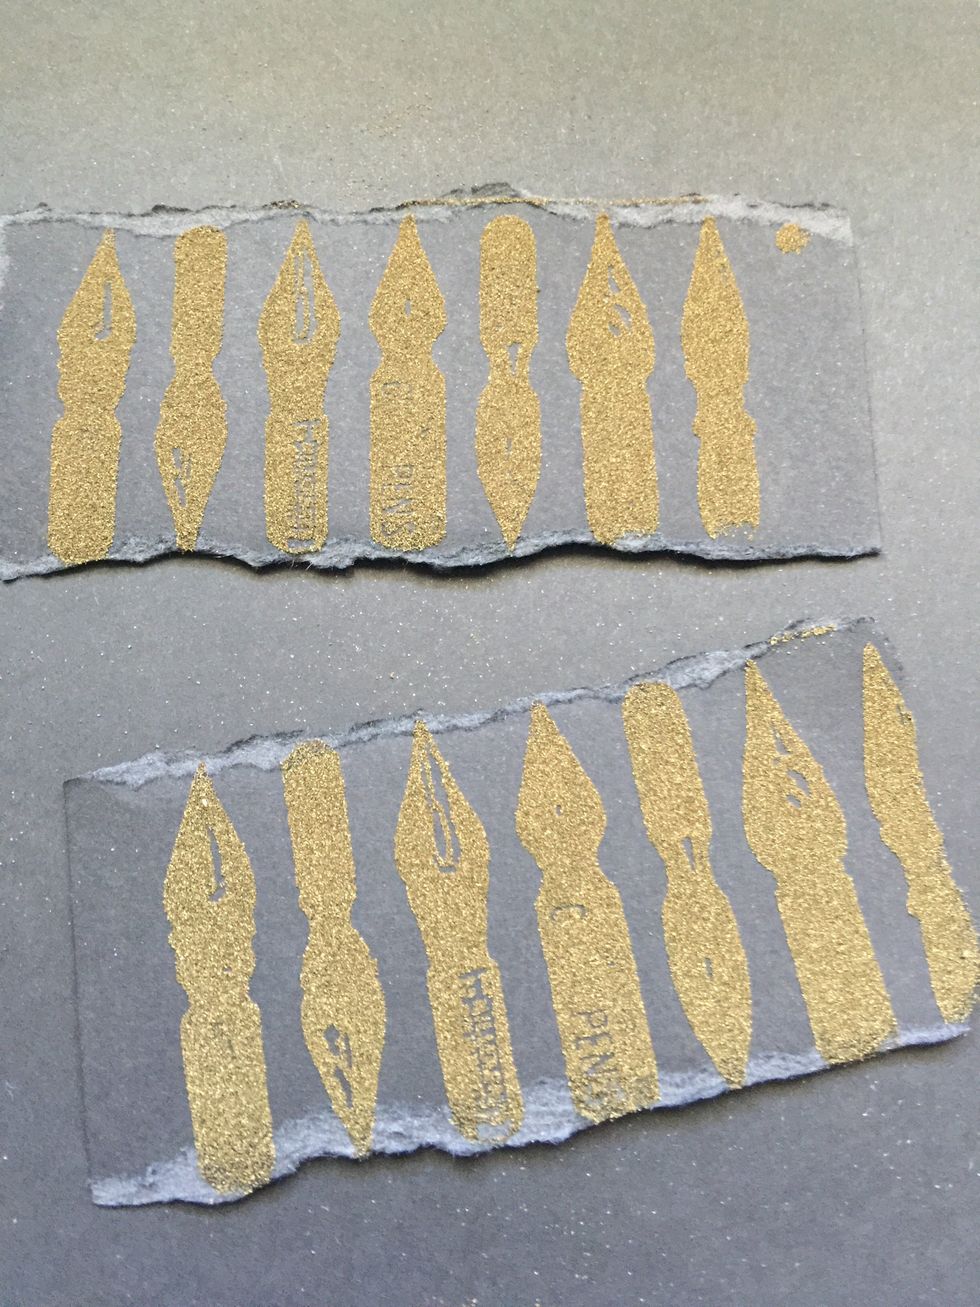
Remove excess of embossing powder.

Apply heat gun.
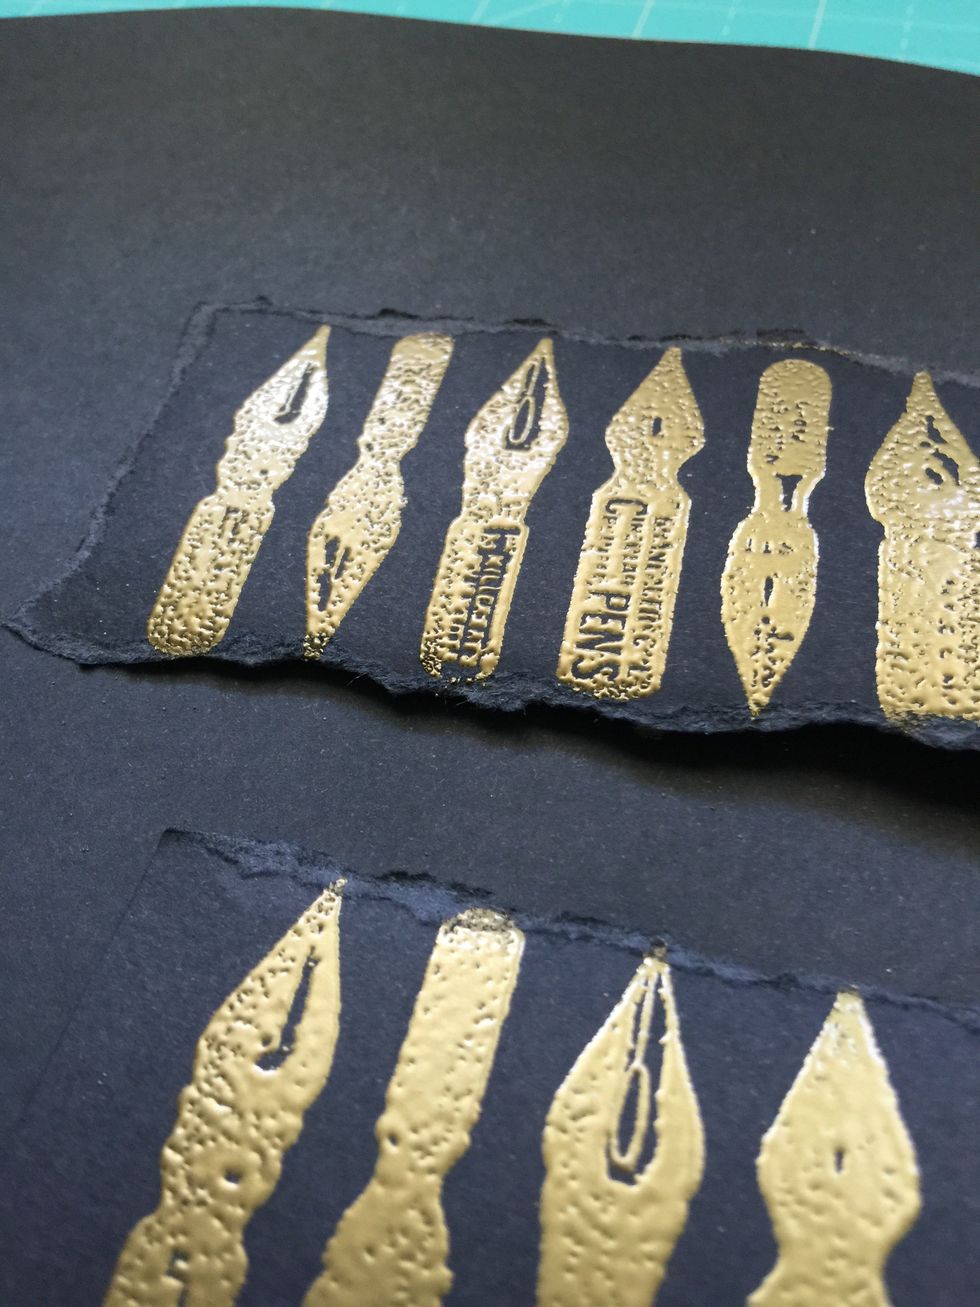
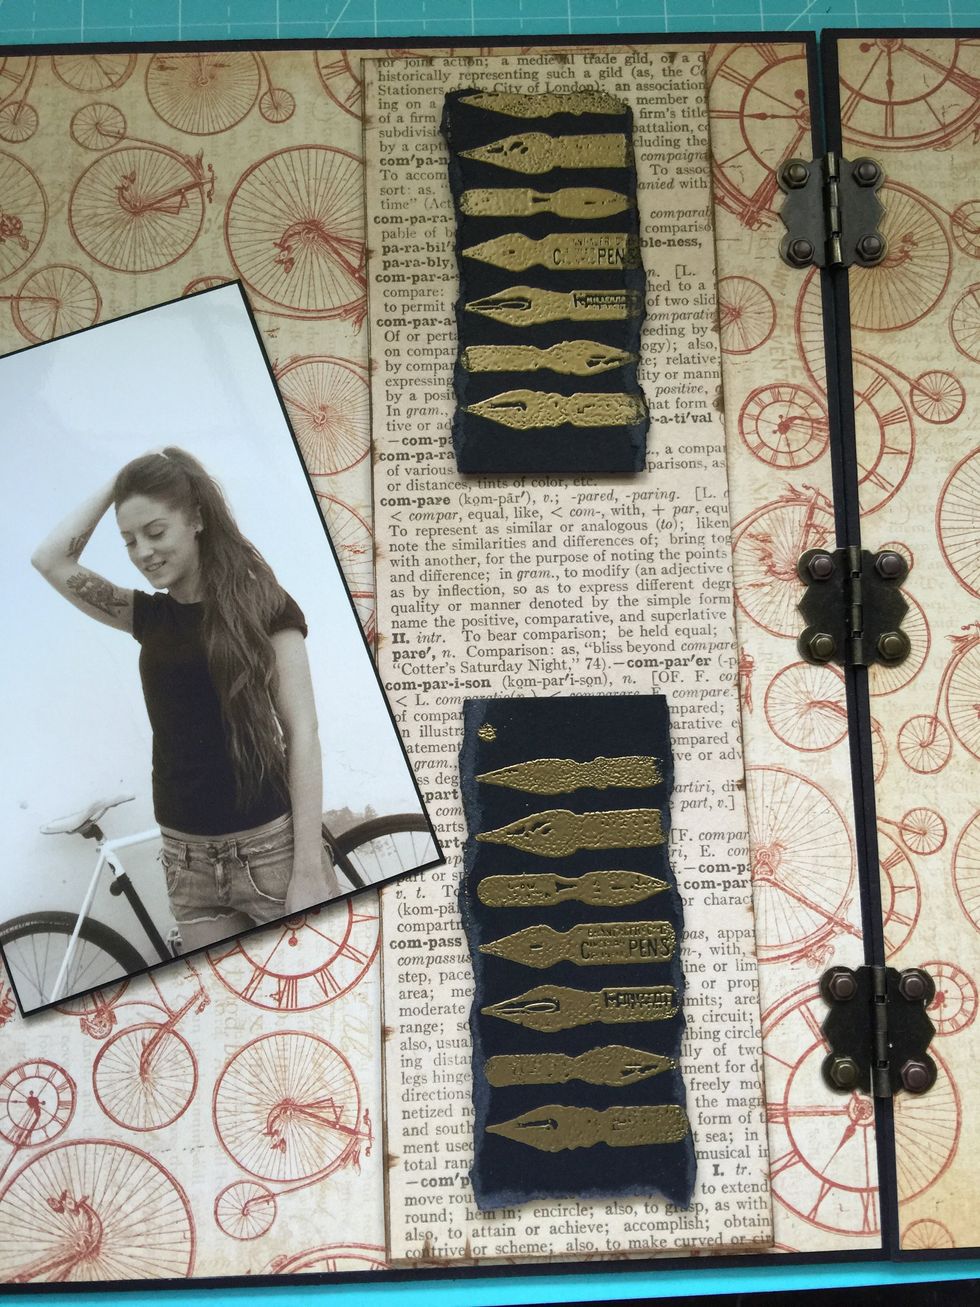
Use double-sided tape on rectangles, embossing cardstocks and add a piece of cardstock on the back of the picture to elevate it when stick it on the background.
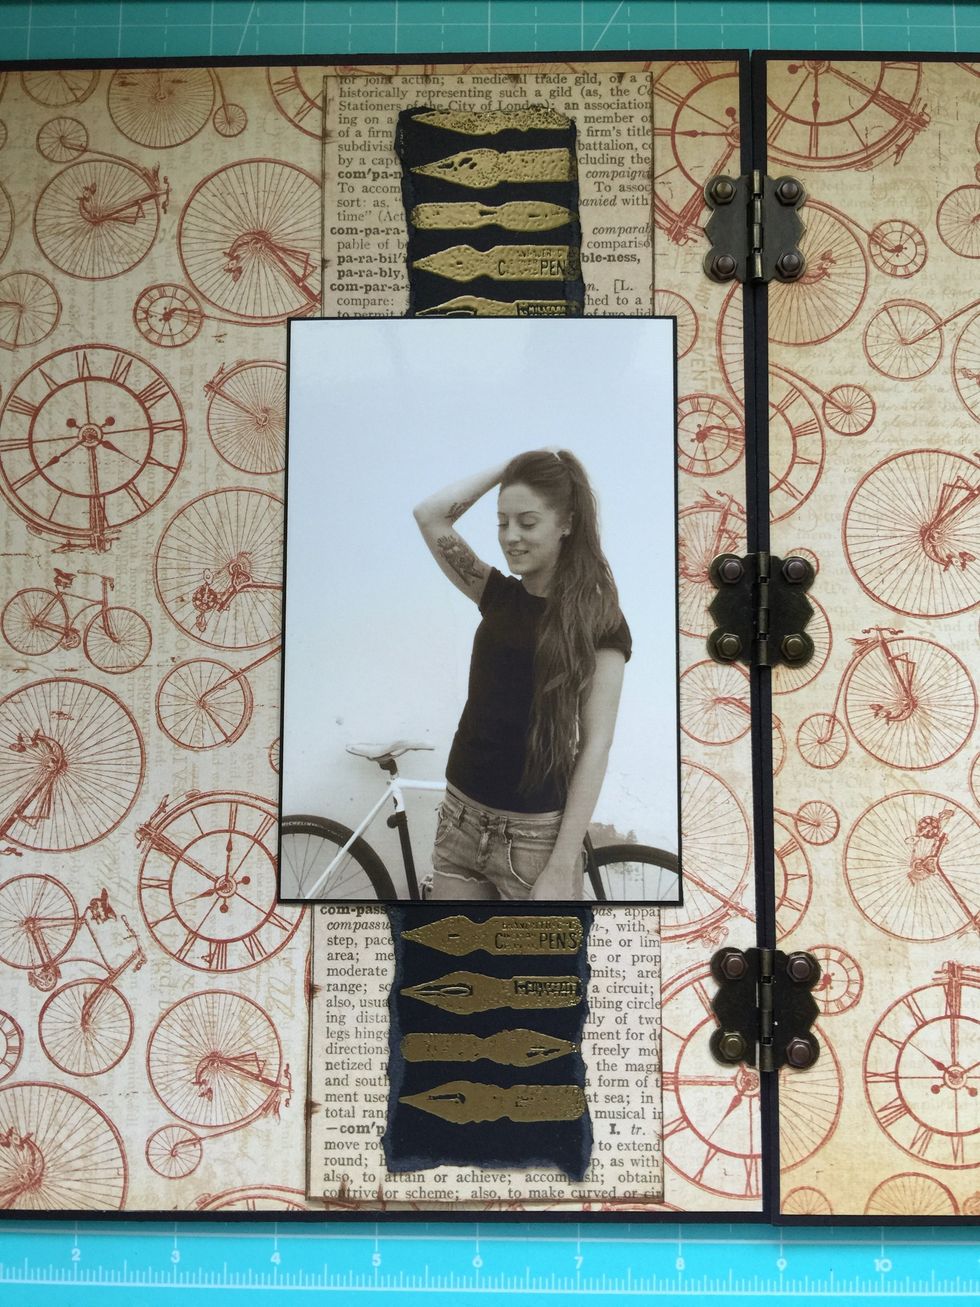
This is the place for the photo.
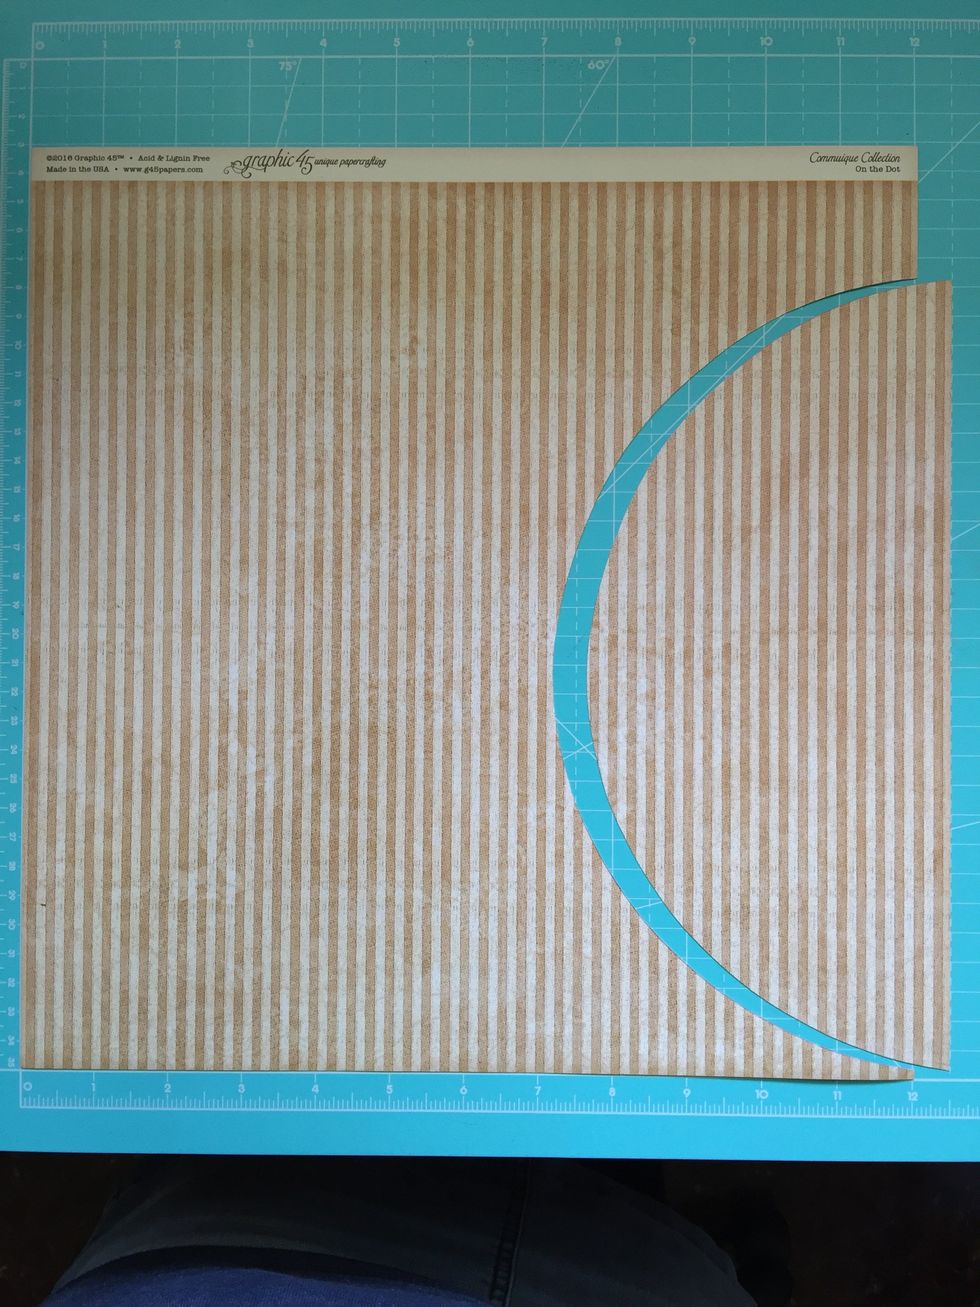
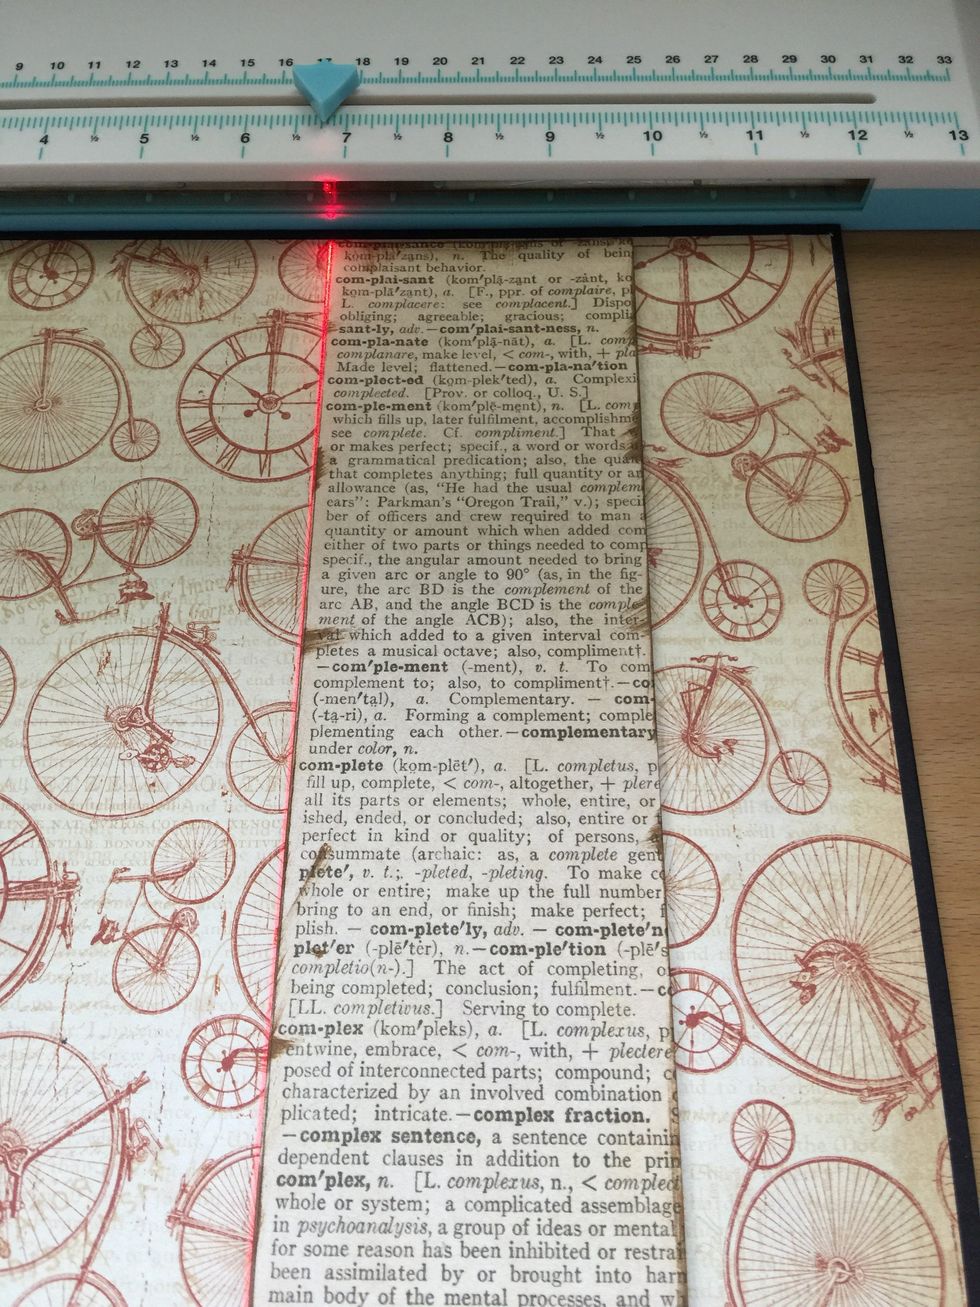
Cut another paper as shown.
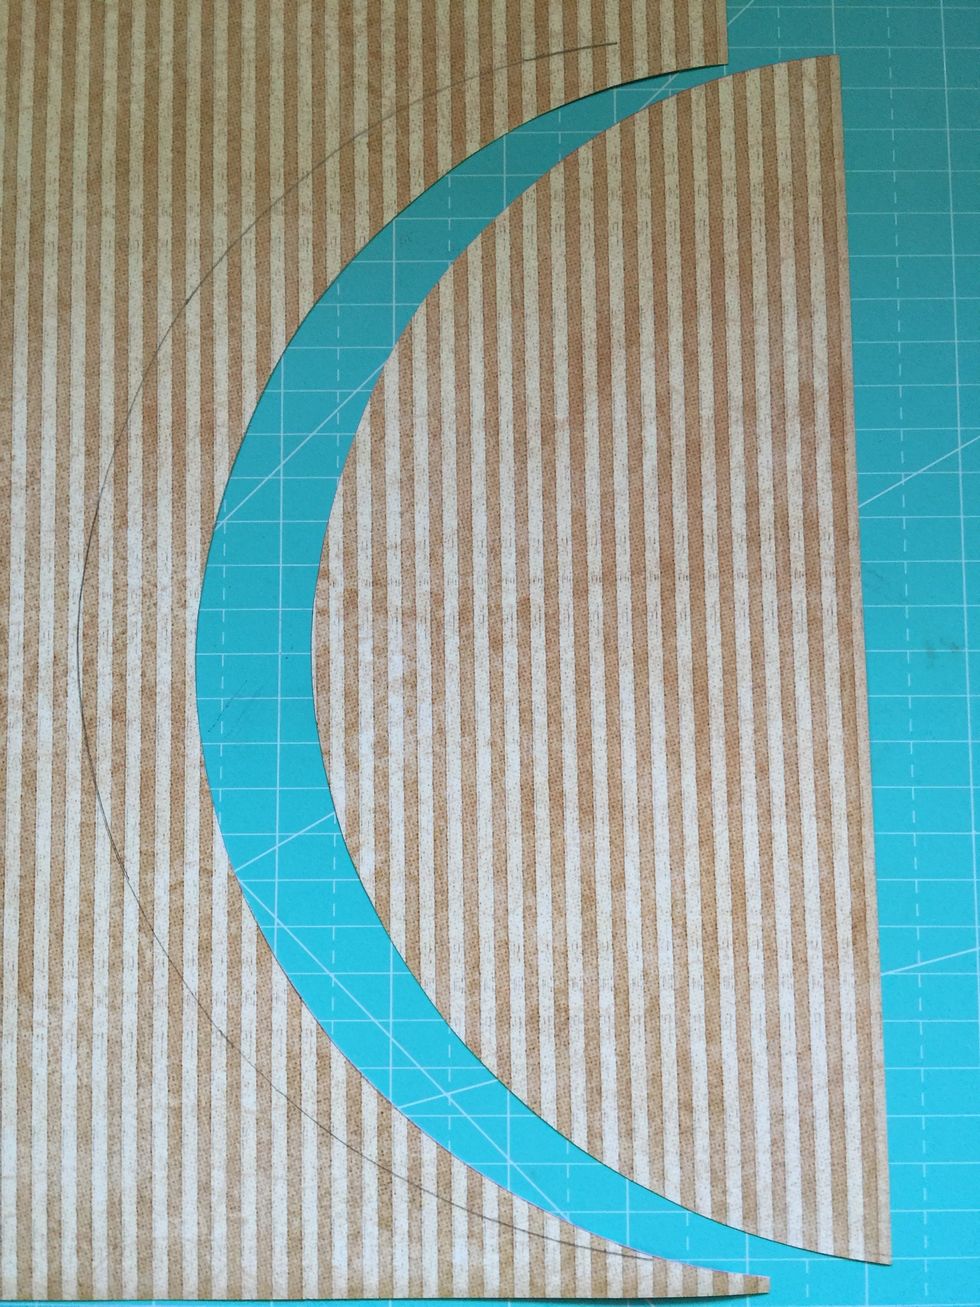
Make a line and cut it again to obtain a strip.
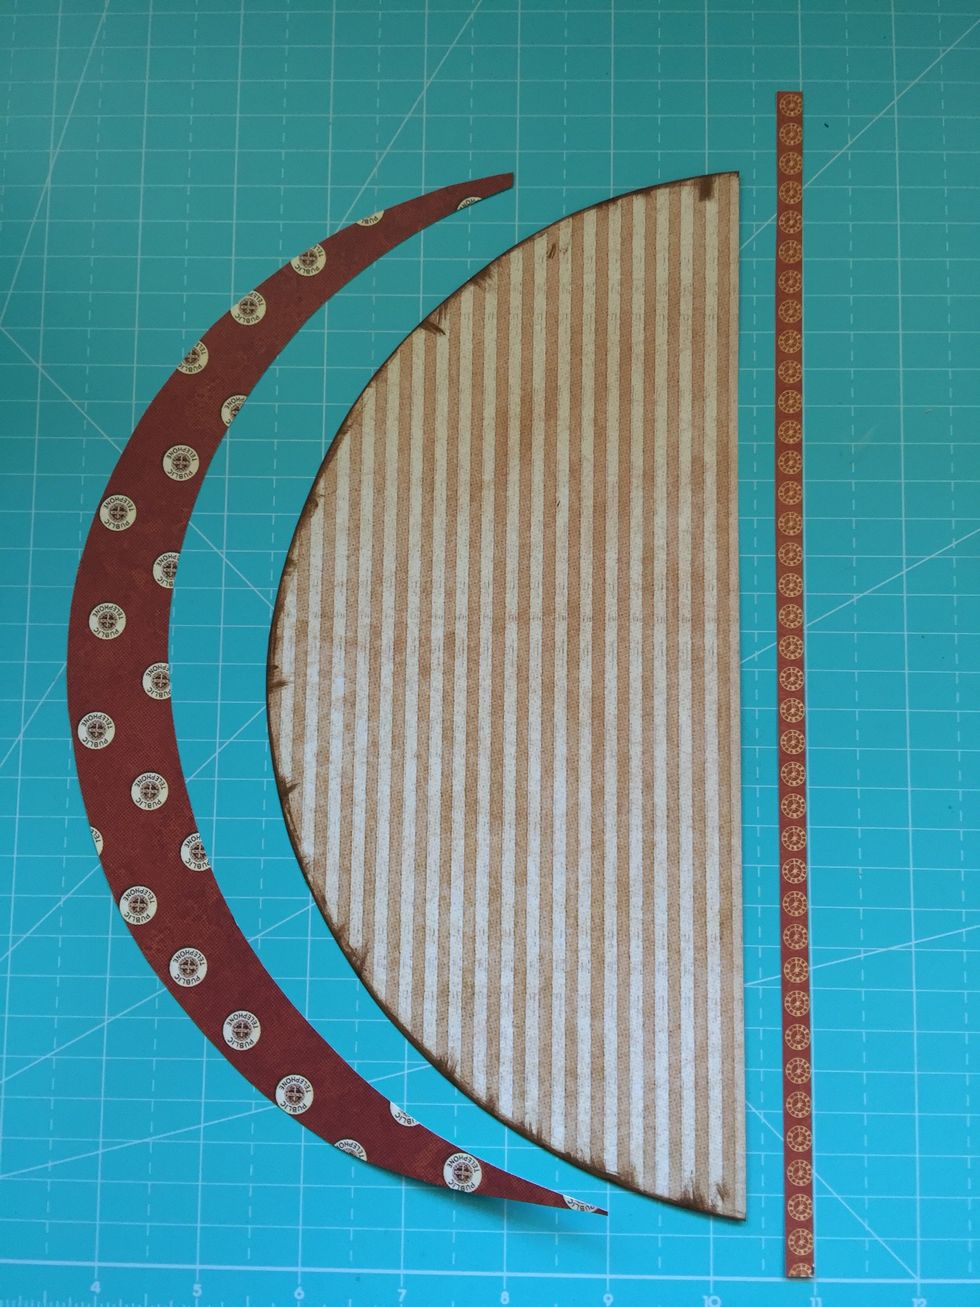
Ink edges.
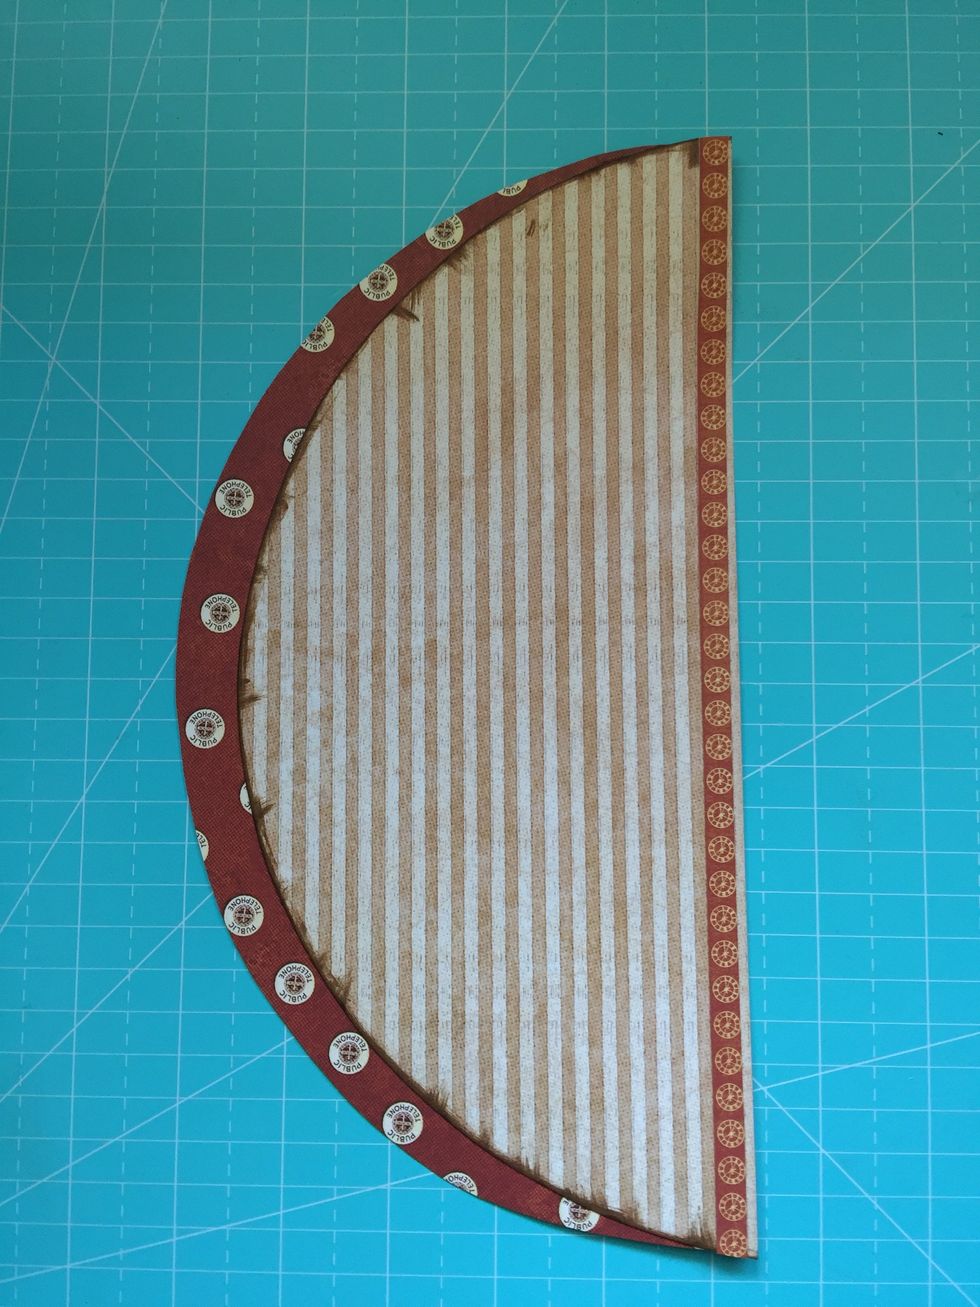
Glue the pieces.

Glue on the background.
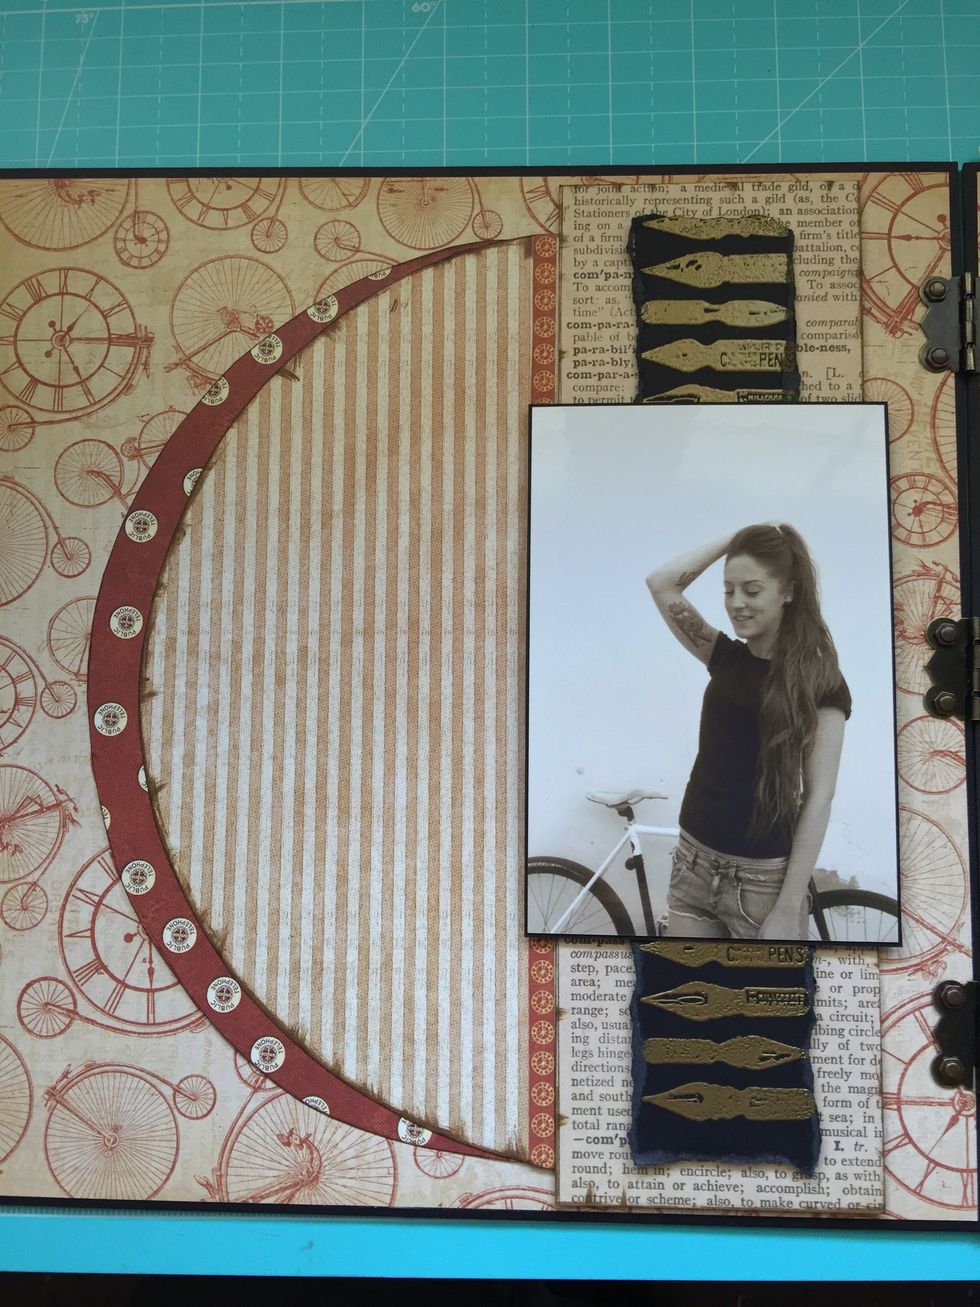
Glue the photo.
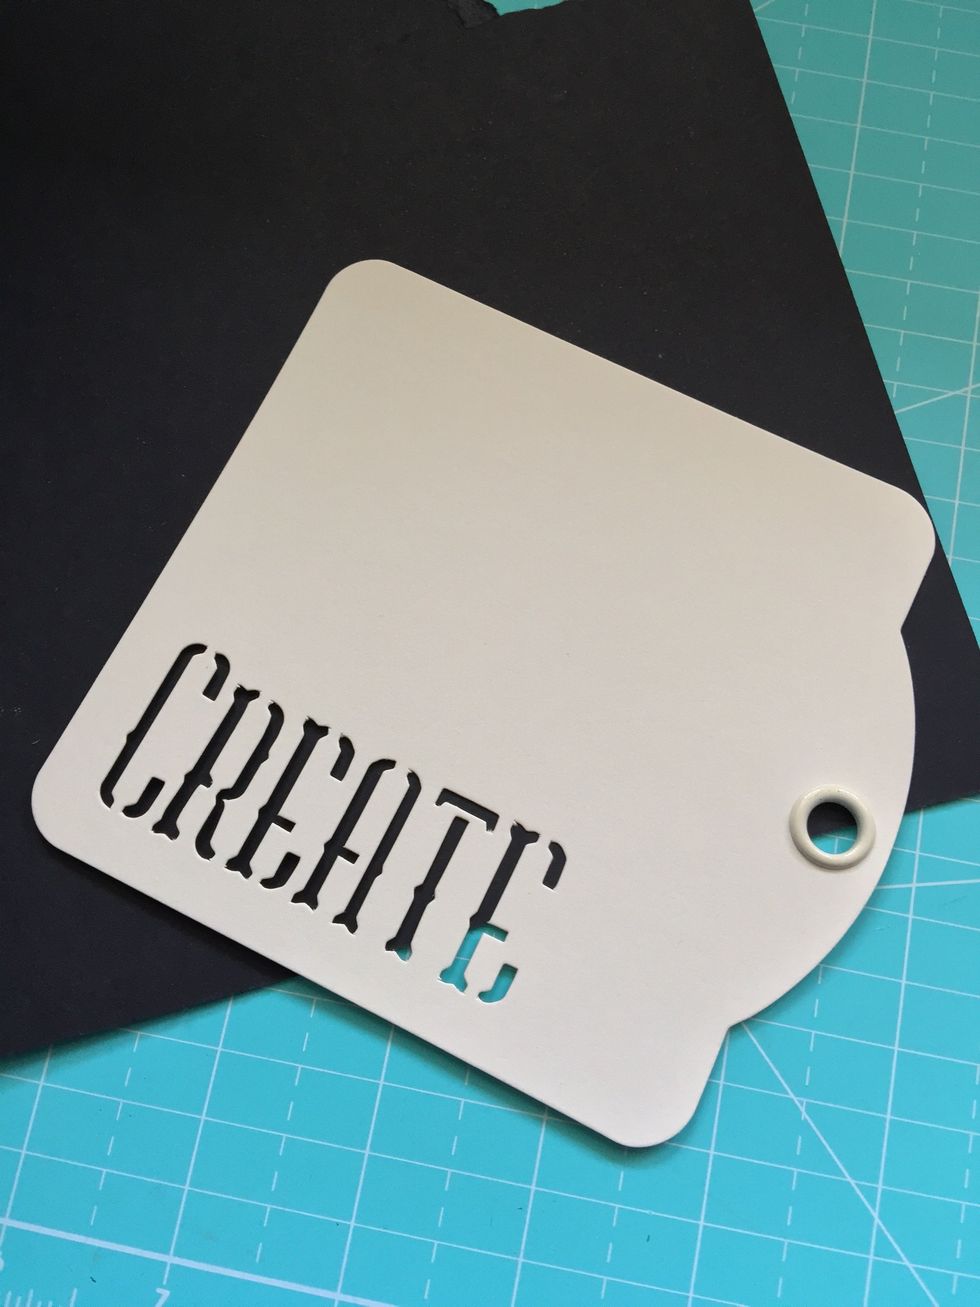
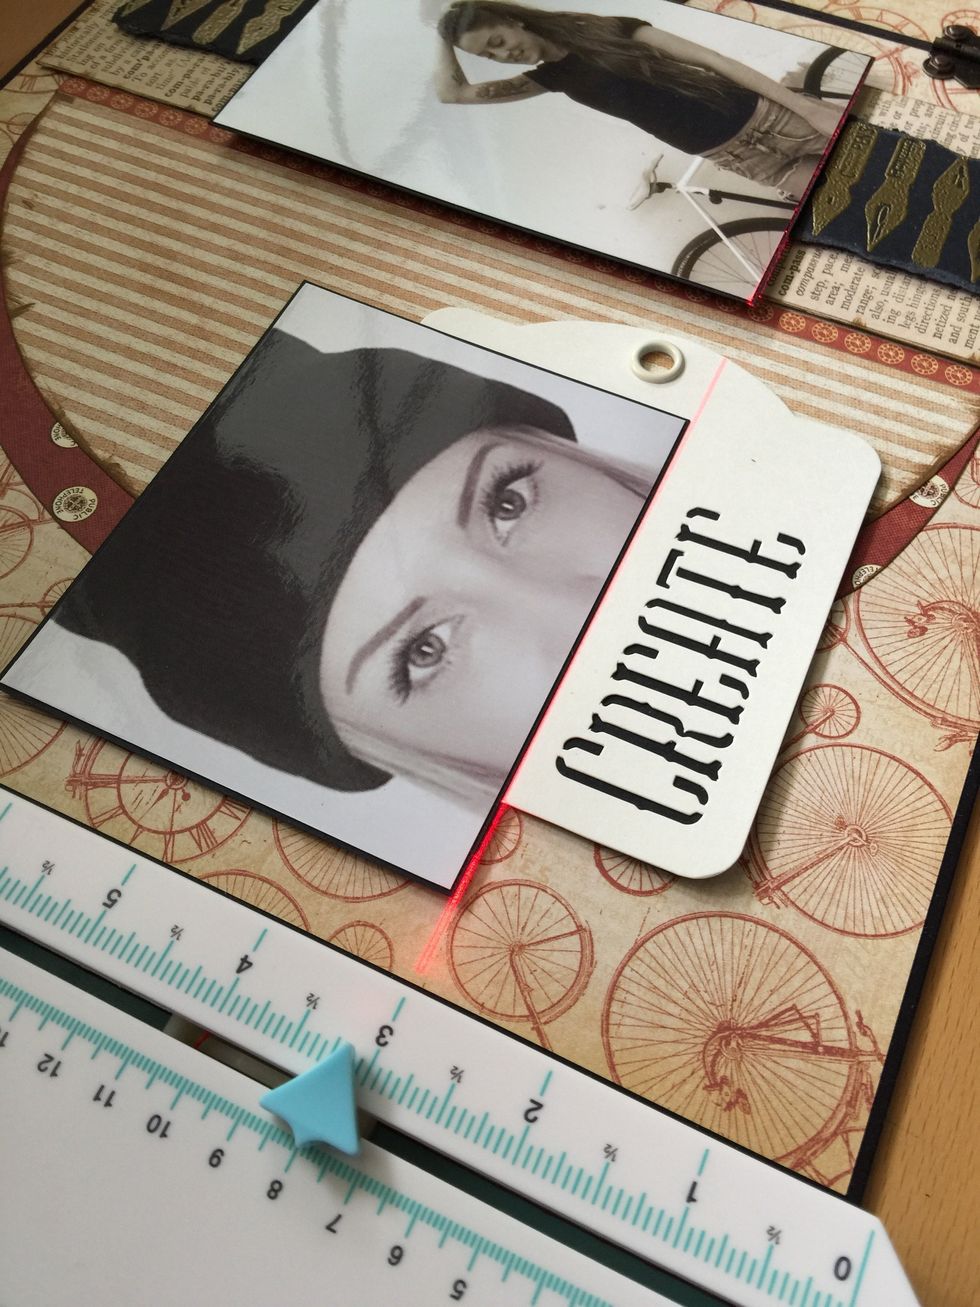
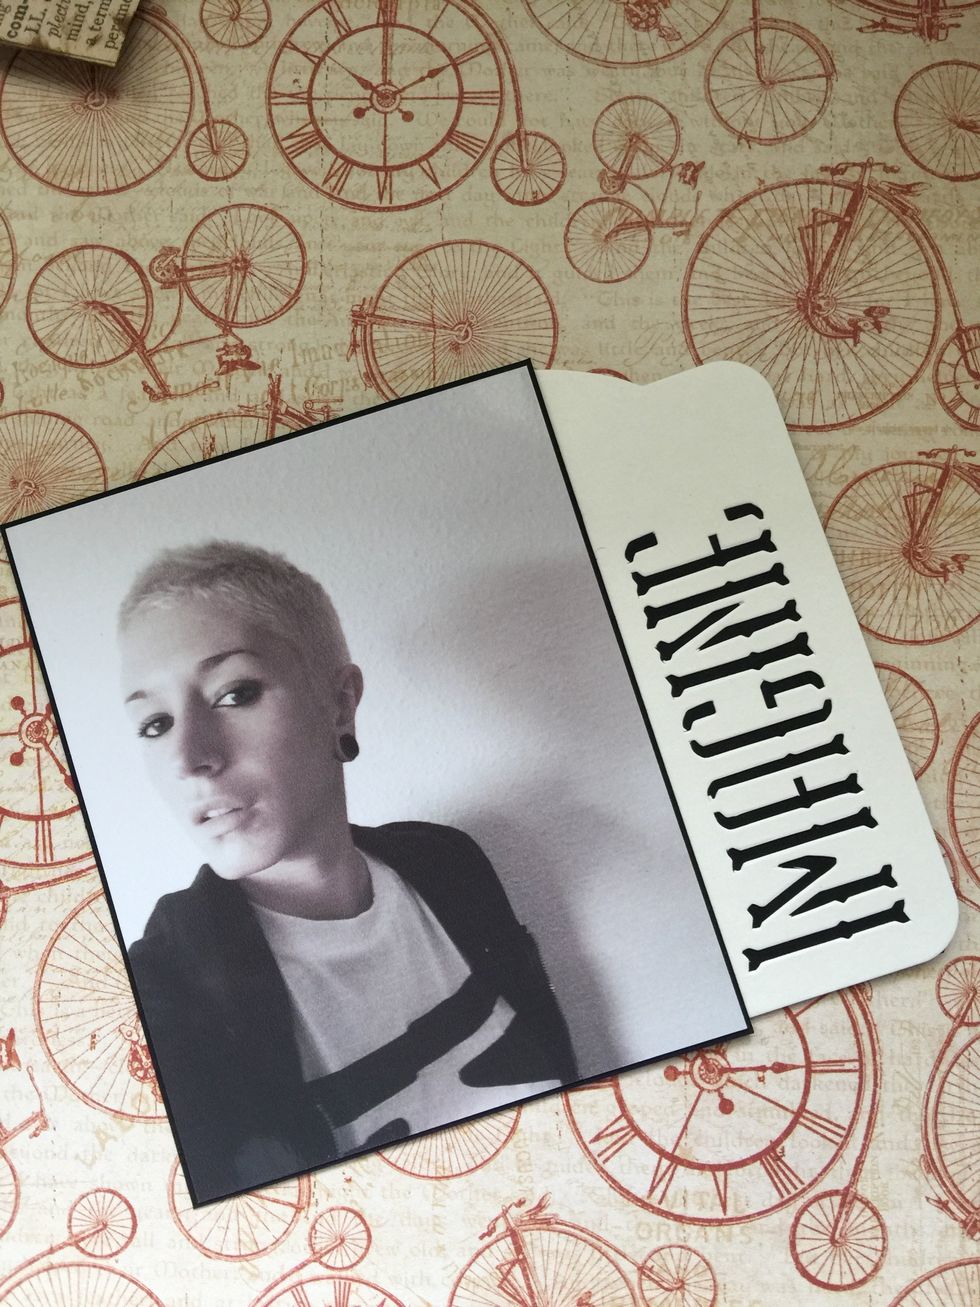
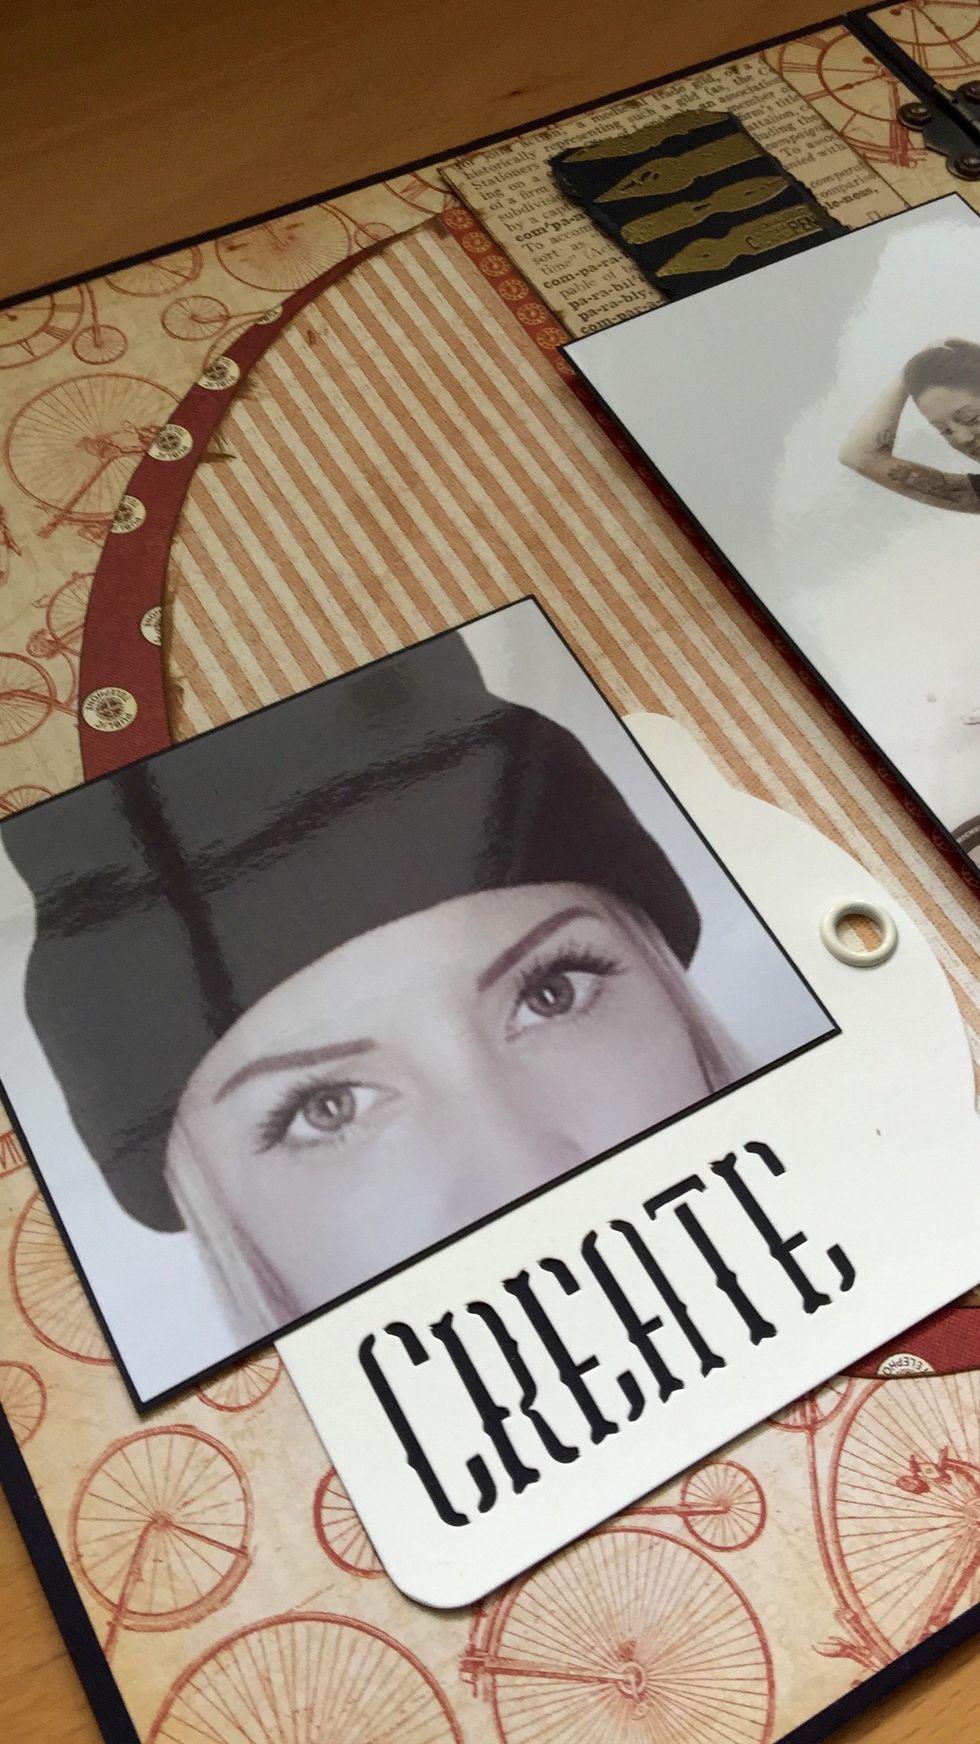
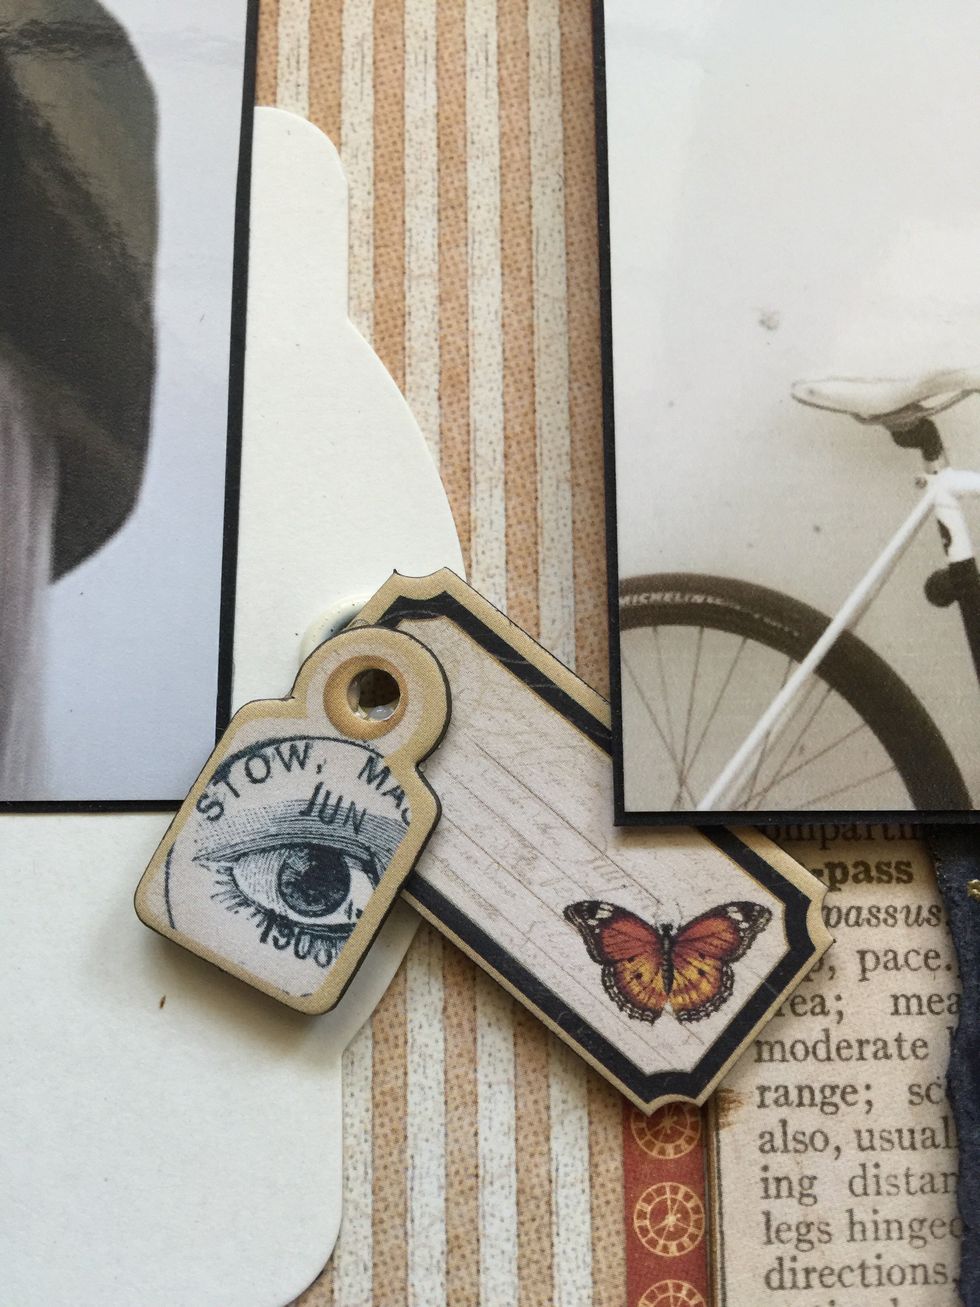
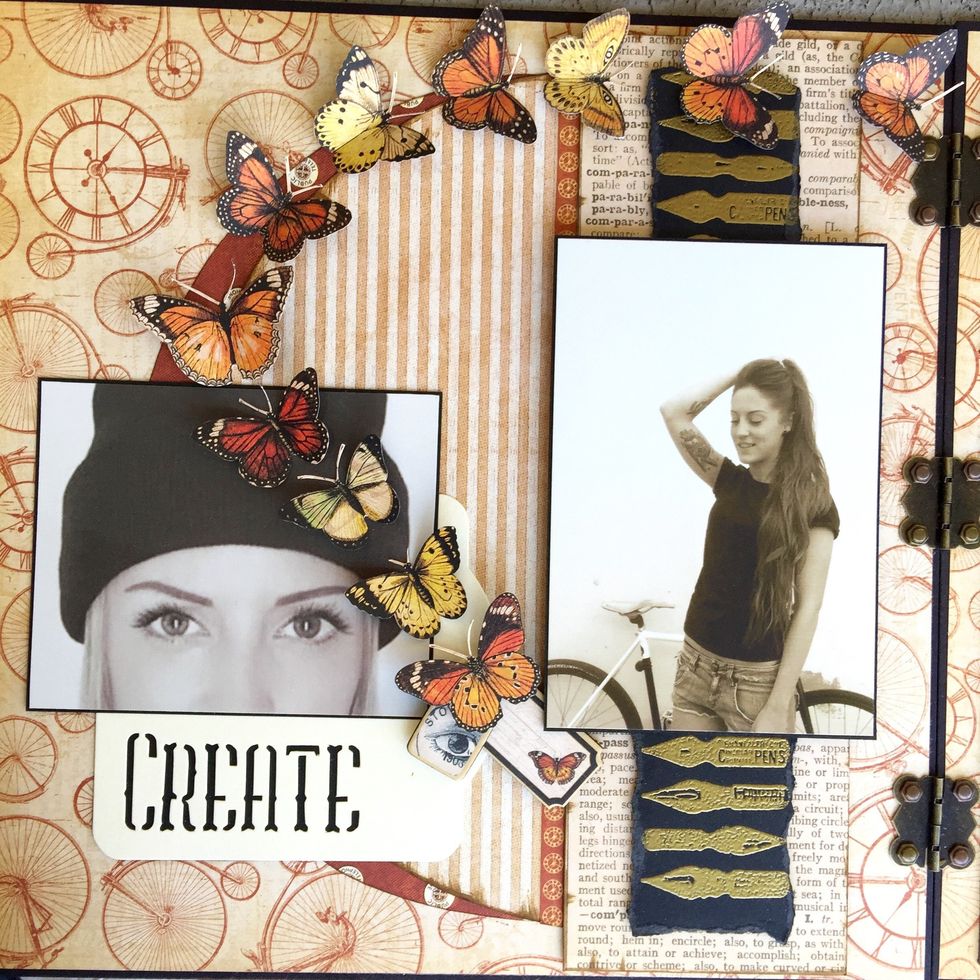
Use lovely Graphic 45 Create and Imagine Ivory Tags.

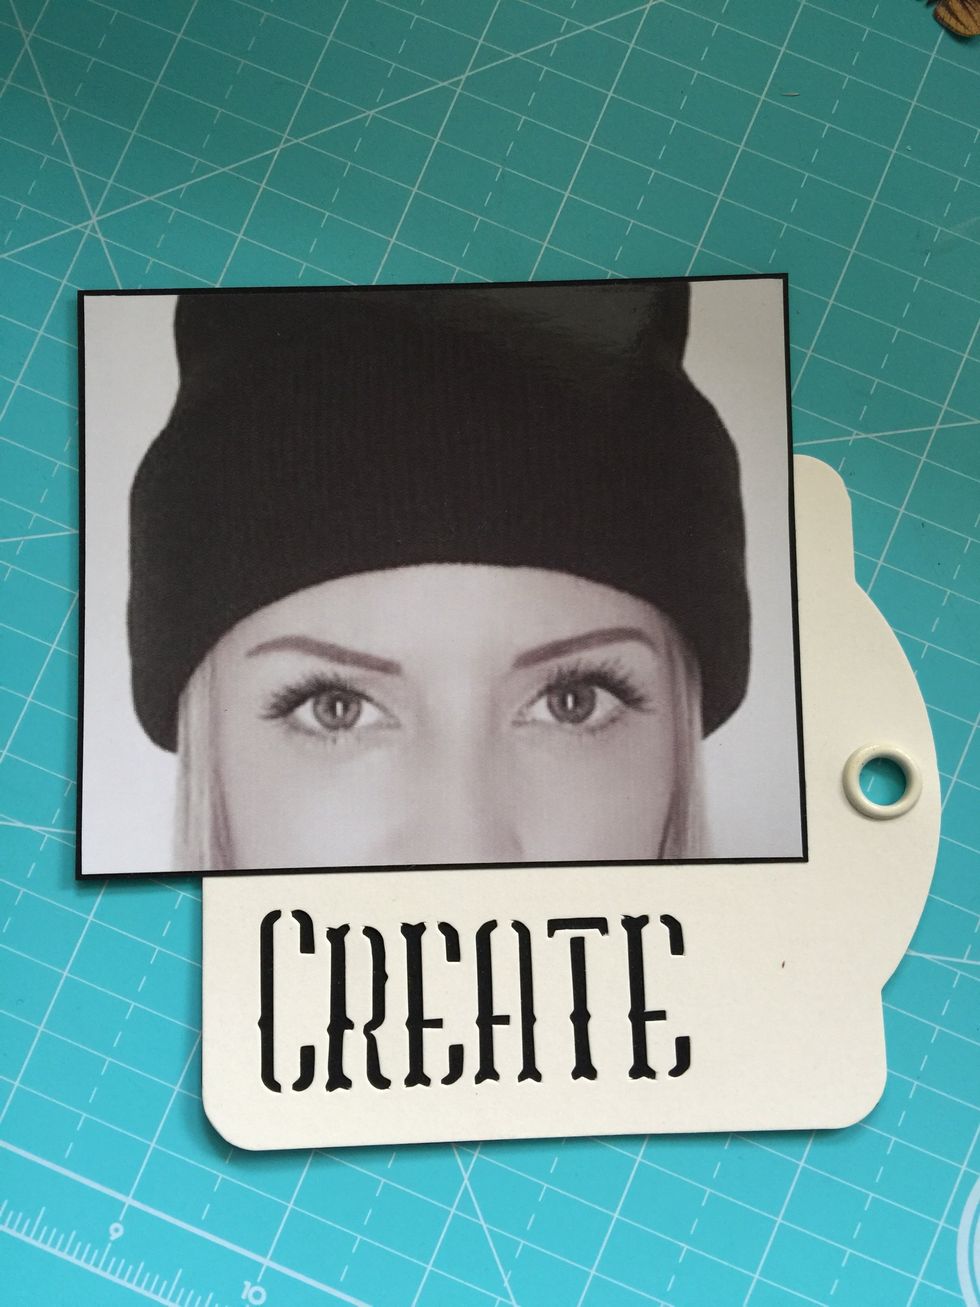
Stick the photo on the upper side of the ivory tag.
I used a laser square to line up both pictures.

Stick the photo and tag.
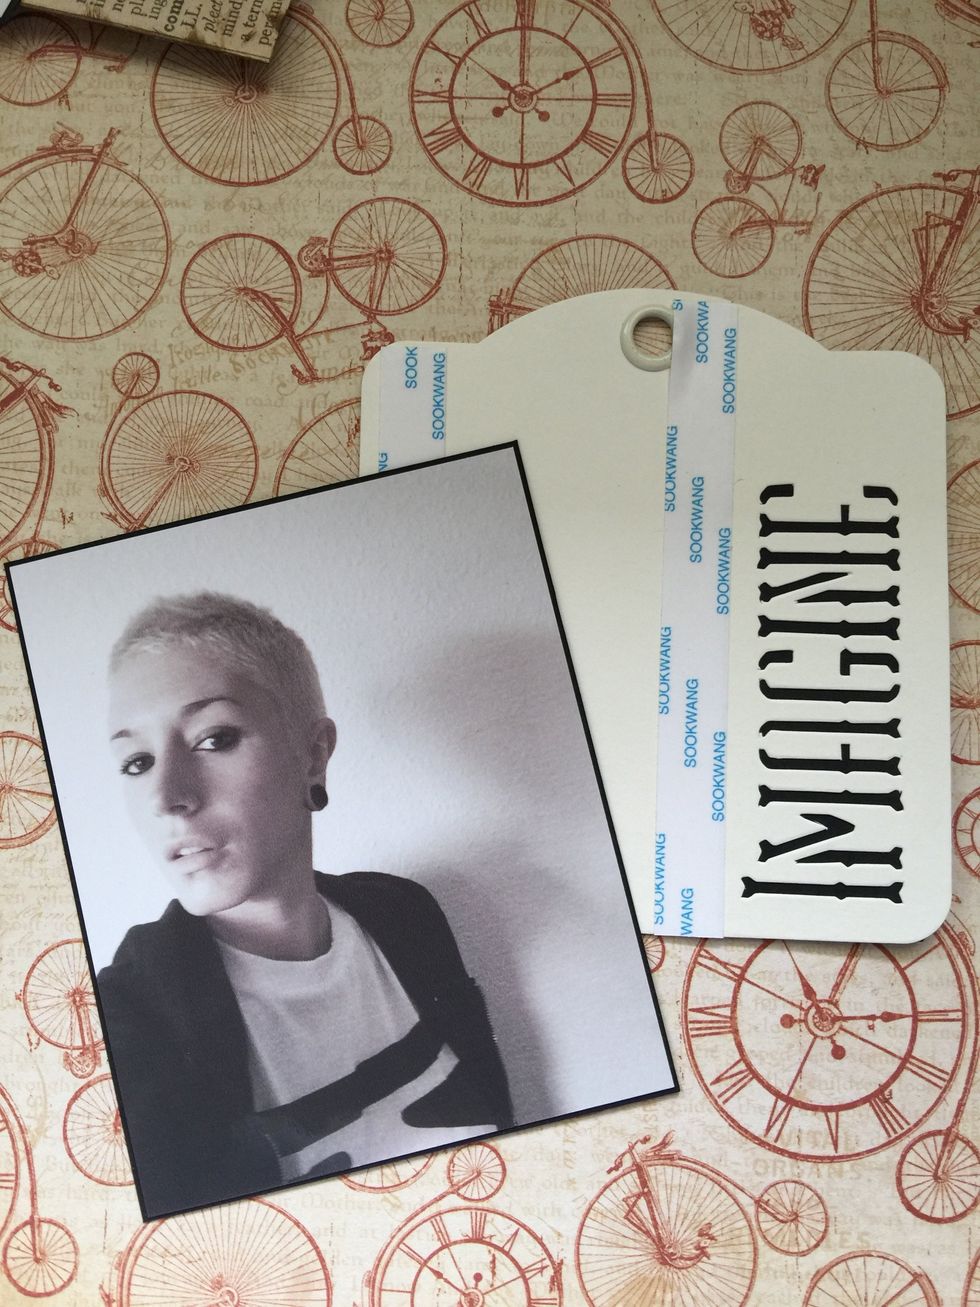
Use double-sided tape to stick another photo on the "Imagine" ivory tag.
Line up and glue the other rectangle on the right background.
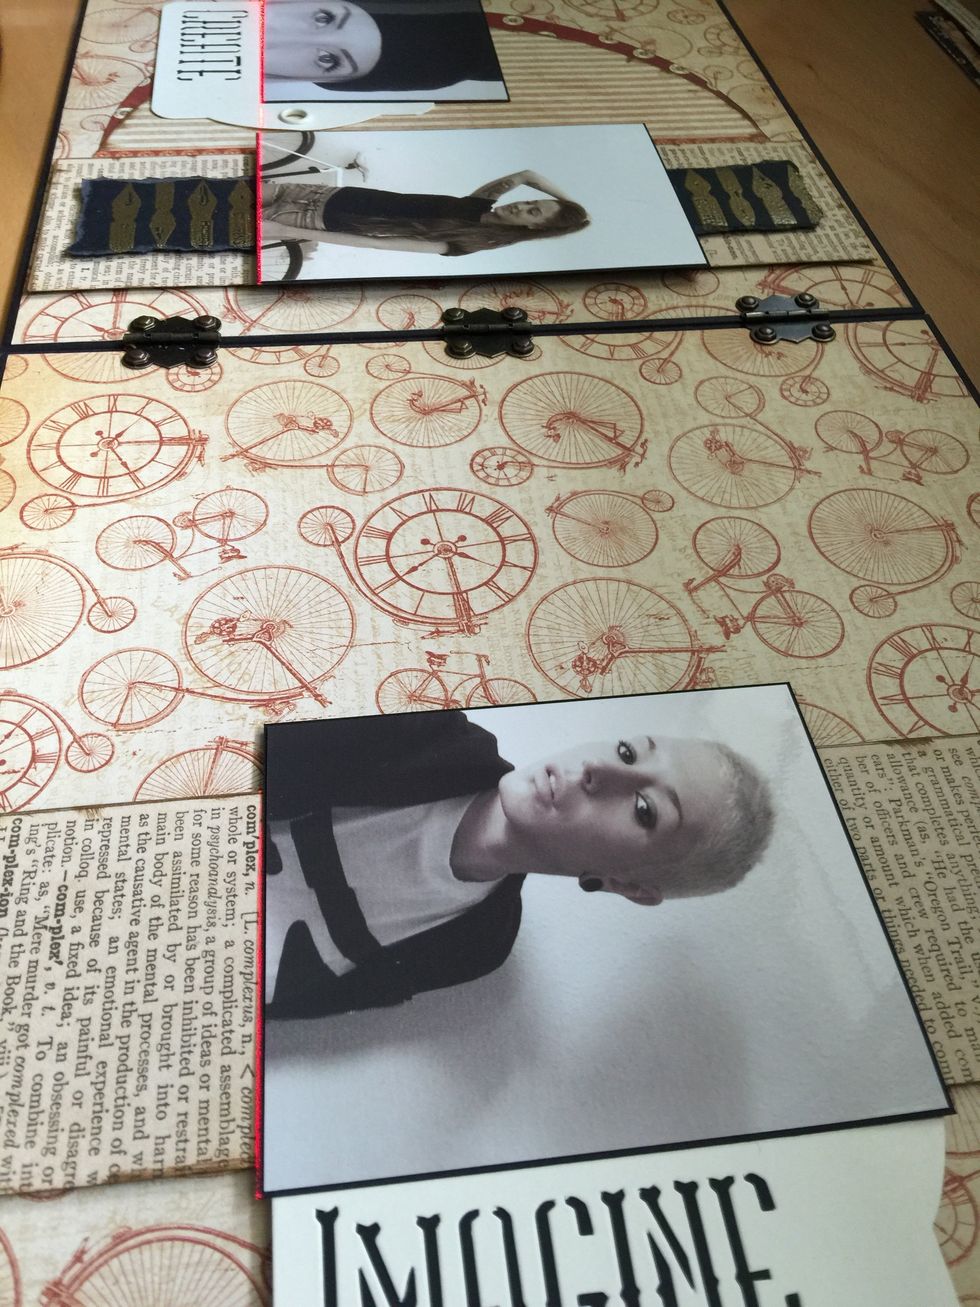
Line up and glue the photo and tag on the rectangle.

Make another piece of cardstock with embossing. Add crafty foam tape and a metal clothespin.
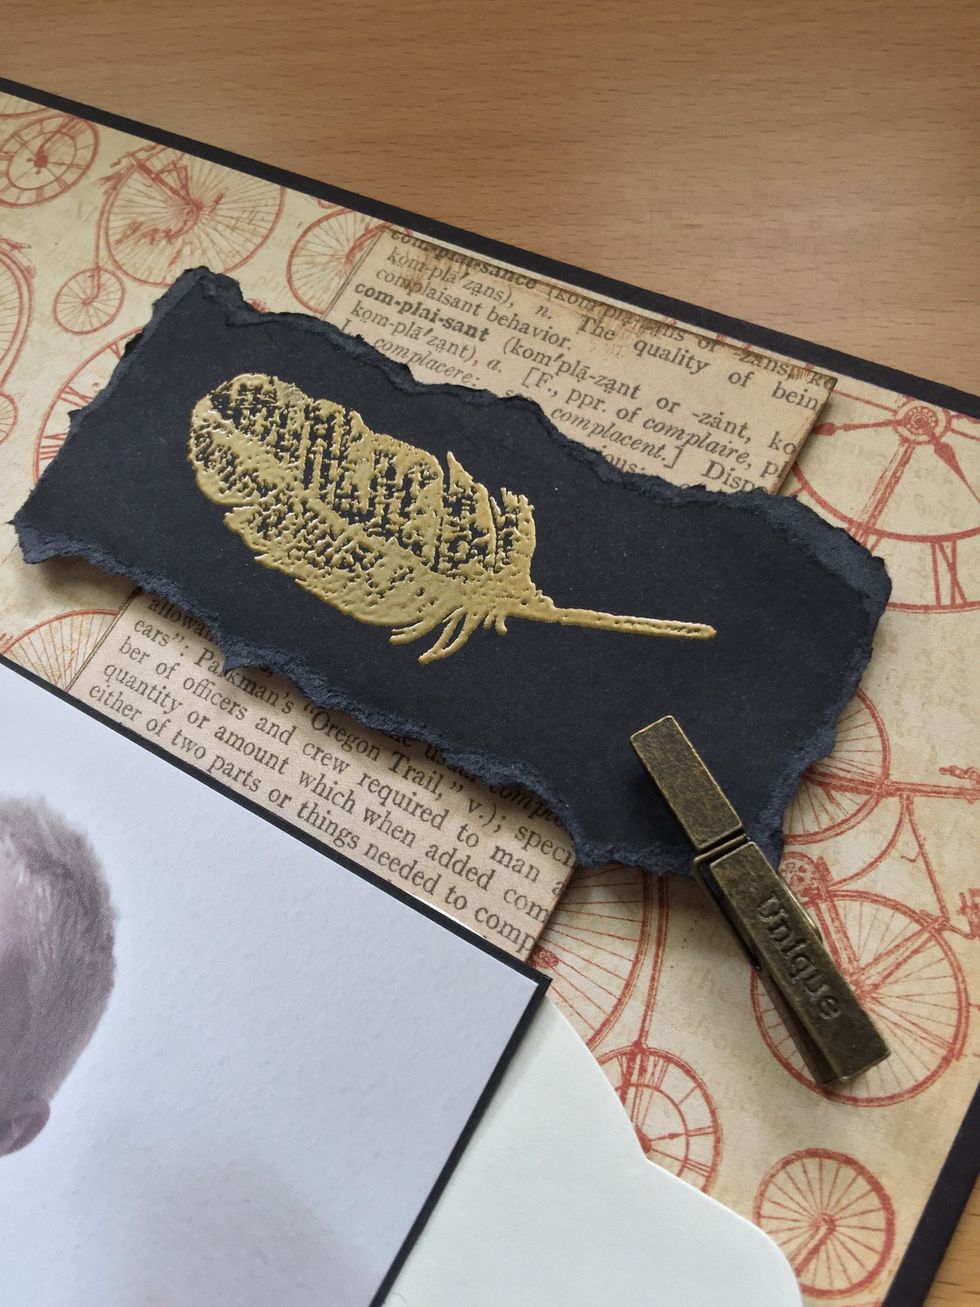
Glue on the upper side of the rectangle.
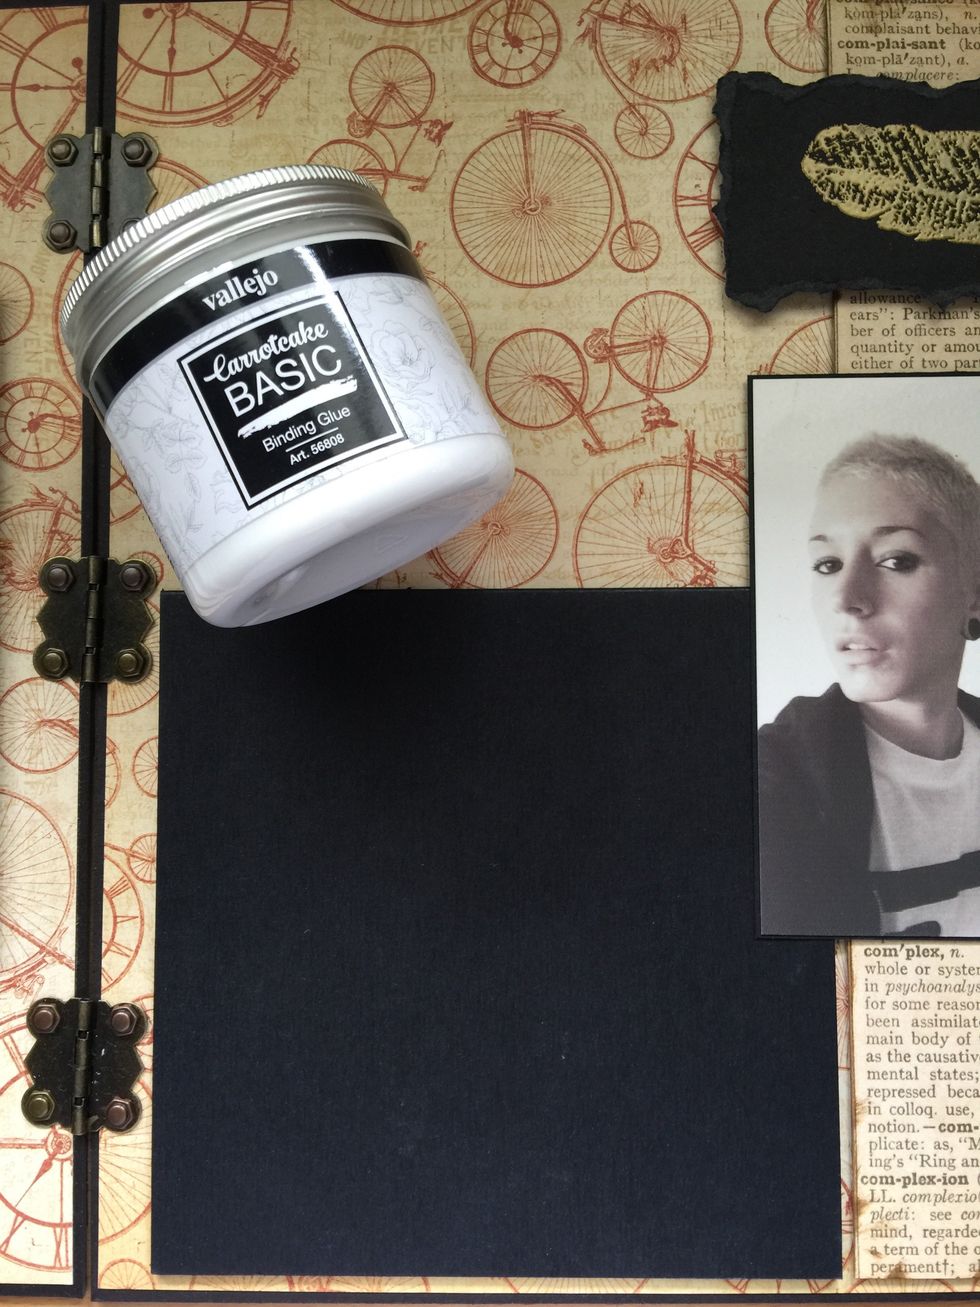
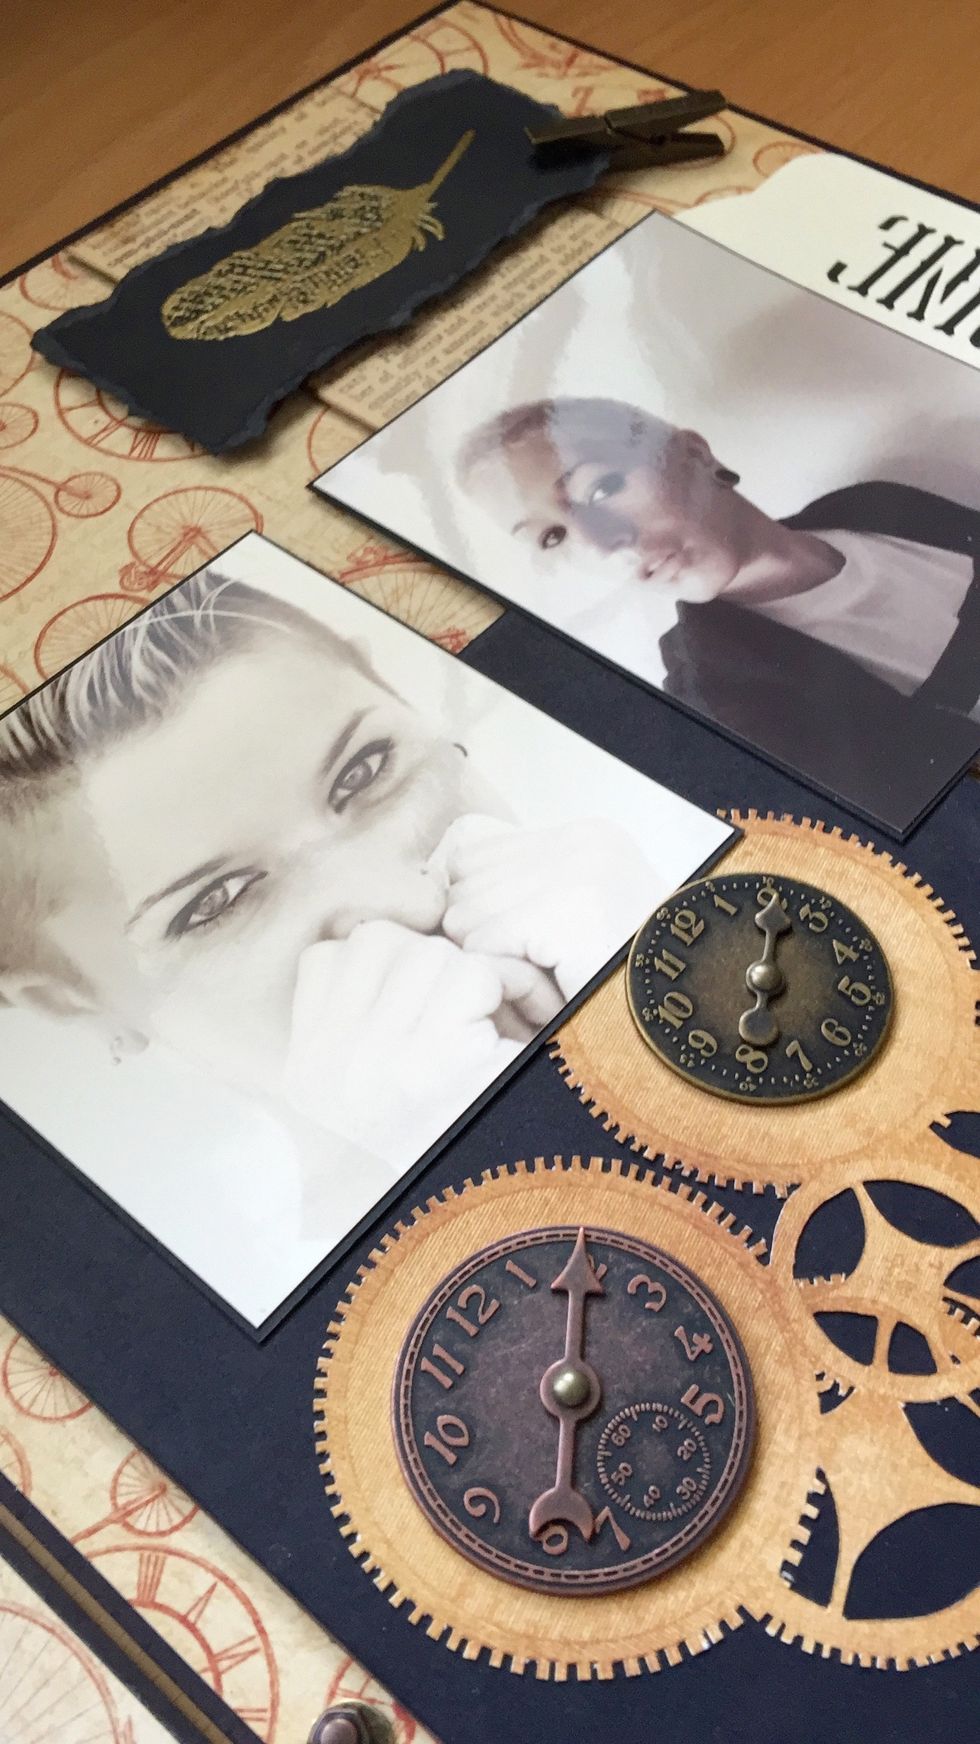
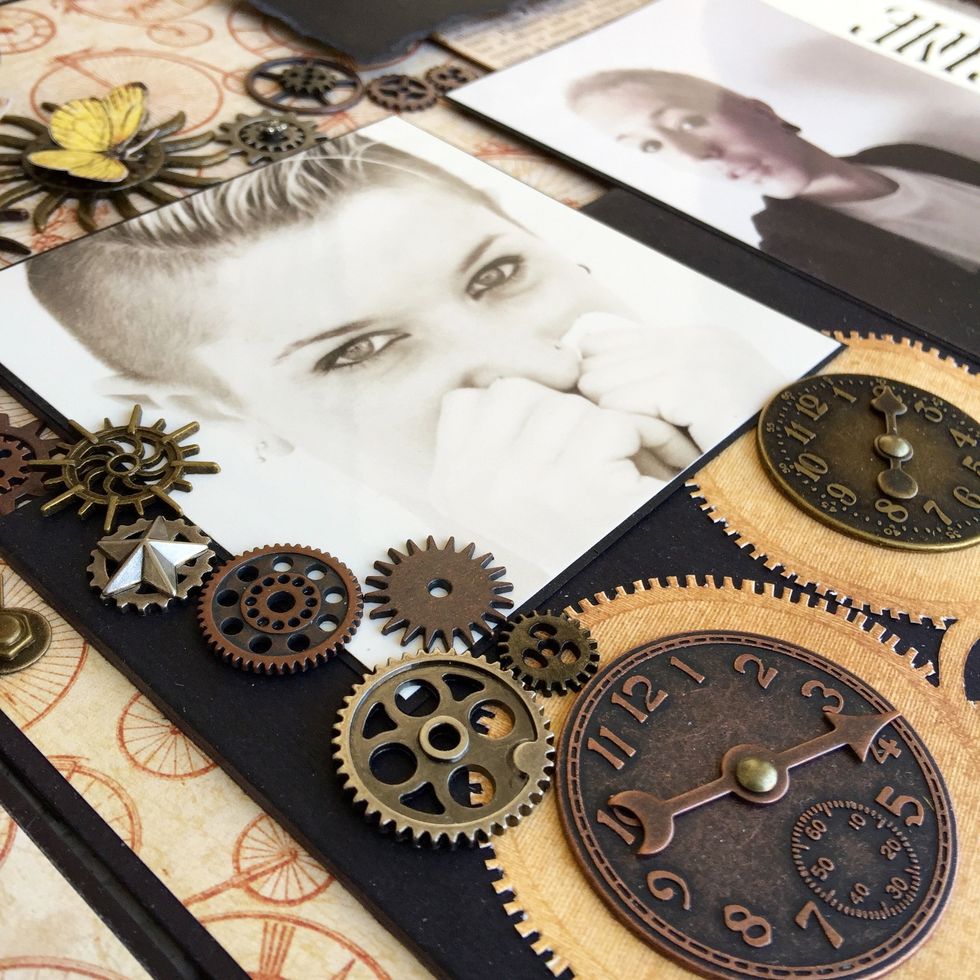
Glue a 6"x6" black cardboard using binding glue, this one is by Carrotcake Basic Vallejo.
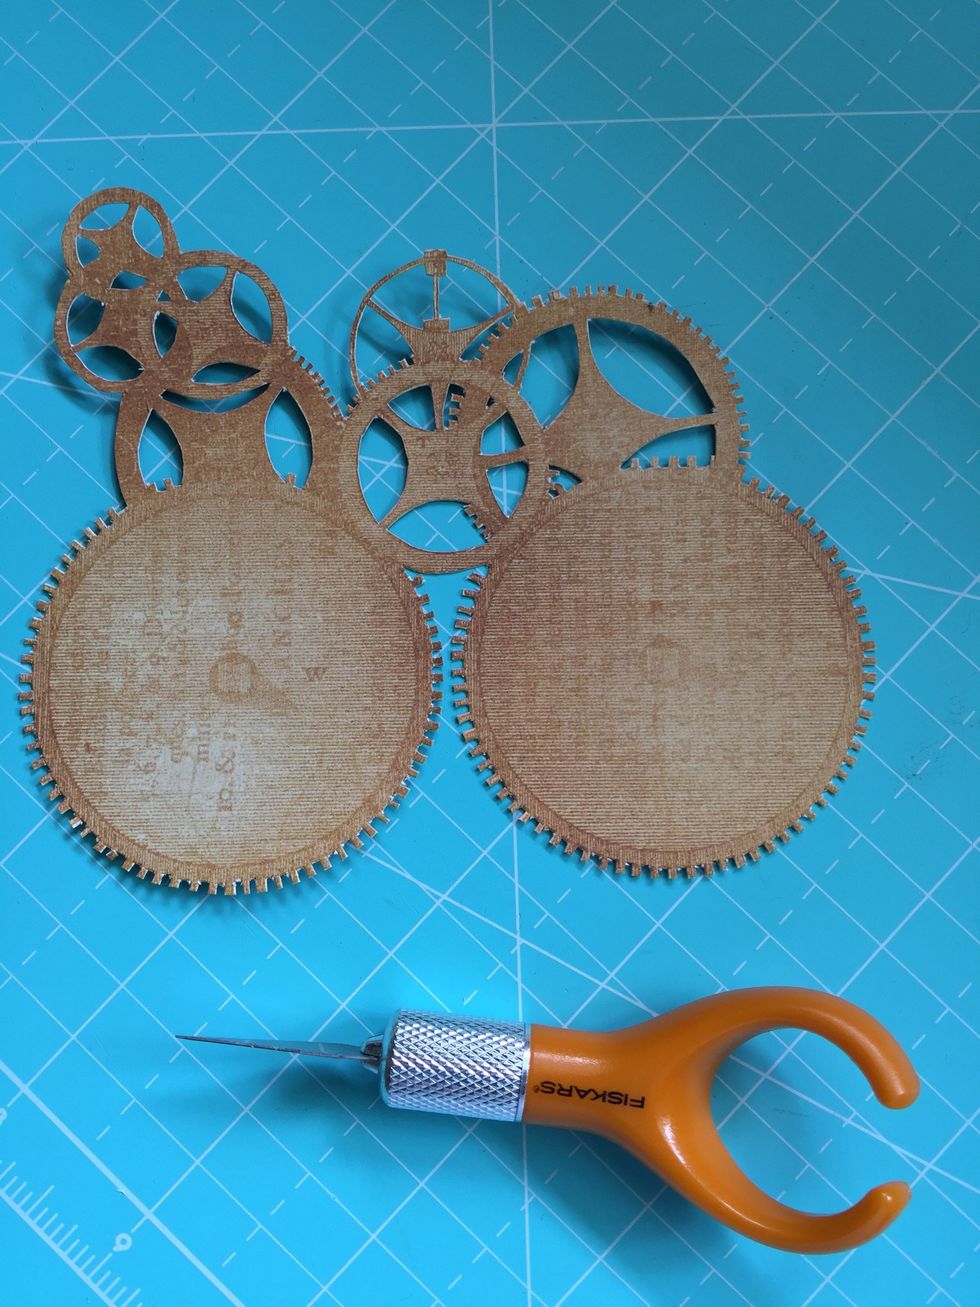
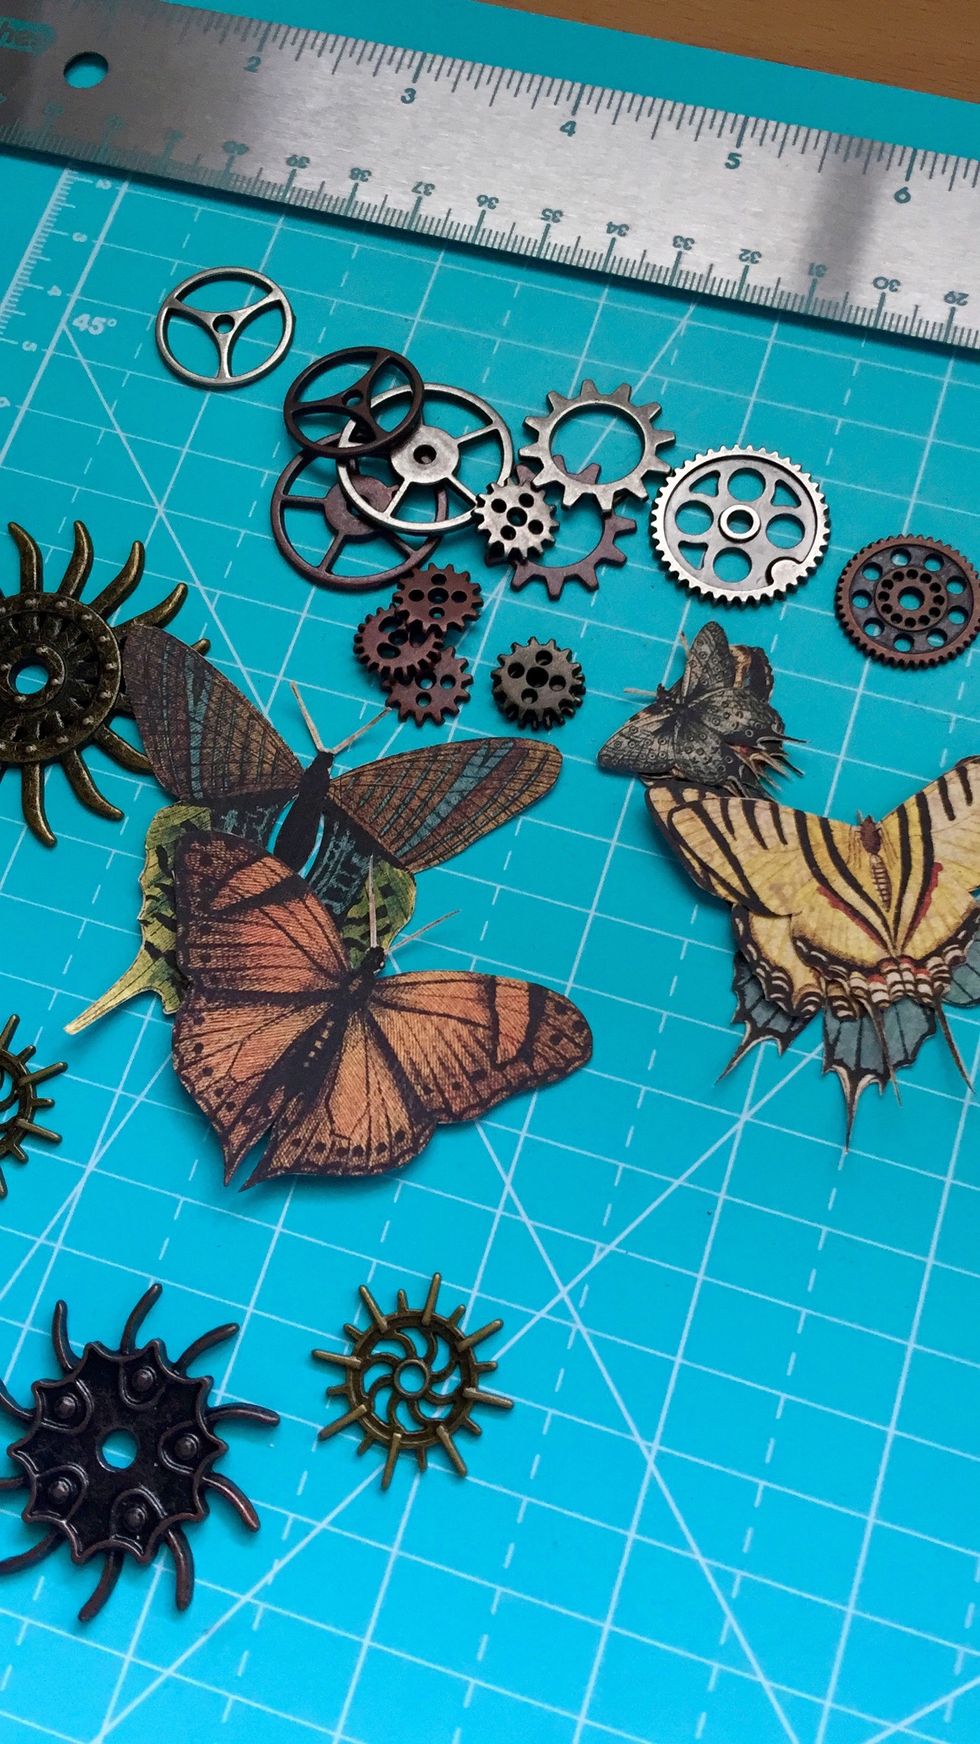
Fussy cut some gears.
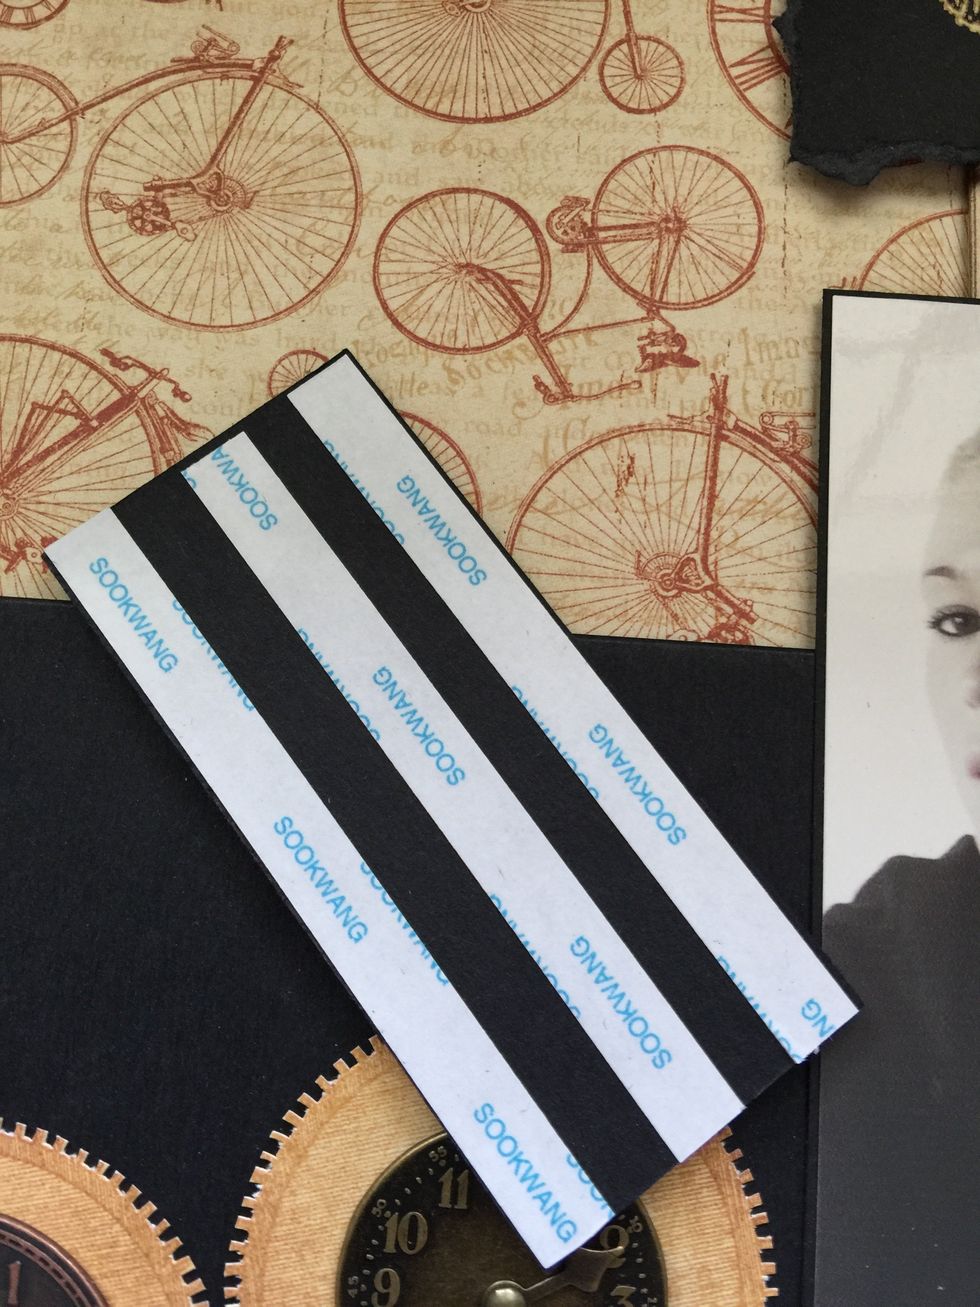
Use double-sided tape to stick a black cardboard just above of the other piece of cardboard.
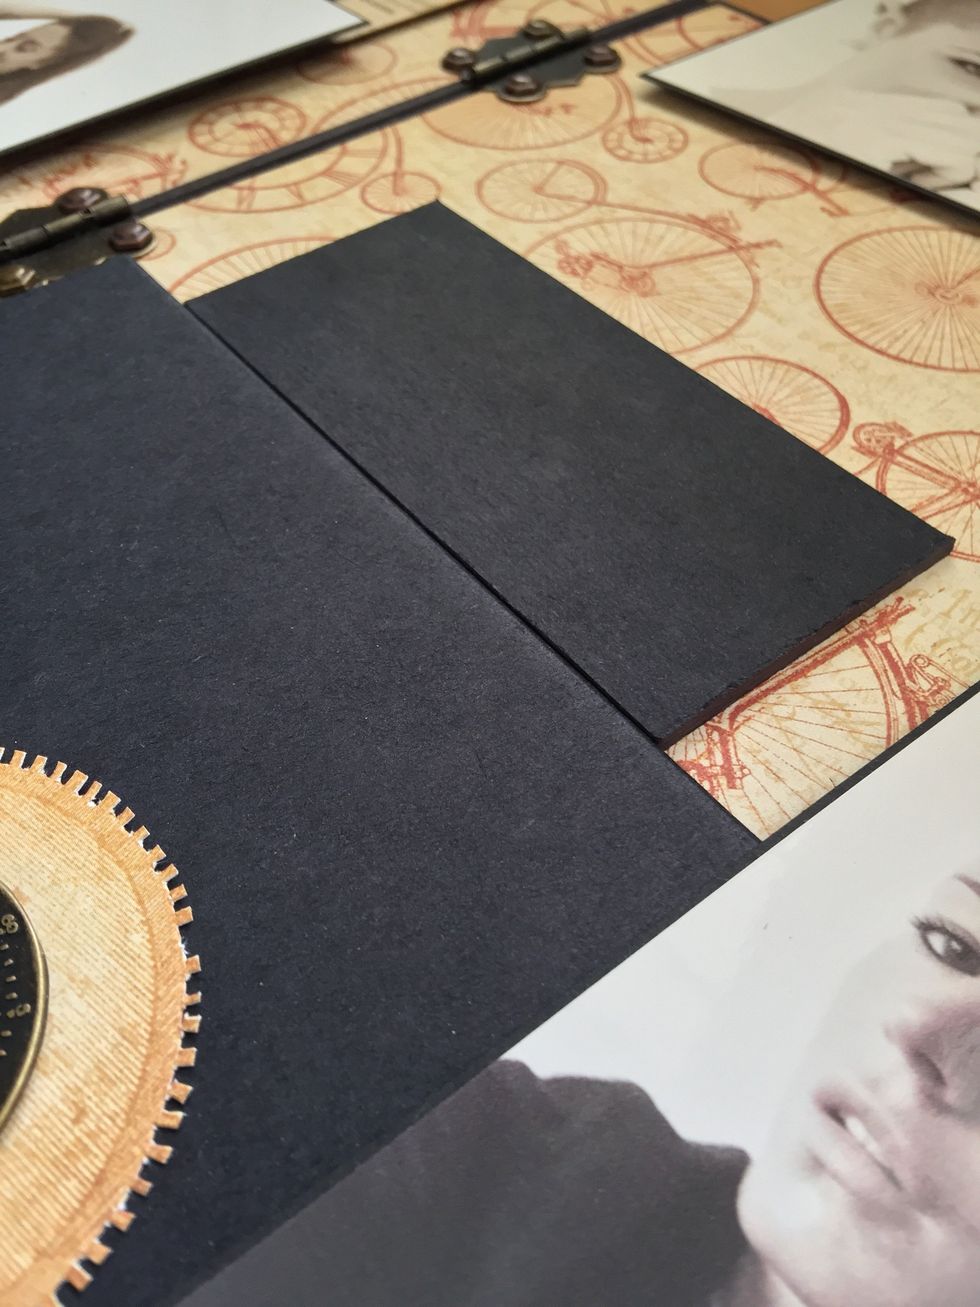
This is the basis for the photo.
Glue the fussy cut gears and two clocks. Then use some double-sided tape to stick the photo on.

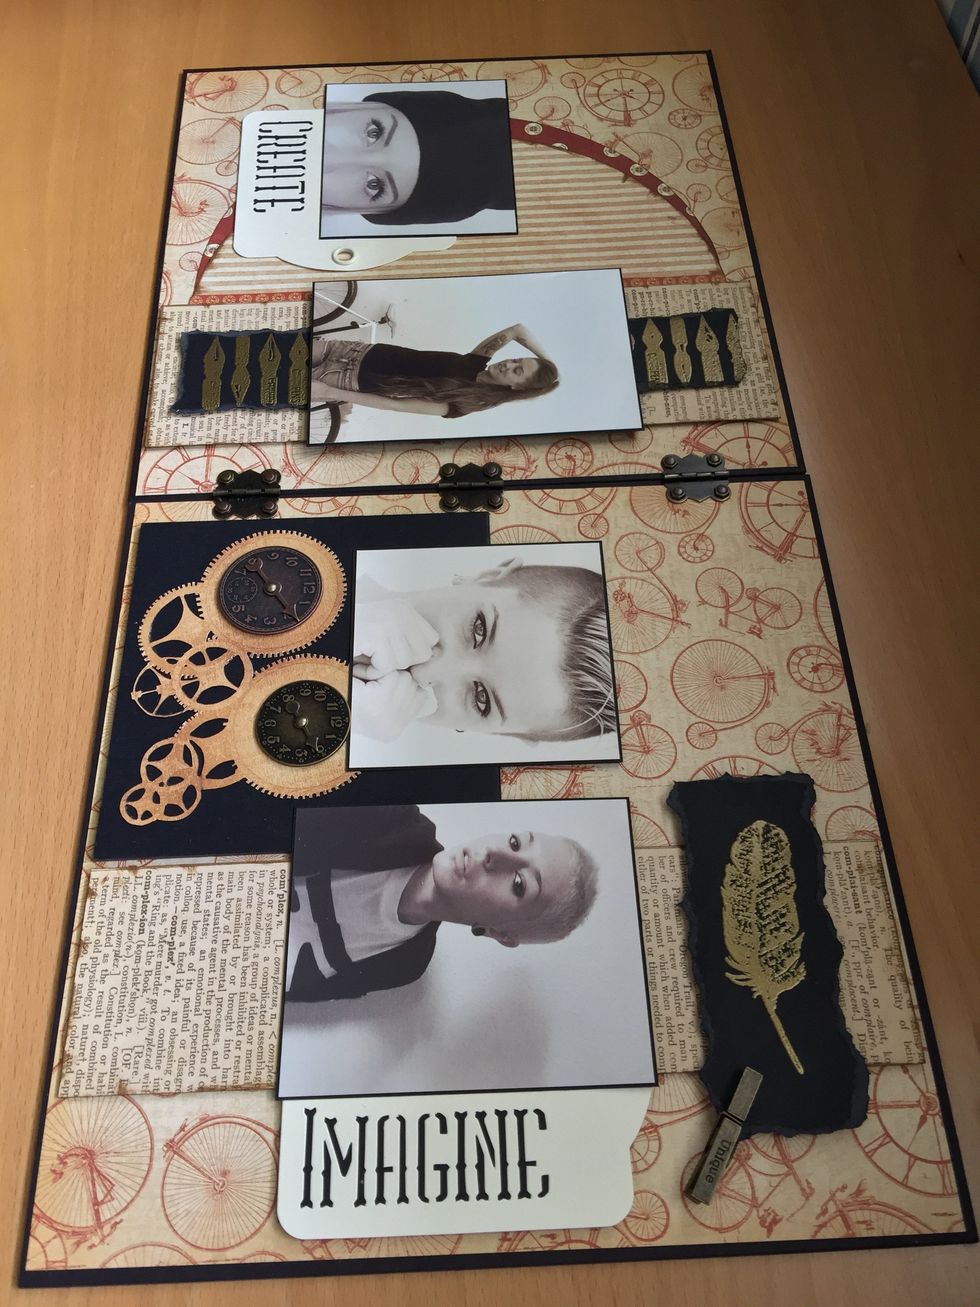
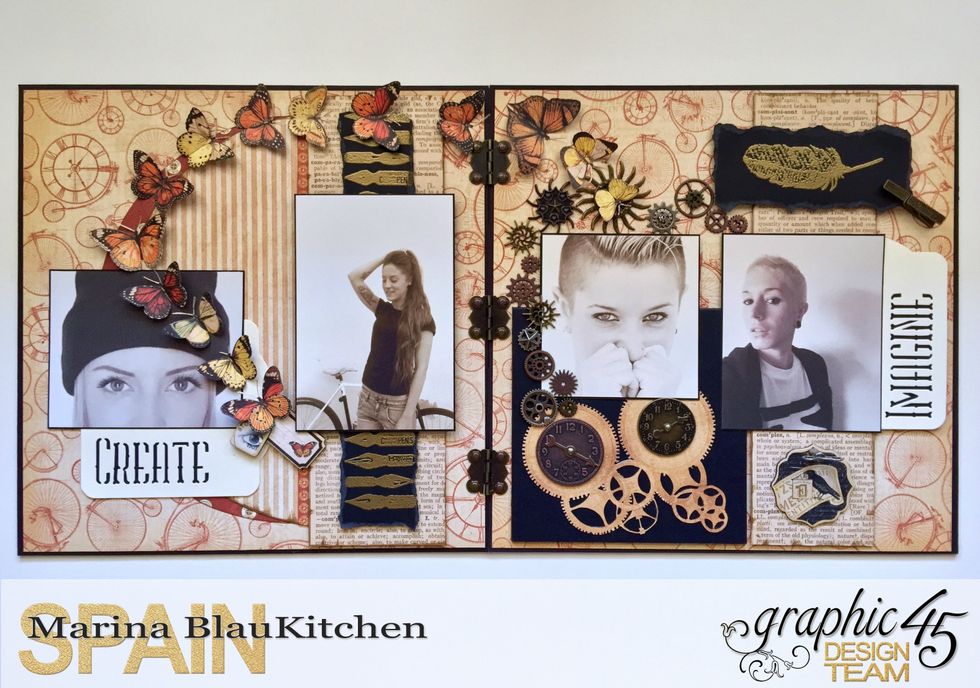
Here it is a view of both pages.
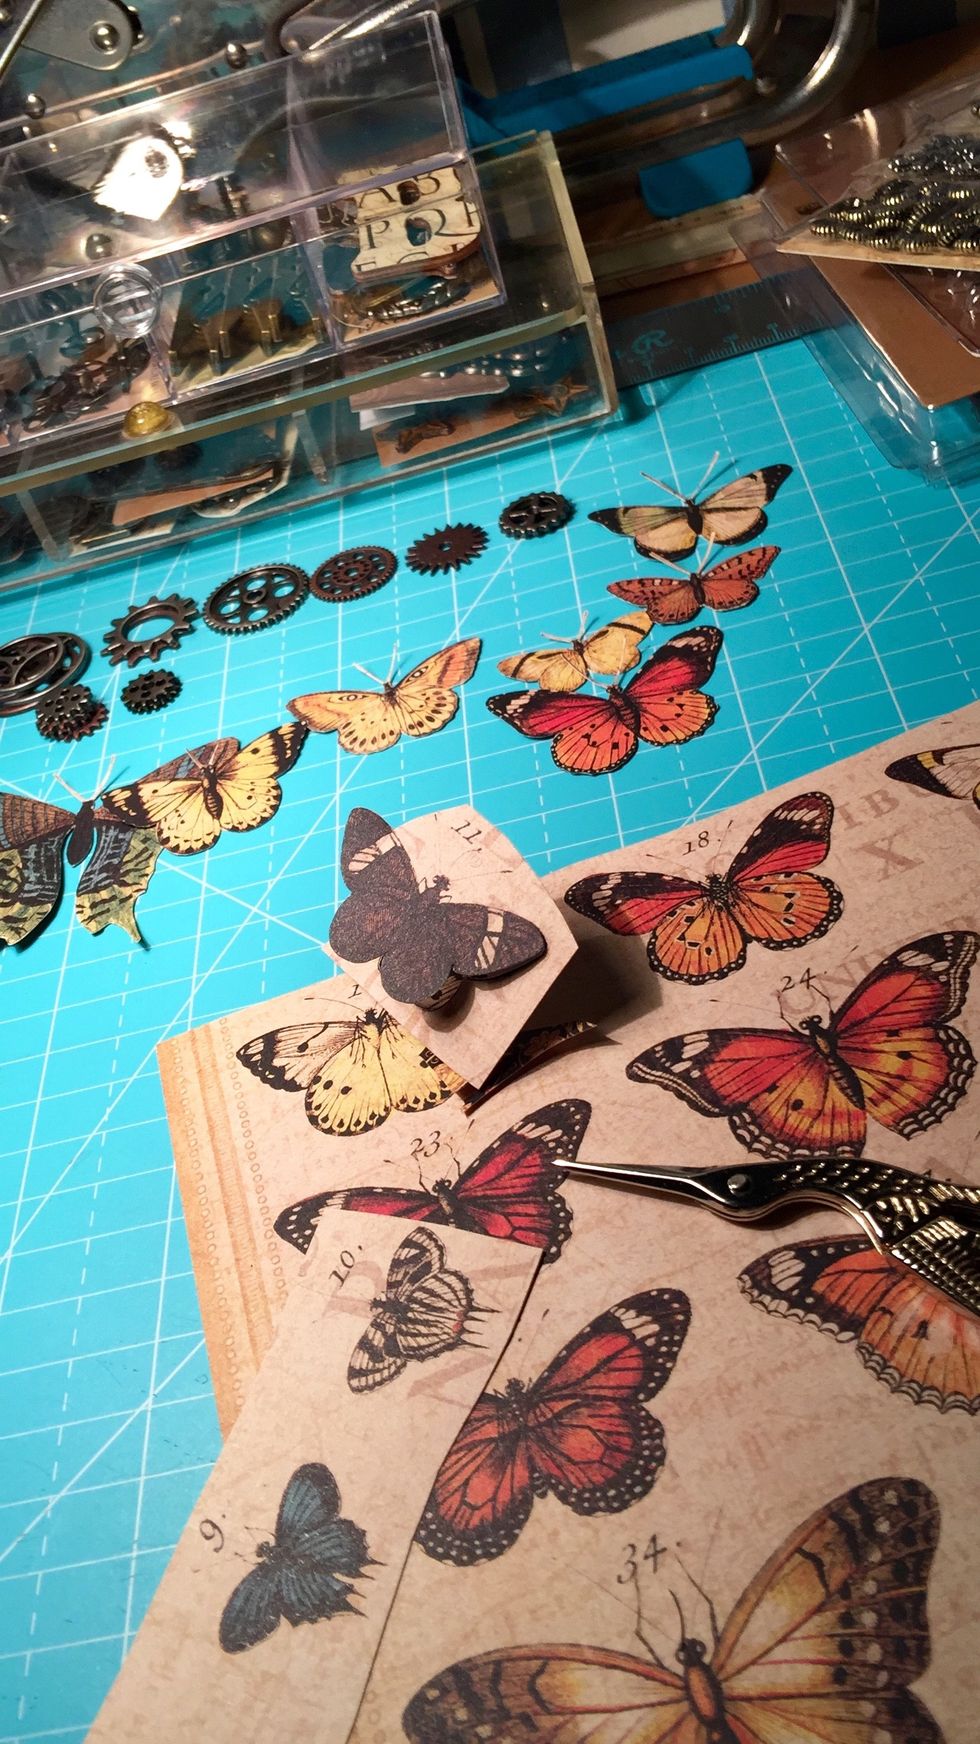
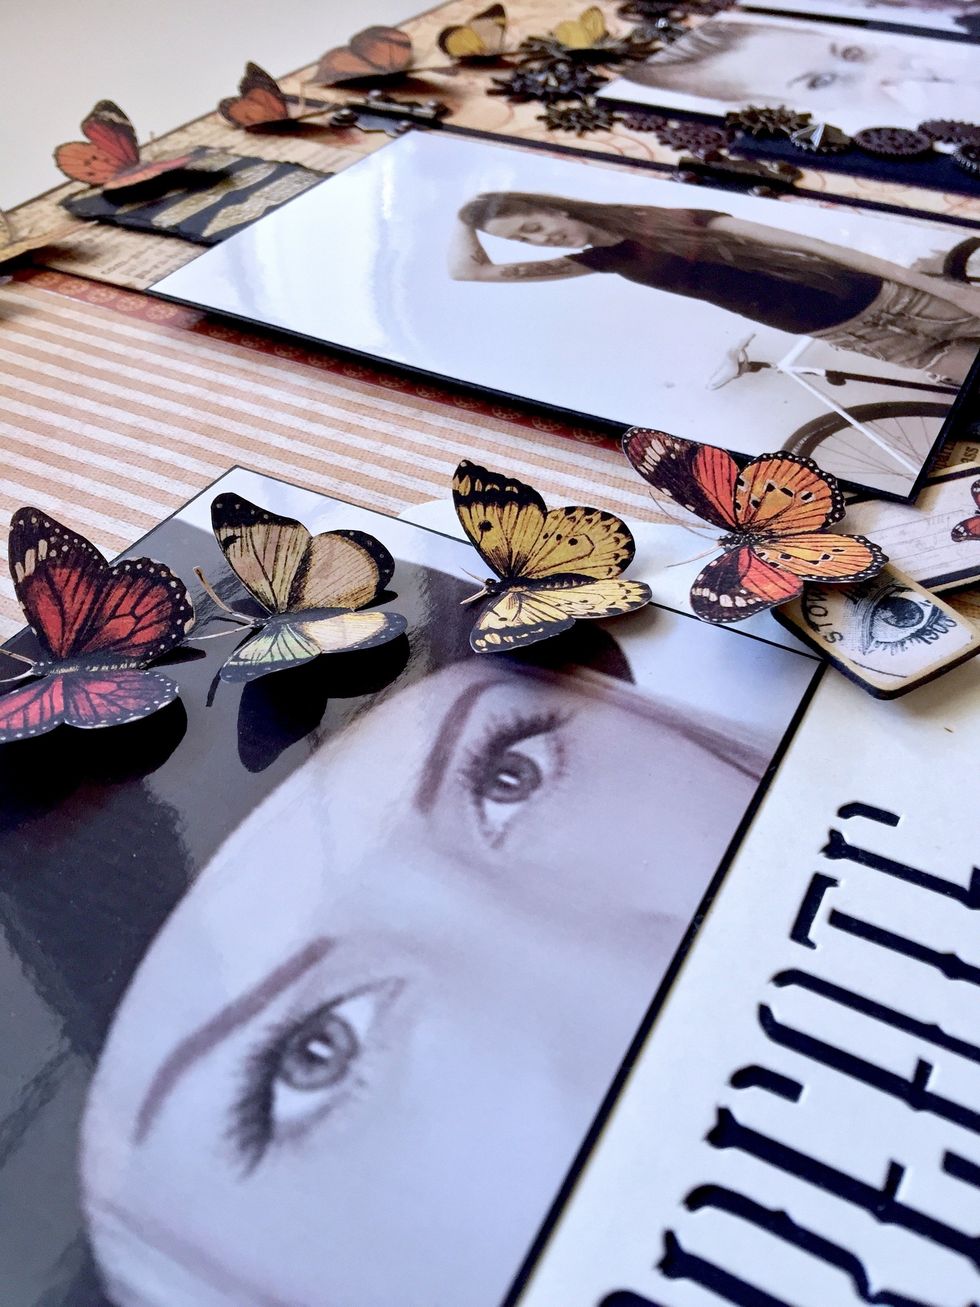
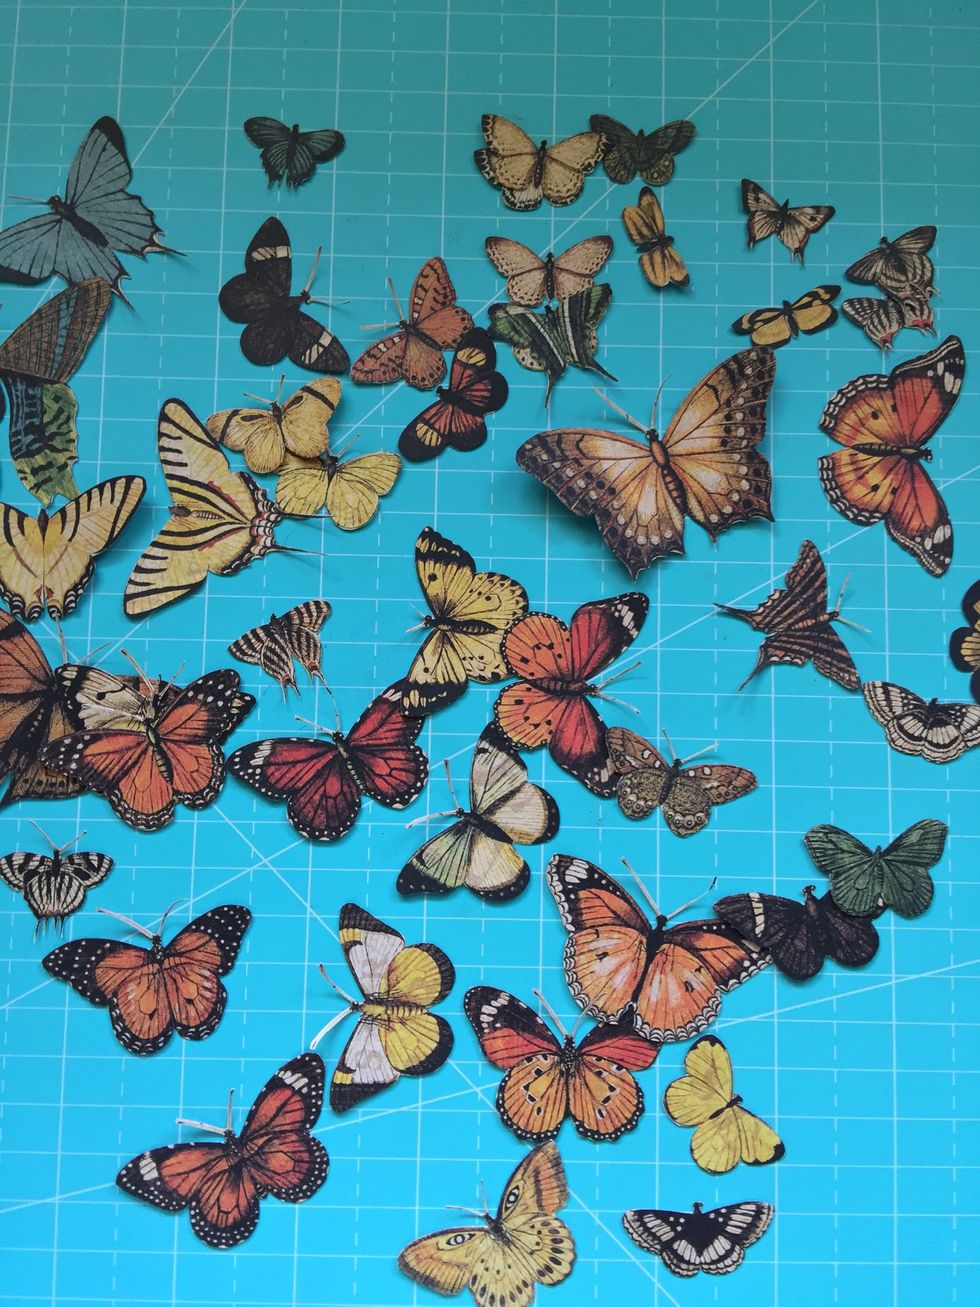
Fussy cut some butterflies.

Start decoration with this chipboard.
Glue another one.
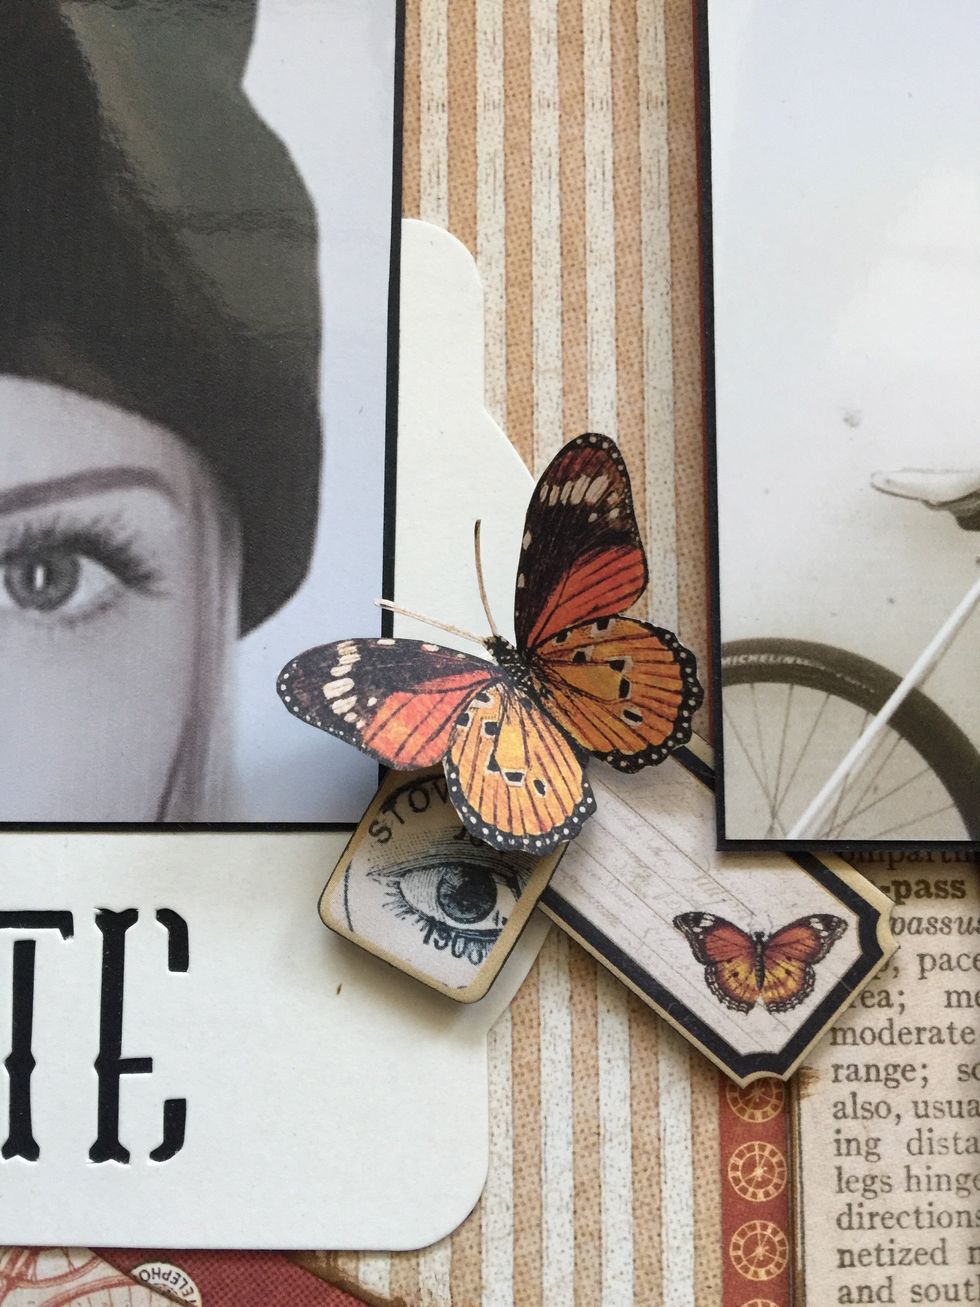
Glue a butterfly.
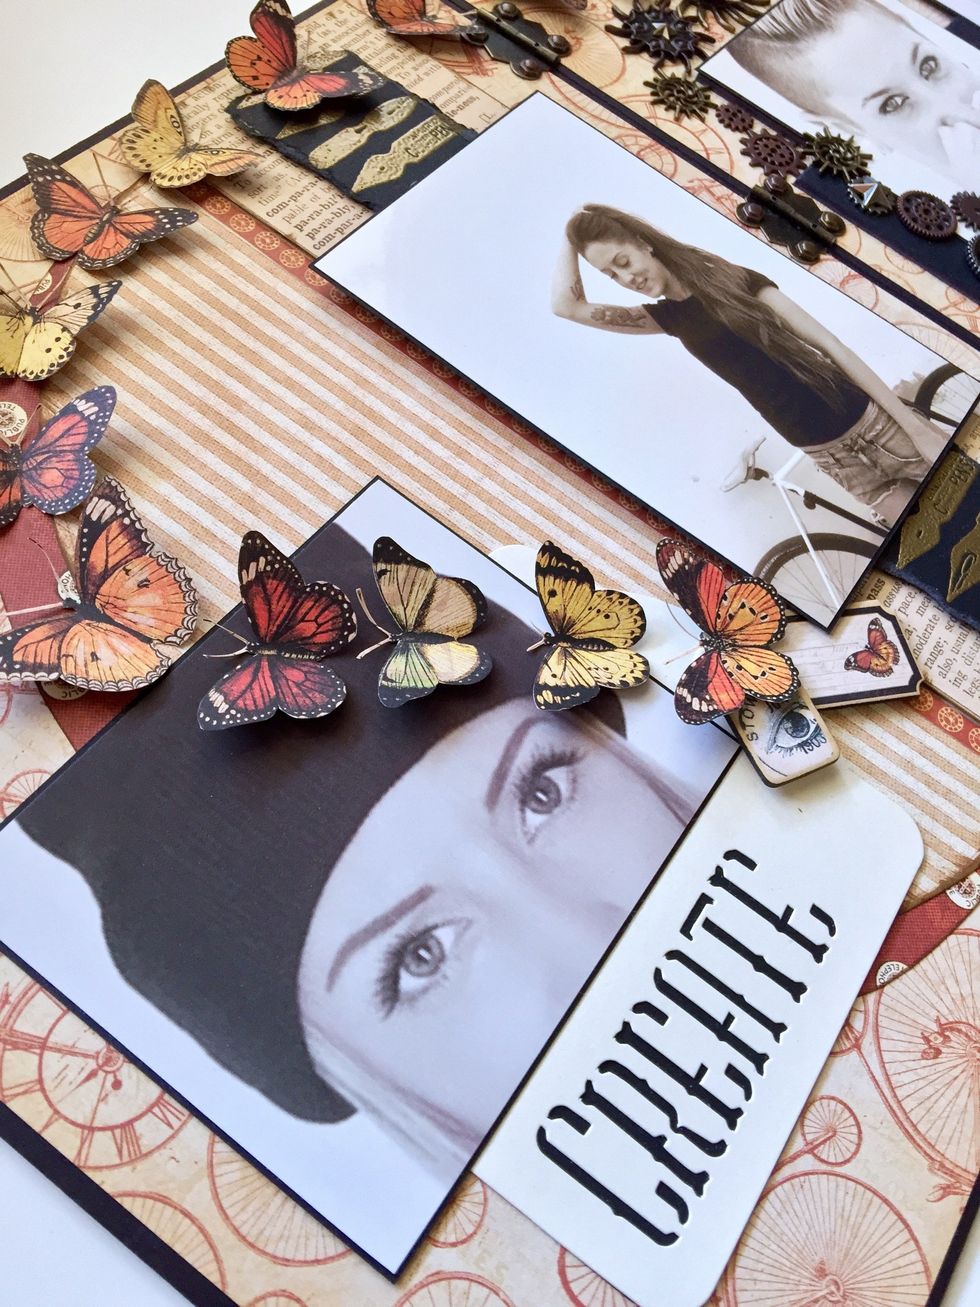
Glue more butterflies forming a semicircle.
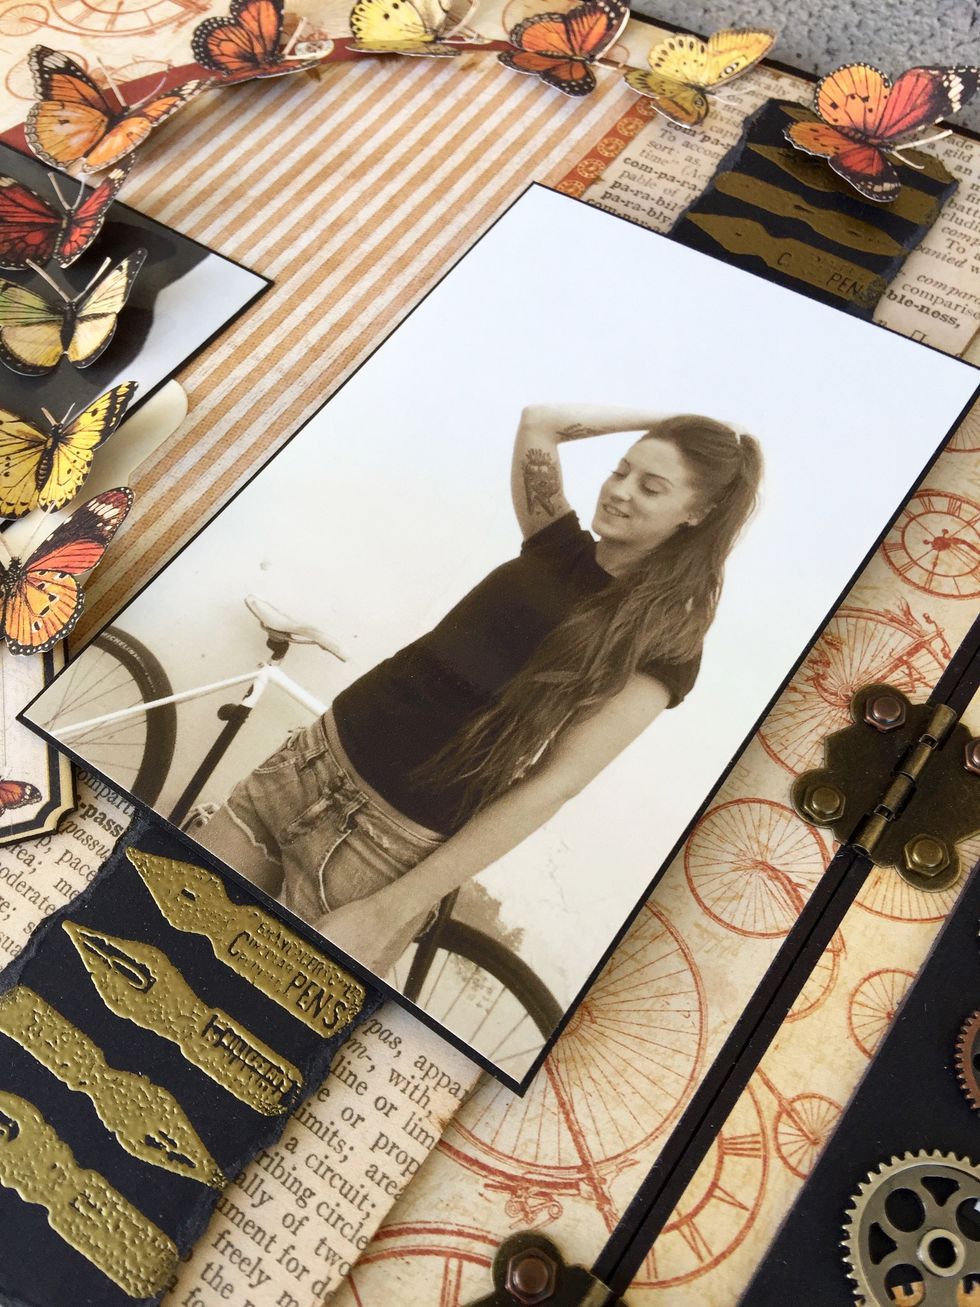
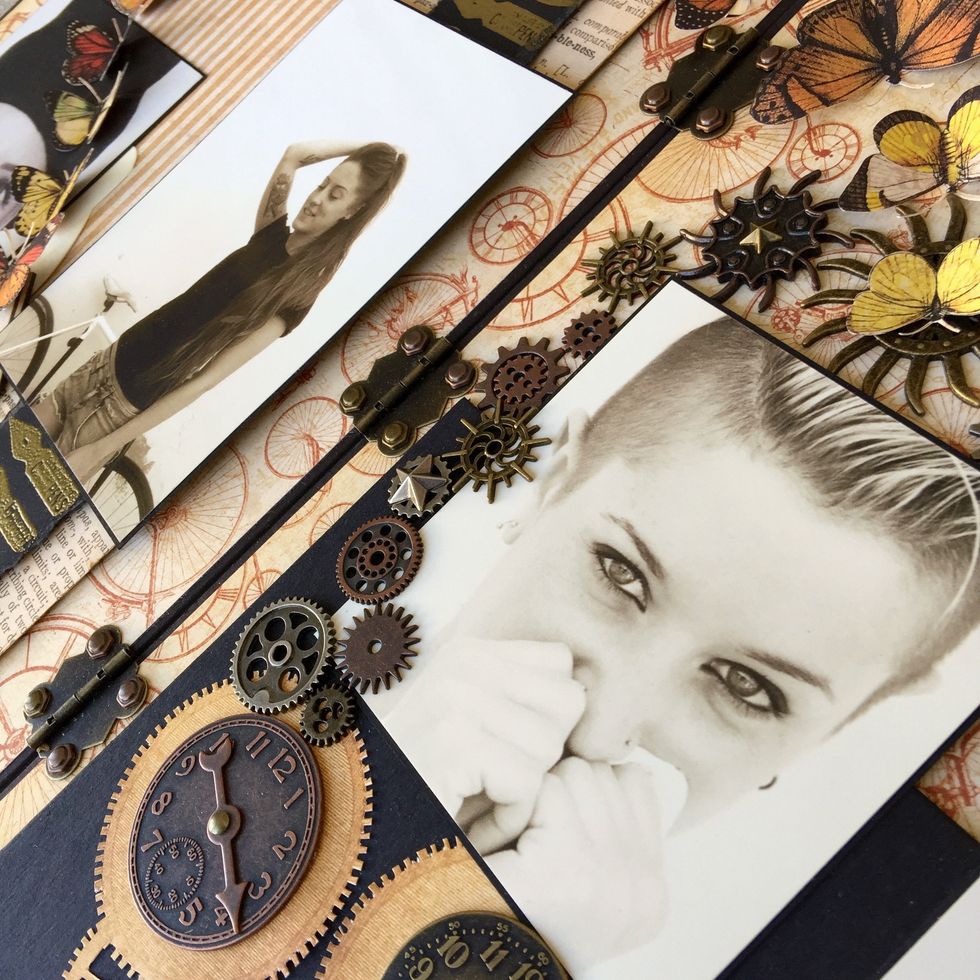
Glue some gears, mini gears and some metal stars.
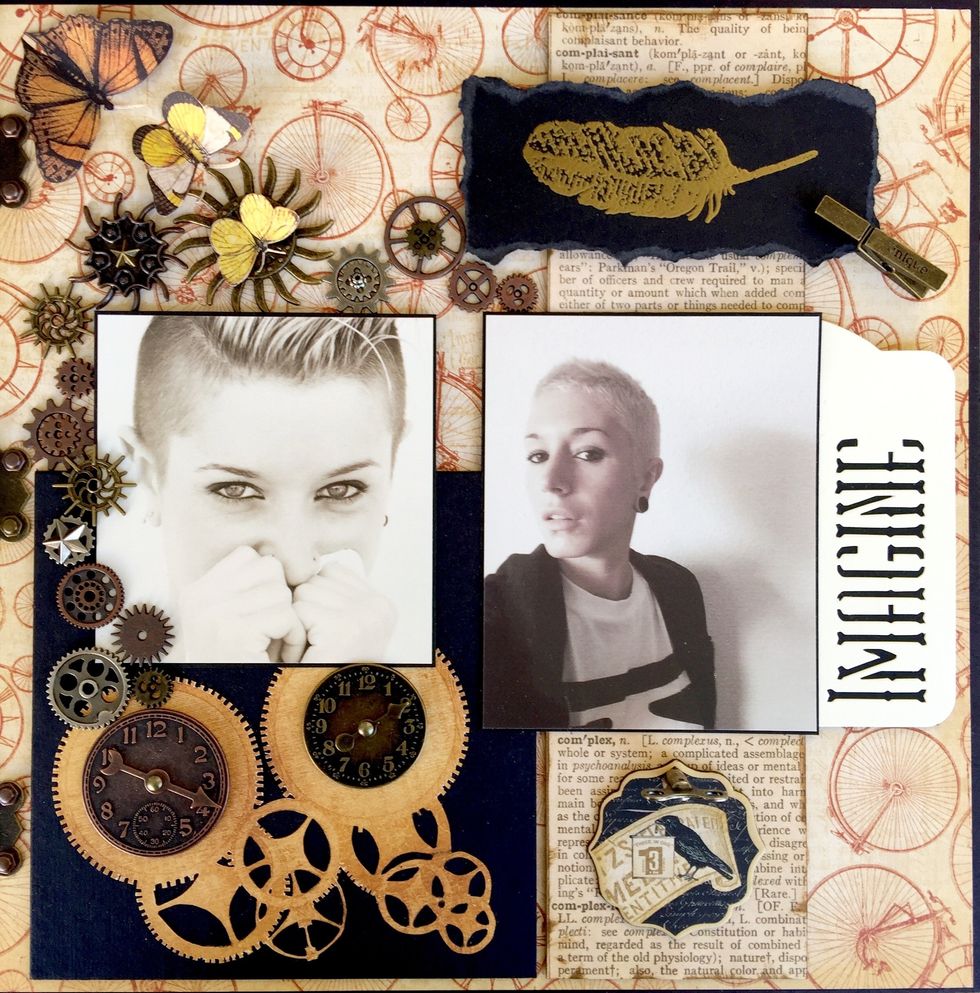
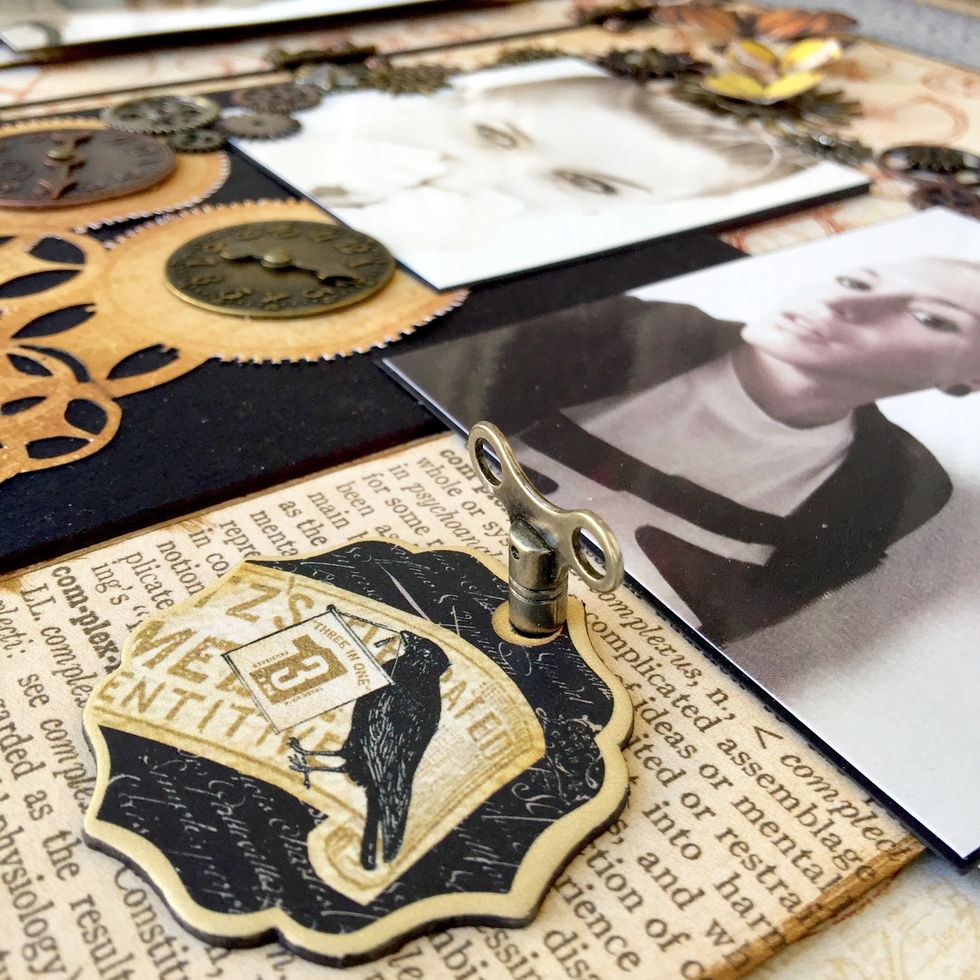
Chipboard and key.