The Conversation (0)
Sign Up
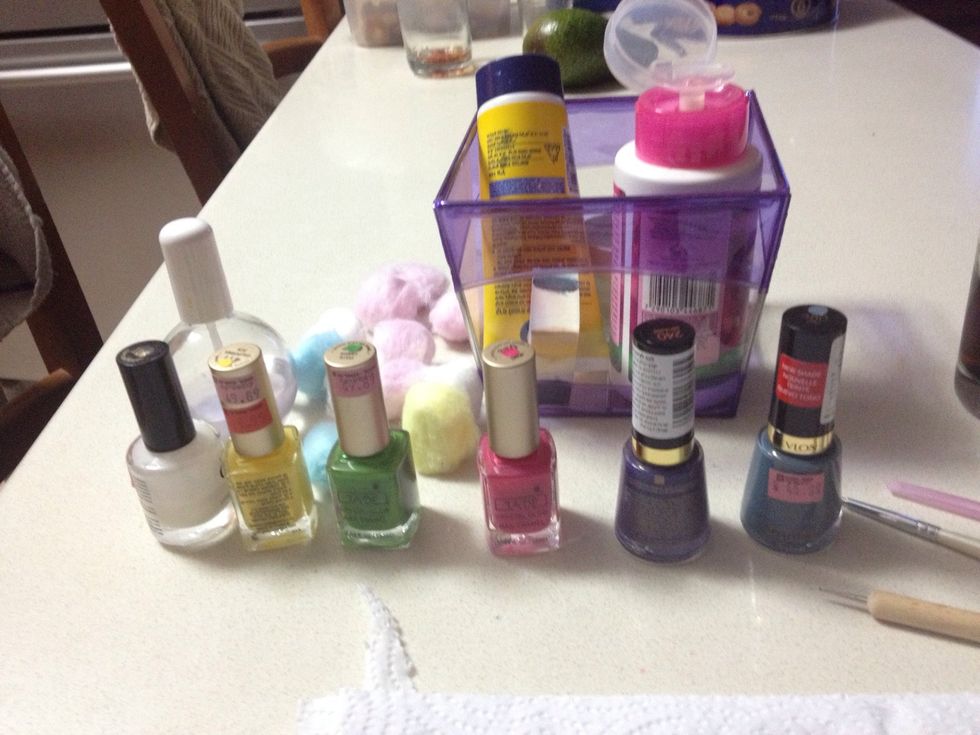
This is what we will need for this design
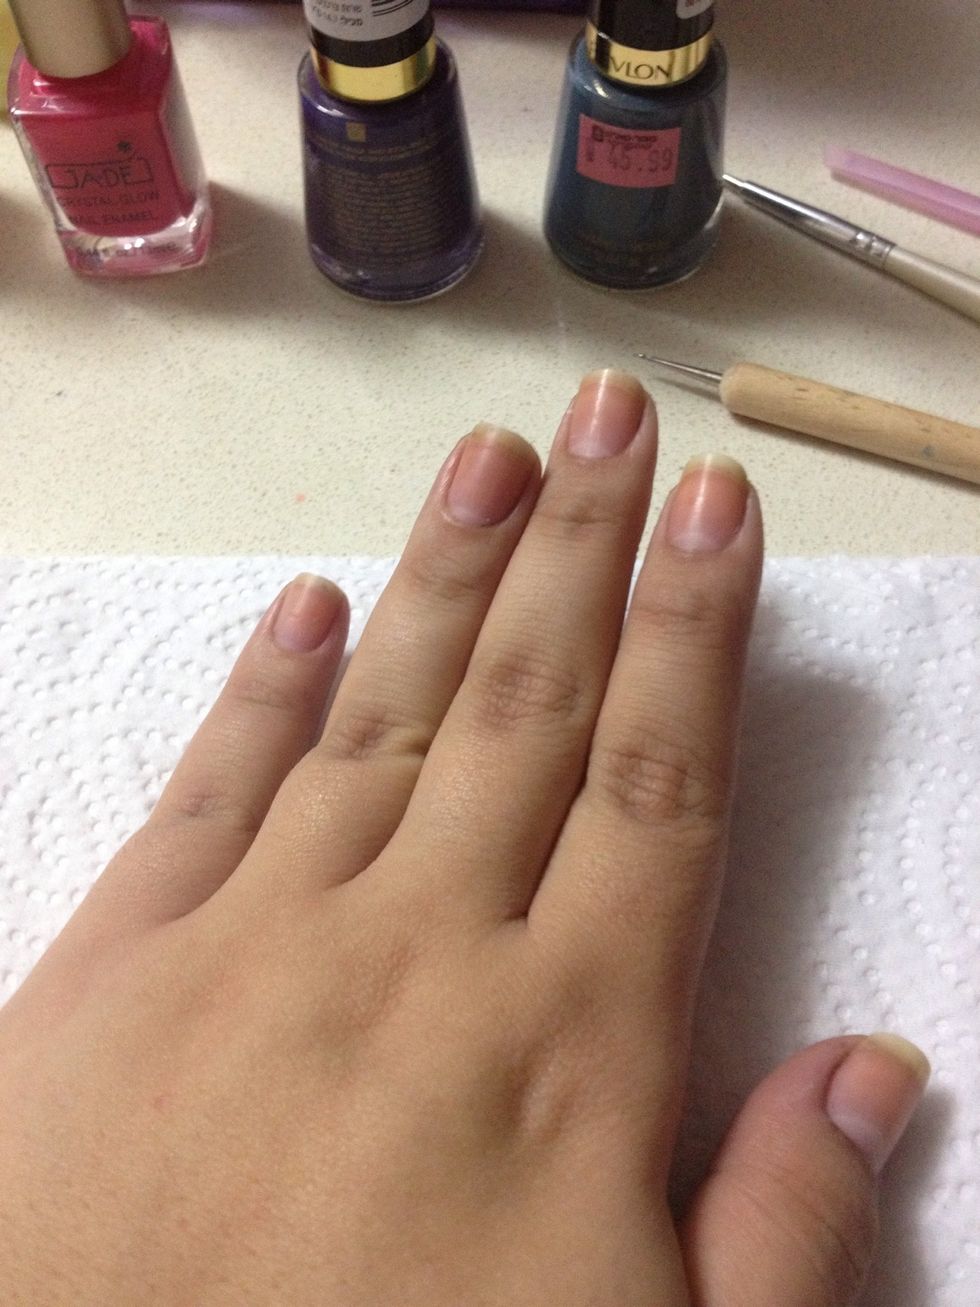
Start with clean bare nails
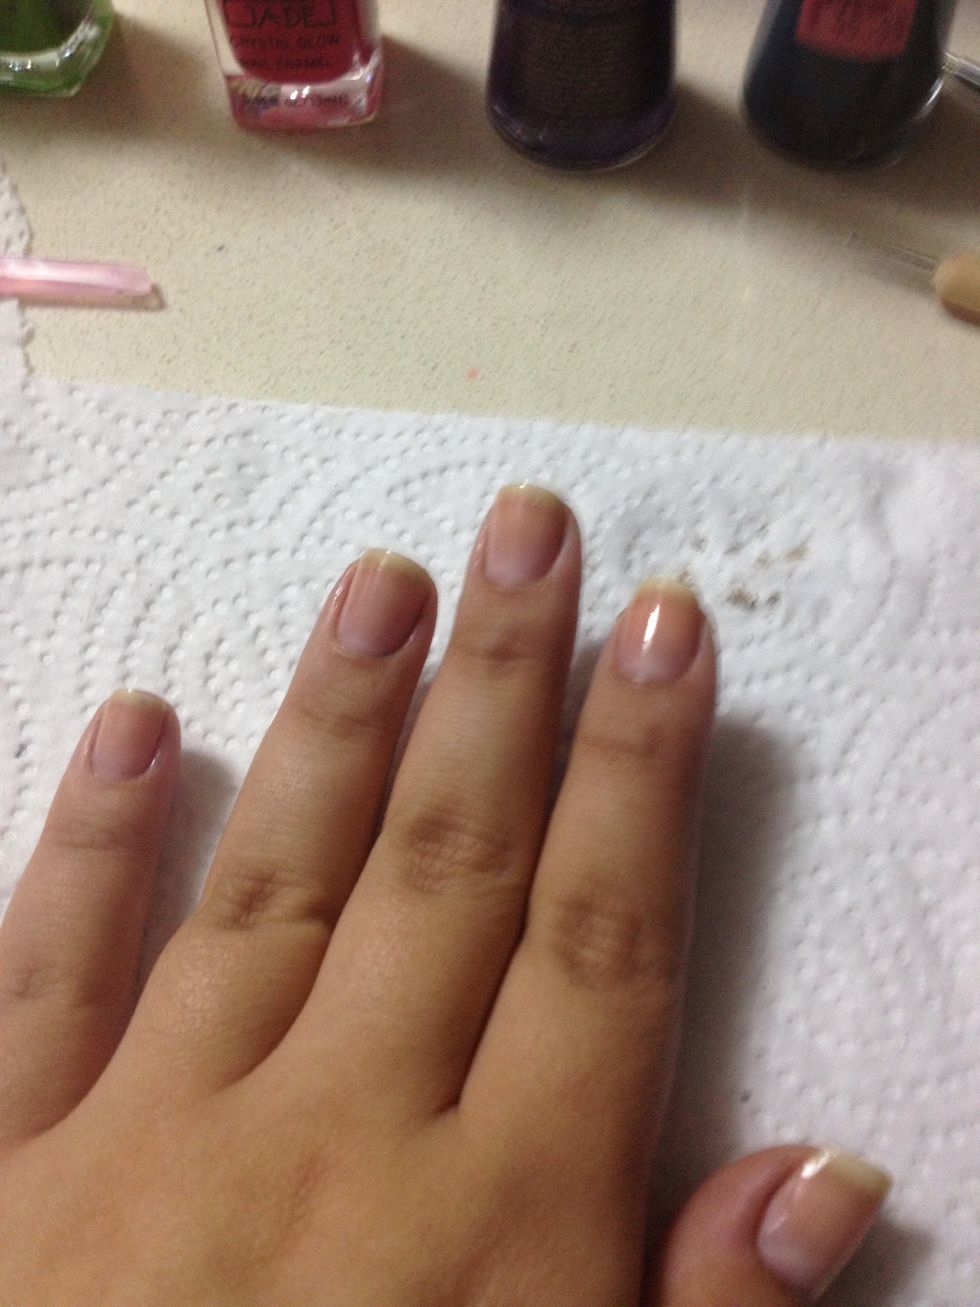
Base coat time
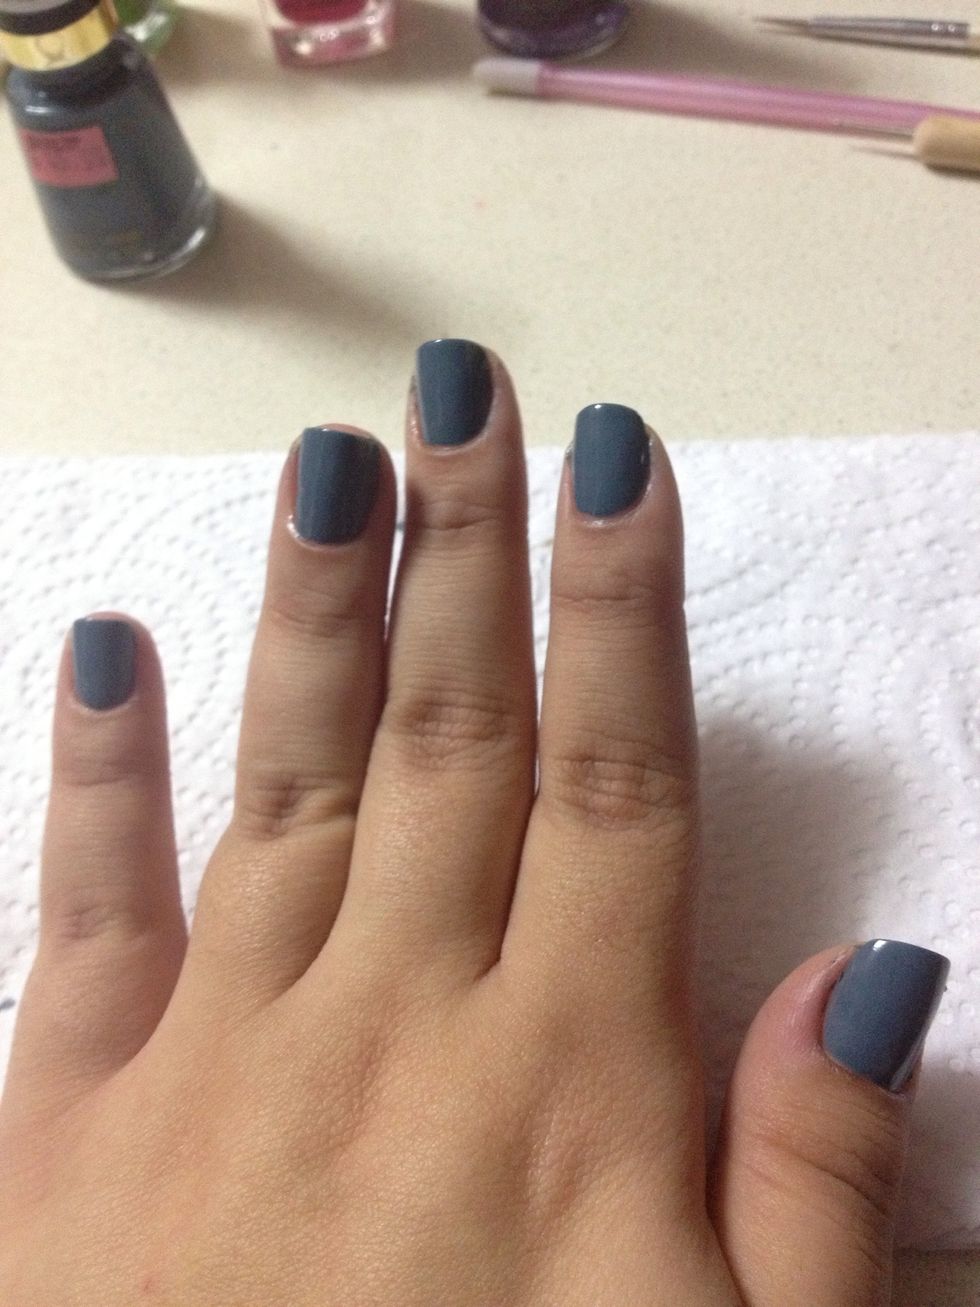
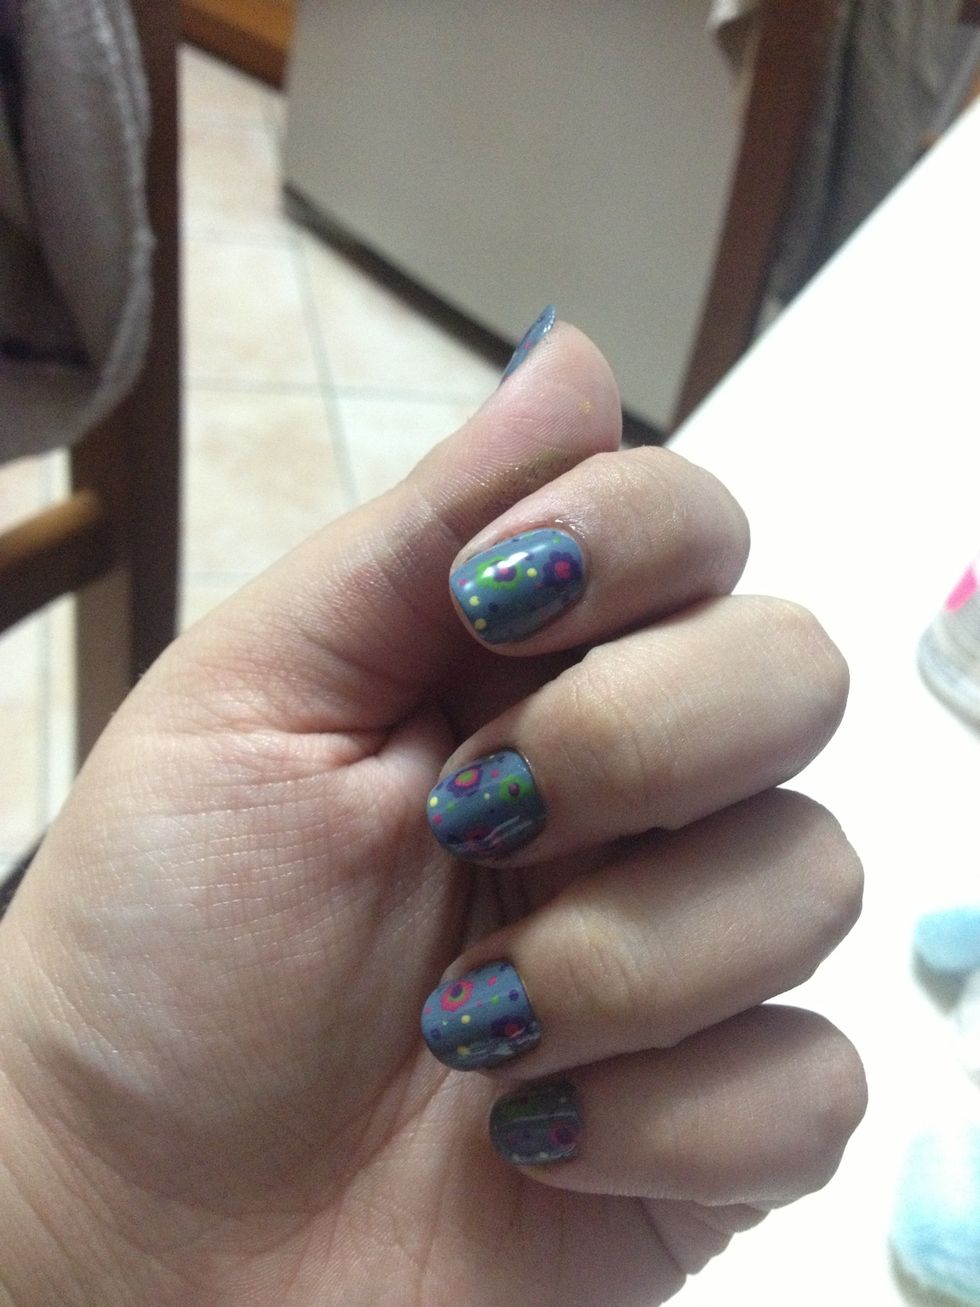
Color the whole nail dark grey (mine is a little blue...)
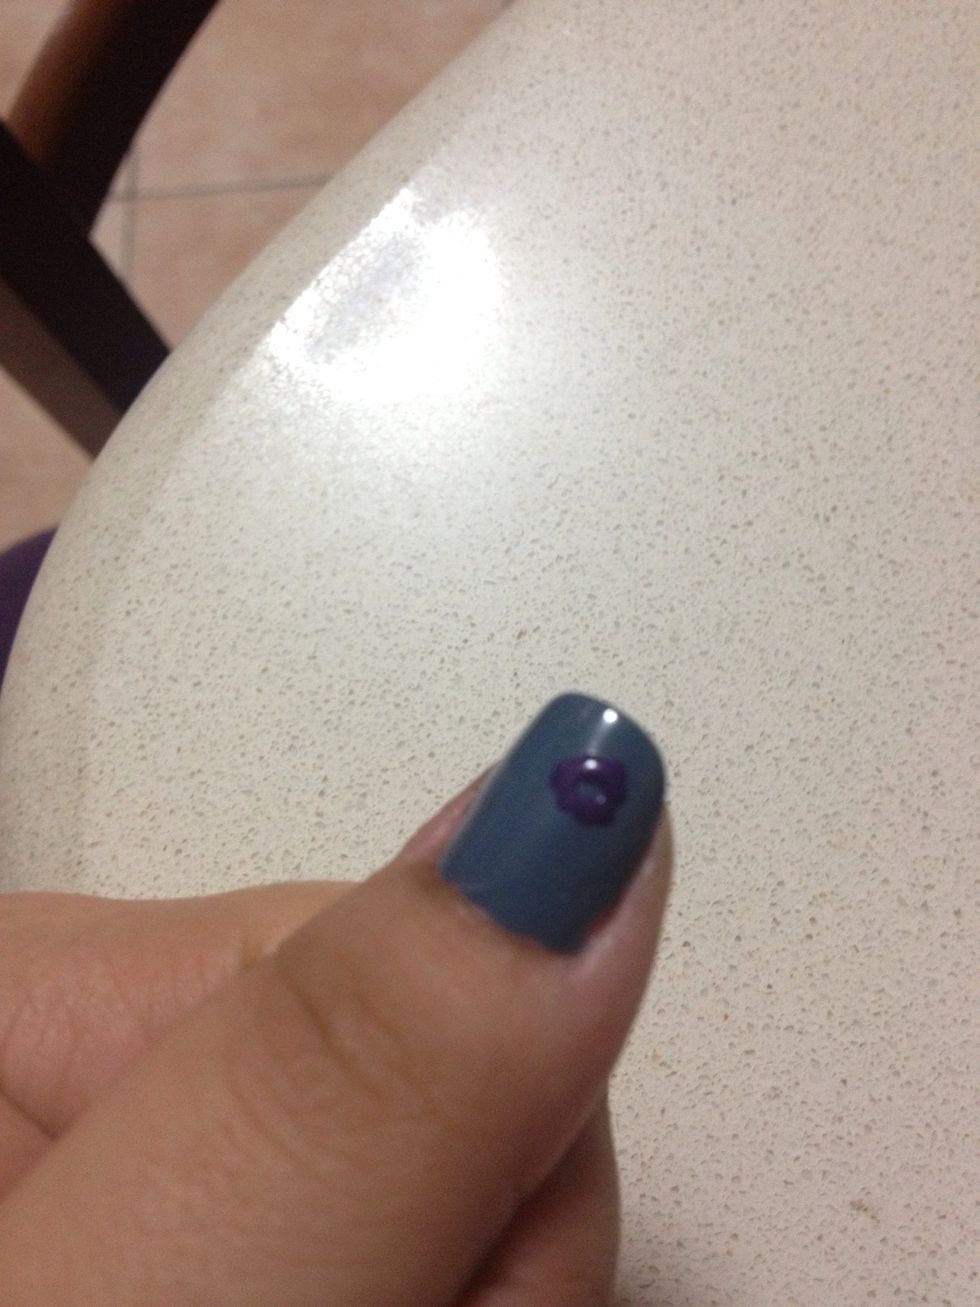
Make a few dots in a circle, creating a flower figure
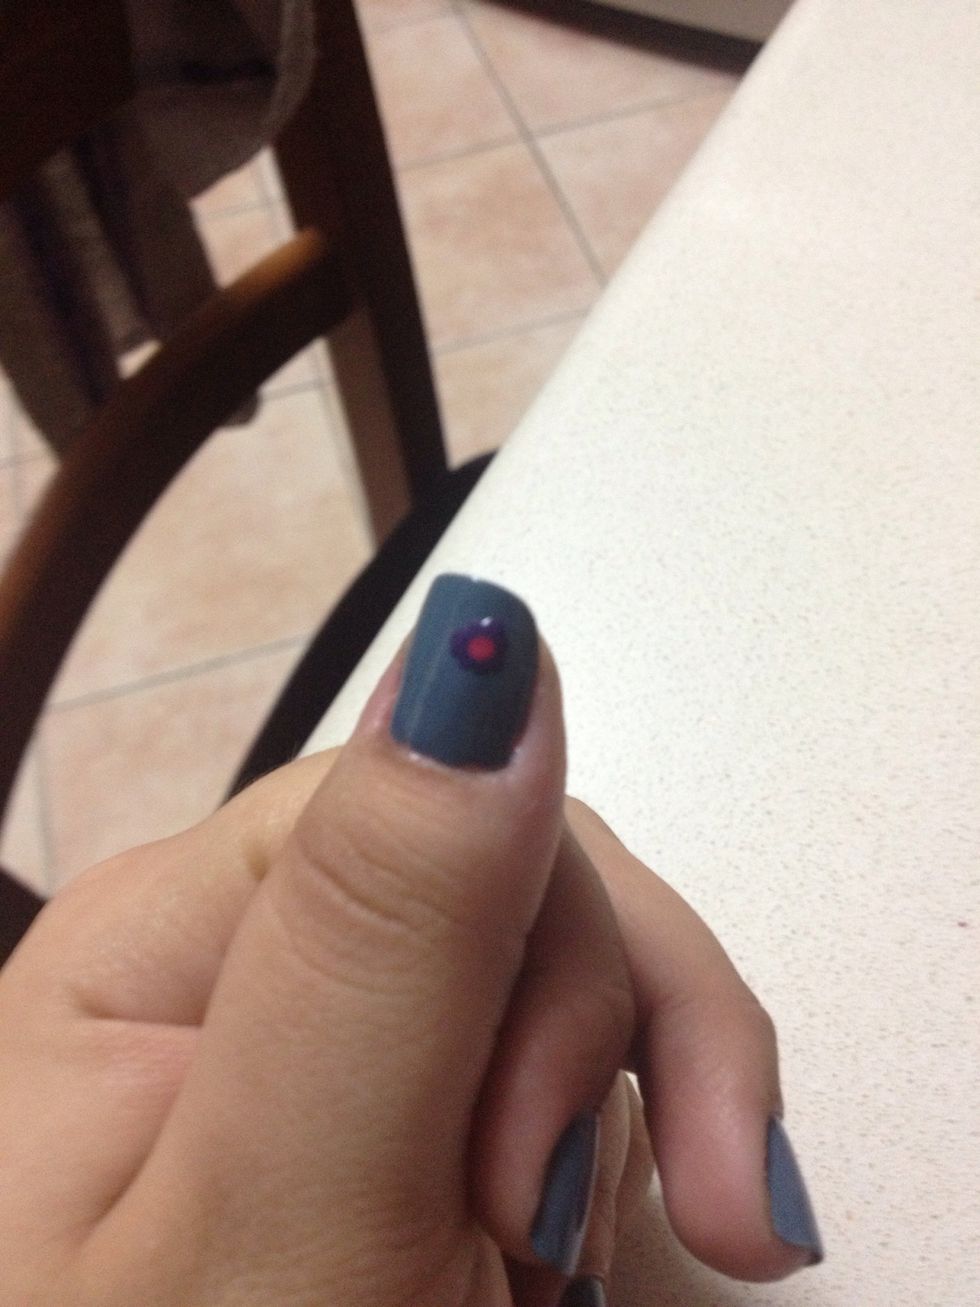
Add a different color dot inside
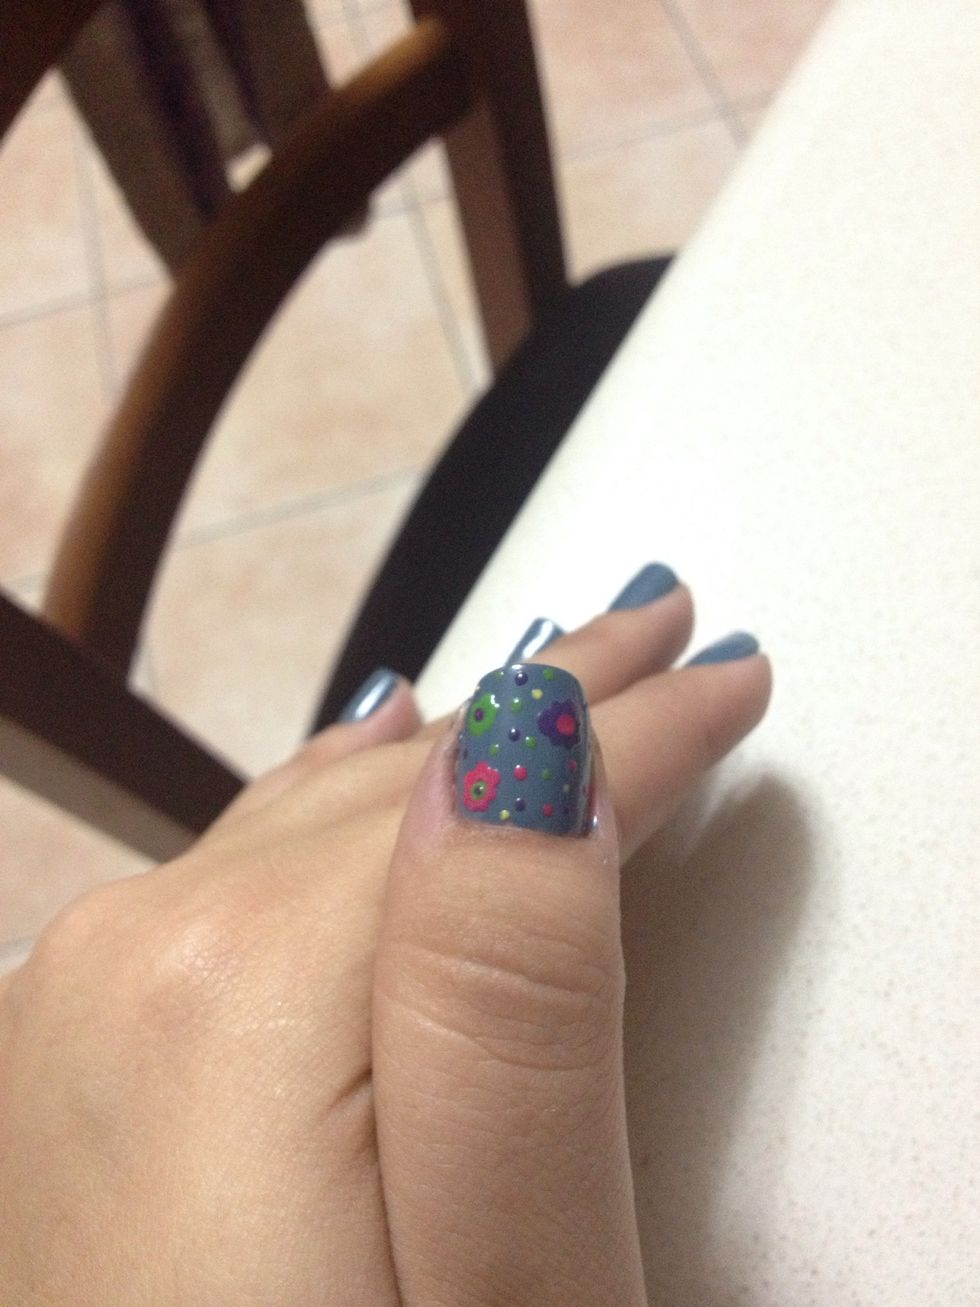
Fill the nail with another flower (or two, or three... Depending on how long your nail is...) and add some dots around it in multi-colors
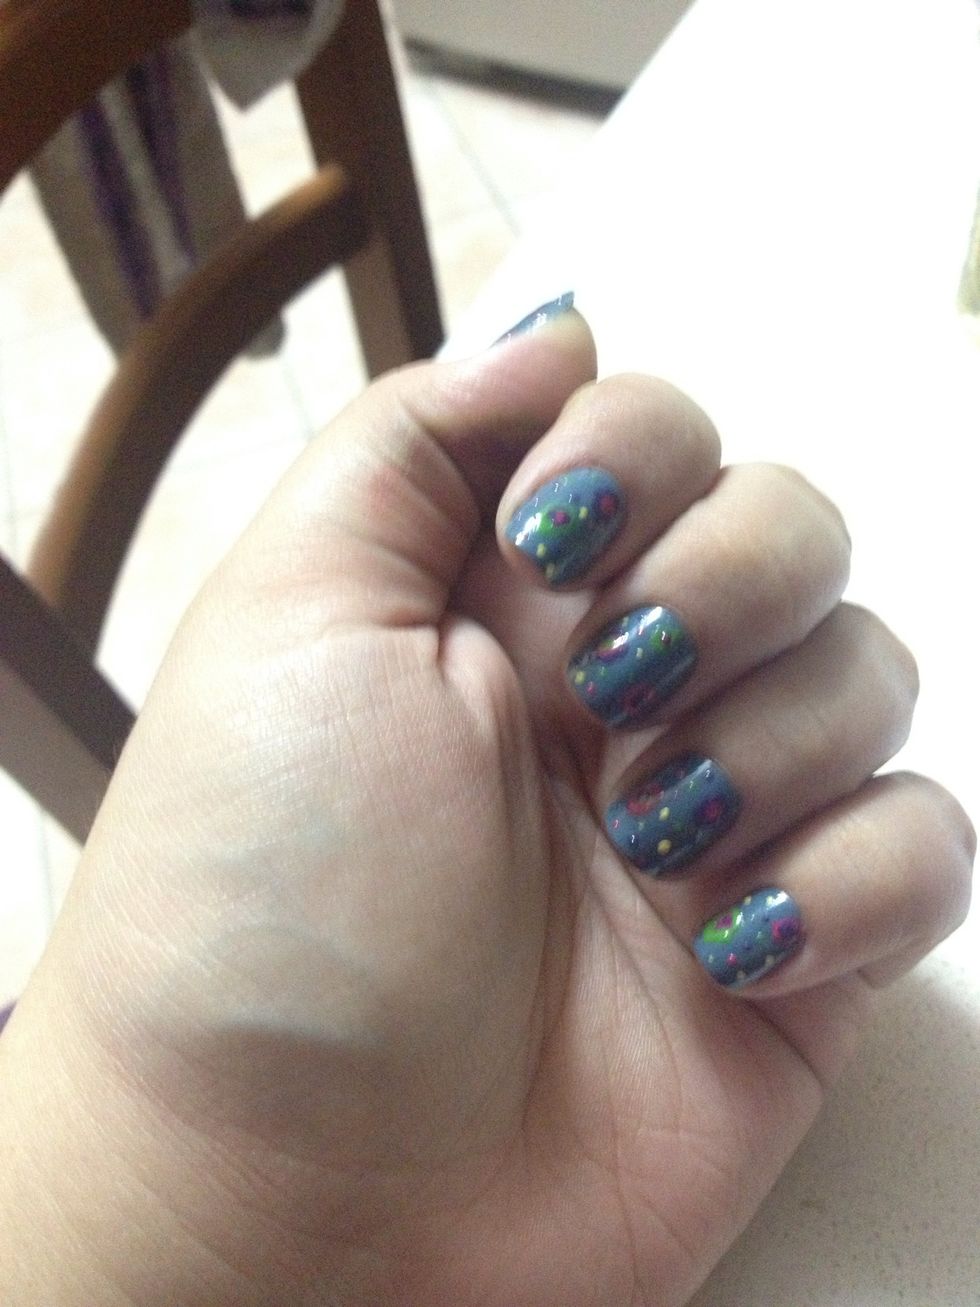
Continue doing this design on all your nails
Don't forget the top coat!!
All done!!
Feel free to change the colors and redesign it as you wish! :)