The Conversation (0)
Sign Up
Start with a clean face and add a light layer of white cream makeup all over as a base.
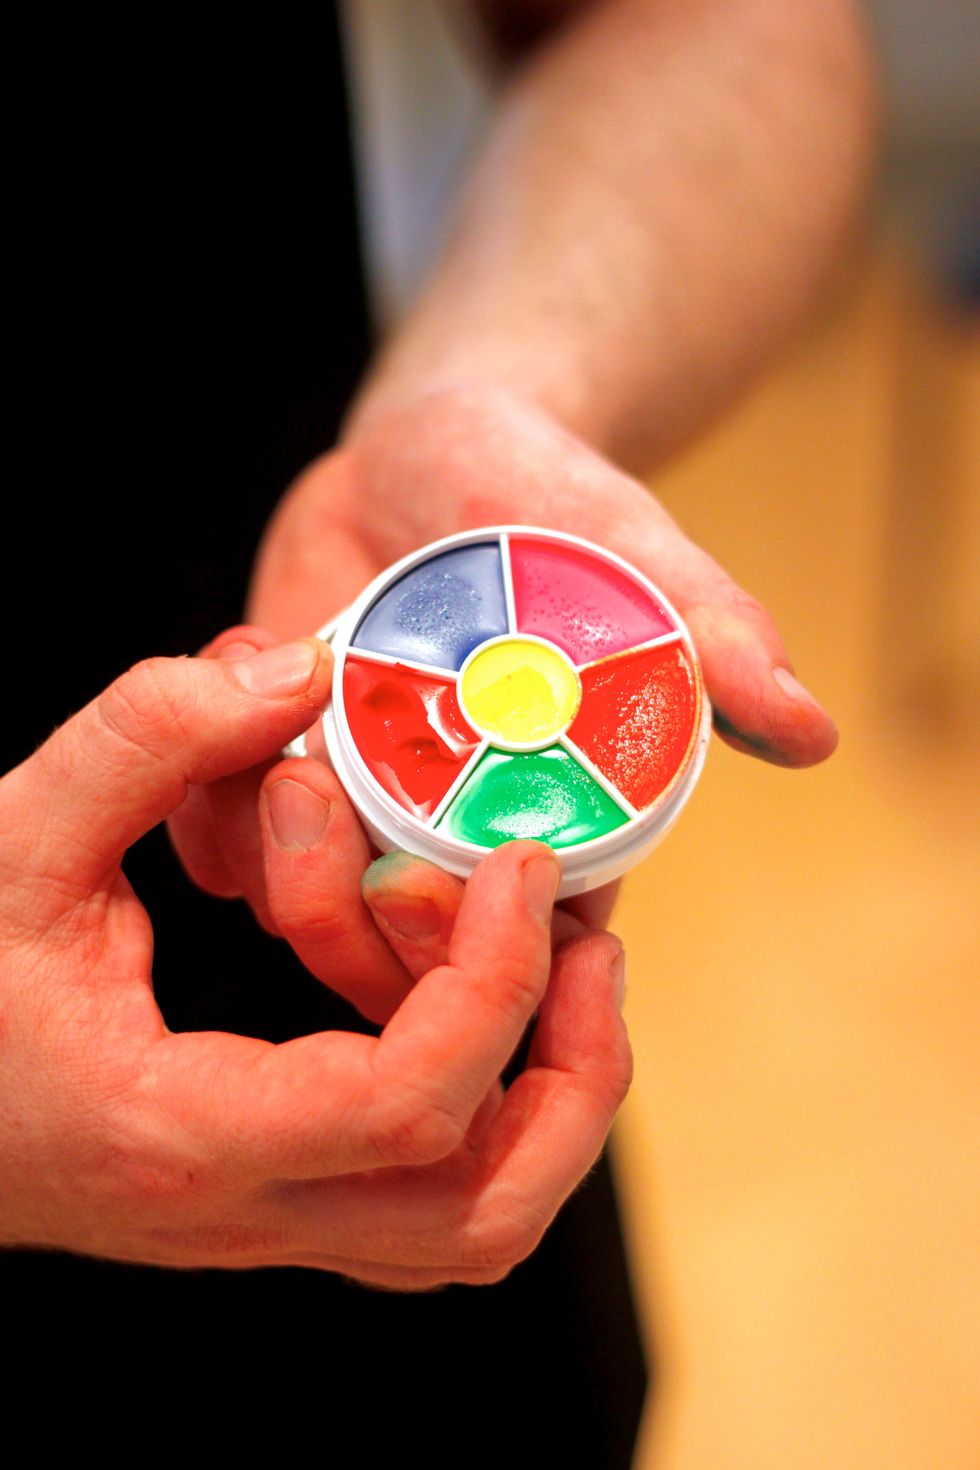
Grab a UV dayglo cream makeup wheel
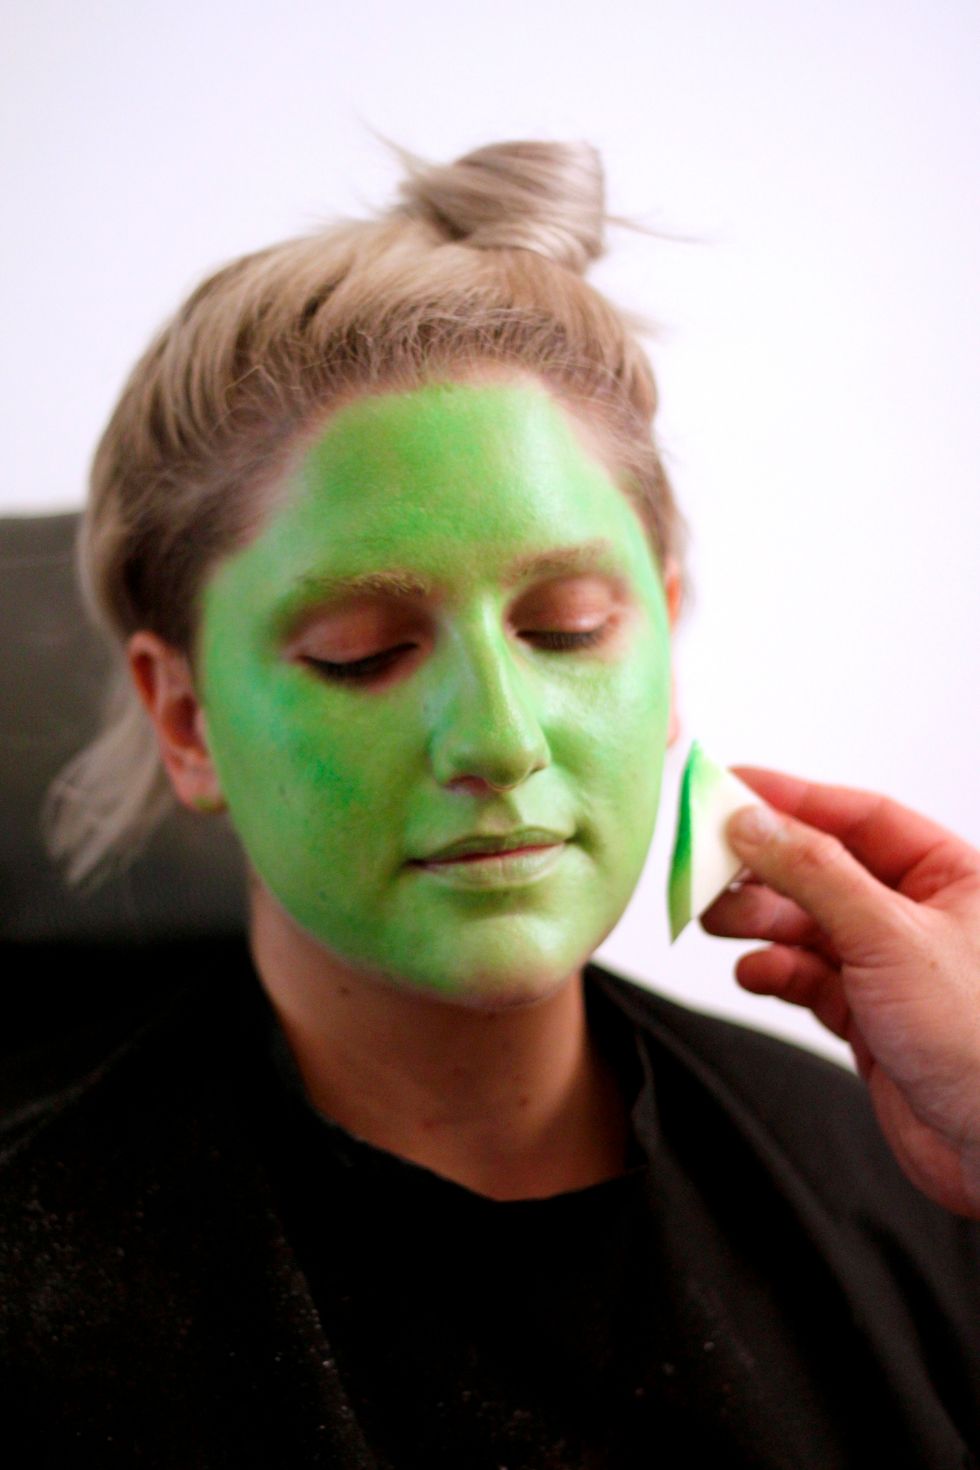
Apply the UV-activated color you'd like. Here we chose green.
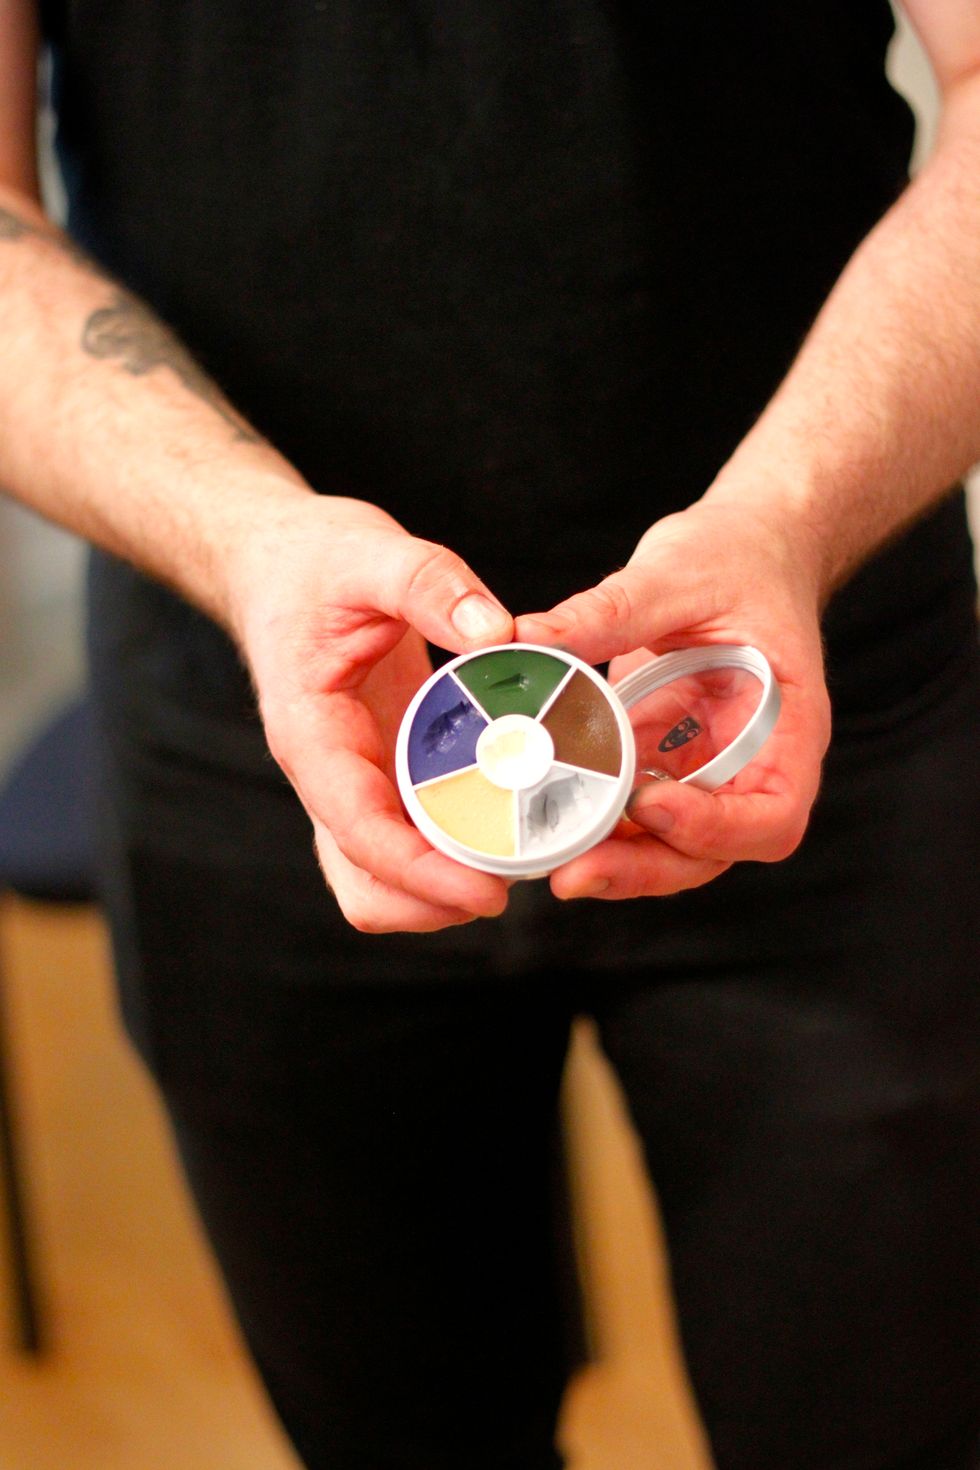
Now grab a green cream makeup that is NOT UV-activated and use this for shading.
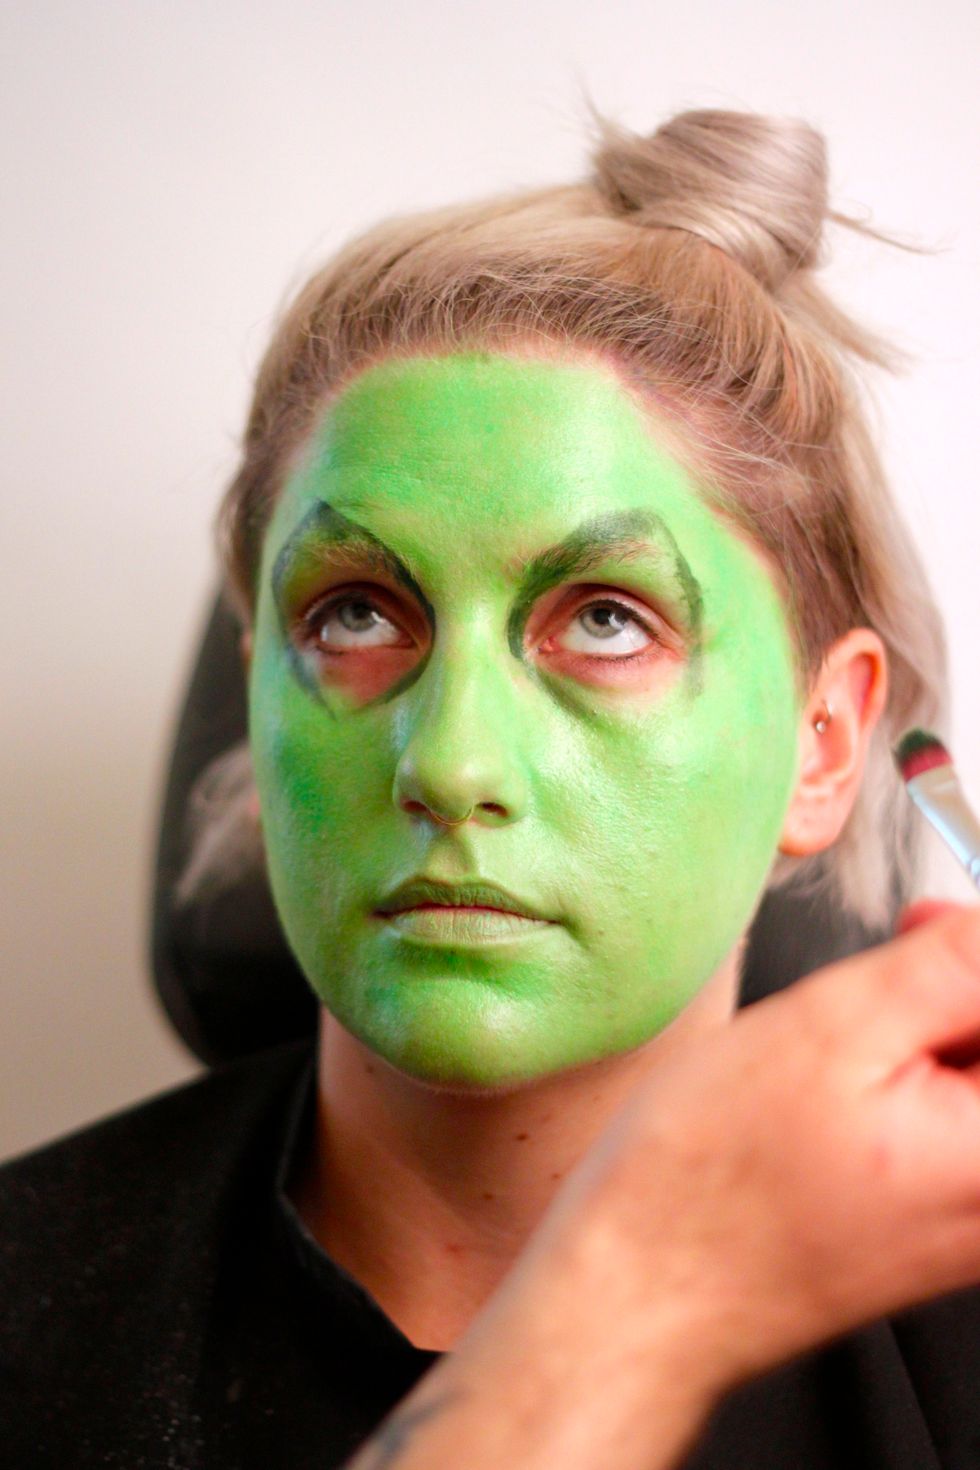
Create diamond-like shapes around the eye sockets.
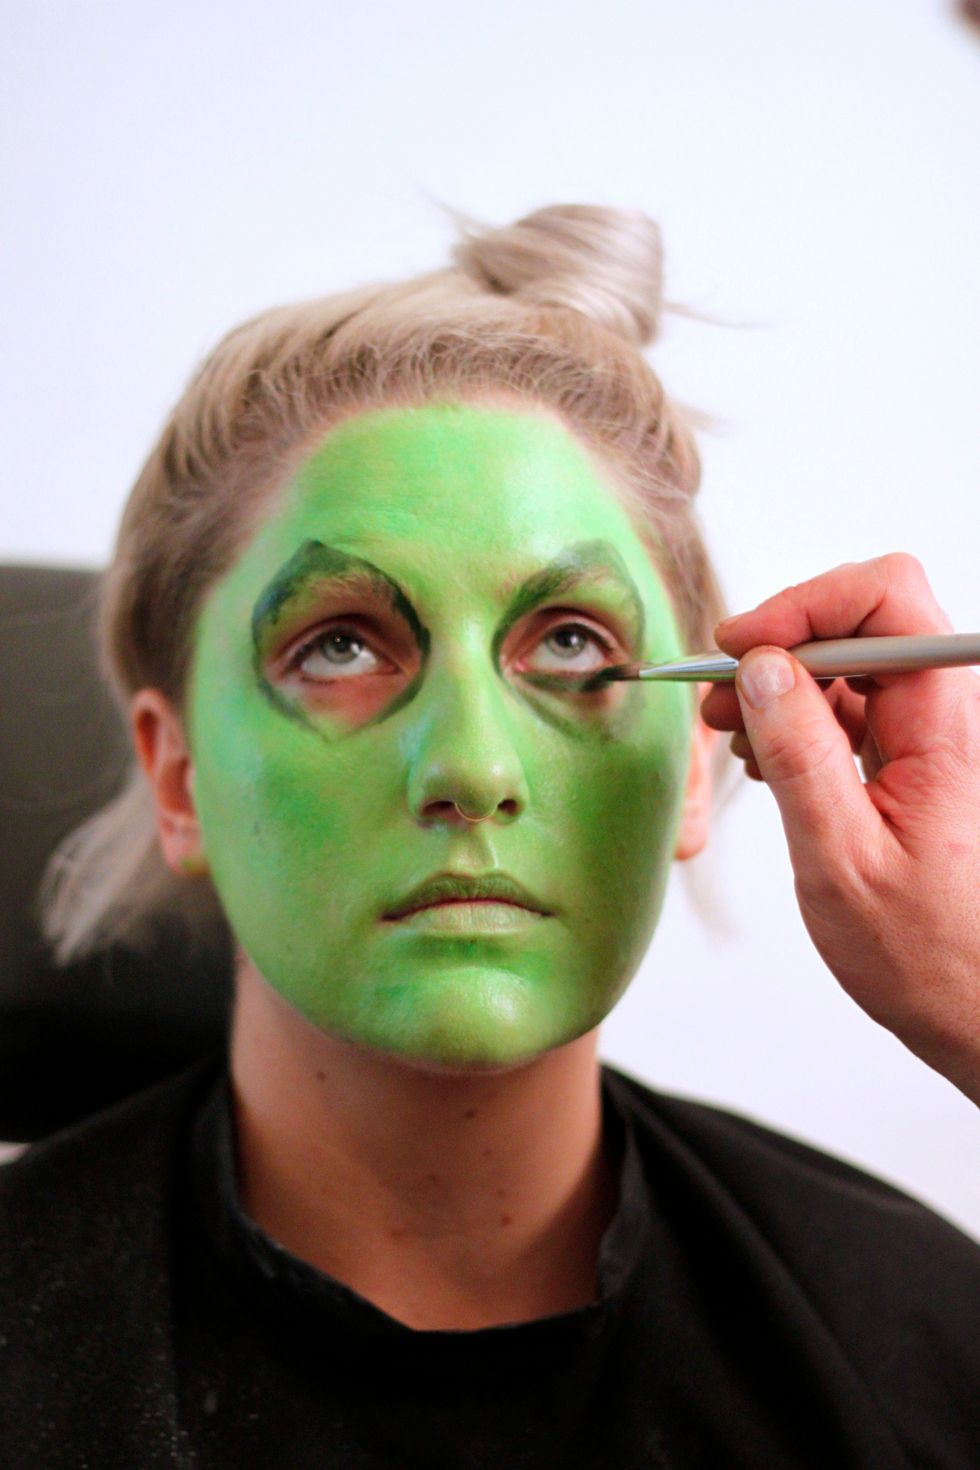
Fill in the entire eye socket with this dark green. When the black light turns on, the eyes will appear deep and sunken.
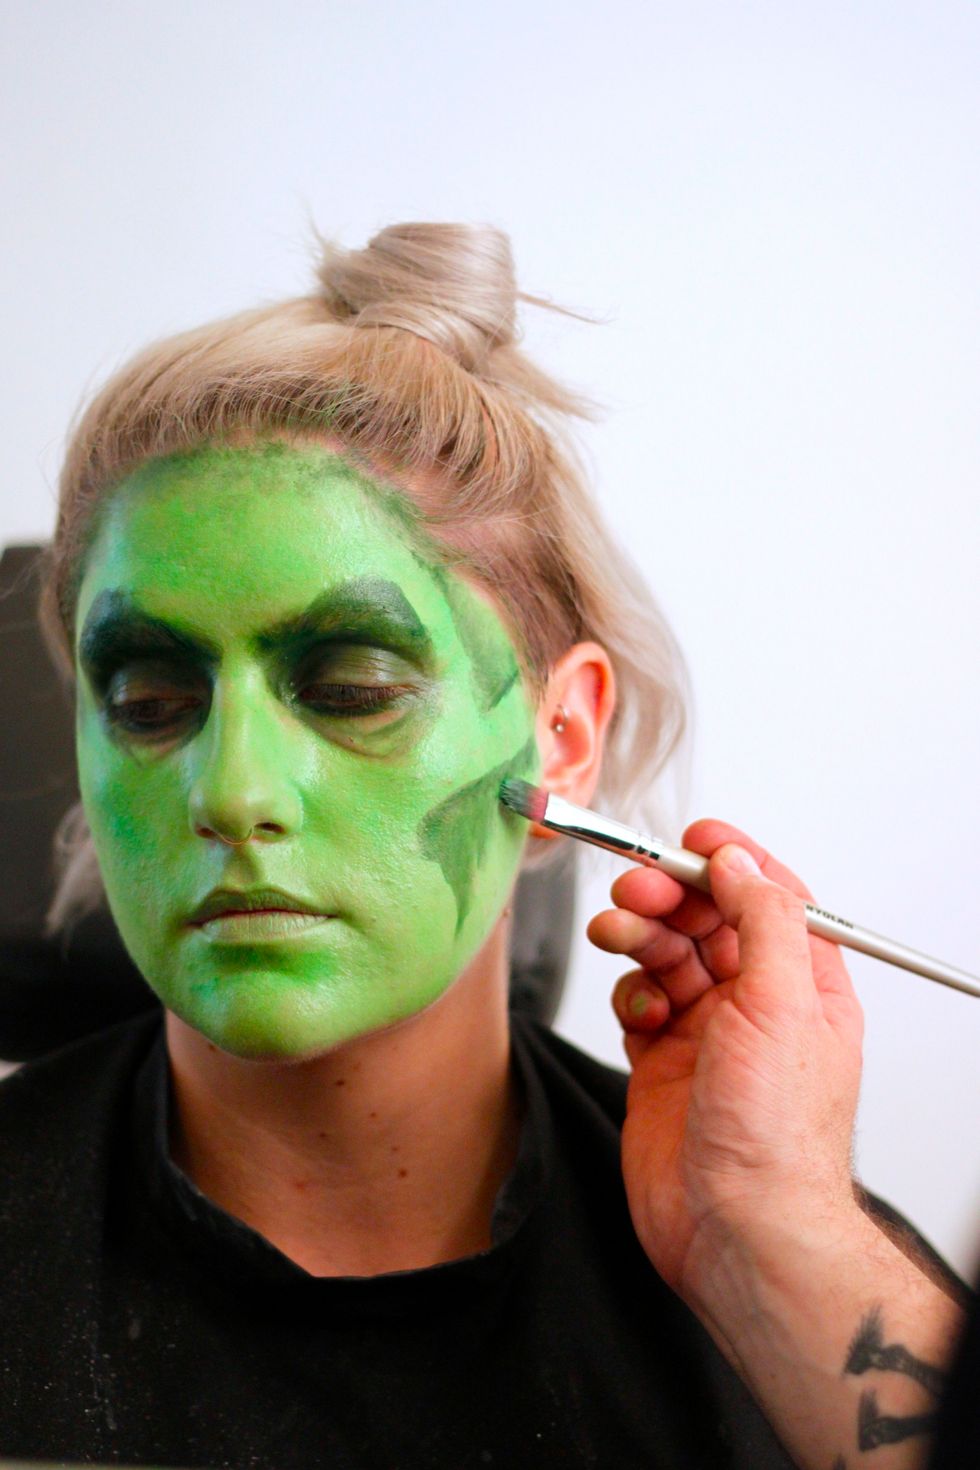
Use the dark green to shade in the shadows of the face: temples, cheek bones, and around the hair line.
Continue contouring wherever you'd like to make creases dark and visible, like frown marks and bags under the eyes.

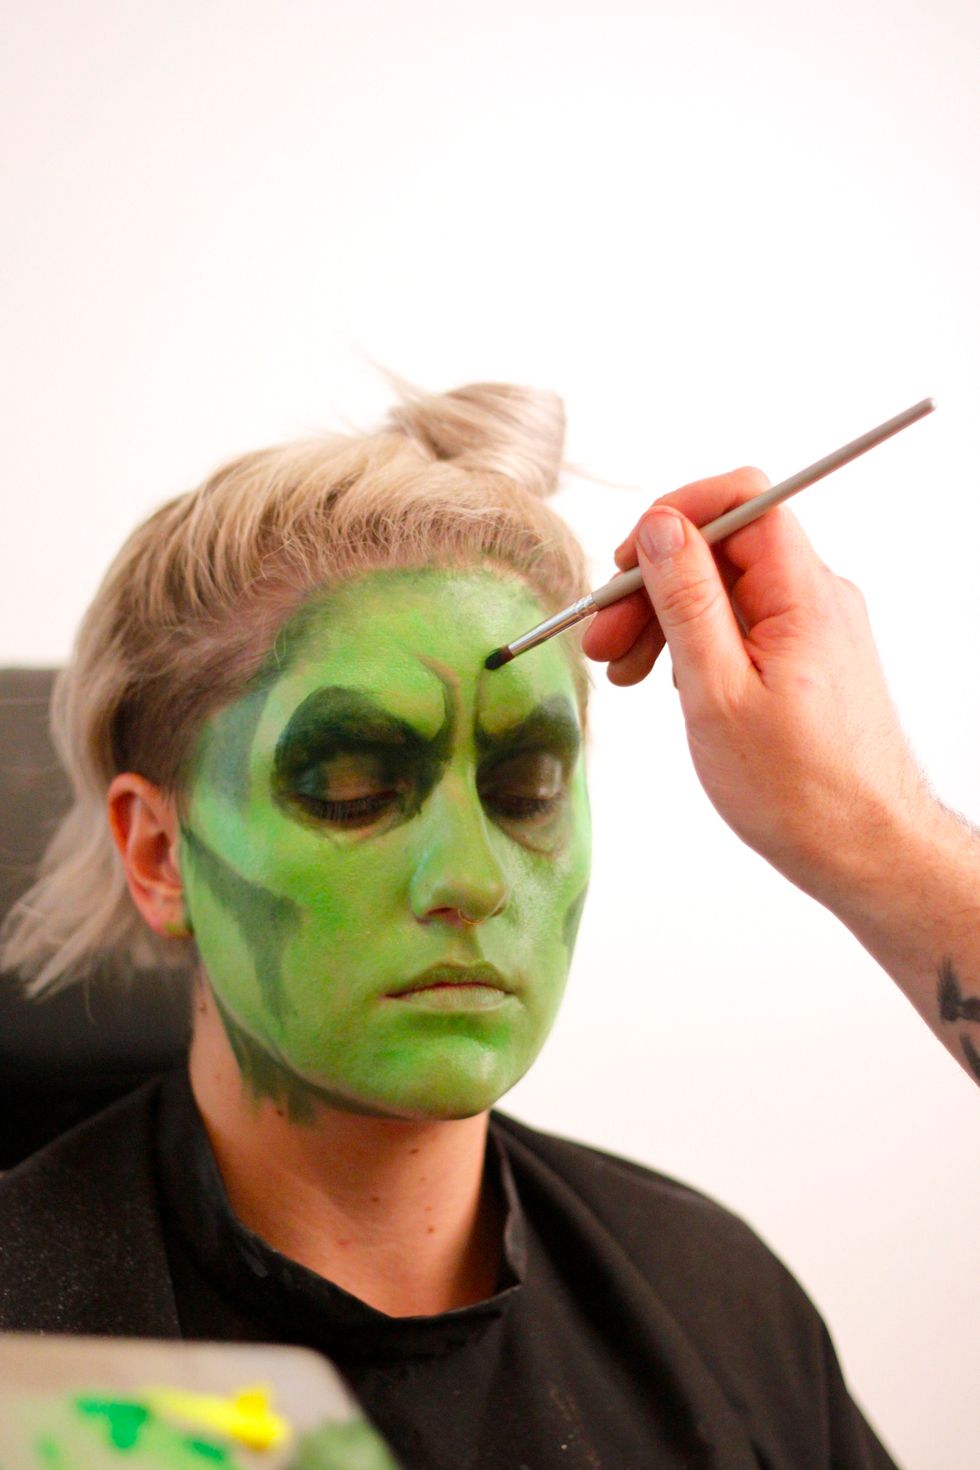
Contour more frown creases, under-eye bags, and creases in the chin, on the nose, and near the lips.
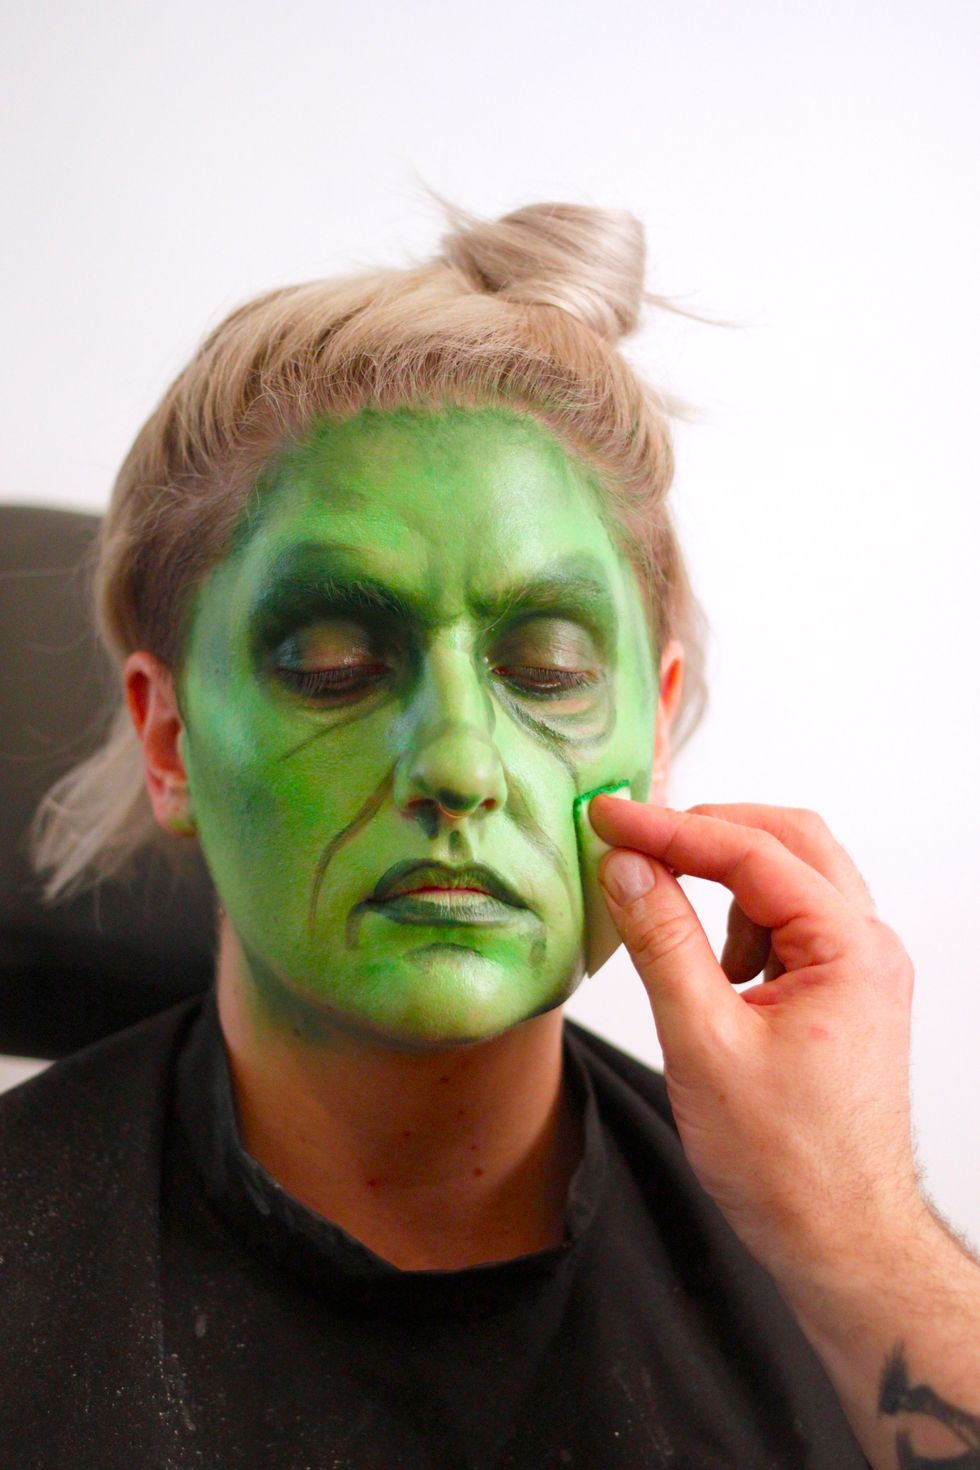
Now take a makeup sponge and very gently blot to blend.
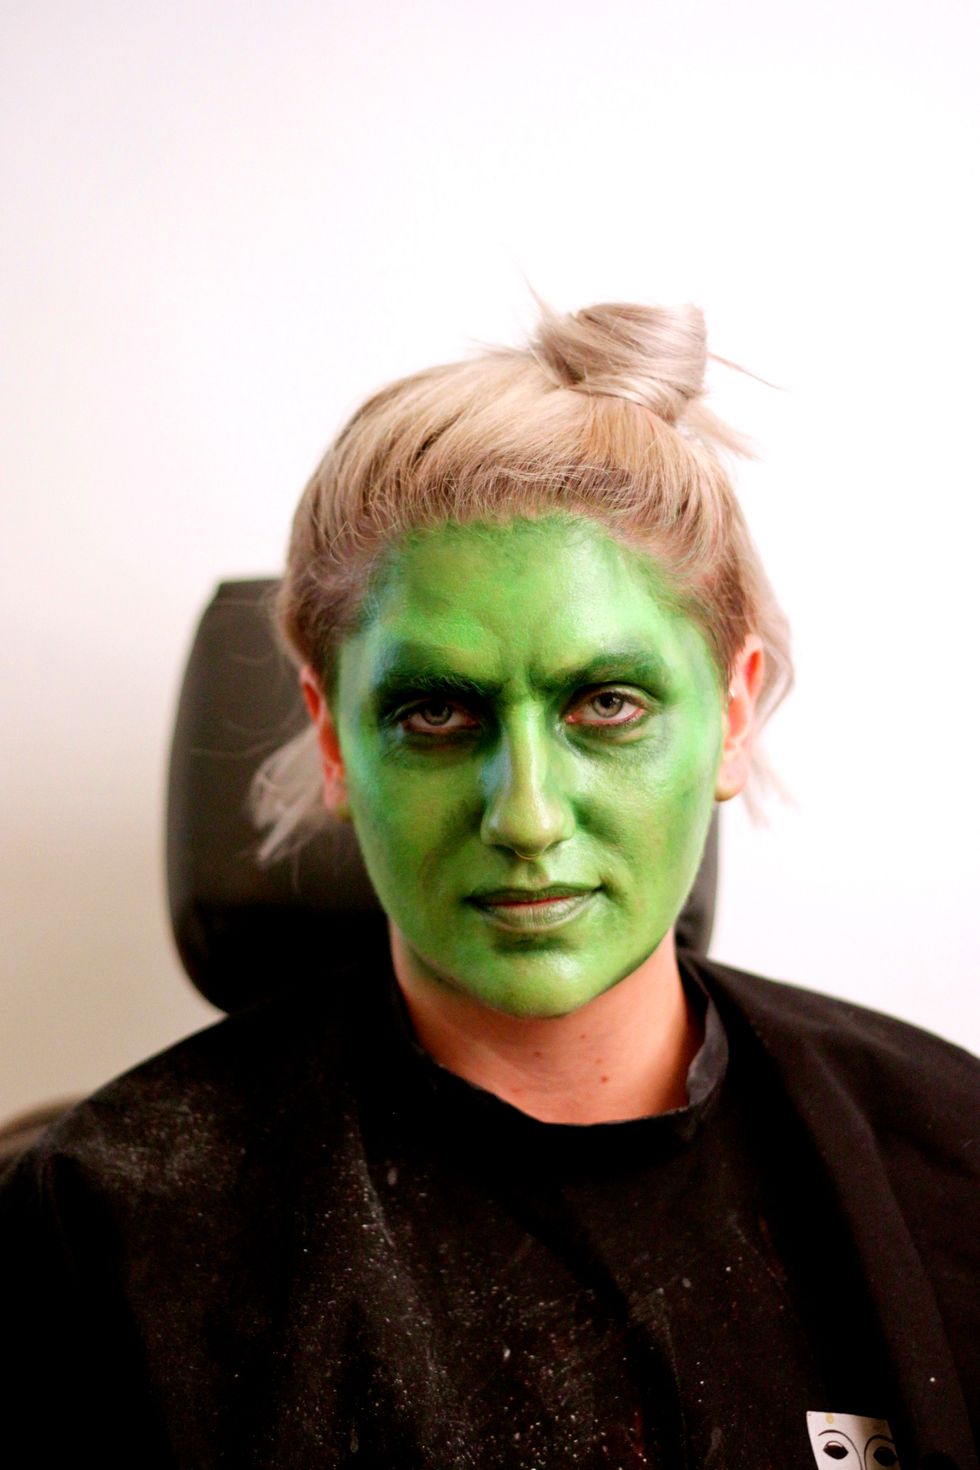
This is how it should appear.
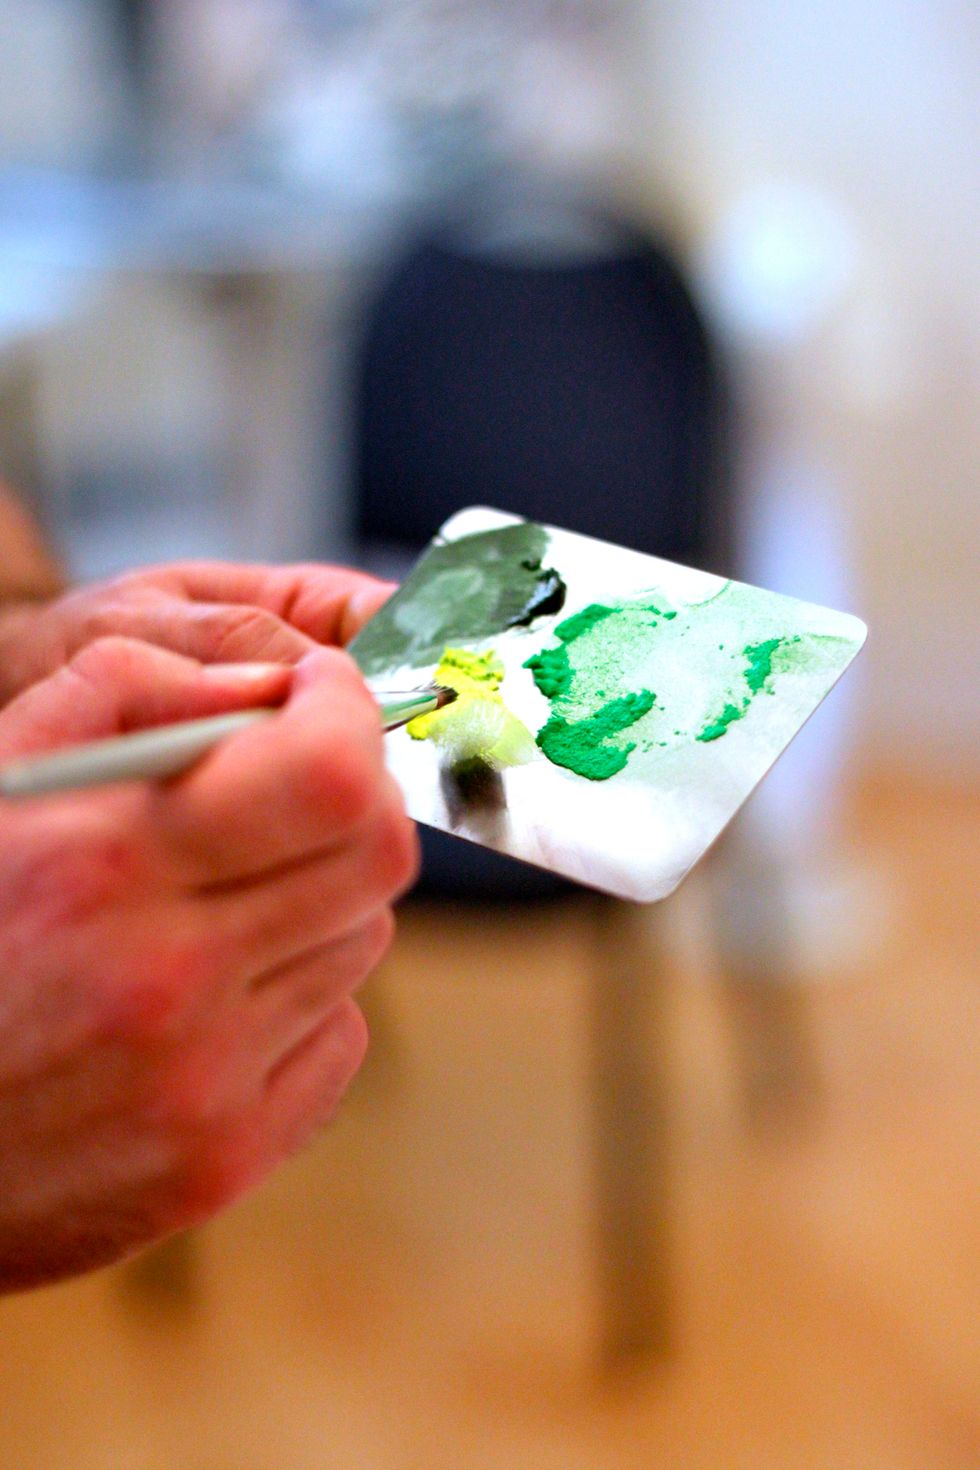
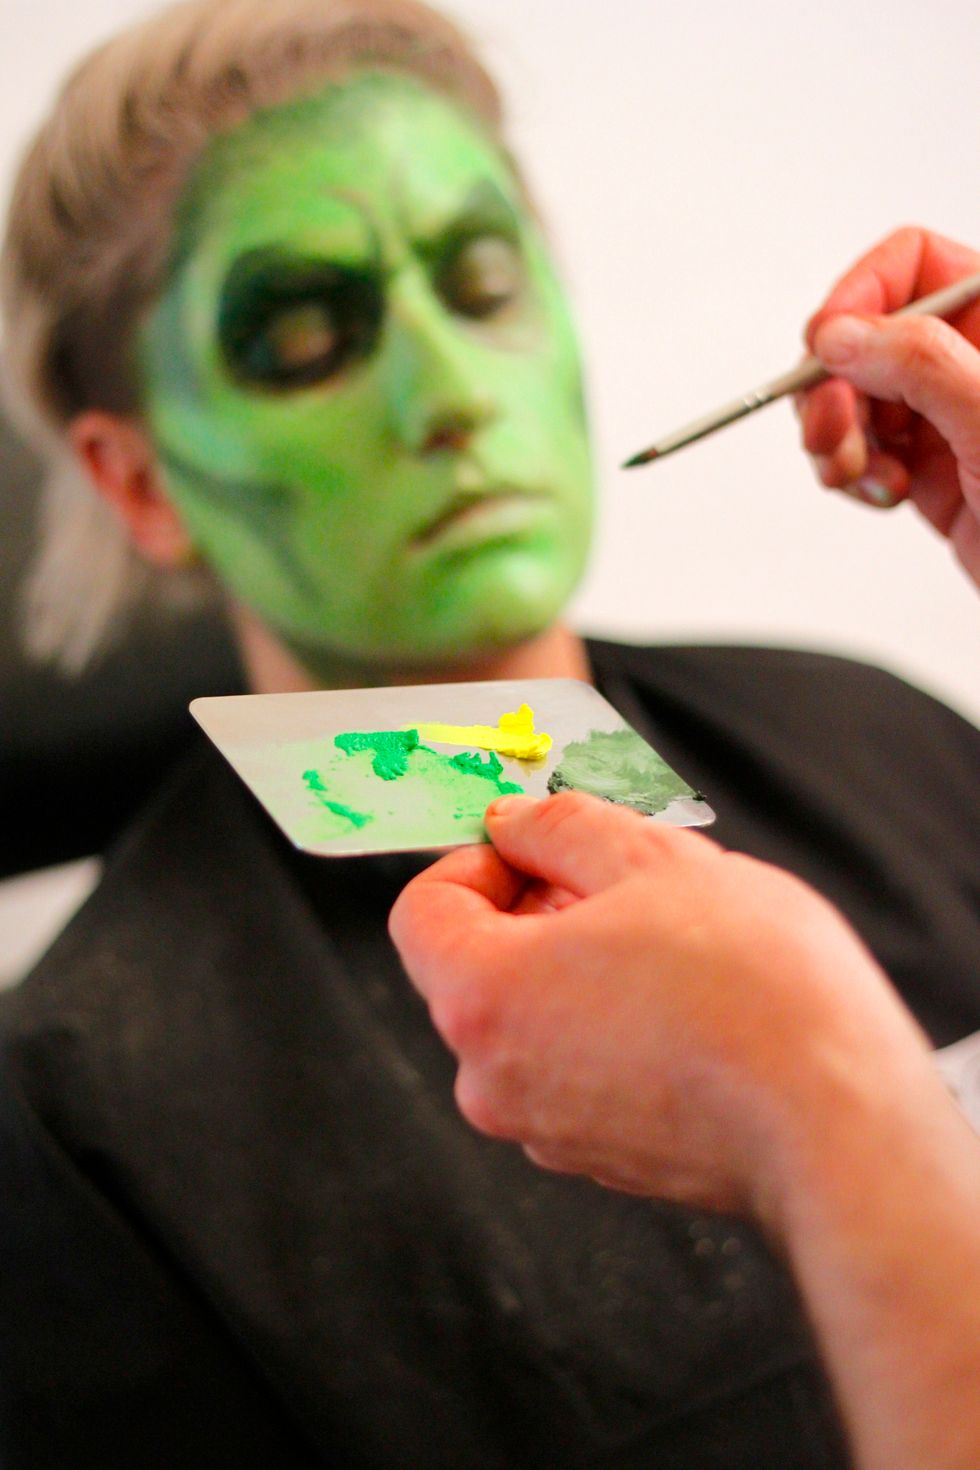
Now take your highlight color. We chose UV-activated yellow which goes great with green.

Highlight all the highest points on the face: the peaks of the eye brows, the tip of the nose, the tip of the chin, the jawline, the cheekbone, and the lips.
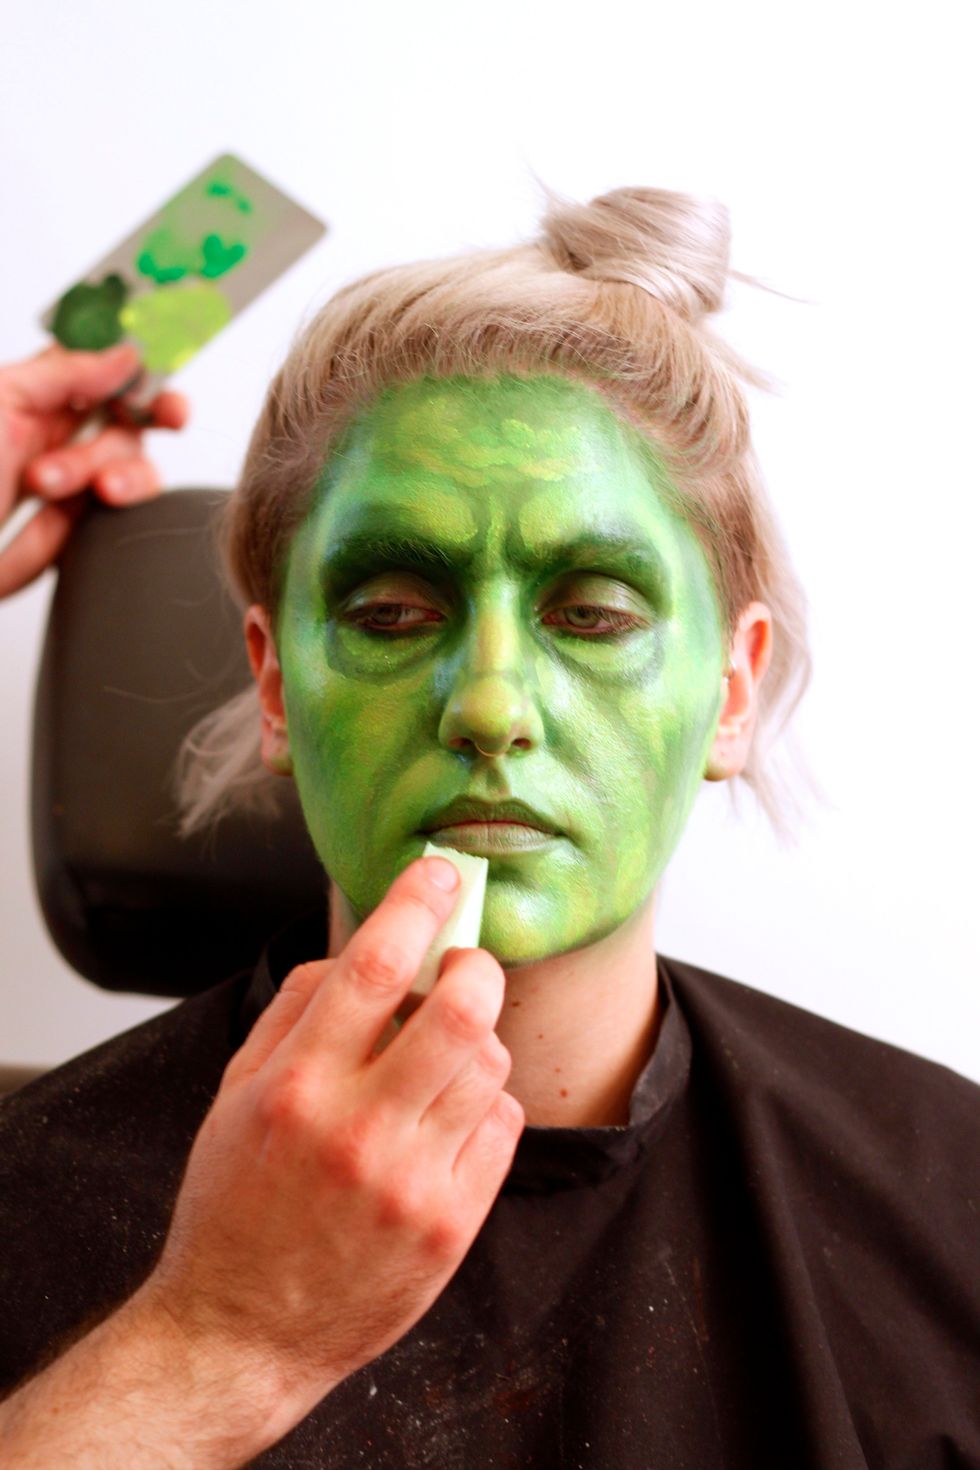
Now gently blend with a makeup sponge.
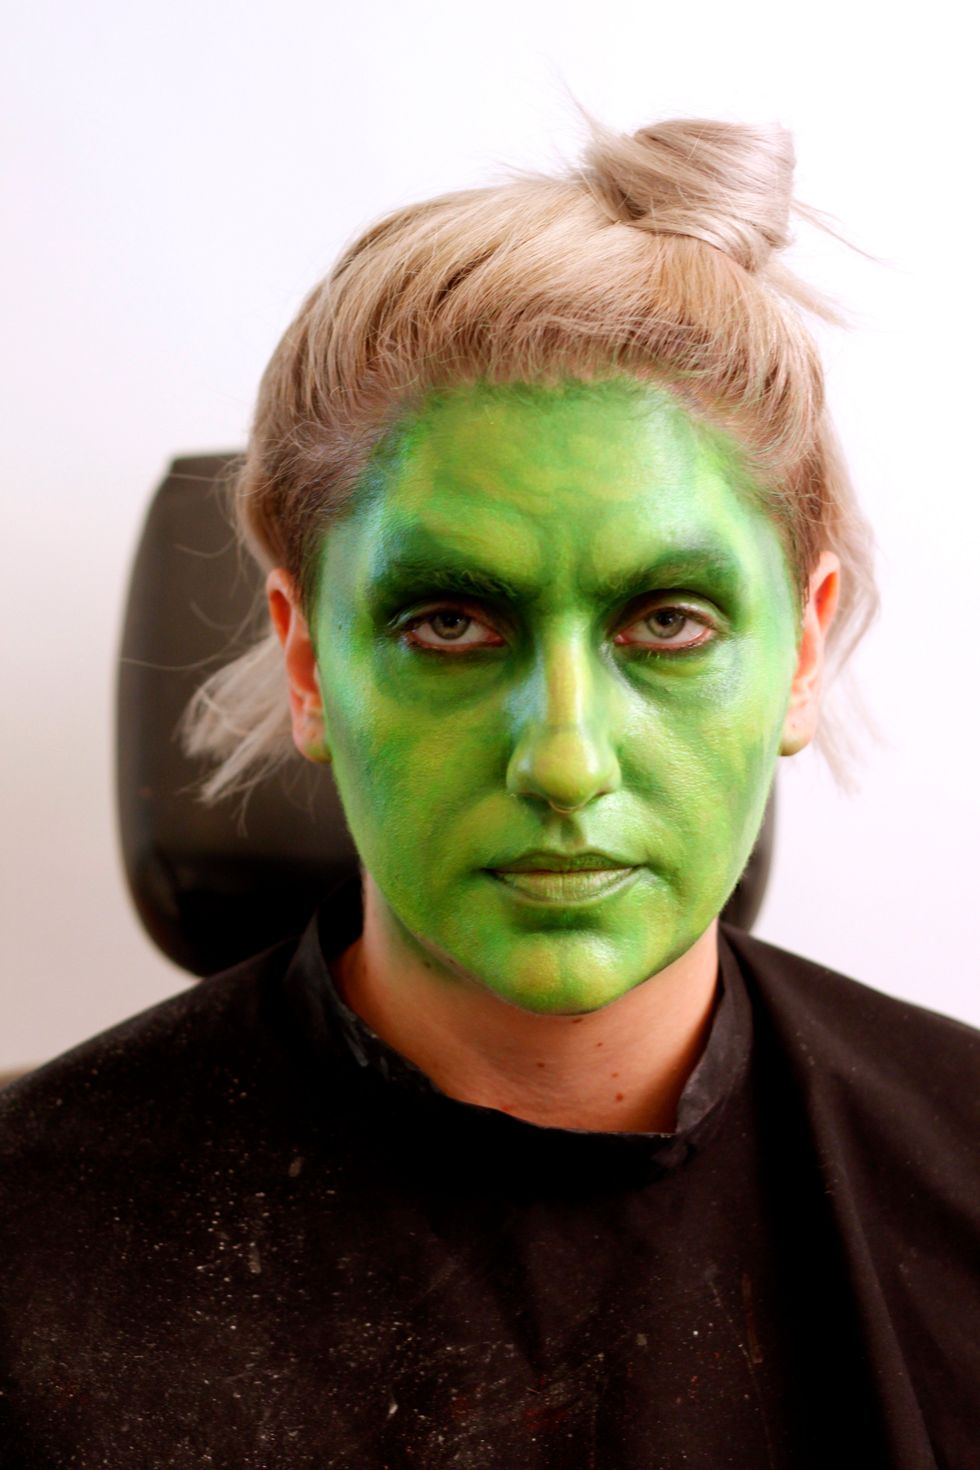
This is how the contouring should look. Now set with a translucent setting powder.
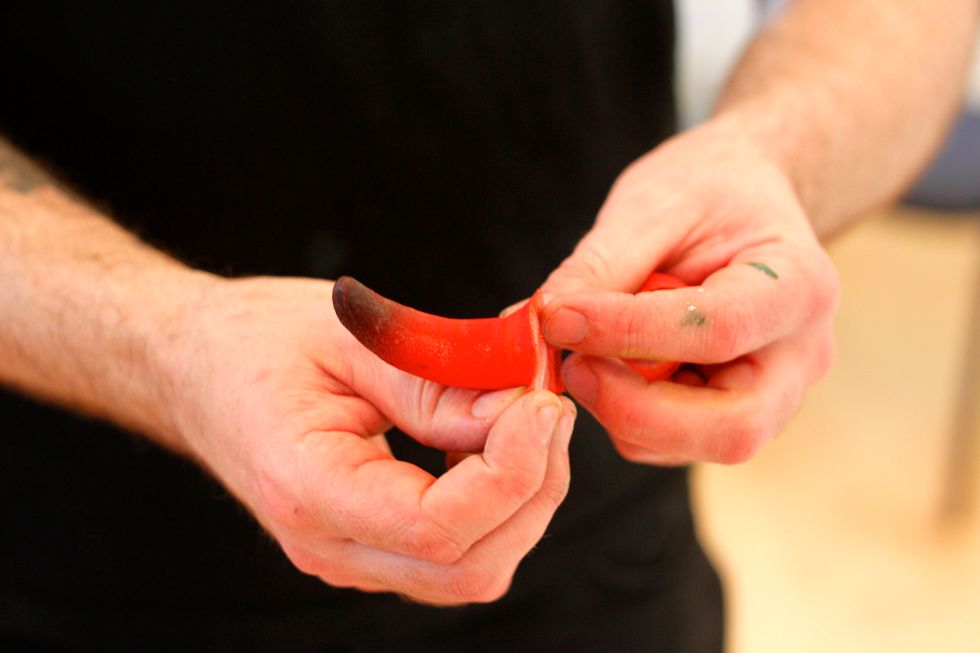
Now grab a prosthetic horn.
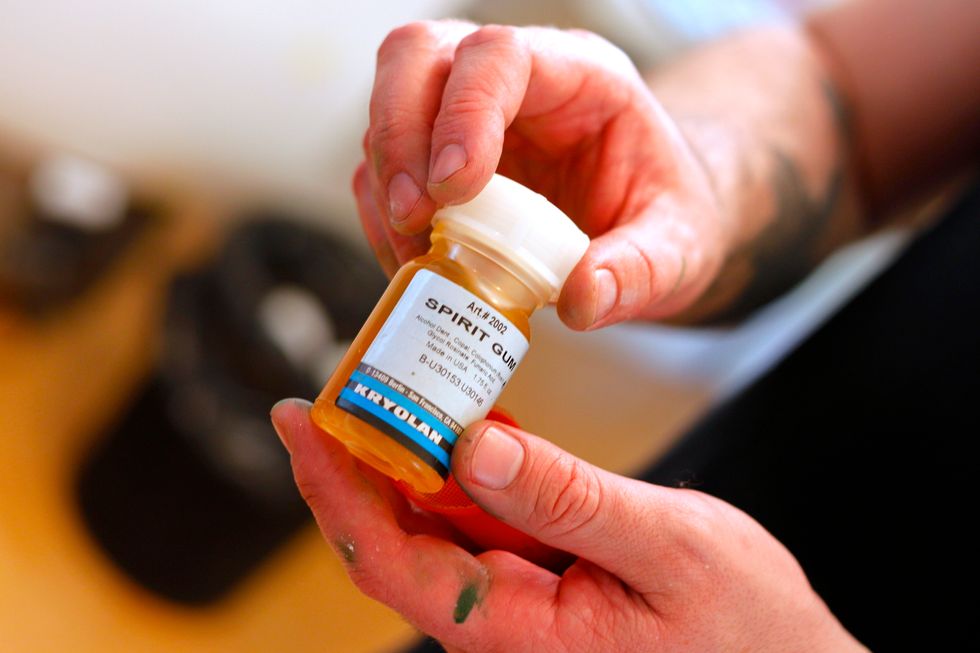
Grab your spirit gum.

Paint spirit gum all over the base of the horn and on the chin with a q-tip.
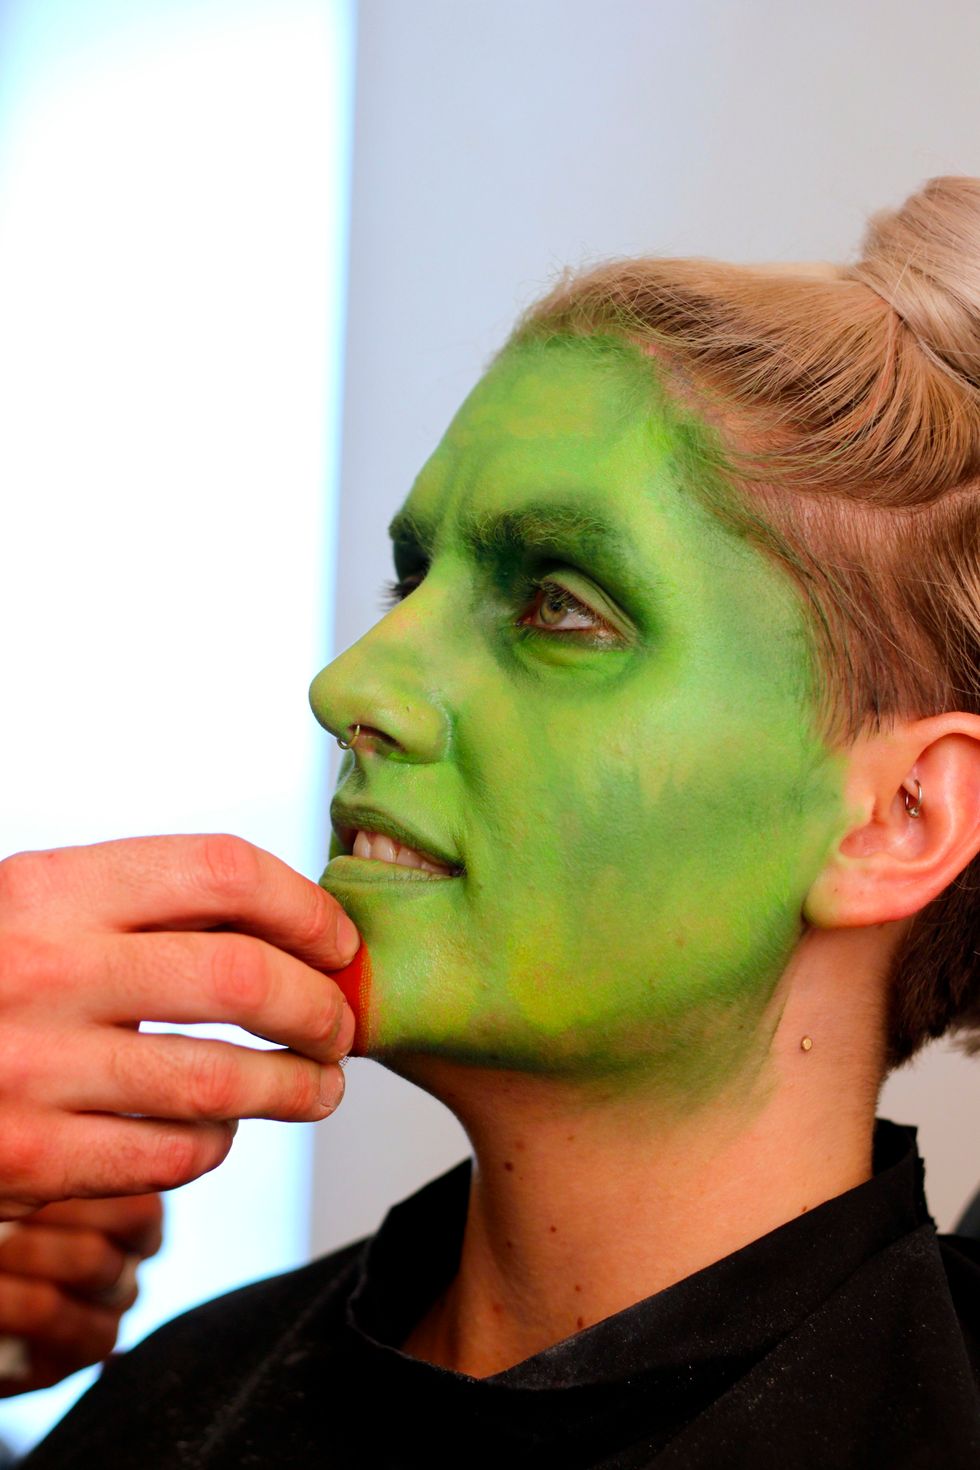
Attach the horn, holding it in place until it sets.
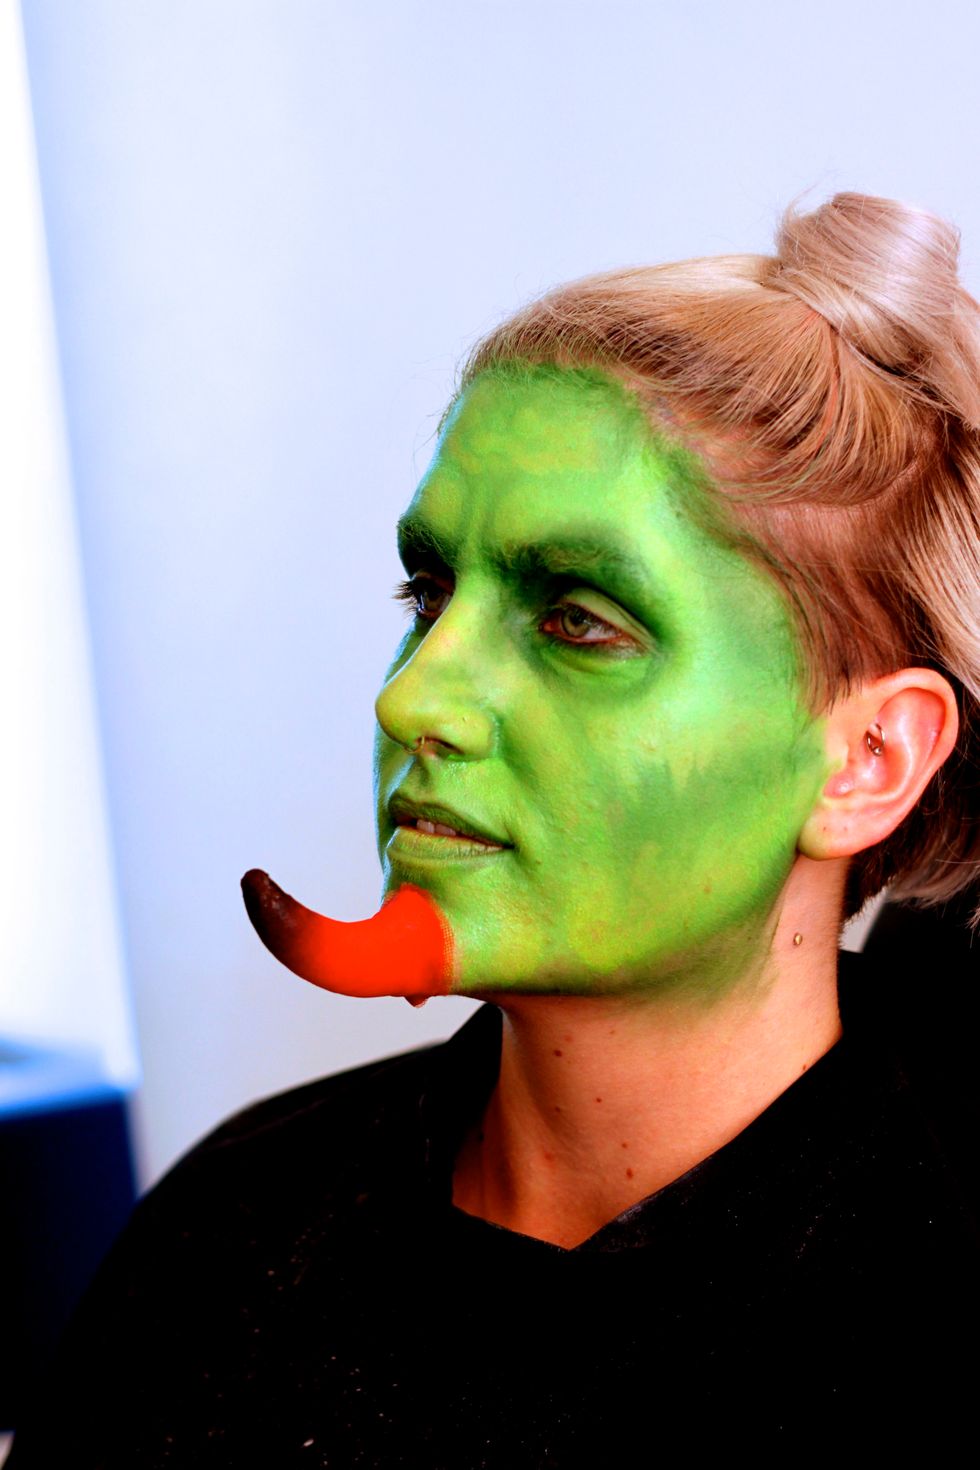
This is what it should look like on your chin. You could also put two horn on your forehead if you wanted.
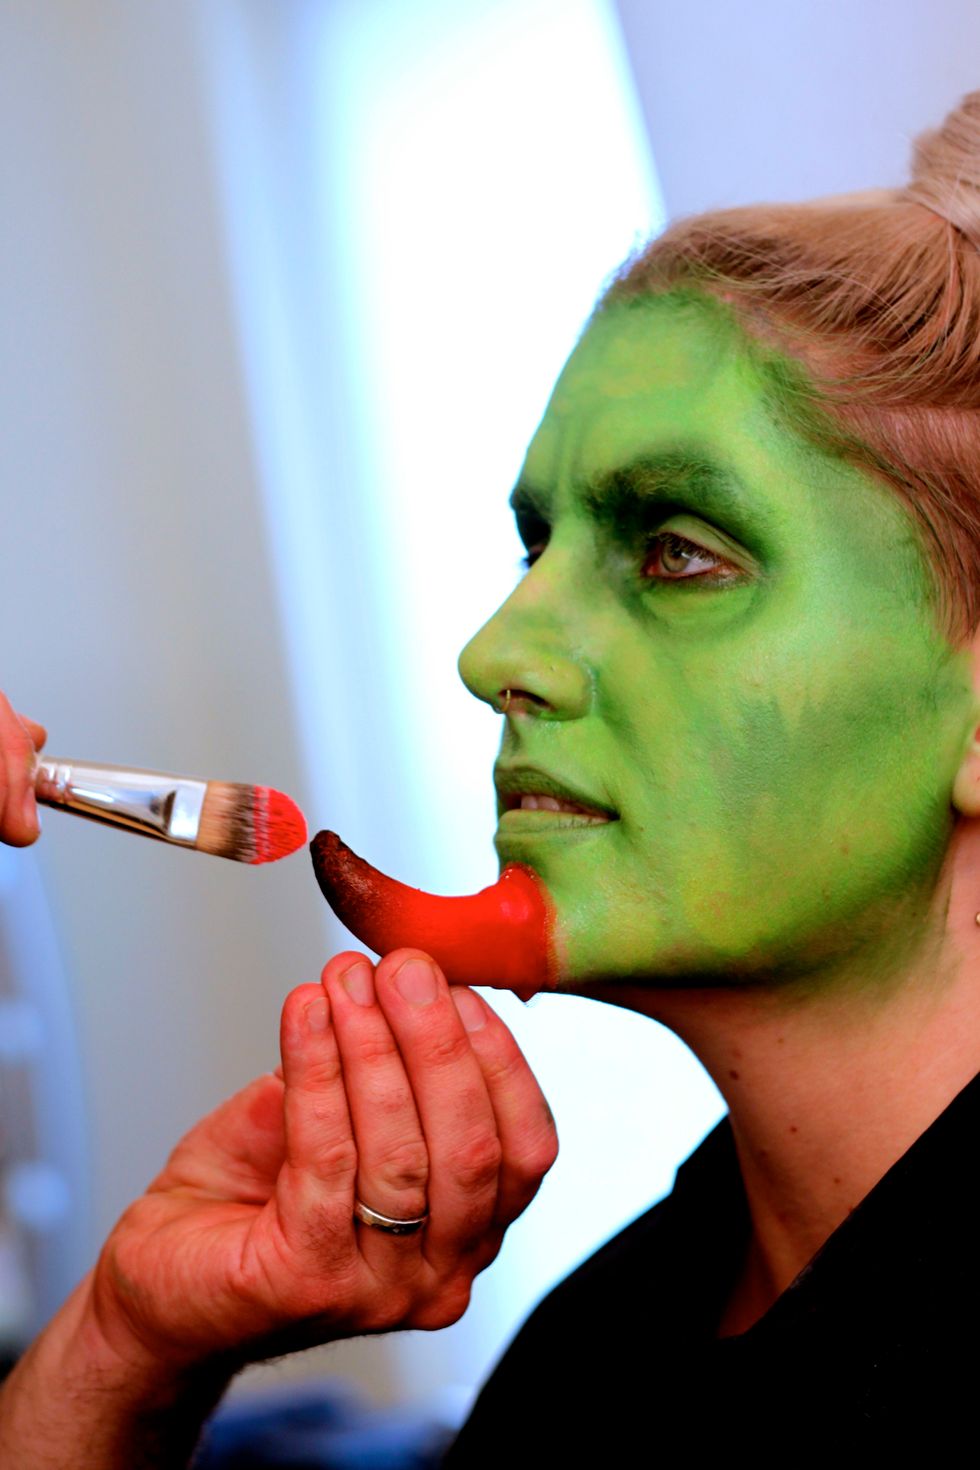
Take some UV-activated paint in the color of the horn, in this case red, and paint the horn so it glows under a black light.
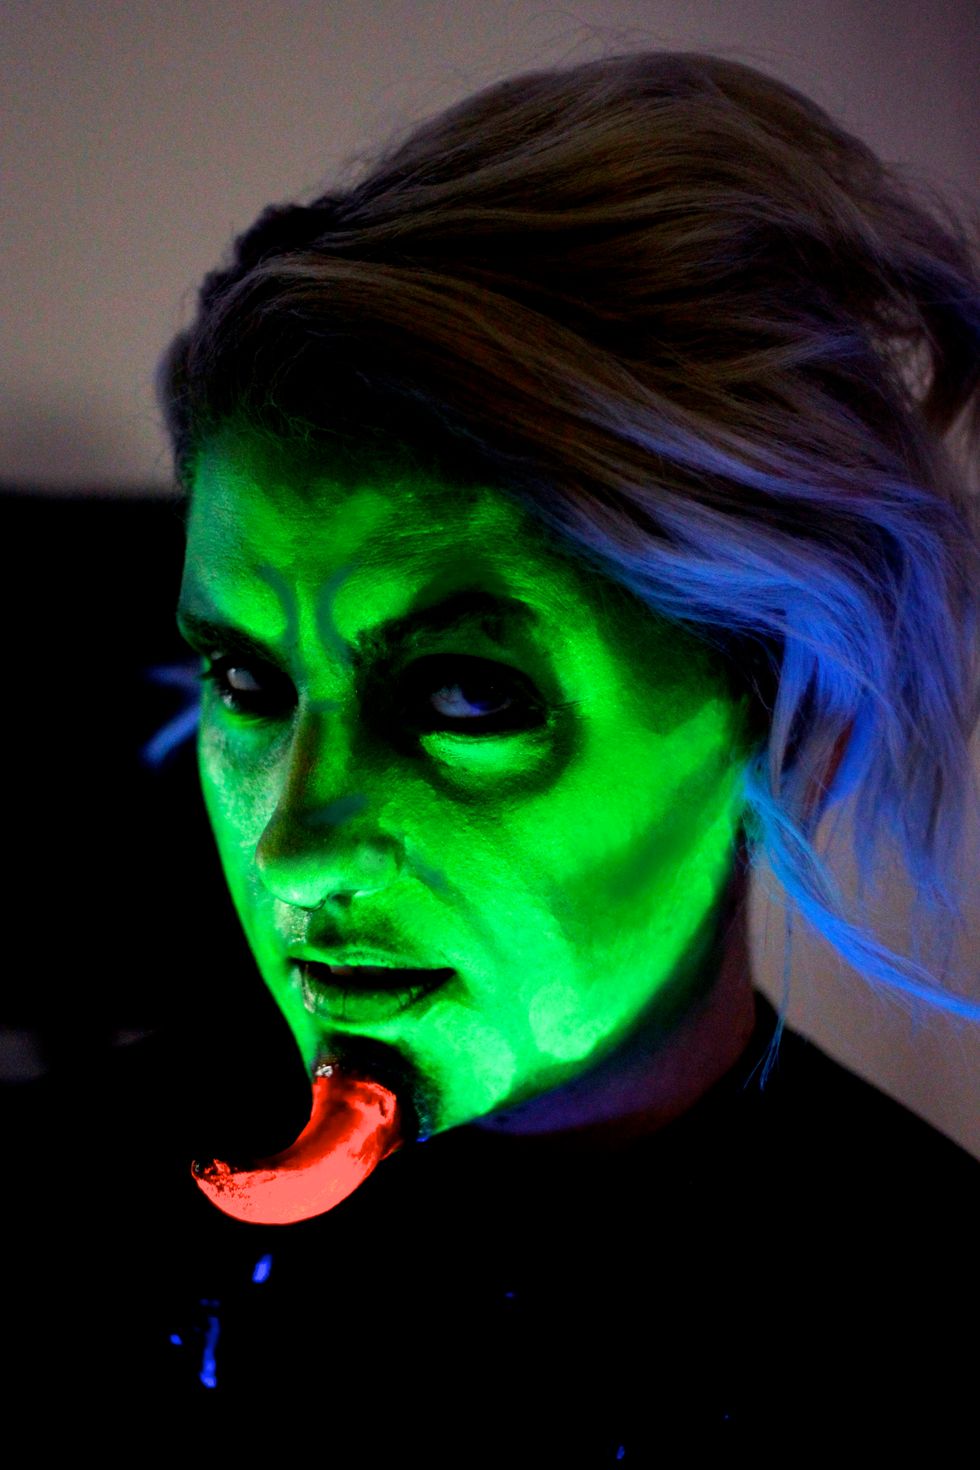
Turn on the black light and see your contouring skills in action. Enjoy!