The Conversation (0)
Sign Up
Faber Castell Design Memory Craft Gelatos (R) used: Snowcone, Blueberry, Boysenberry, Mango and Blood Orange
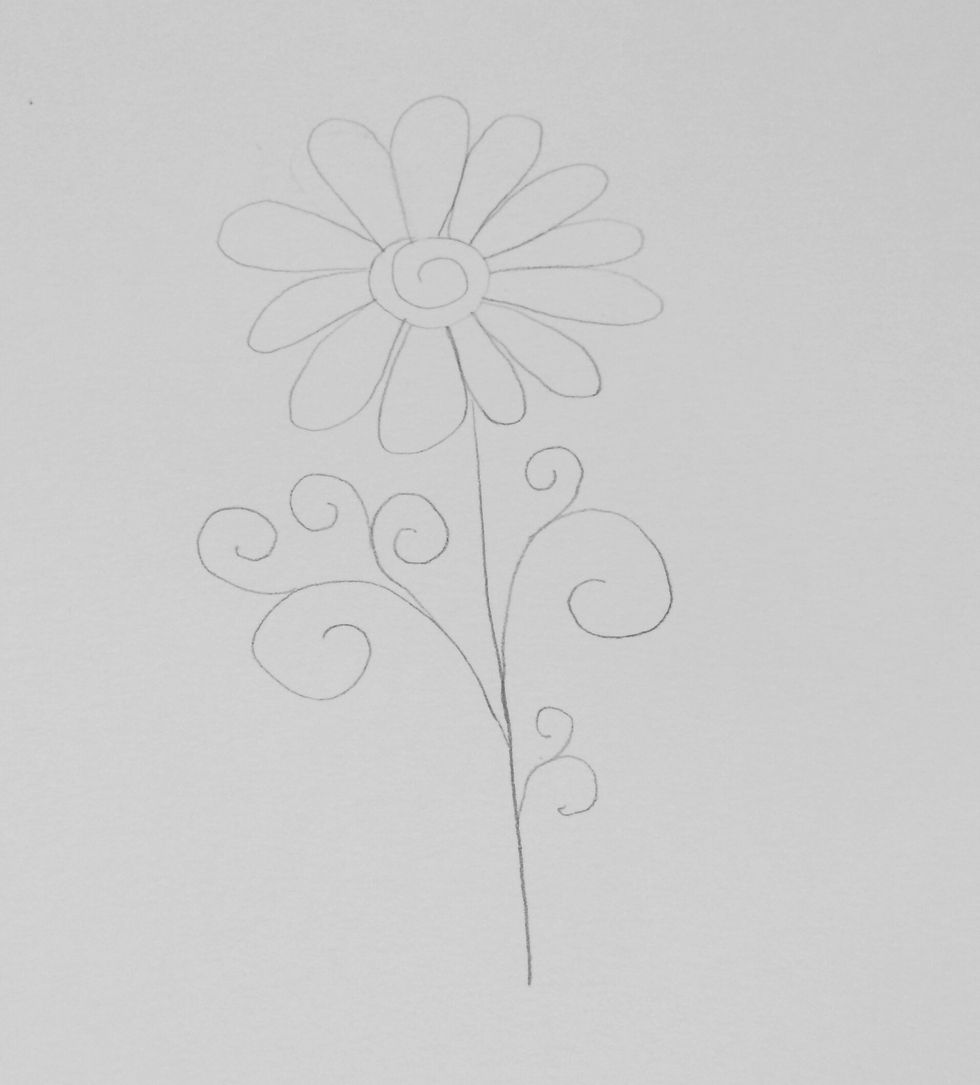
Start with a pencil drawing of your design. For this guide, I went with a simple flower.
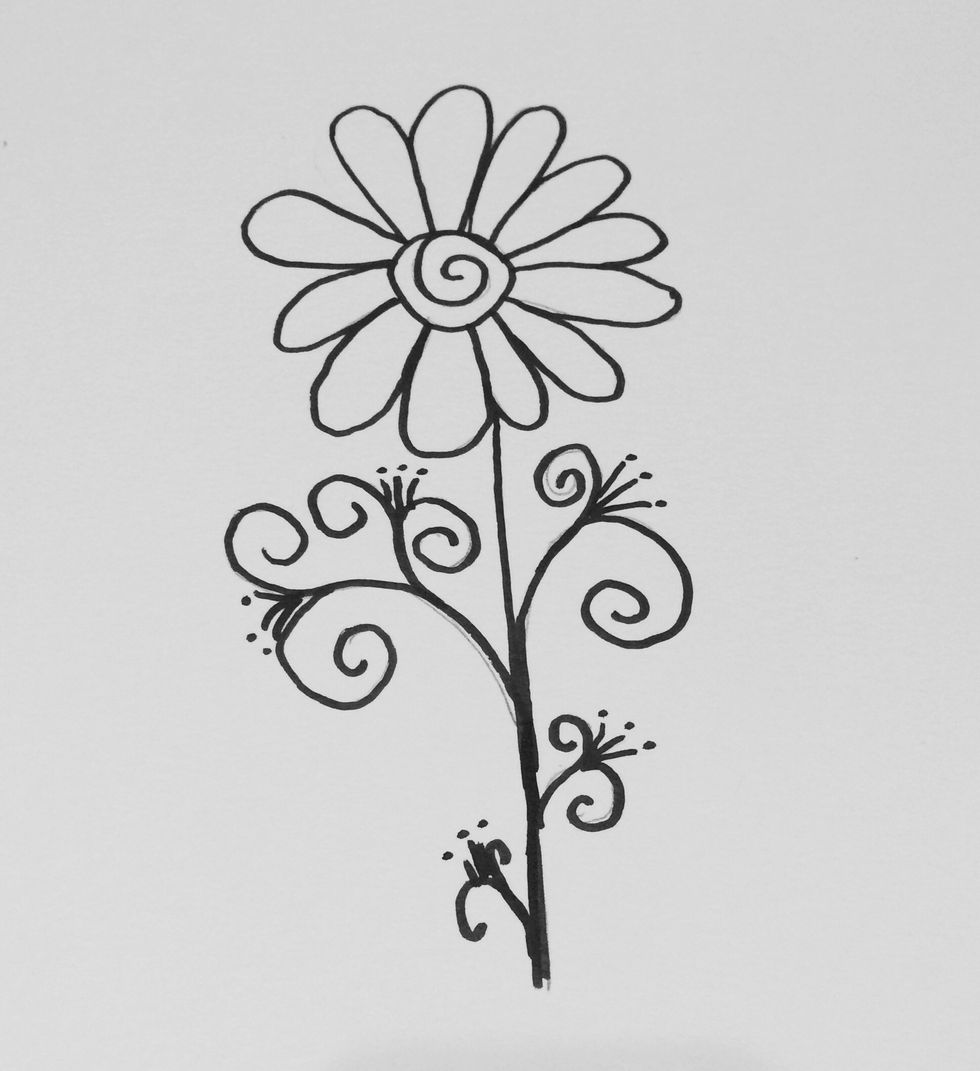
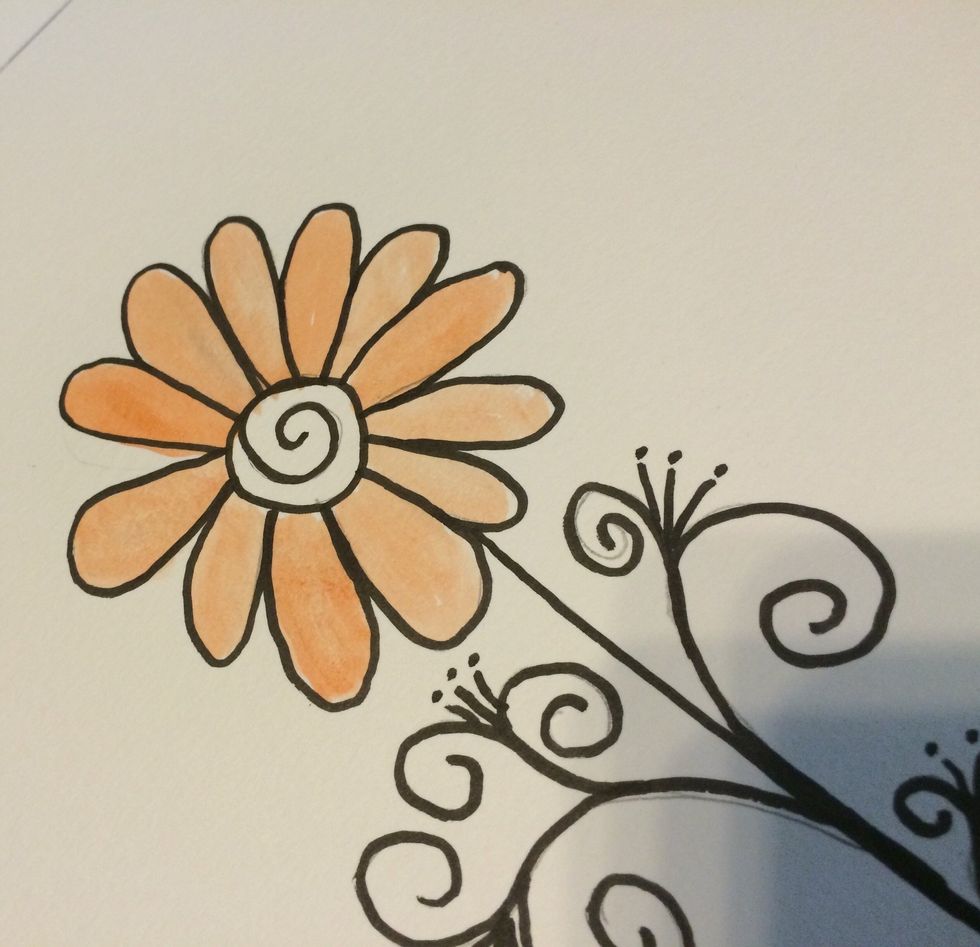
Using your Faber-Castell Design Memory Craft PITT Pen (I used the brush tip pen) in Black, outline your design. PITT pens are permanent once dry, so they are perfect for this project.
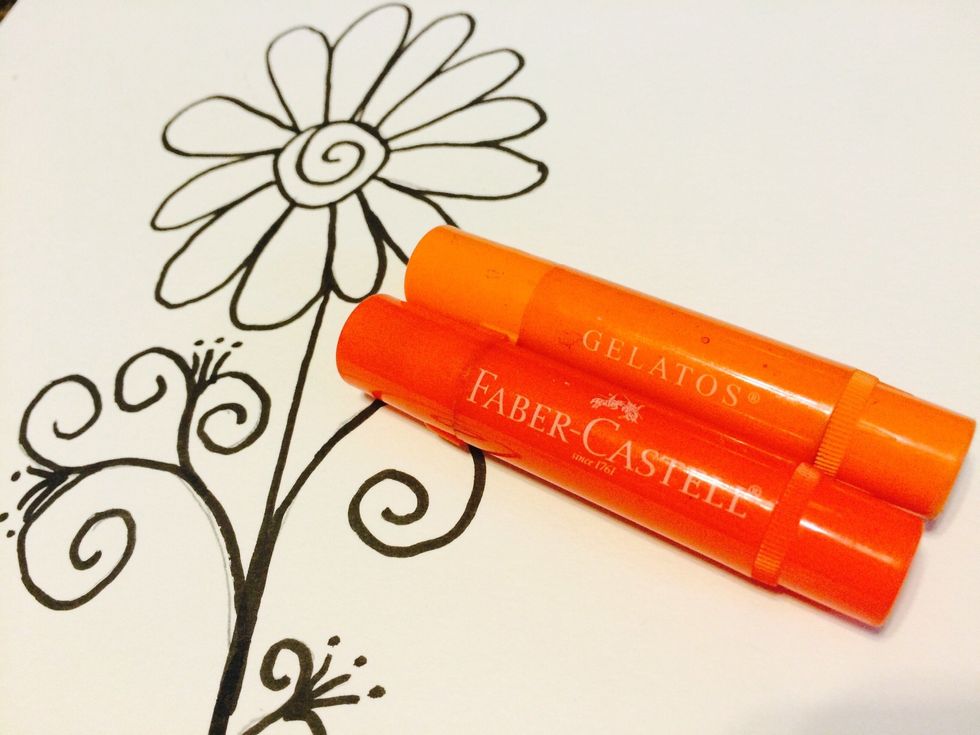
Pick 2 gelatos that are in the same color family...one lighter...one darker. I chose Mango and Blood Orange for this project.
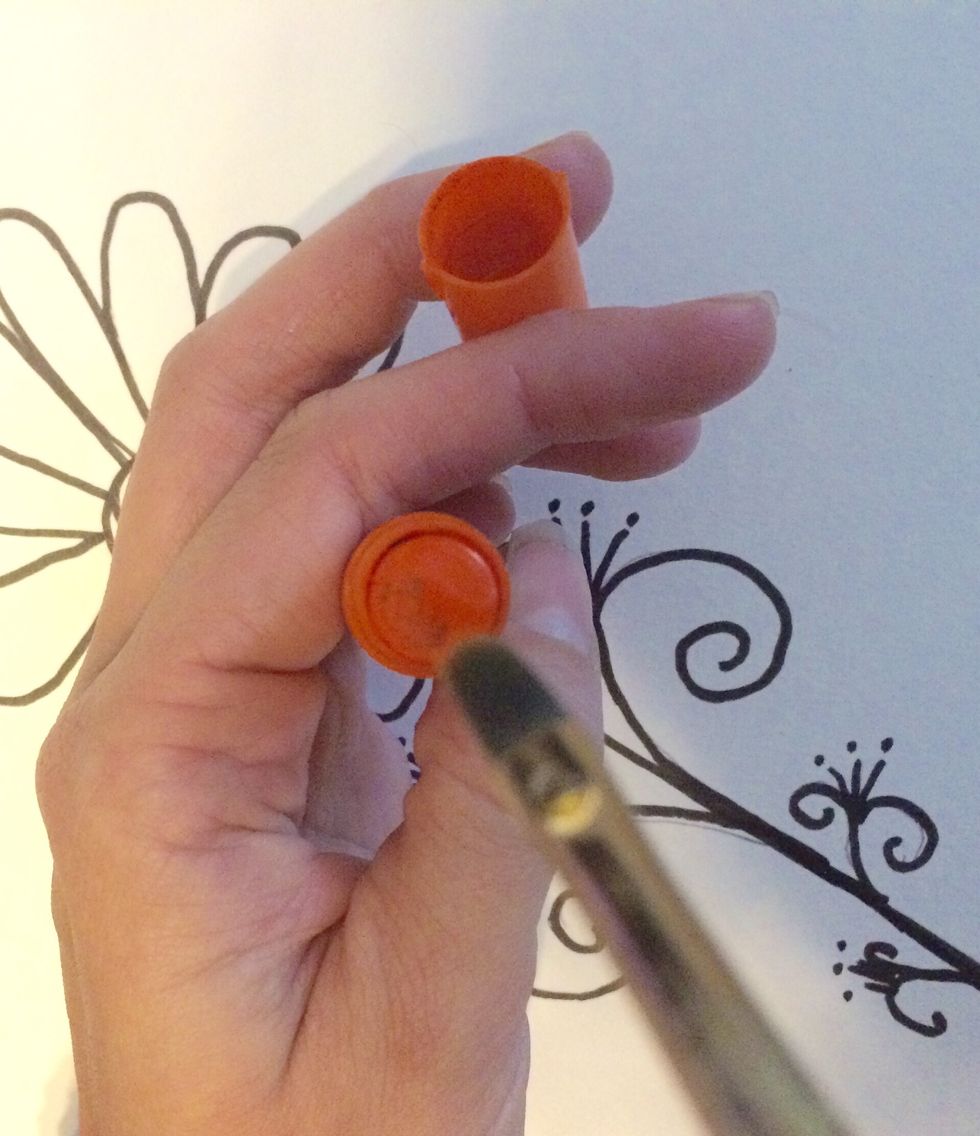
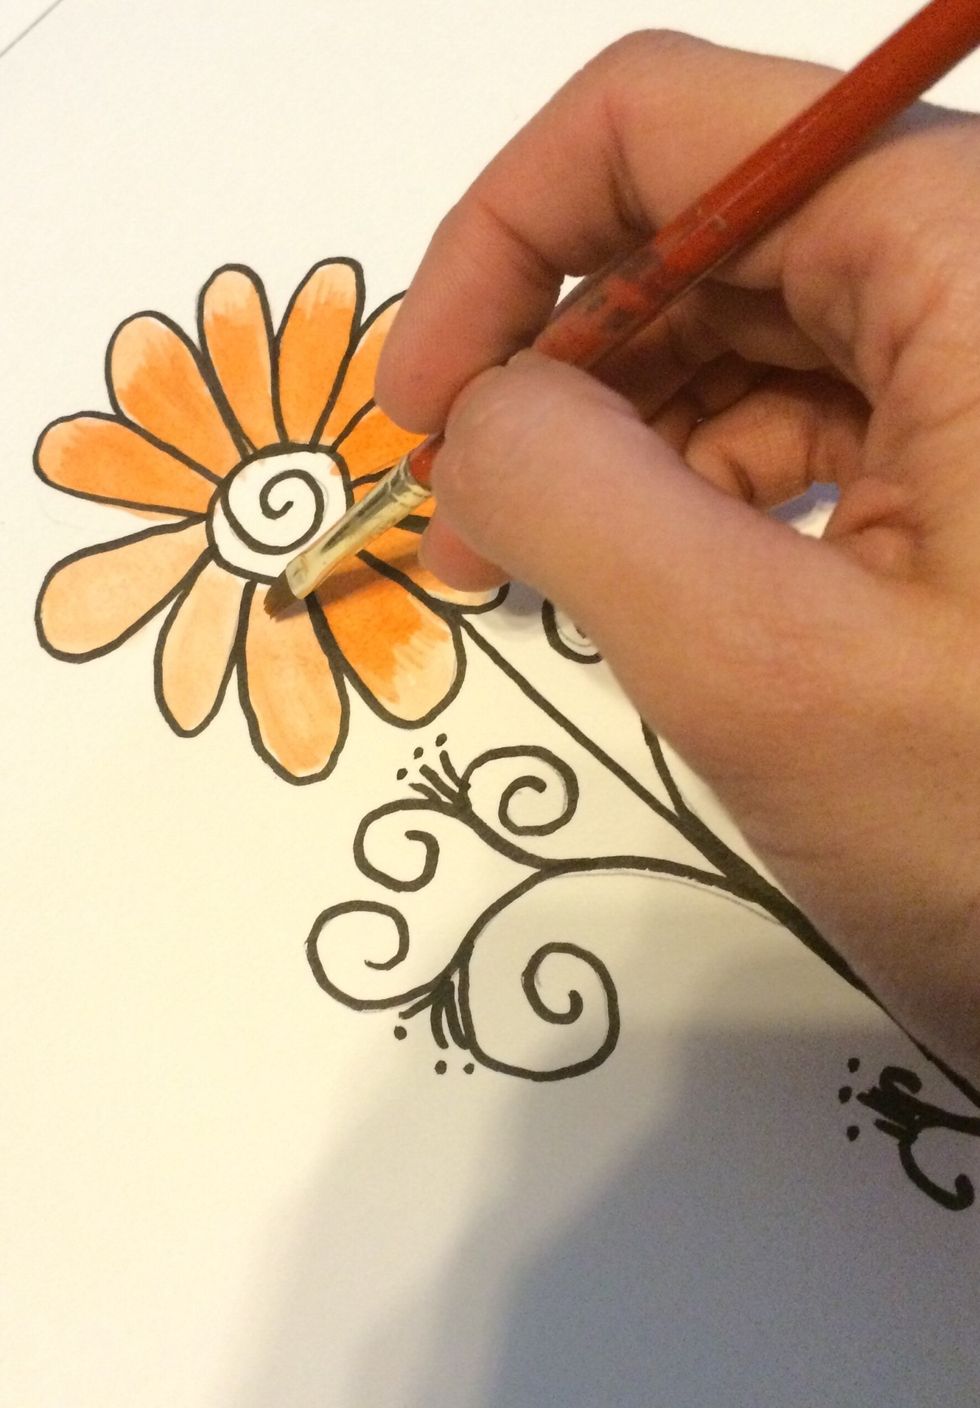
Grab a 1/4 in straight edge brush and slightly wet it. Brush your paintbrush directly over your Gelatos (R). Test your brush on a scrap piece of paper if you want to check your color.
Start with one layer of your color, covering your entire petals. Don't worry about being perfect! It's all about the experience!
Next, using the same color and technique, color over your petals again, this time not going all the way to the end. I like to use my brush up on its end to give my edge a "frayed" edge.
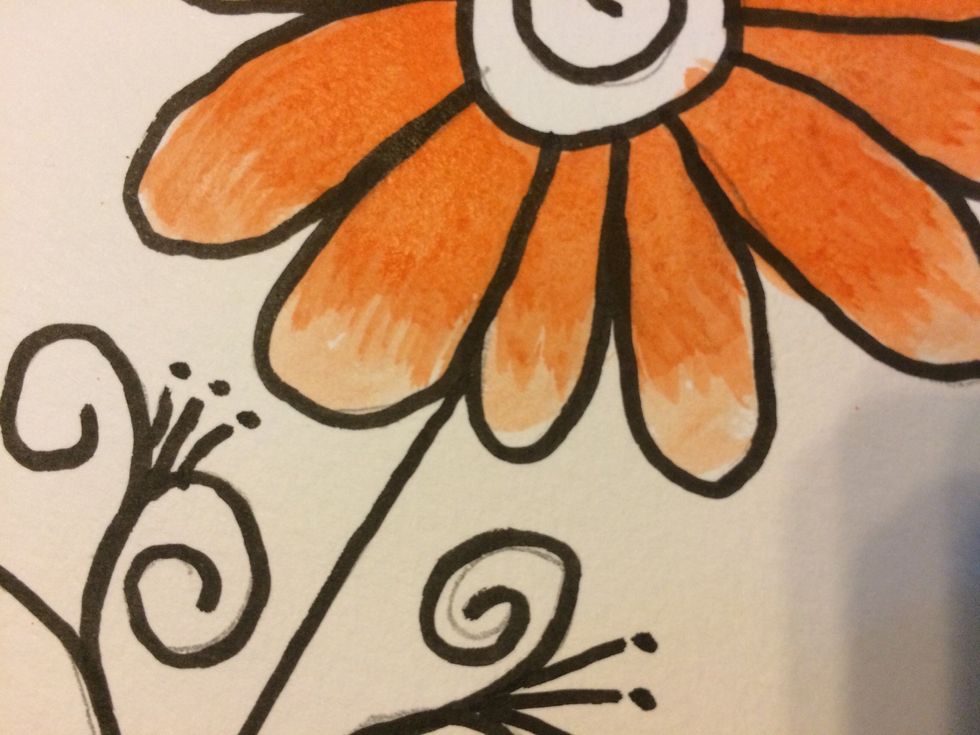
Here is a close-up of the 2nd layer. You can see I kept my edges jagged to trick the eye into thinking all the colors blend.
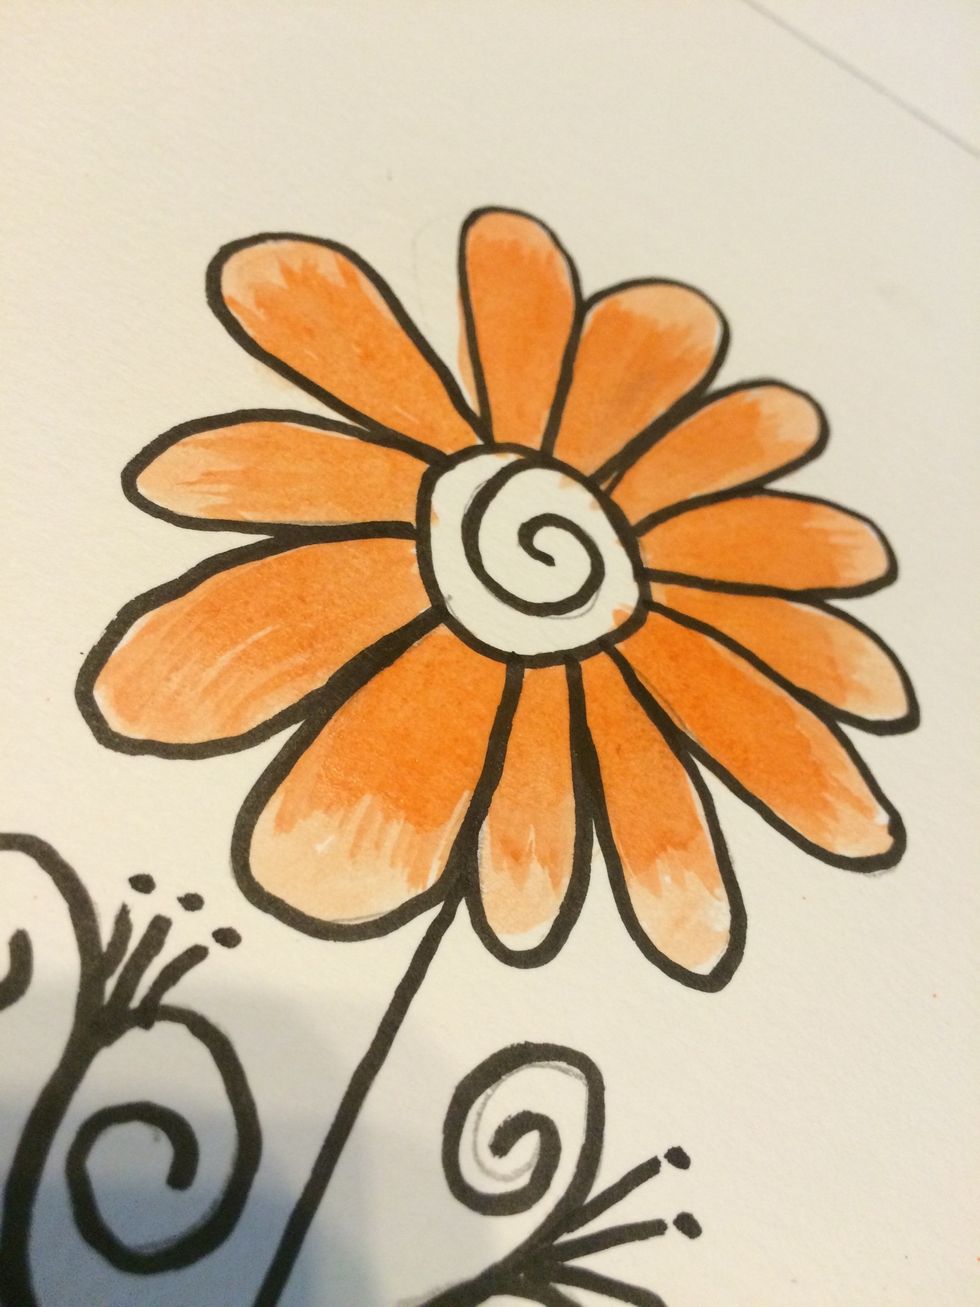
Again, using the same color and technique, add one more layer of this color...again...stopping just short of your 2nd layer of color.

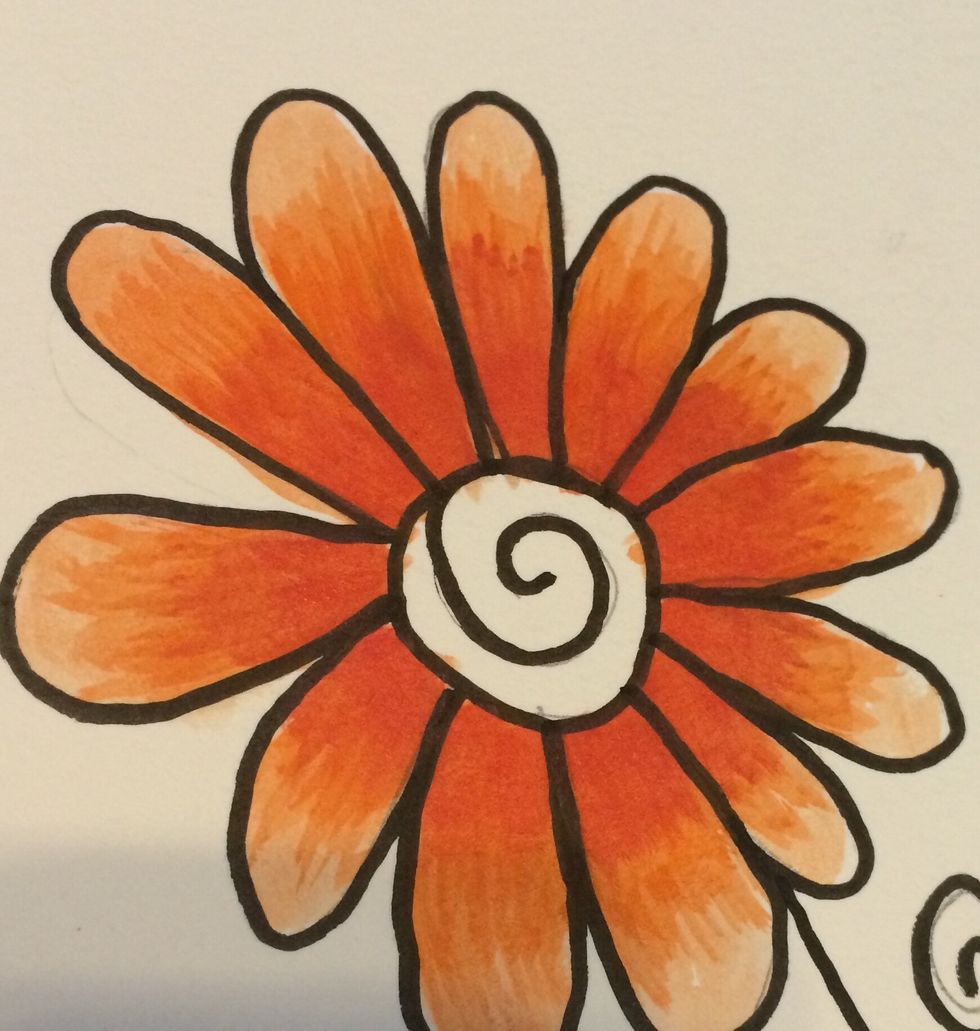
Here is our flower with 3 layers of the same color. You could leave it here, but we are going to take it a step farther.
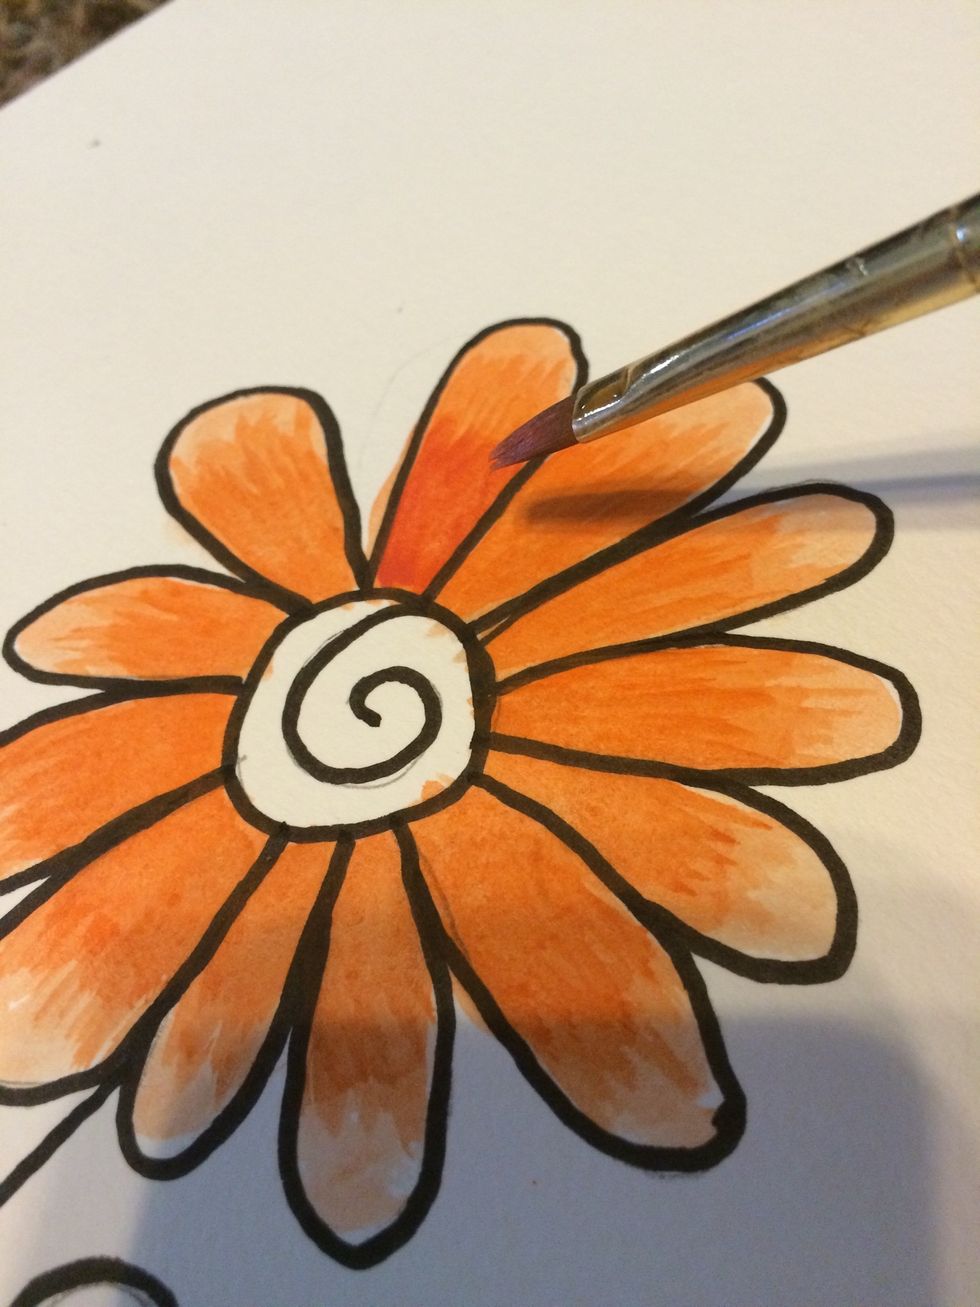
Grab your darker Gelatos (R) color and repeat the same painting technique. Start at the center and draw your color out to a jagged edge just short of completely covering the layer under it.
Here's a close-up of our first darker layer in progress.
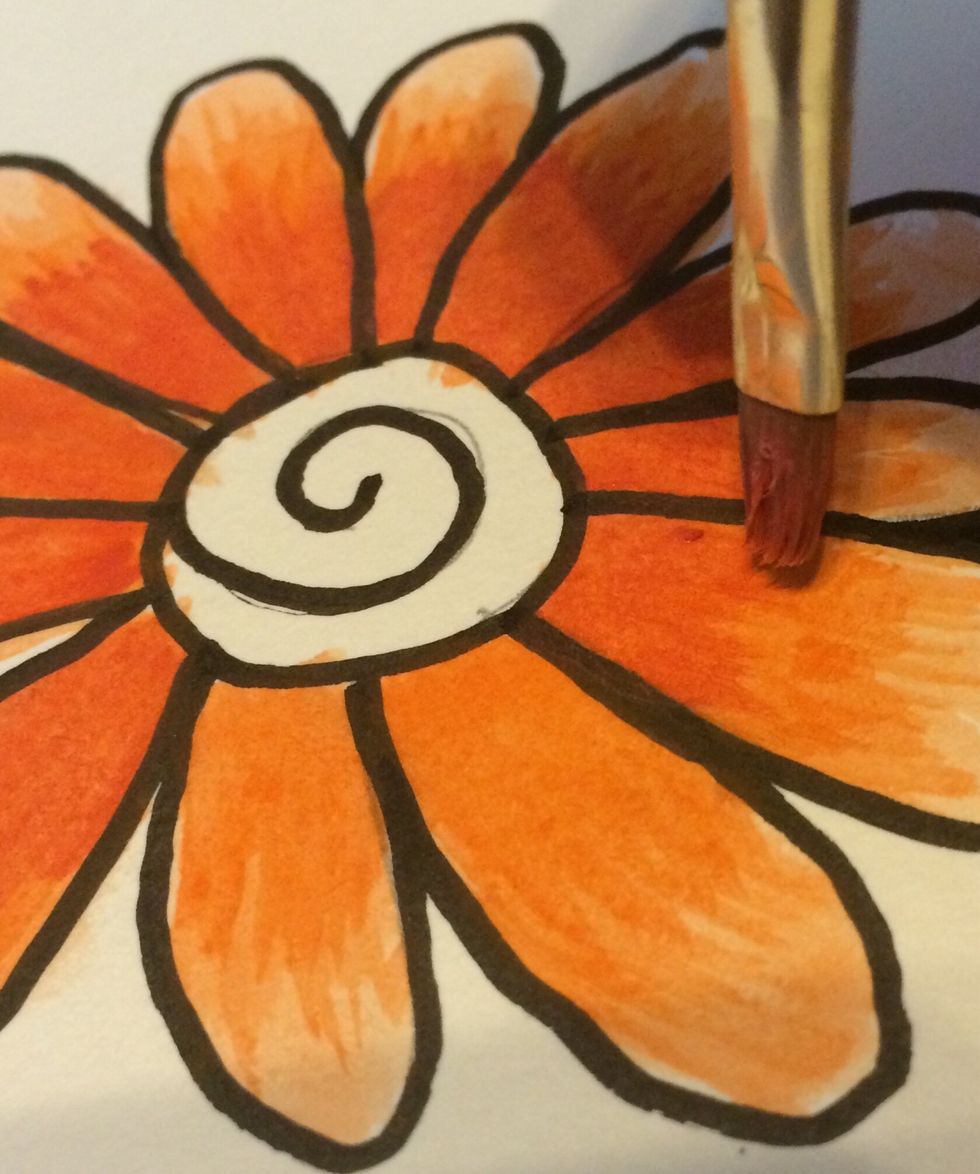
Add a second layer of your darker Gelatos (R).
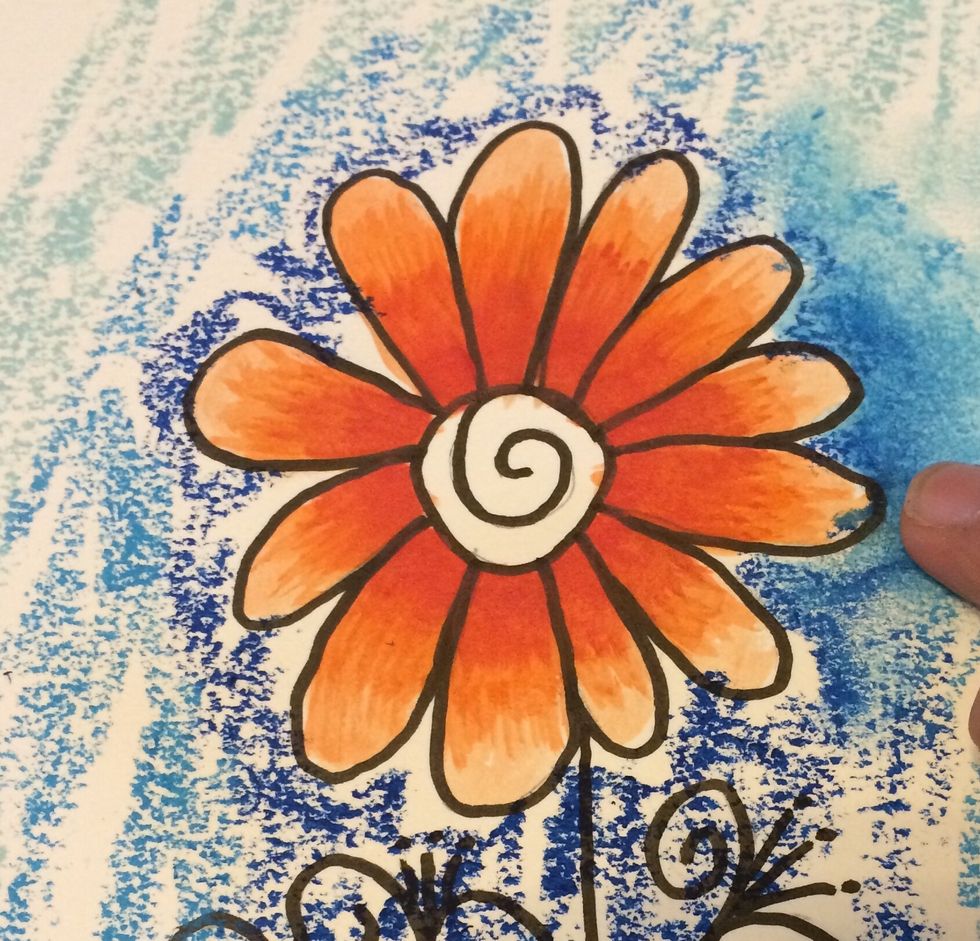
For your 3rd and final layer of your darker Gelatos (R), darken the area just around your flower center.
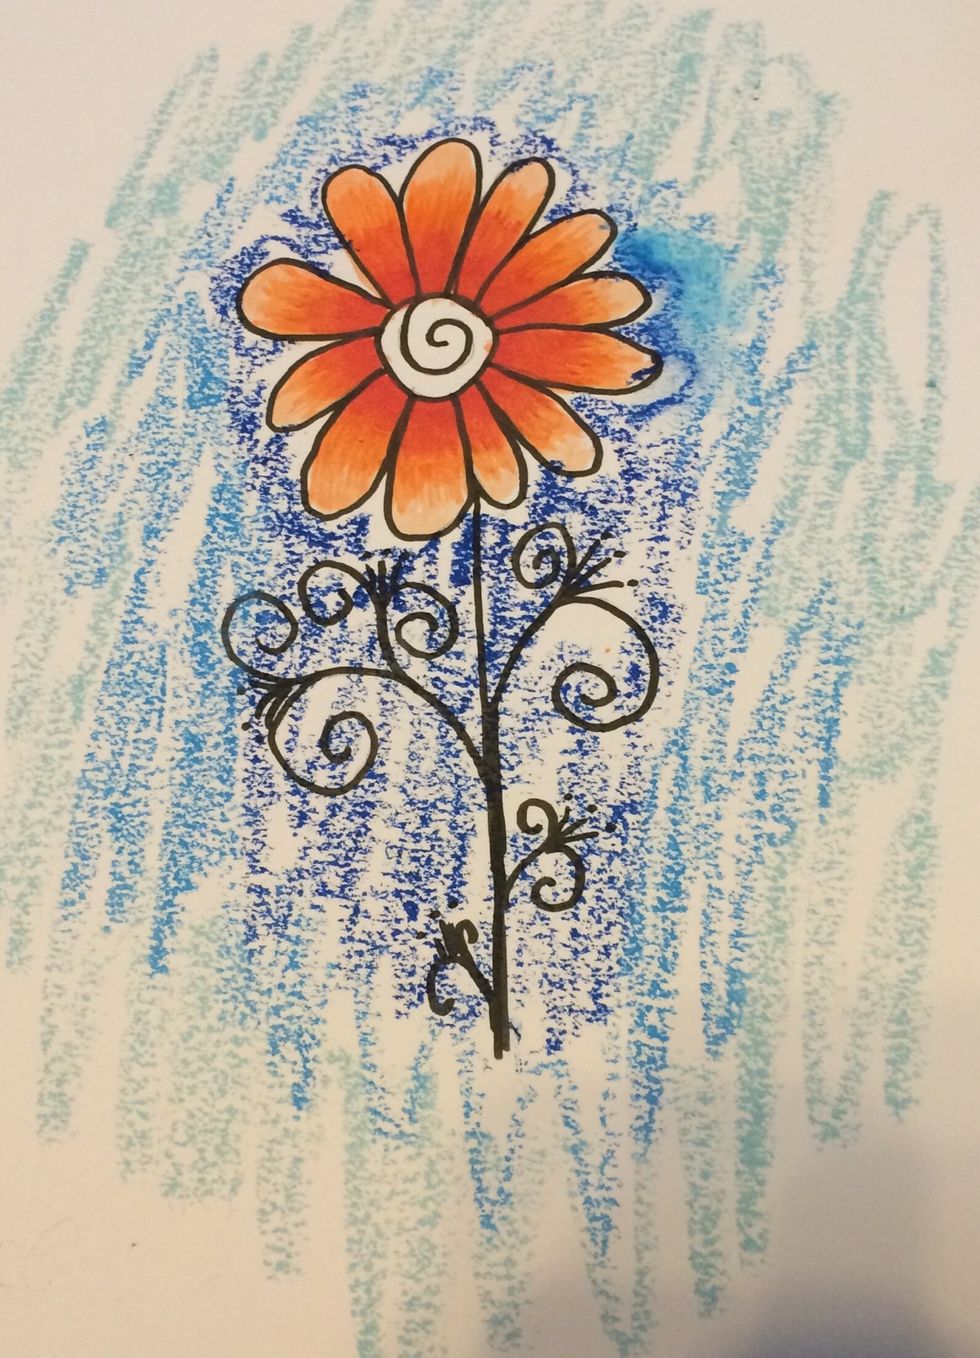
To make your background, choose 3 colors of Gelatos (R), one dark, one medium and one light. Scribble your darkest closer to your image. Then add your medium color and then your light on the outside.
Using a damp finger, lightly rub your Gelatos (R) to blend the colors together. I got a little happy with my blue and overlapped my petal..woops! Oh well! :)
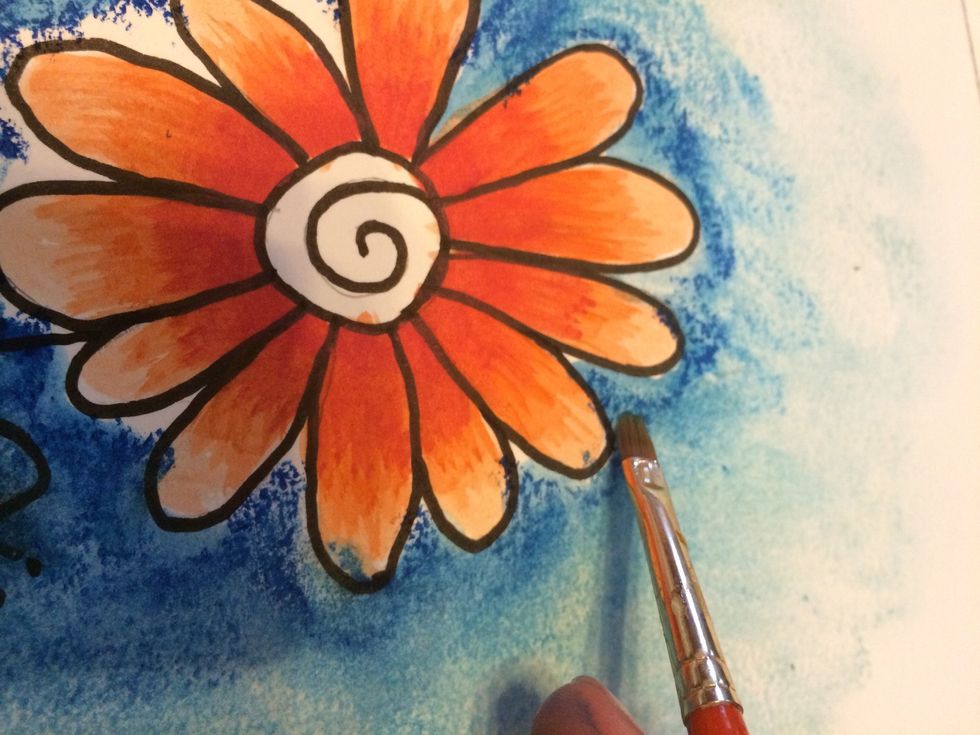
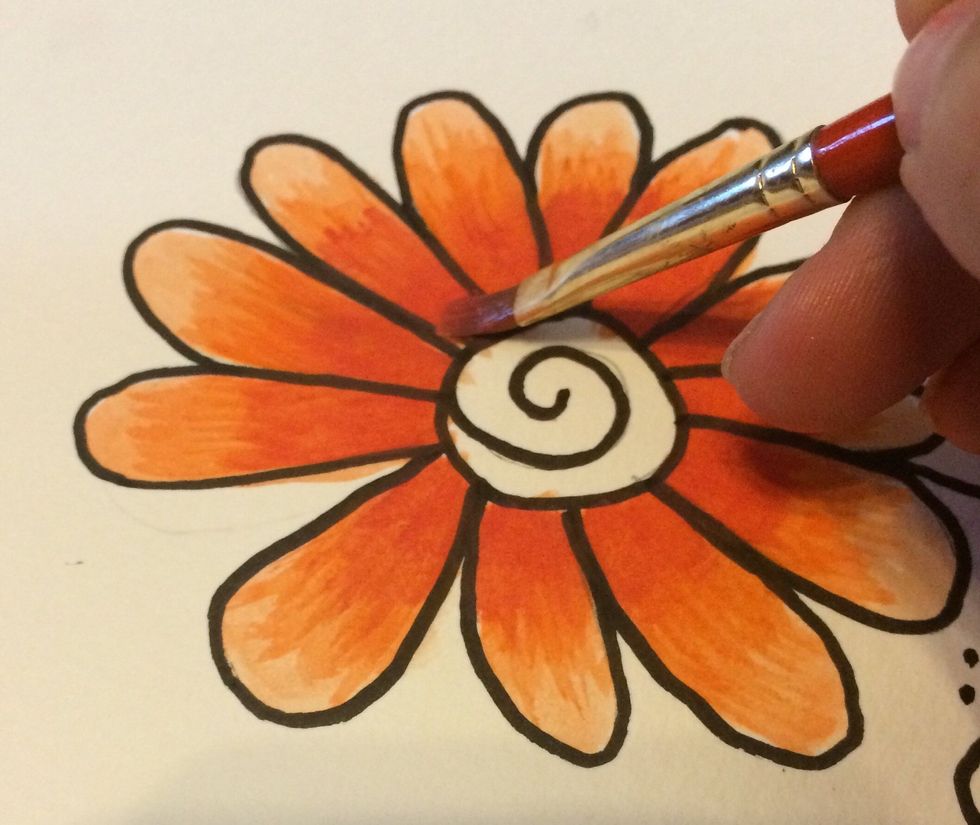
To get in between the petals, use your wet brush again.
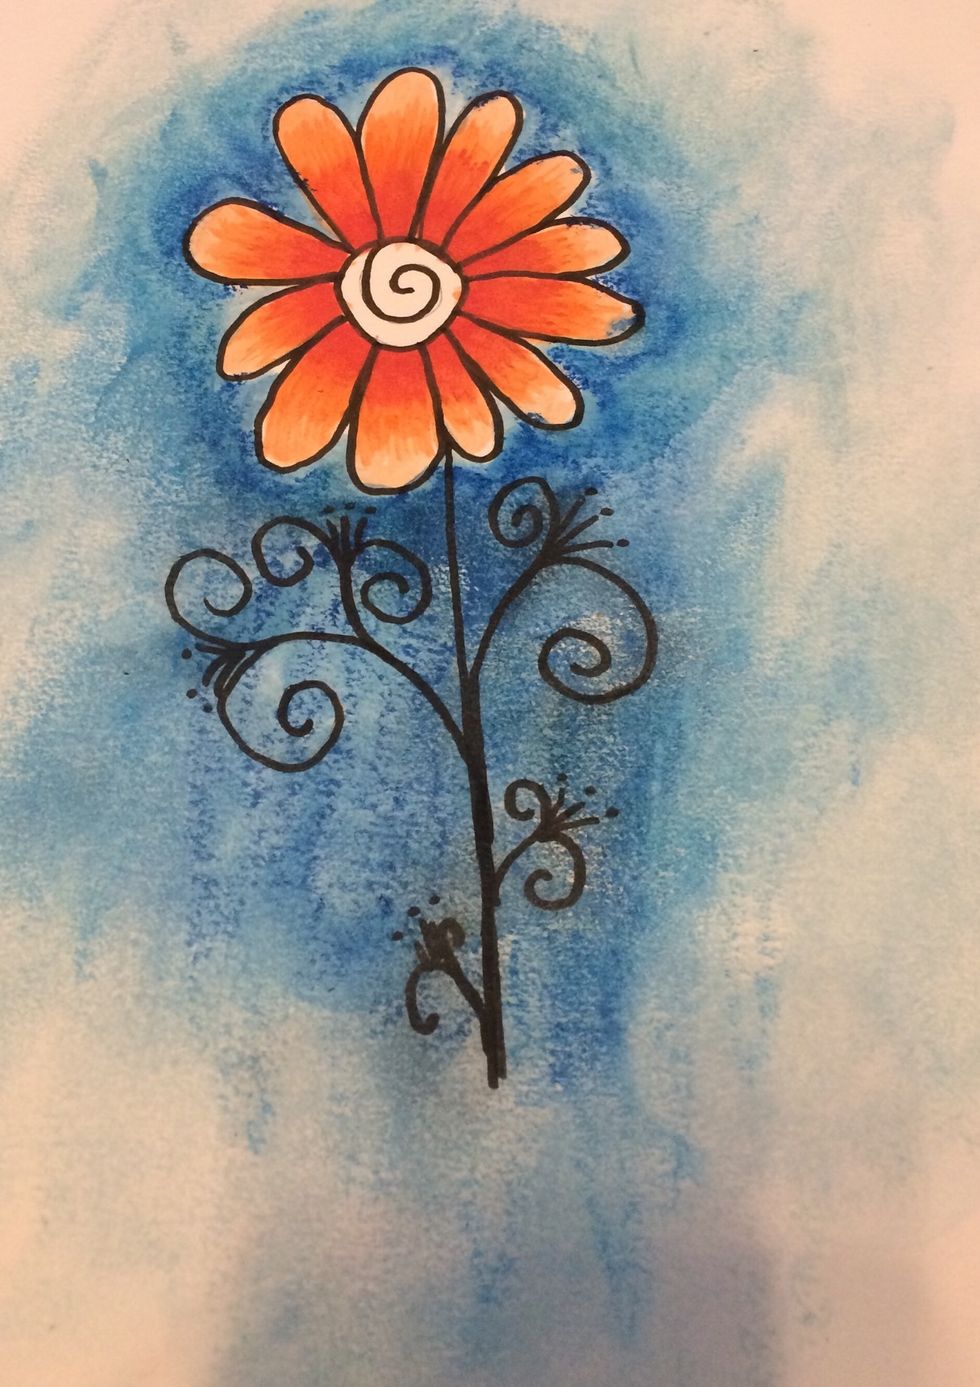
Keep working your Gelatos (R) colors until your are happy. You might need to add more colors if you aren't happy...just keep adding a blending until you are!
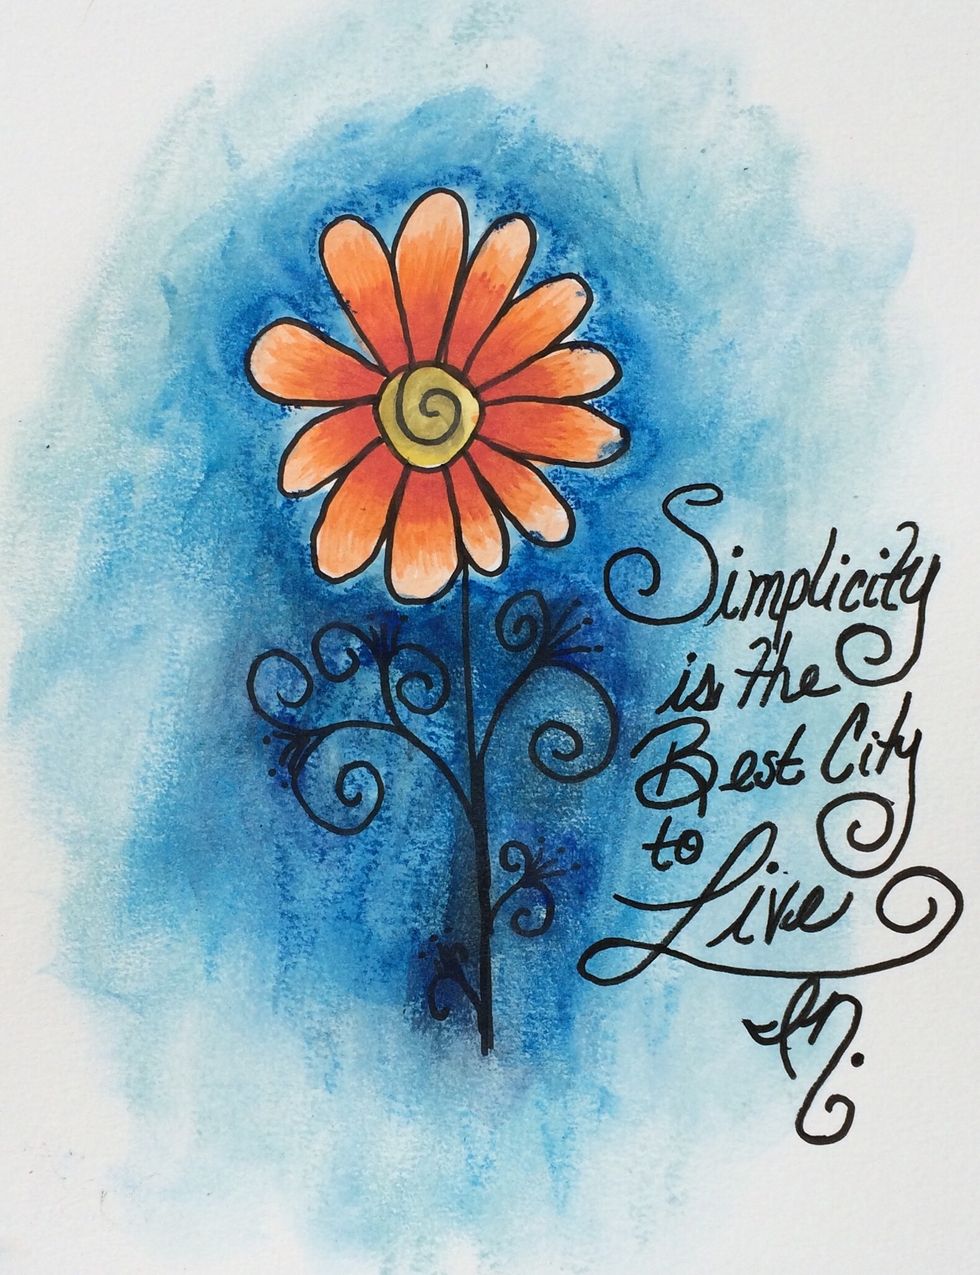
Color in your flower center and add your favorite saying!! And you're done!!
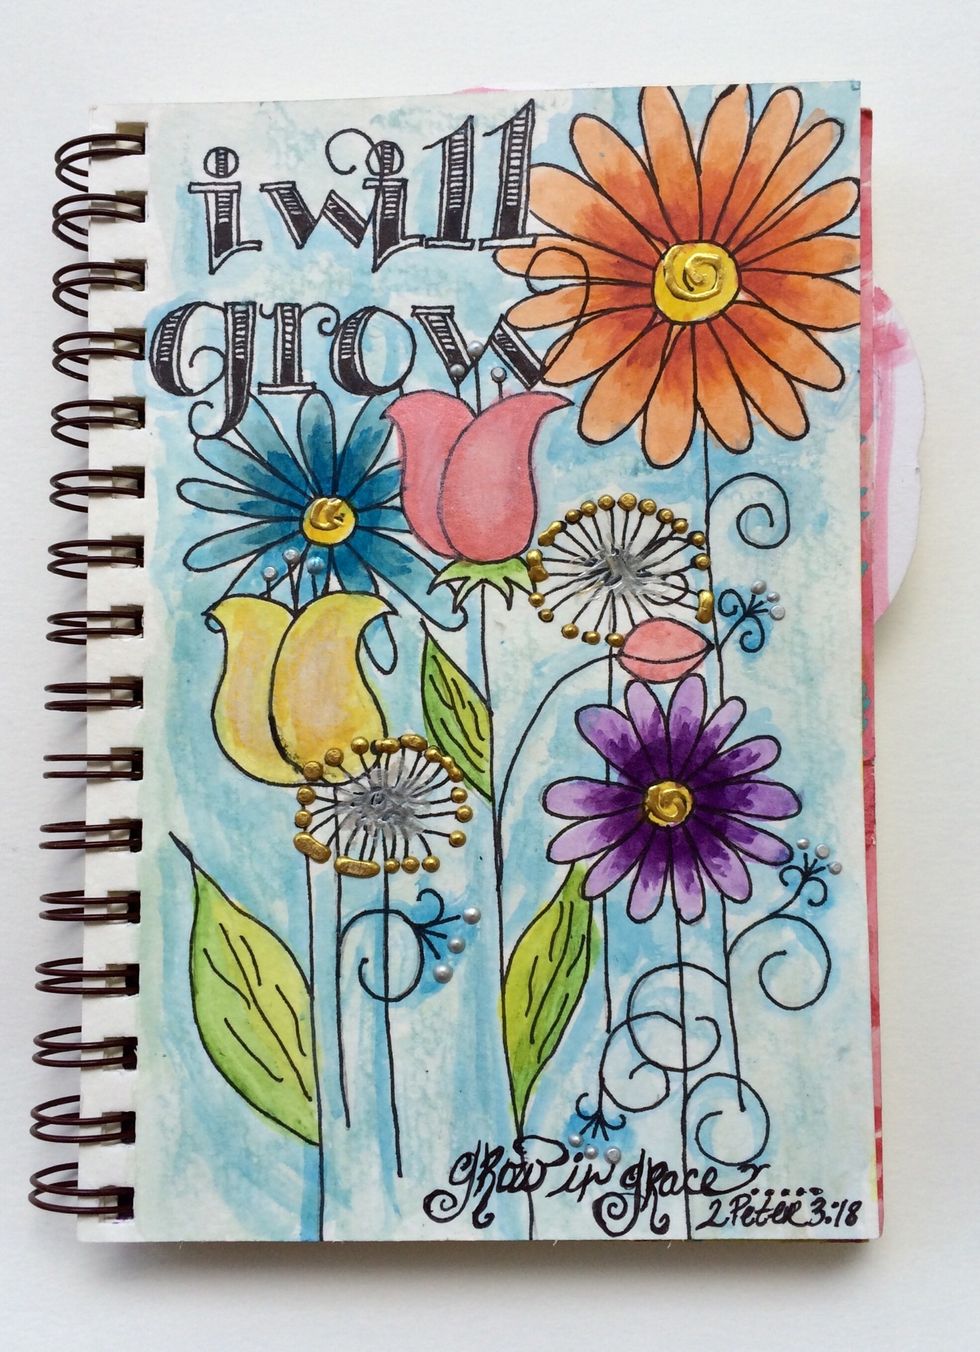
Here is a more complicated project using the same techniques. I also added some Faber Castell Design Memory Craft Texture Gems for fun!