The Conversation (0)
Sign Up
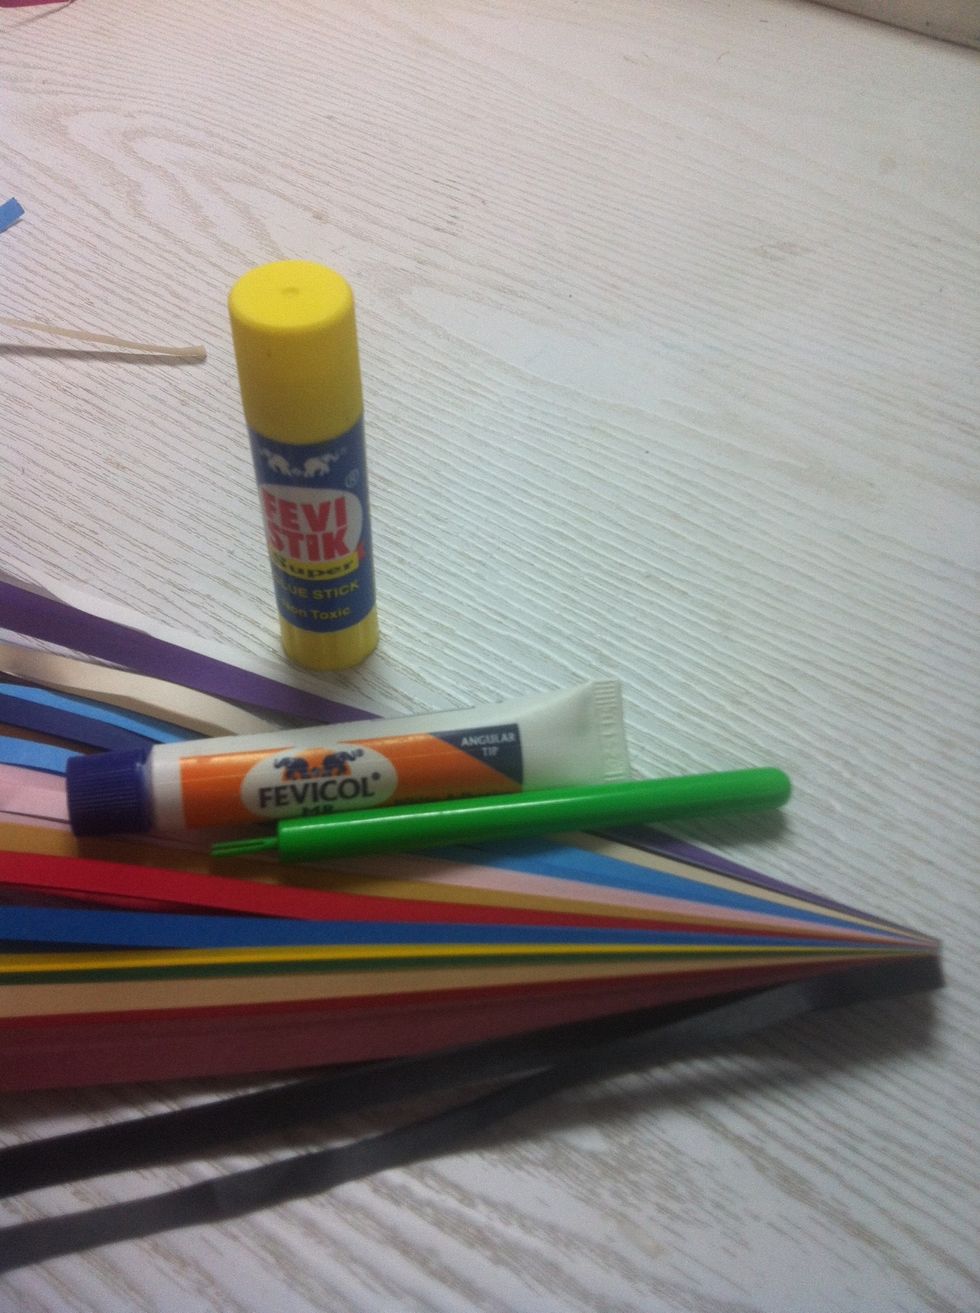
Gather all the equipment .

Thats what a Quilling needle looks like...
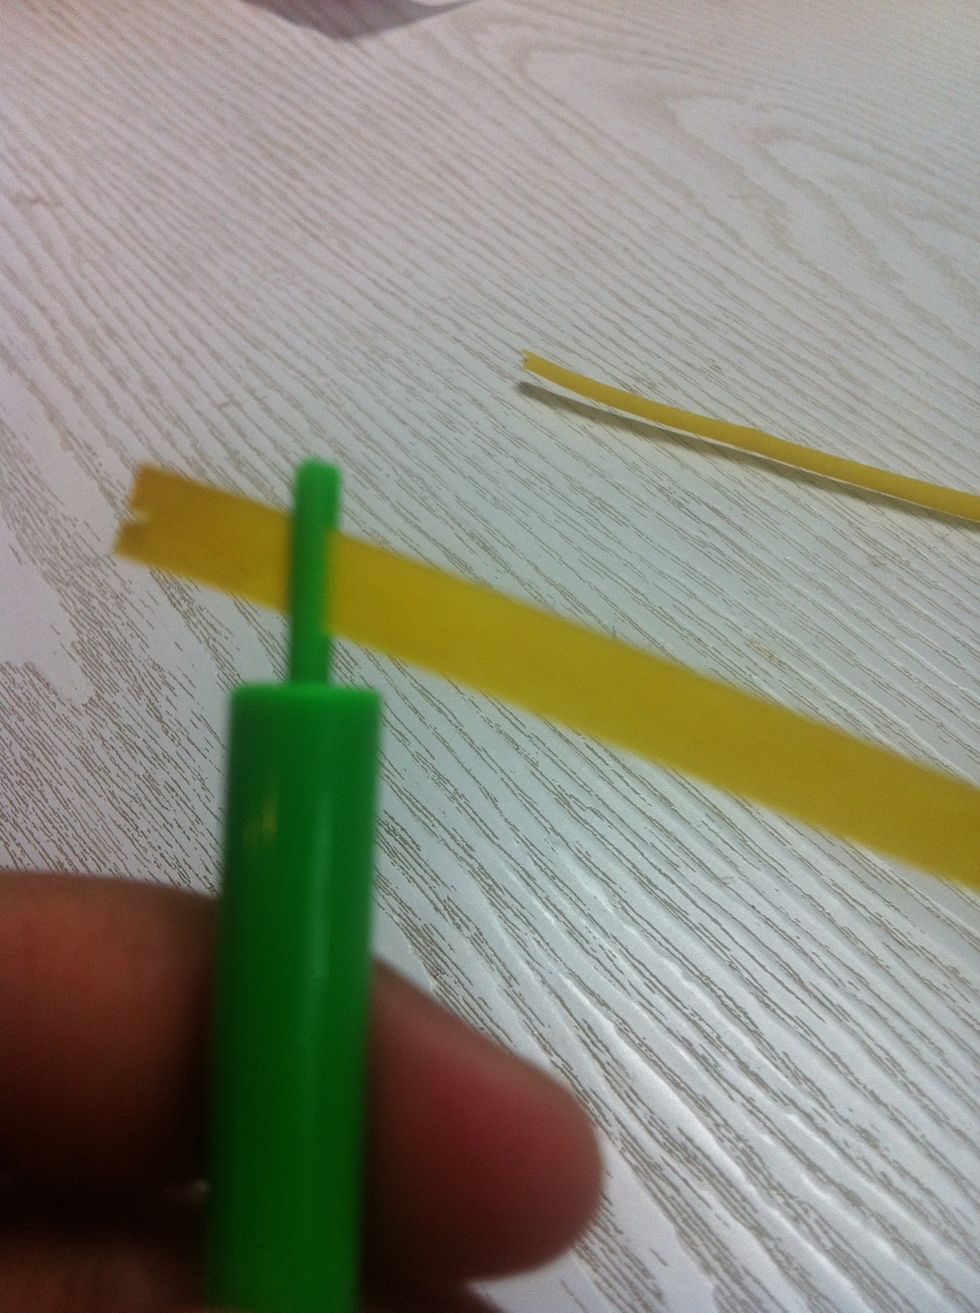
Take a strip of paper and put its end into the slot of the quilling needle. Now rotate the needle so as to make a coil.

This is what it will look like after making about 2-3 coils. Keep rotating until you reach the end of the paper. Now hold the coil firmly and pull it out.
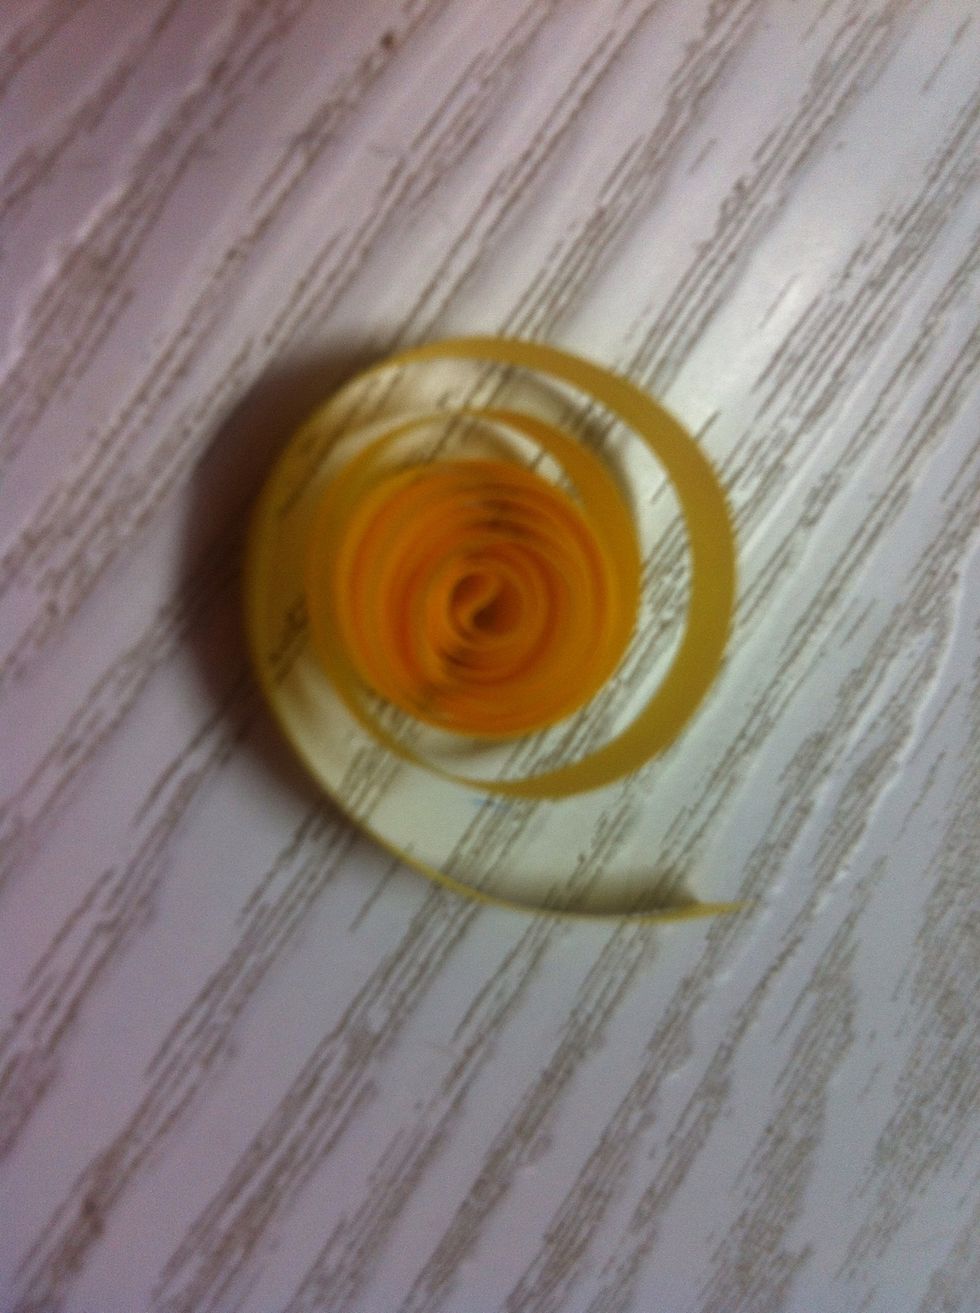
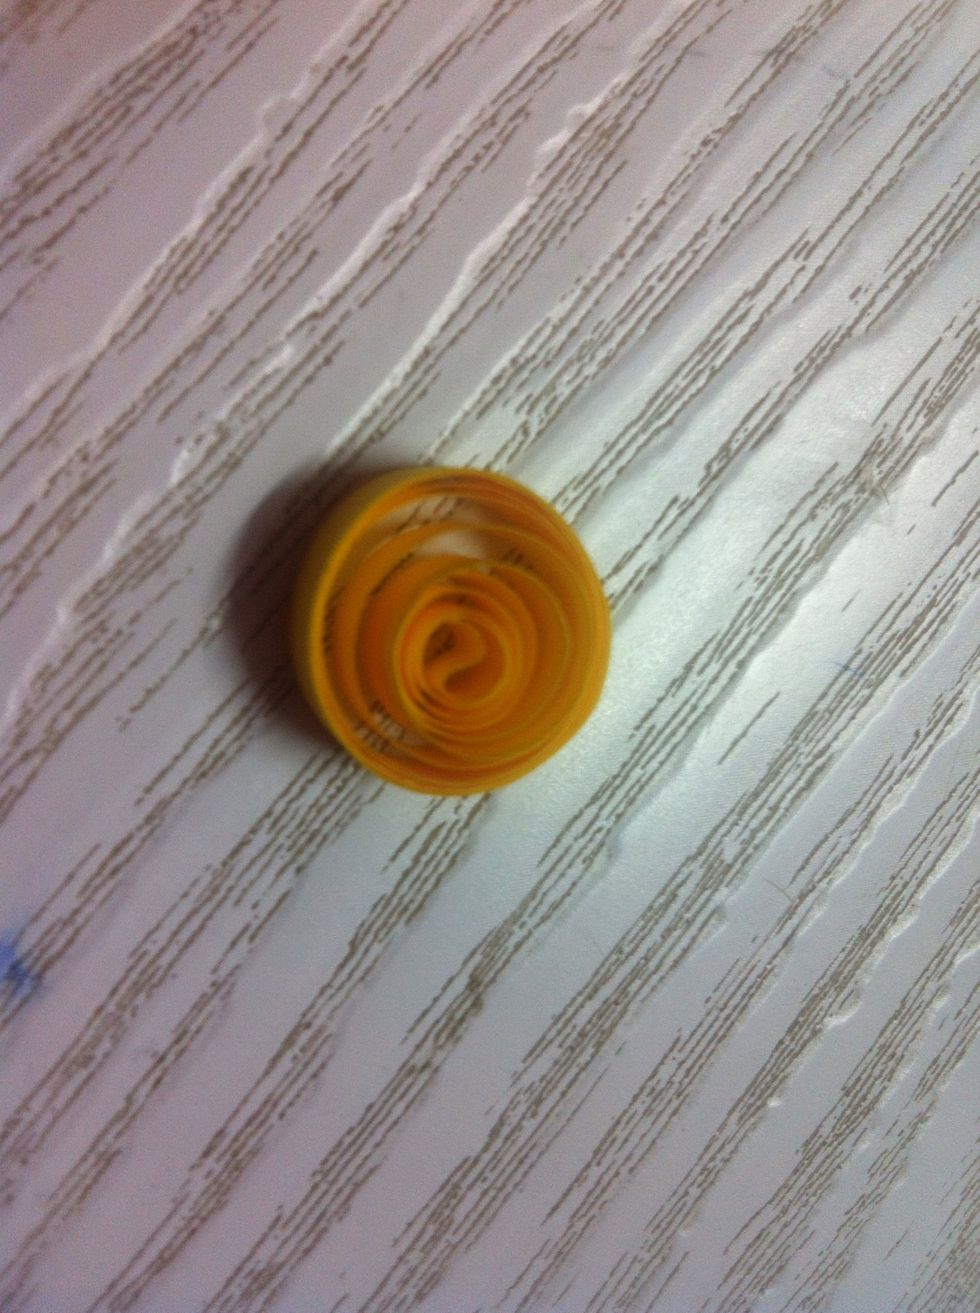
Your coil should look like this by now.
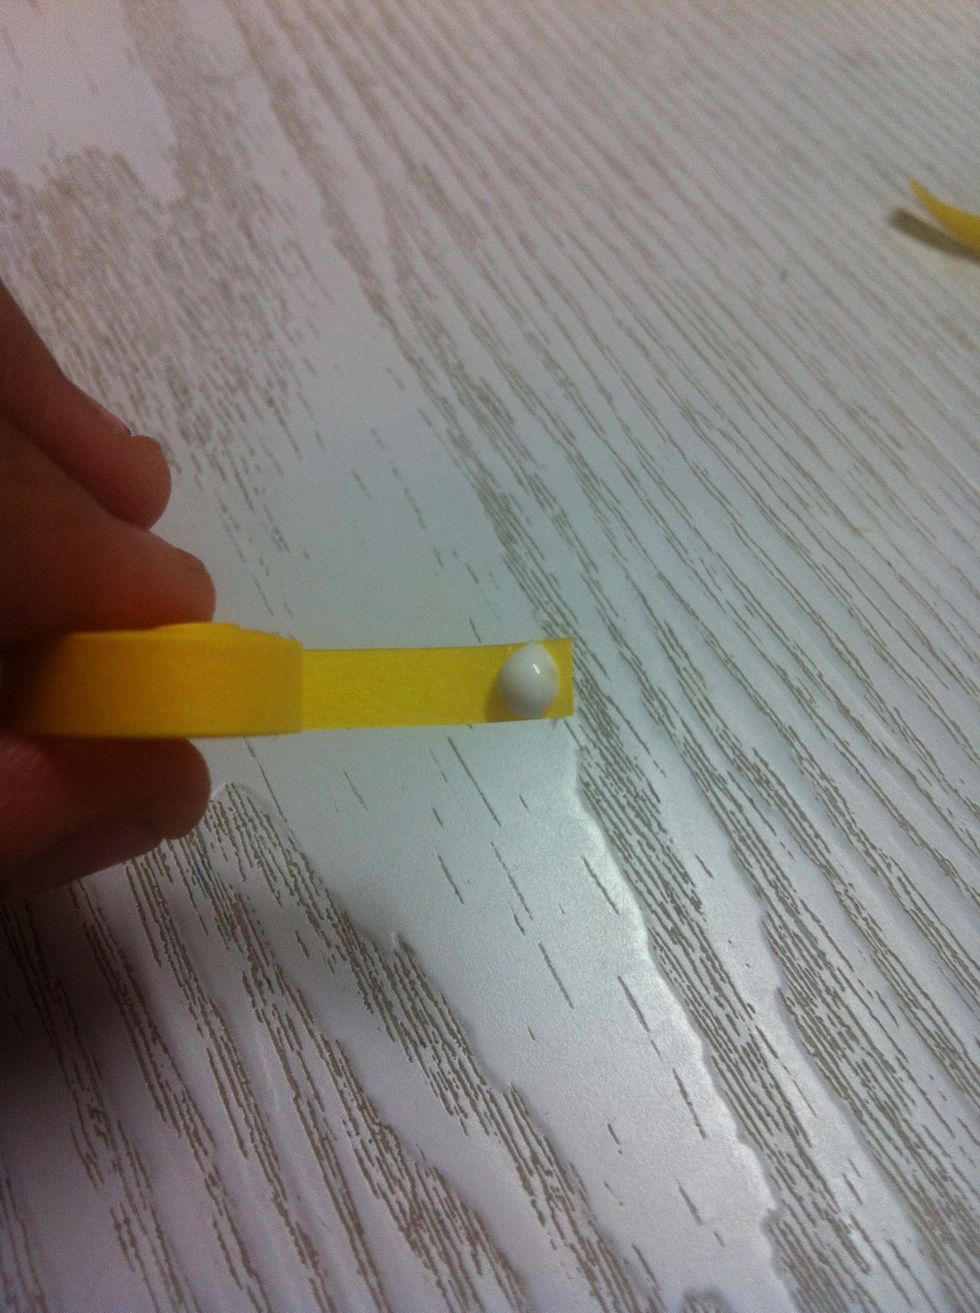
Apply a little glue to the end of the coil and stick it to get a circular coil.
On sticking it looks like this
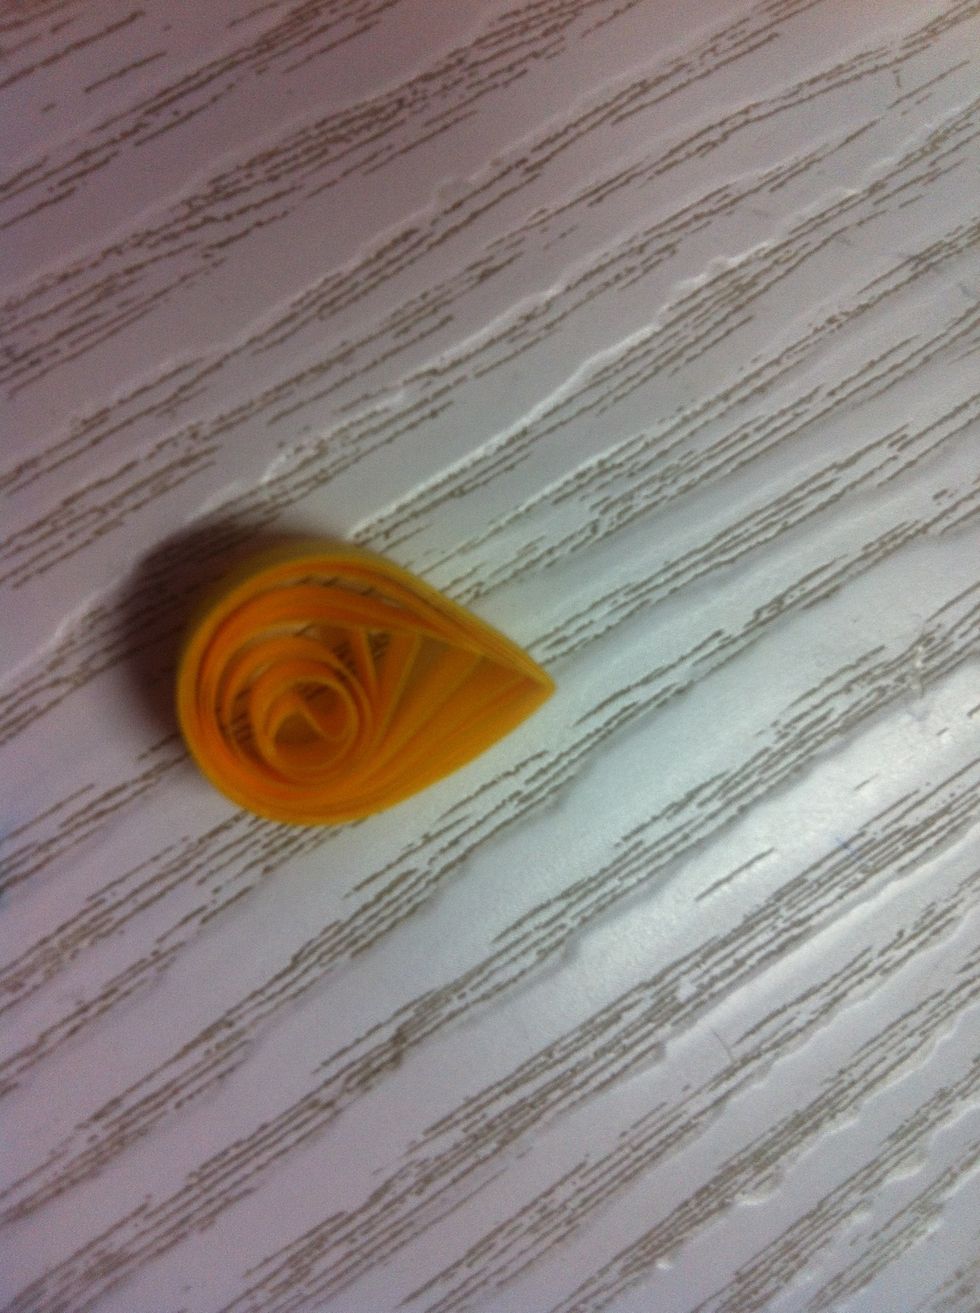
Pinch it to get a teardrop shape.

Pinch it twice to get a leaf shape...
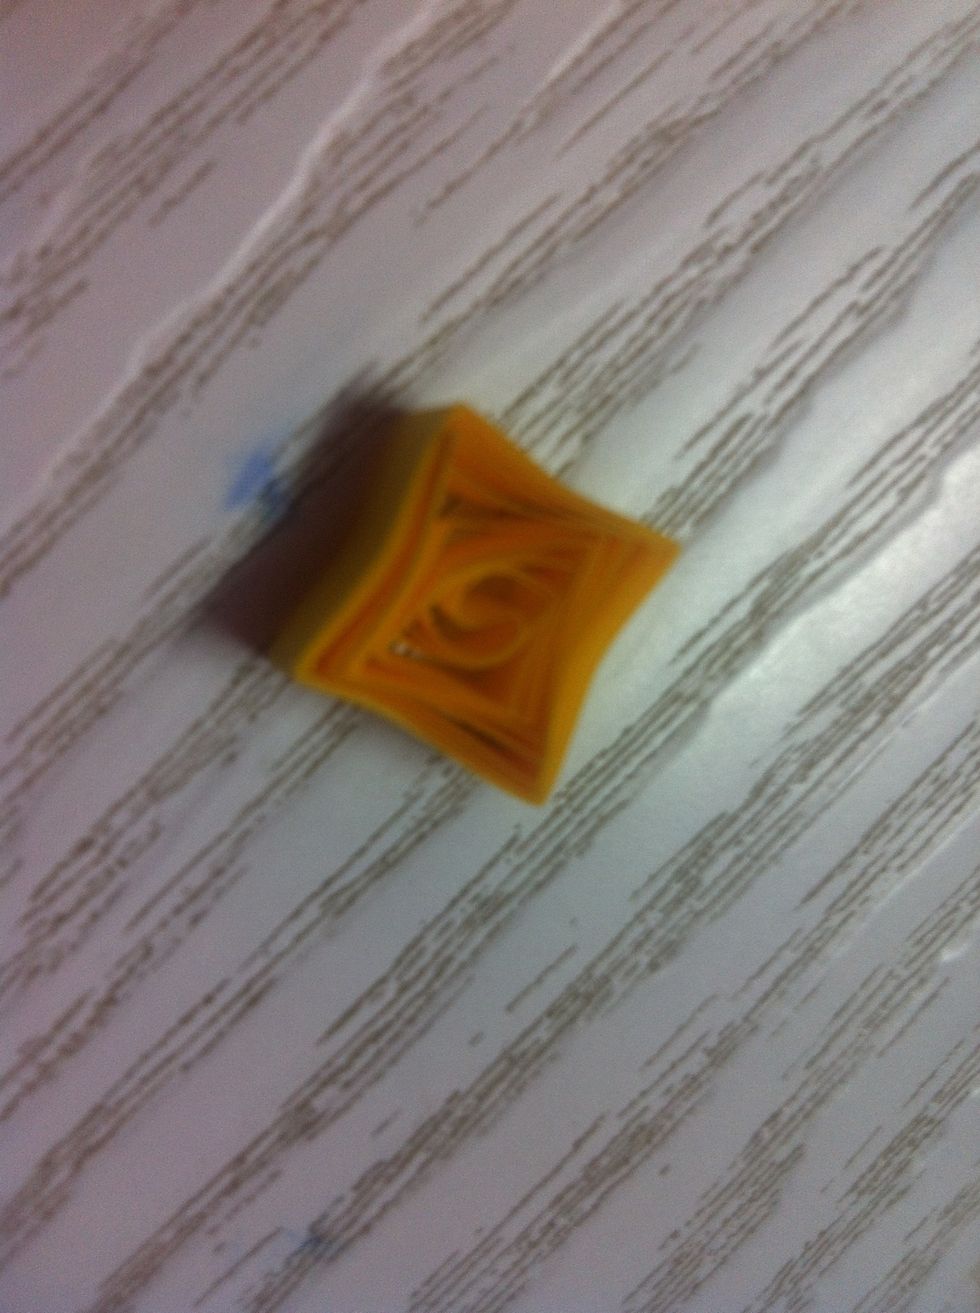
Or 4 times to get a square .
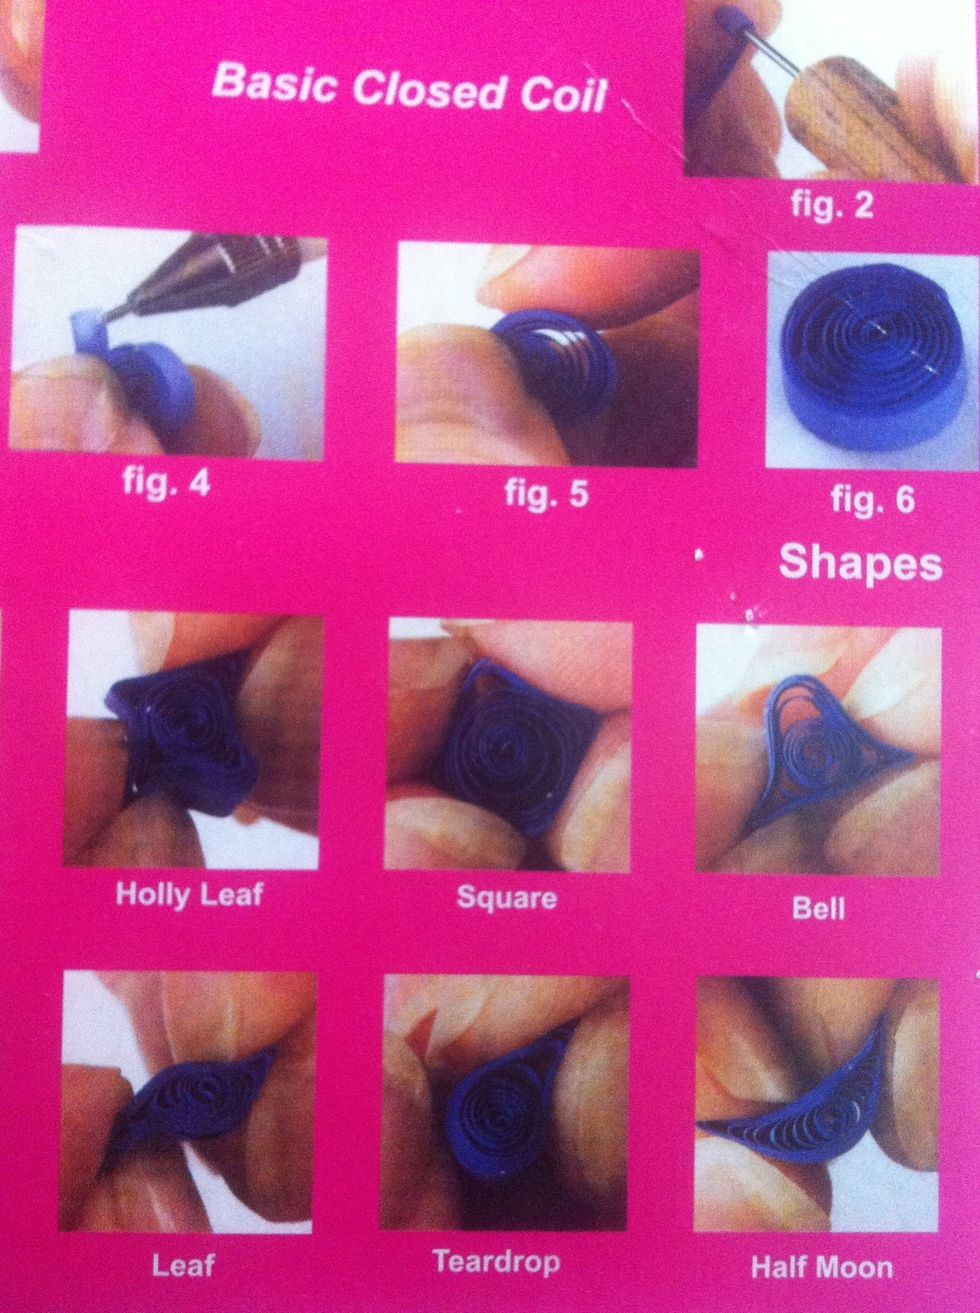
These are a few shapes you could try .

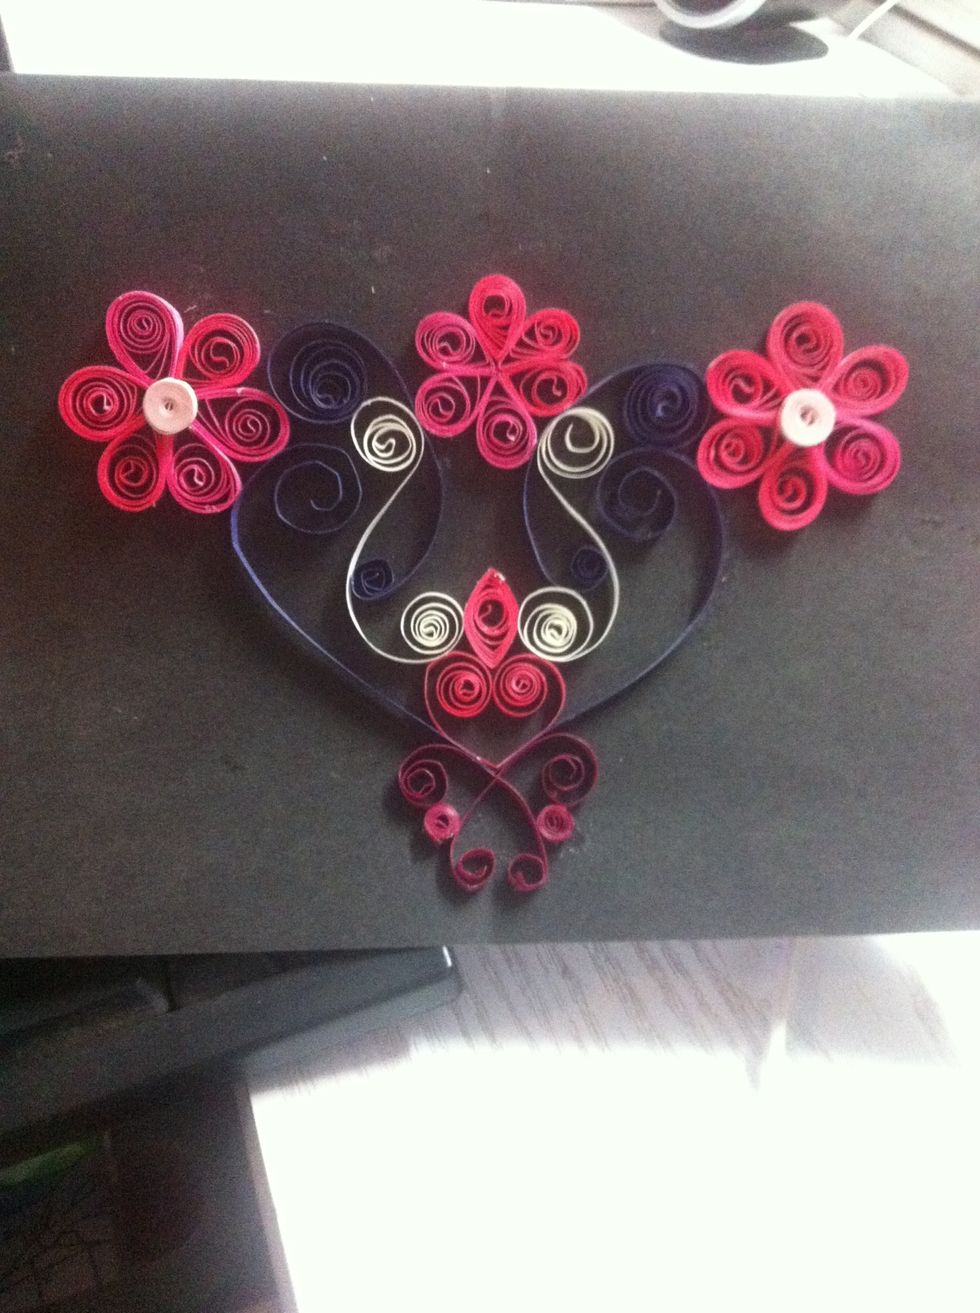
Put together different shapes and colours to make a design .