The Conversation (0)
Sign Up
Ok first of all you need to make sure your nails are completely clean, because the bottom of the nail will still be showing, and then apply a base coat to protect your nails.
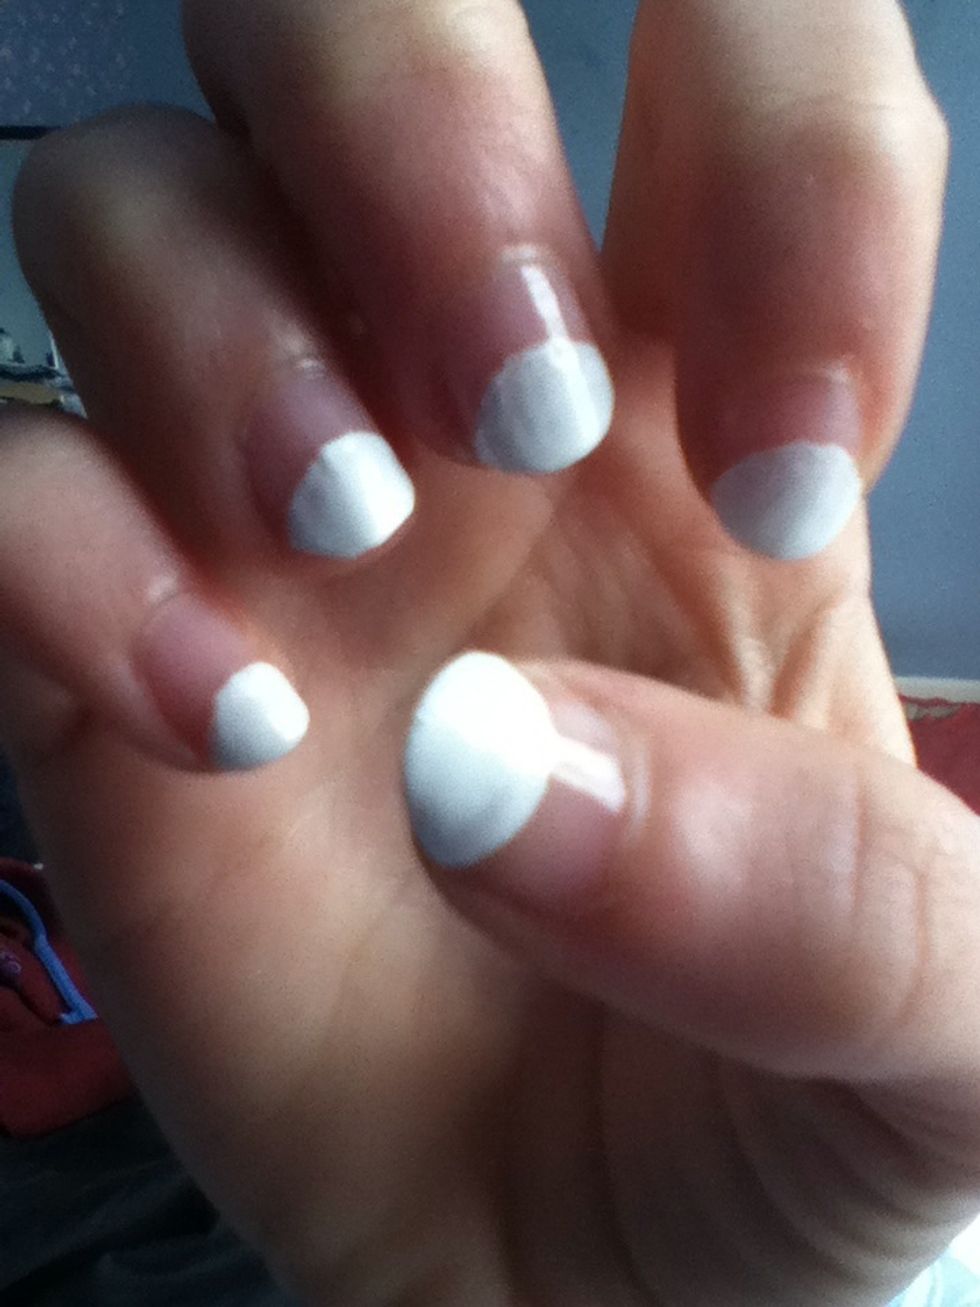
Paint the tip of you nail white and then continue along the nail to create a curve. This will make the body.

For the next steps you will need a thin brush or I used a pencil and put a blob of varnish on some paper (I used my history revision to celebrate finishing the test!)
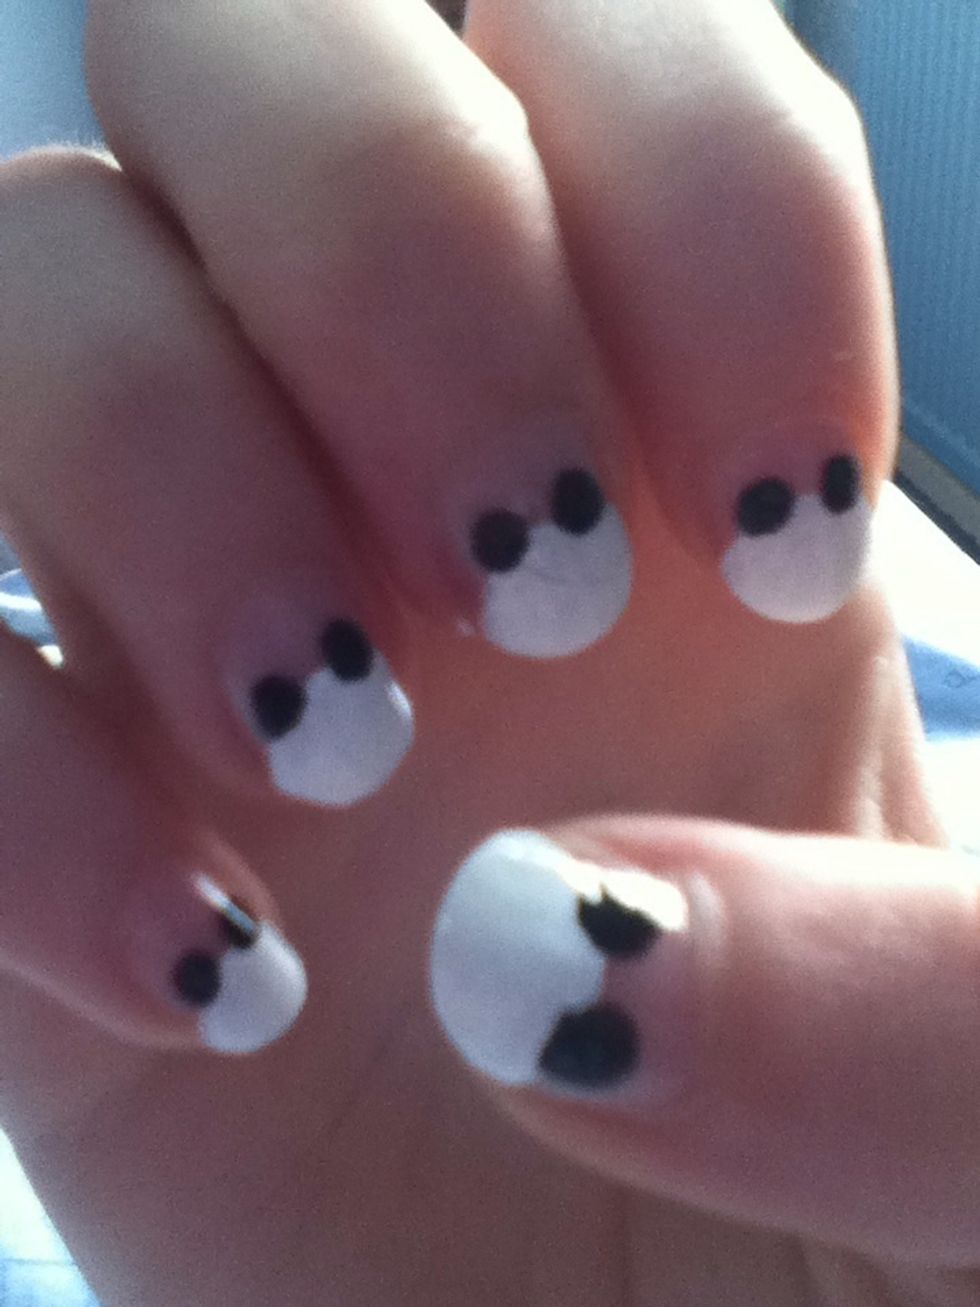
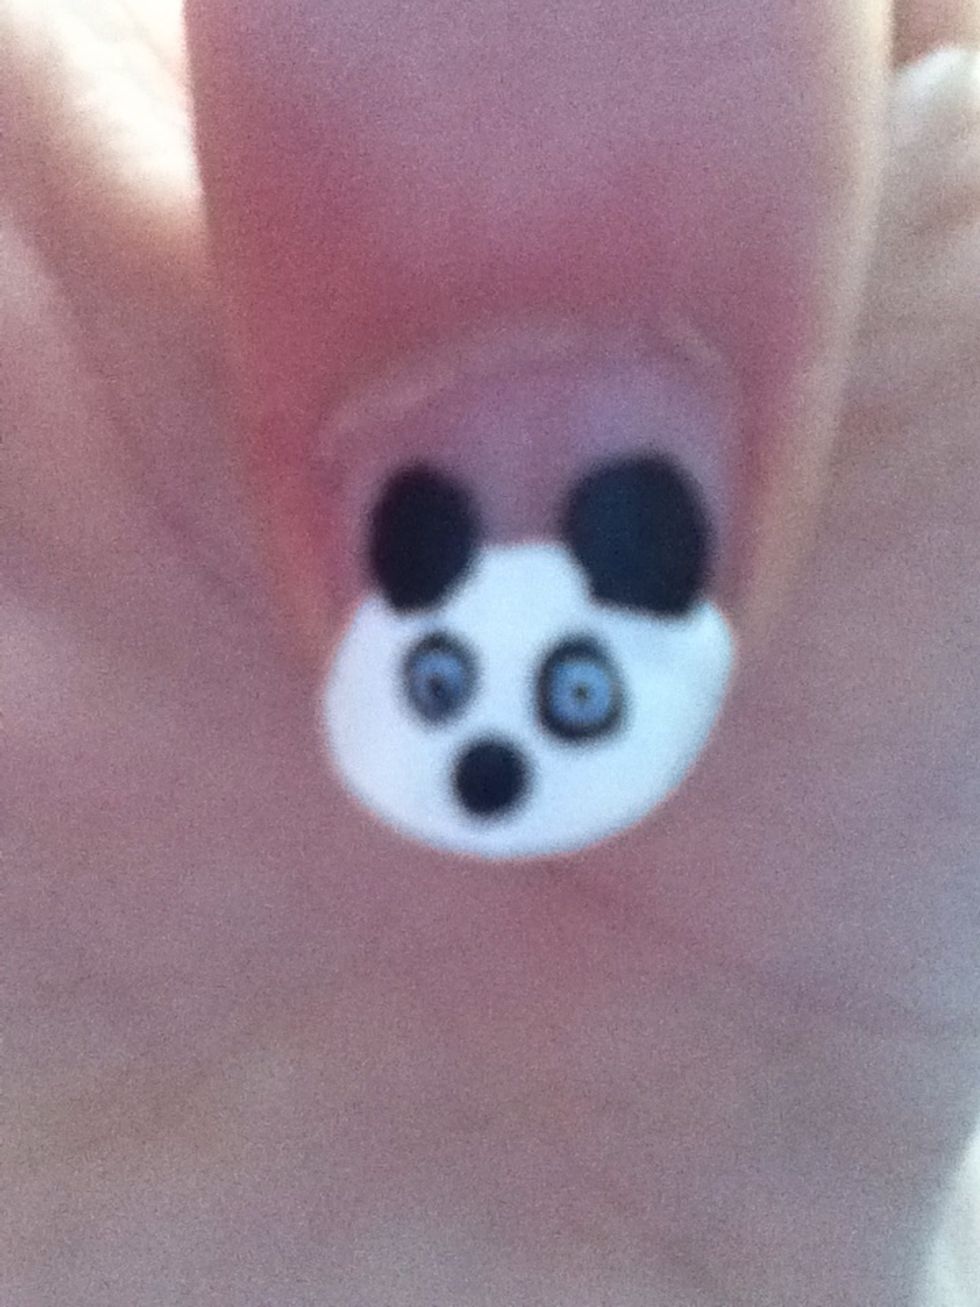
Put two large circles in the corners for the ears.
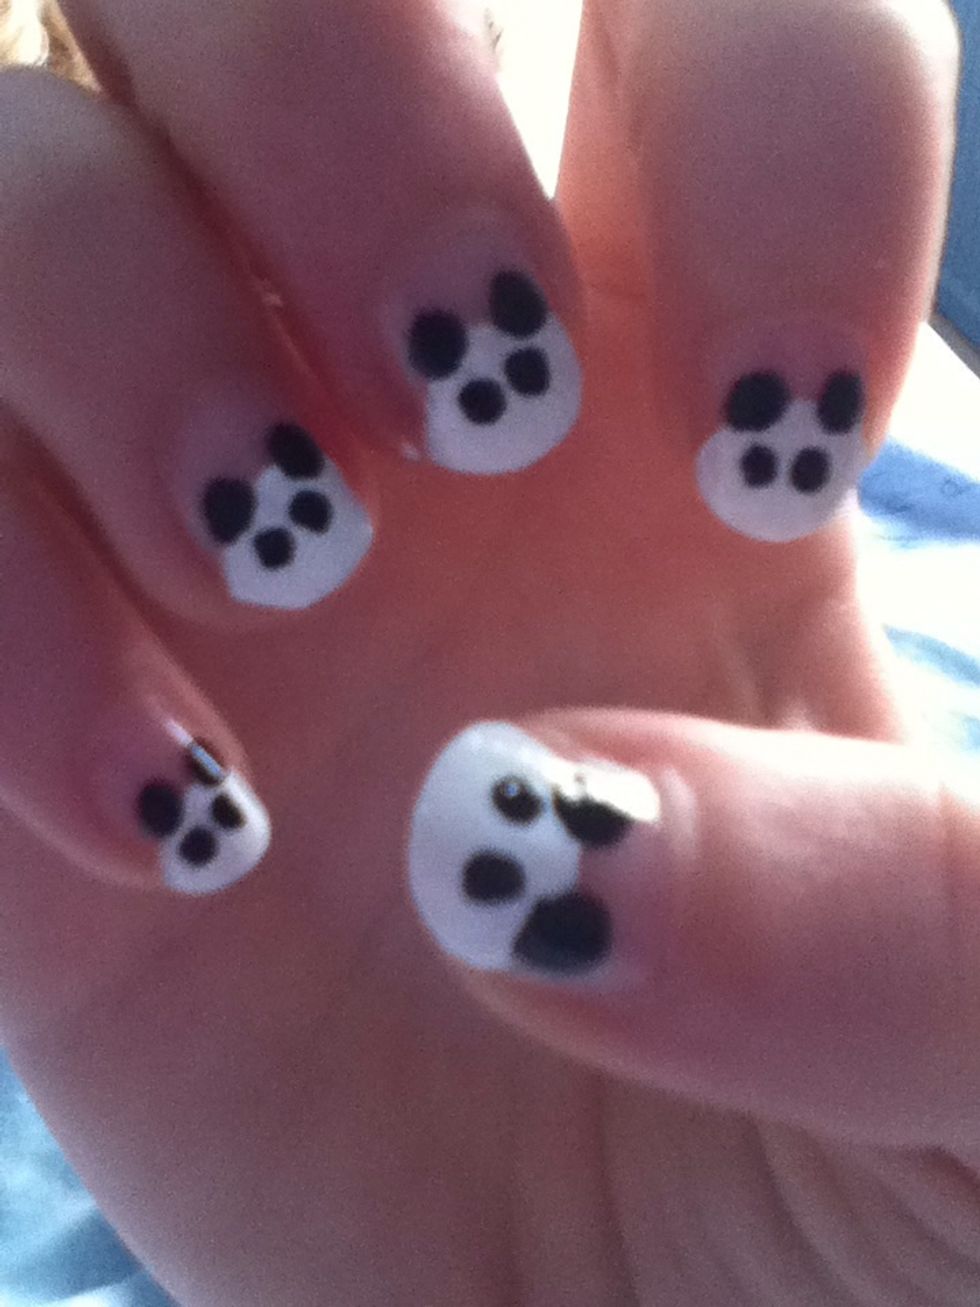
Then put two smaller black dots for the background of the eyes. Make sure these are big enough to put two more sets of dots in.
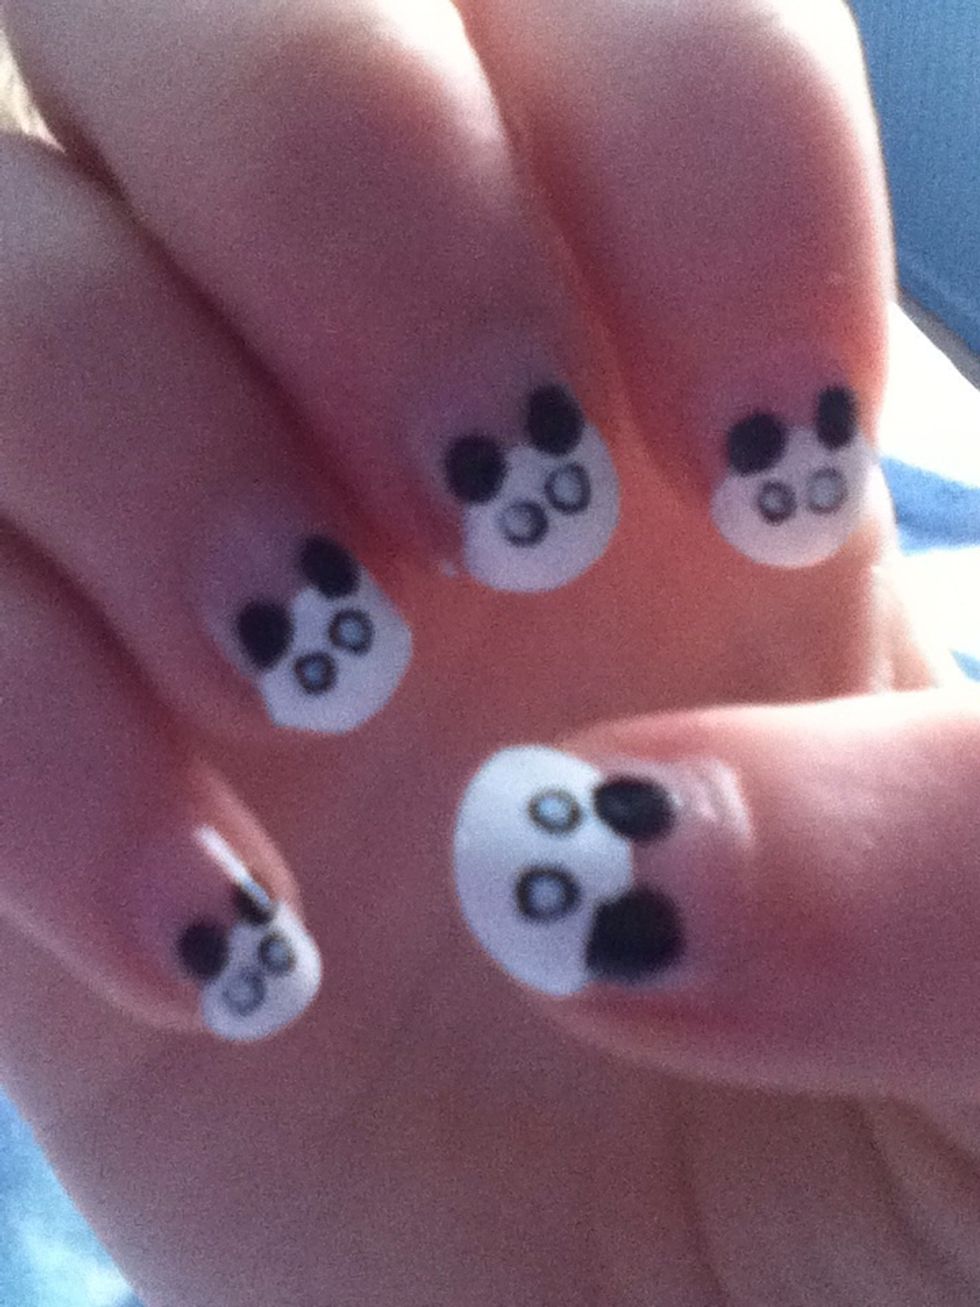
In the centre of these put two small white dots.

Add a small black dot for the nose. Do this before the next step to let the whites of the eyes dry completely.
This is probably the hardest part. Put a small black spot in the eyes. If this goes wrong then you can put white over the top of it and start again on this step.
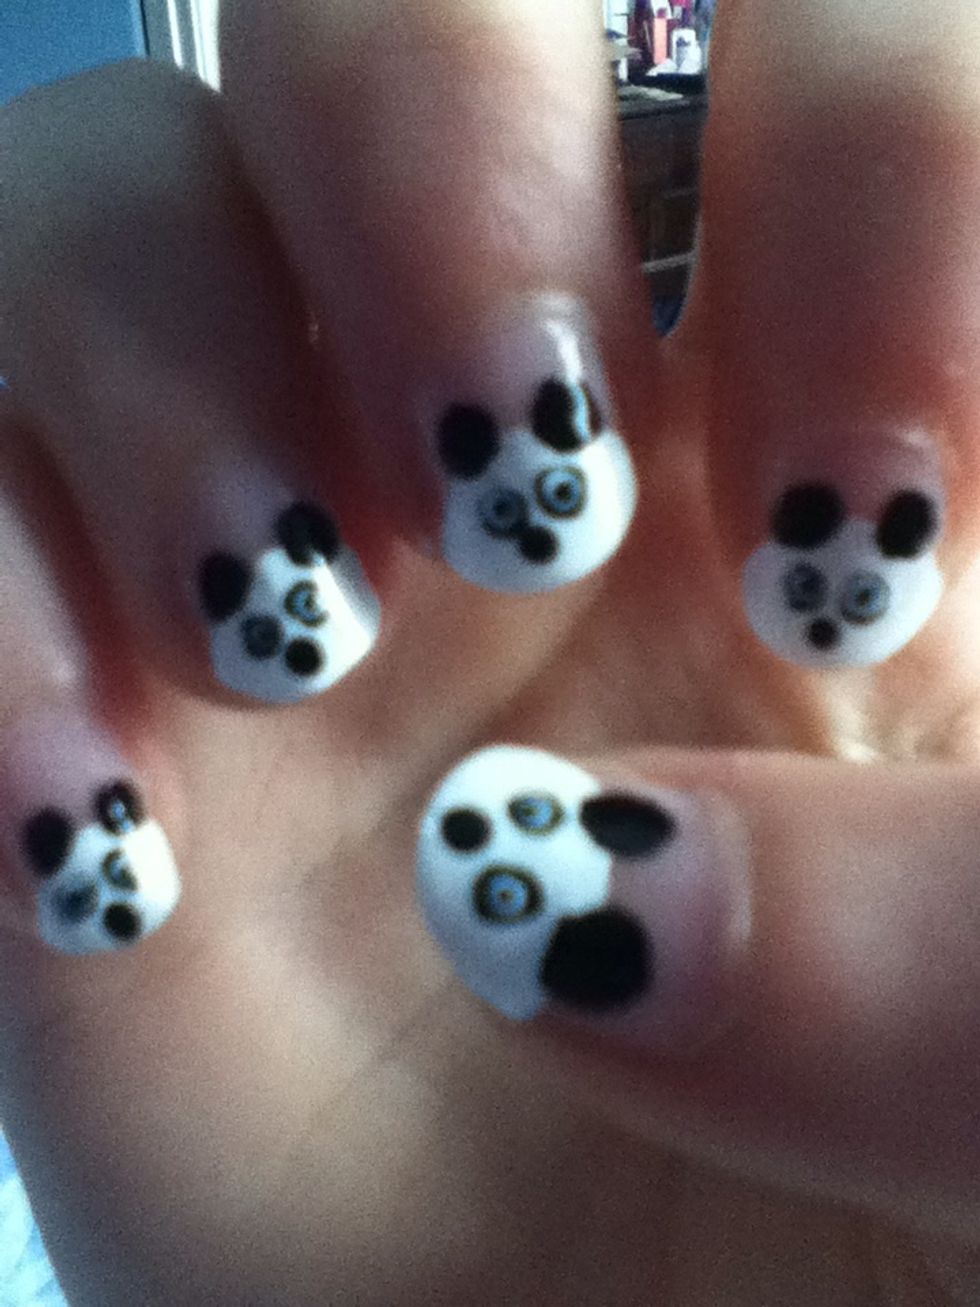
Ta daa!!