The Conversation (0)
Sign Up
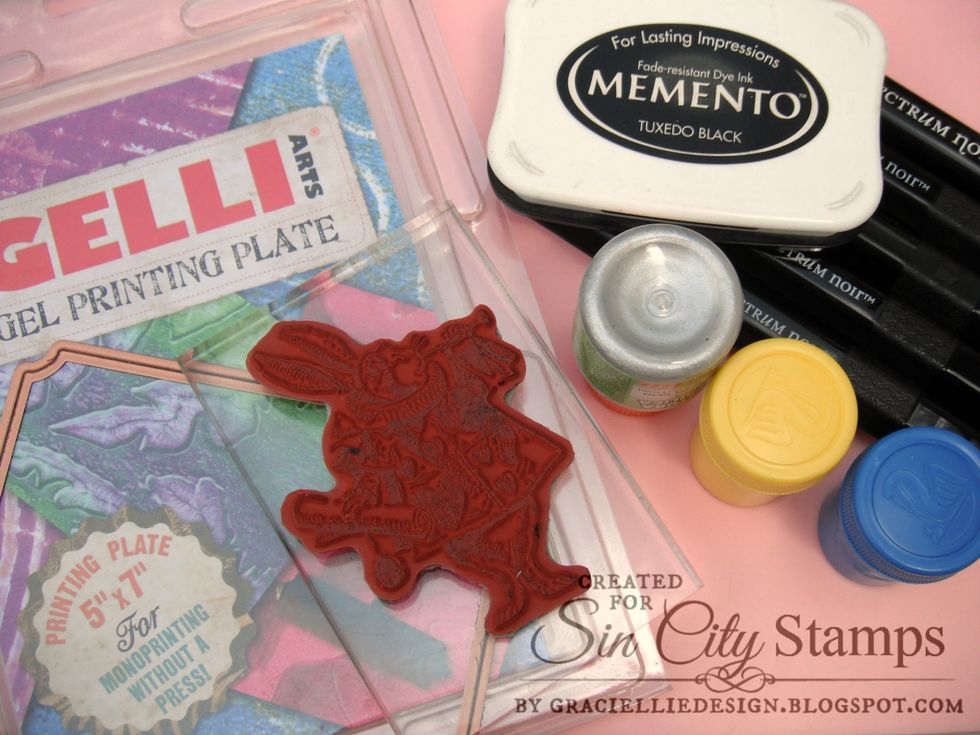
To make this project I used a Gelli Plate, various paints, a stamp, dye ink, and alcohol markers.
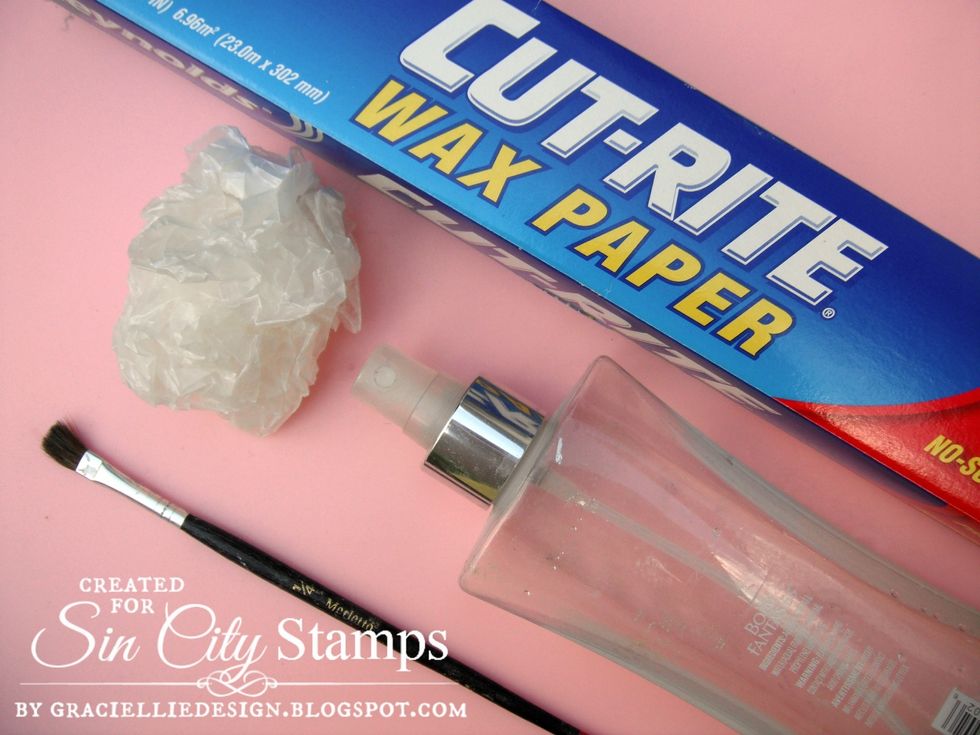
I also used wax paper, water on a spritzer, and a brush
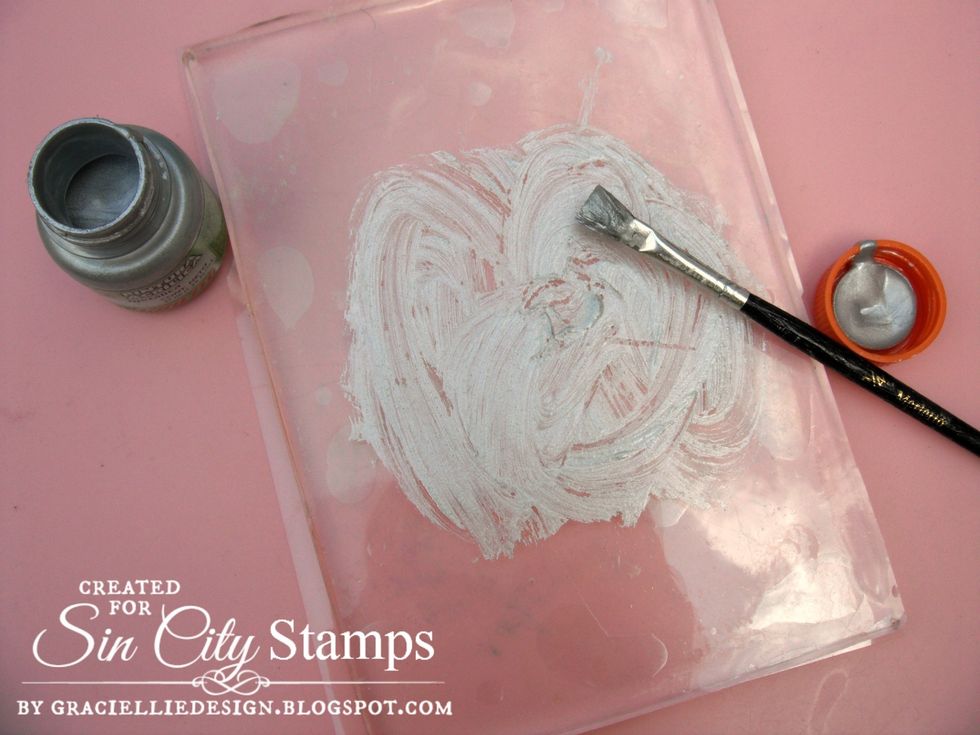
First, I added silver acrylic paint with a brush to the 5" x 7" Gelli Plate.

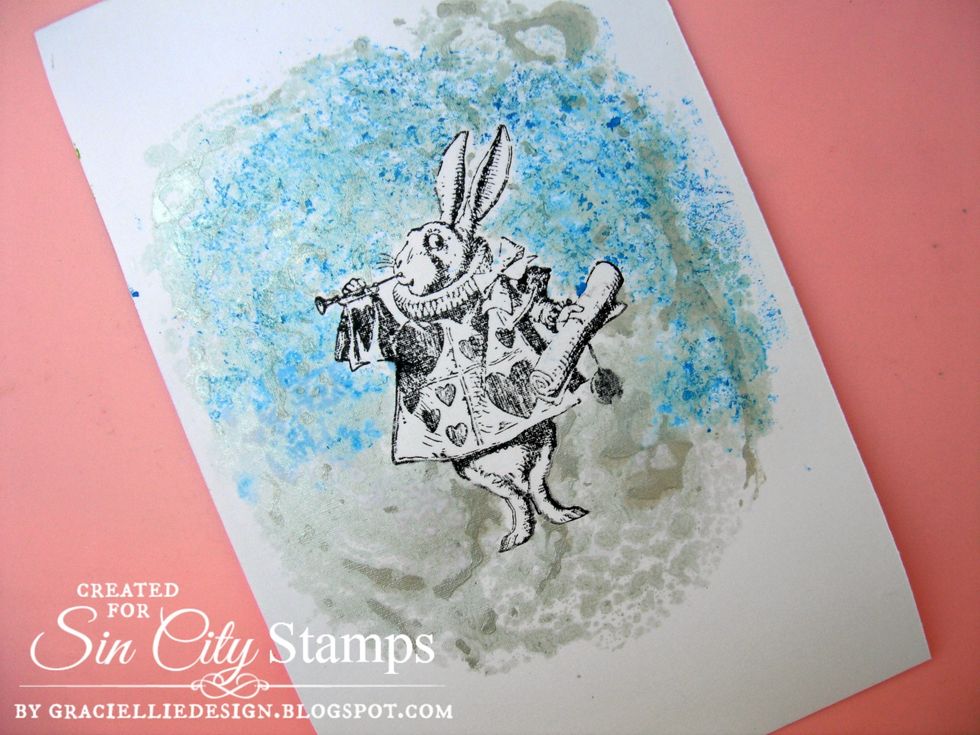
I stamped this lovely Alice in Wonderland rabbit twice. I fuzzy cut one of them to use it as a mask.

I adhered the mask to the stamped cardstock with low tack tape. This mask is used, and that is why it's covered with paint.
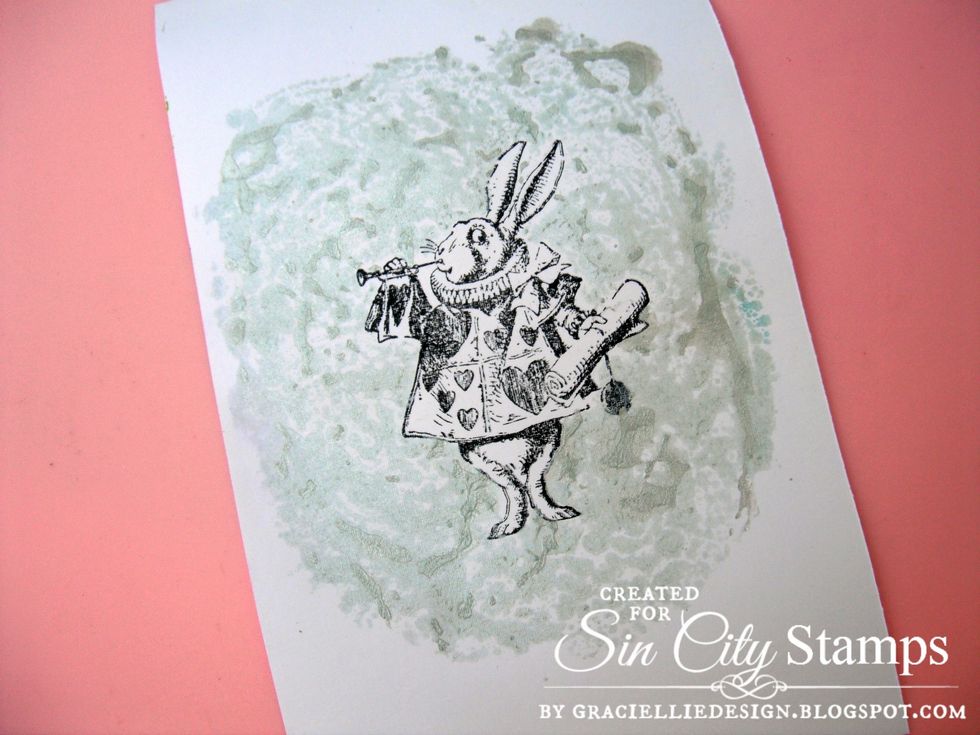
I pressed the stamped cardstock face down to the Gelli Plate. If the mask is removed you are left with a clean image ready to color. But I kept adding layers of paint to the background.
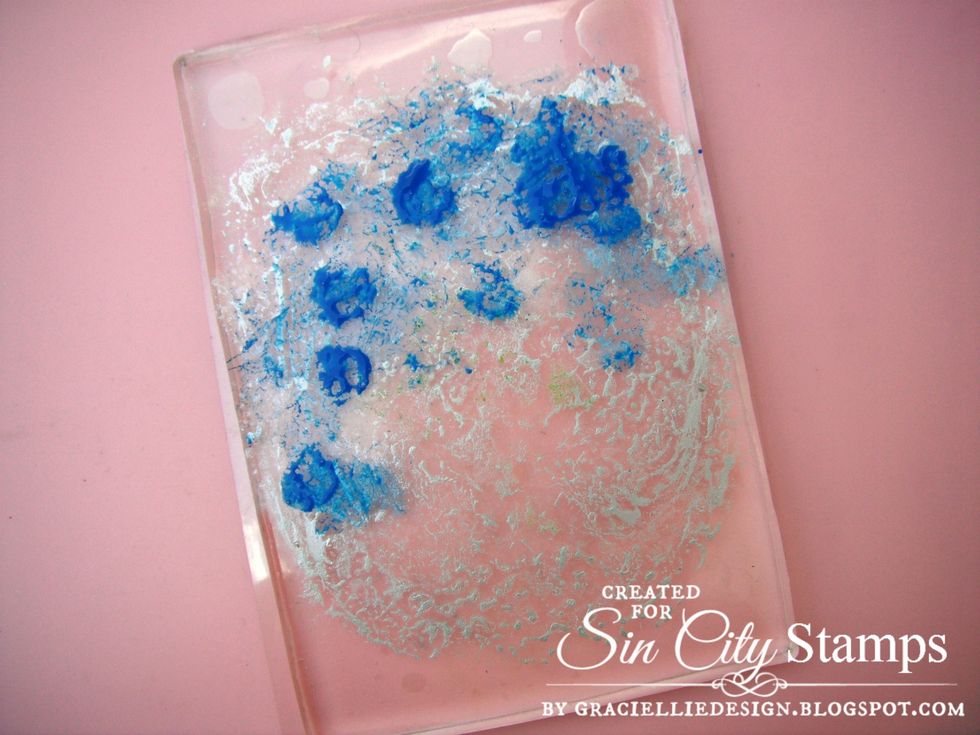
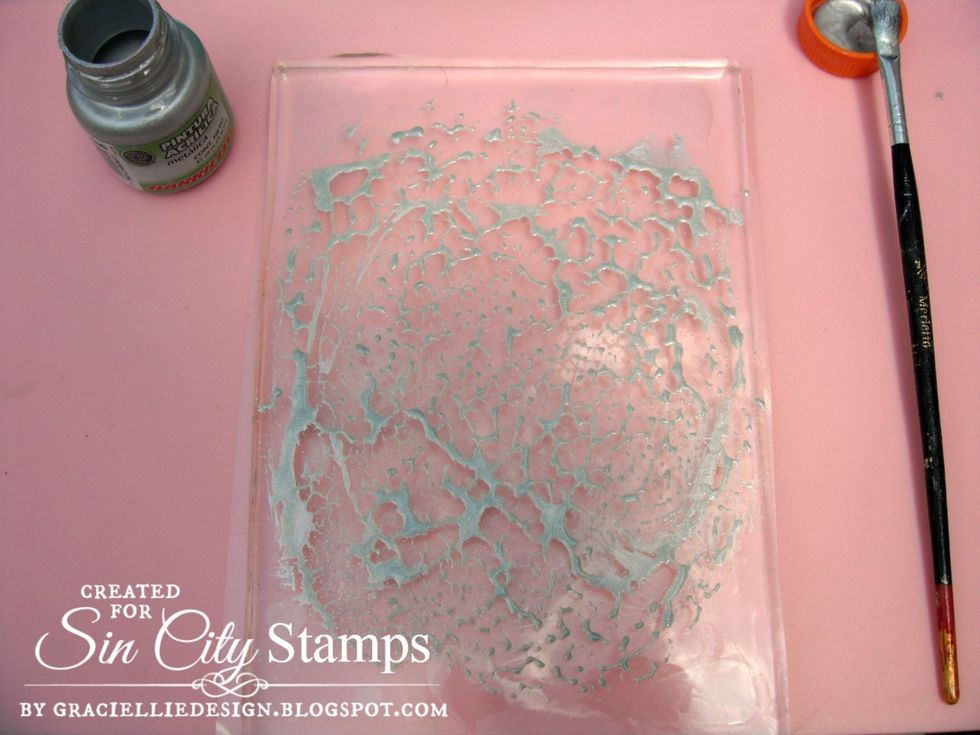
Now I applied blue paint to the Gelli Plate.
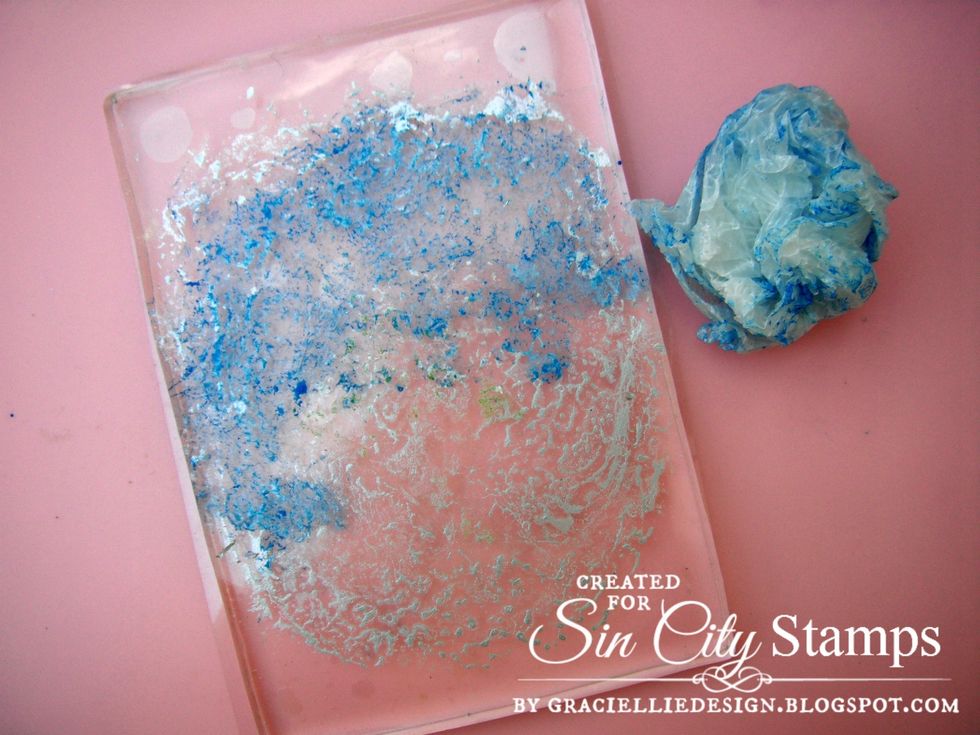
I moved the paint with crumpled wax paper.
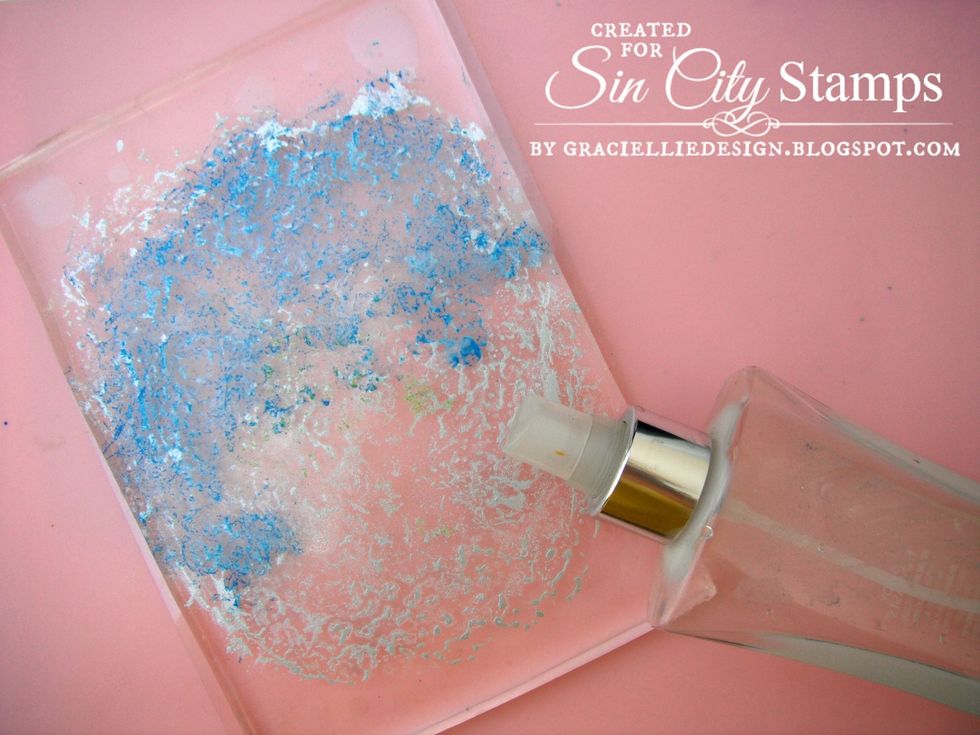
Once again, I spritzed water to the Gelli Plate.
I pressed down the stamped cardstock to the Gelli Plate, always masking the image. Again, the image remains intact, while I continued layering paint to the cardstock.
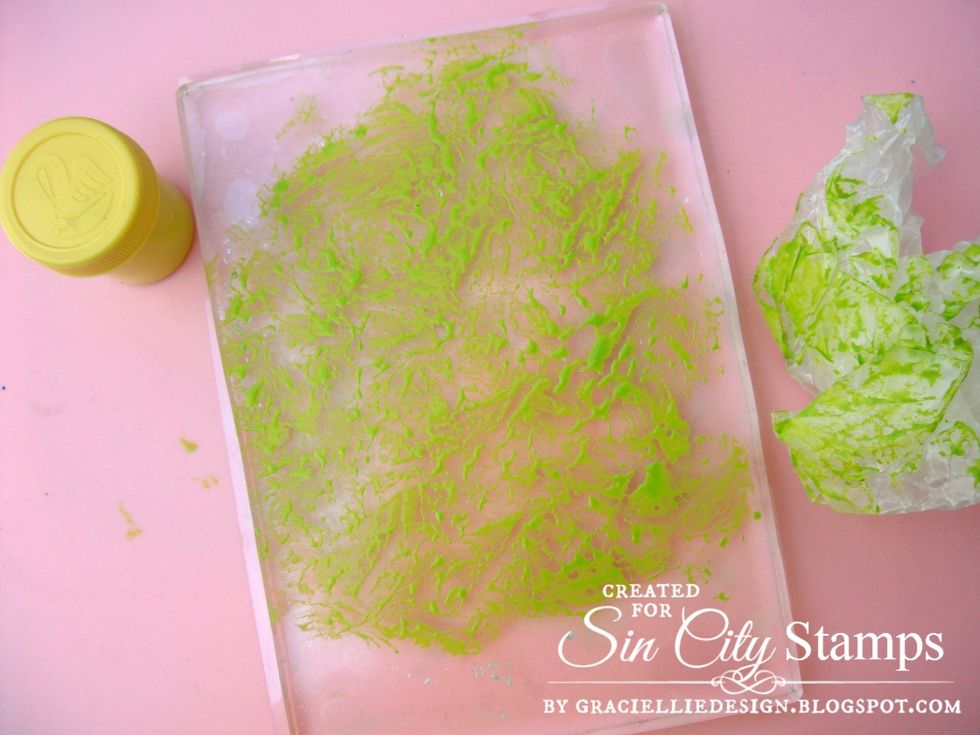
Now I added yellow paint to the Gelli Plate, but because my brush still had a bit of blue on it, it turned out green! I also moved the paint with a new piece of crumpled wax paper.
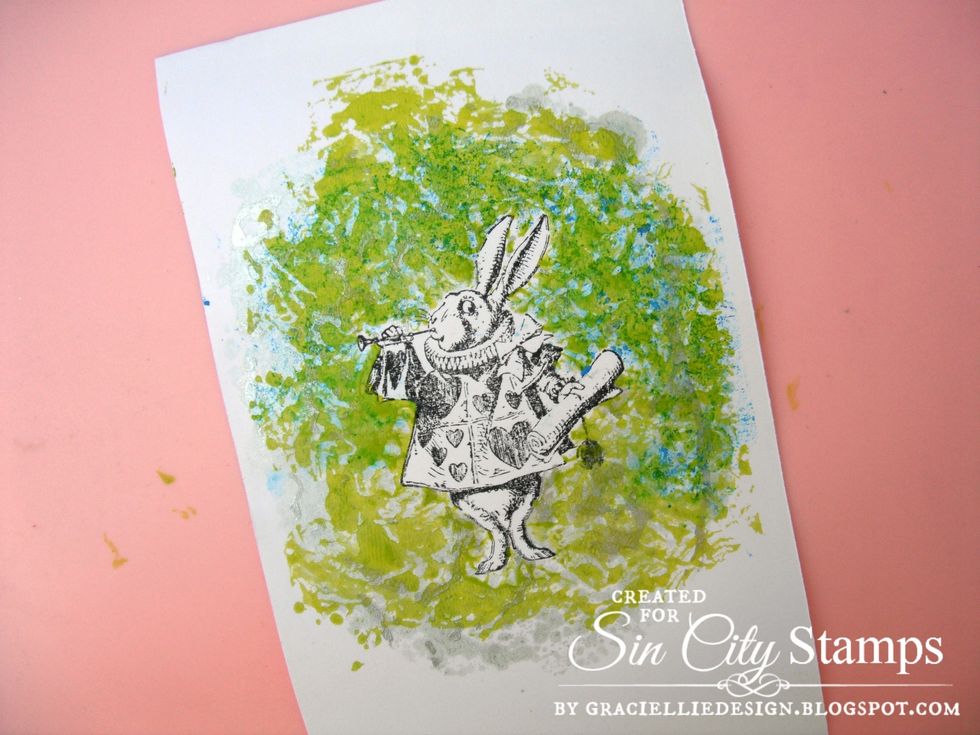
And this is the final result. Now the image is ready to be colored.

Here's another print I made before. Notice that each print will result different every single time, since the process is manual. That is part of the magic of the Gelli Plate.

I colored my image with Spectrum Noir alcohol markers.

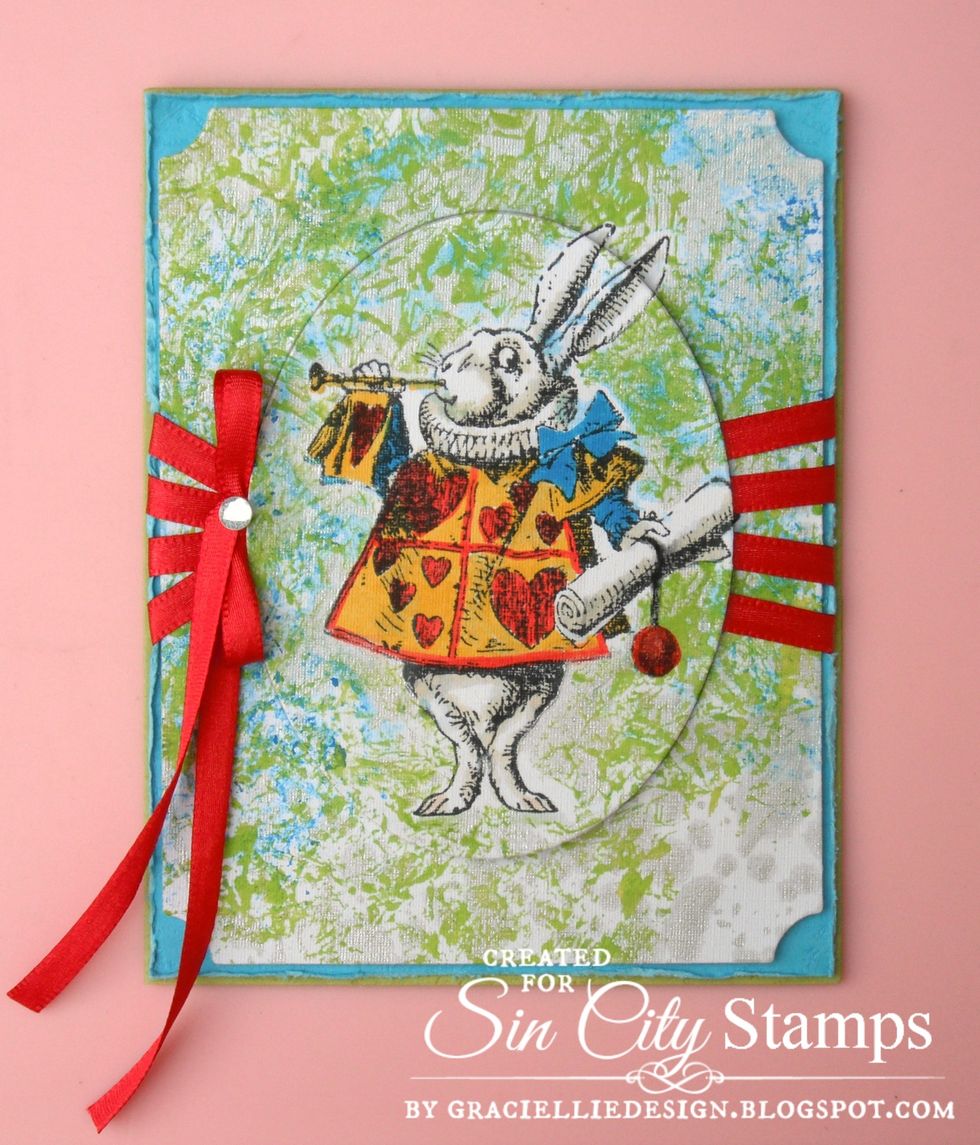
I love how you can achieve a monoprint together with a stamped and colored image, all in one layer.
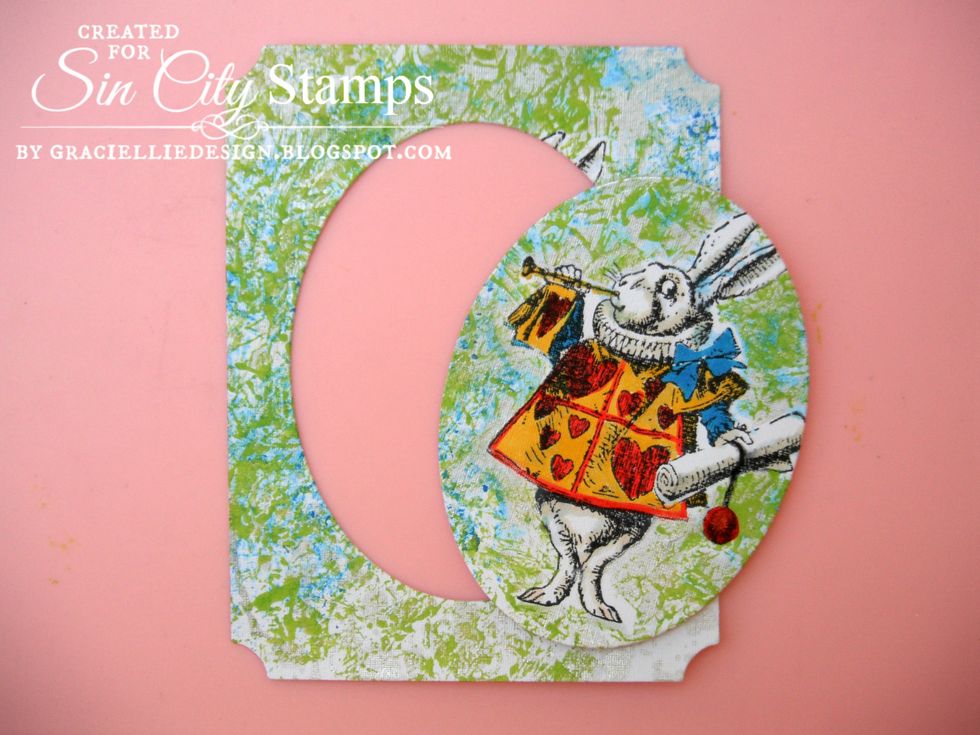
To add interest I die cut the print as a frame. Then I die cut the image with an oval die.
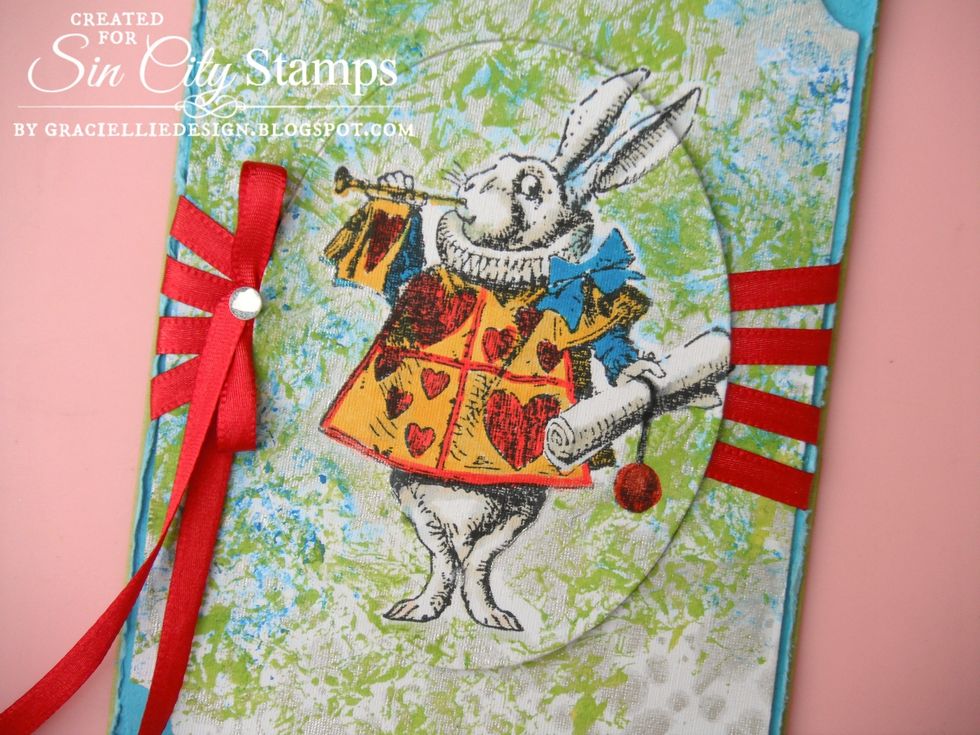
I wrapped the frame with red ribbon and then mounted the oval image, aligning it with the frame perfectly. I tied a bow, added a little vynil gem sticker and adhered it all to a card base.
For more about my work please visit http://gracielliedesign.blogspot.com/ For more about the supplies used visit http://sincitystamps.com/